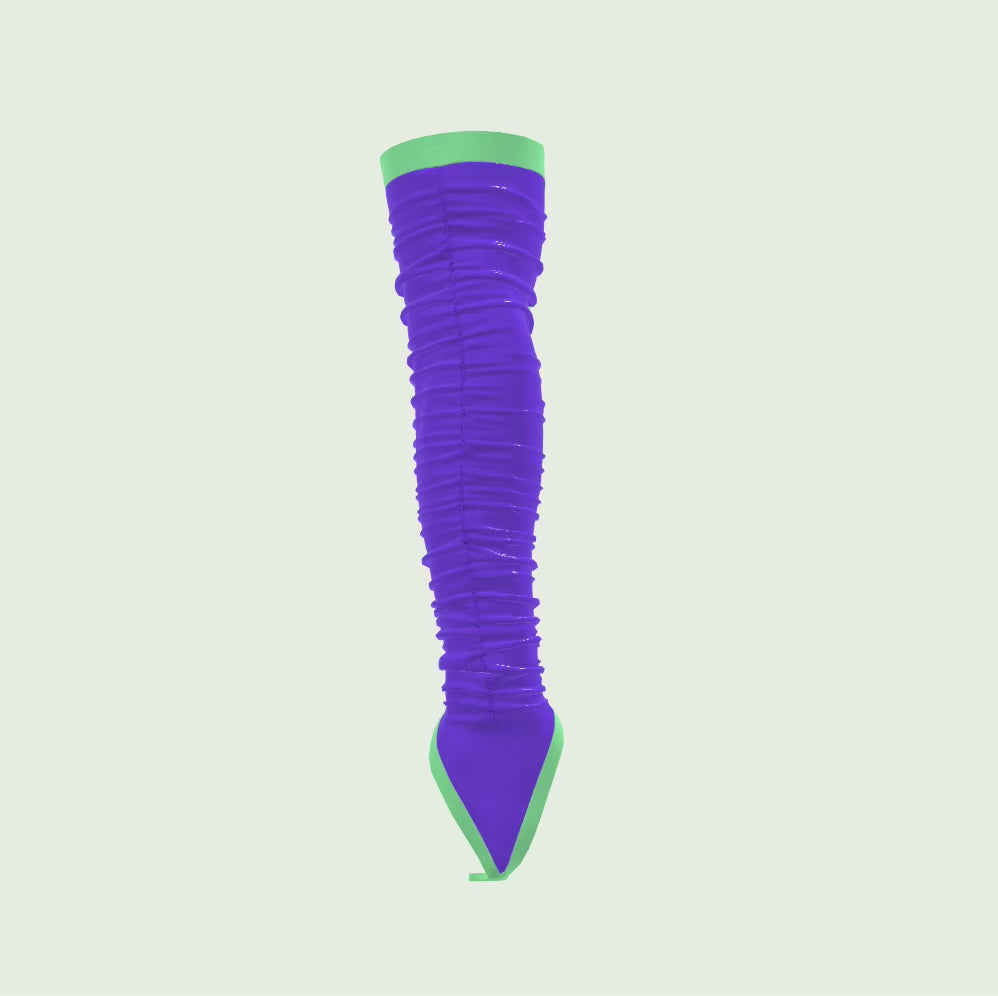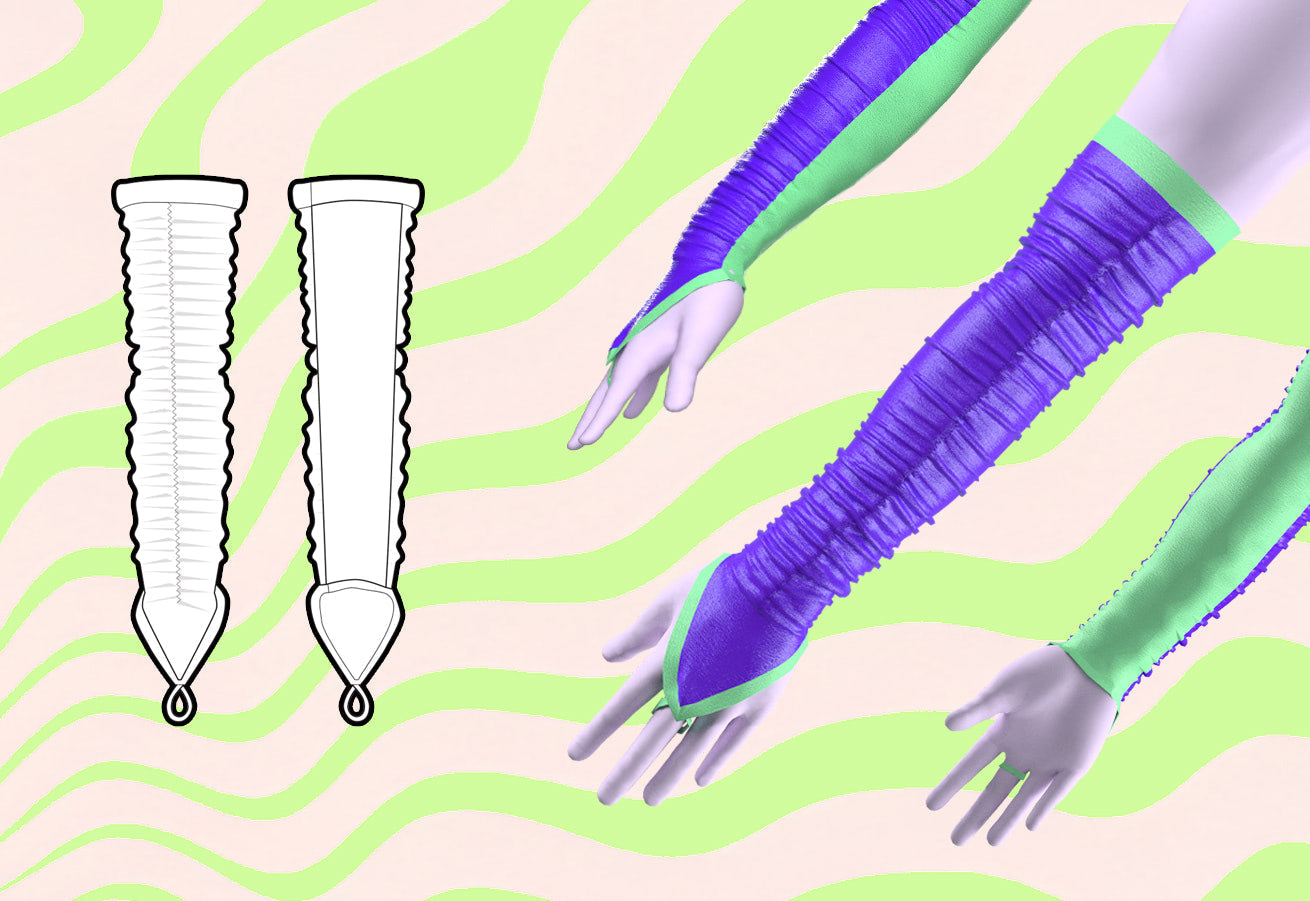
Cómo coser guantes con frunces y lazos para los dedos
Saltar a instrucciones
Descripción general
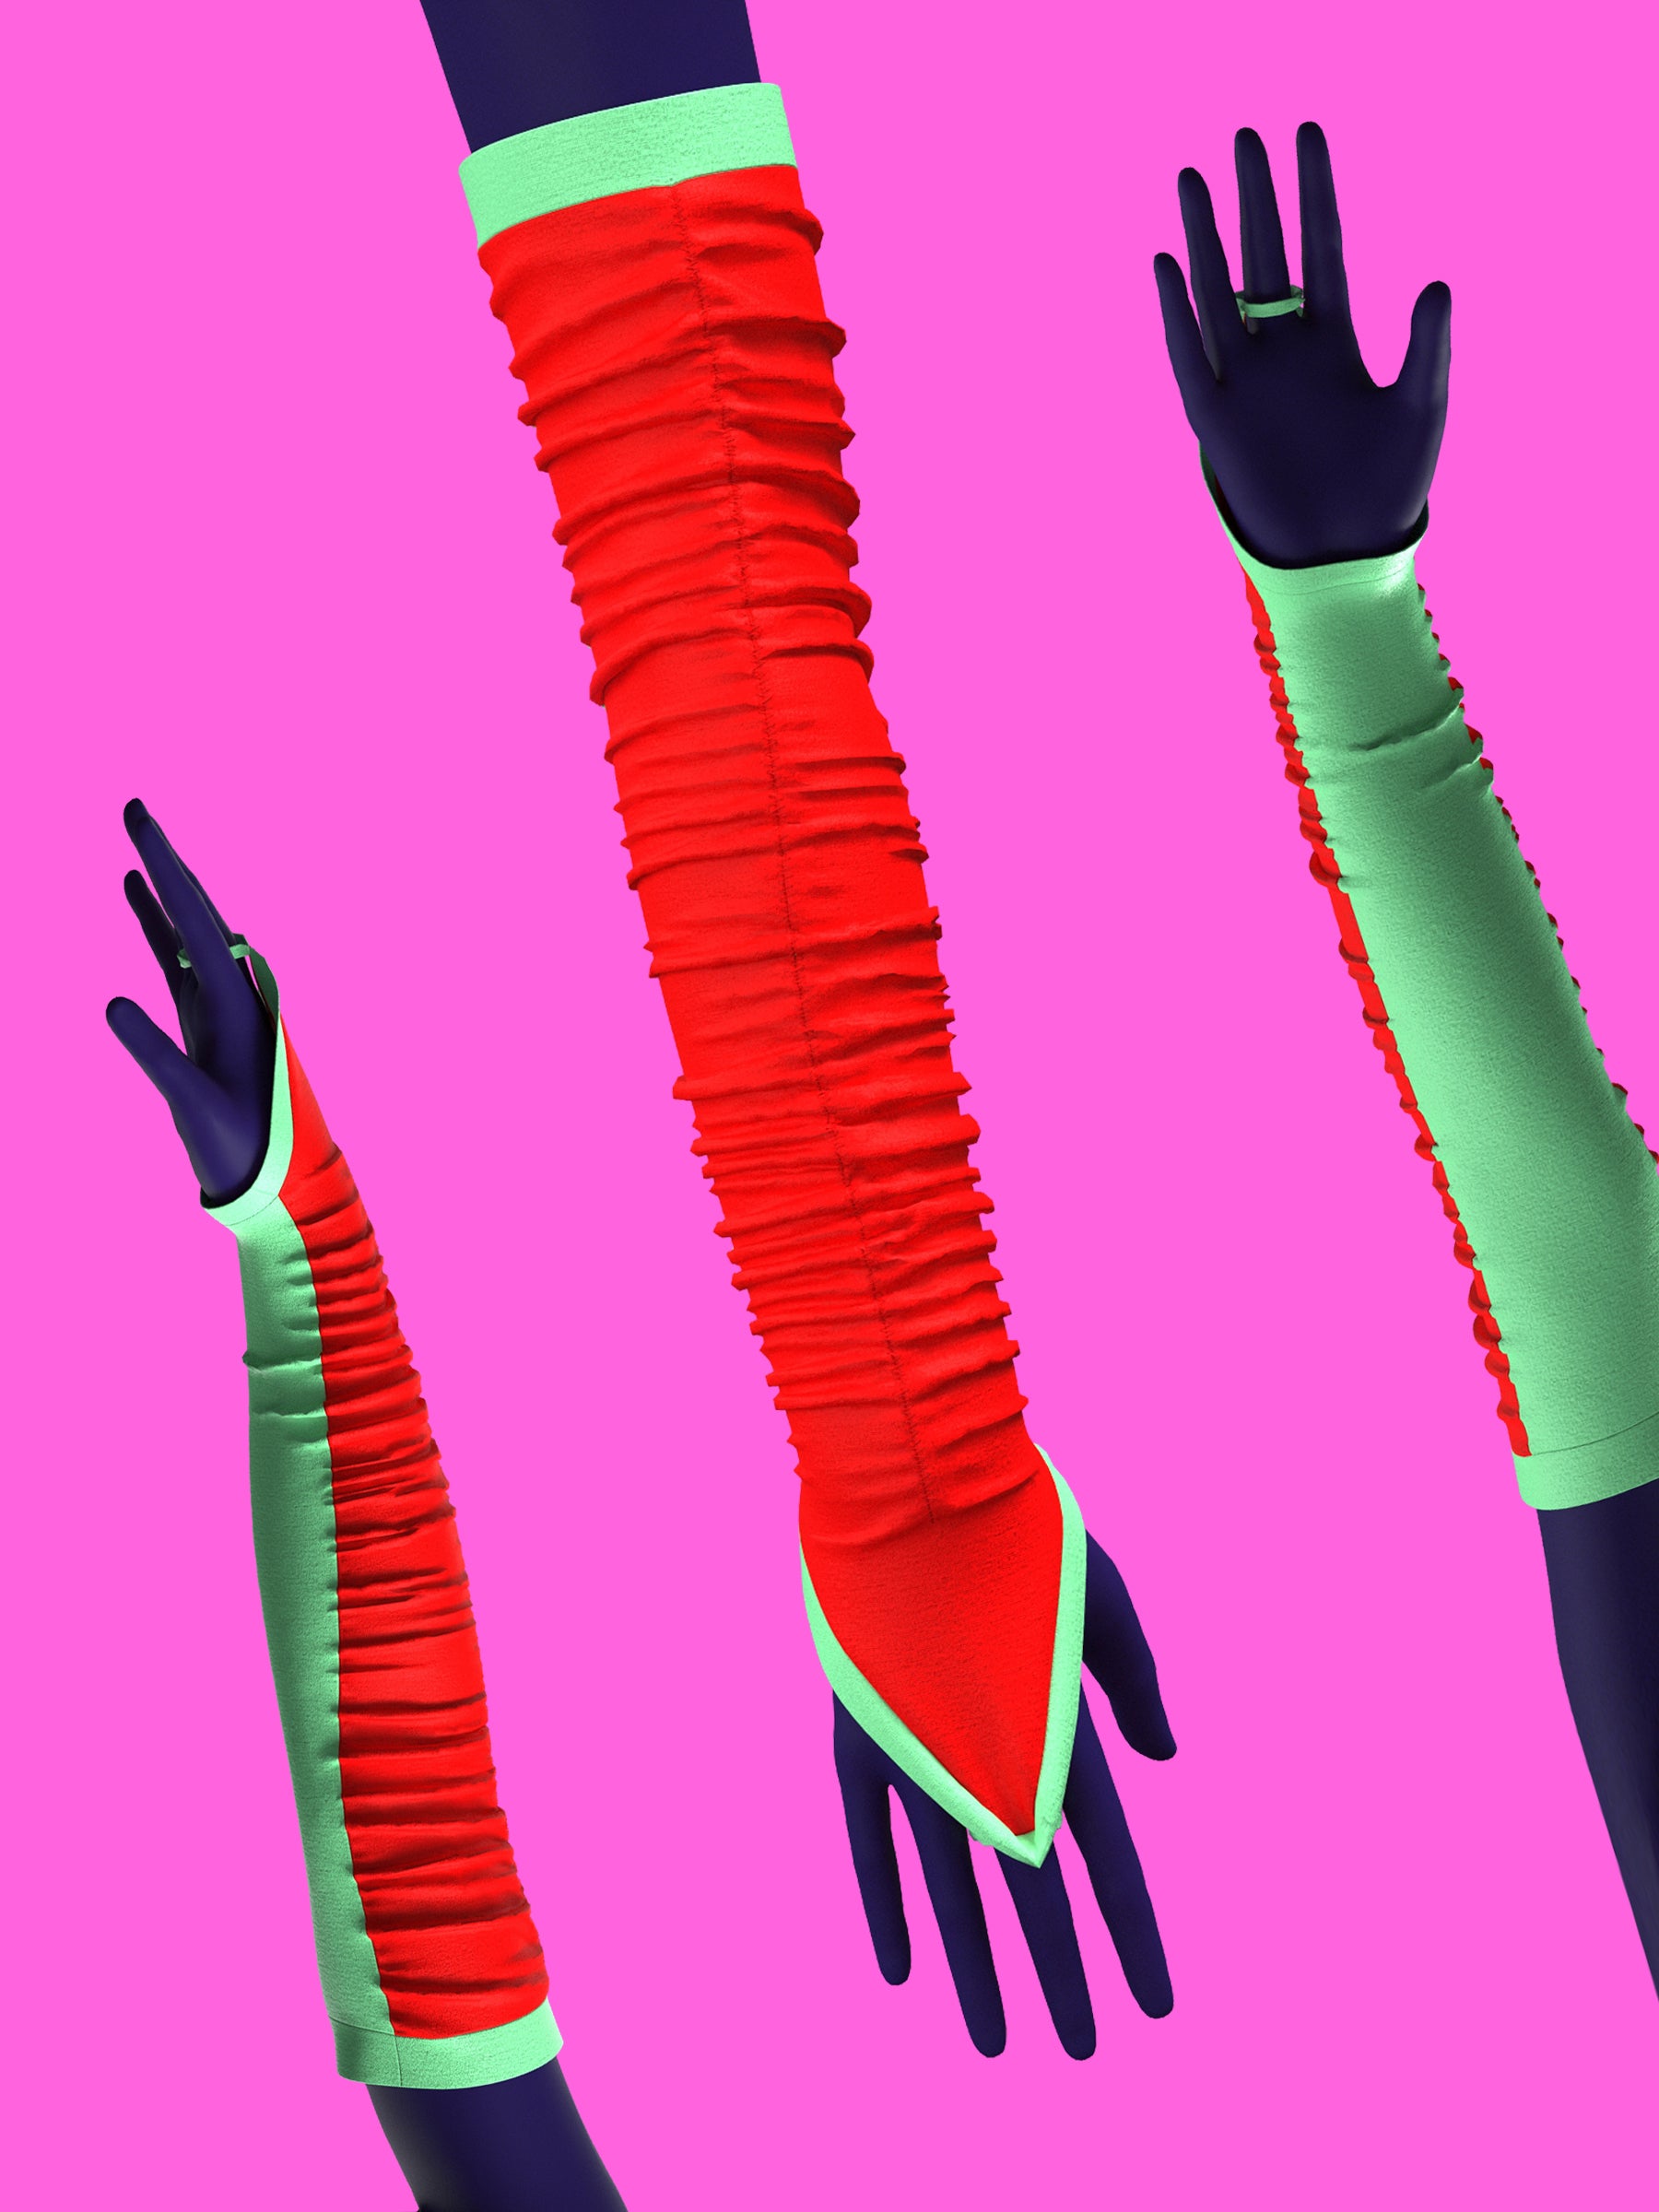
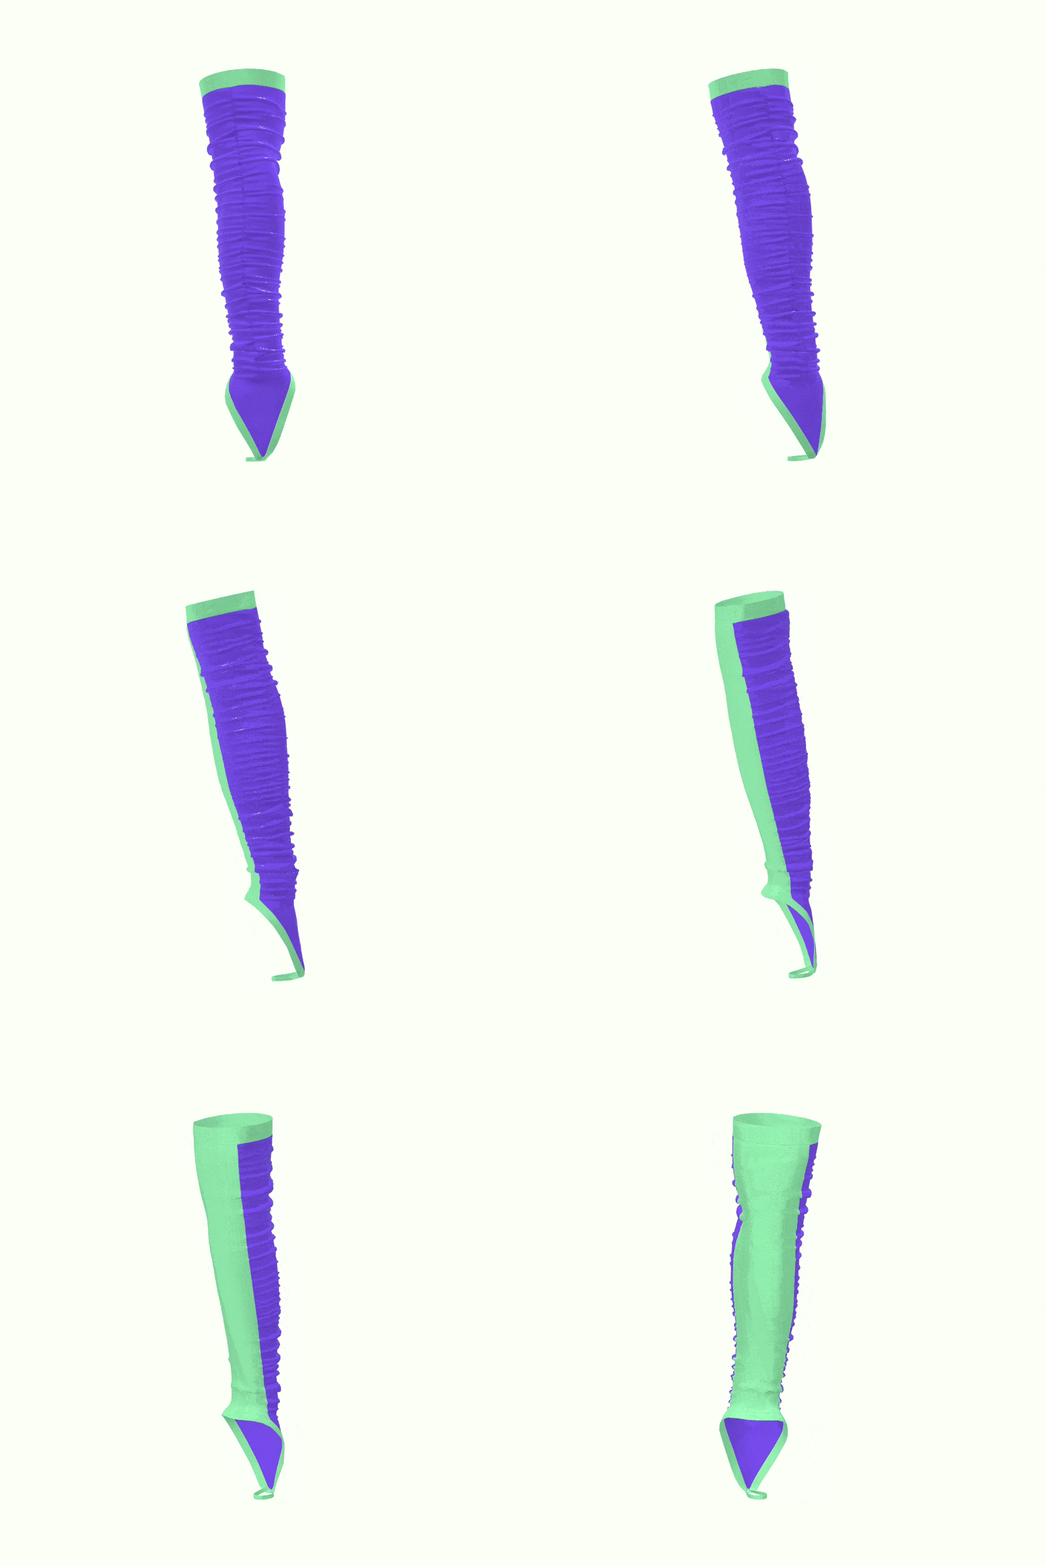
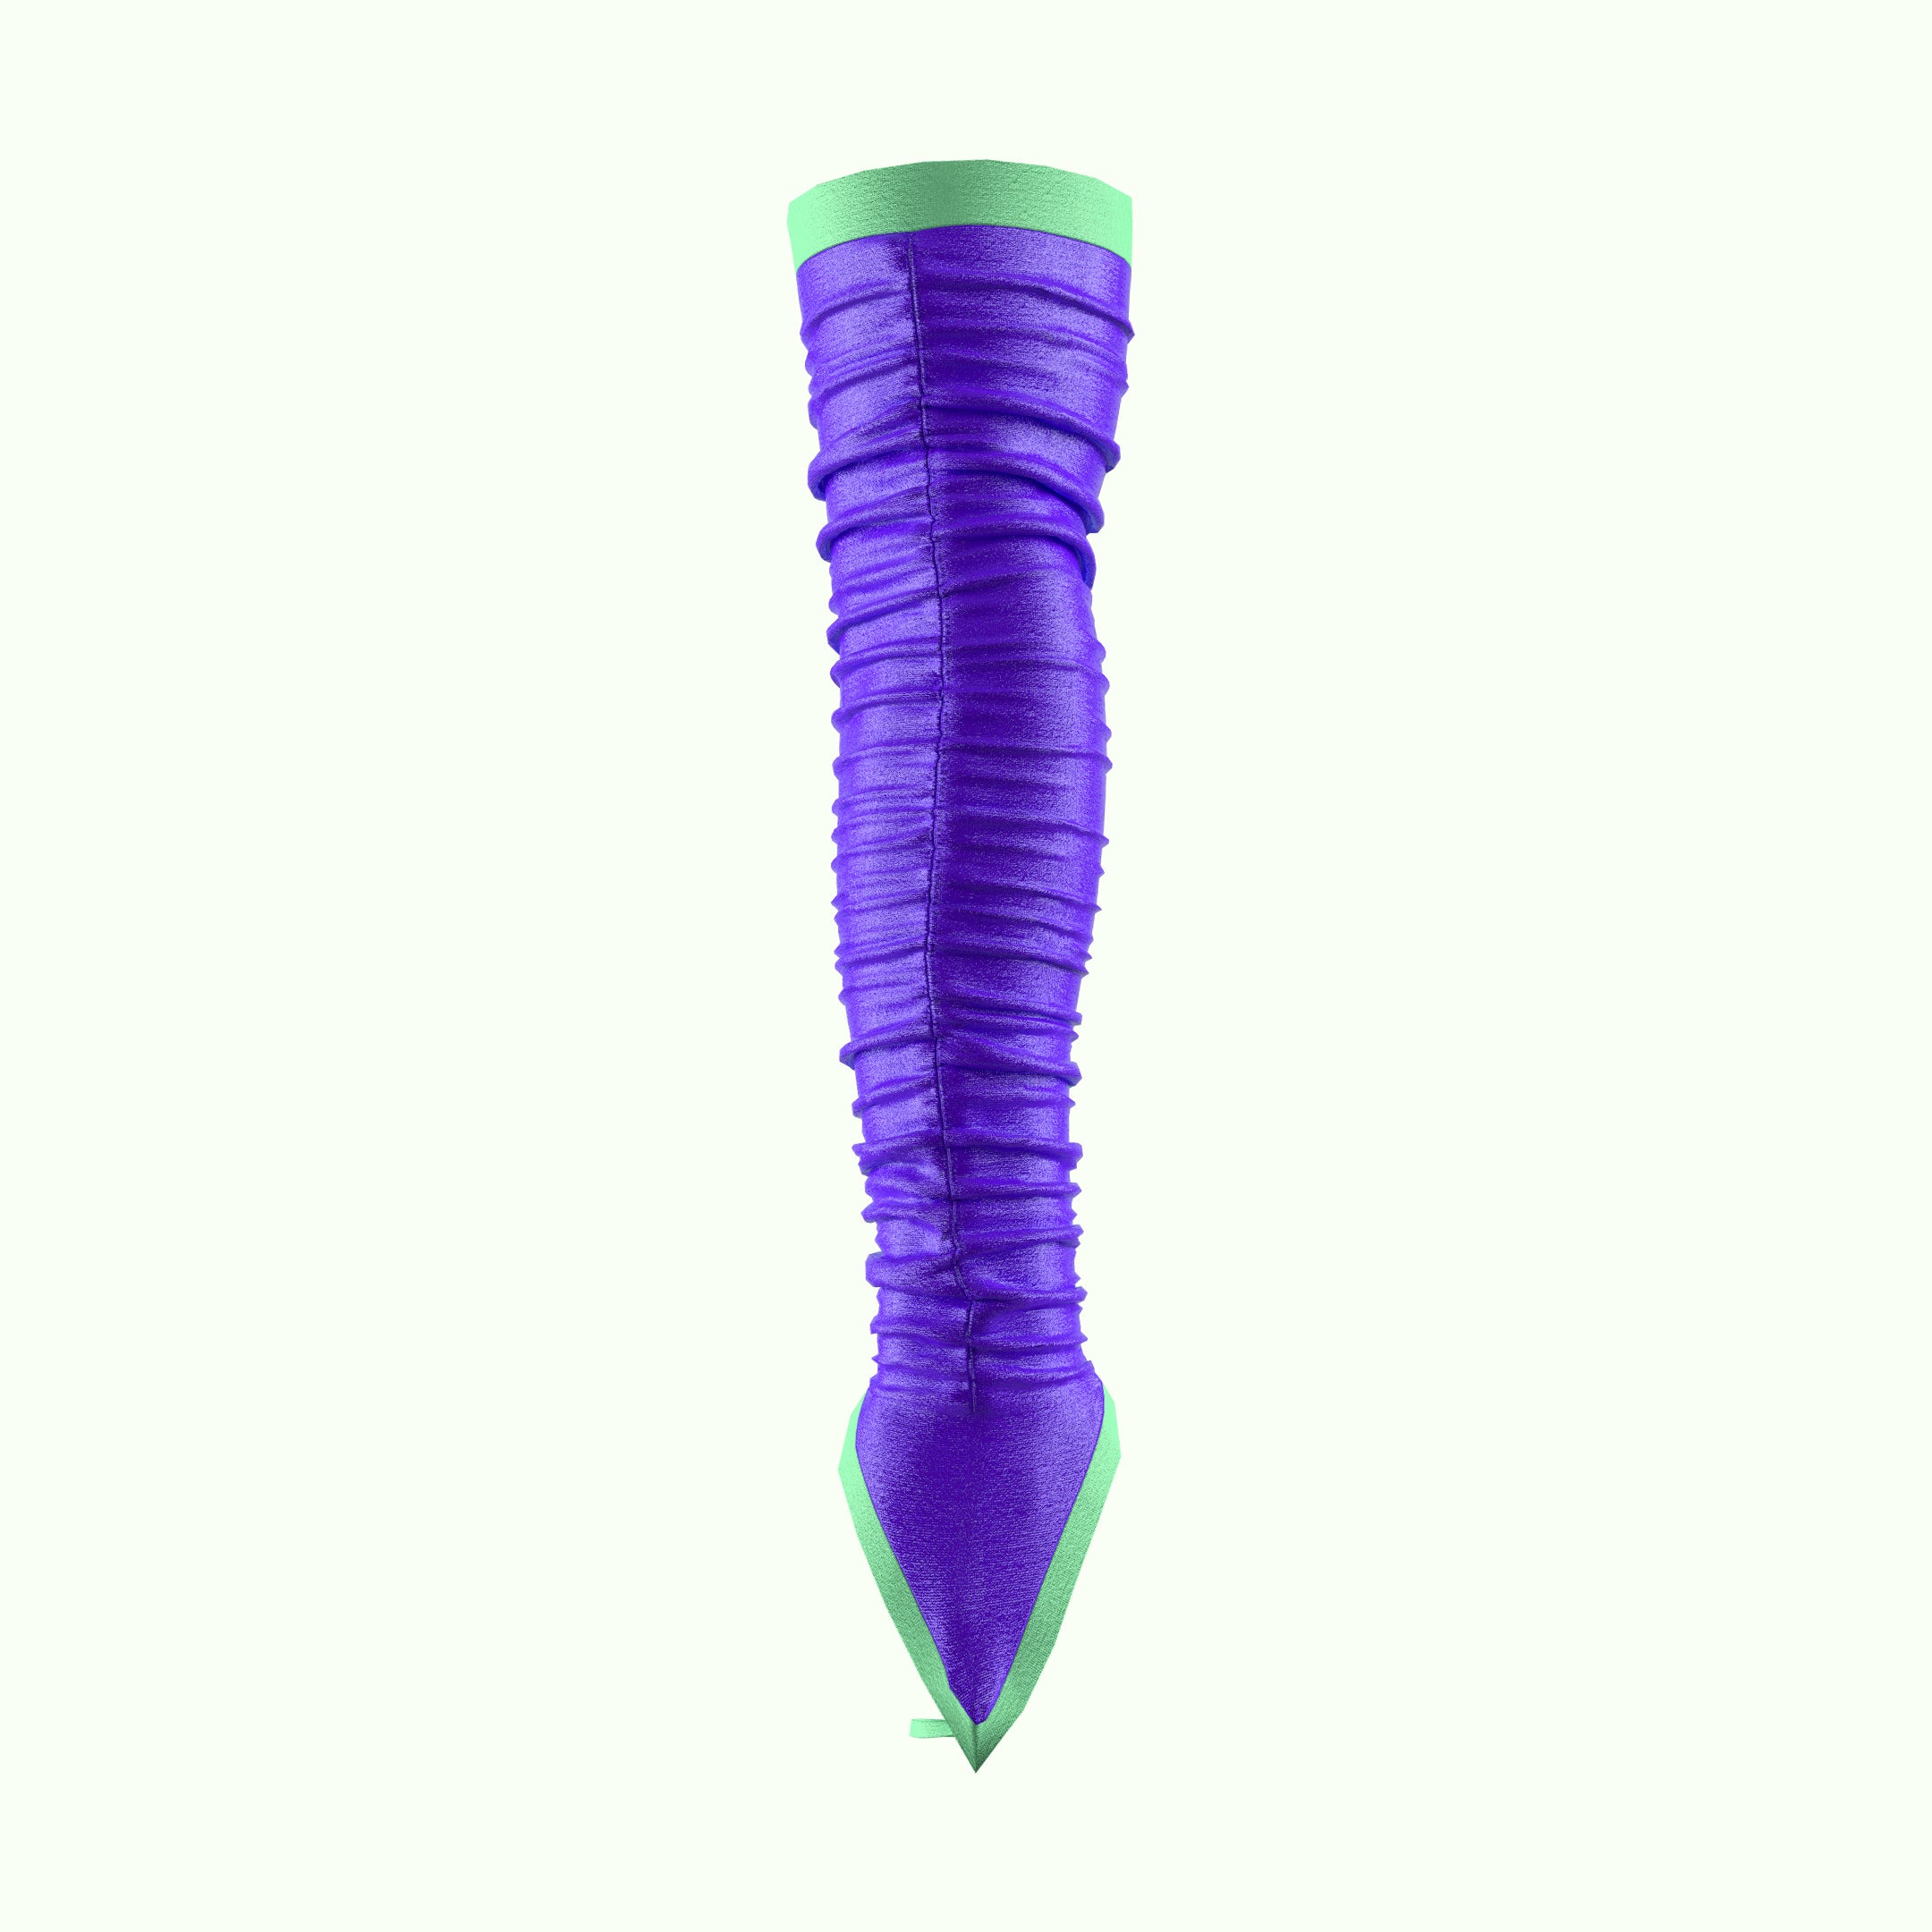
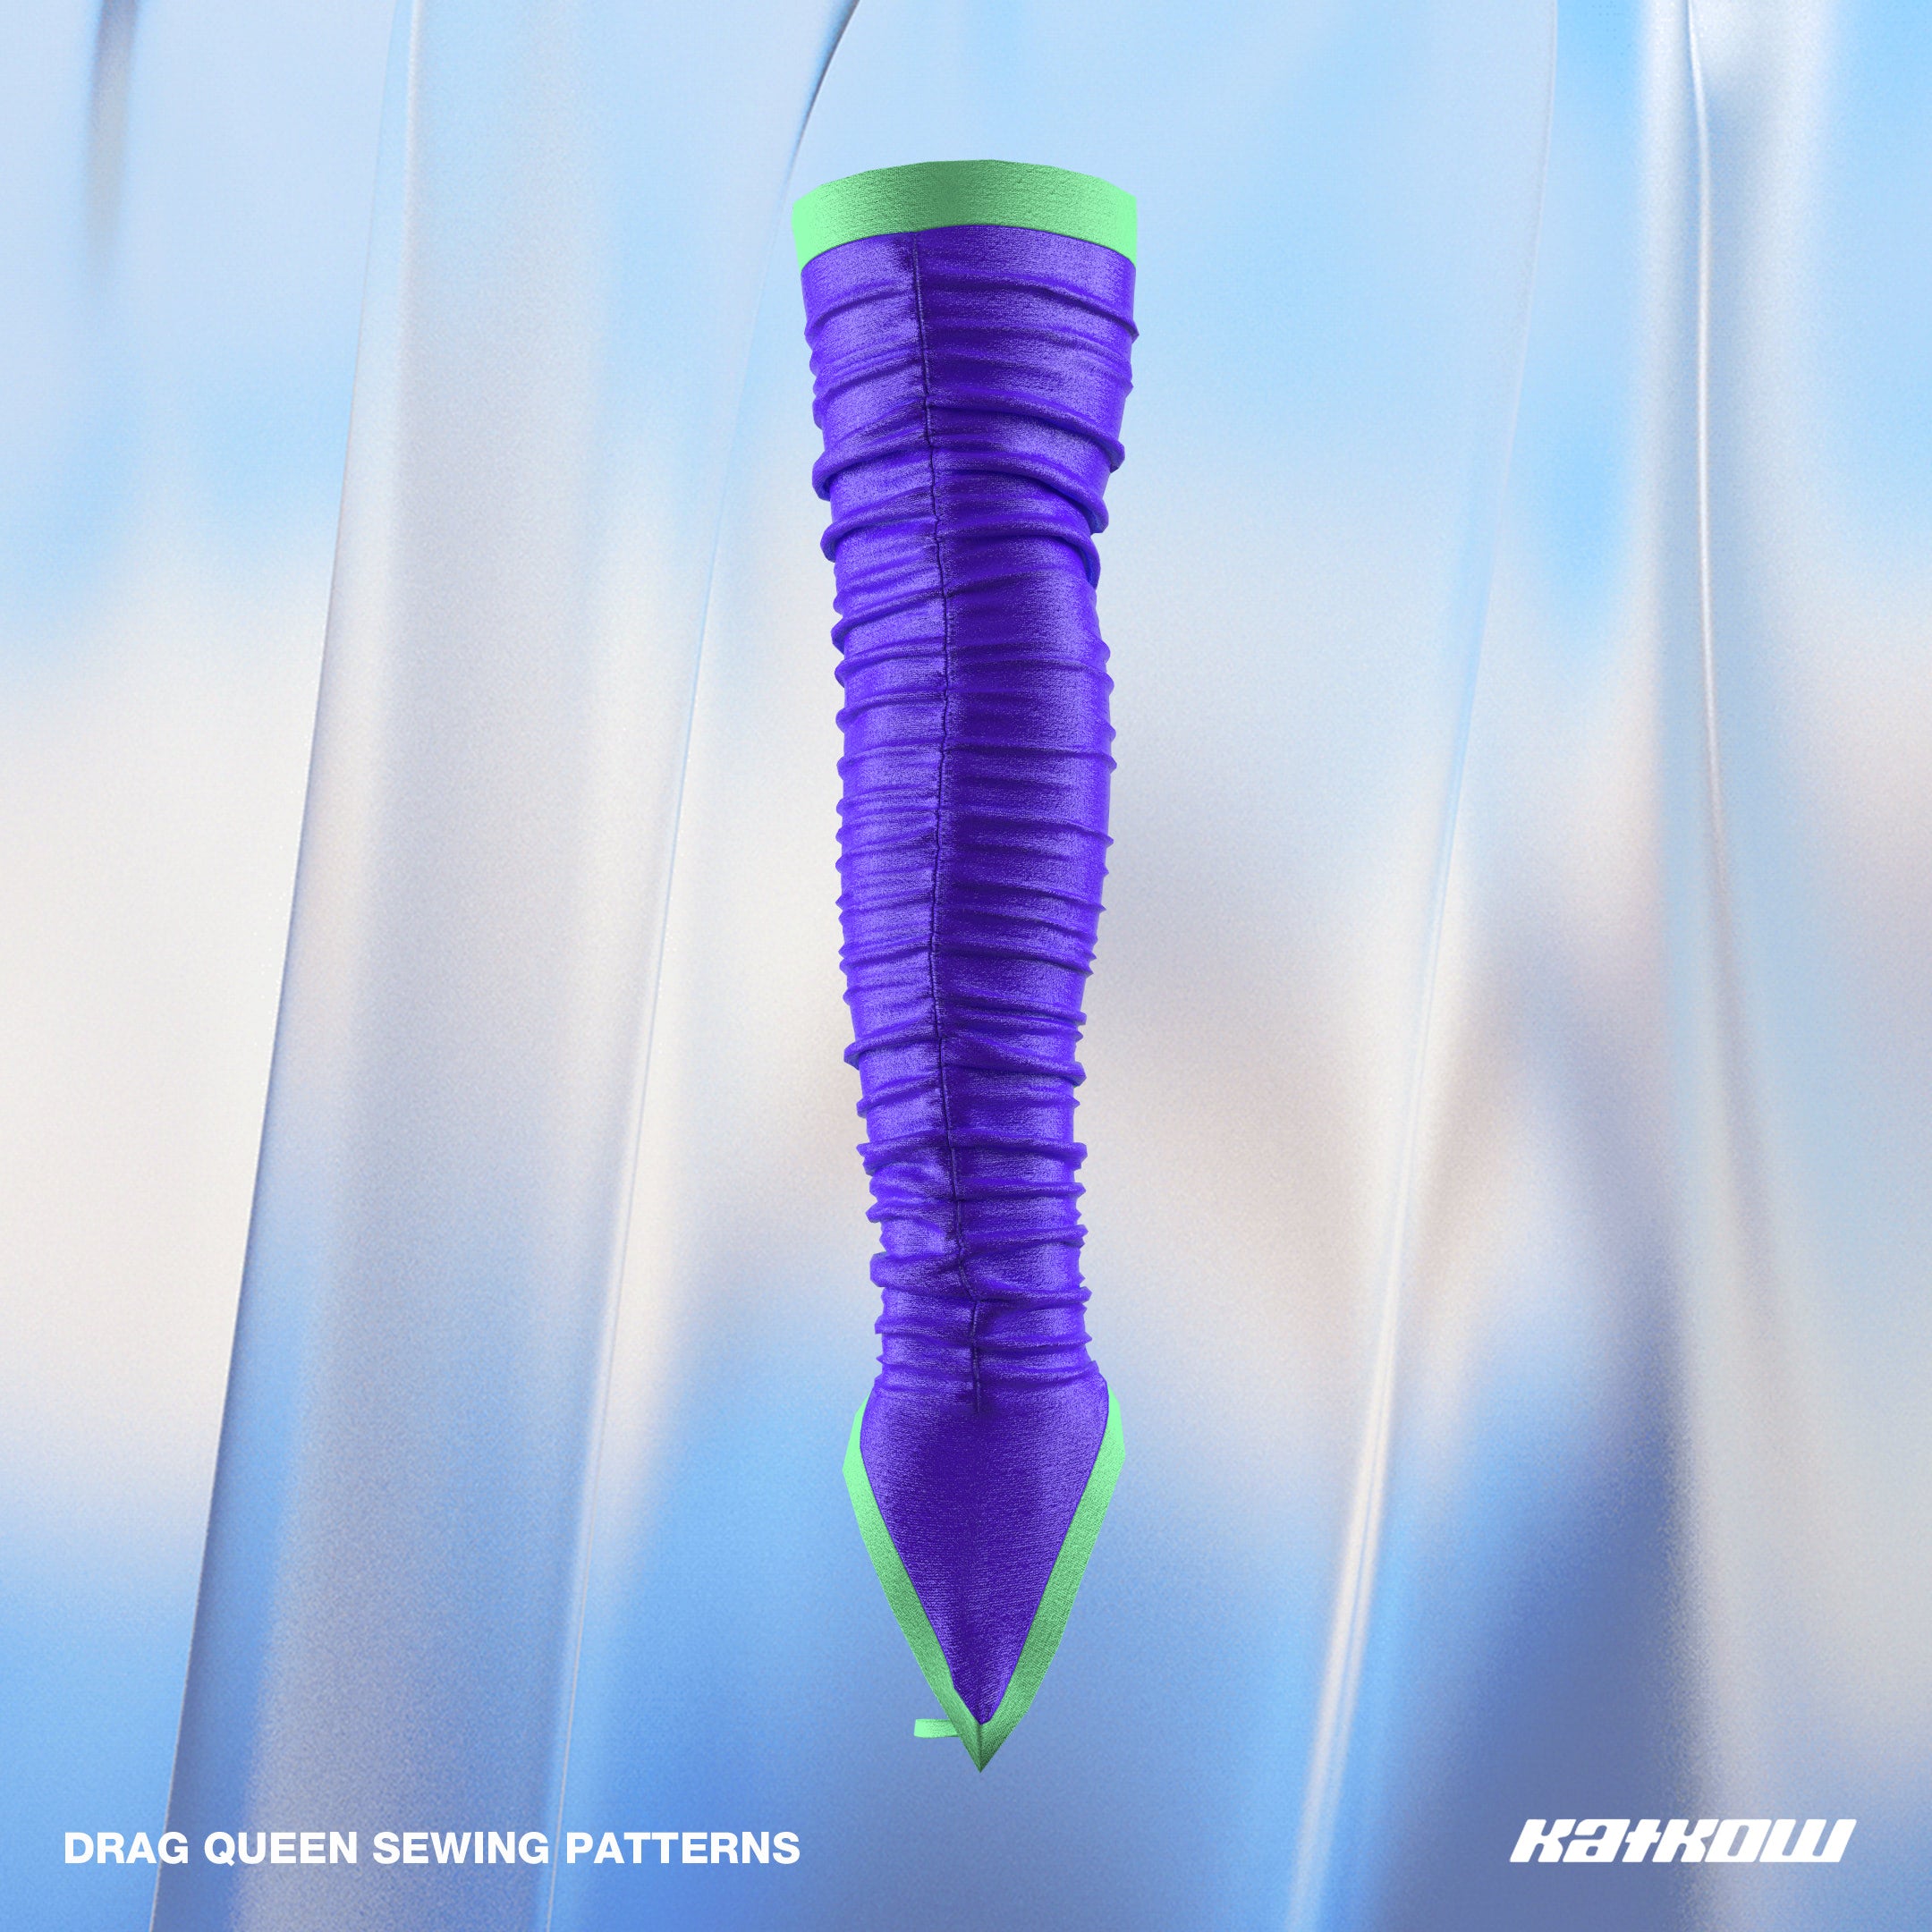
Aprenda a coser nuestros impresionantes guantes con lazo para los dedos y largo estilo ópera fruncido con nuestro patrón de costura, perfectos para agregar un toque sofisticado a su próxima actuación de drag queen, evento formal o look de cosplay.
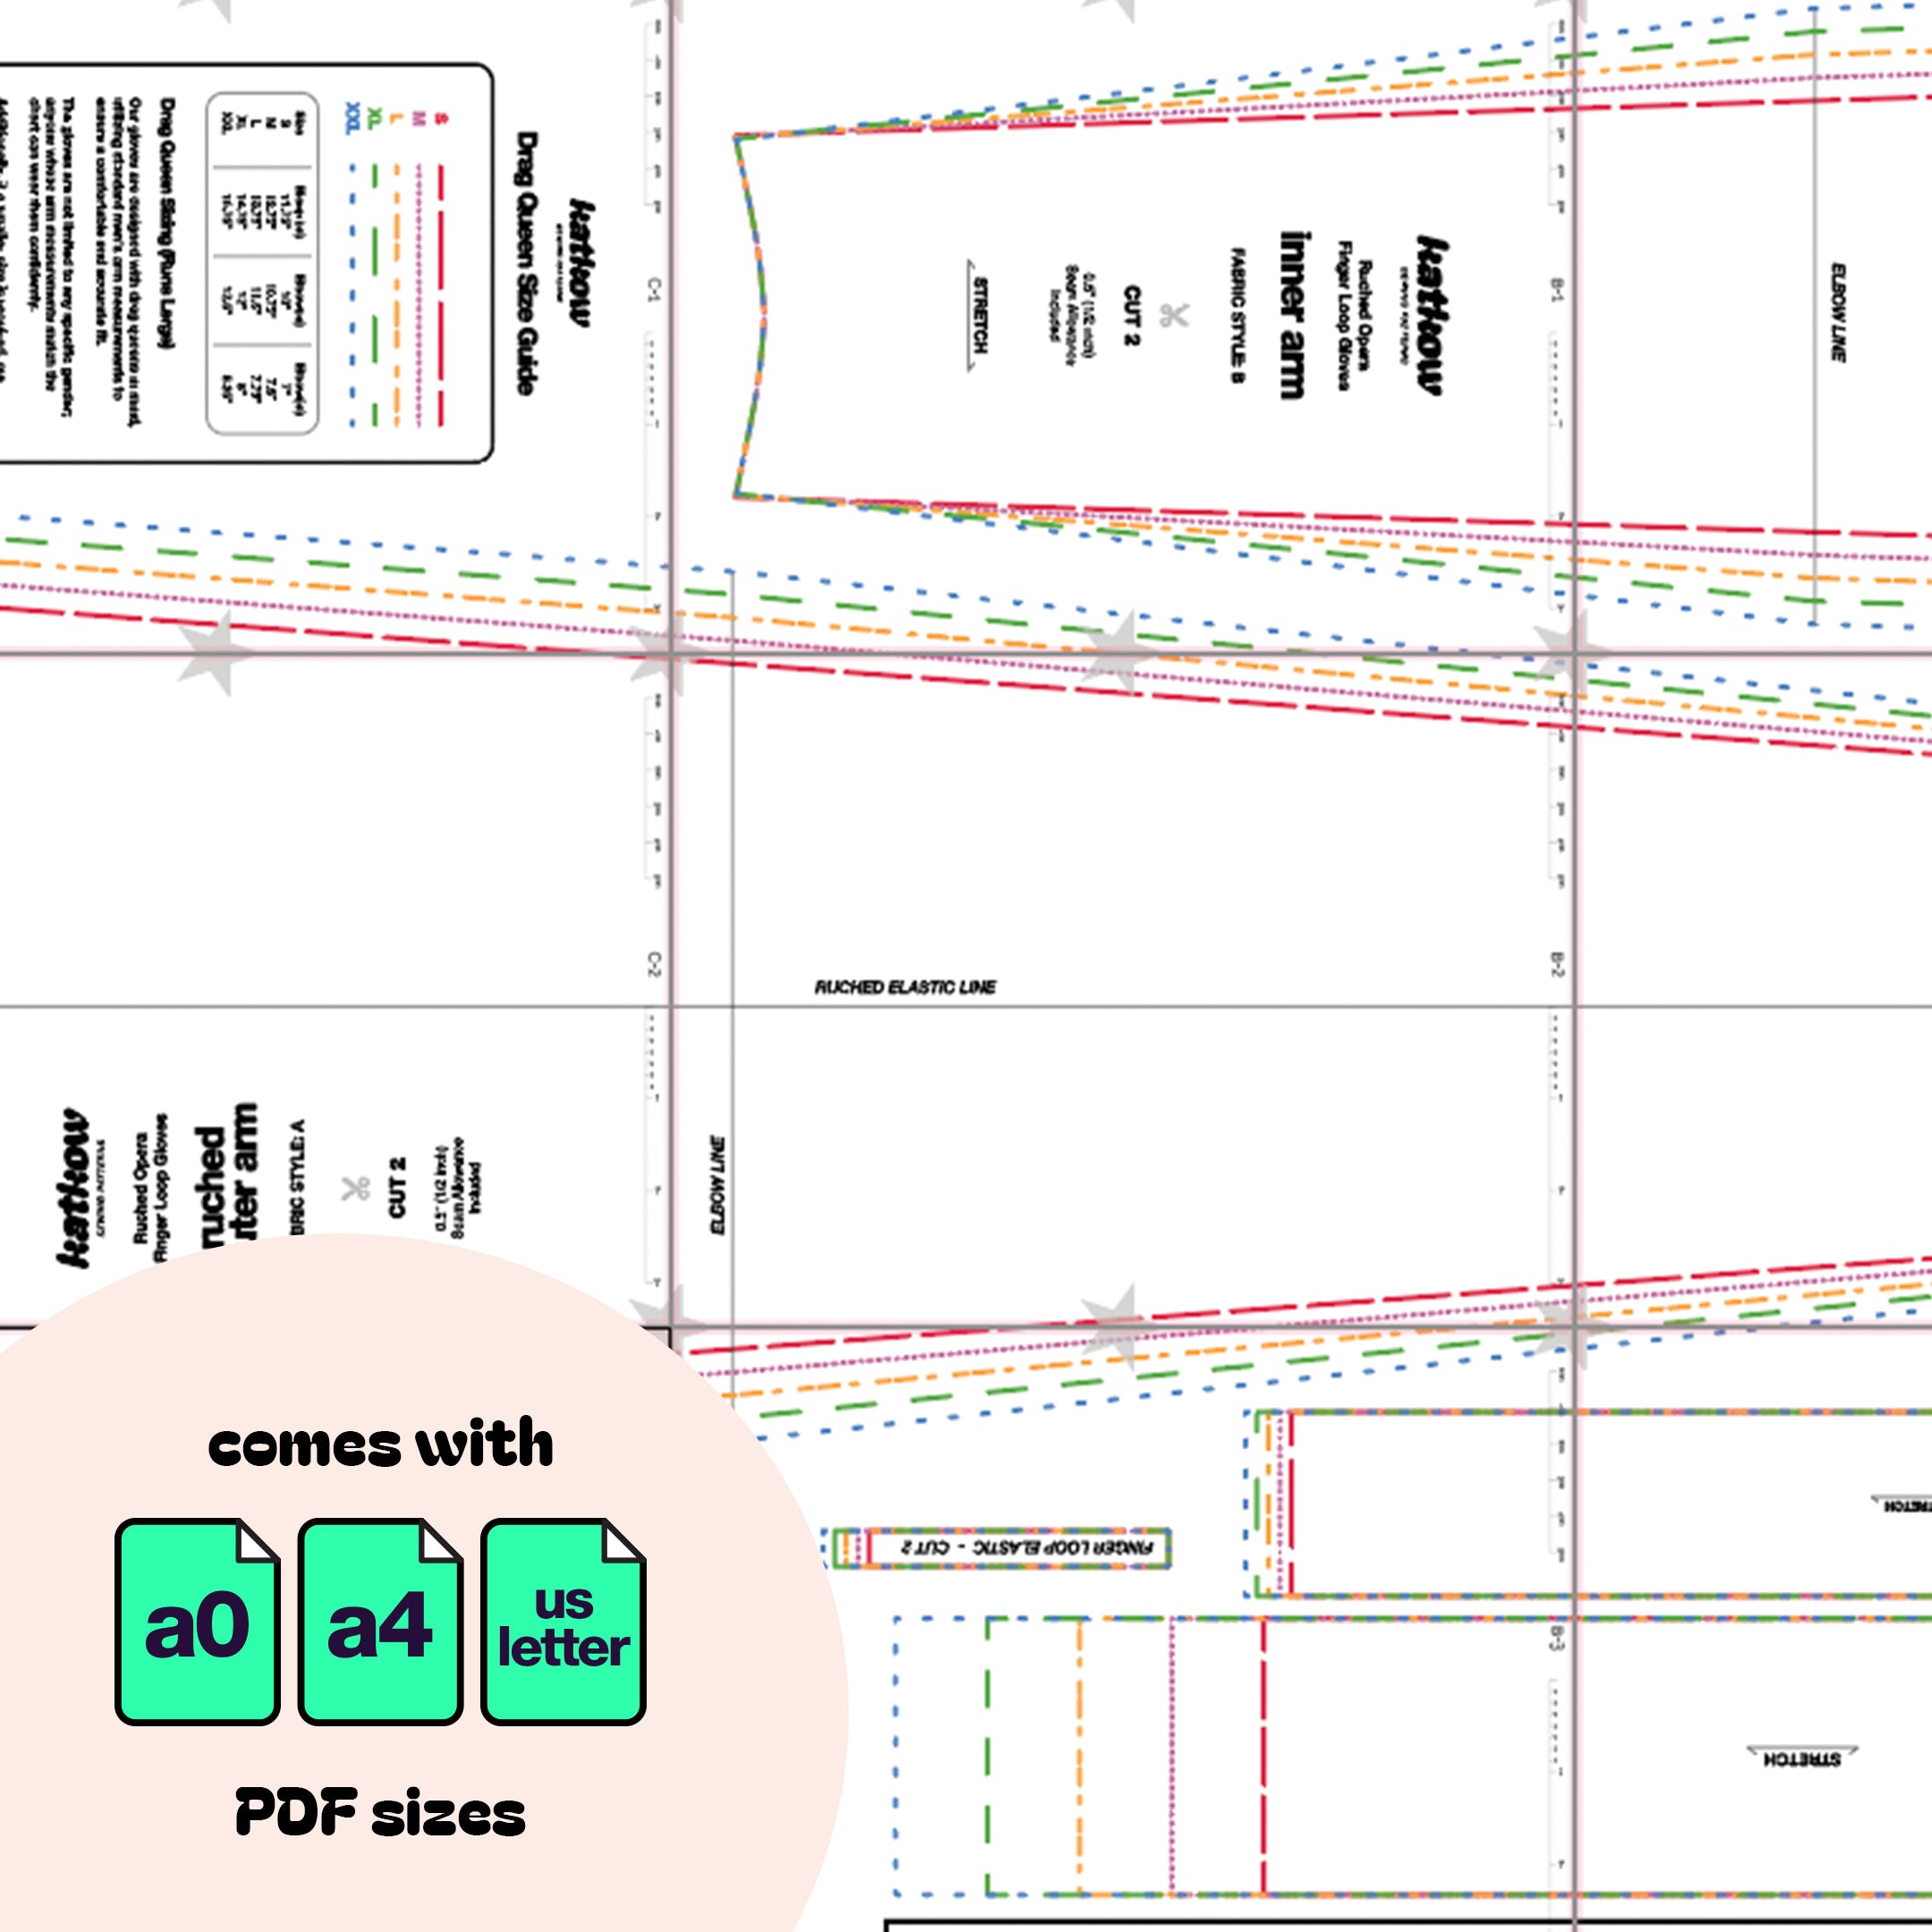
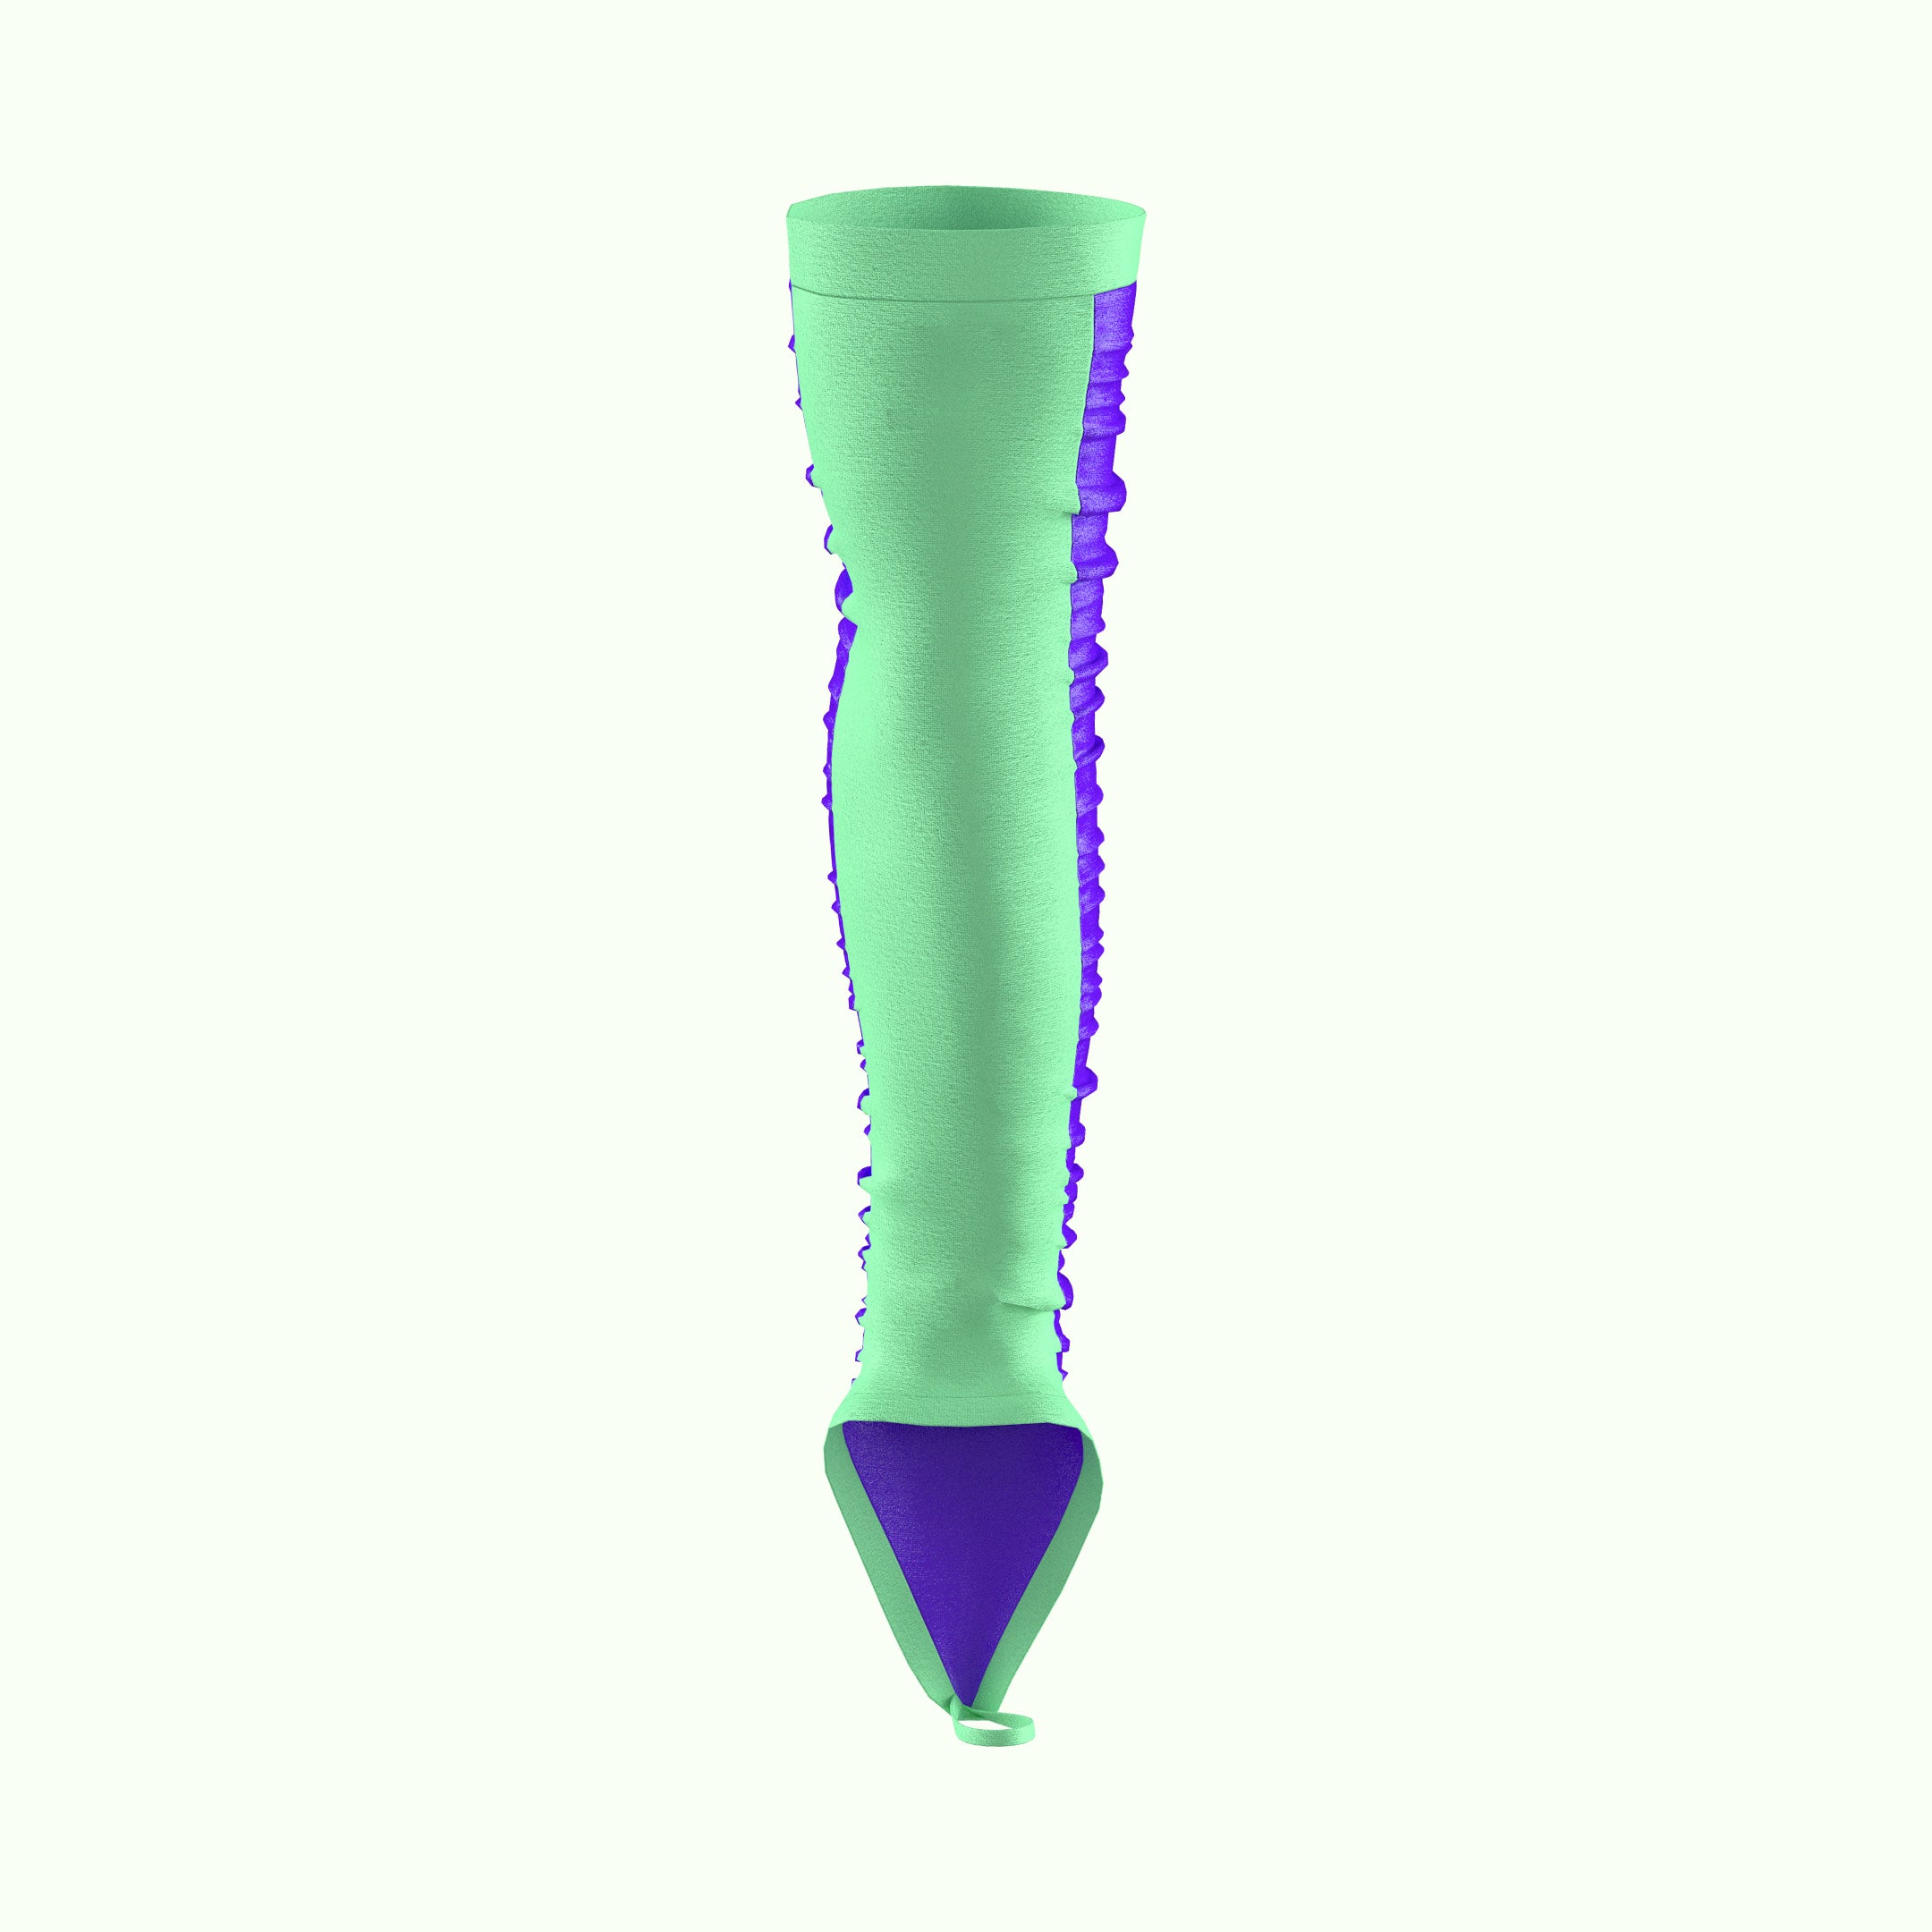
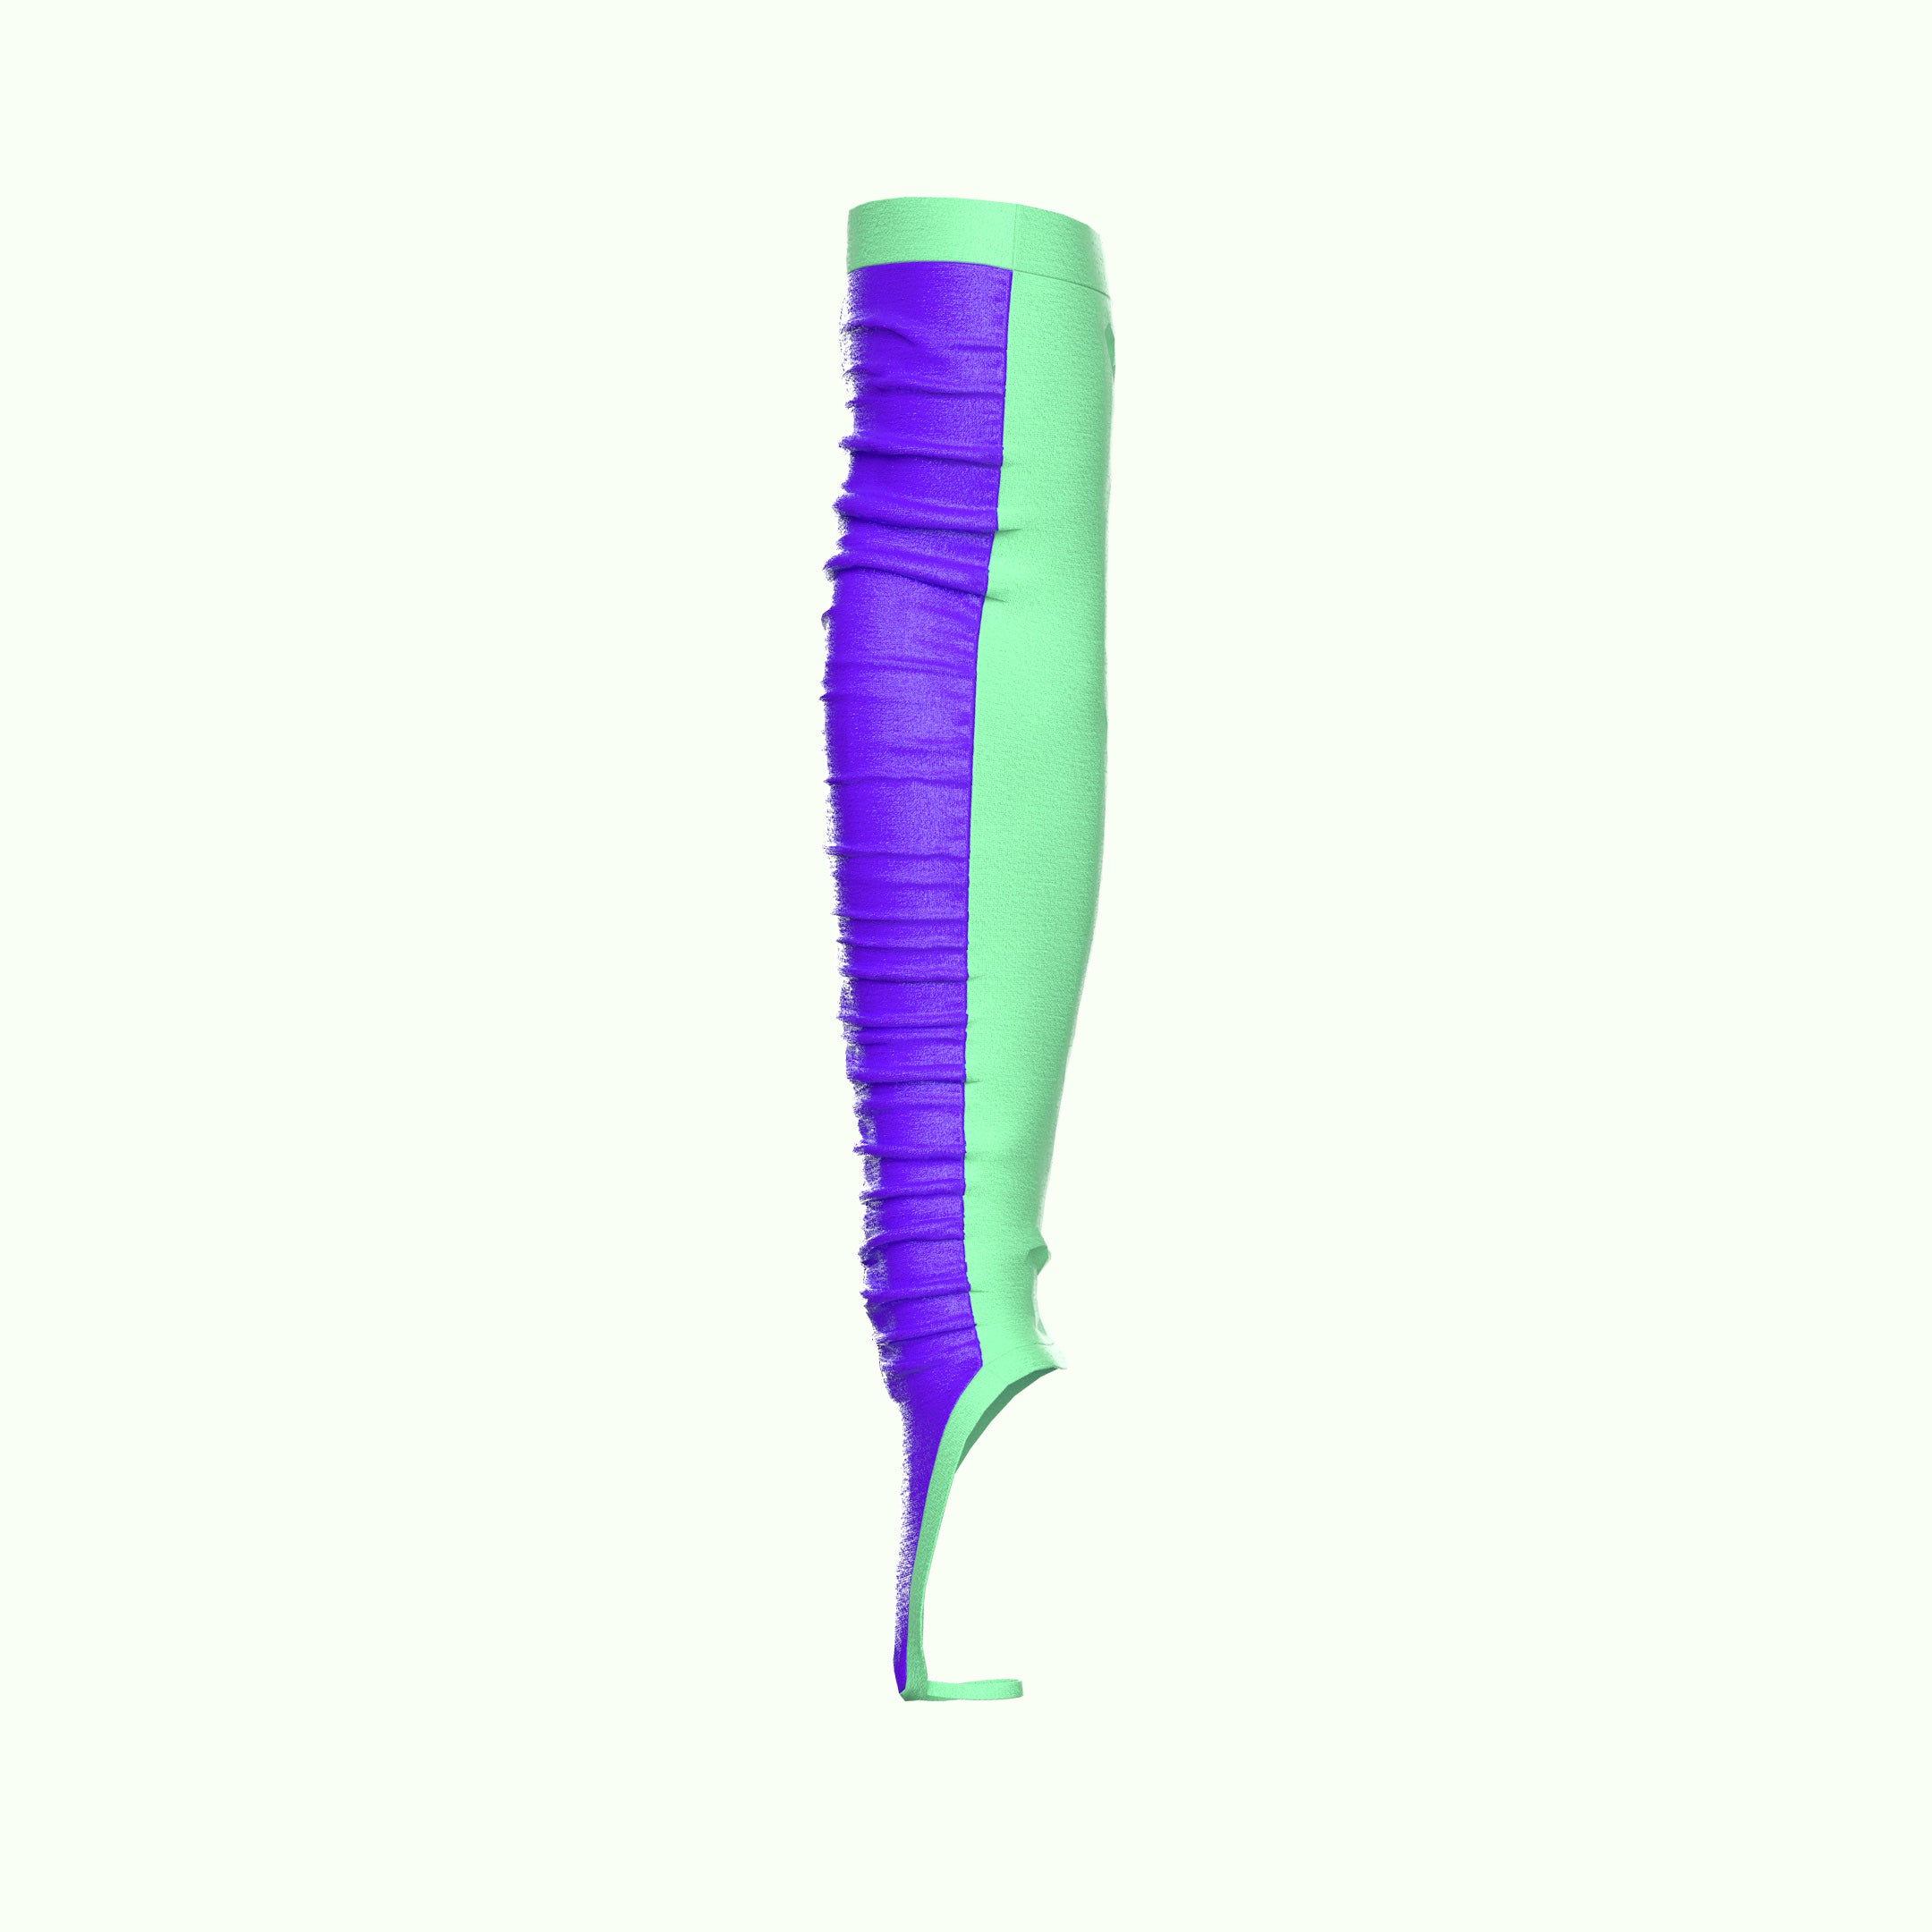
Este patrón presenta un panel exterior del brazo bellamente fruncido combinado con un panel interior elástico, liso y sin fruncir, que brinda estilo y comodidad. Ideales para telas elásticas, estos guantes ofrecen versatilidad y dramatismo, lo que los convierte en una adición perfecta a cualquier conjunto. Realce su atuendo de noche o disfraz de fantasía con estos exquisitos guantes de ópera y prepárese para cautivar con cada gesto.
Dificultad del patrón: Para principiantes
Detalles de tallas
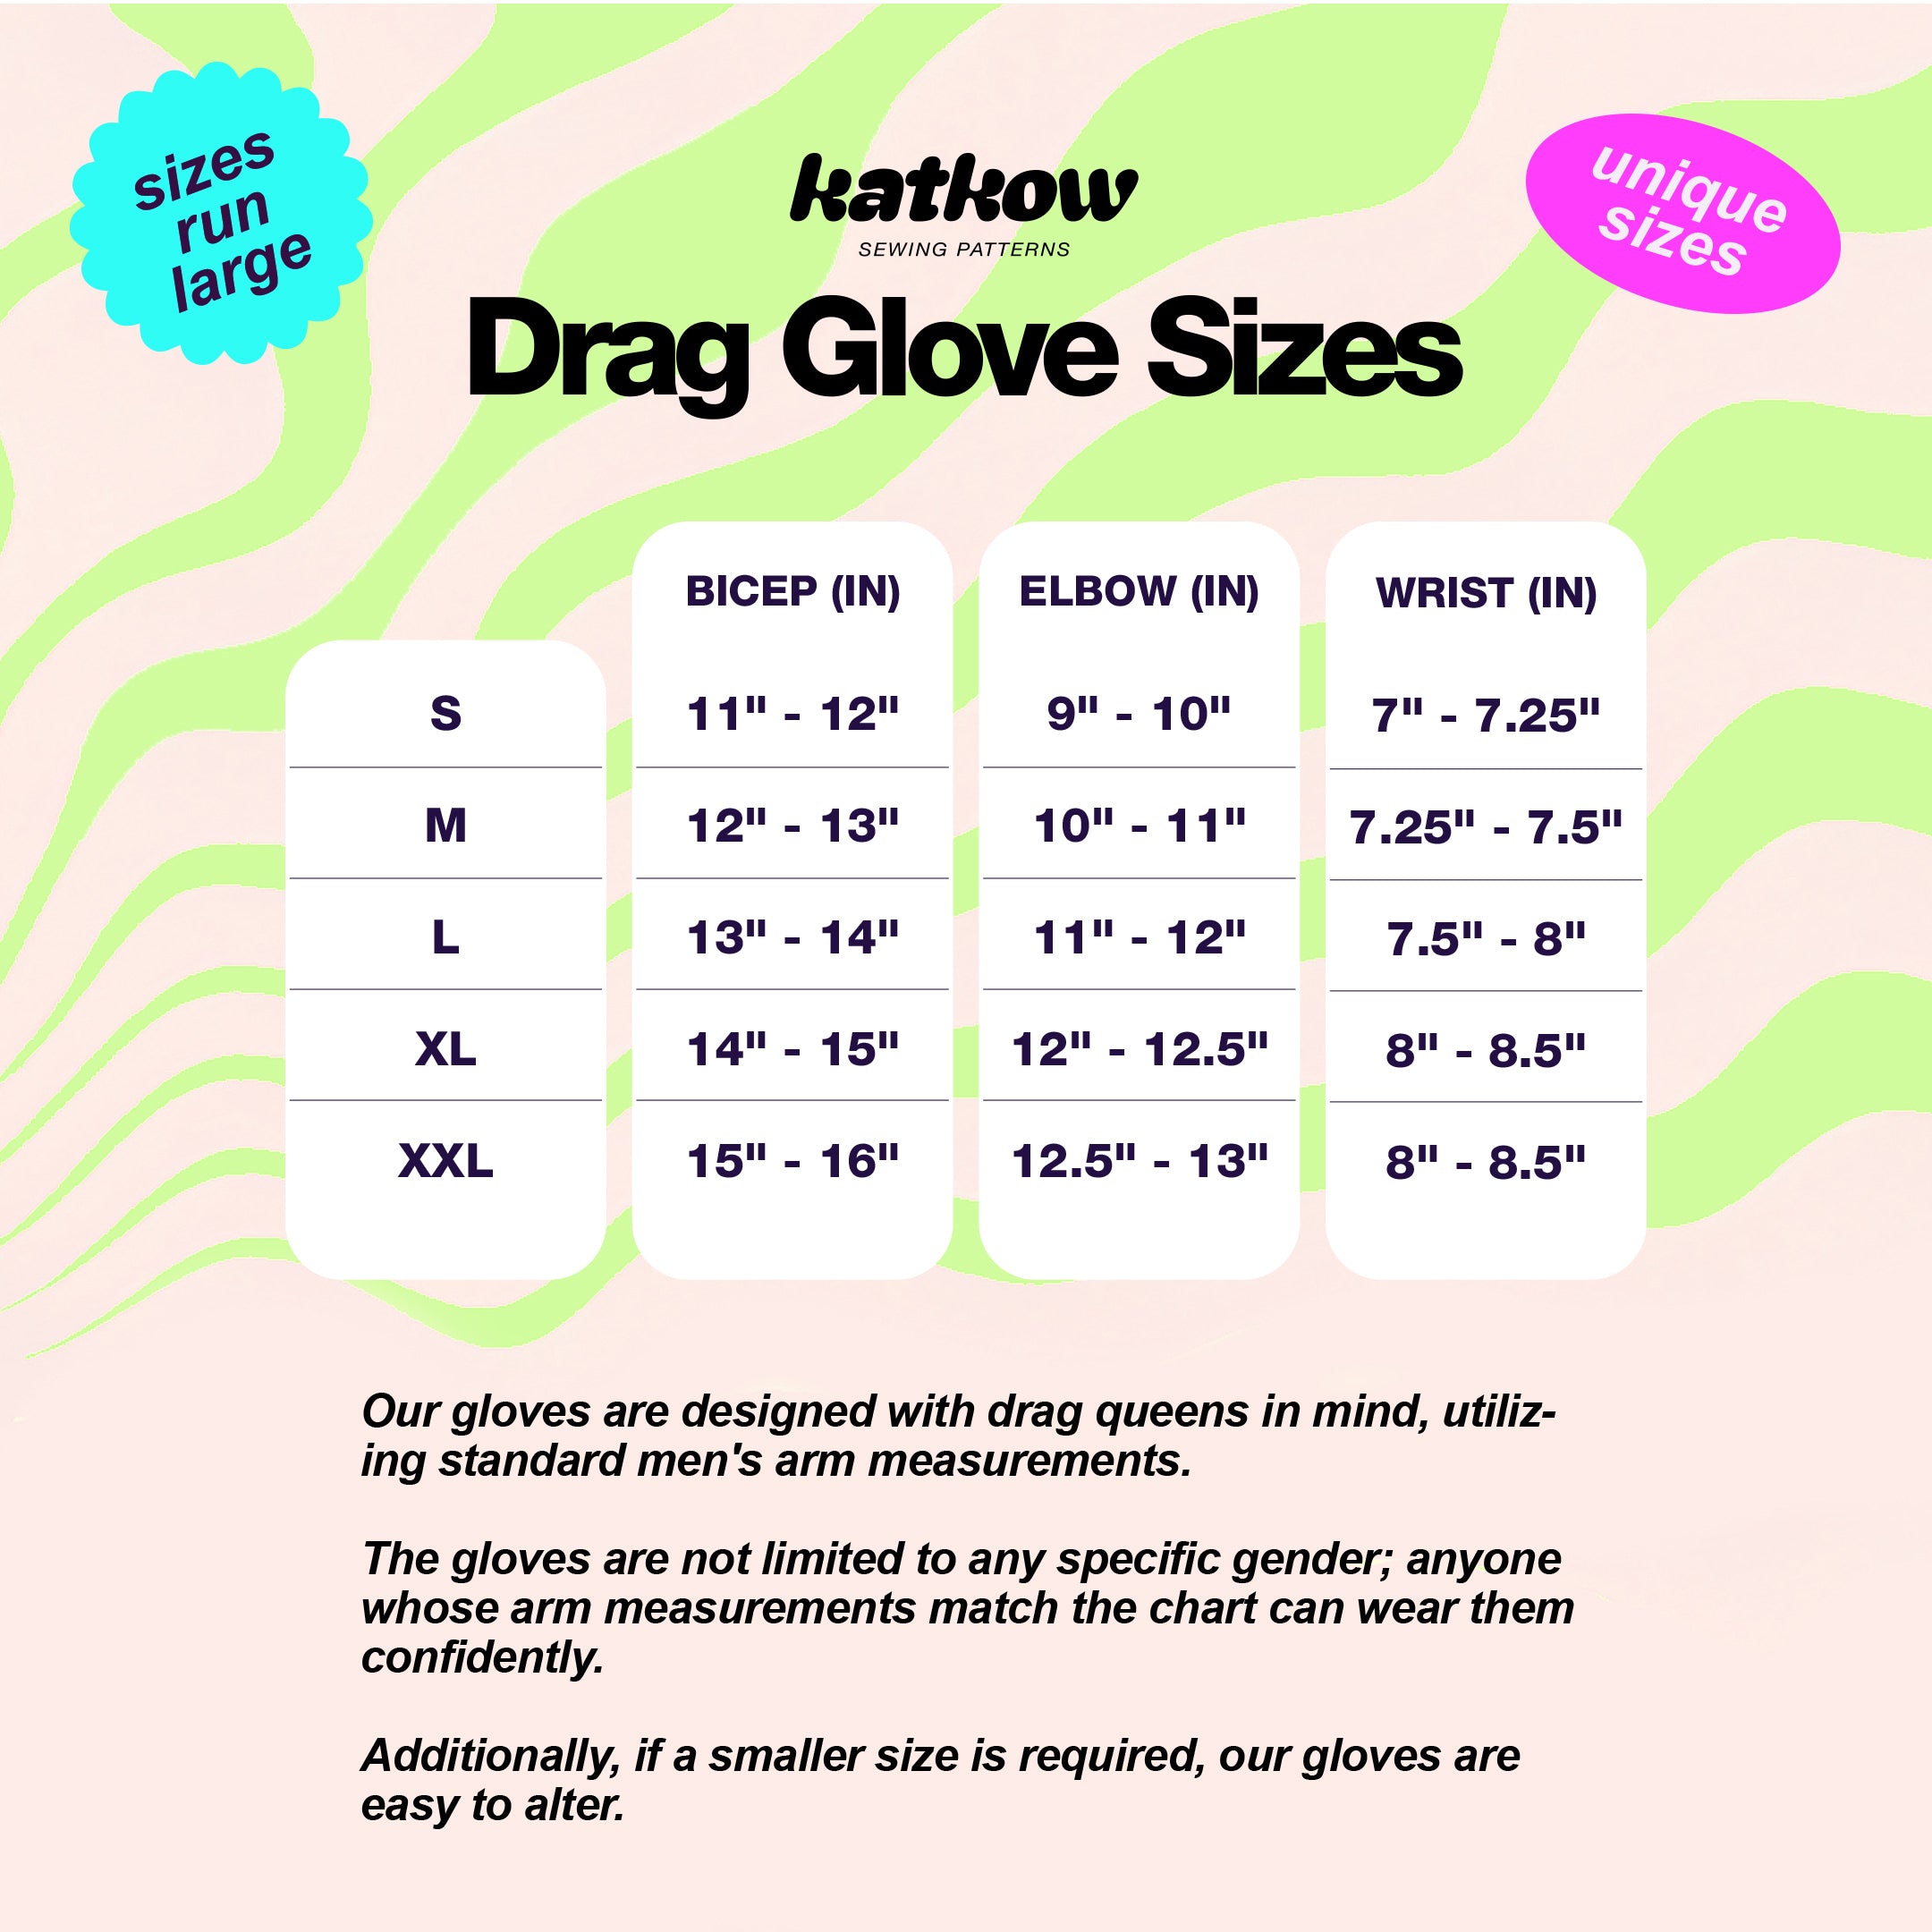
Nuestros guantes están diseñados pensando en las drag queens, utilizando medidas de brazos de hombre estándar para garantizar un ajuste cómodo y preciso.
Los guantes no están limitados a ningún género específico; cualquier persona cuyas medidas de brazo coincidan con la tabla puede usarlos con confianza.
| Tamaño de Katkow | Bíceps (pulgadas) | Codo (pulgadas) | Muñeca (pulgadas) |
|---|---|---|---|
| S | 11" - 12" | 9" - 10" | 7" - 7,25" |
| METRO | 12" - 13" | 10" - 11" | 7,25" - 7,5" |
| yo | 13" - 14" | 11" - 12" | 7,5" - 8" |
| SG | 14" - 15" | 12" - 12,5" | 8" - 8,5" |
| XXL | 15" - 16" | 12,5" - 13" | 8" - 8,5" |
Además, si se necesita una talla más pequeña, nuestros guantes son fáciles de modificar. Si elige la talla pequeña (S) y ajusta las costuras laterales, podrá lograr un ajuste más personalizado. Esta flexibilidad garantiza que nuestros guantes sean versátiles y accesibles para un público diverso.
Telas y artículos de mercería
Estos guantes son aptos para dos tipos de tejidos. Para el panel interior del brazo, utilice tejido elástico en dos o cuatro direcciones, mientras que para el panel fruncido con volantes, puede elegir tejido elástico o no elástico.
Tejidos elásticos
- Spandex
- Licra
- Jersey de punto
- Terciopelo elástico
- Malla de potencia
- Satén elástico
Tejidos no elásticos
- Satín
- Tafetán
- Brocado
- Organdí
- Dupioni de seda
- Gasa
- Elástico de 0,25" para presillas para los dedos
- Elástico de 0,5" para panel fruncido
Yardas de tela
The yardage below is based on fabric widths of 44 inches. For the inner arm panel, use 2-way or 4-way stretch fabric, while for the ruched ruffled panel, you can choose either stretch or non-stretch fabric.

| Size | Fabric A (Non-stretch) | Fabric A (Stretch) | Fabric B (Stretch) |
|---|---|---|---|
| XS | 0.5 y | 1 y | 0.75 y |
| S | 0.5 y | 1 y | 0.75 y |
| M | 0.5 y | 1 y | 0.75 y |
| L | 0.5 y | 1 y | 0.75 y |
| XL | 0.5 y | 1 y | 0.75 y |
| 2X | 0.5 y | 1 y | 0.75 y |
| 3X | 0.5 y | 1 y | 0.75 y |
| 4X | 0.5 y | 1 y | 0.75 y |
For information on converting inches to meters, please check out our conversion guide.
Instrucciones de costura


Fabric Pieces
After cutting your fabric, you should have the following pieces for both your shell and lining fabrics:
- Two “Ruched Outer Arm” pieces
- Two “Inner Arm” pieces
- Two “Bicep Trim” pieces
- Two “Wrist Trim” pieces
- Two “Ruched Elastic” pieces
- Two “Finger Loop Elastic” pieces

STEP 1
Gather the “Ruched Outer Arm” pieces. Hand stitch a large straight stitch along the side edges about 0.25” away from the fabric edge. Repeat for both arm pieces.

STEP 2
On the wrong side of the “Ruched Outer Arm” piece, stretch and pin the elastic evenly along the center fold.

STEP 3
Sew over the elastic with a large zig-zag stitch, ensuring you stretch the elastic as you sew. This will create ruching along the center line.

STEP 4
Pull both ends of the base stitches to create ruching on the sides of the “Ruched Outer Arm” piece. The sides should be gathered down to match the length of the “Inner Arm” sides.

STEP 5
Stack the “Inner Arm” piece over the “Ruched Outer Arm” piece, with the right sides of the fabrics facing each other. Sew the side seams using a stretch stitch, zig-zag stitch, or serger. Then remove the base stitches.

STEP 6
Repeat for the other arm.

STEP 7
Prepare the trim pieces. Fold the trim fabric horizontally in half, right sides facing each other, and sew the ends together. Then roll the right side of the fabric over, creating a folded trim loop.

STEP 8
Position the bicep trim upside down over and around the top edge of the glove, right sides facing each other. Match the seams to a side seam of the glove. Sew the trim with a stretch stitch, zig-zag stitch, or serger. Flip the trim over, moving the seam to the inside of the glove.

STEP 9
Repeat the trim steps for the wrist trim. When you reach the point of the “Ruched Outer Hand” piece, loop the elastic over and sew it down as you sew on the wrist trim. Sew the trim with a stretch stitch, zig-zag stitch, or serger.
Then flip the wrist trim over.
