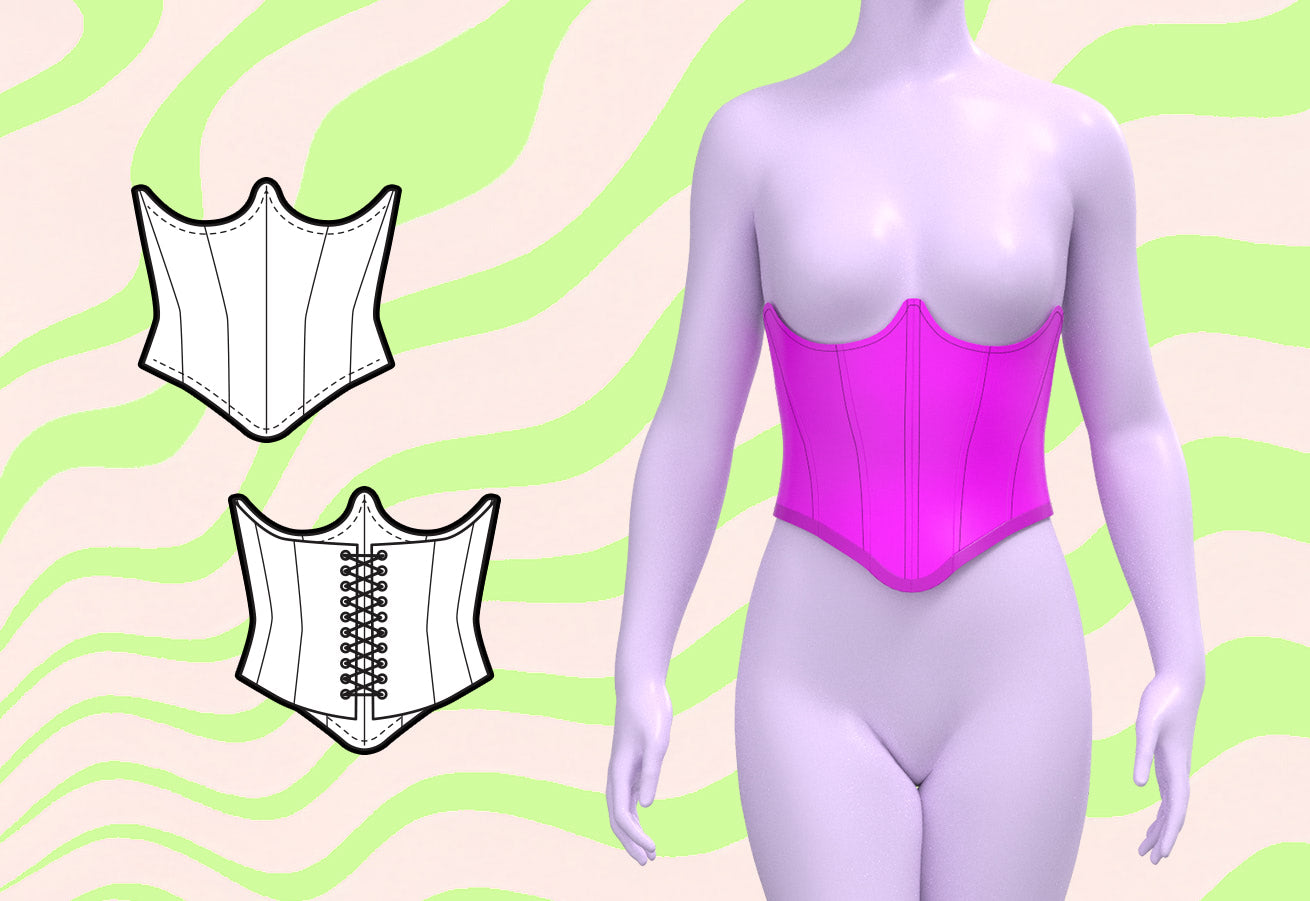
Cómo coser un corsé debajo del busto
Saltar a instrucciones
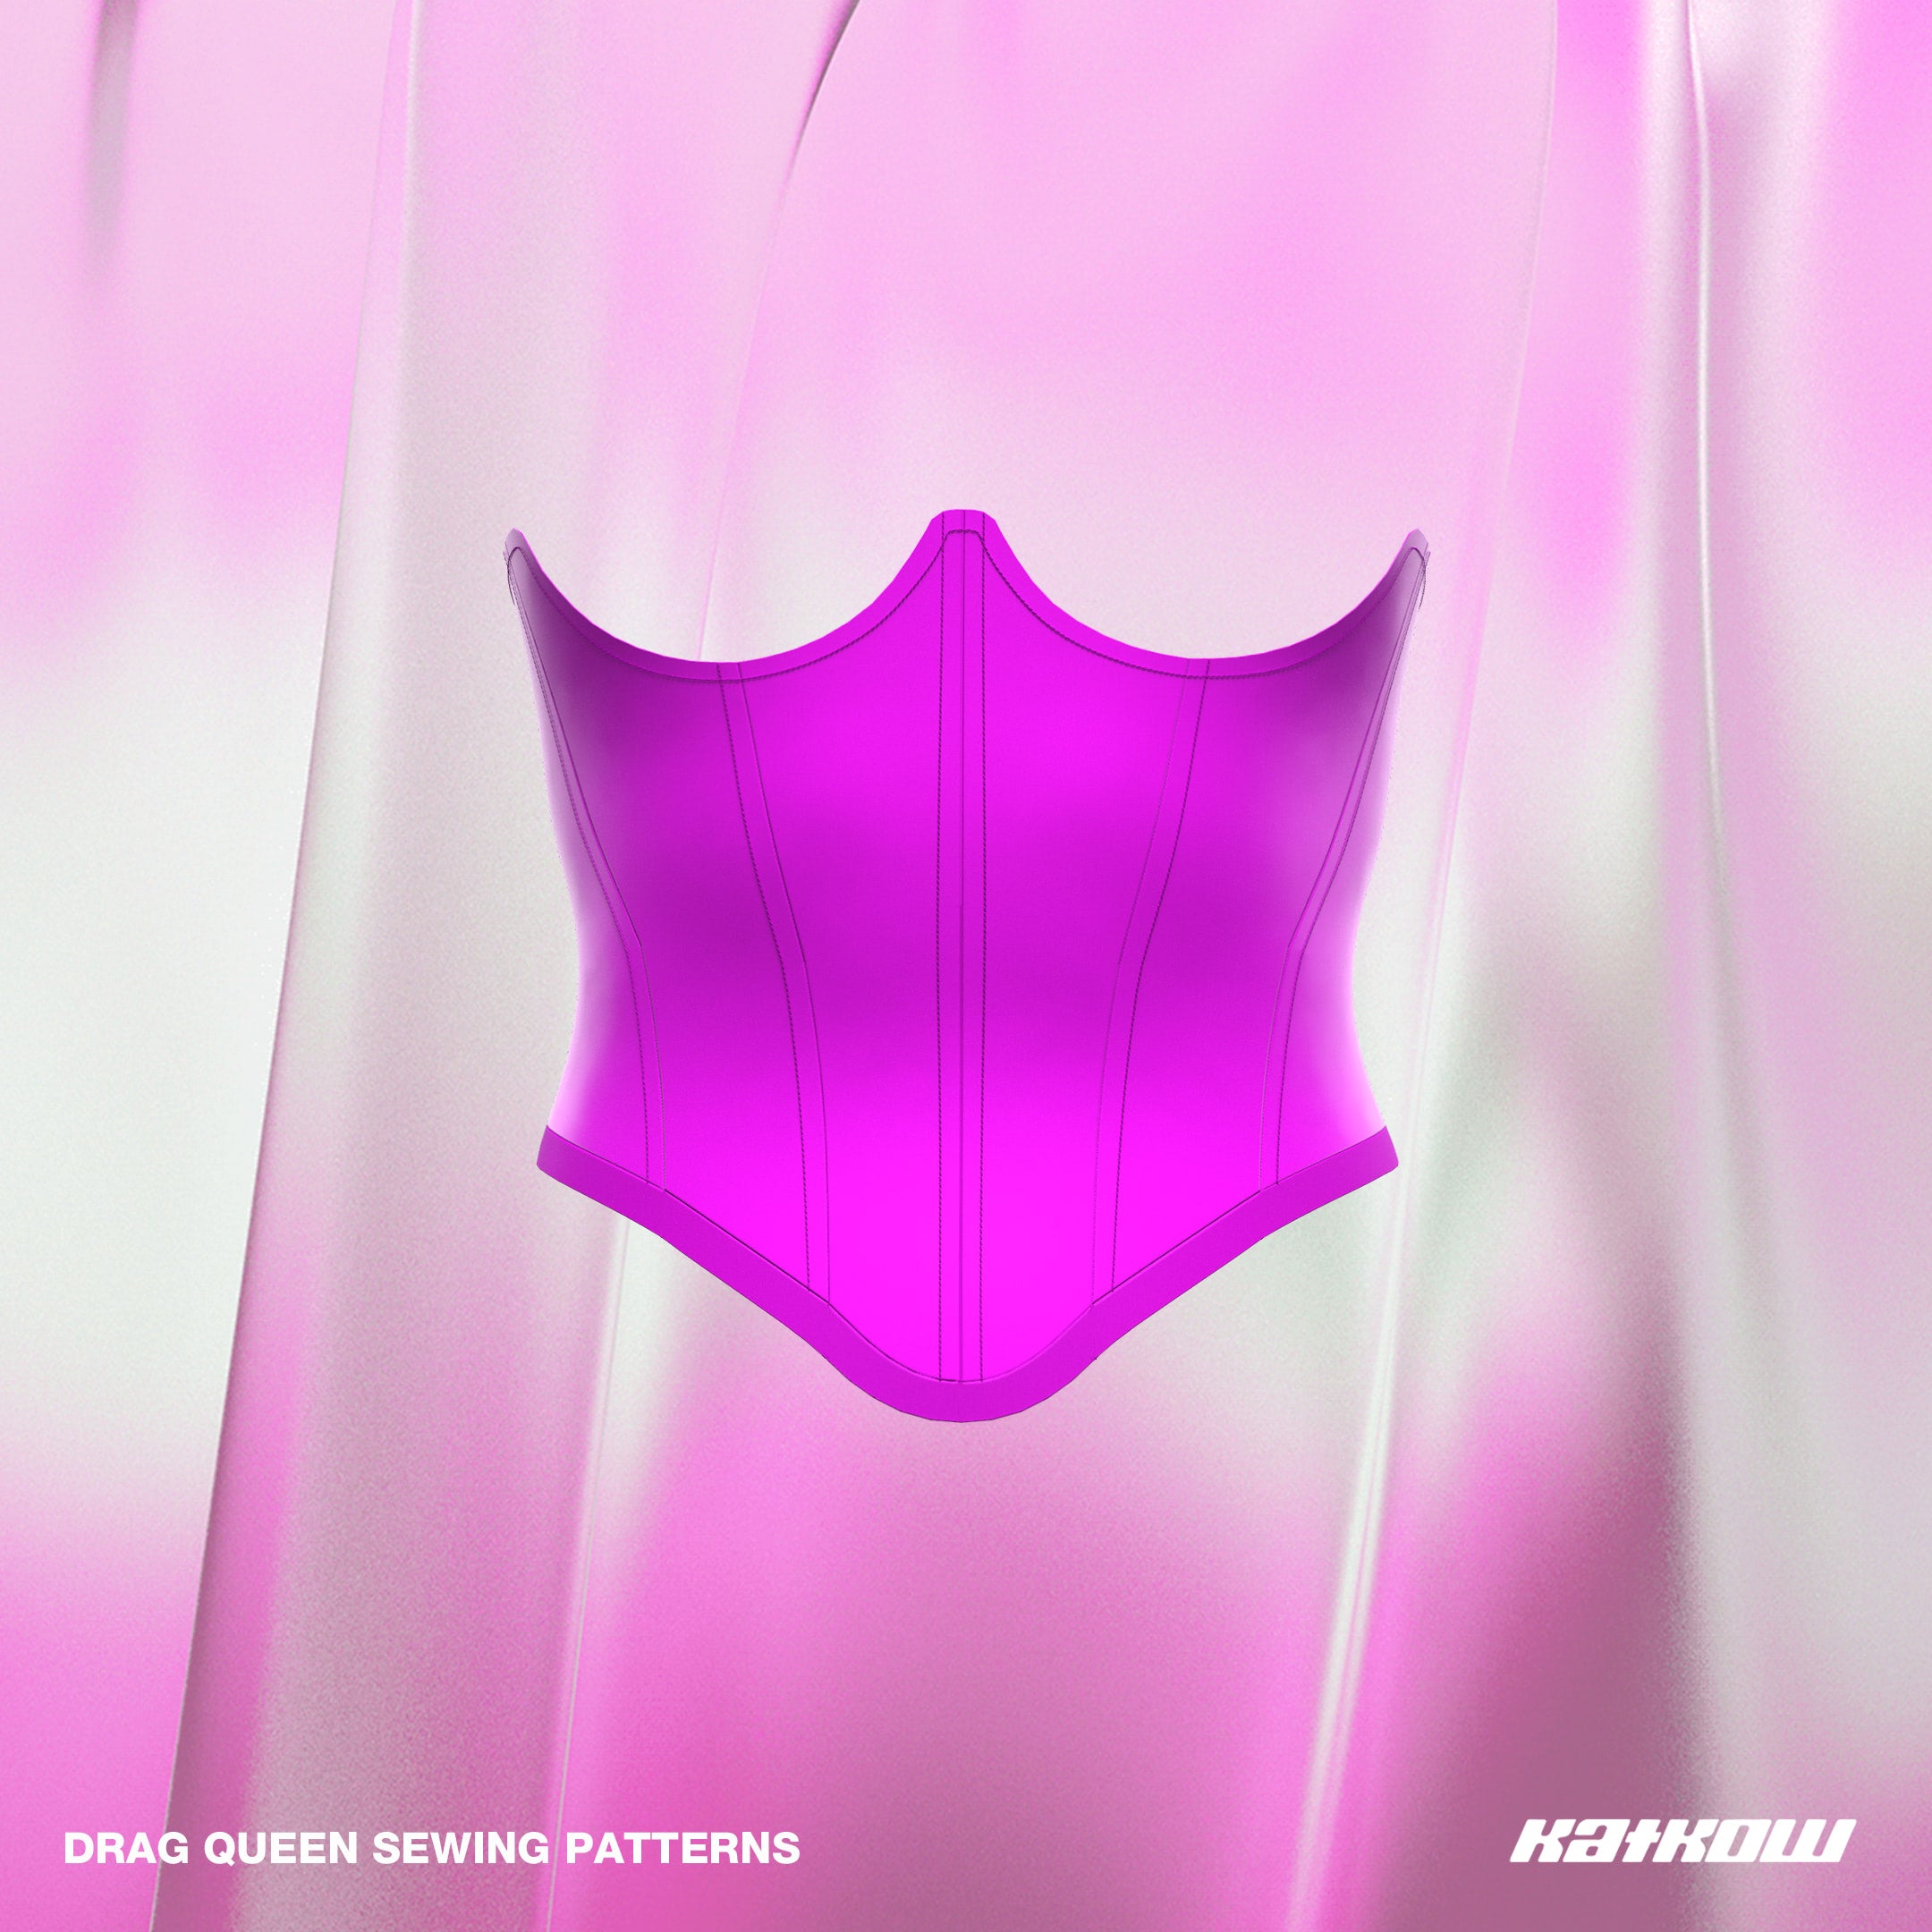
Descripción general
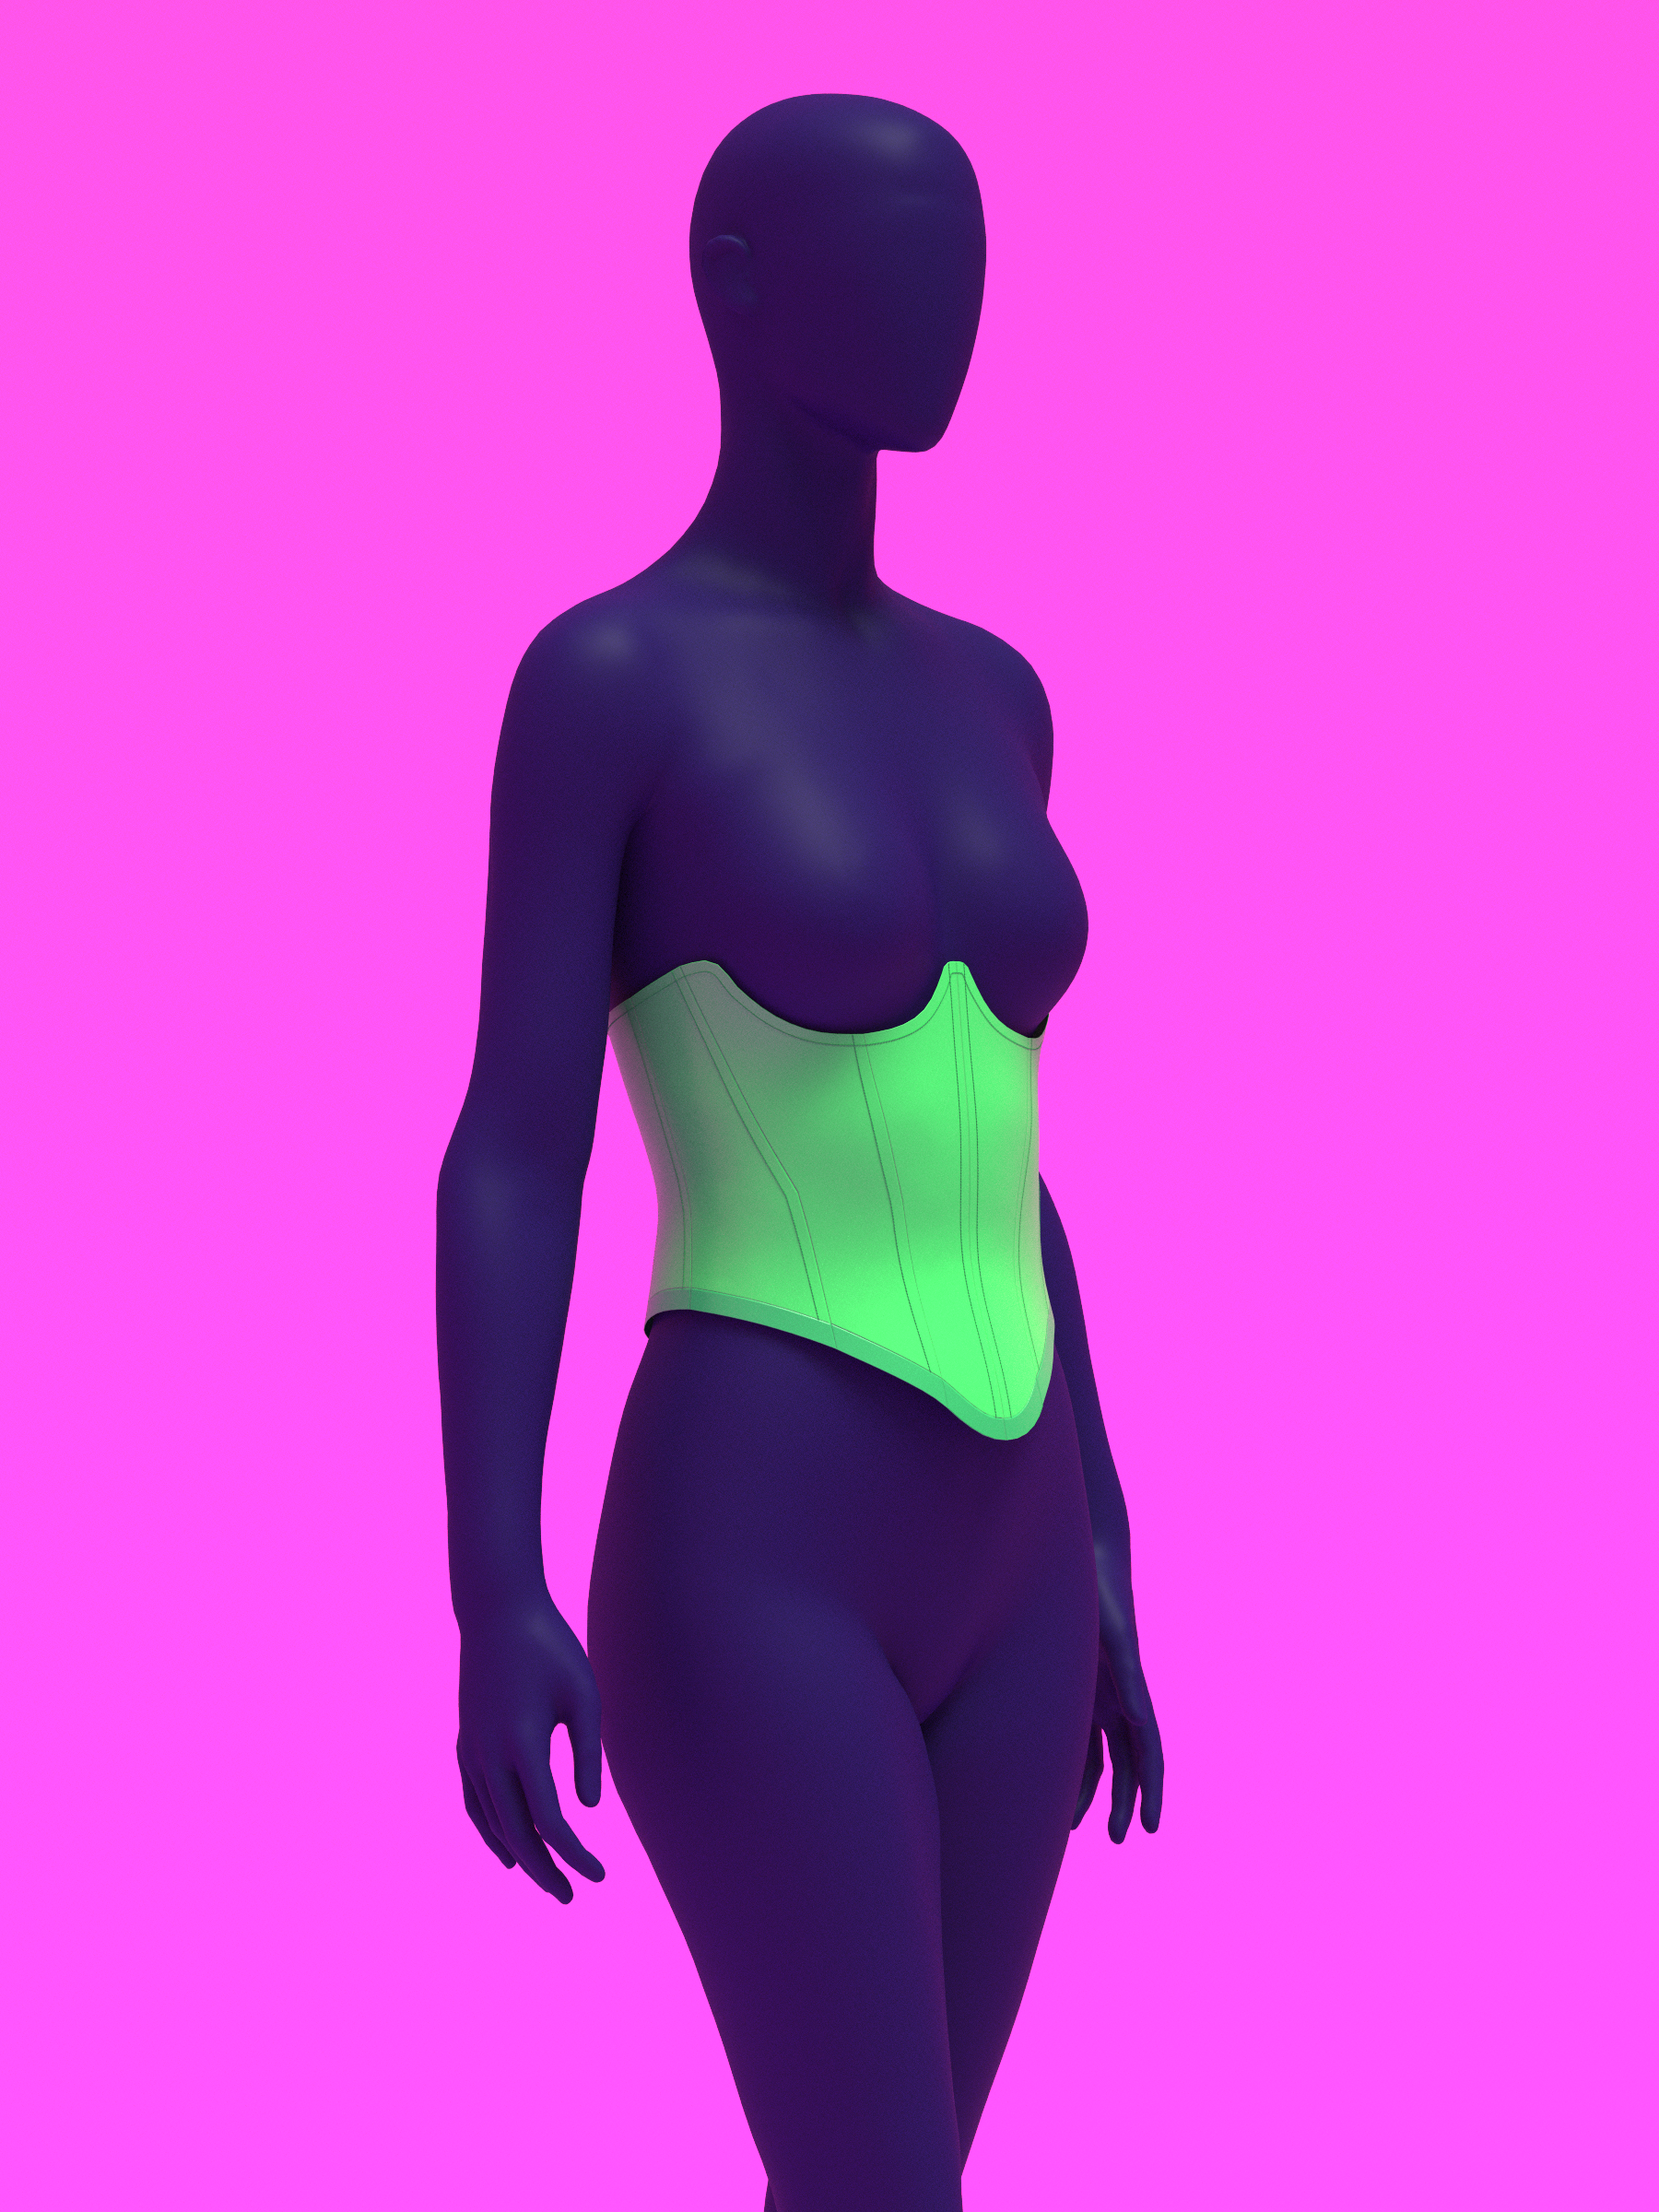
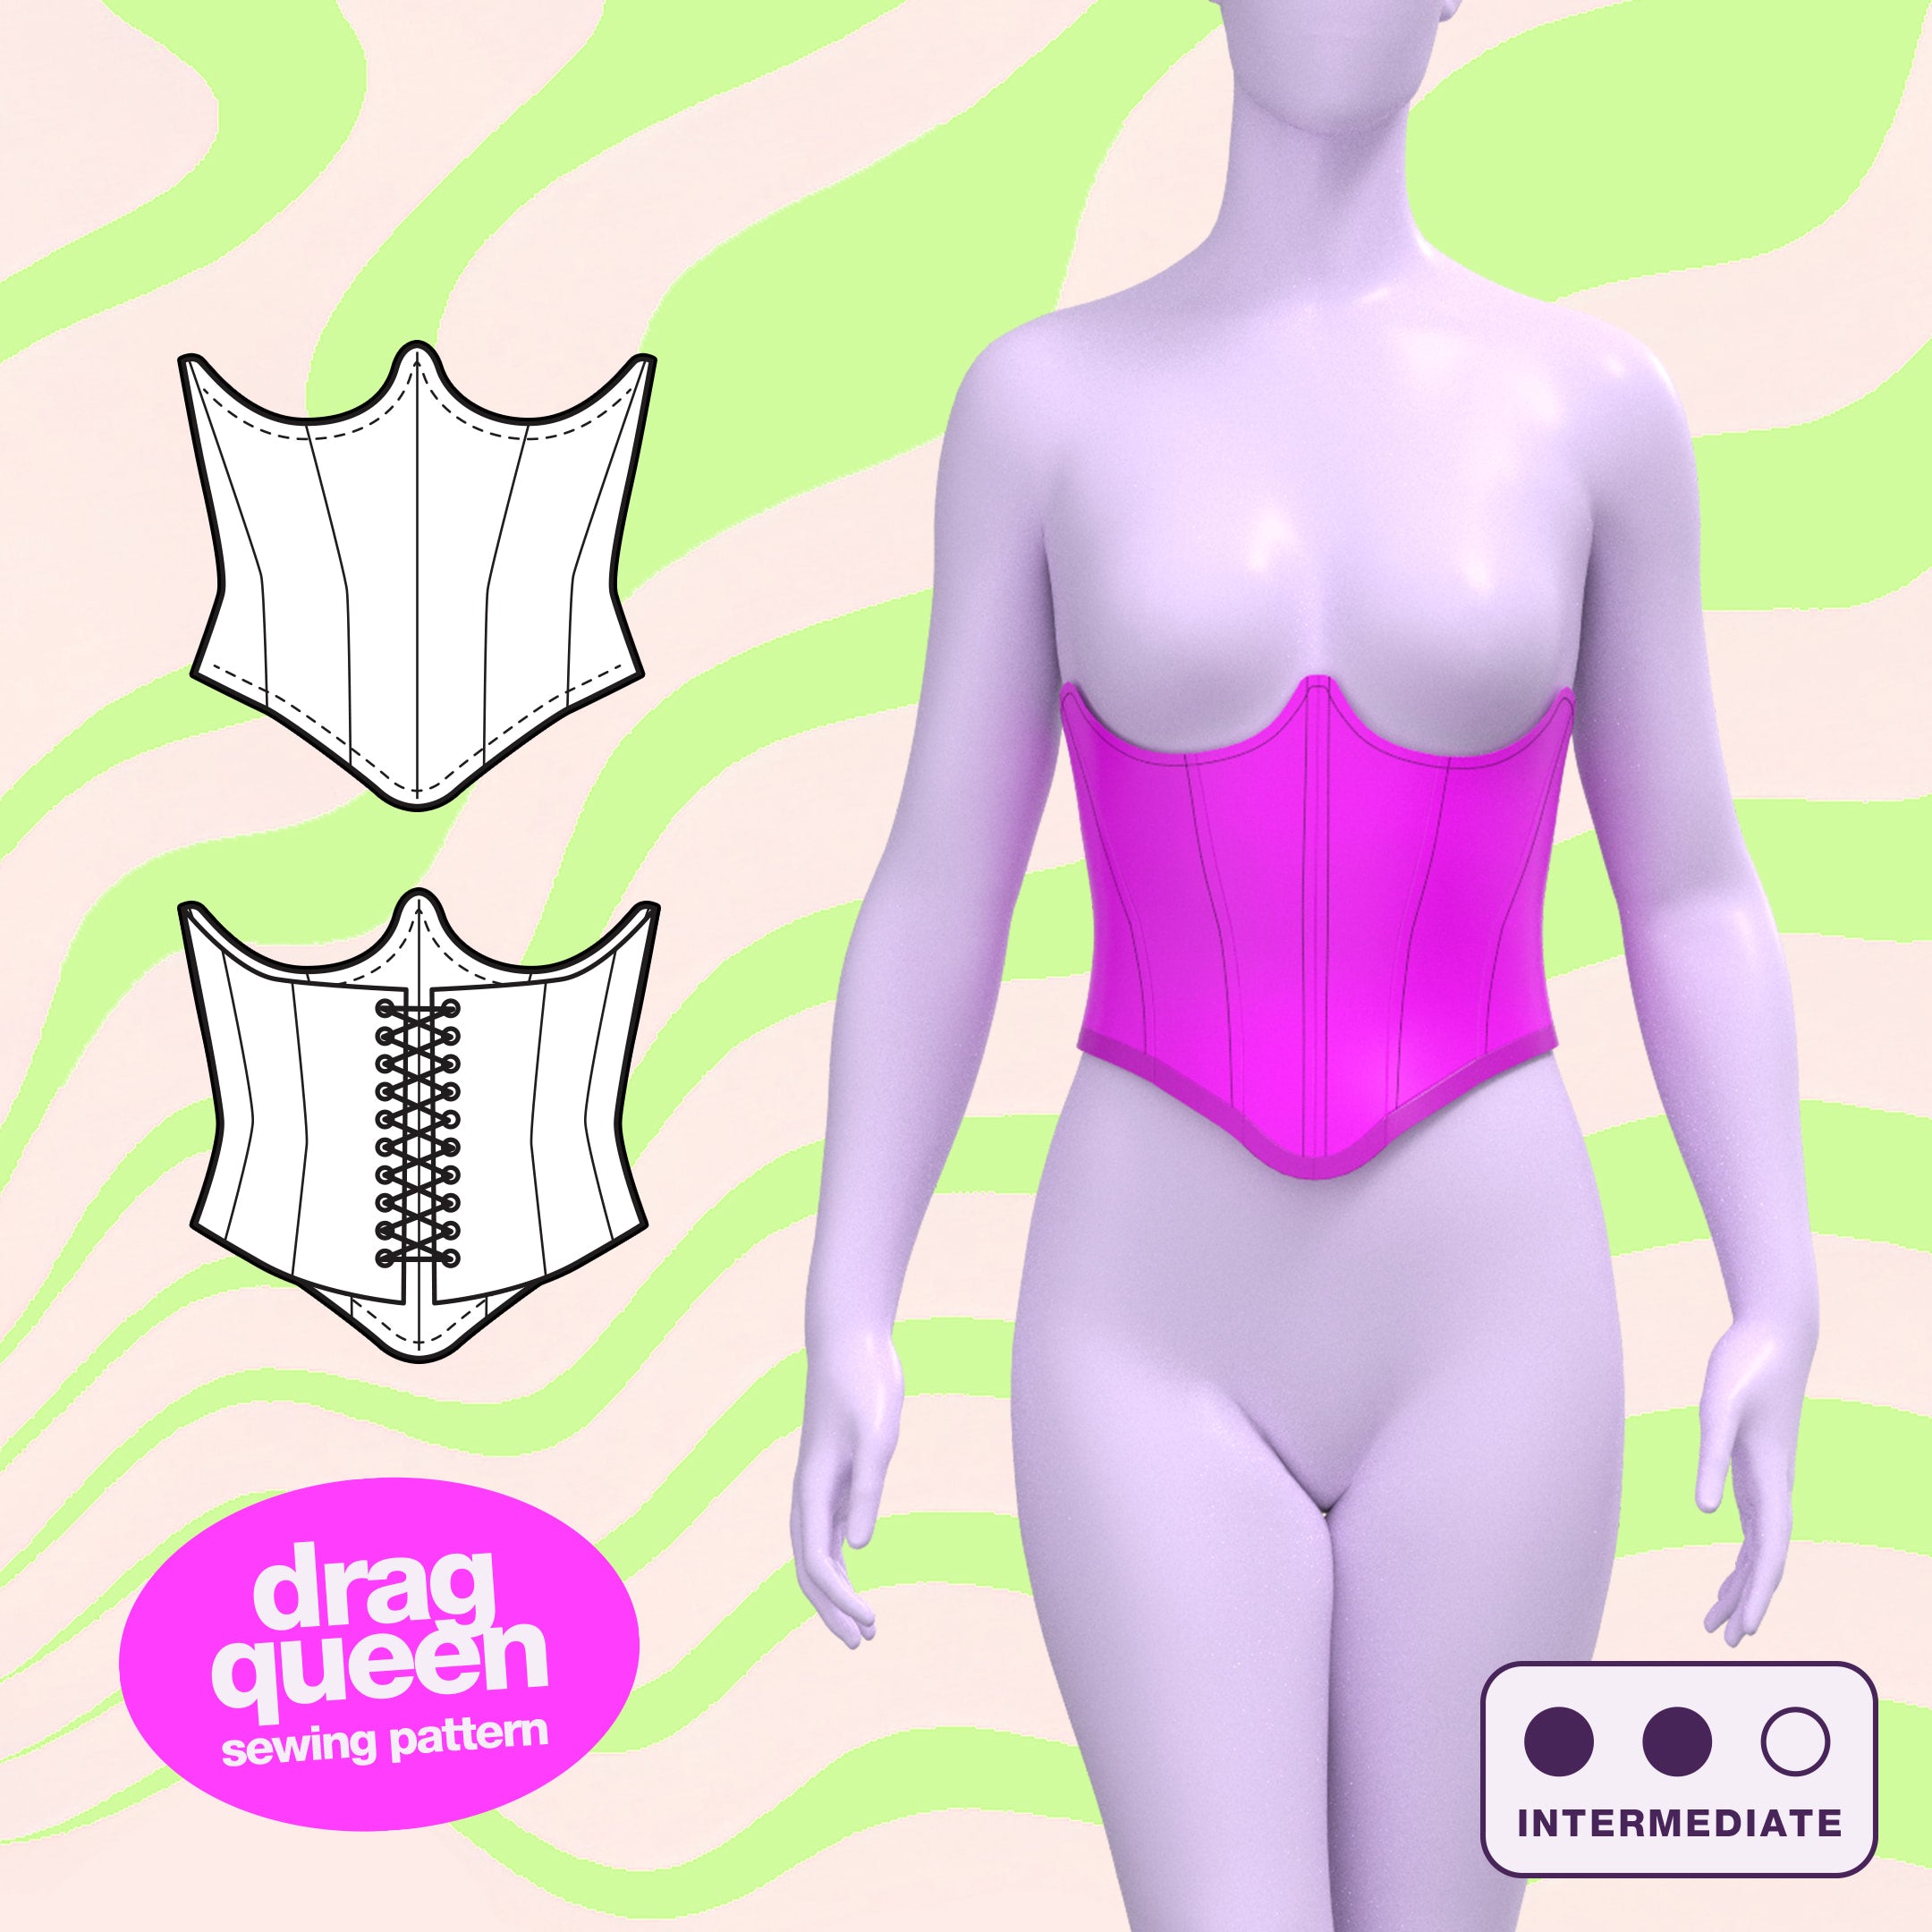
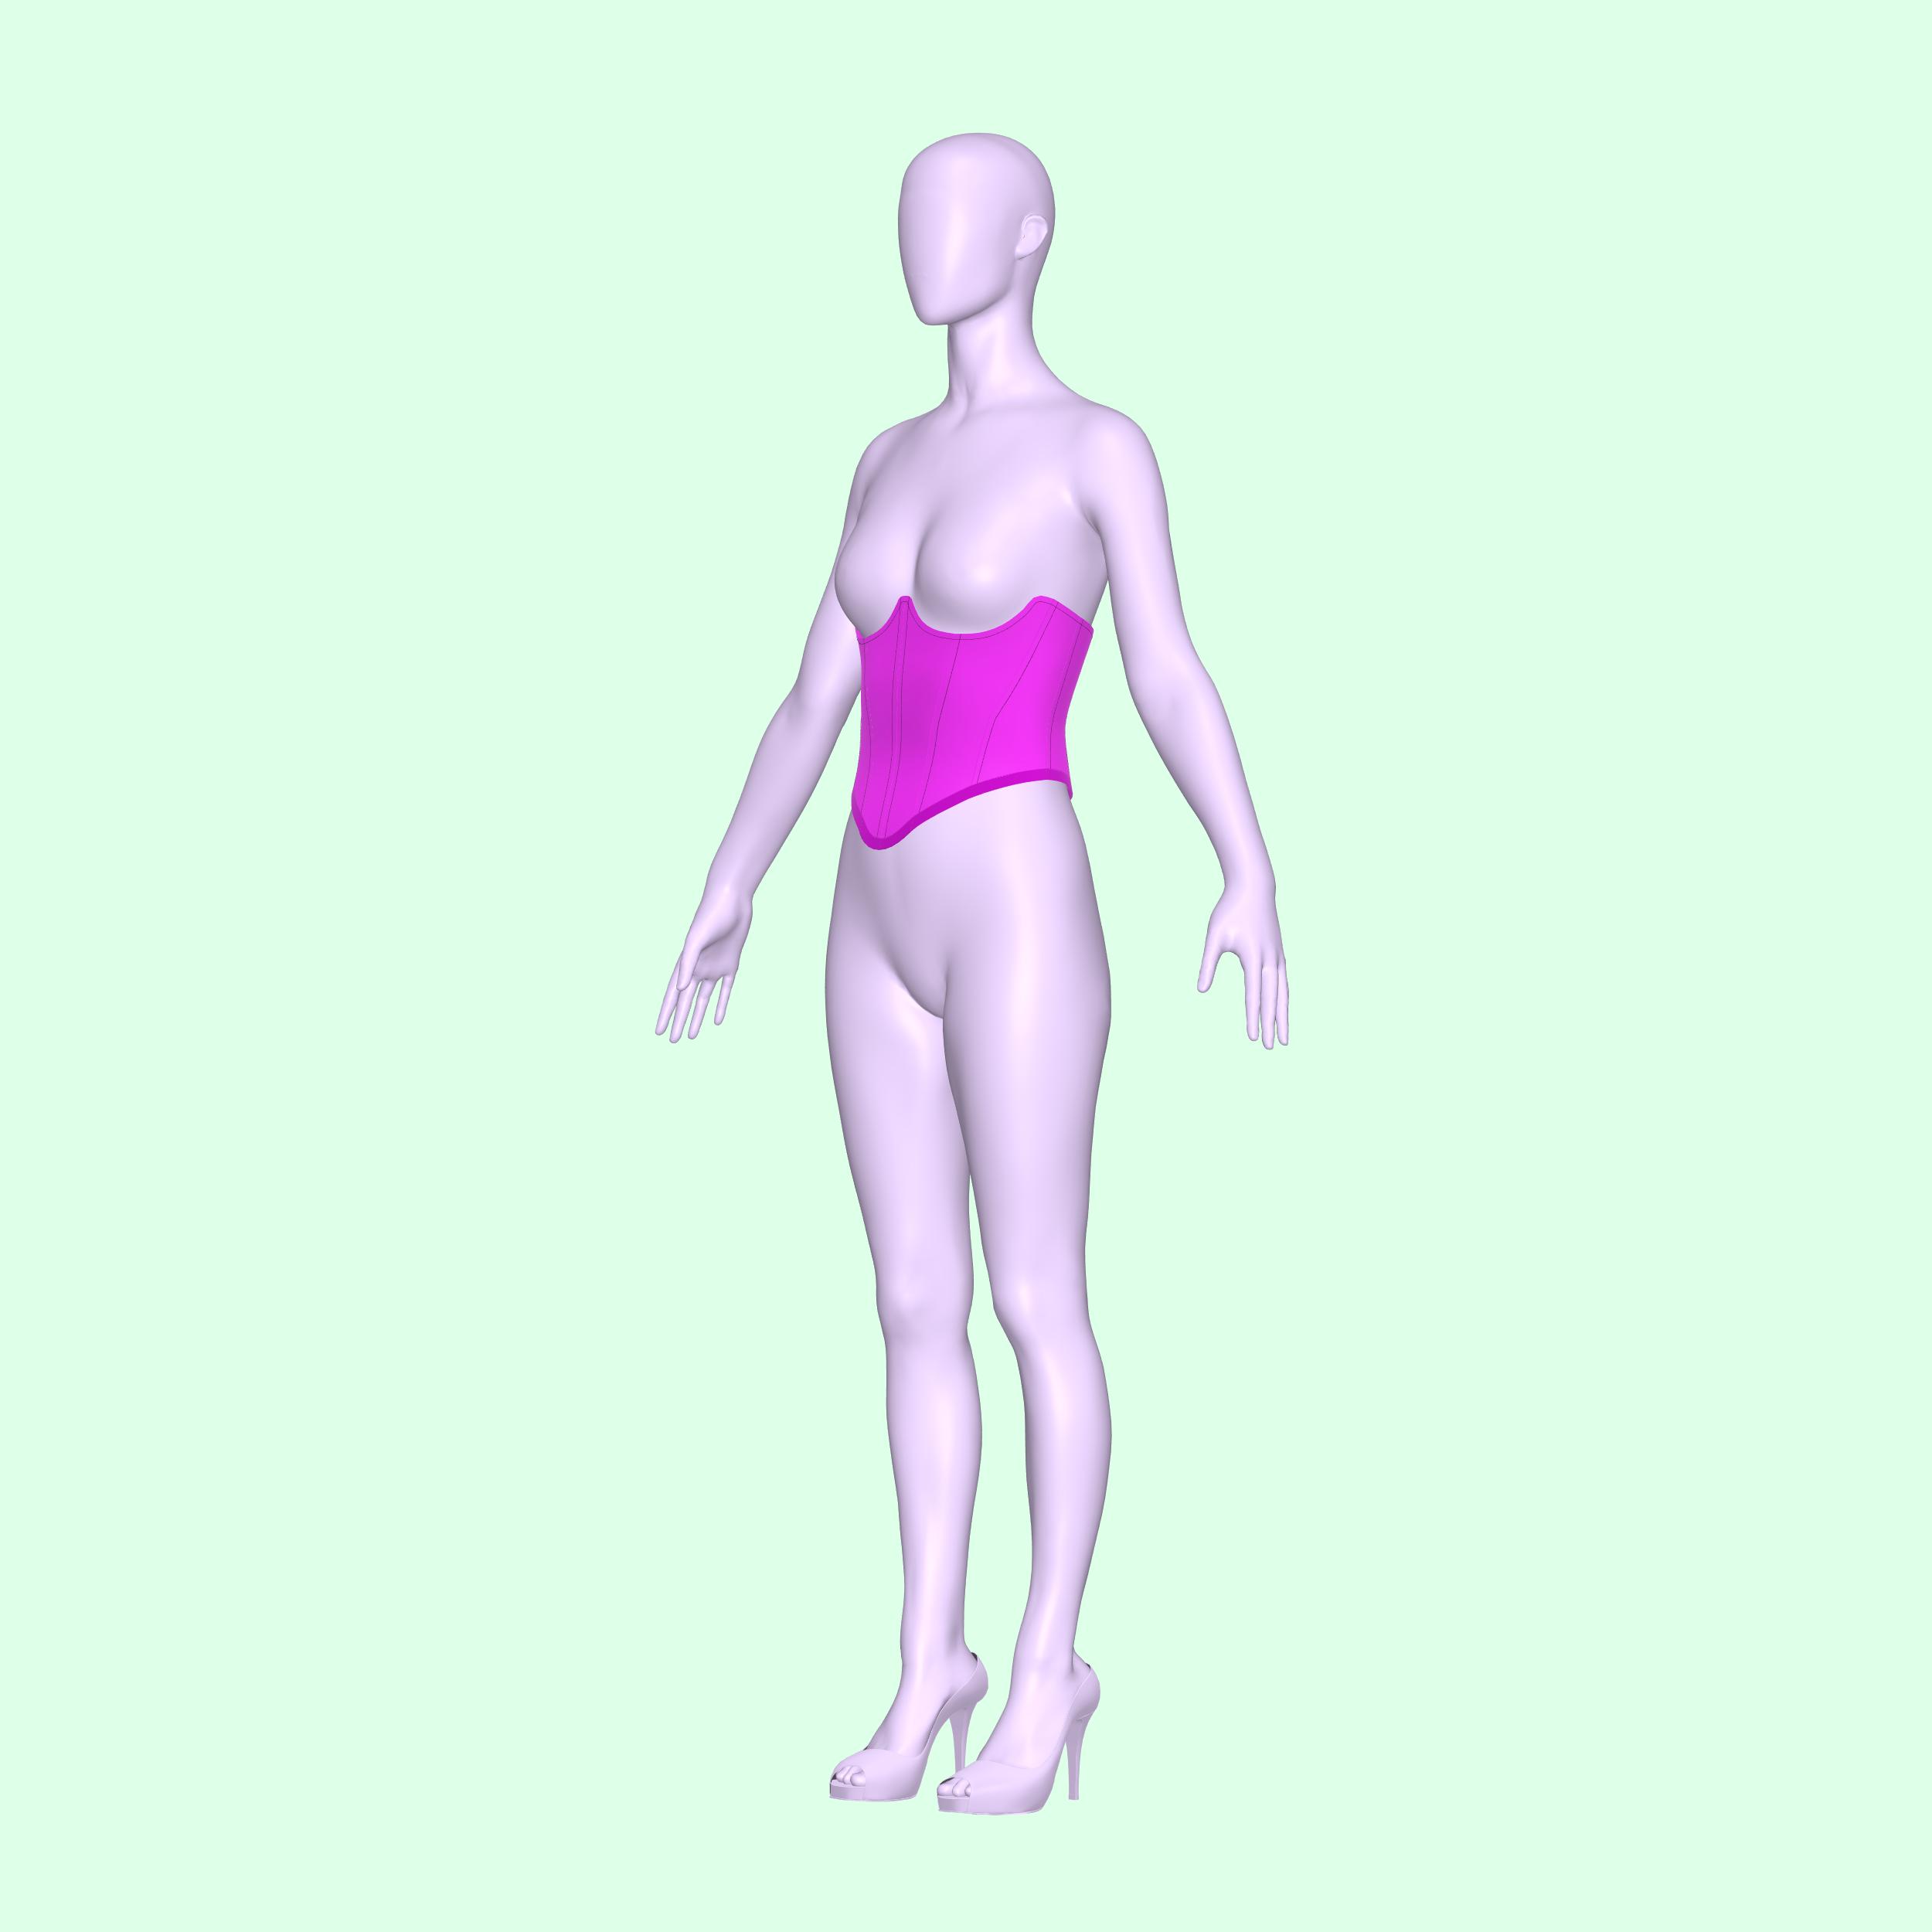
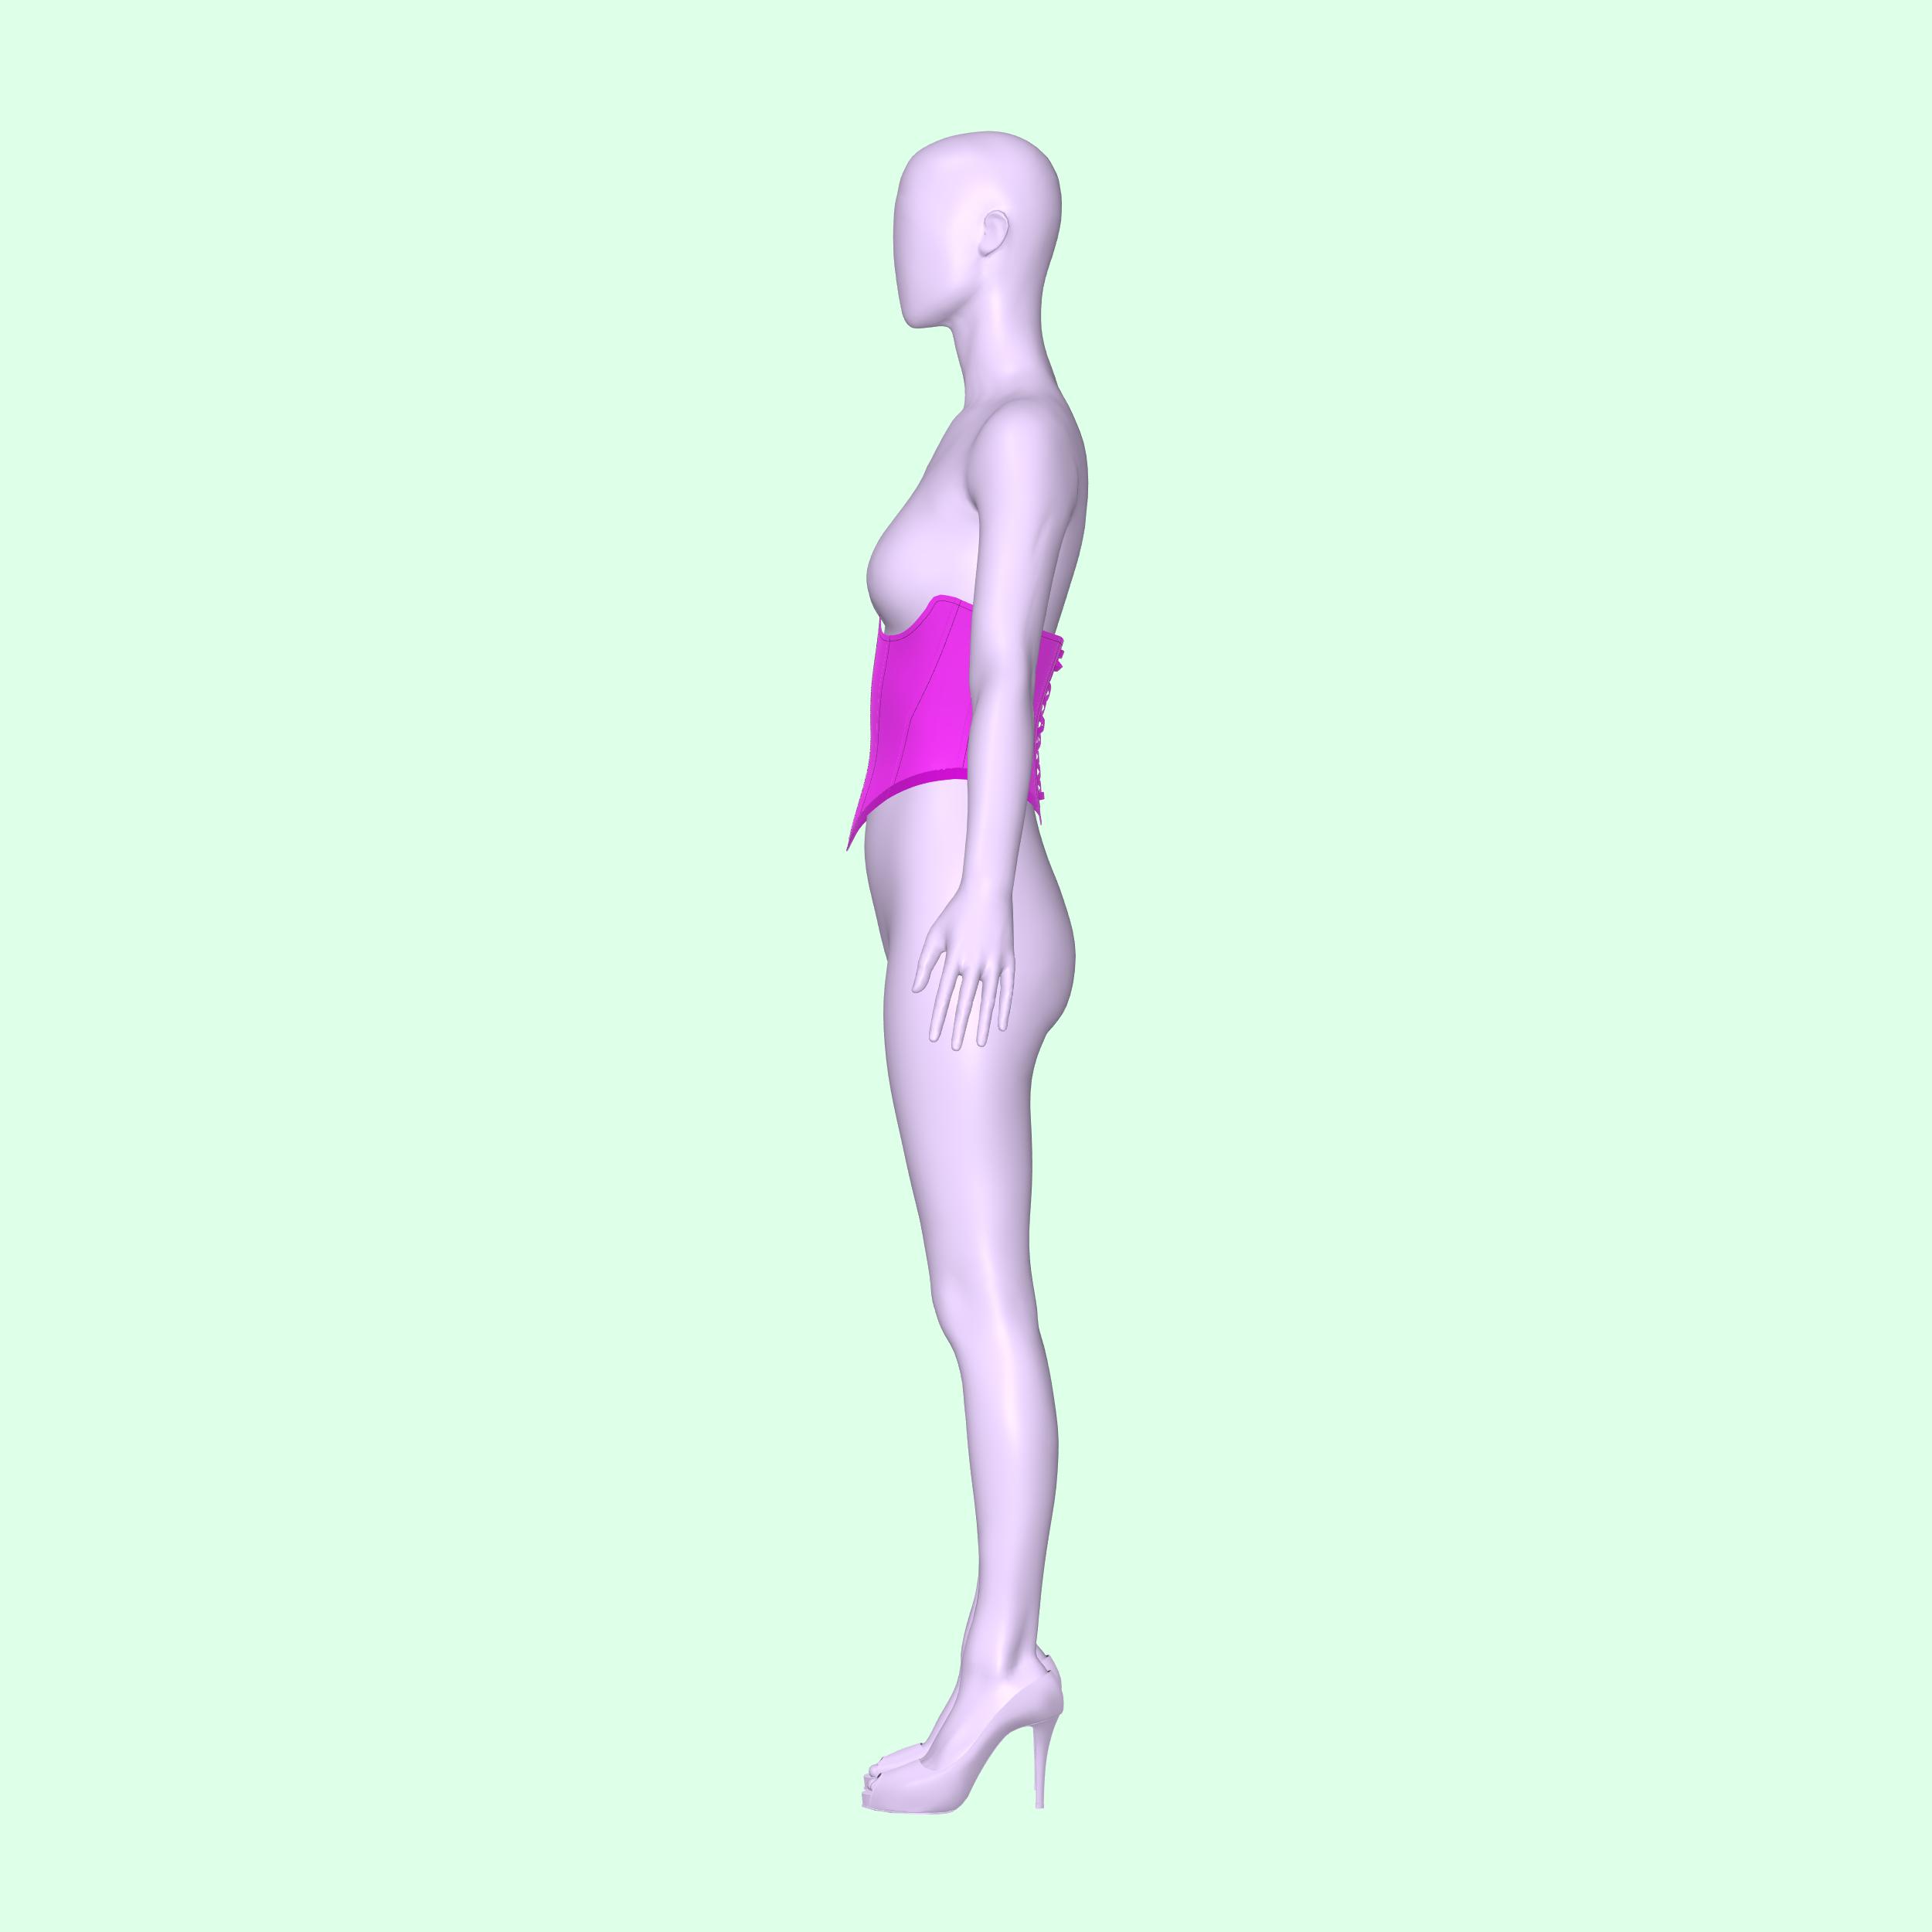
Aprende a coser nuestro fabuloso patrón de corsé bajo el busto, perfecto para costureras que buscan triunfar en su próxima actuación de drag queen, fiesta o cosplay. Este patrón de corsé es ideal para telas gruesas que no se estiran y crea un impresionante corsé de cuero, top de corsé o estilo renacentista. Realza tu conjunto de tocador o fantasía con este elegante diseño de cinturón de corsé o bustier y prepárate para ofrecer un estilo drag feroz y moderno.
Dificultad del patrón: Intermedio
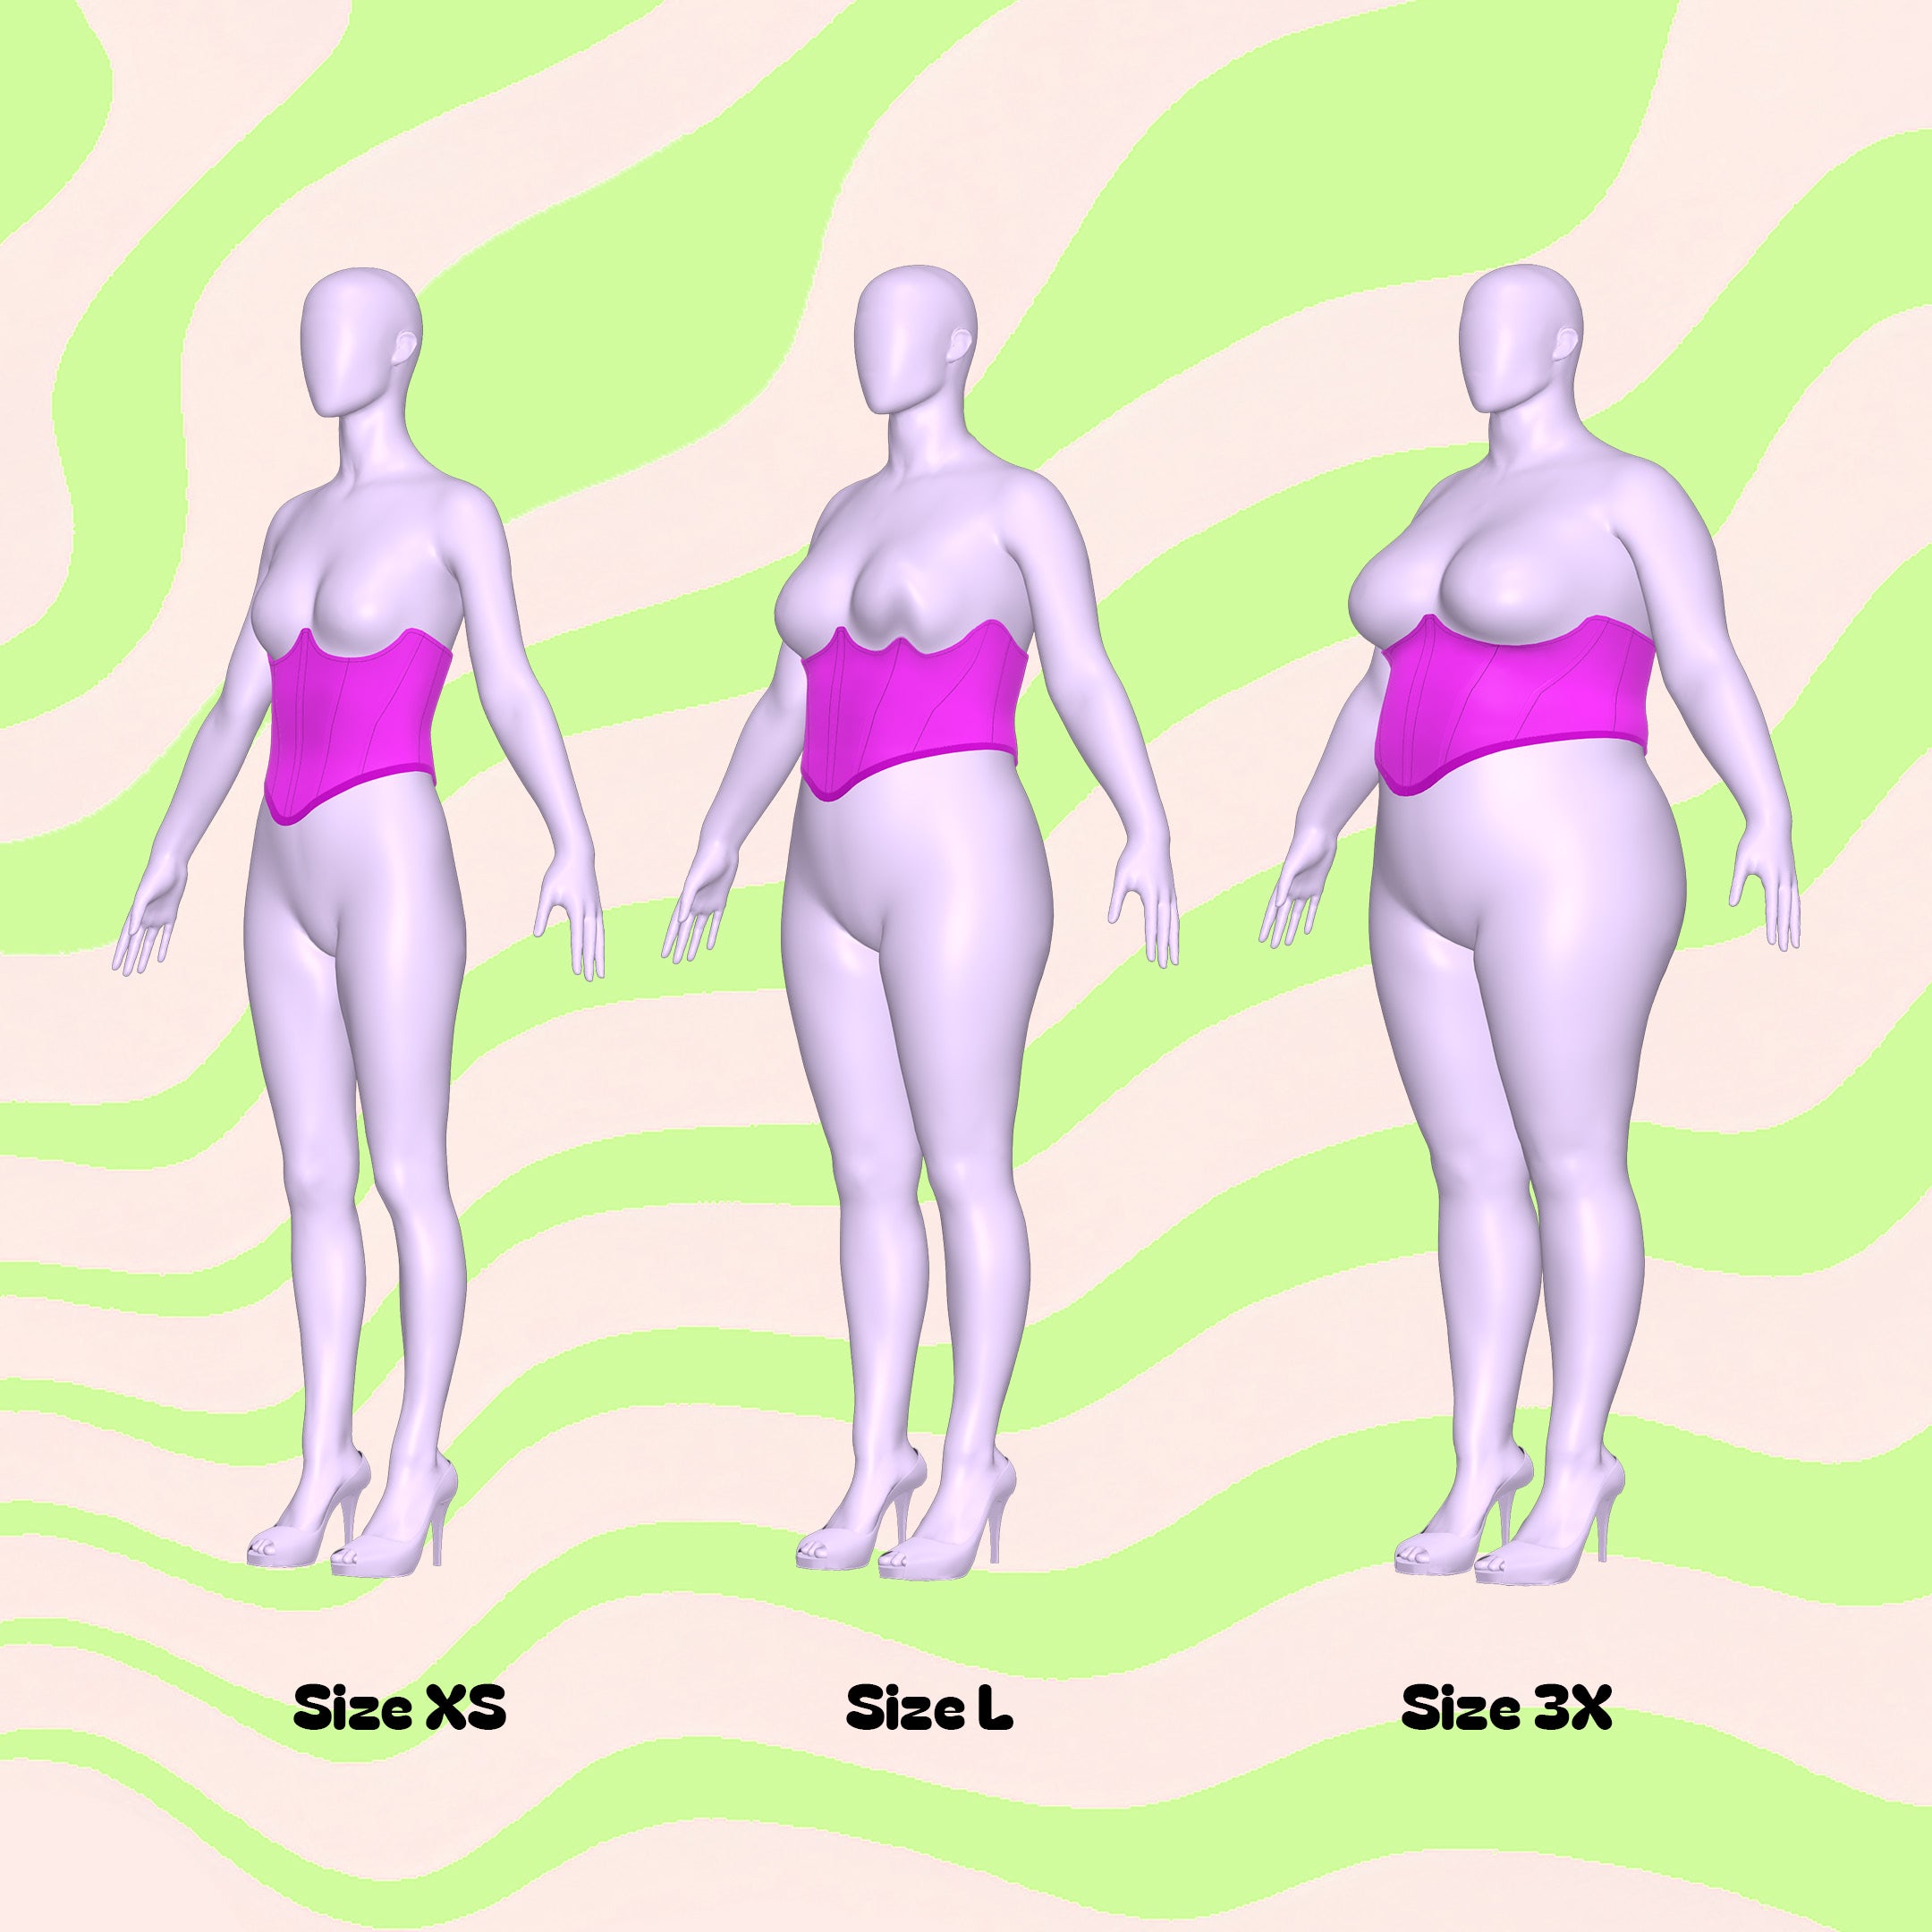
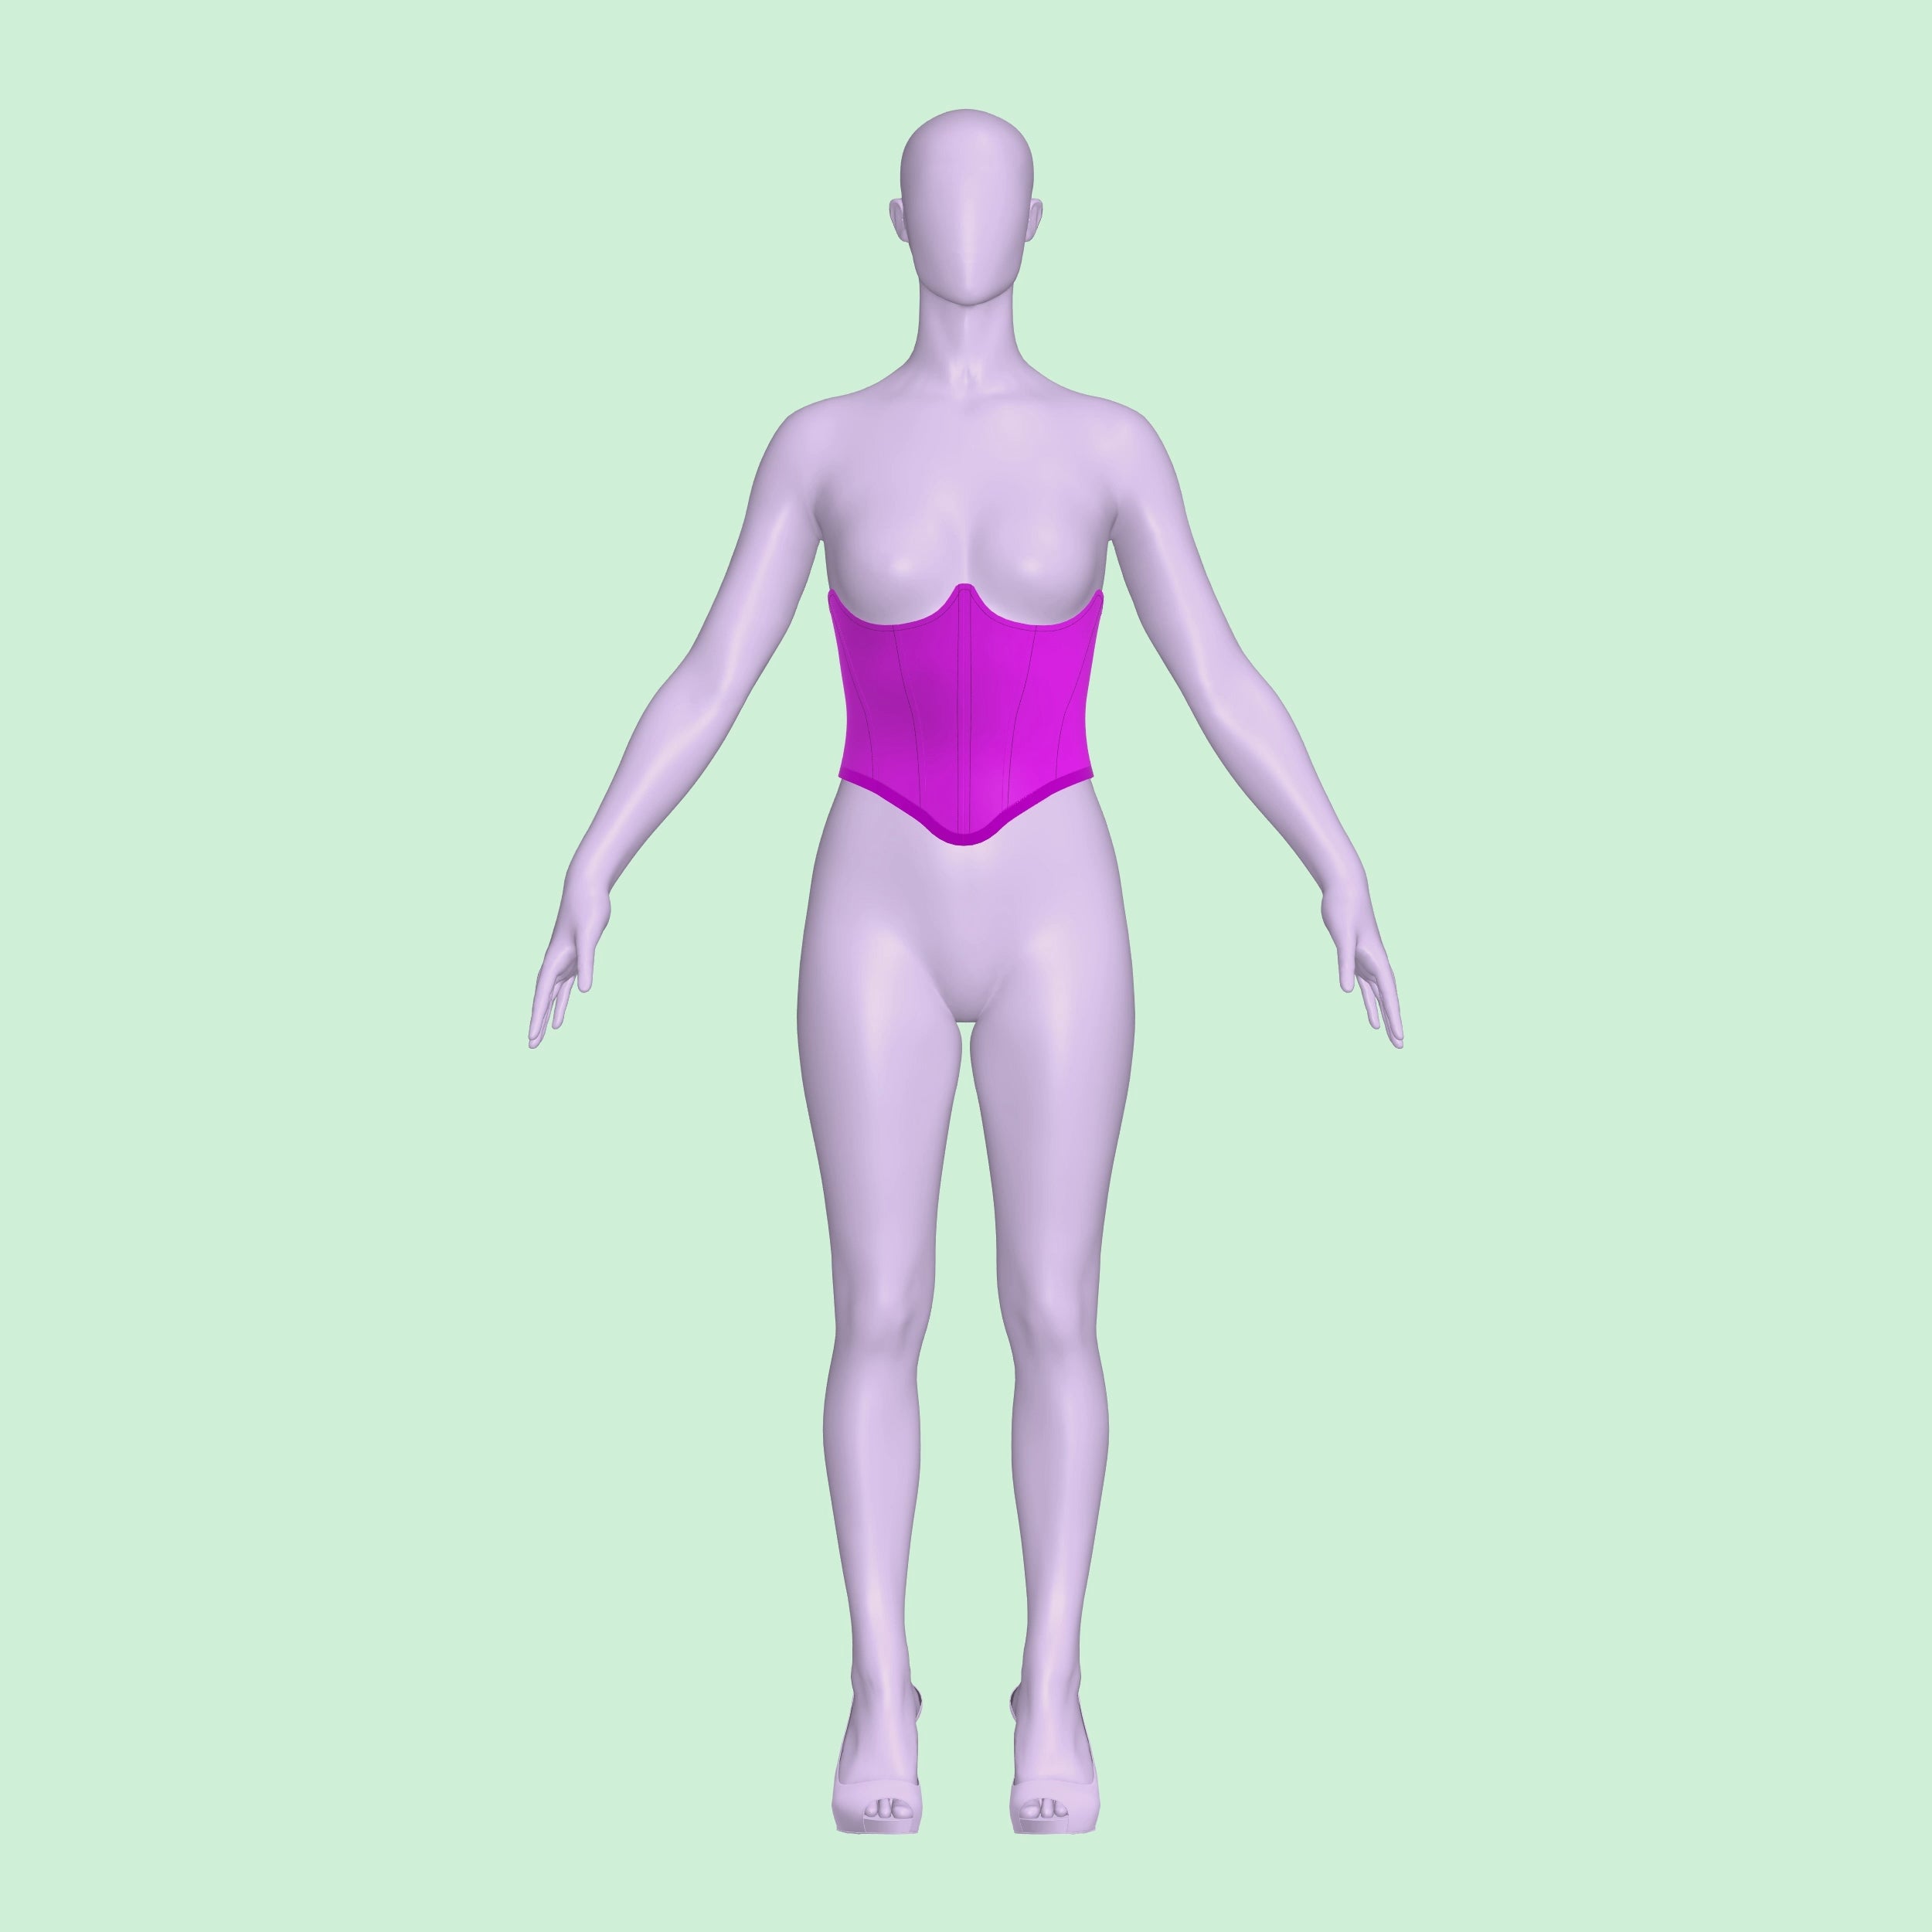
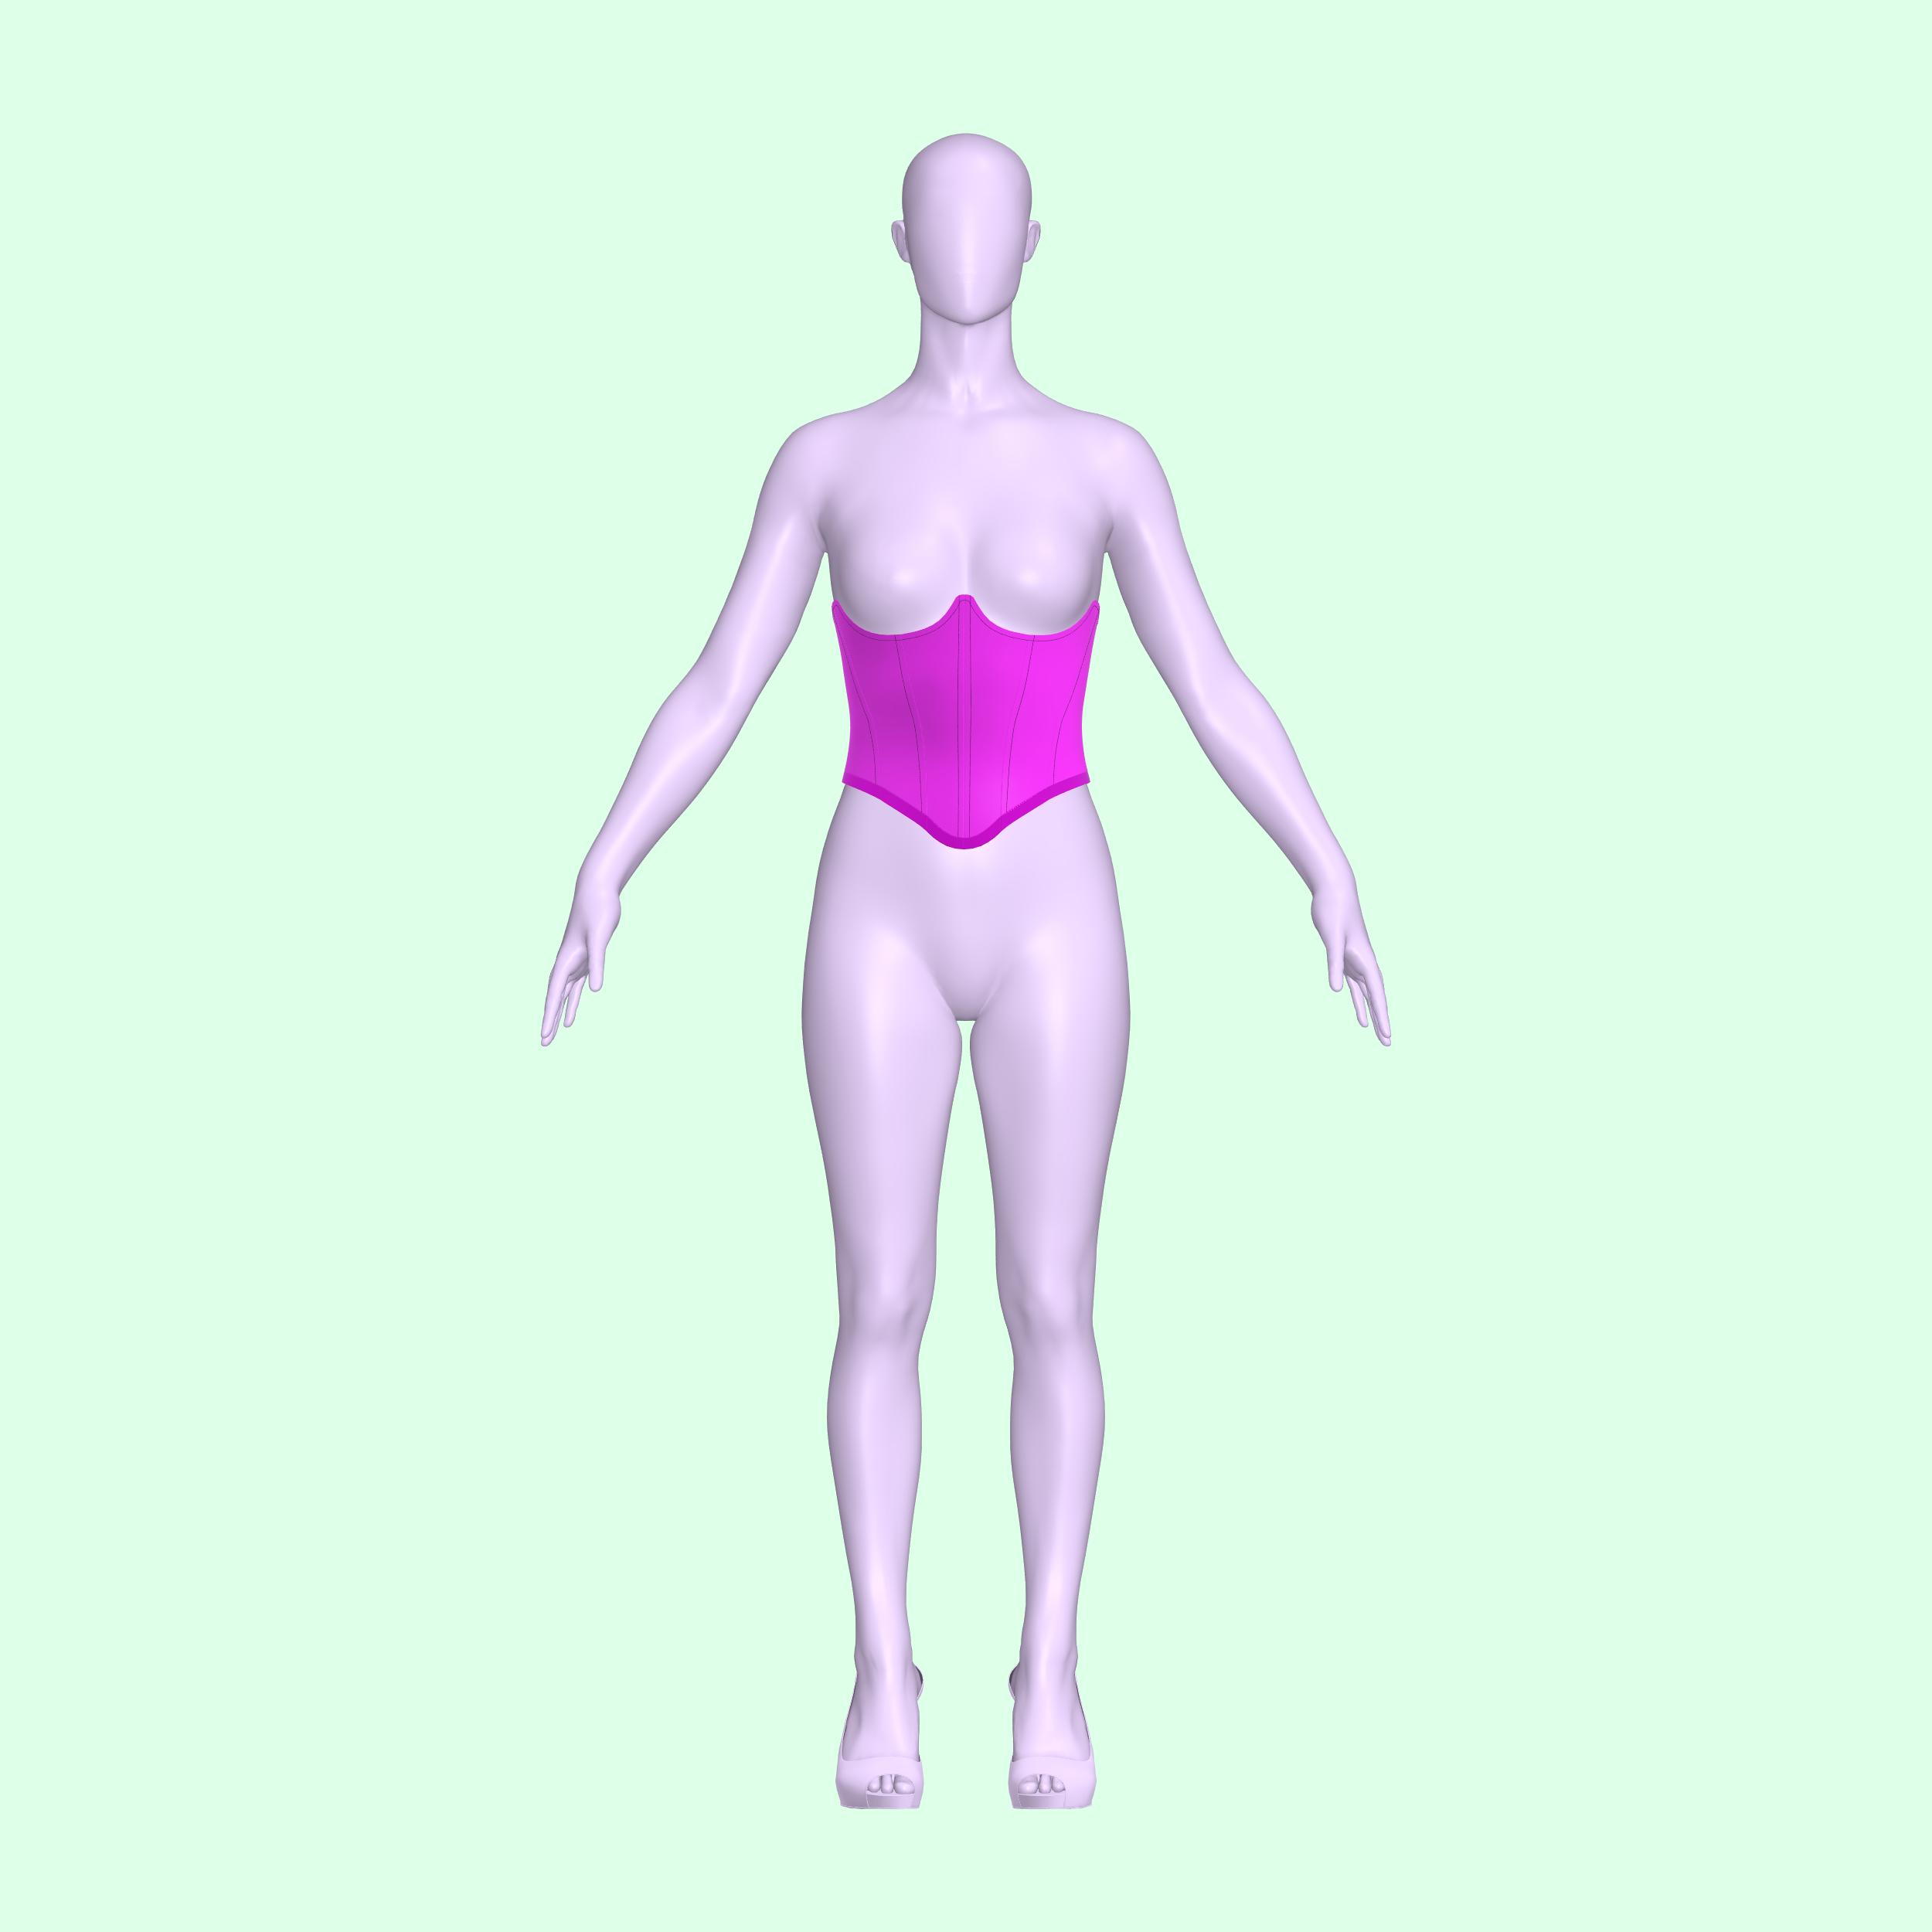
Detalles de tallas
Este patrón está disponible en nuestros exclusivos talles Drag Queen (XS-4X). Consulta nuestra guía de talles para obtener más información sobre nuestras medidas de talle.
Telas y artículos de mercería
Adecuado para tejidos gruesos no elásticos:
- Cuero (real o sintético)
- Dril
- Lona de algodón
- Tela asargada
- Brocado
- Satín
- Lona de algodón
- Vinilo/PVC
- Varillas de rigileno de 6-8 mm
- Entretela fusible de peso medio
- 3-3,5 yardas de encaje, cinta o cordón
- Opcional: cinta/cinta de bies doblada doble de 0,5 pulgadas
Yardas de tela
Las medidas a continuación se basan en anchos de tela de 58 pulgadas.
| Tamaño | Caparazón | Recubrimiento |
|---|---|---|
| XS | 0,5 años | 0,5 años |
| S | 0,5 años | 0,5 años |
| METRO | 0,5 años | 0,5 años |
| yo | 0,5 años | 0,5 años |
| SG | 0,5 años | 0,5 años |
| 2X | 0,75 años | 0,75 años |
| 3 veces | 0,75 años | 0,75 años |
| 4X | 0,75 años | 0,75 años |
Para obtener información sobre la conversión de pulgadas a metros, consulte nuestra guía de conversión.
Instrucciones de costura


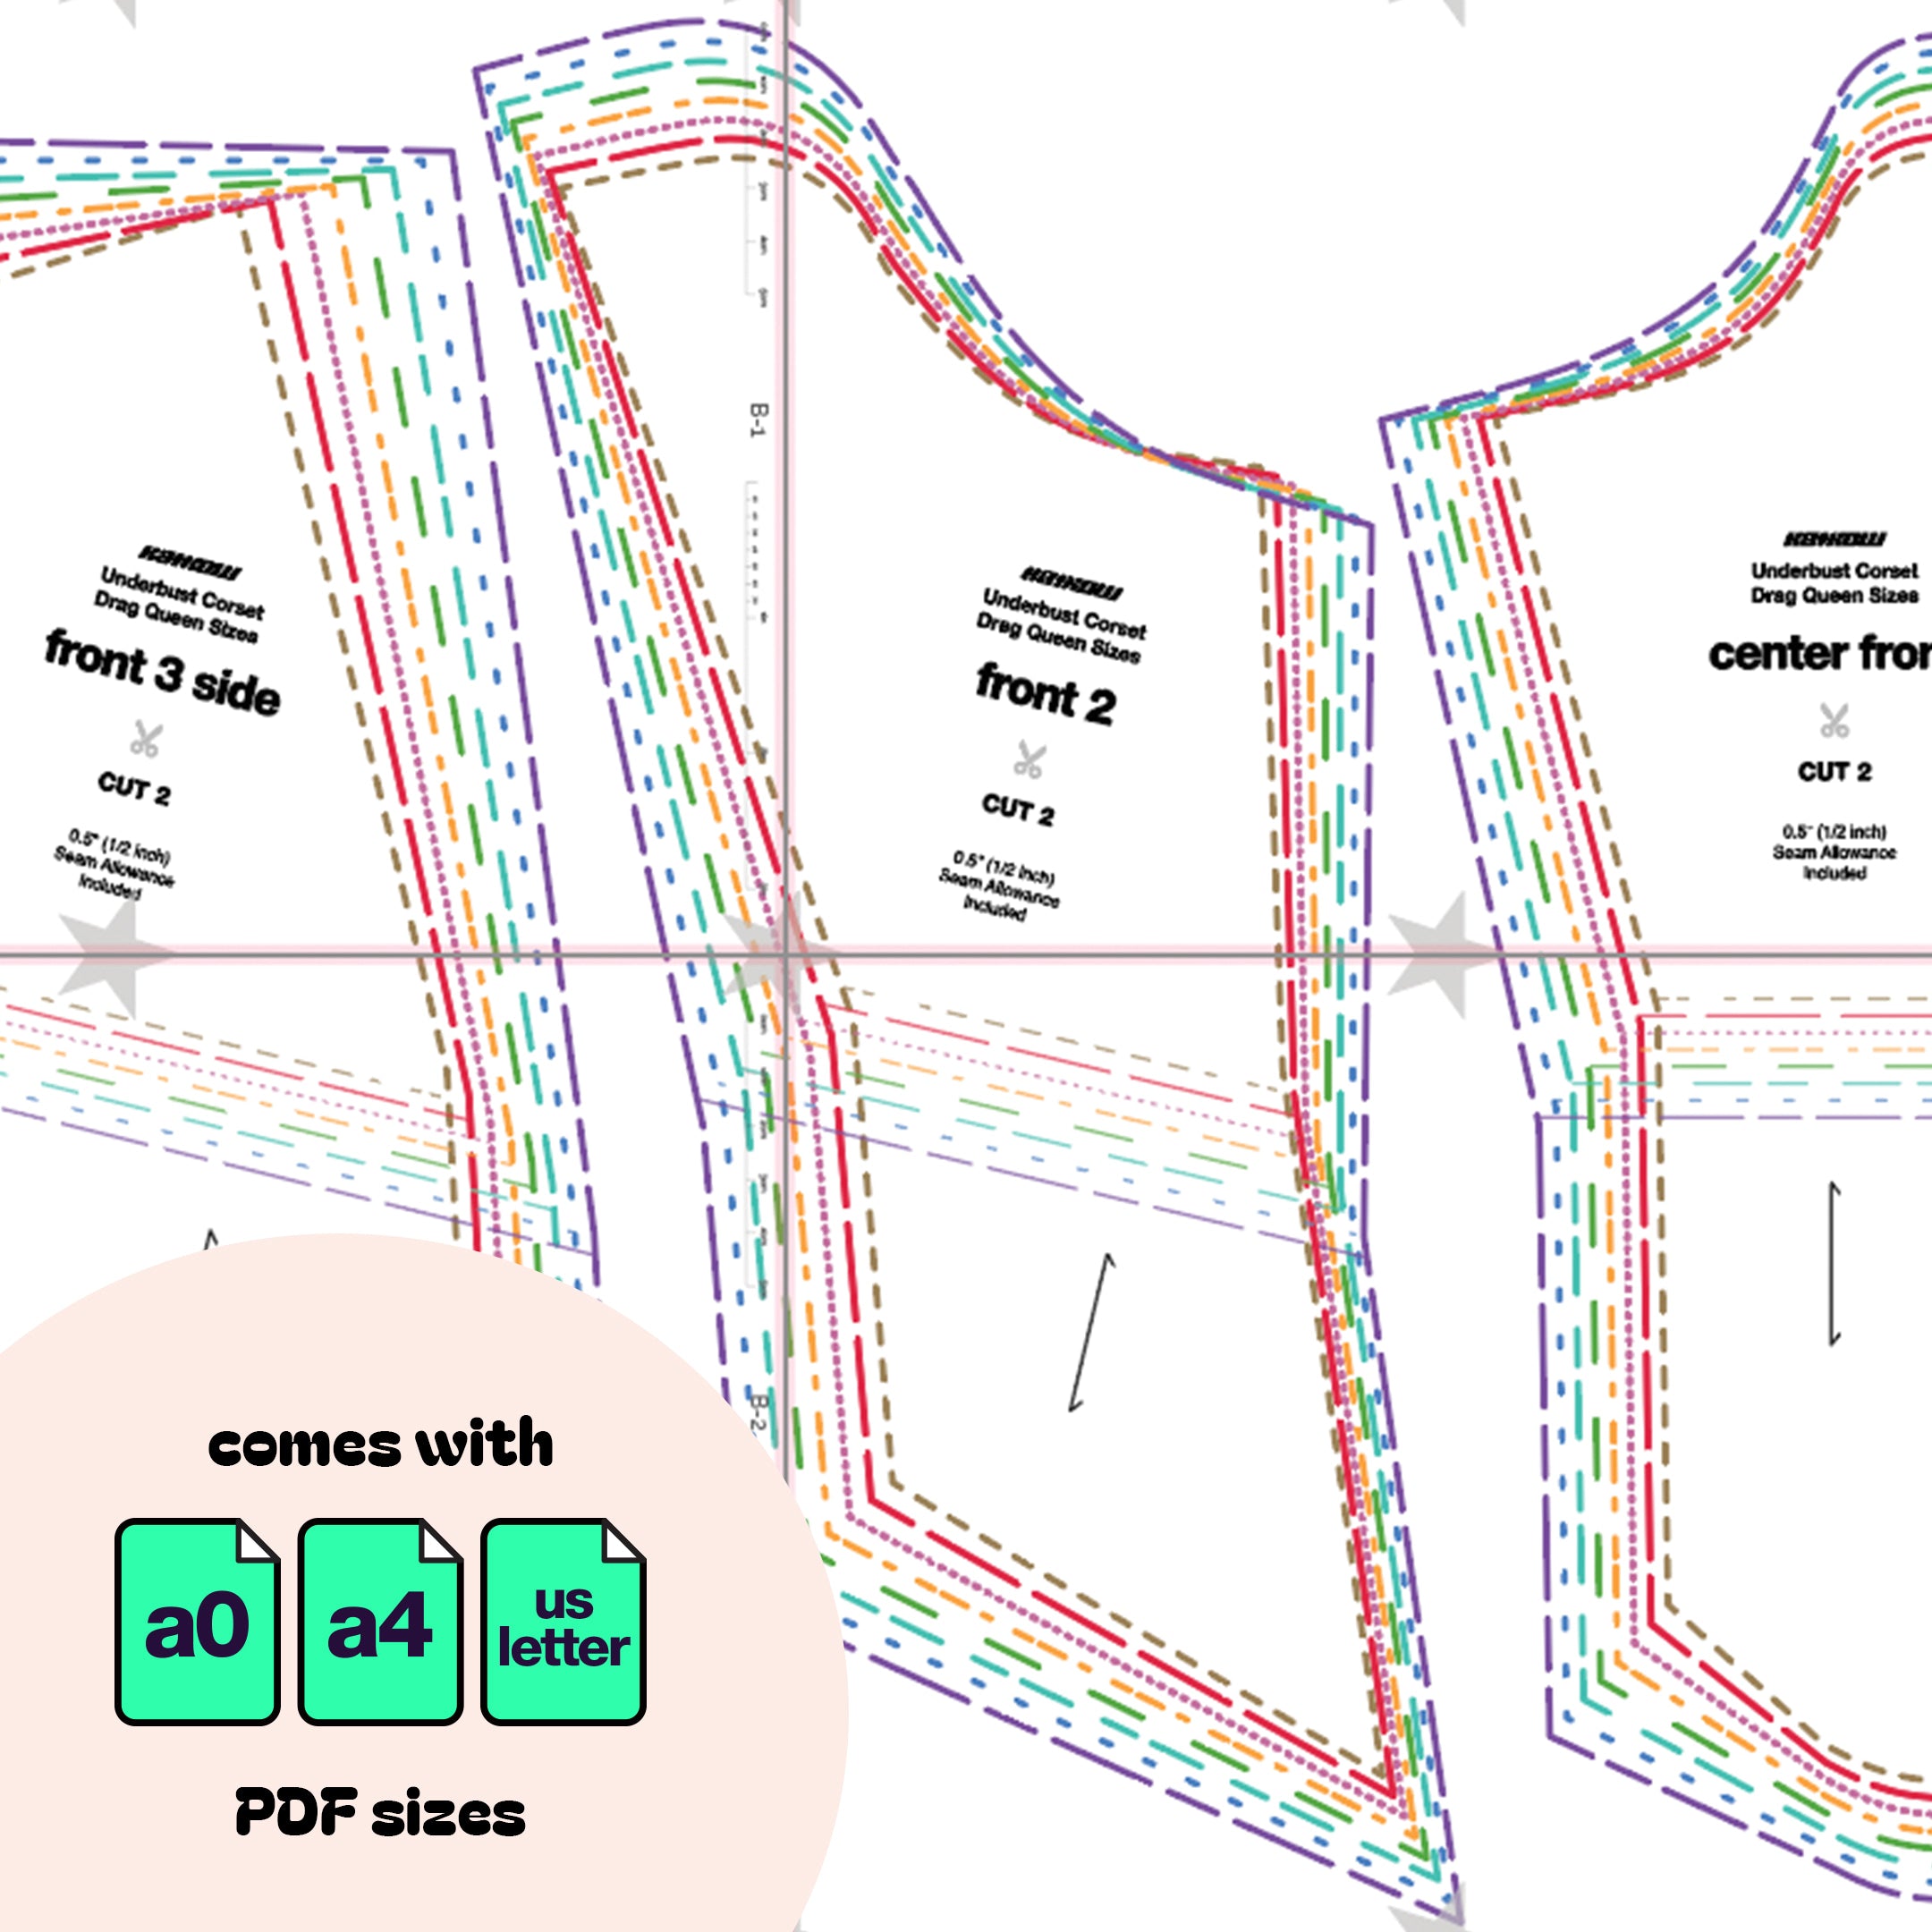
Fabric Pieces
After cutting your fabric, you should have the following pieces for both your shell and lining fabrics:
- Two “Center Front” pieces
- Two “Front 2” pieces
- Two “Front 3 Side” pieces
- Two “Back 3 Side” pieces
- Two “Back 2” pieces
- Two “Center Back” pieces

STEP 1
Gather the two "Center Back" pieces. Cut a strip of fusible interfacing 1.5 inches wide by the length of the center back edge.
Iron the interfacing onto the wrong side of the center back pieces to secure the eyelets for the finished corset.

STEP 2
Gather the two "Center Front" pieces. Stack them with the right sides of the fabric facing each other, and sew along the center front seam with a straight stitch.
Flip the pieces over so the wrong side is facing up, and spread and press the seam allowance down.

STEP 3
Sew the remaining pieces together with right sides facing each other. Pin them together at the waistline first before sewing. The order from left to right should be: Center Back, Back 2, Back 3 Side, Front 3 Side, Front 2, Center Front.
Once sewn, fold and press the seams outward towards the center back on the wrong side of the shell corset, except the center front seams, which should be spread.

STEP 4
Prepare your Rigilene boning. Sew one piece of boning for each seam except the center front, which will have 2 bones. Ensure the boning is 1 inch shorter than the height of each seam. Round the boning ends with scissors or a lighter to prevent fabric ripping.
Flip each seam in the opposite direction and sew the boning onto the seam fabric only. When you flip the seam back, the boning should be between the fabric layers.
For more help, watch this video on different ways to sew boning: https://youtu.be/df6jHrj2Lfo?si=3b4e2ddaS1eRqSyV

STEP 5
Flip the shell corset right side up. With the seams pointing outwards on the wrong side, topstitch the seams down following the width of the boning with a zipper foot.

STEP 6
Repeat the steps for creating your lining, but the lining does not need boning.

STEP 7
Stack the shell and lining with right sides facing each other, and sew them along the sides and top edges only.

STEP 8
Flip the shell and lining right side out. Trim the seam allowance if necessary for a sharper fold. Topstitch as close to the edge as possible around the side and top edges.

STEP 9
On the center back pieces, sew 3 vertical lines following the center back edge, 0.5 inches apart.

STEP 10
Insert 2 pieces of boning for each side. One bone should go into the tunnel closest to the center back edge, and the other in the last tunnel, leaving the center tunnel empty for installing eyelets.

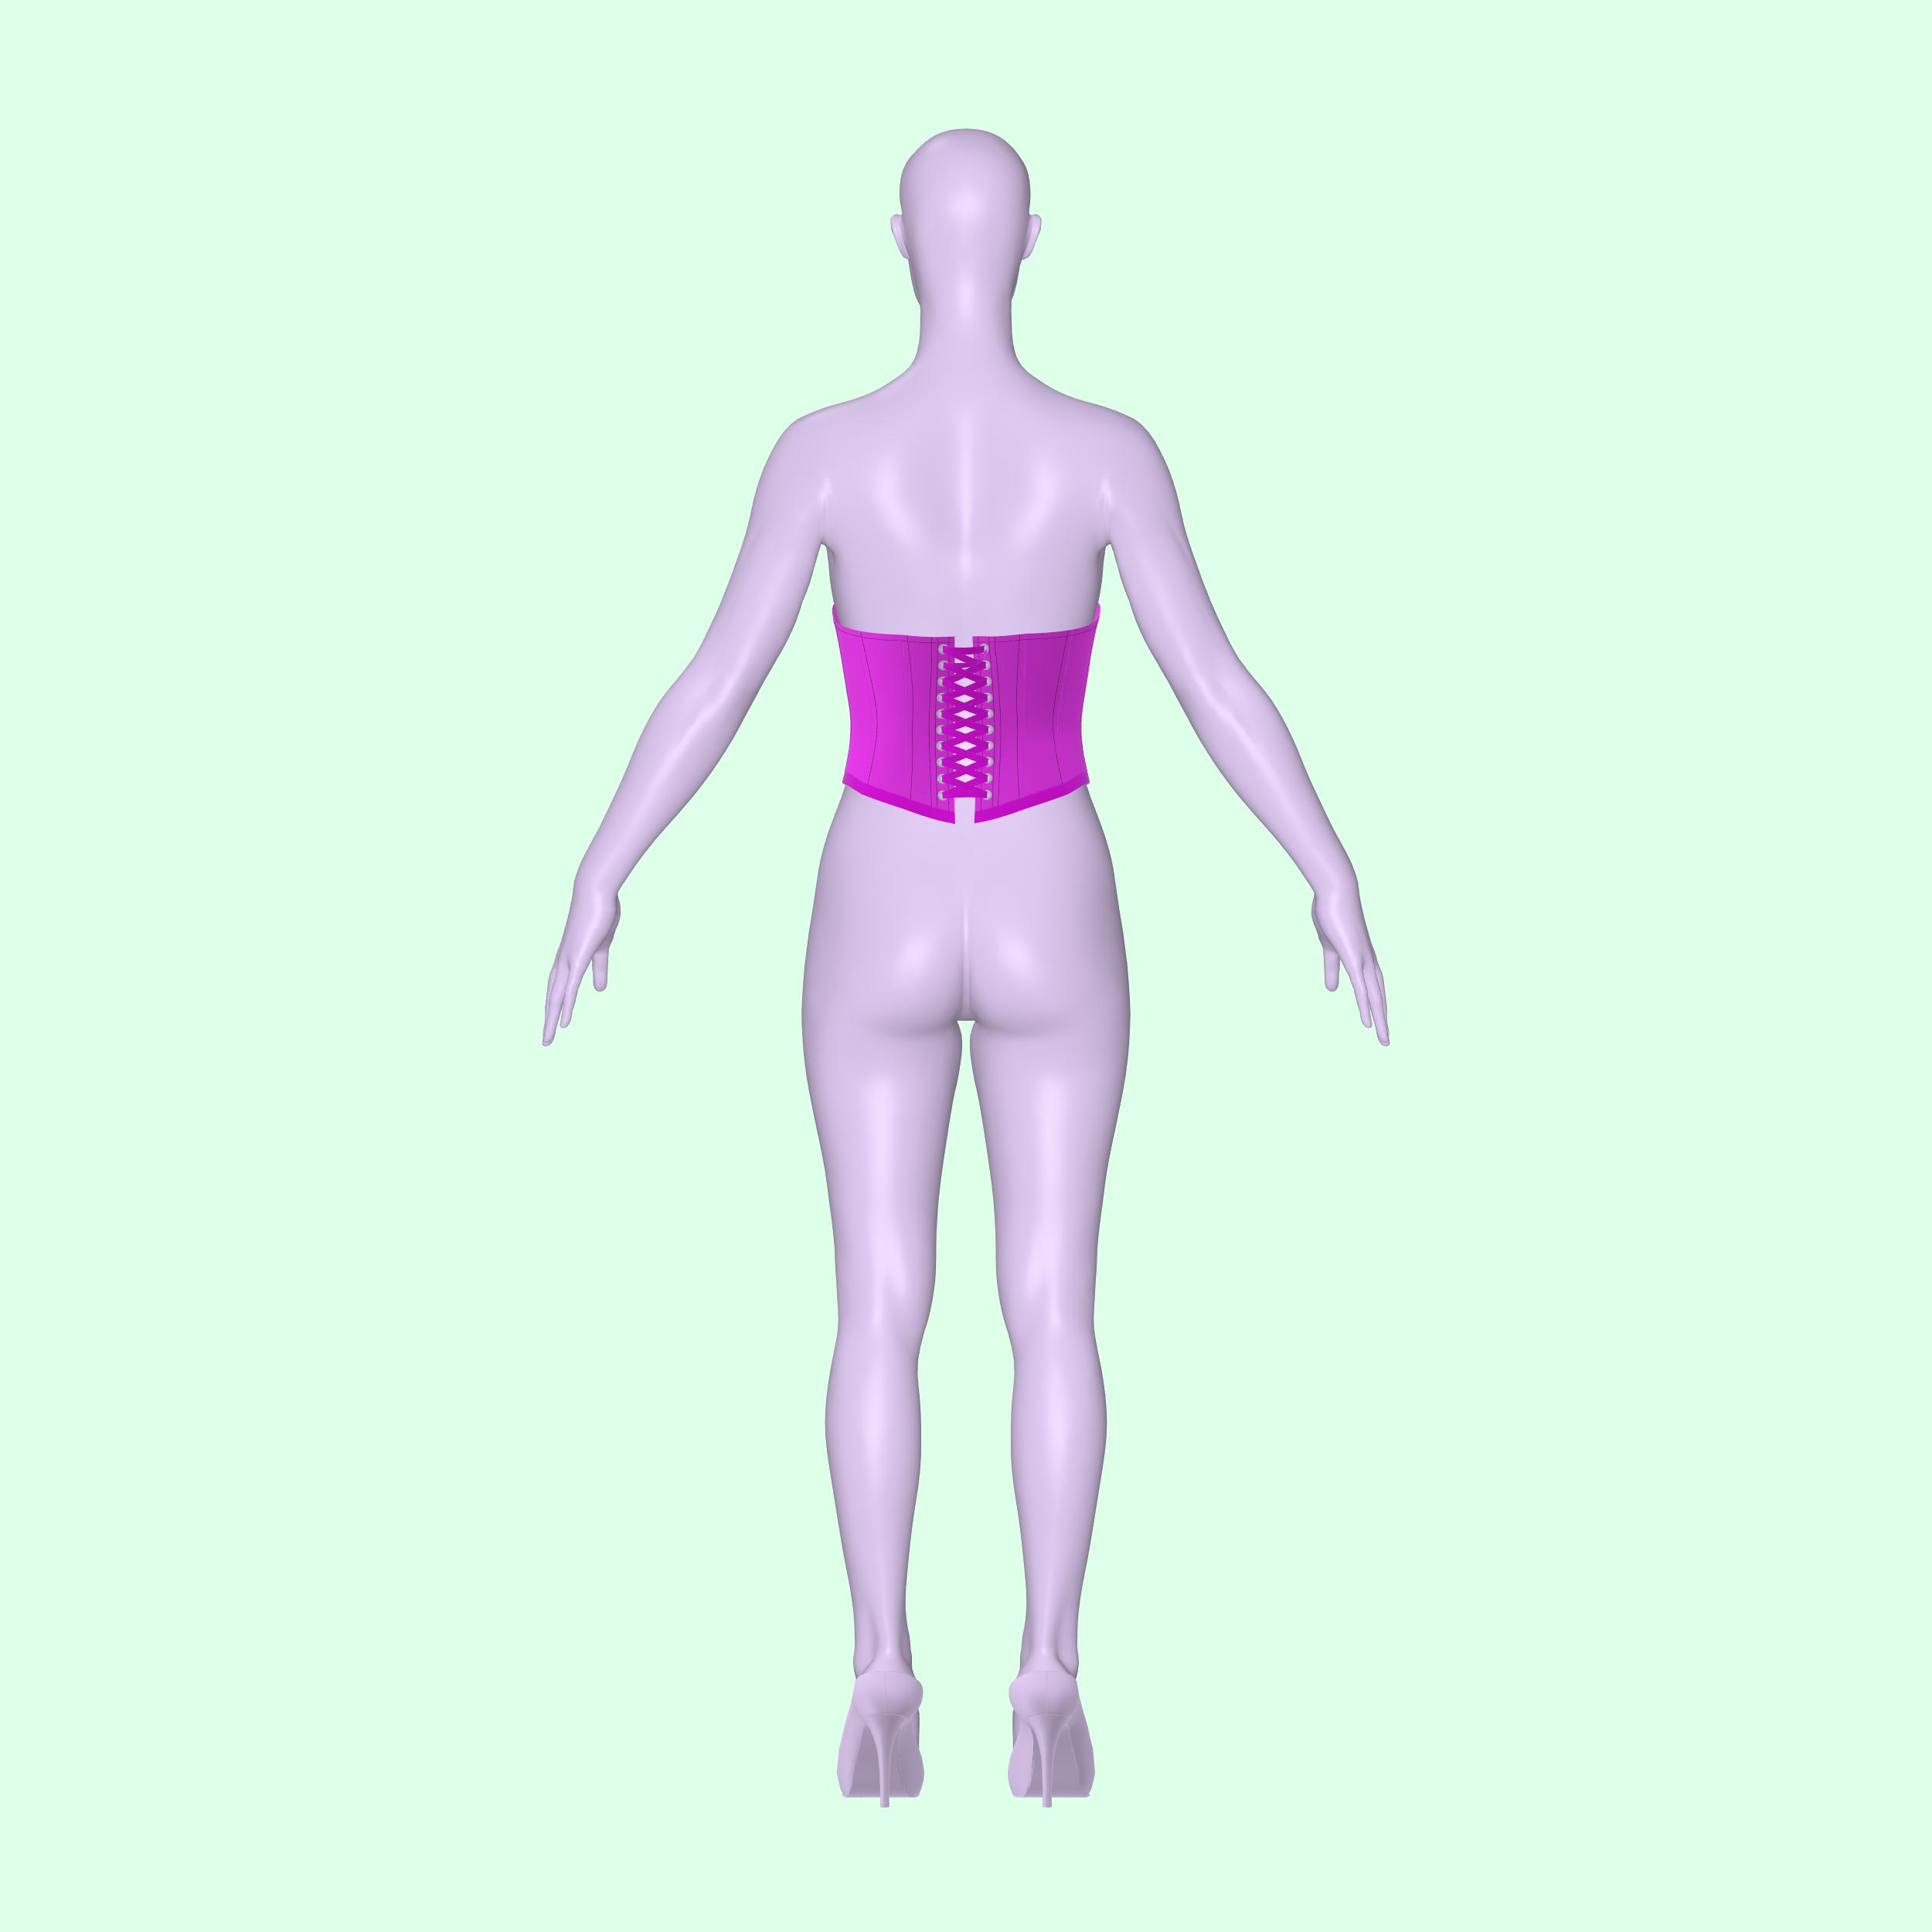
STEP 11
Install 10 eyelets no wider than 0.5 inches each on the center tunnels for both sides of the center back pieces.
For help on how to lace up your corset, watch this video: https://www.youtube.com/watch?v=r5dVA_DMy1c&t=288s

STEP 12
Hem the bottom of the corset or sew on double-folded bias tape/trim.