Cómo coser un bolso de gran tamaño
Saltar a instrucciones
Descripción general
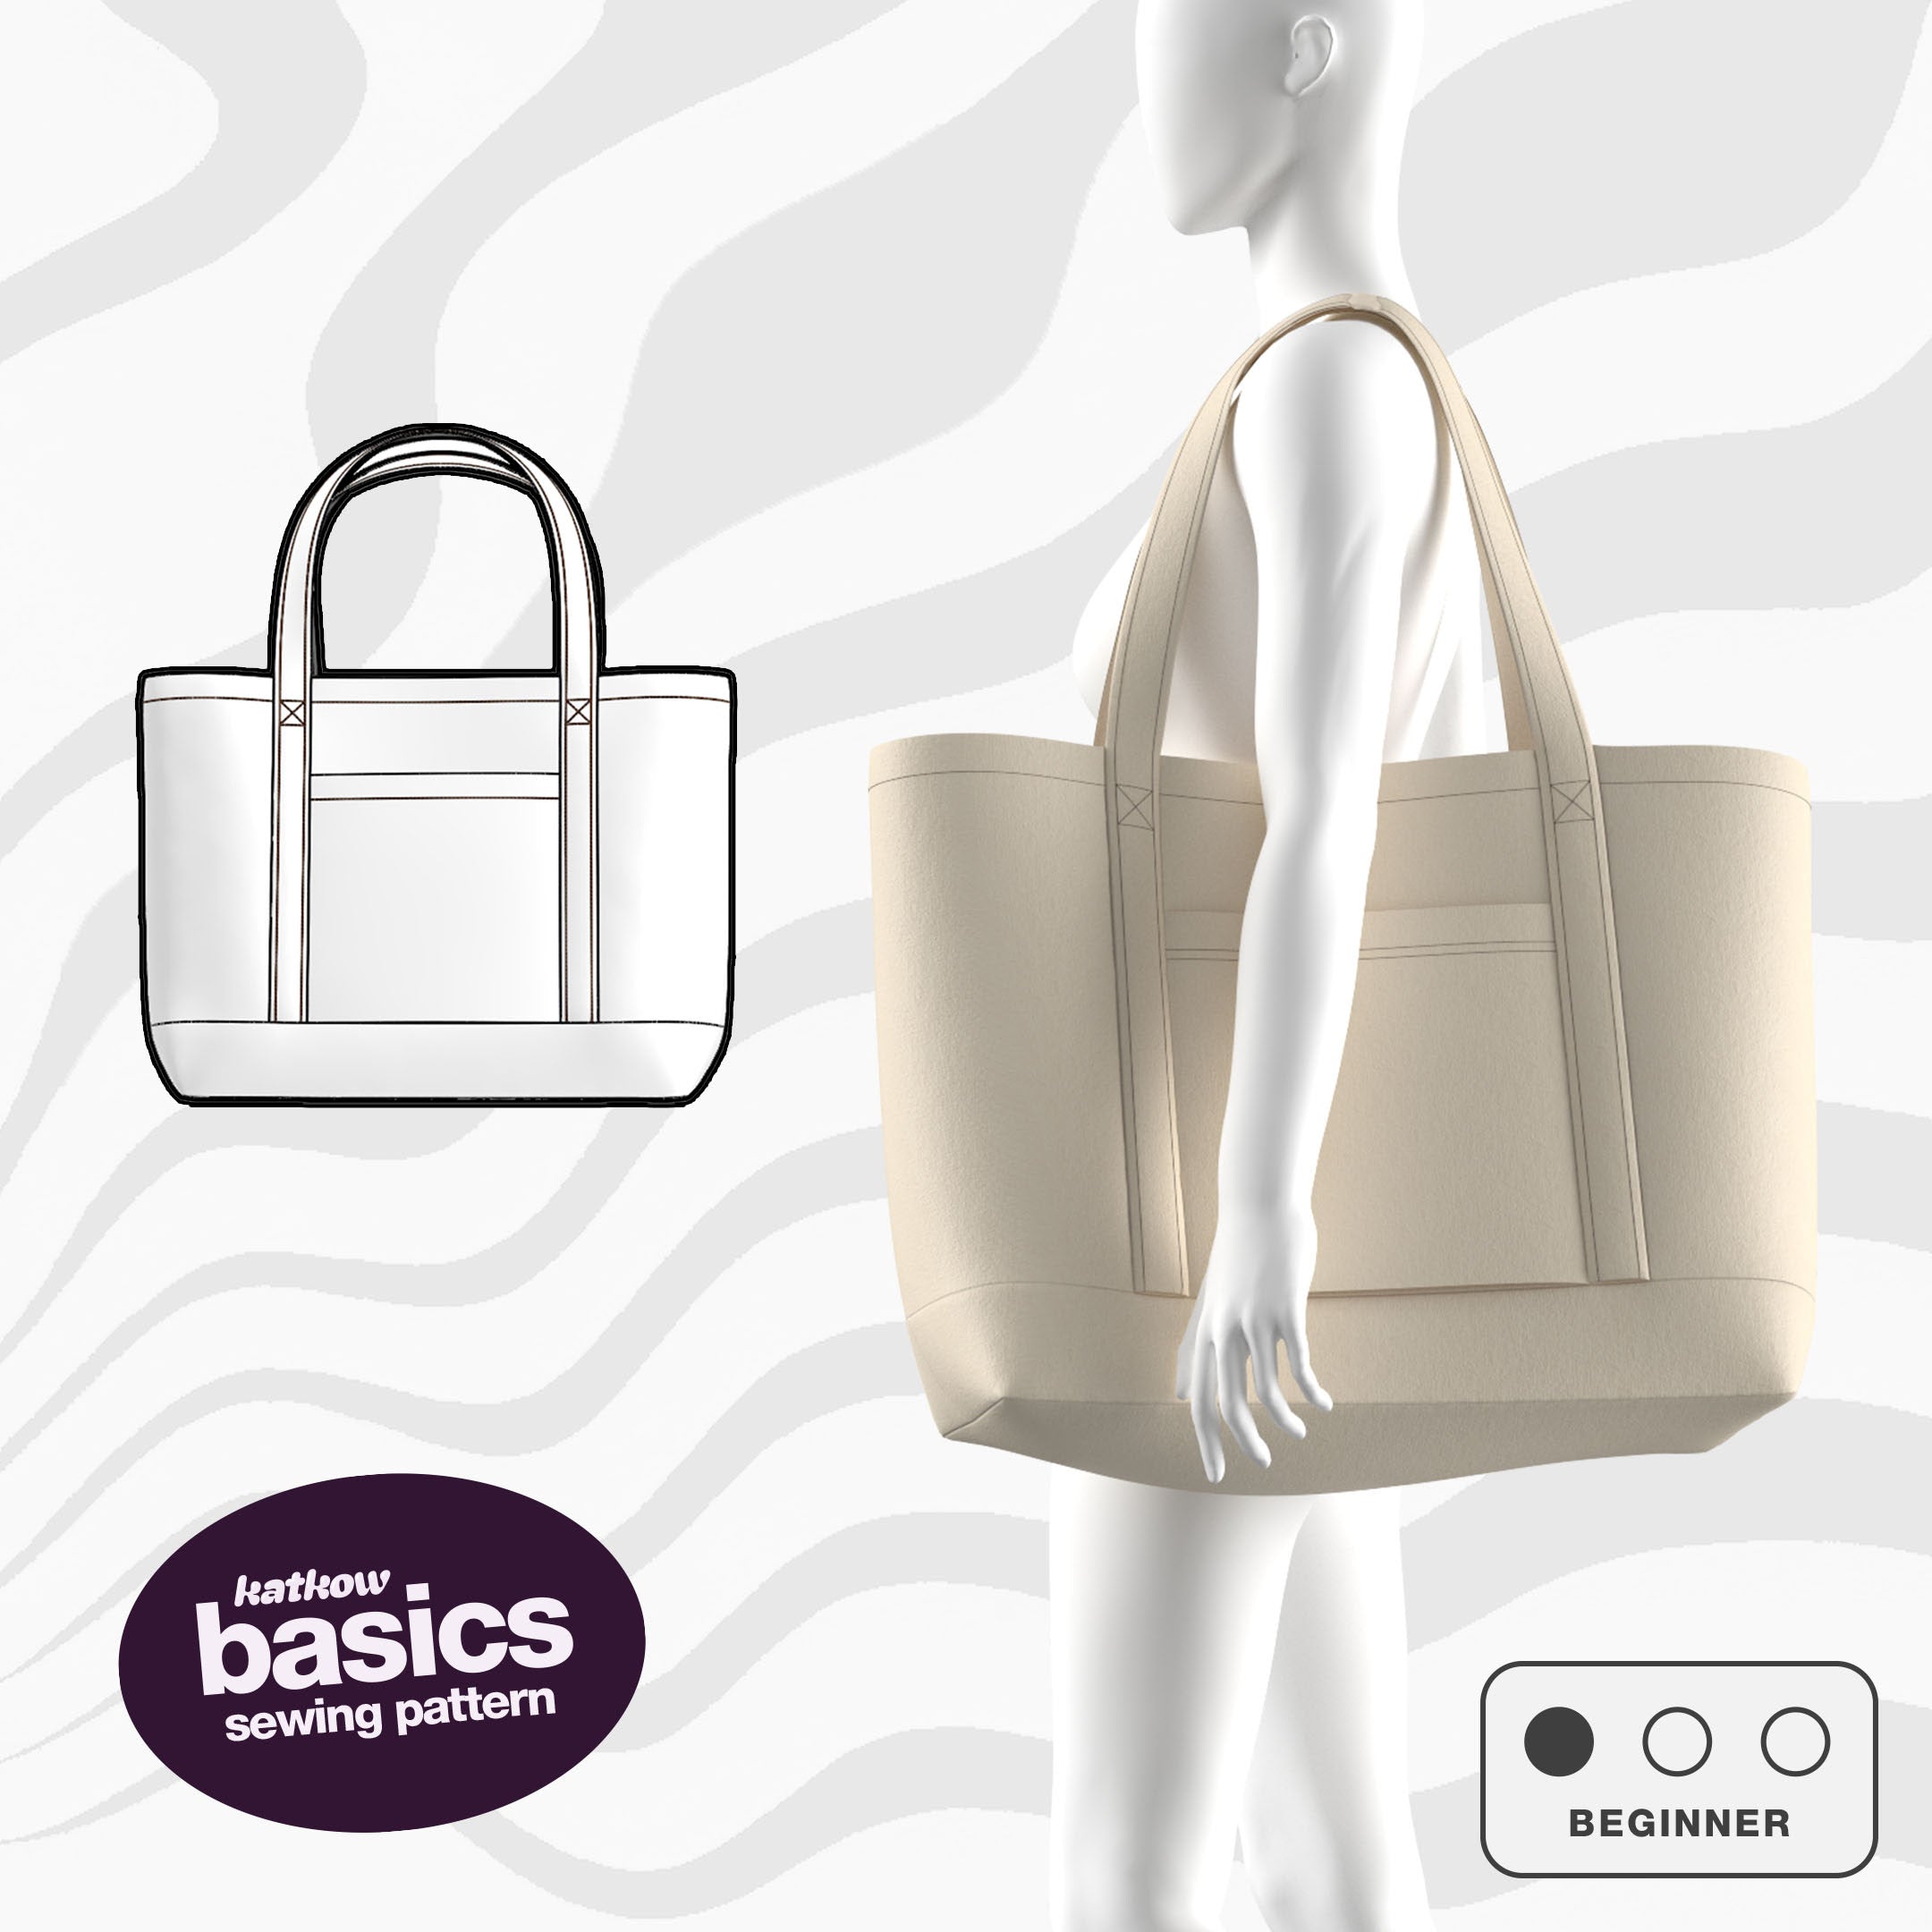
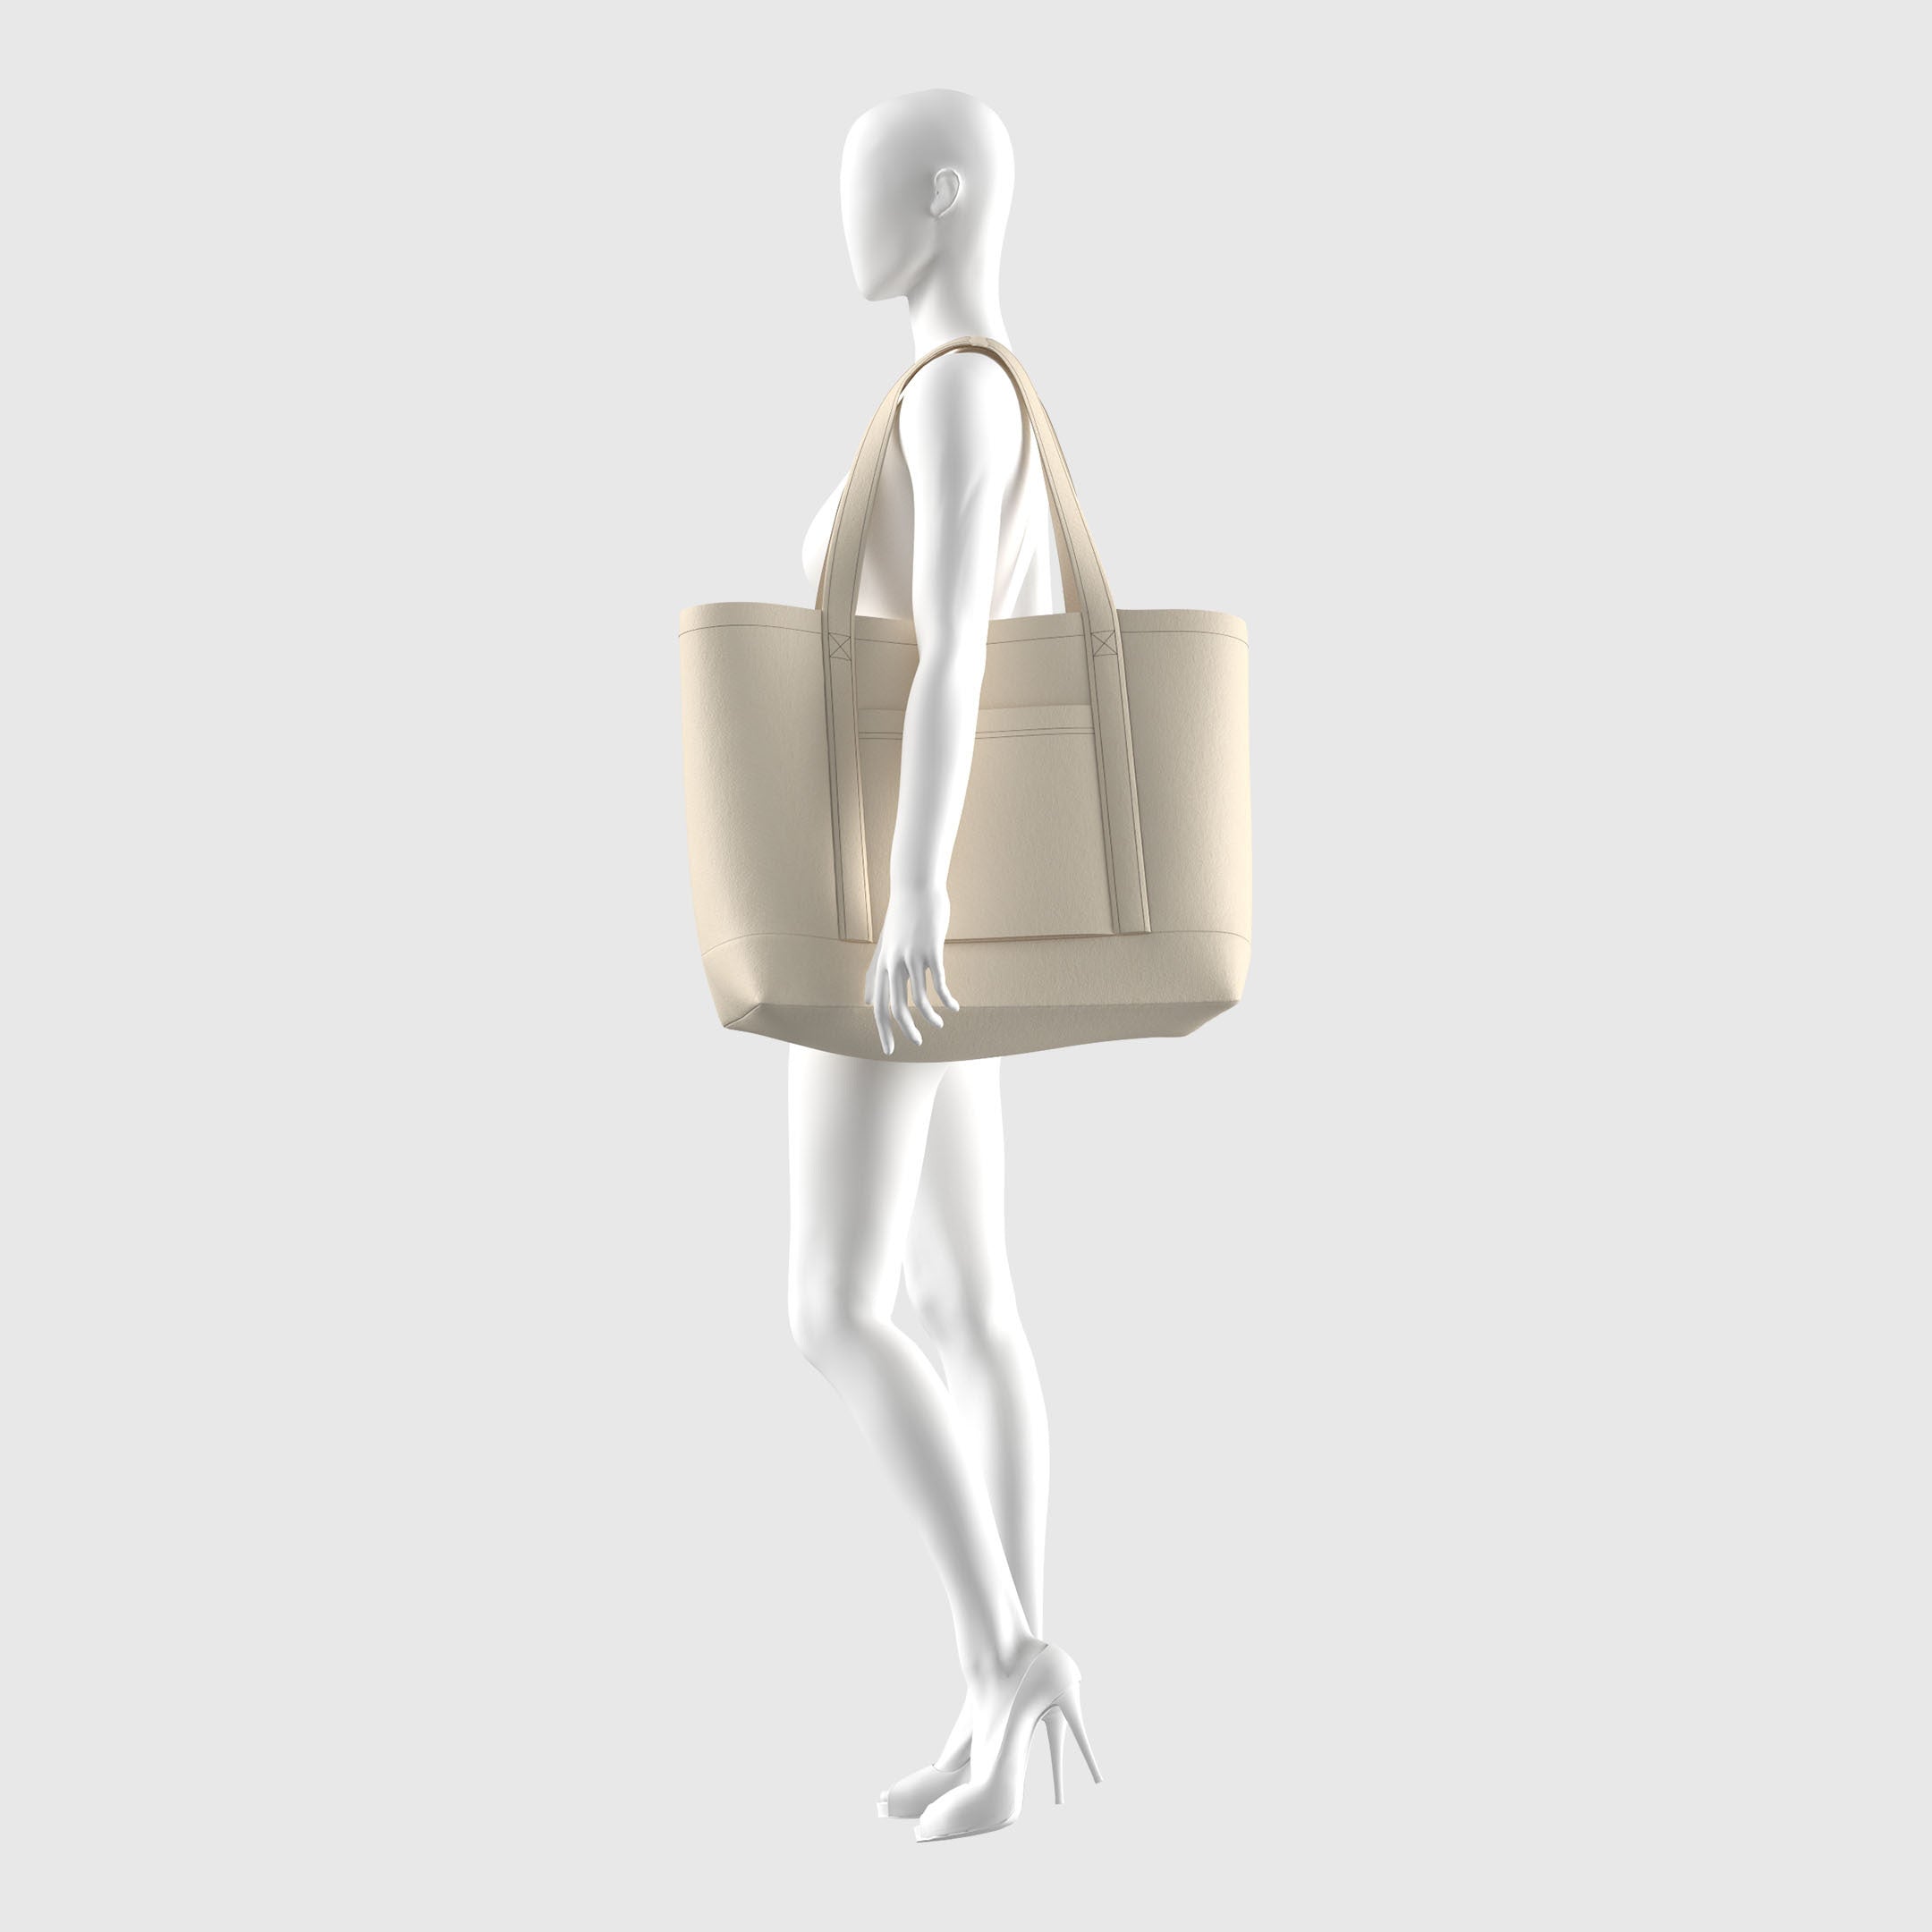
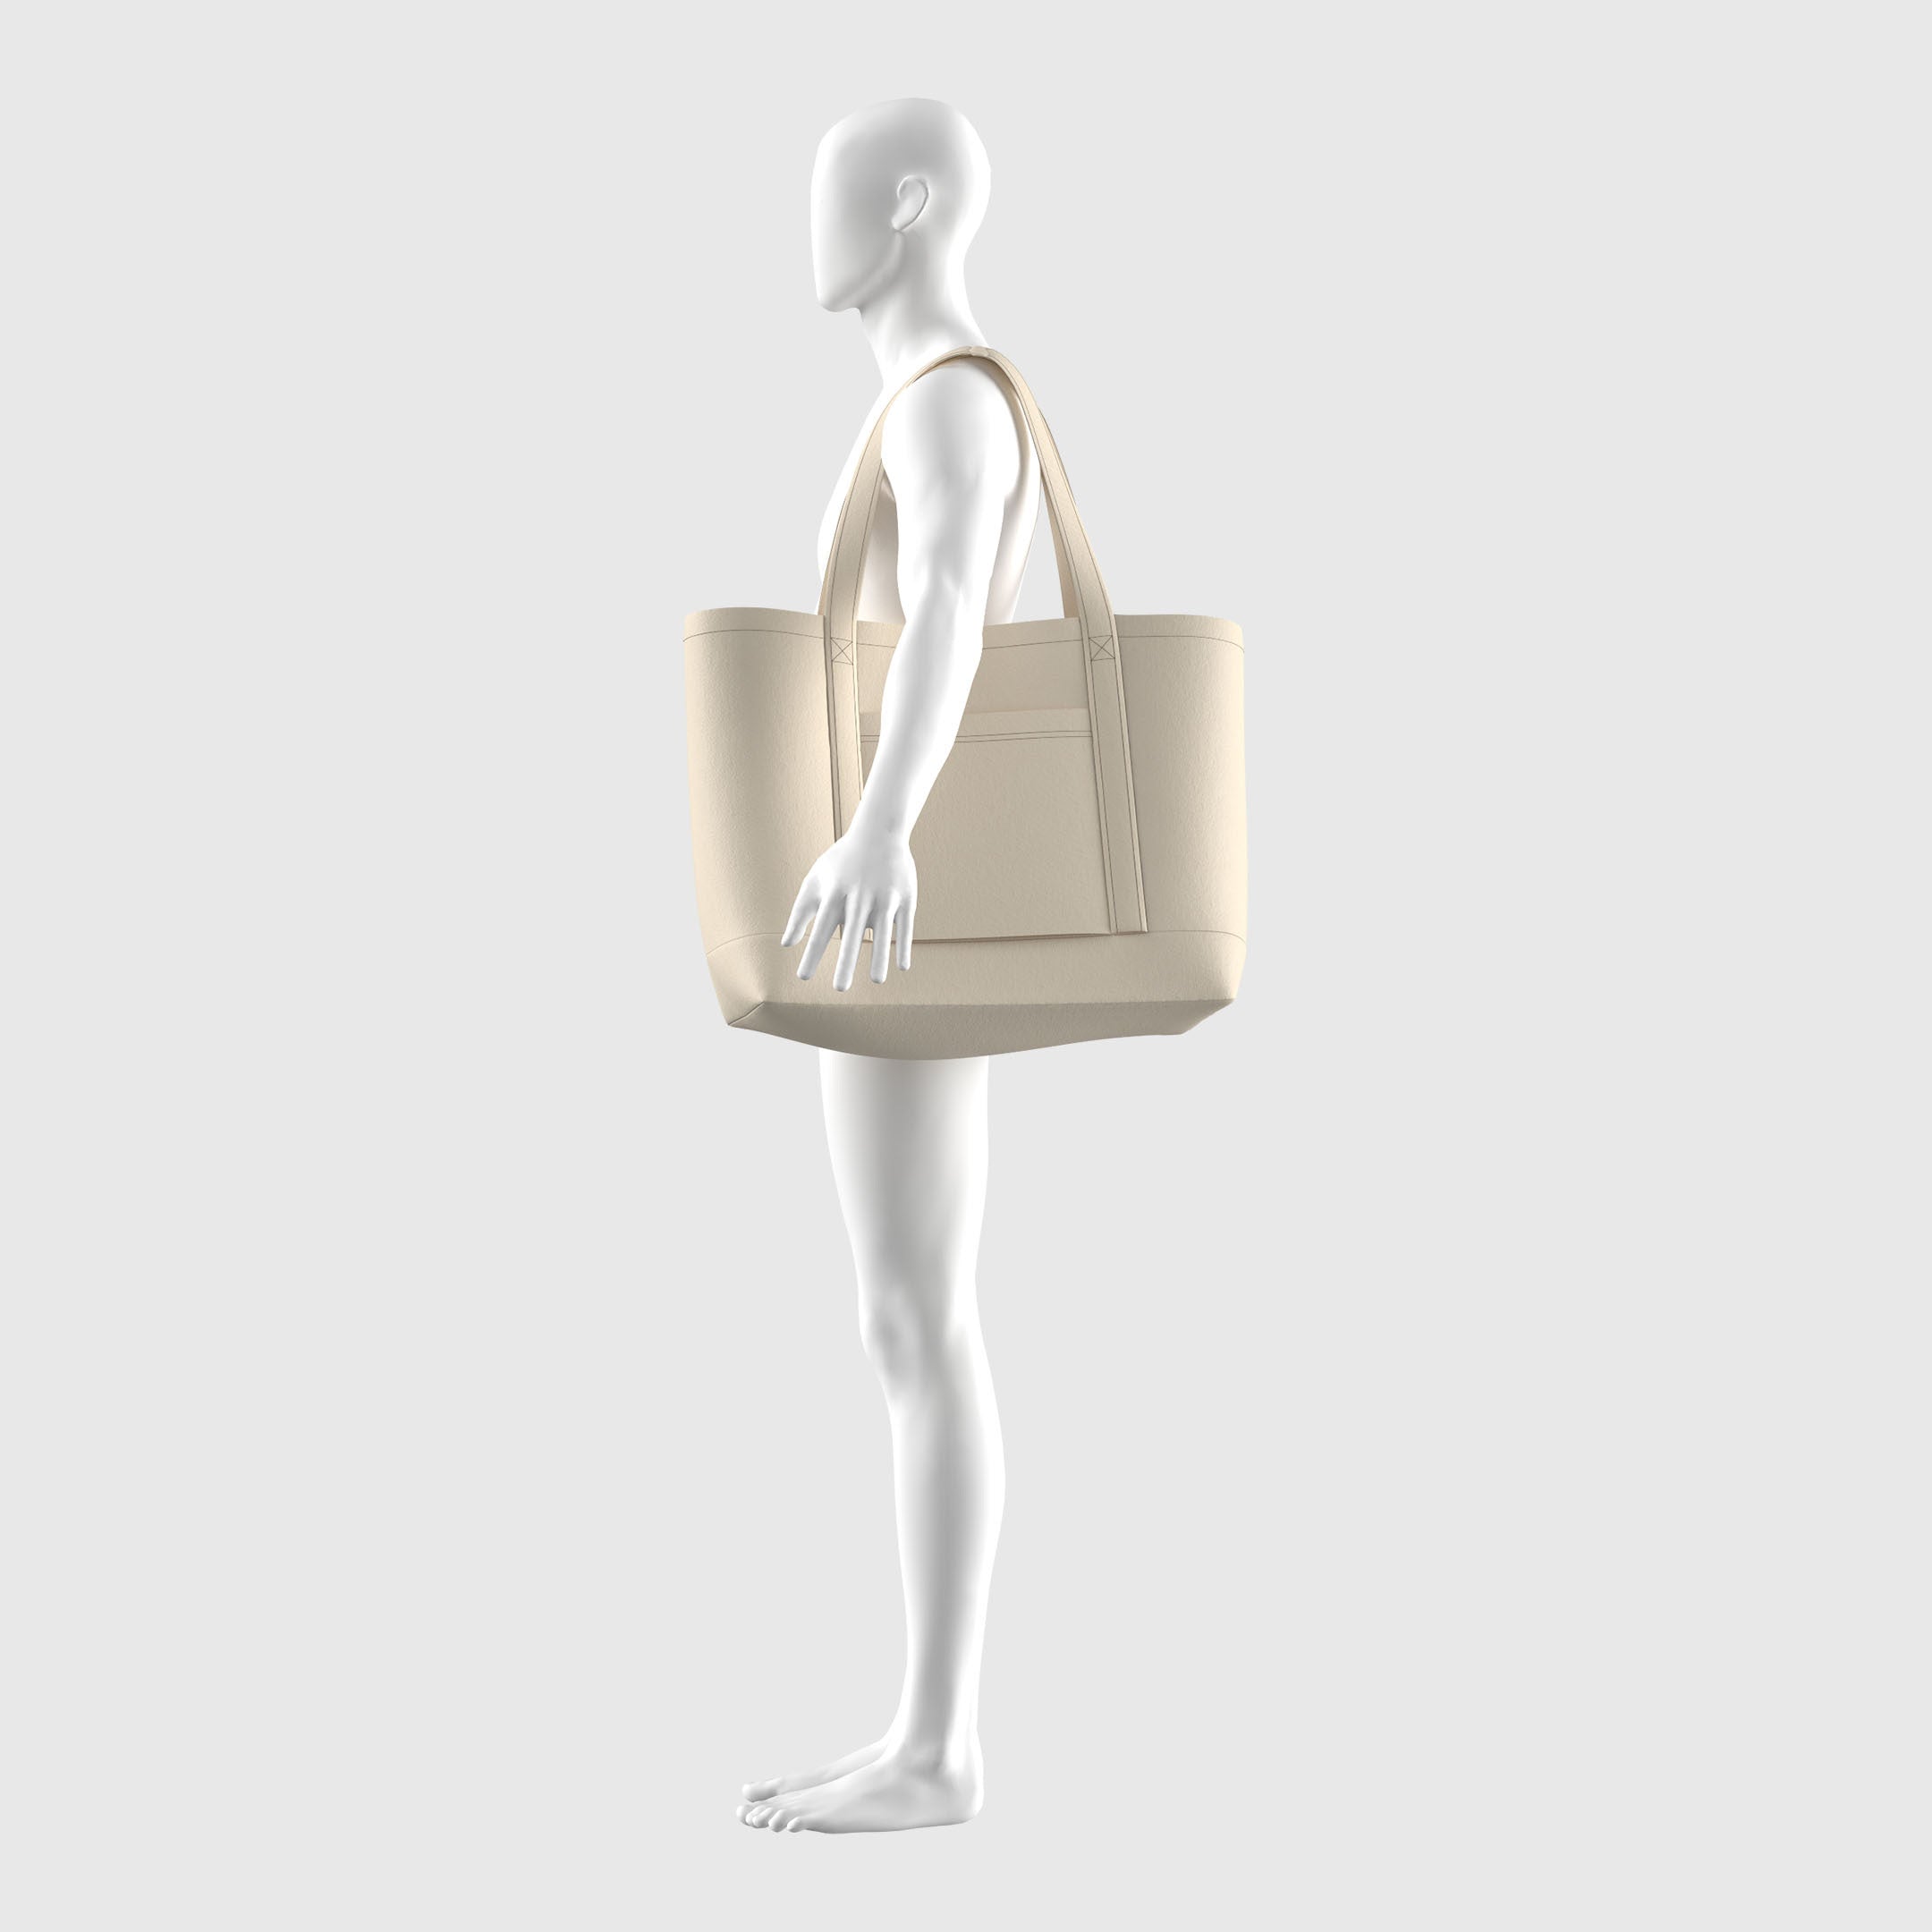
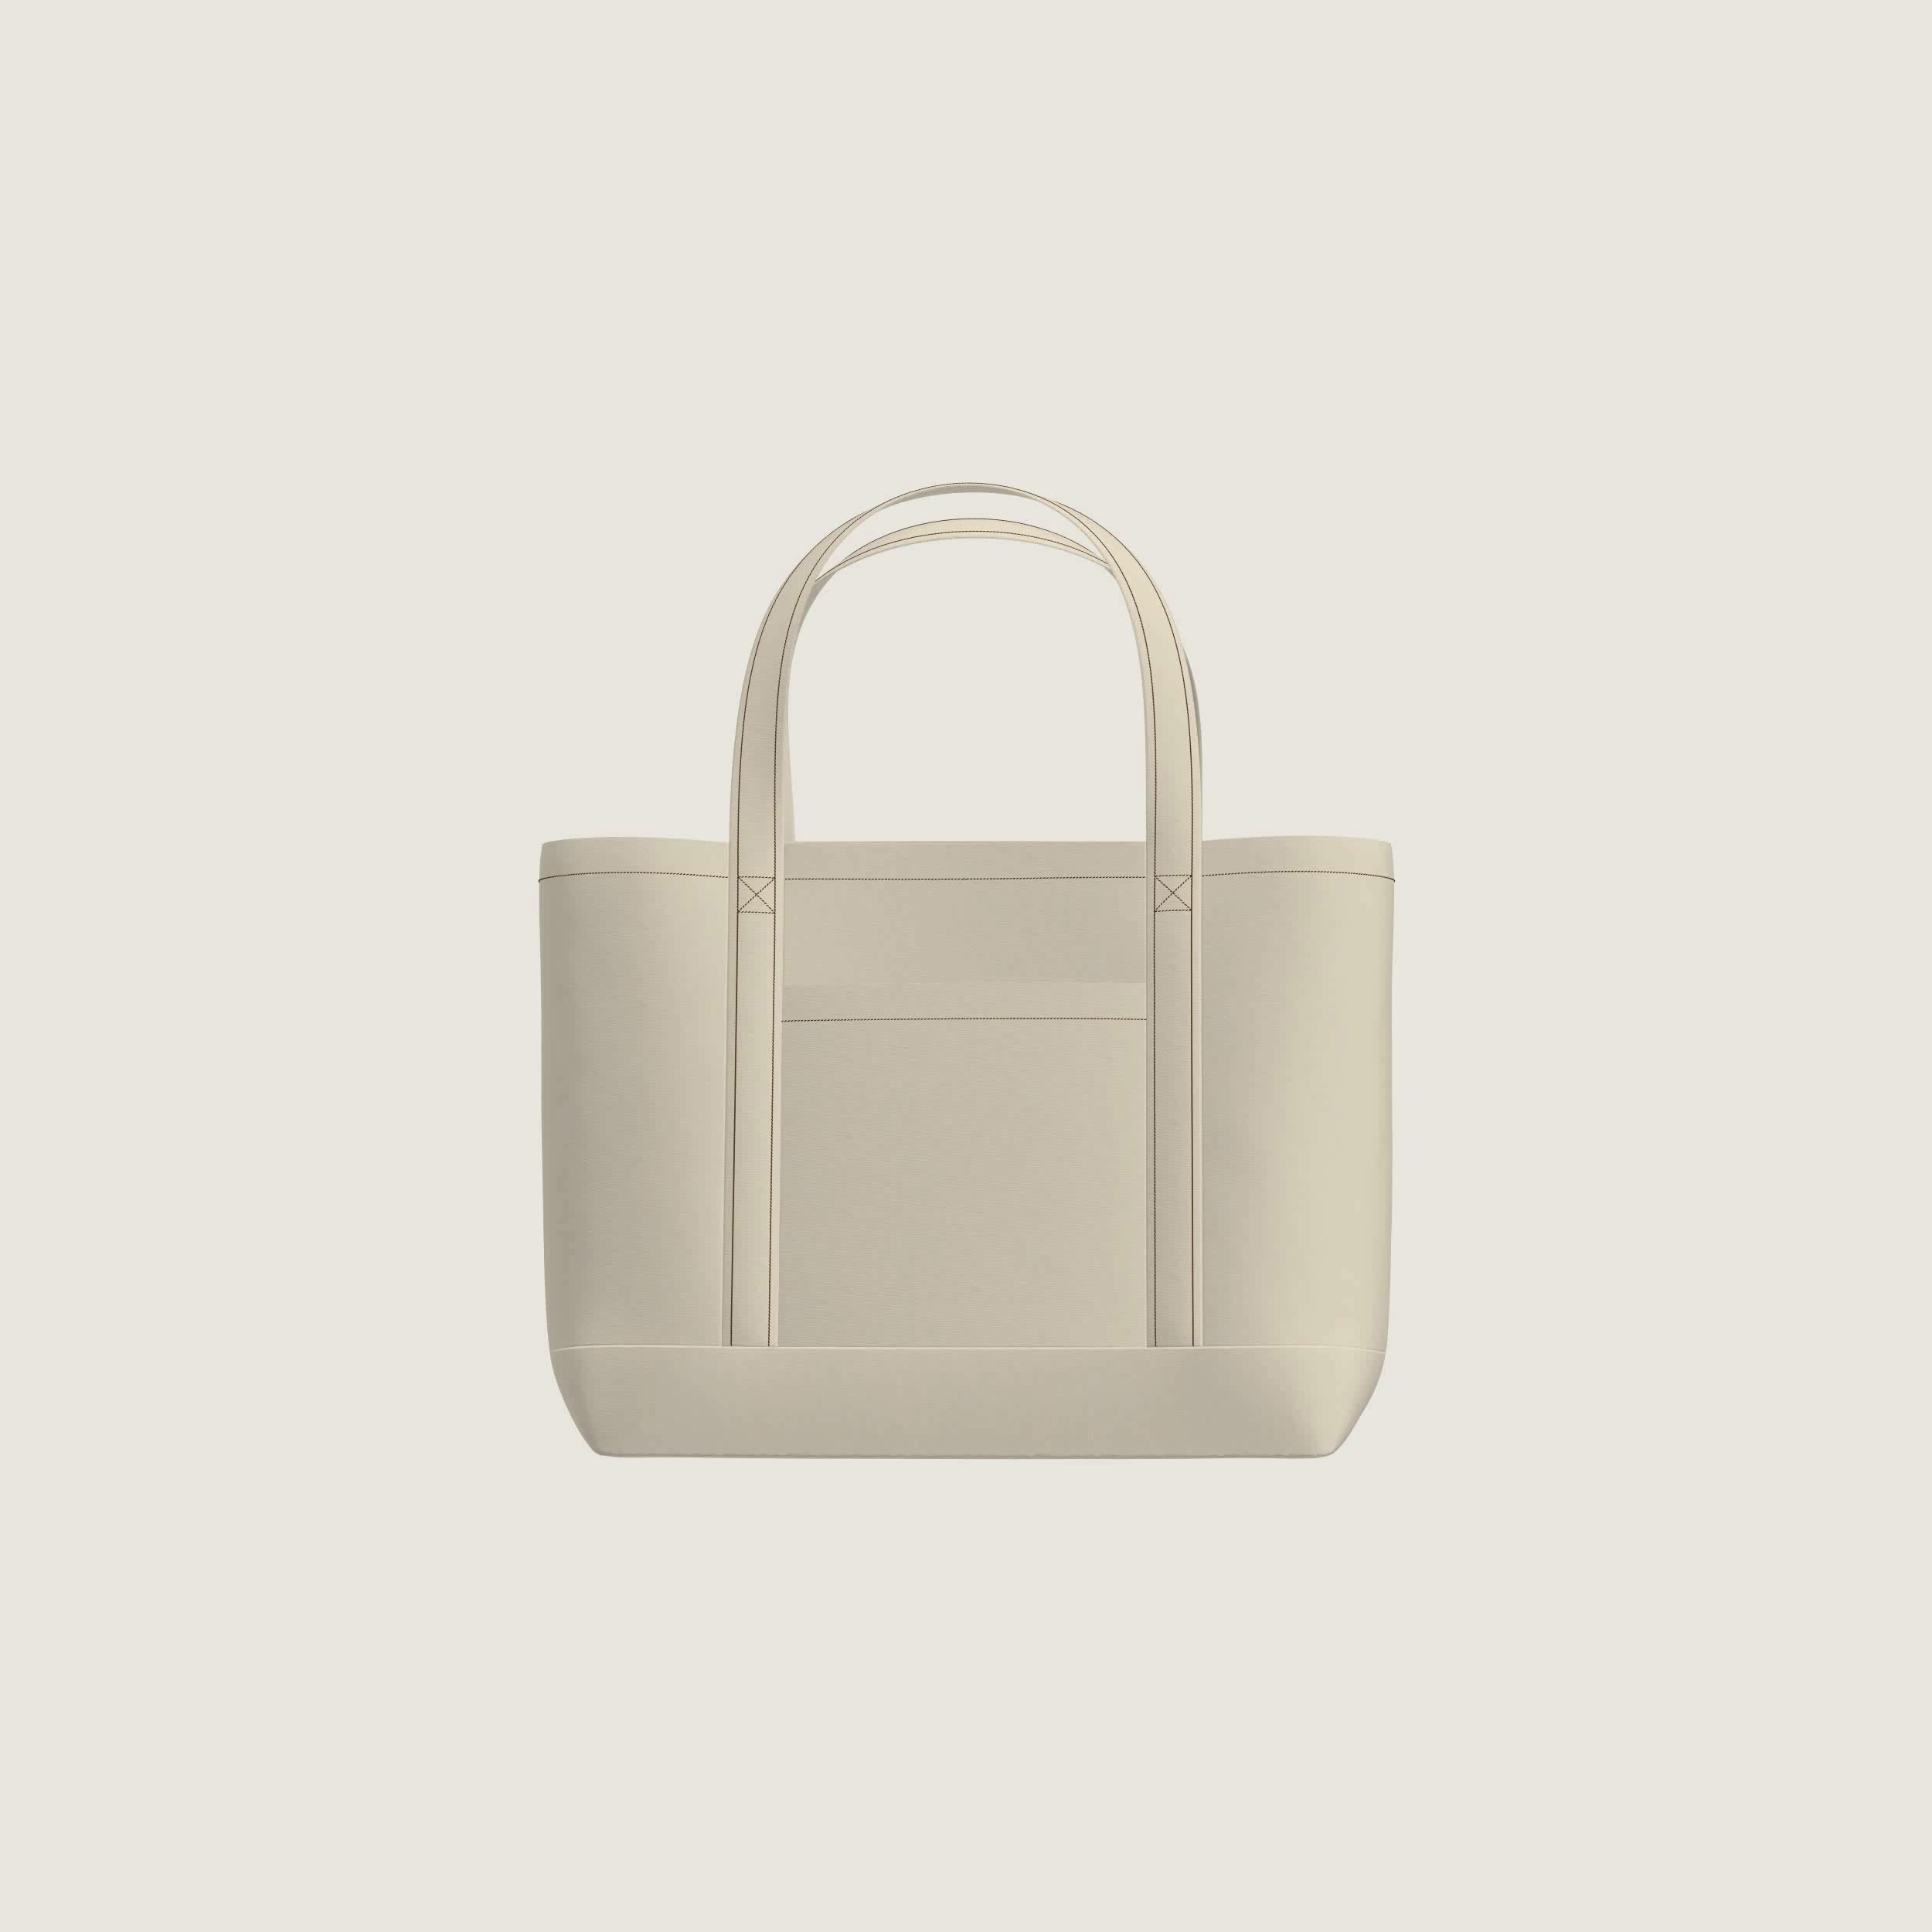
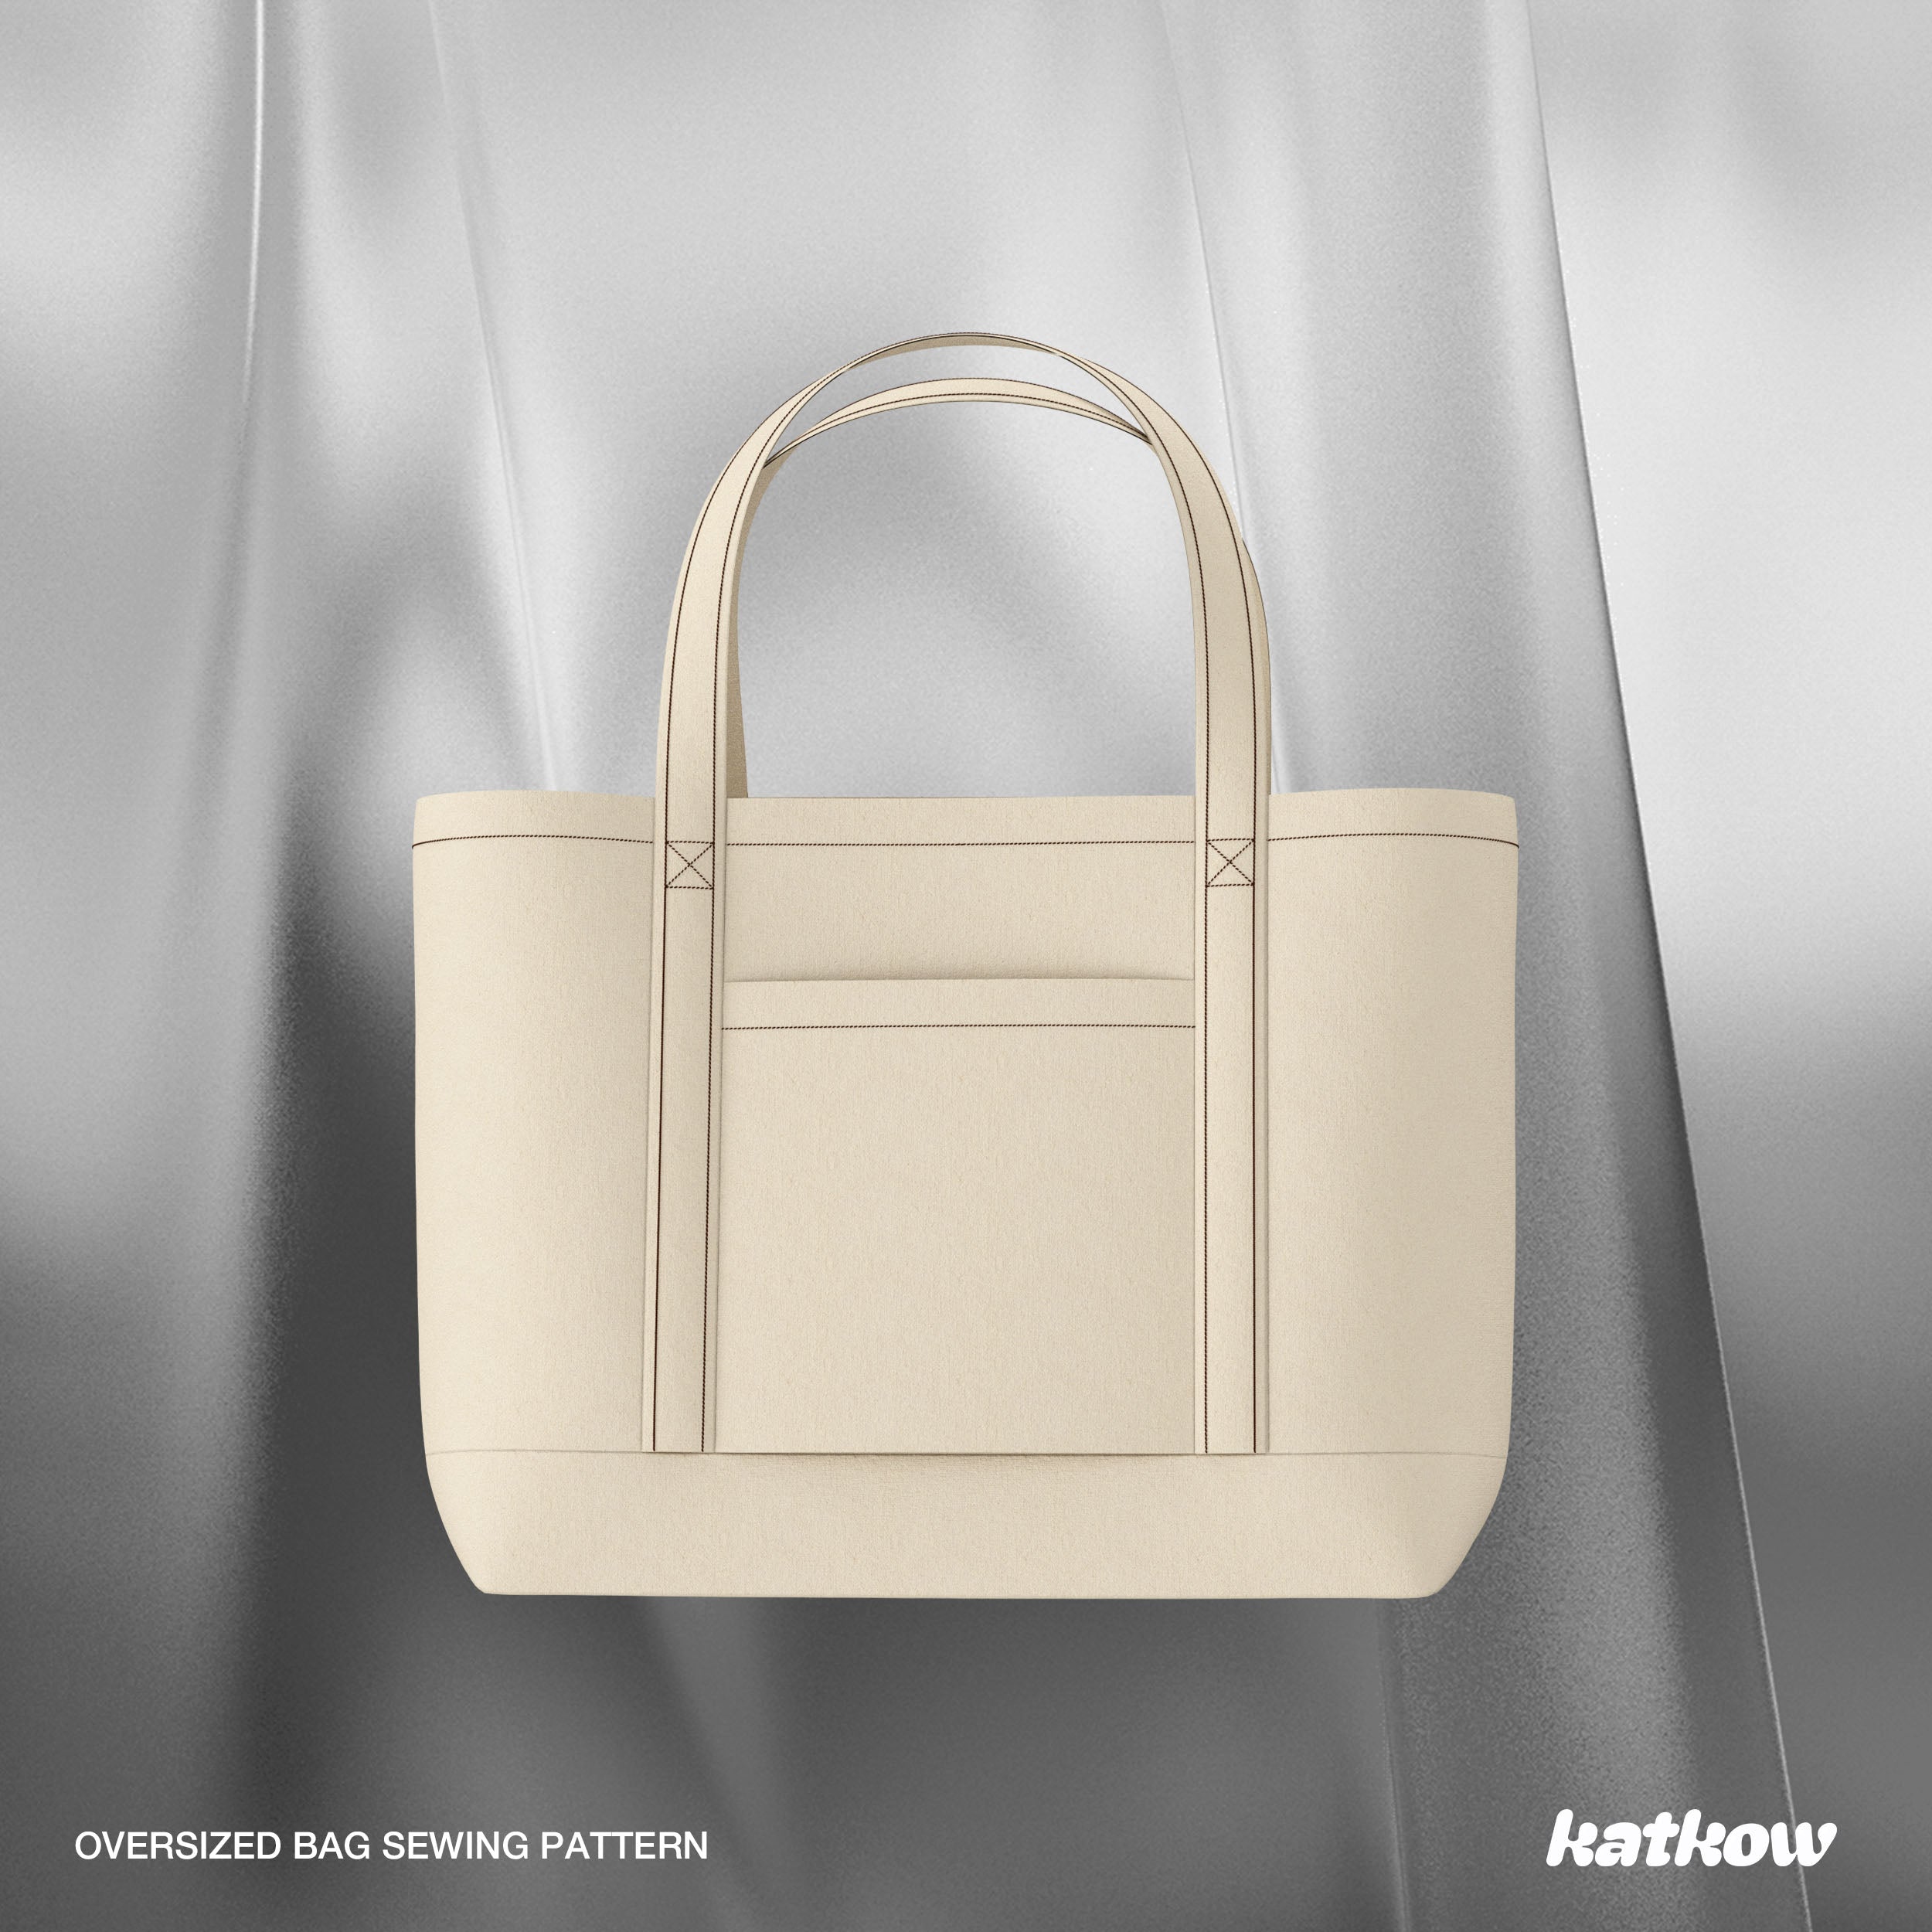
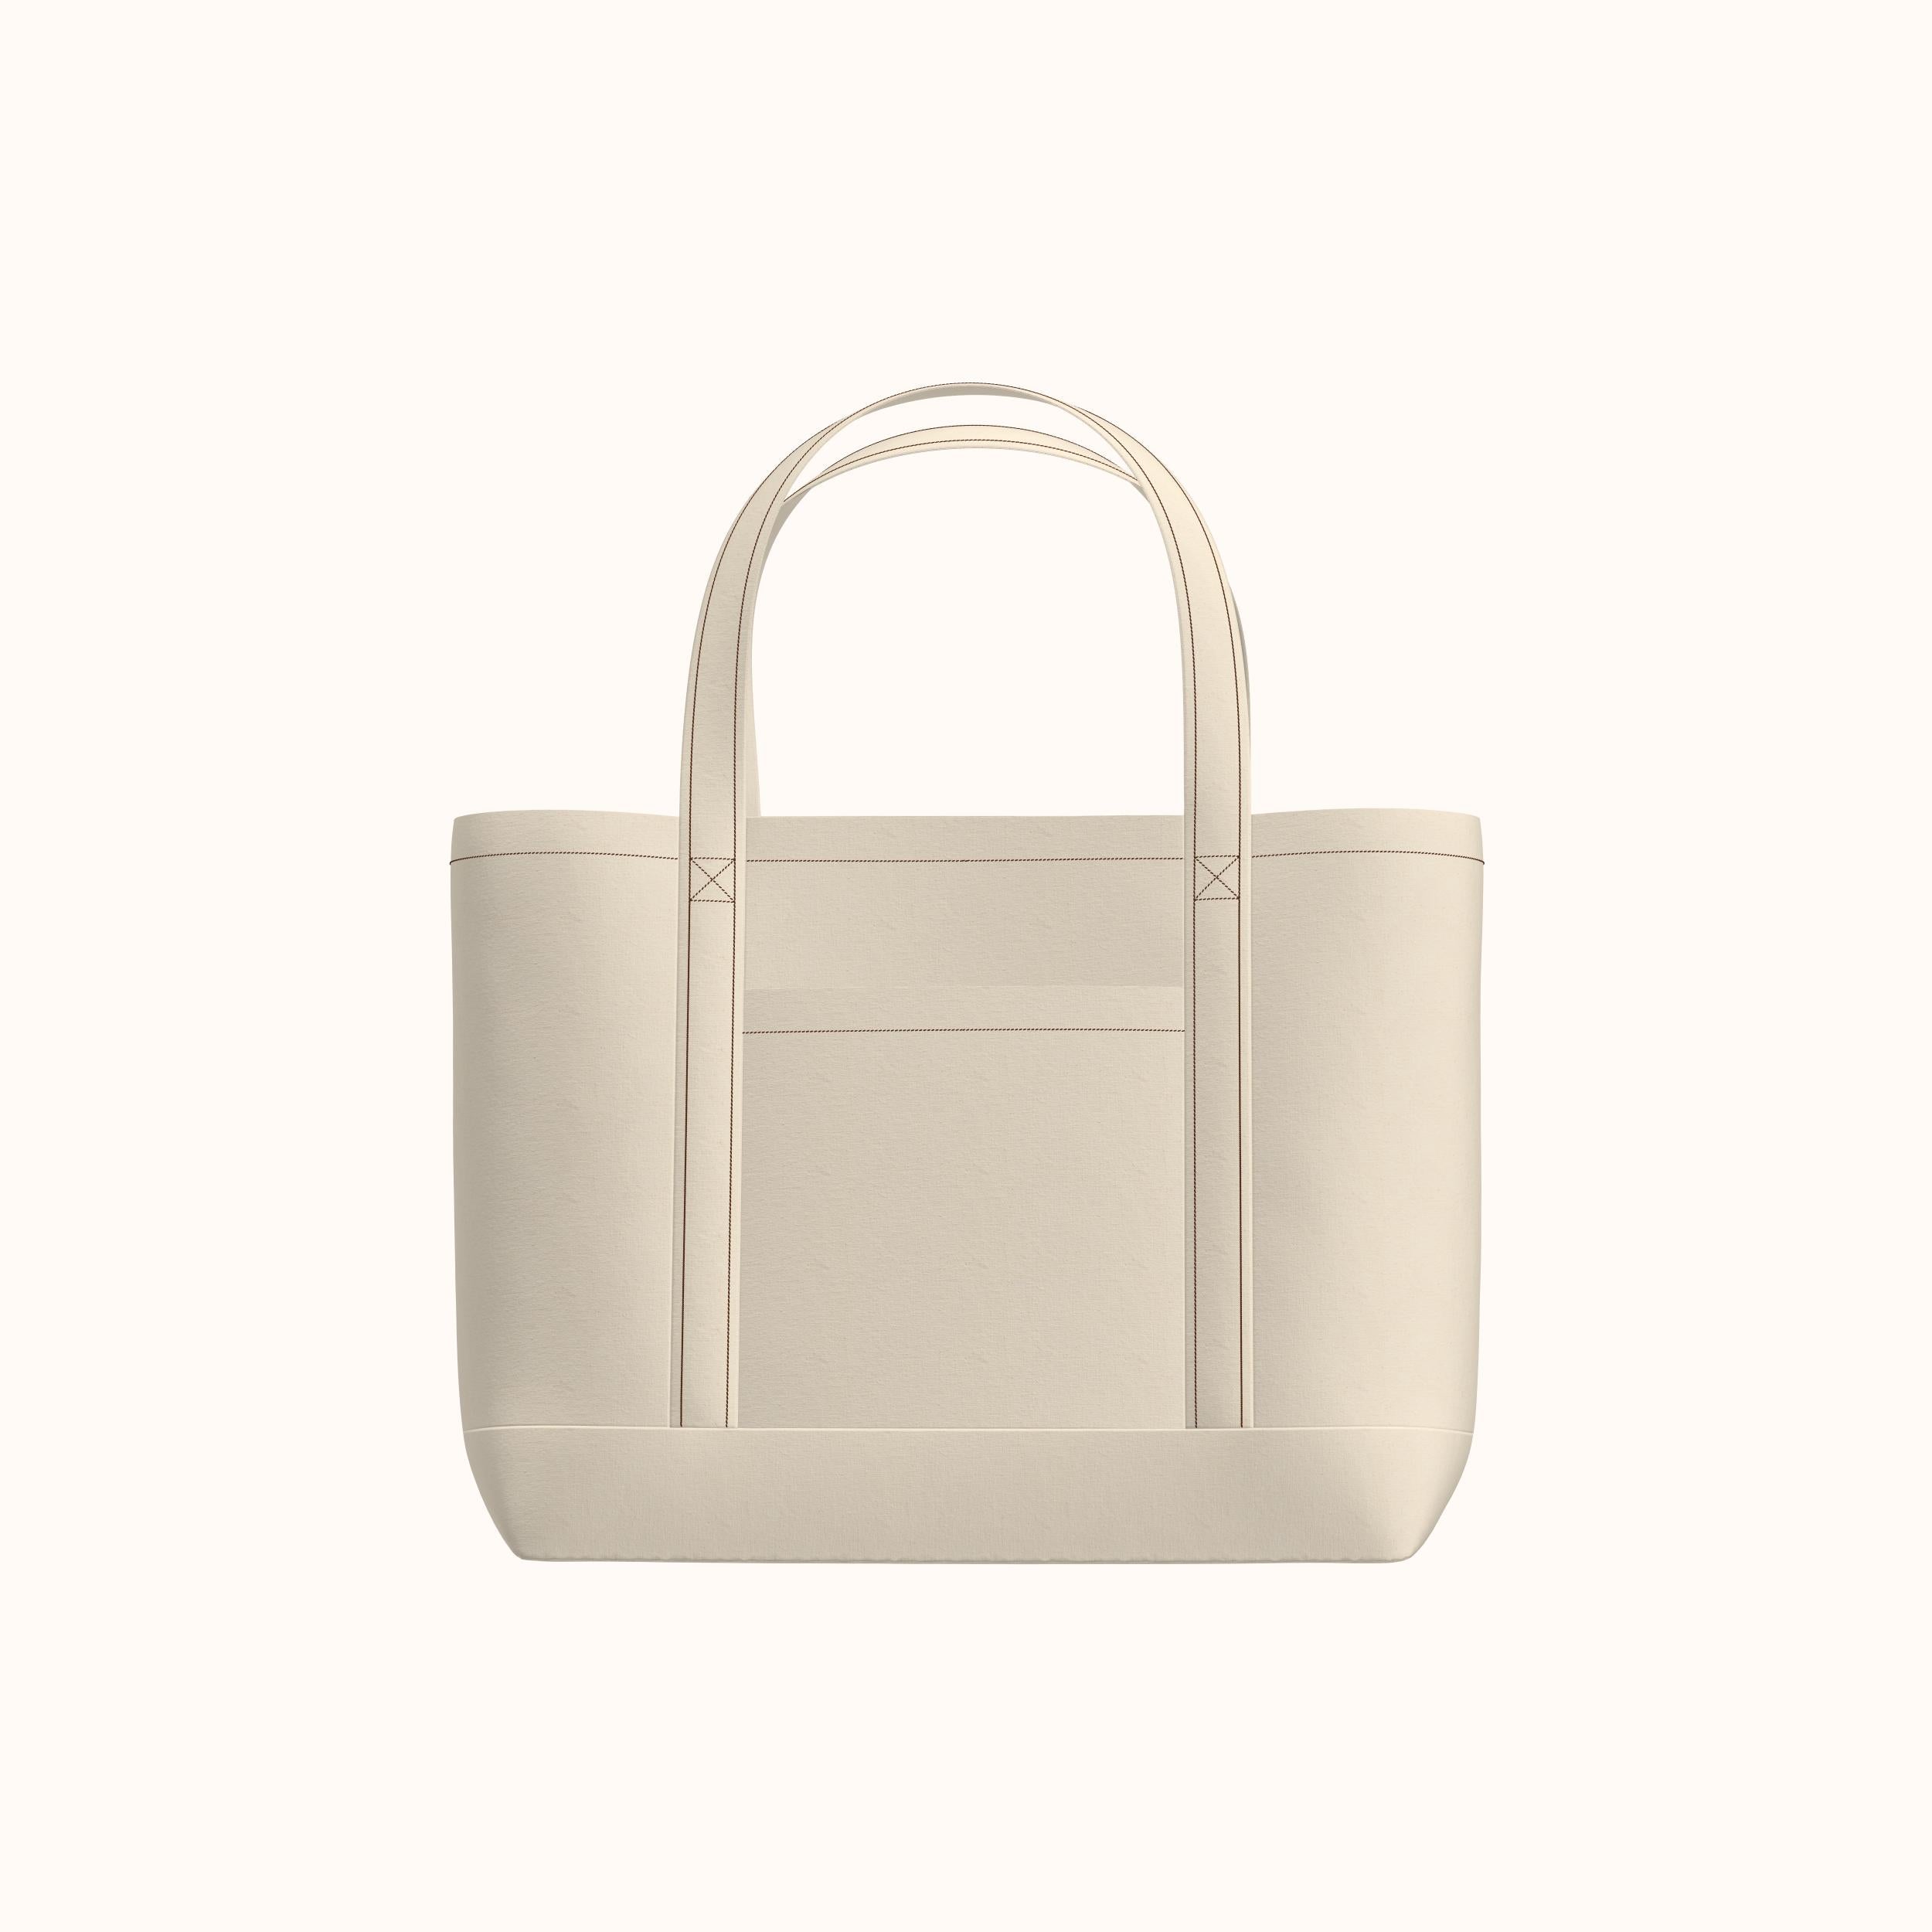
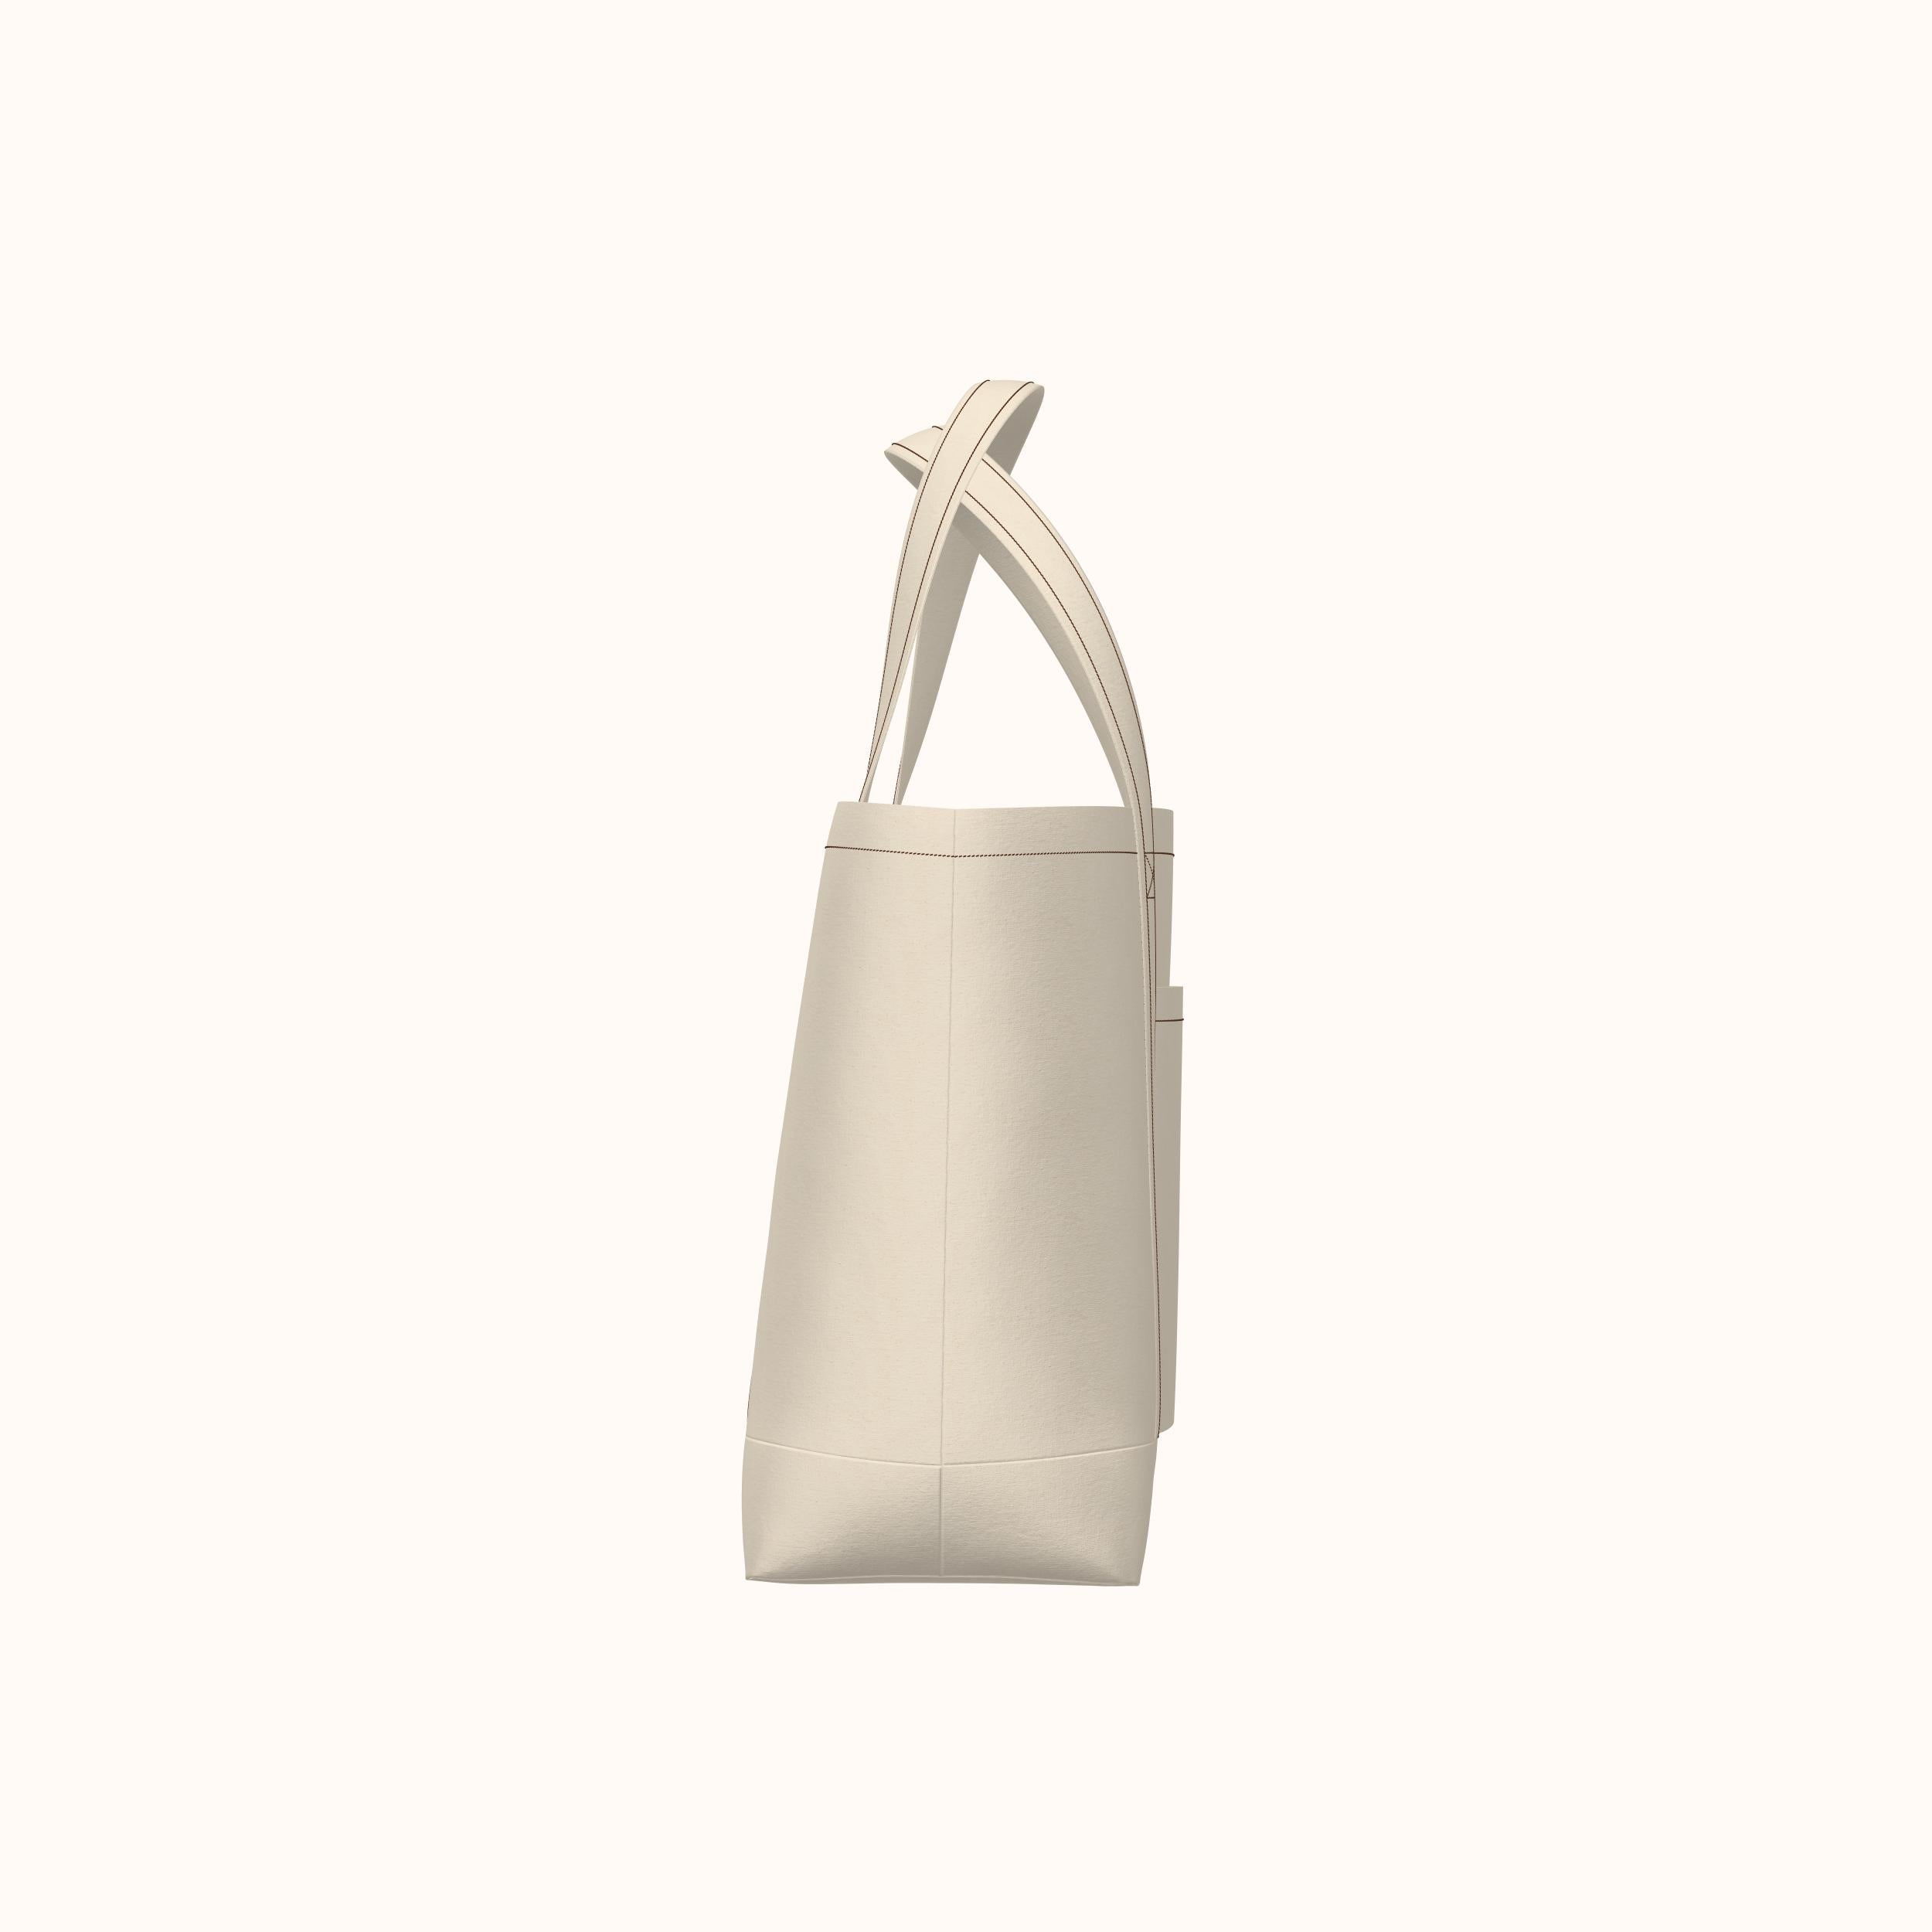
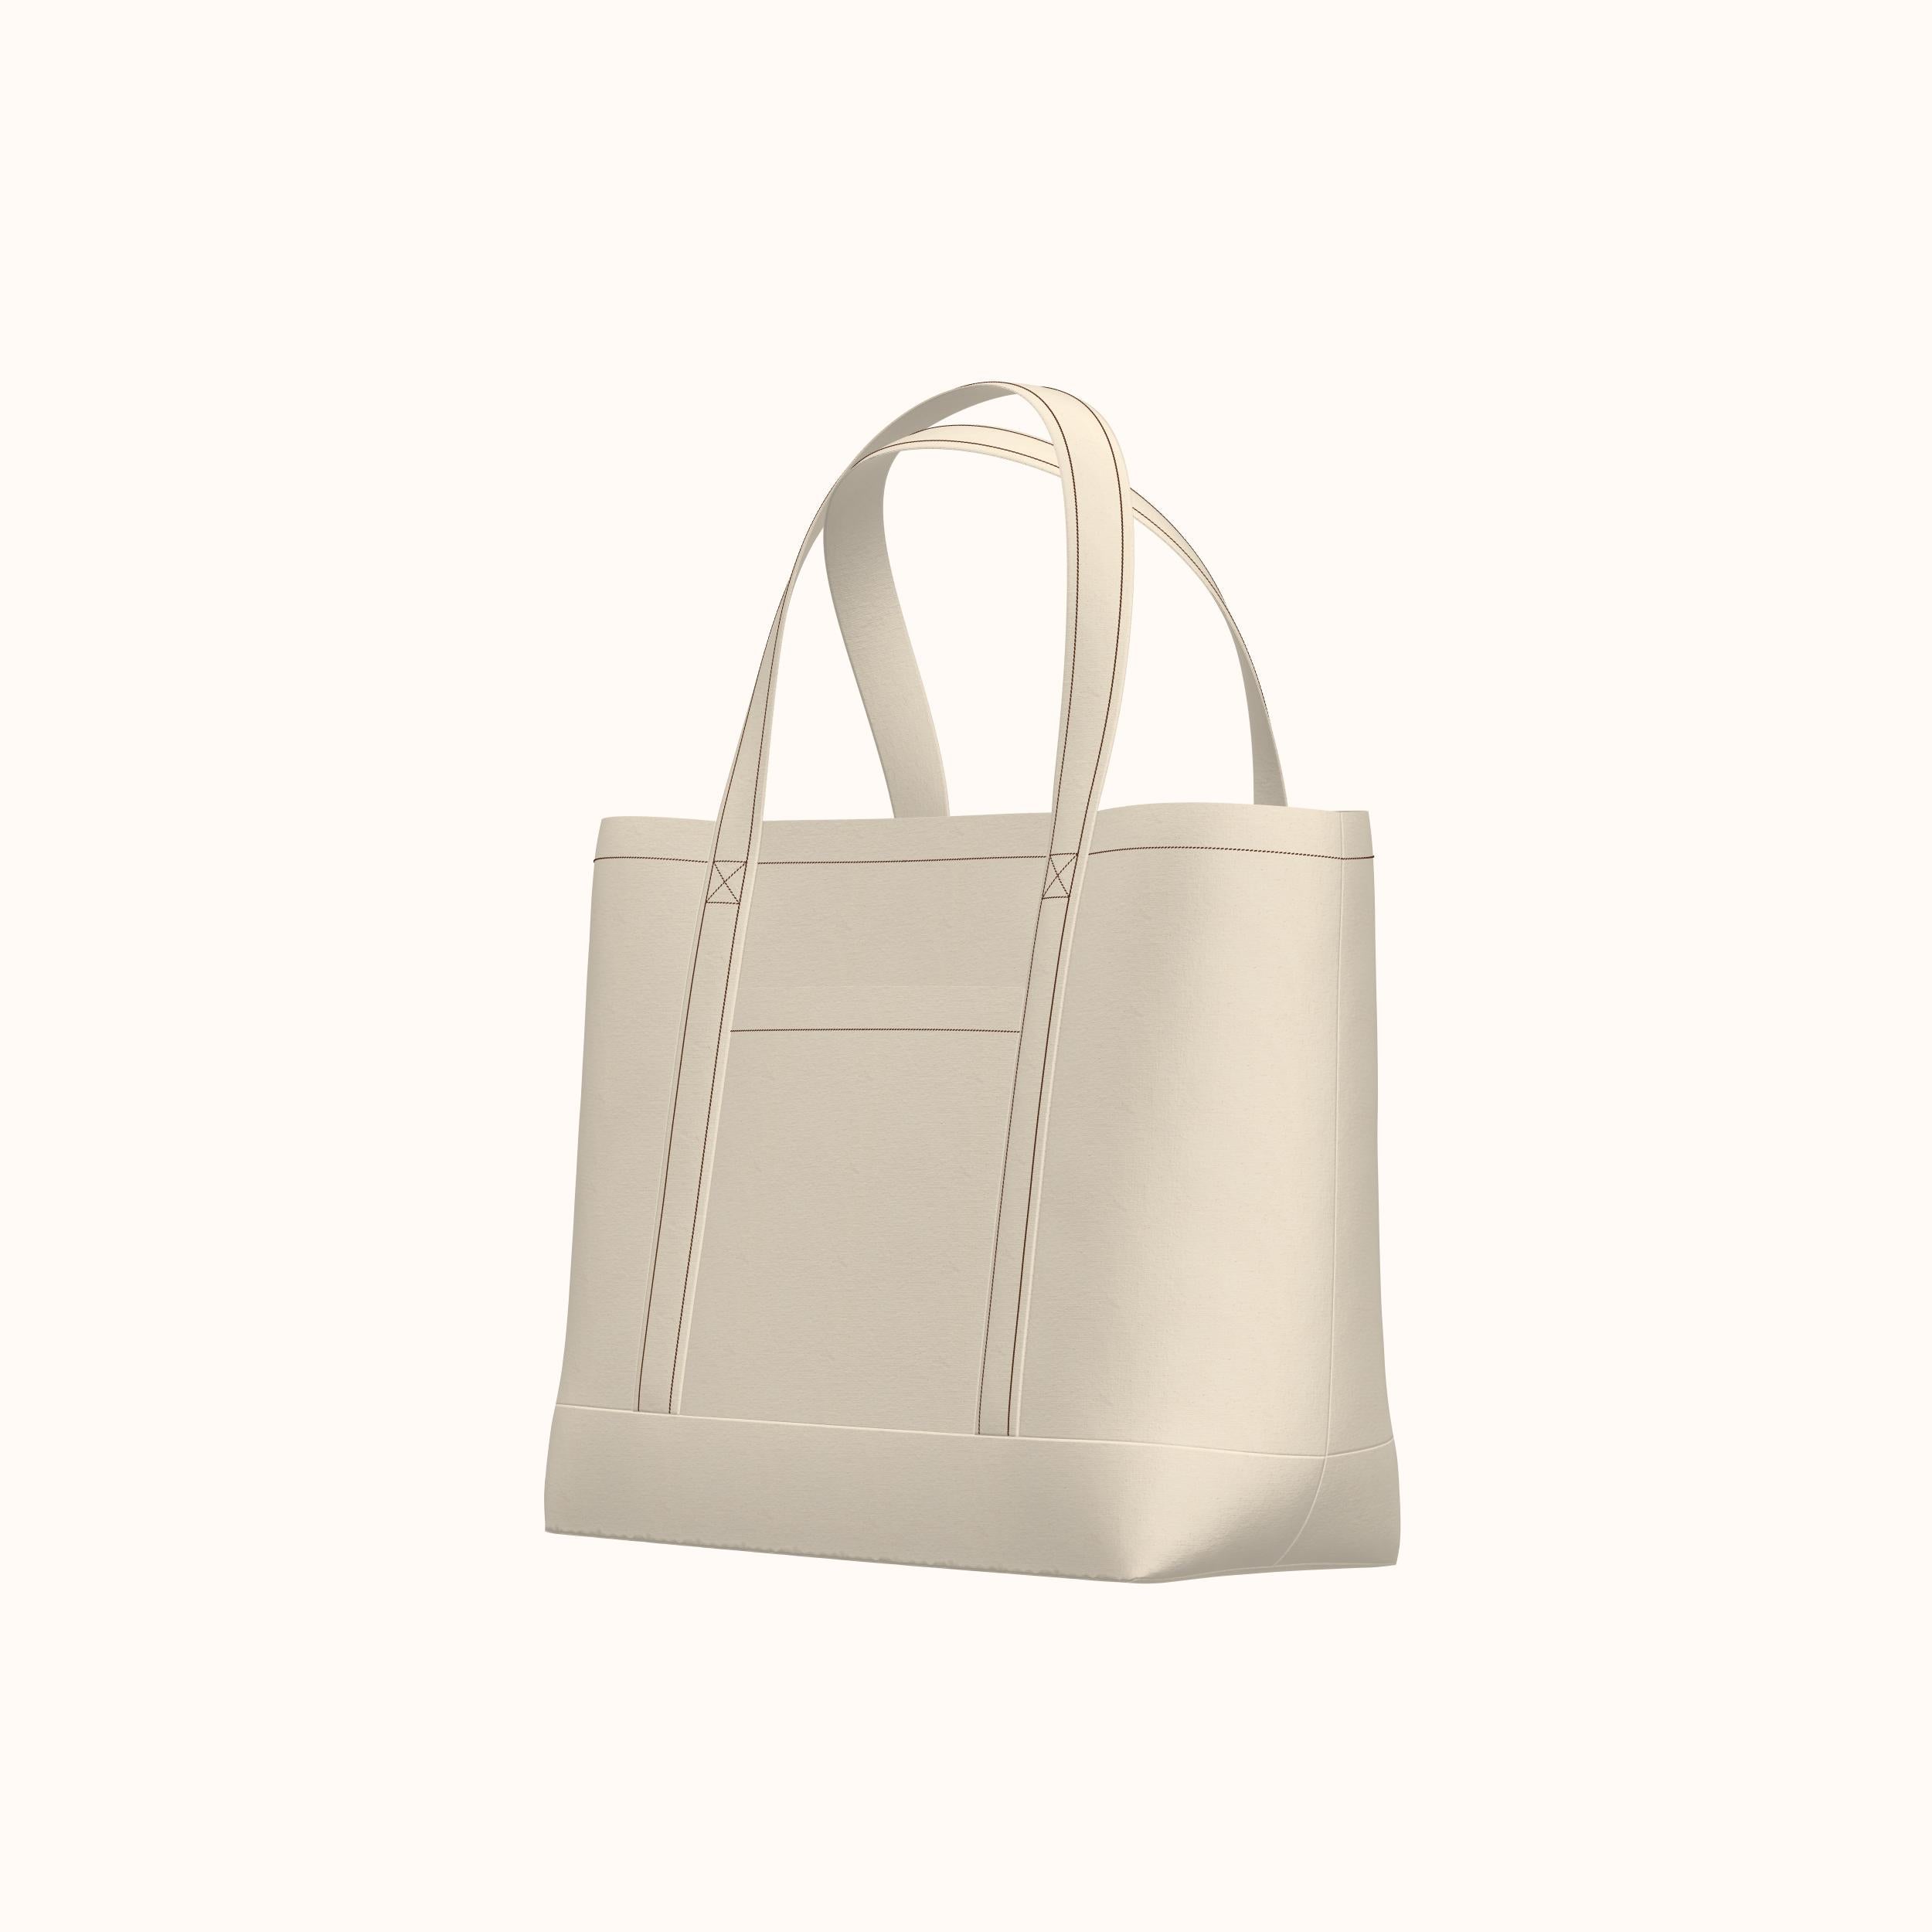
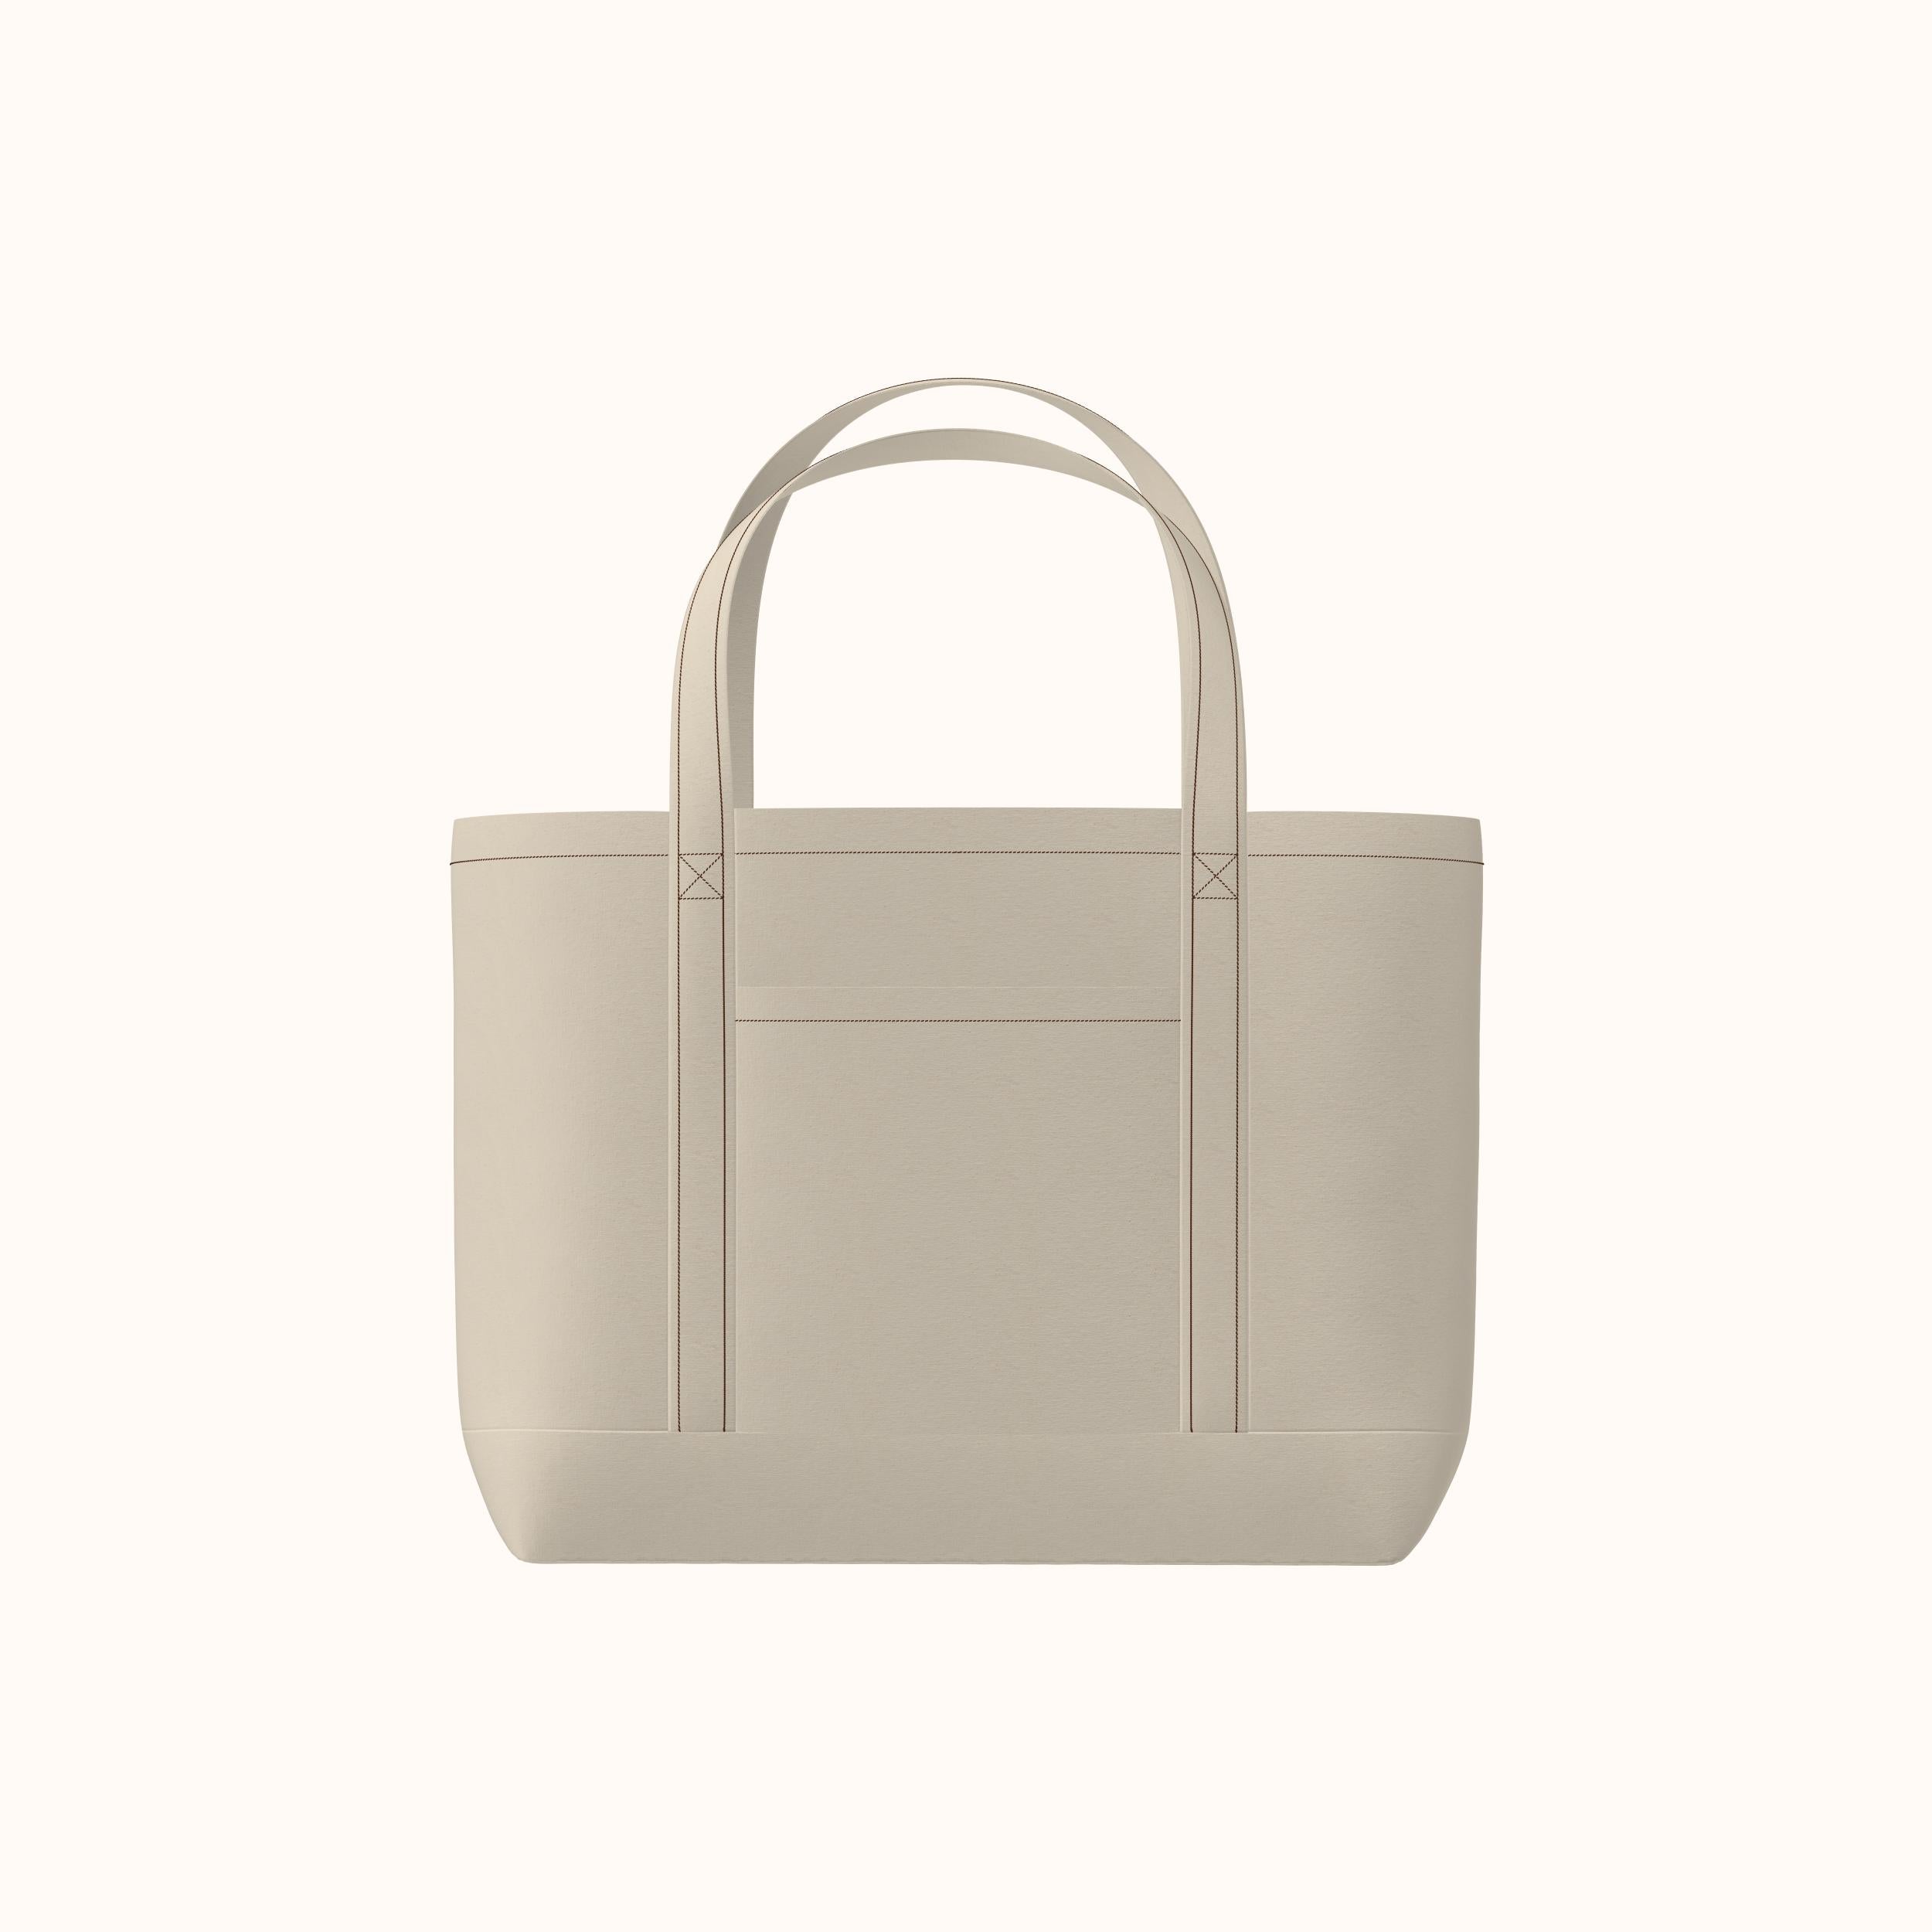
Aprende a coser nuestro bolso de playa de gran tamaño, perfecto para principiantes e ideal para llevar una variedad de artículos como artículos básicos para la playa, comestibles o incluso disfraces de drag. Con telas duraderas como lona o mezclilla, crearás un bolso resistente y elegante que puede soportar cargas pesadas. Con instrucciones fáciles de seguir y un diseño sencillo, este proyecto es una excelente introducción a la costura de artículos prácticos para el día a día.
Dificultad del patrón: Para principiantes
Detalles de tallas
Este espacioso bolso cuenta con una abertura de 27 pulgadas de ancho y una profundidad de 16 pulgadas, lo que ofrece mucho espacio para todas sus necesidades.
Telas y artículos de mercería
Adecuado para tejidos pesados que no se estiran:
- Lienzo
- Dril
- Tela asargada
- Tela de pato
- Tejido de tapicería
- Arpillera
- Pana
- Algodón pesado
- Lino
- Entretela fusible de peso ligero a medio
- Elástico de 0,5" a 1"
Yardas de tela
Las medidas a continuación se basan en anchos de tela de 44 pulgadas.
| Tamaño | Tela |
|---|---|
| Talla única | 2 años / 1,9 meses |
Para obtener información sobre la conversión de pulgadas a metros, consulte nuestra guía de conversión.
Instrucciones de costura


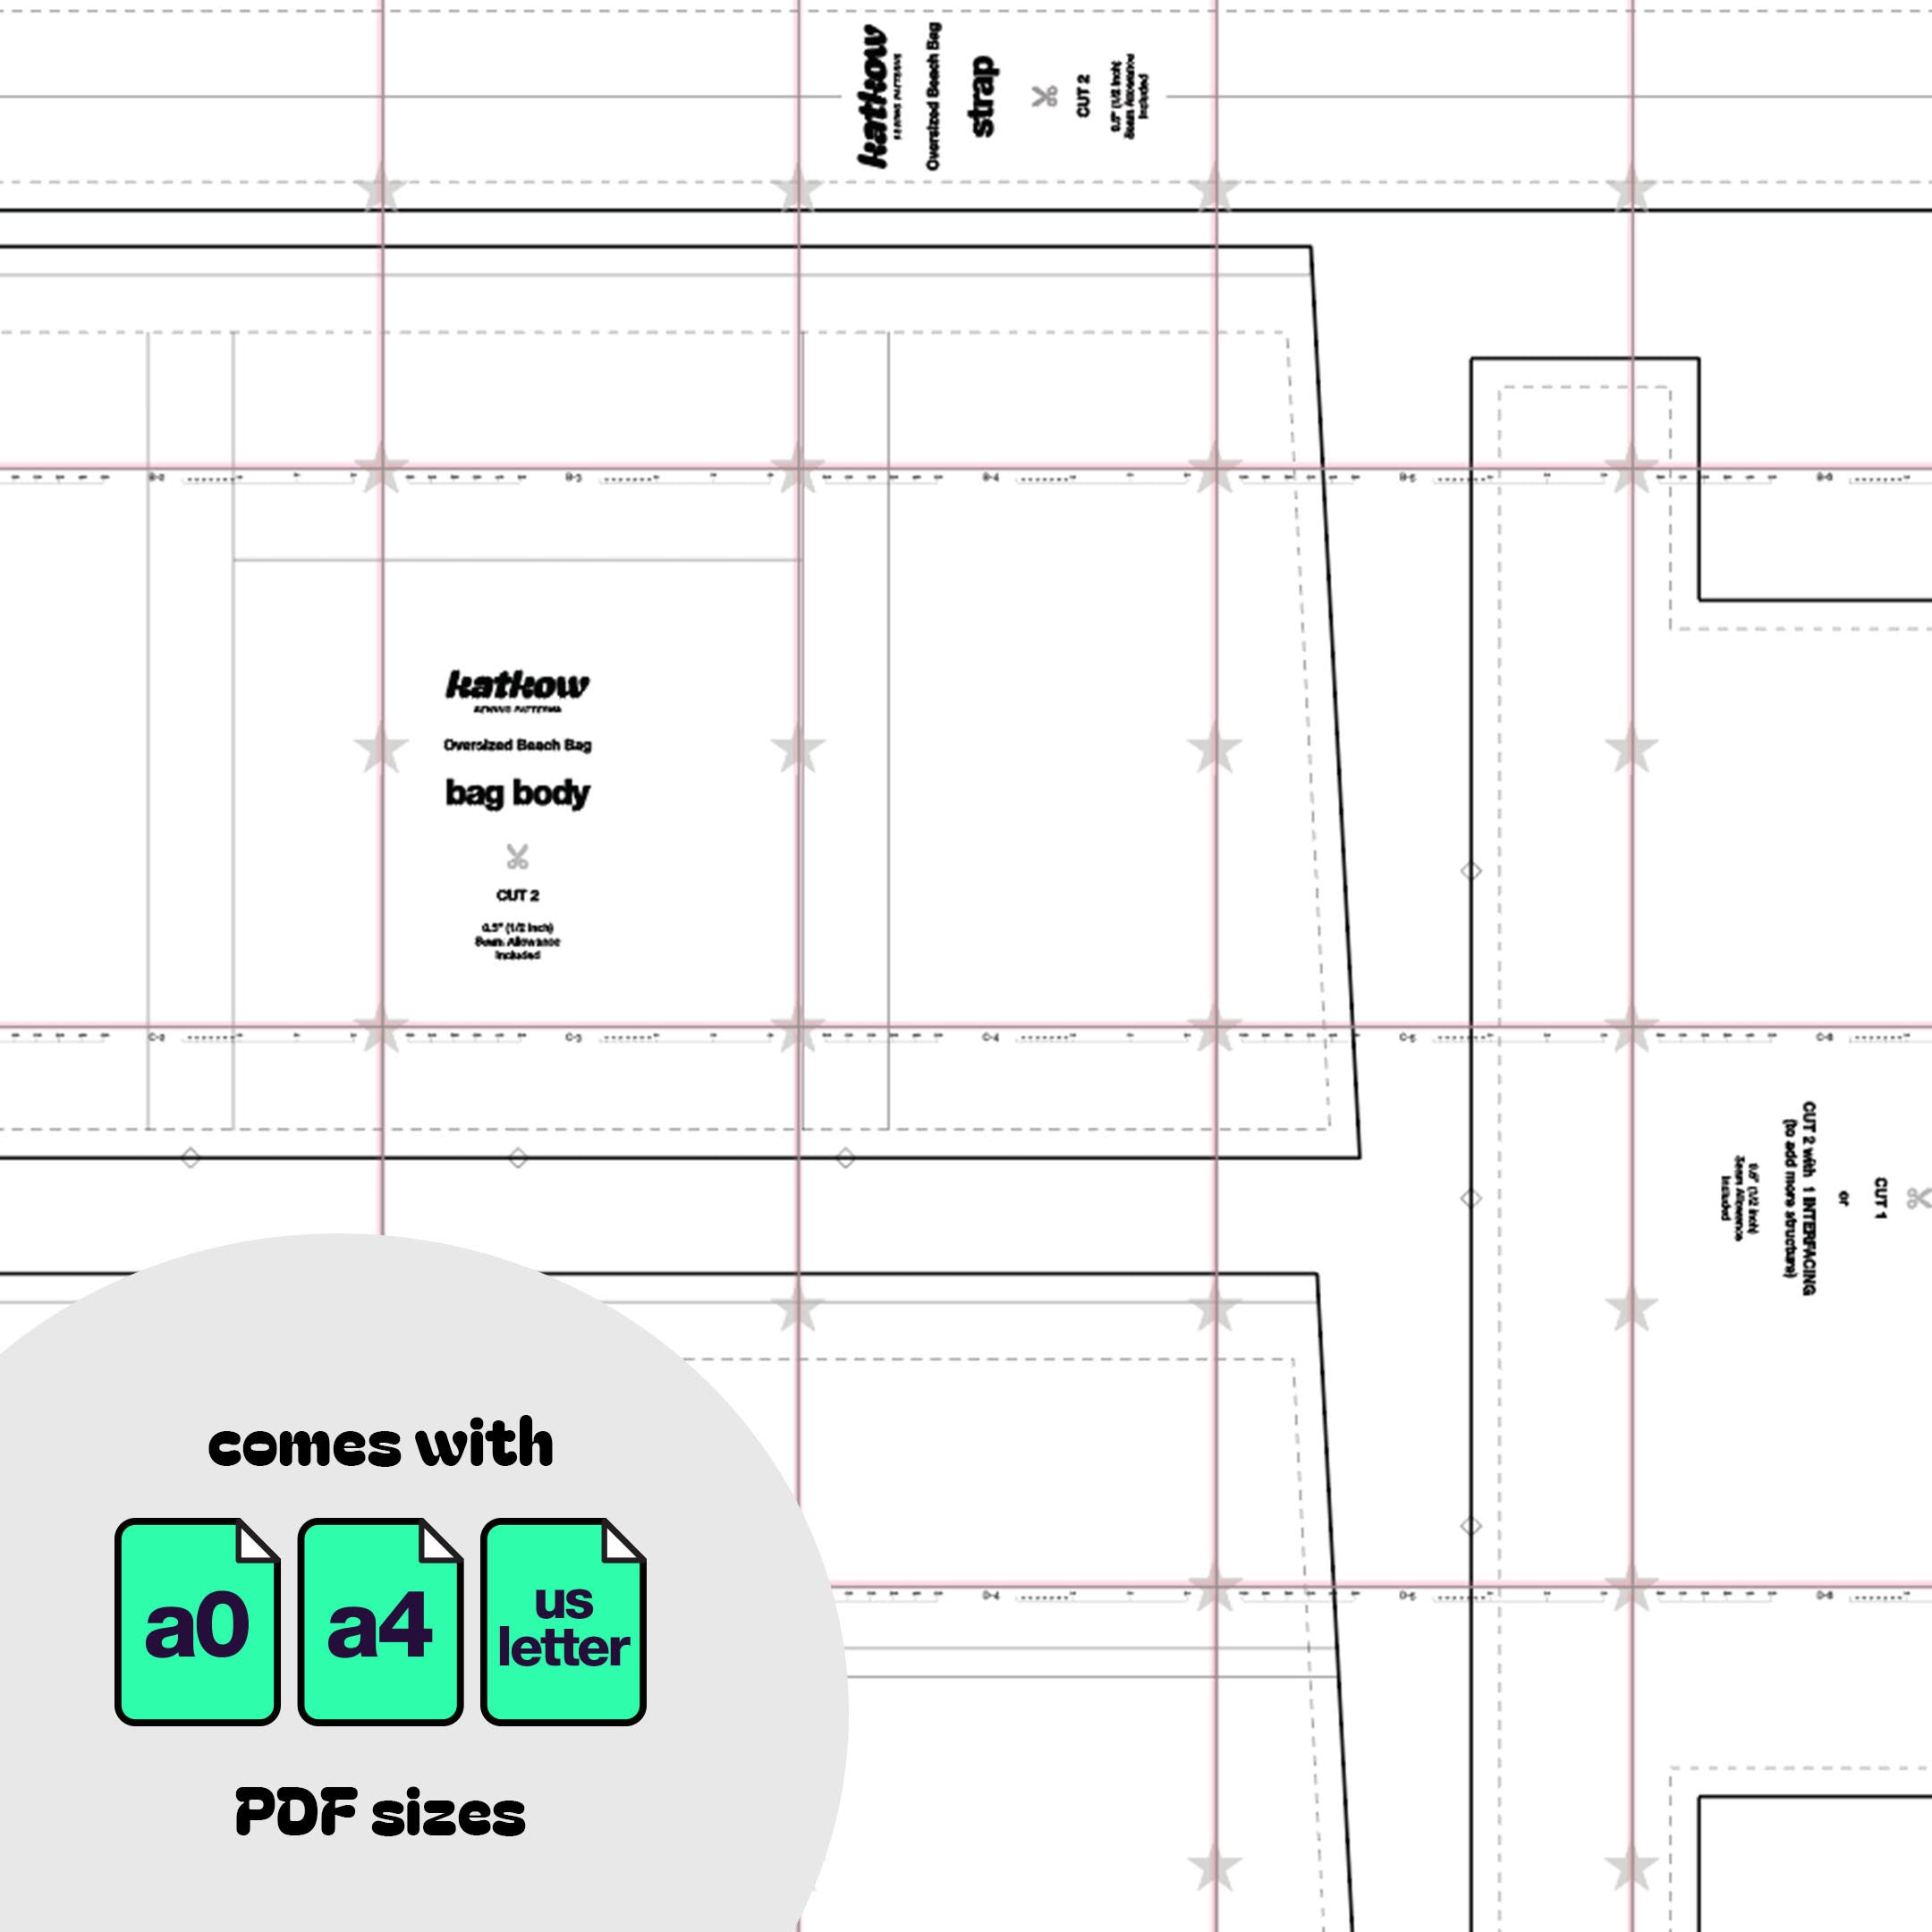
Fabric Pieces
After cutting your fabric, you should have the following pieces:
- Two Bag Body pieces
- Two Outer Pocket pieces
- Two Inner Body Pocket pieces
- Two Straps
- Two Elastic Strips
- One Bottom Panel Piece
- Optional Interfacing for bottom panel and lining

STEP 1
Gather your straps, fold them vertically in half with the wrong side of the fabric facing out. Sew or serge the ends together, then trim off the seam allowance.

STEP 2
Flip the straps right side out using a loop turner or safety pin.

STEP 3
With the wrong side of the outer pocket facing up, fold 0.5 inches on the top edge and press with an iron. Then fold over another 1 inch, press, then sew the folds down with a straight stitch. Repeat for both pockets.

STEP 4
Repeat Step 3 for the inner body pockets.

STEP 5
Add elastic strips to the wrong side of the inner body pockets in the center. Sew four evenly spaced lines to secure the elastic to the fabric, creating an elastic organizer.

STEP 6
With the bag body piece right side up, align the outer pocket on top and match the center bottom notch. Sew around the sides and bottom of the pocket, sewing close to the edge (use a 0.25 inch seam allowance or less).

STEP 7
Layer the straps over the outer pocket so the ends meet the notches on the sides of the pocket. The straps should overlay the pocket seam allowance. Sew the straps along the sides and around the handle. Sew a square with an X pattern about 2-3 inches away from the edge.

STEP 8
Stack the bag body over the inner body pocket, wrong sides facing each other. Pin or sew in place along the sides and bottom edges, using less than a 0.5 inch seam allowance. Repeat for the other side.

STEP 9
Stack the two bag body pieces right sides facing each other and sew or serge the sides together with a 0.5 inch seam allowance.

STEP 10
If you wish to add more structure to the bottom of the bag, add interfacing to the wrong side of the bottom panel. Optionally, add another lining layer to hide the interfacing.

STEP 11
Fold the bottom panel vertically in half, wrong side out, and sew the short ends together.

STEP 12
Fold the bottom panel so the sewn ends meet in the crease of the fold, then sew the side ends together, creating a bucket-like shape.

STEP 13
Insert the bottom panel inside the bottom part of the bag body, right sides facing each other.

STEP 14
Sew or serge the bag body to the bottom panel.

STEP 15
Hem the top open edge of the bag similarly to the front pockets.