Cómo coser un vestido babydoll con hombros descubiertos
Saltar a instrucciones
Descripción general
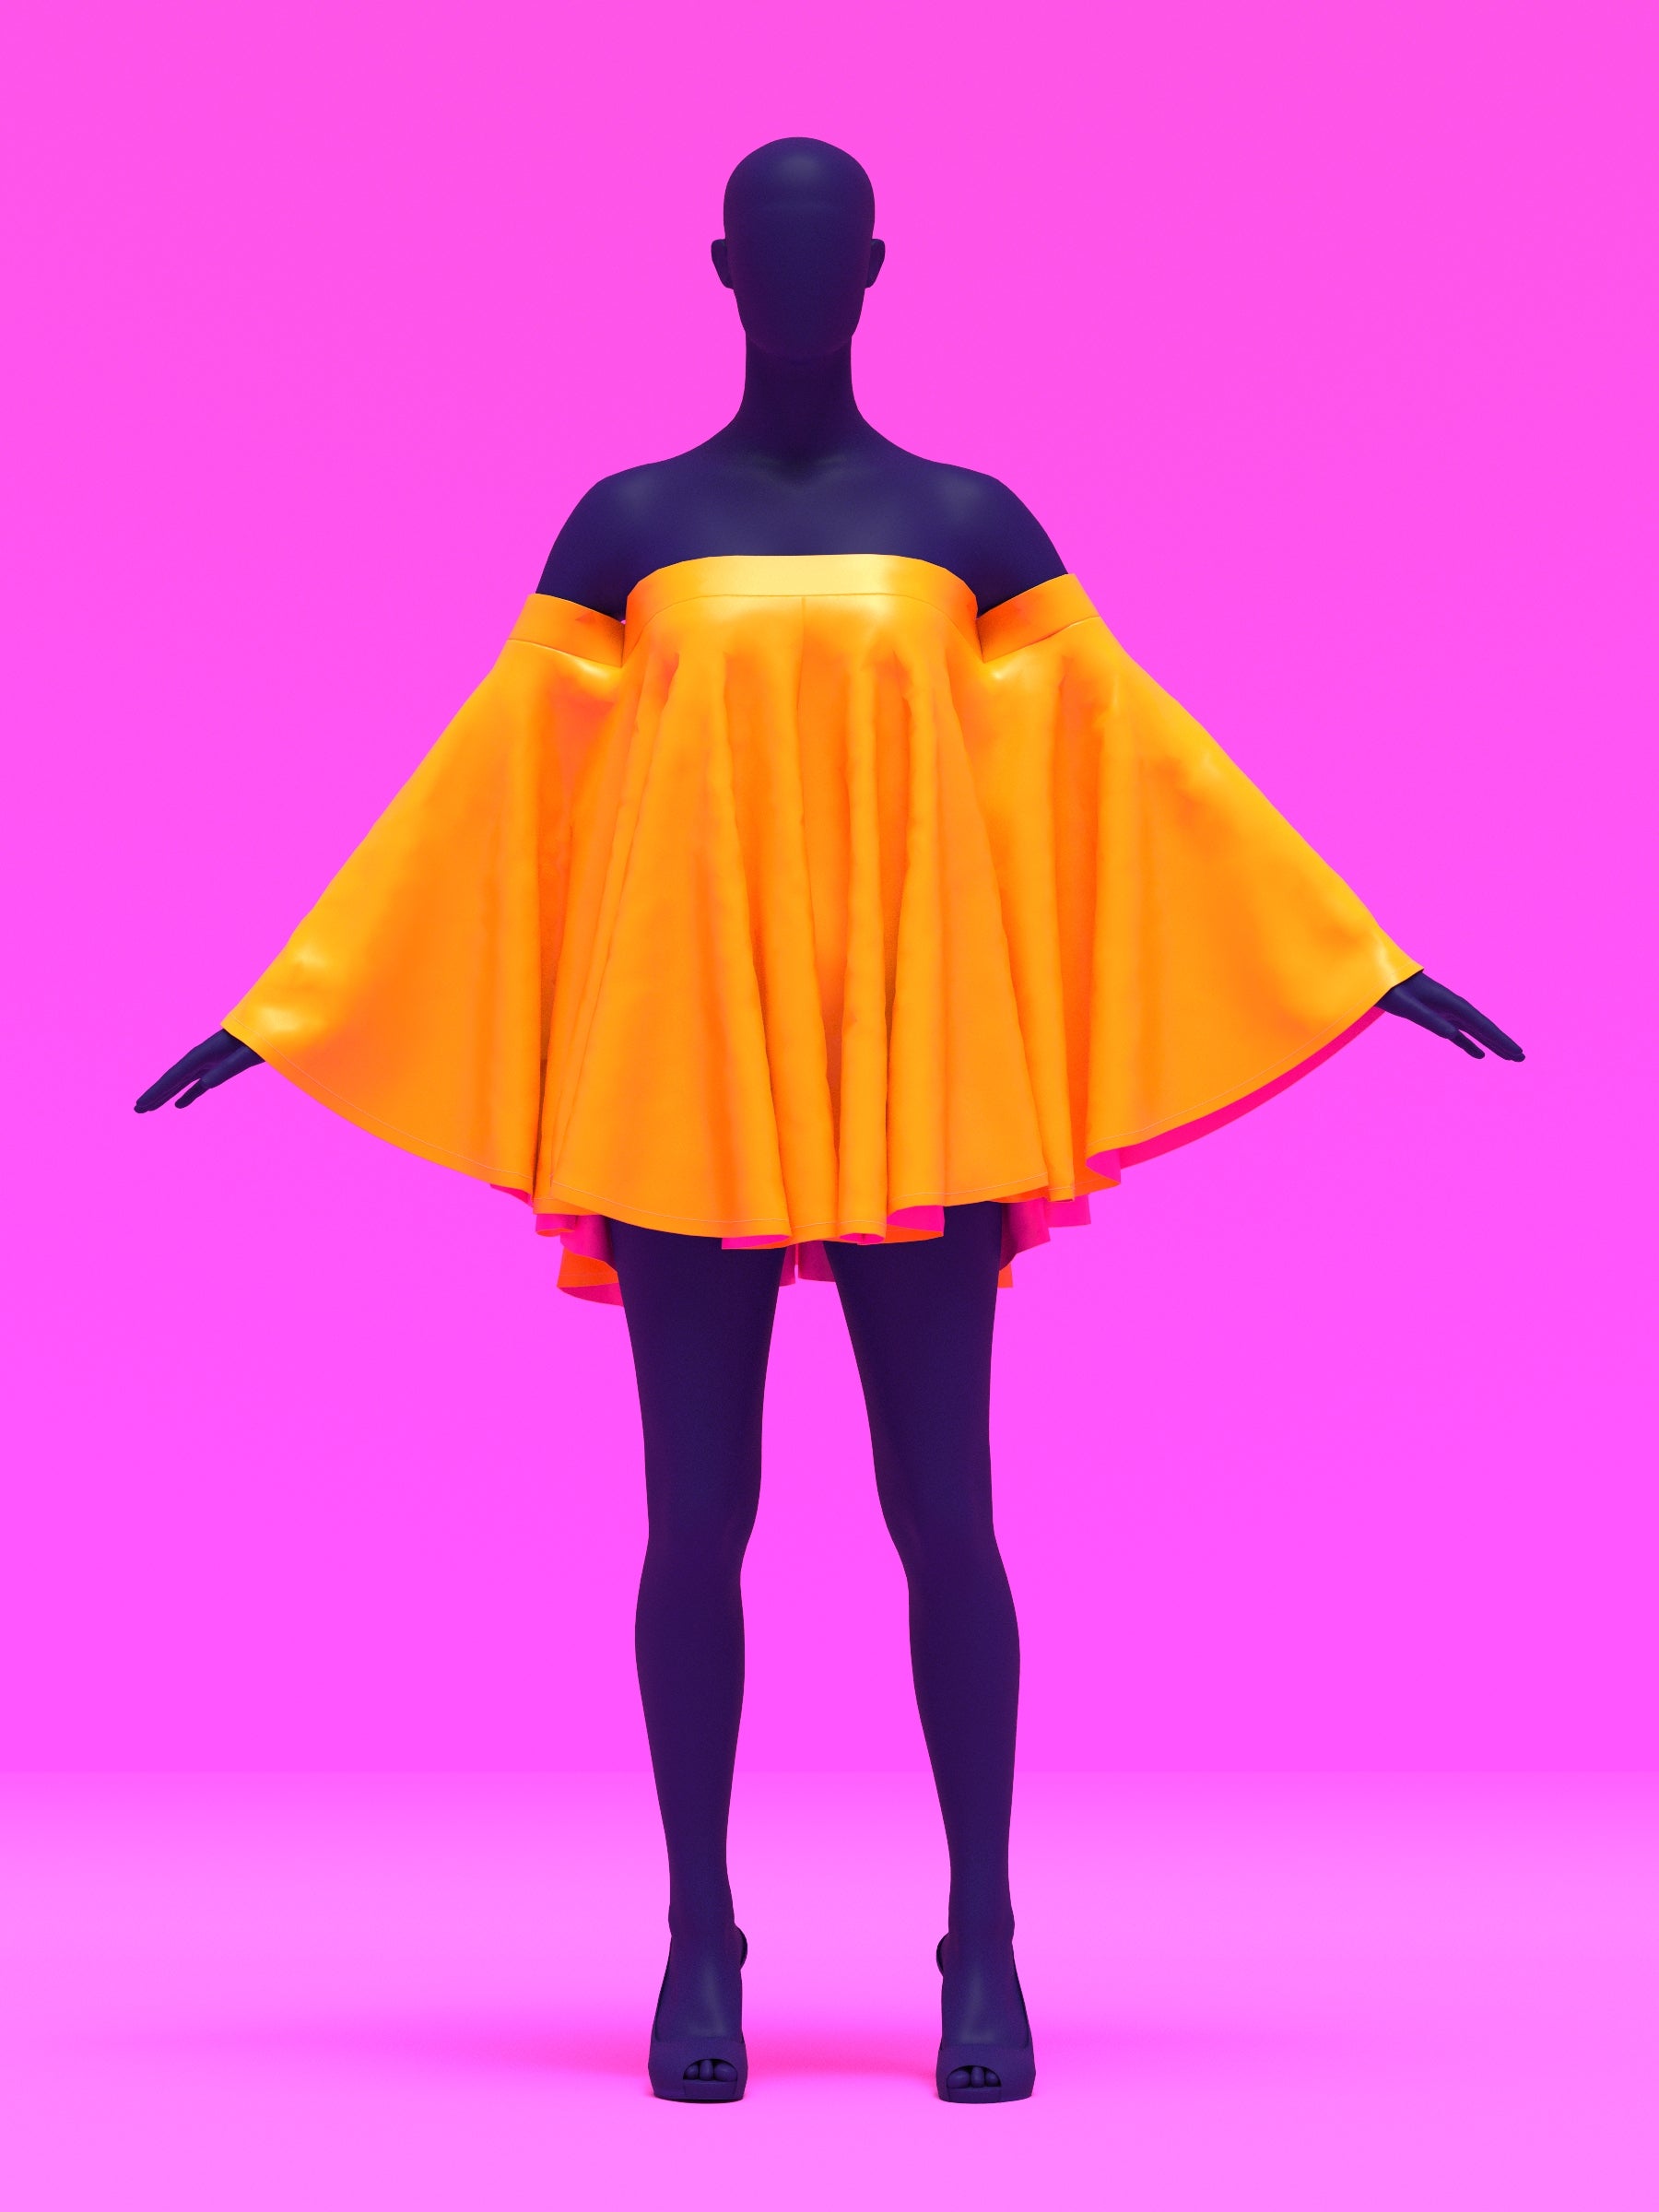
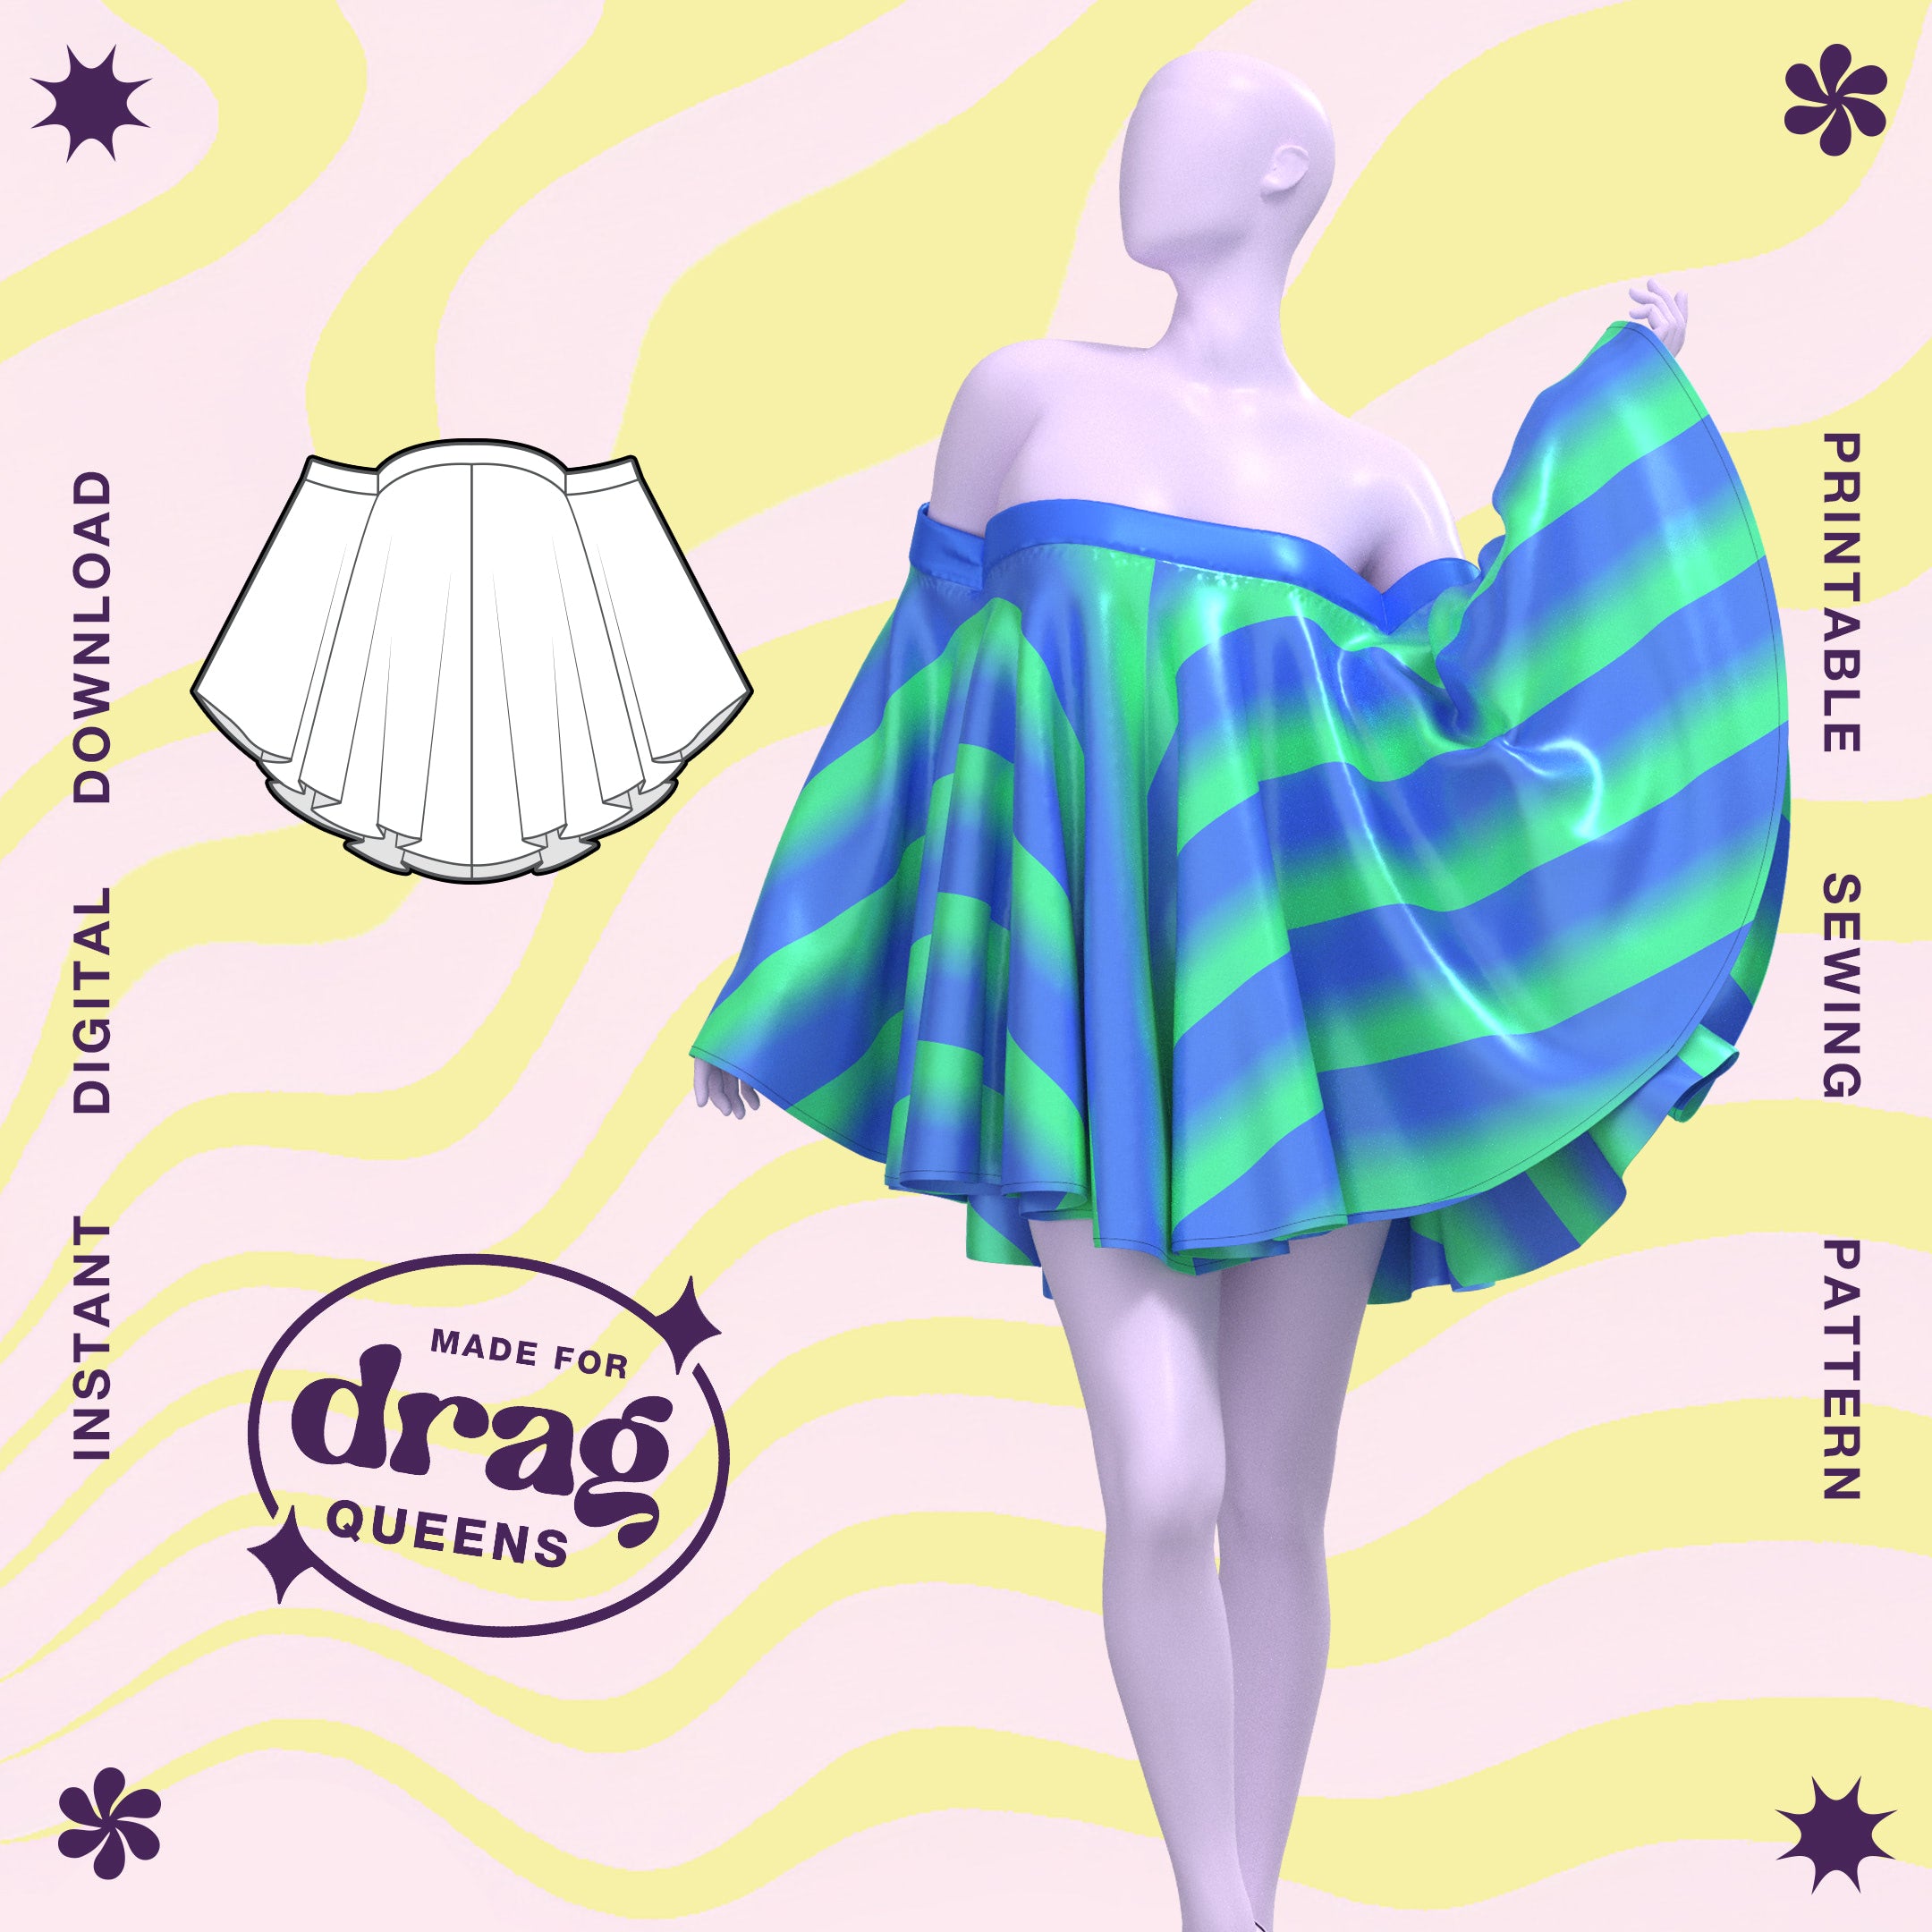
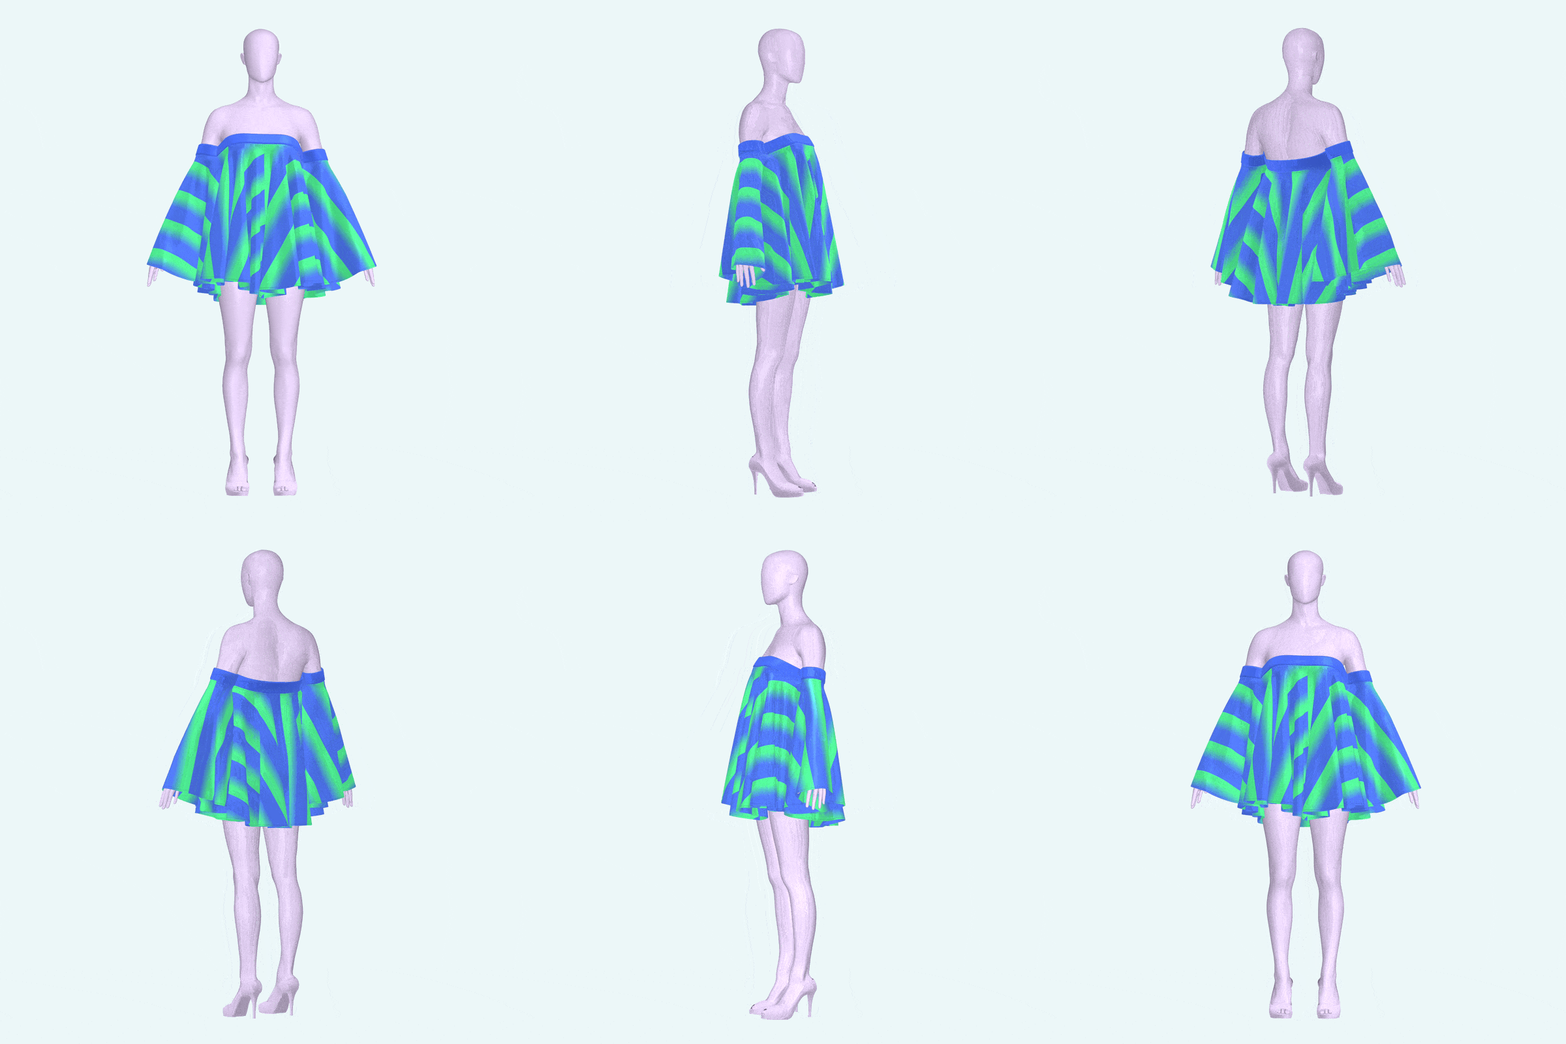
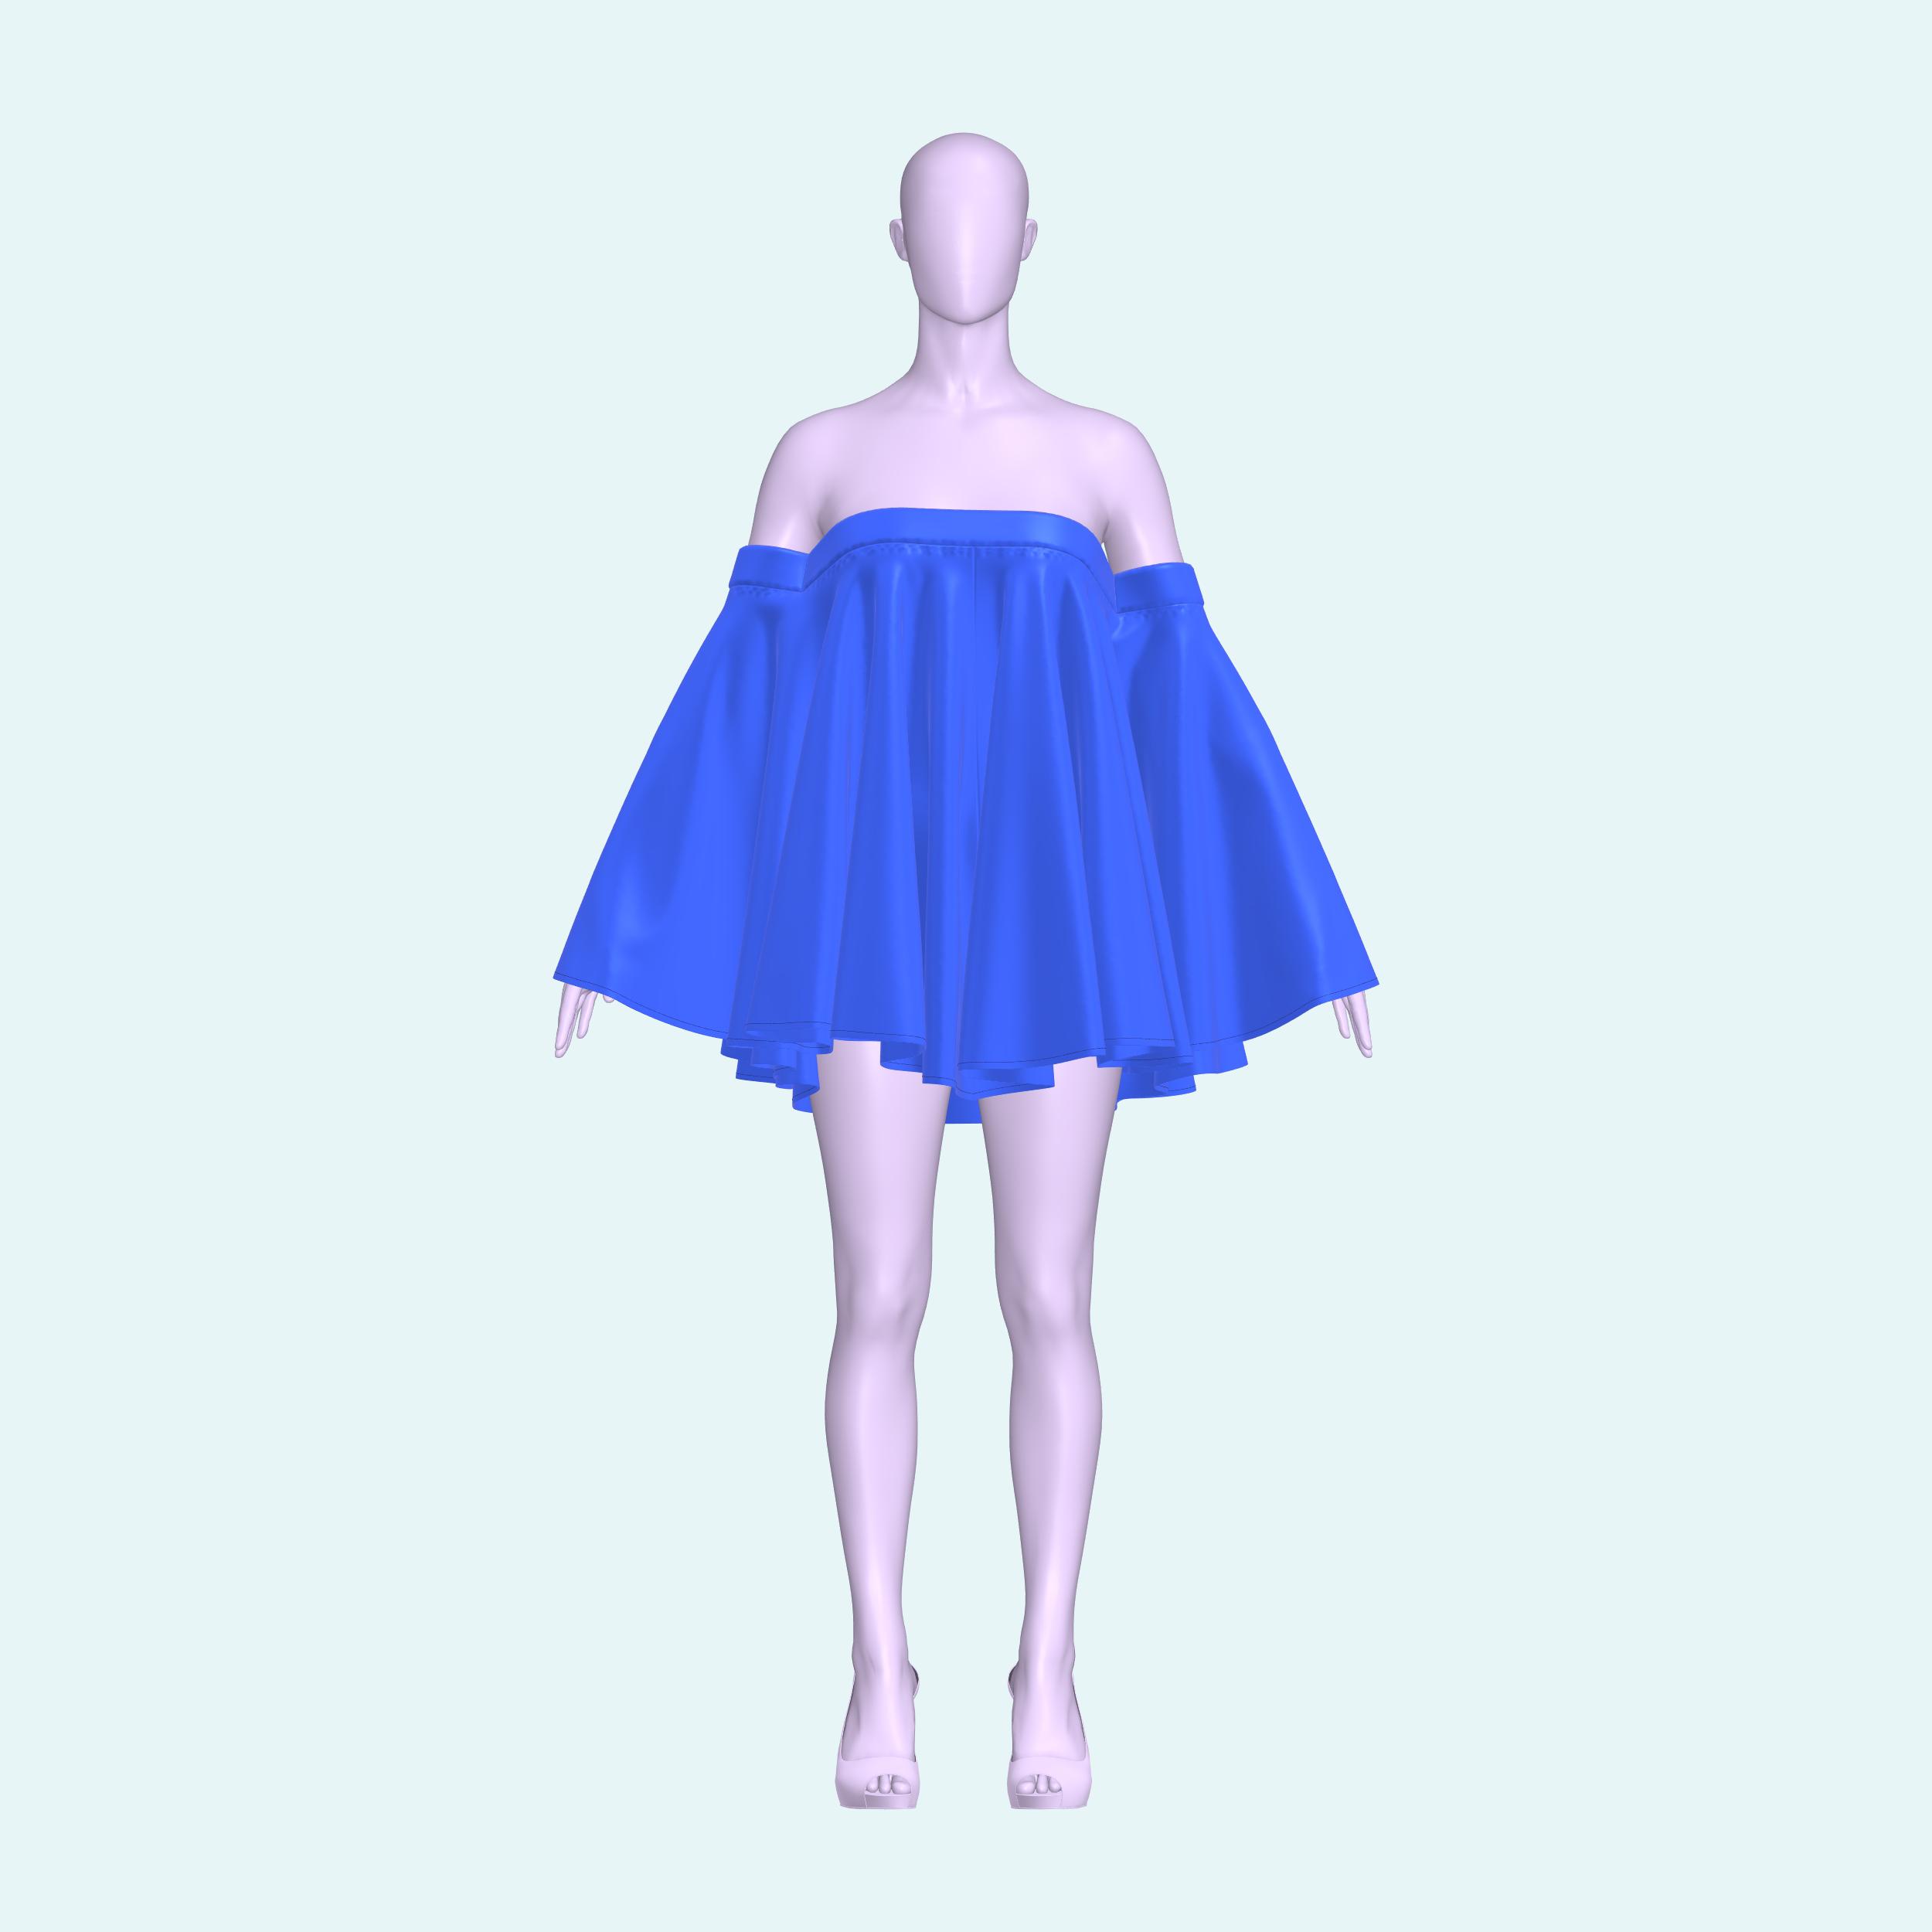
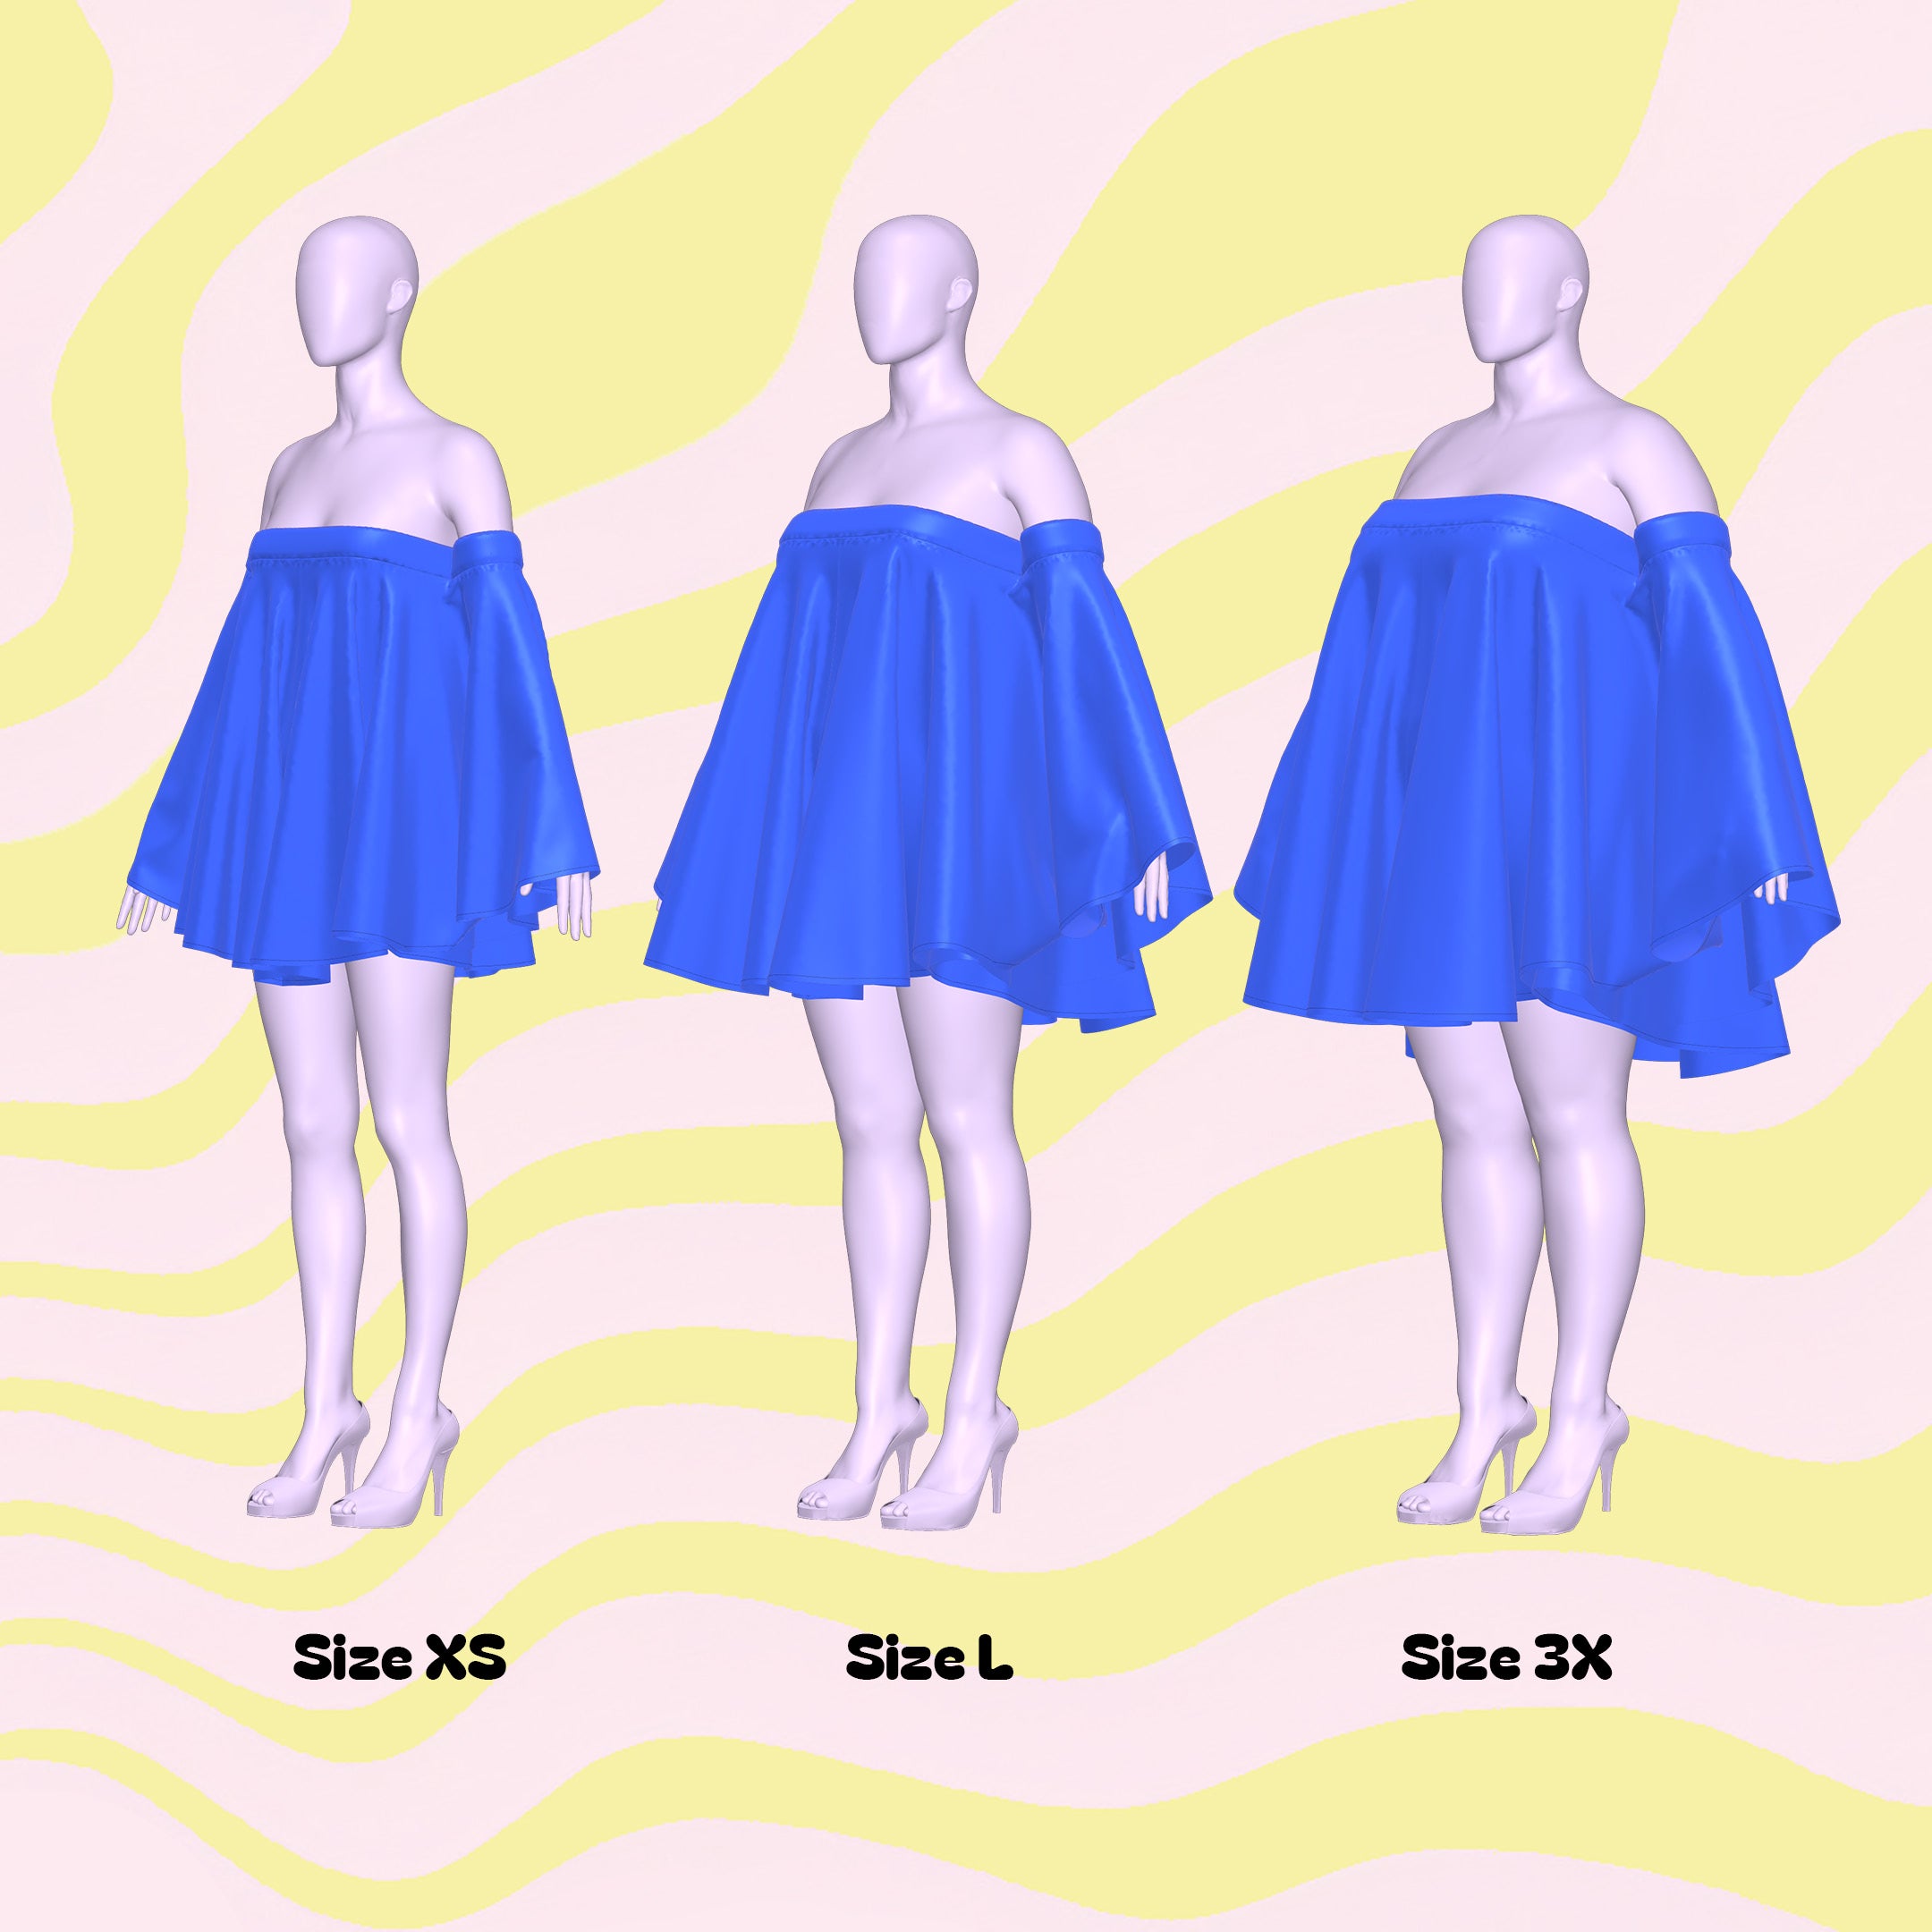
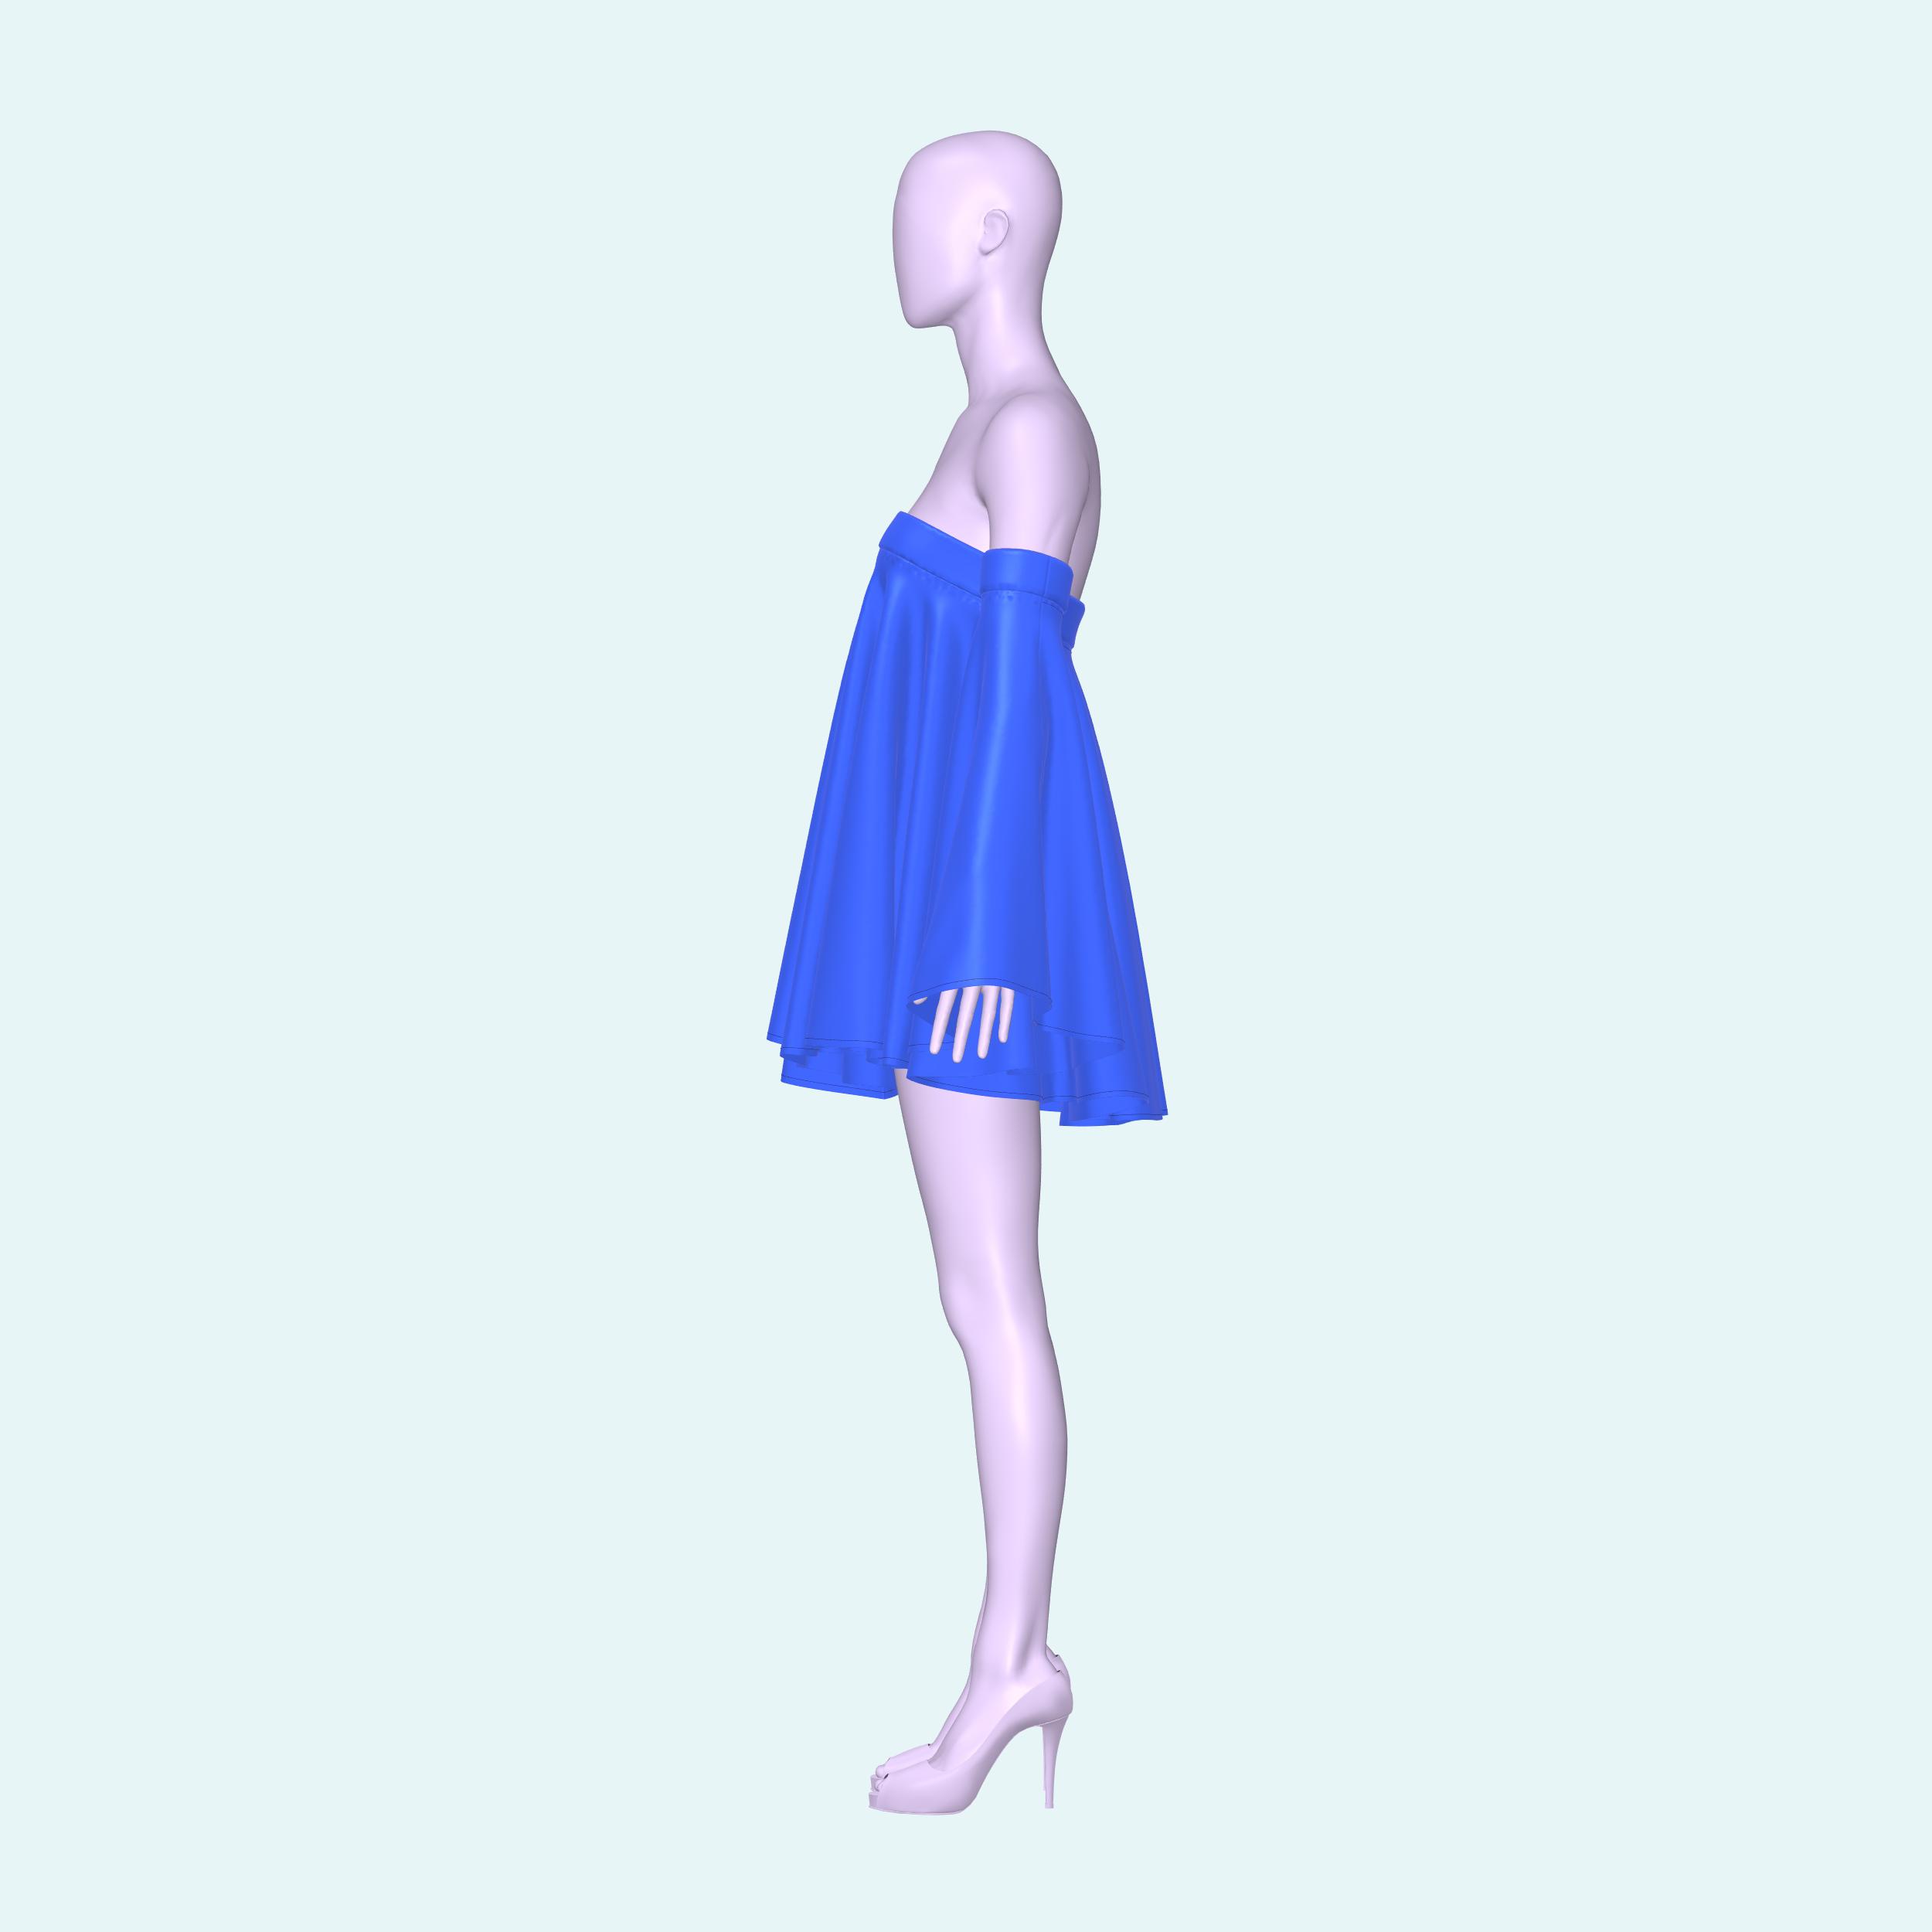
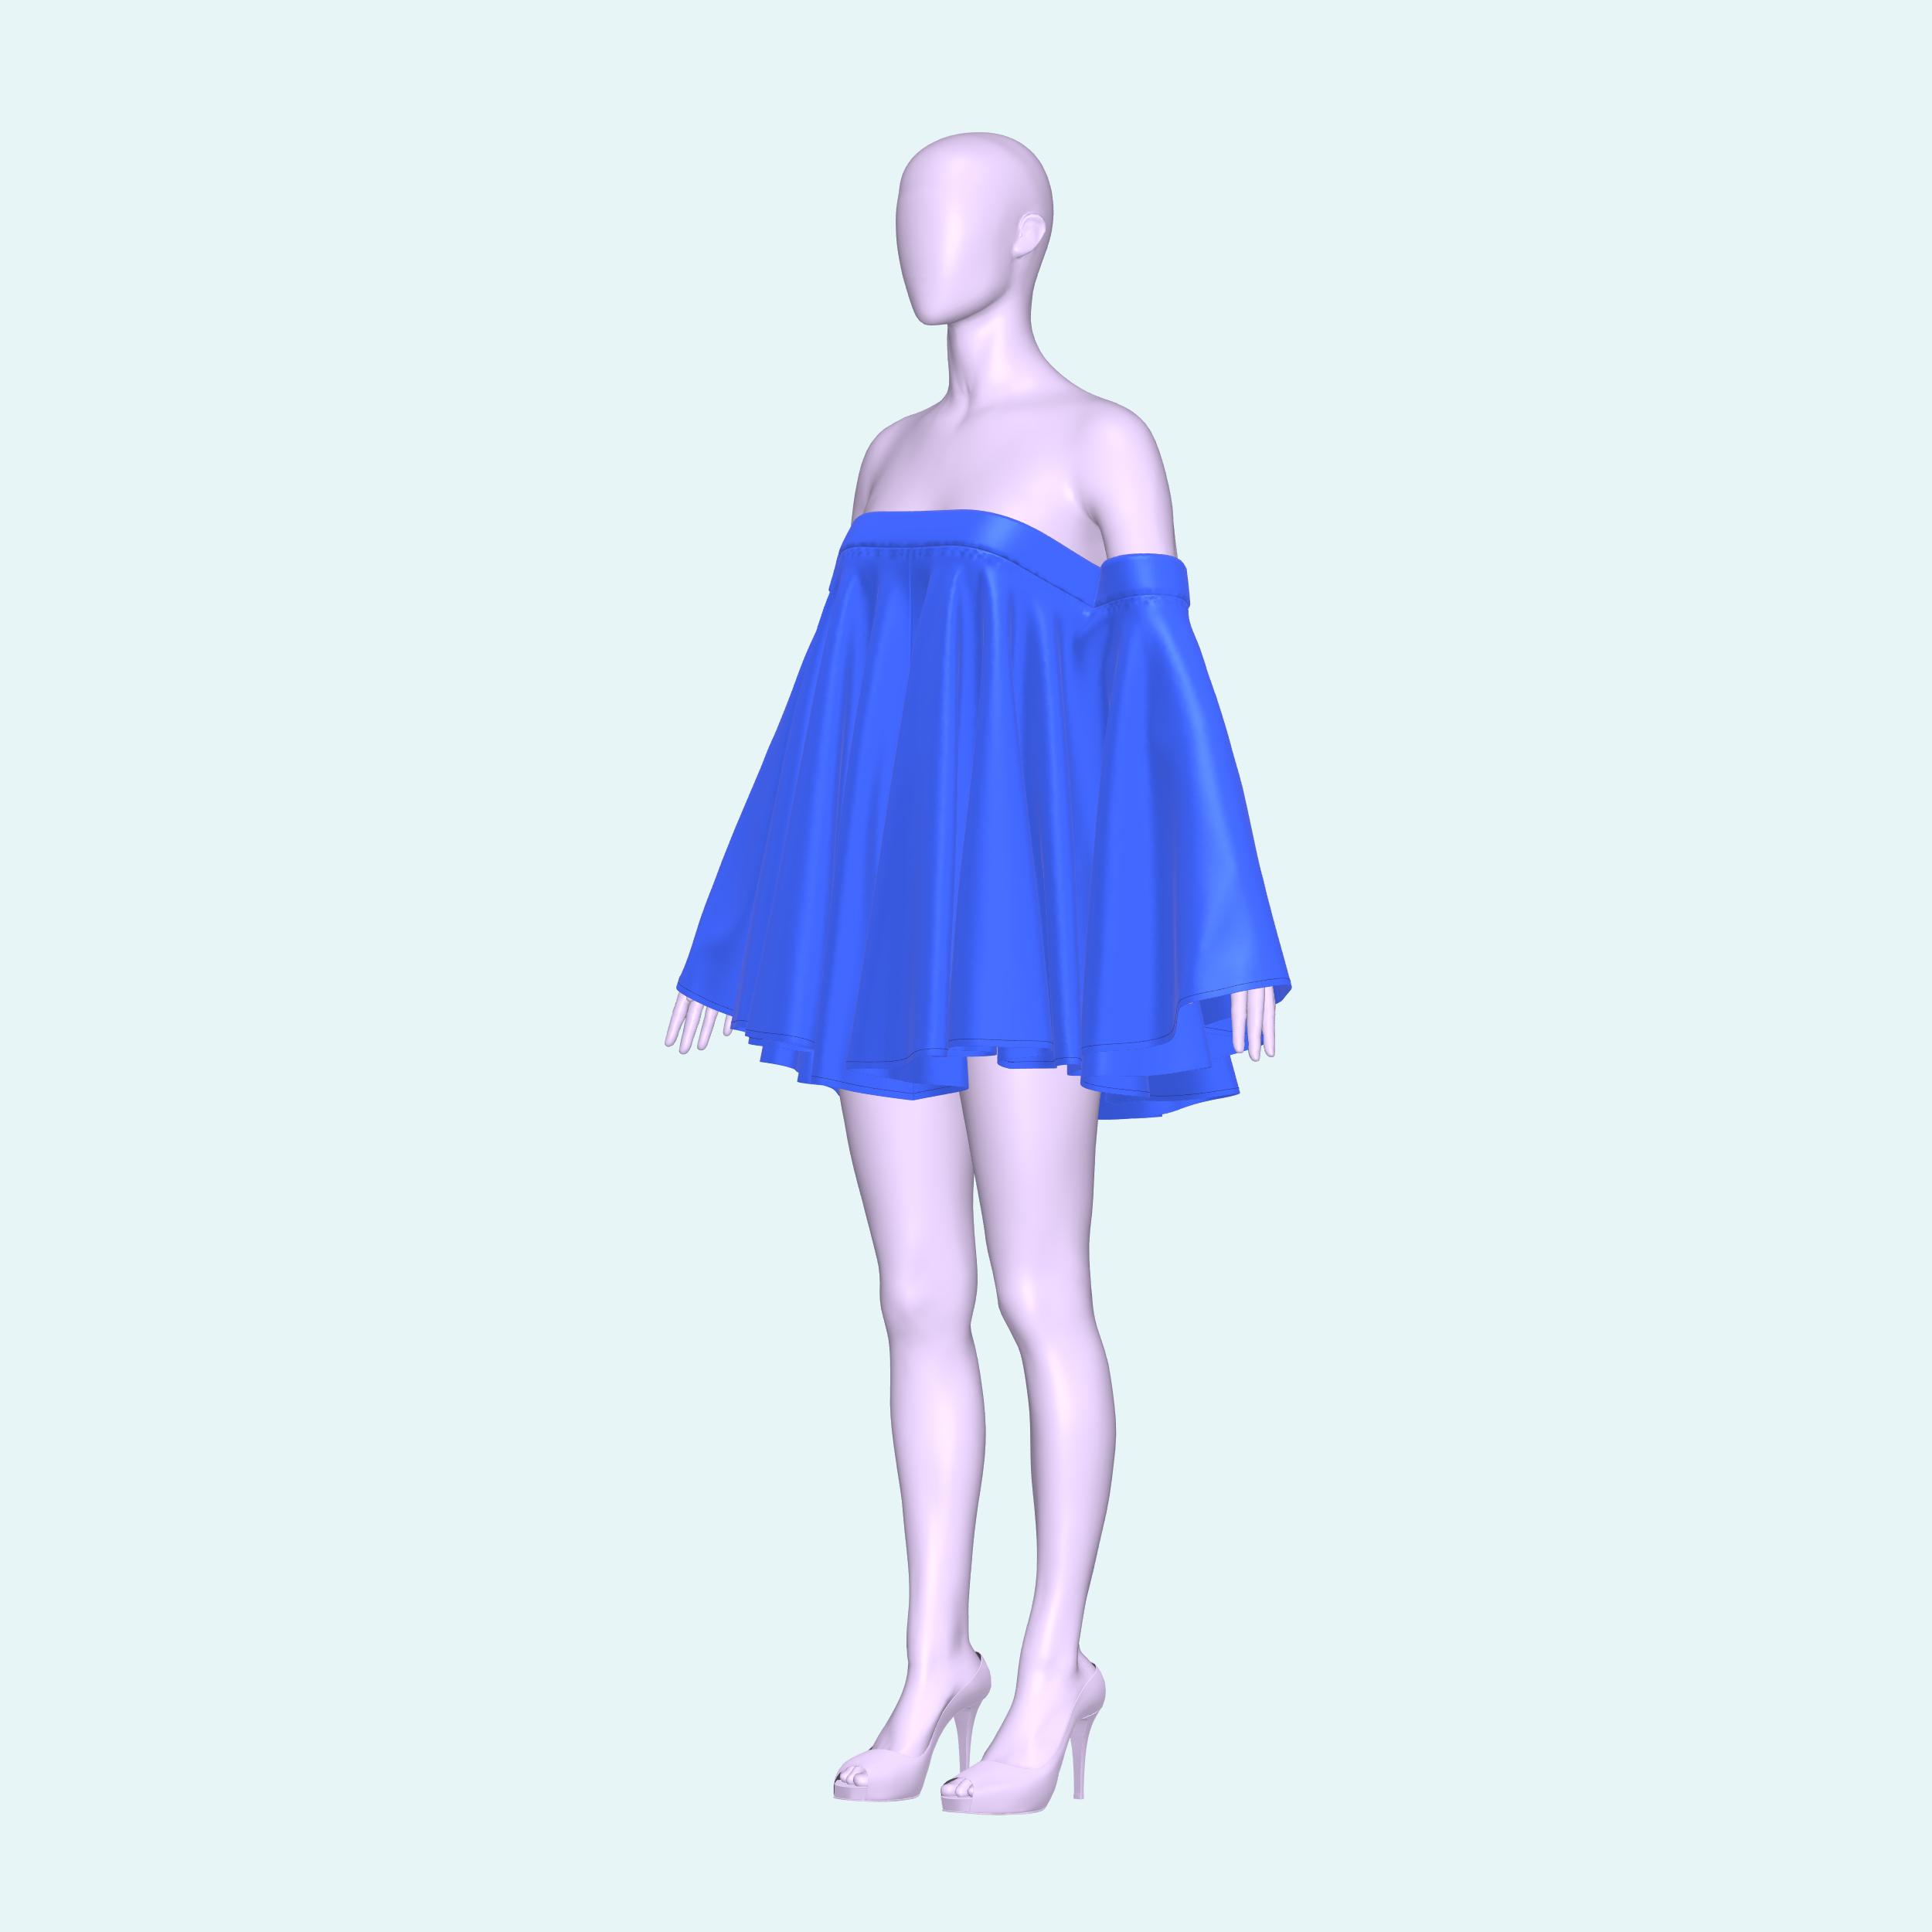
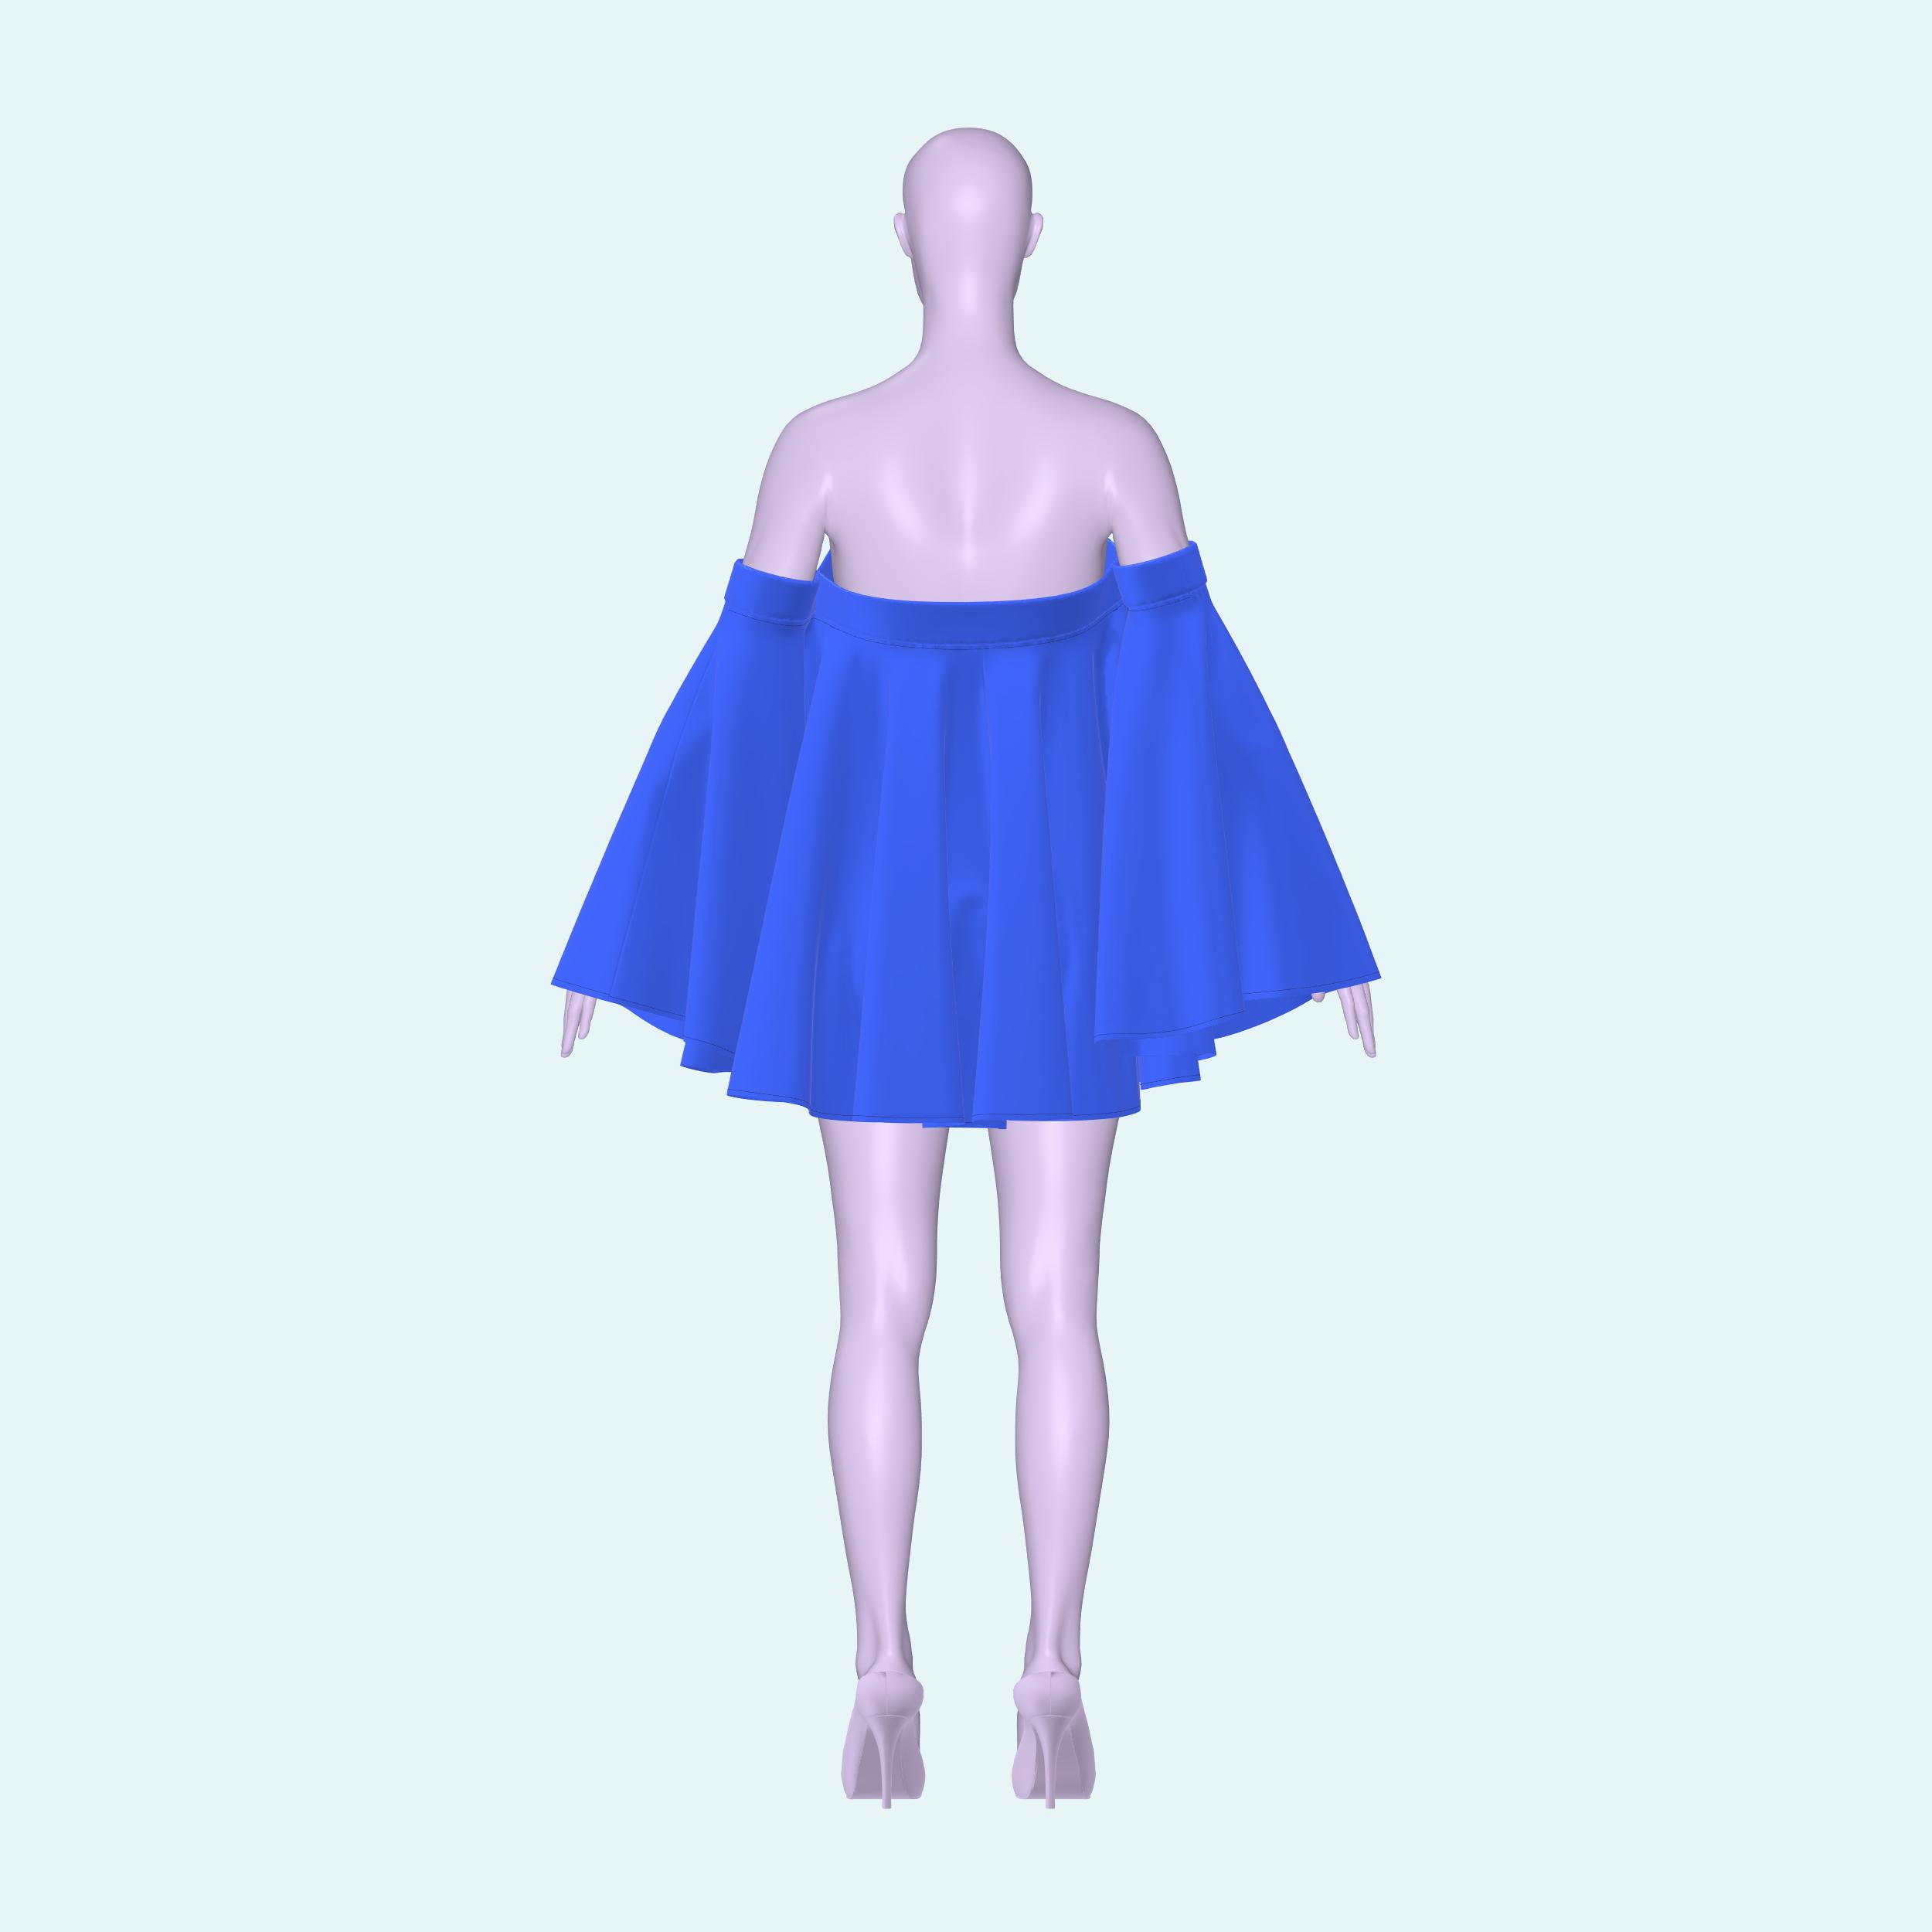
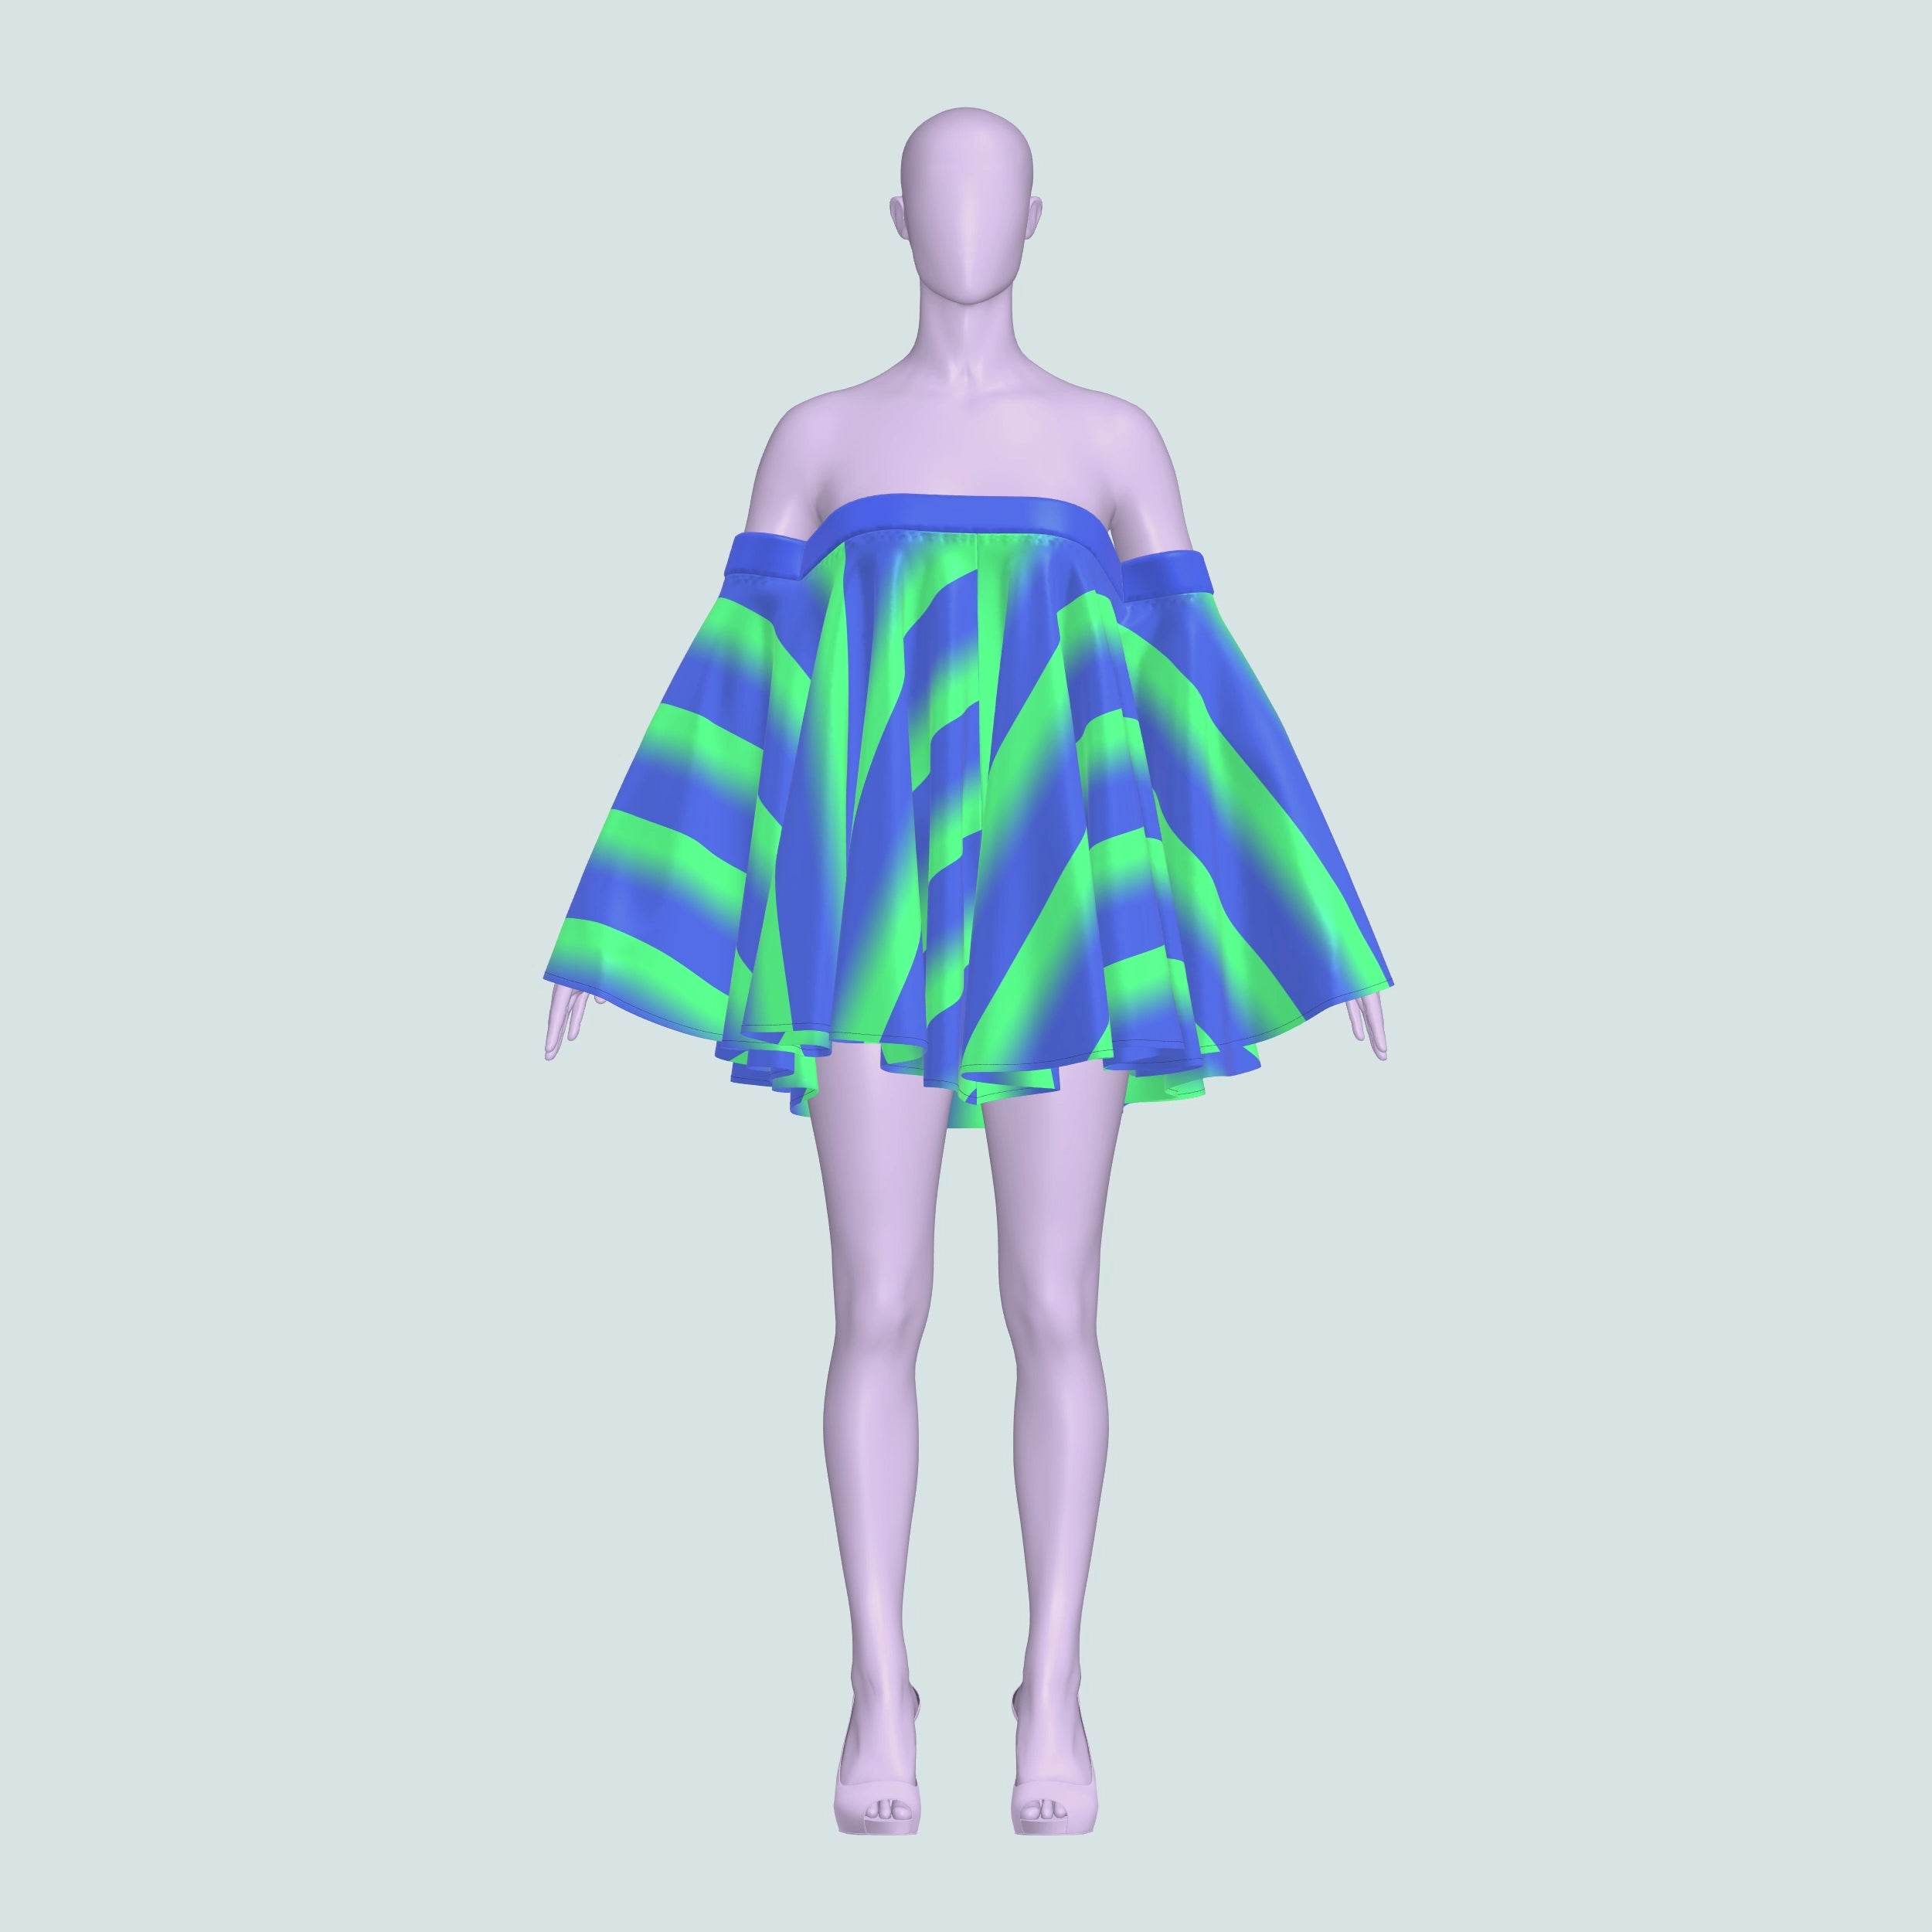
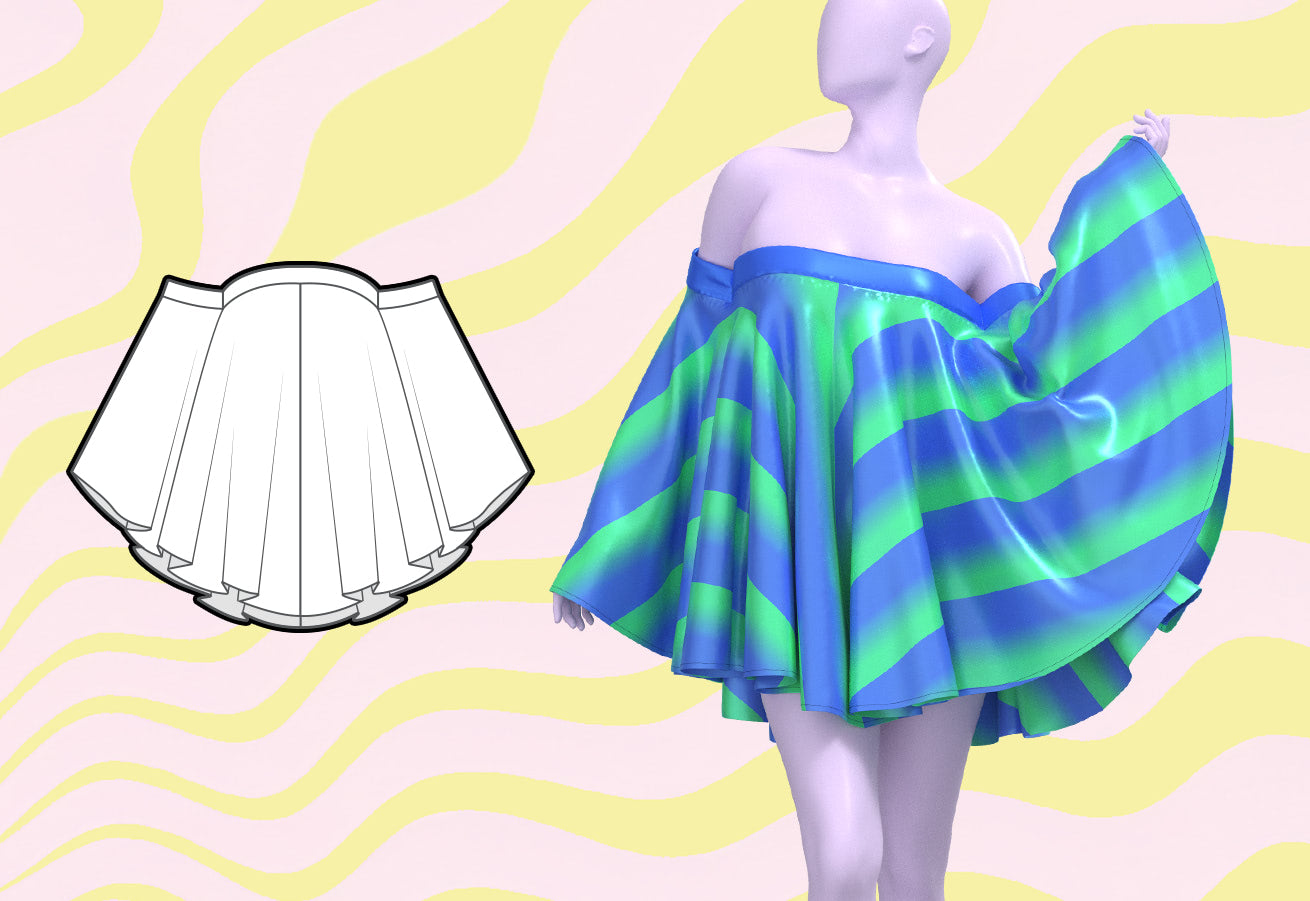
¡Aprende a coser nuestro patrón de costura de vestido babydoll con hombros descubiertos! Diseñado para drag queens, este patrón presenta una encantadora falda circular con una banda elástica alrededor del hombro, el bíceps y la parte superior del pecho. Con un largo de minifalda, es perfecta para un look drag moderno e ideal para presentaciones. Un básico para drag queens que buscan brillar. Adecuado para telas elásticas, este patrón es fácil de coser, lo que lo hace perfecto para principiantes. Puedes combinar este patrón con tops de corsé, vestidos de hadas y más para elevar tu guardarropa de disfraces de drag queen. Ideal para atuendos rave, estilos góticos pastel, ropa de festival y vestidos de gran tamaño, este patrón de costura versátil garantiza que siempre estés lista para deslumbrar.
Dificultad del patrón: Para principiantes
Detalles de tallas
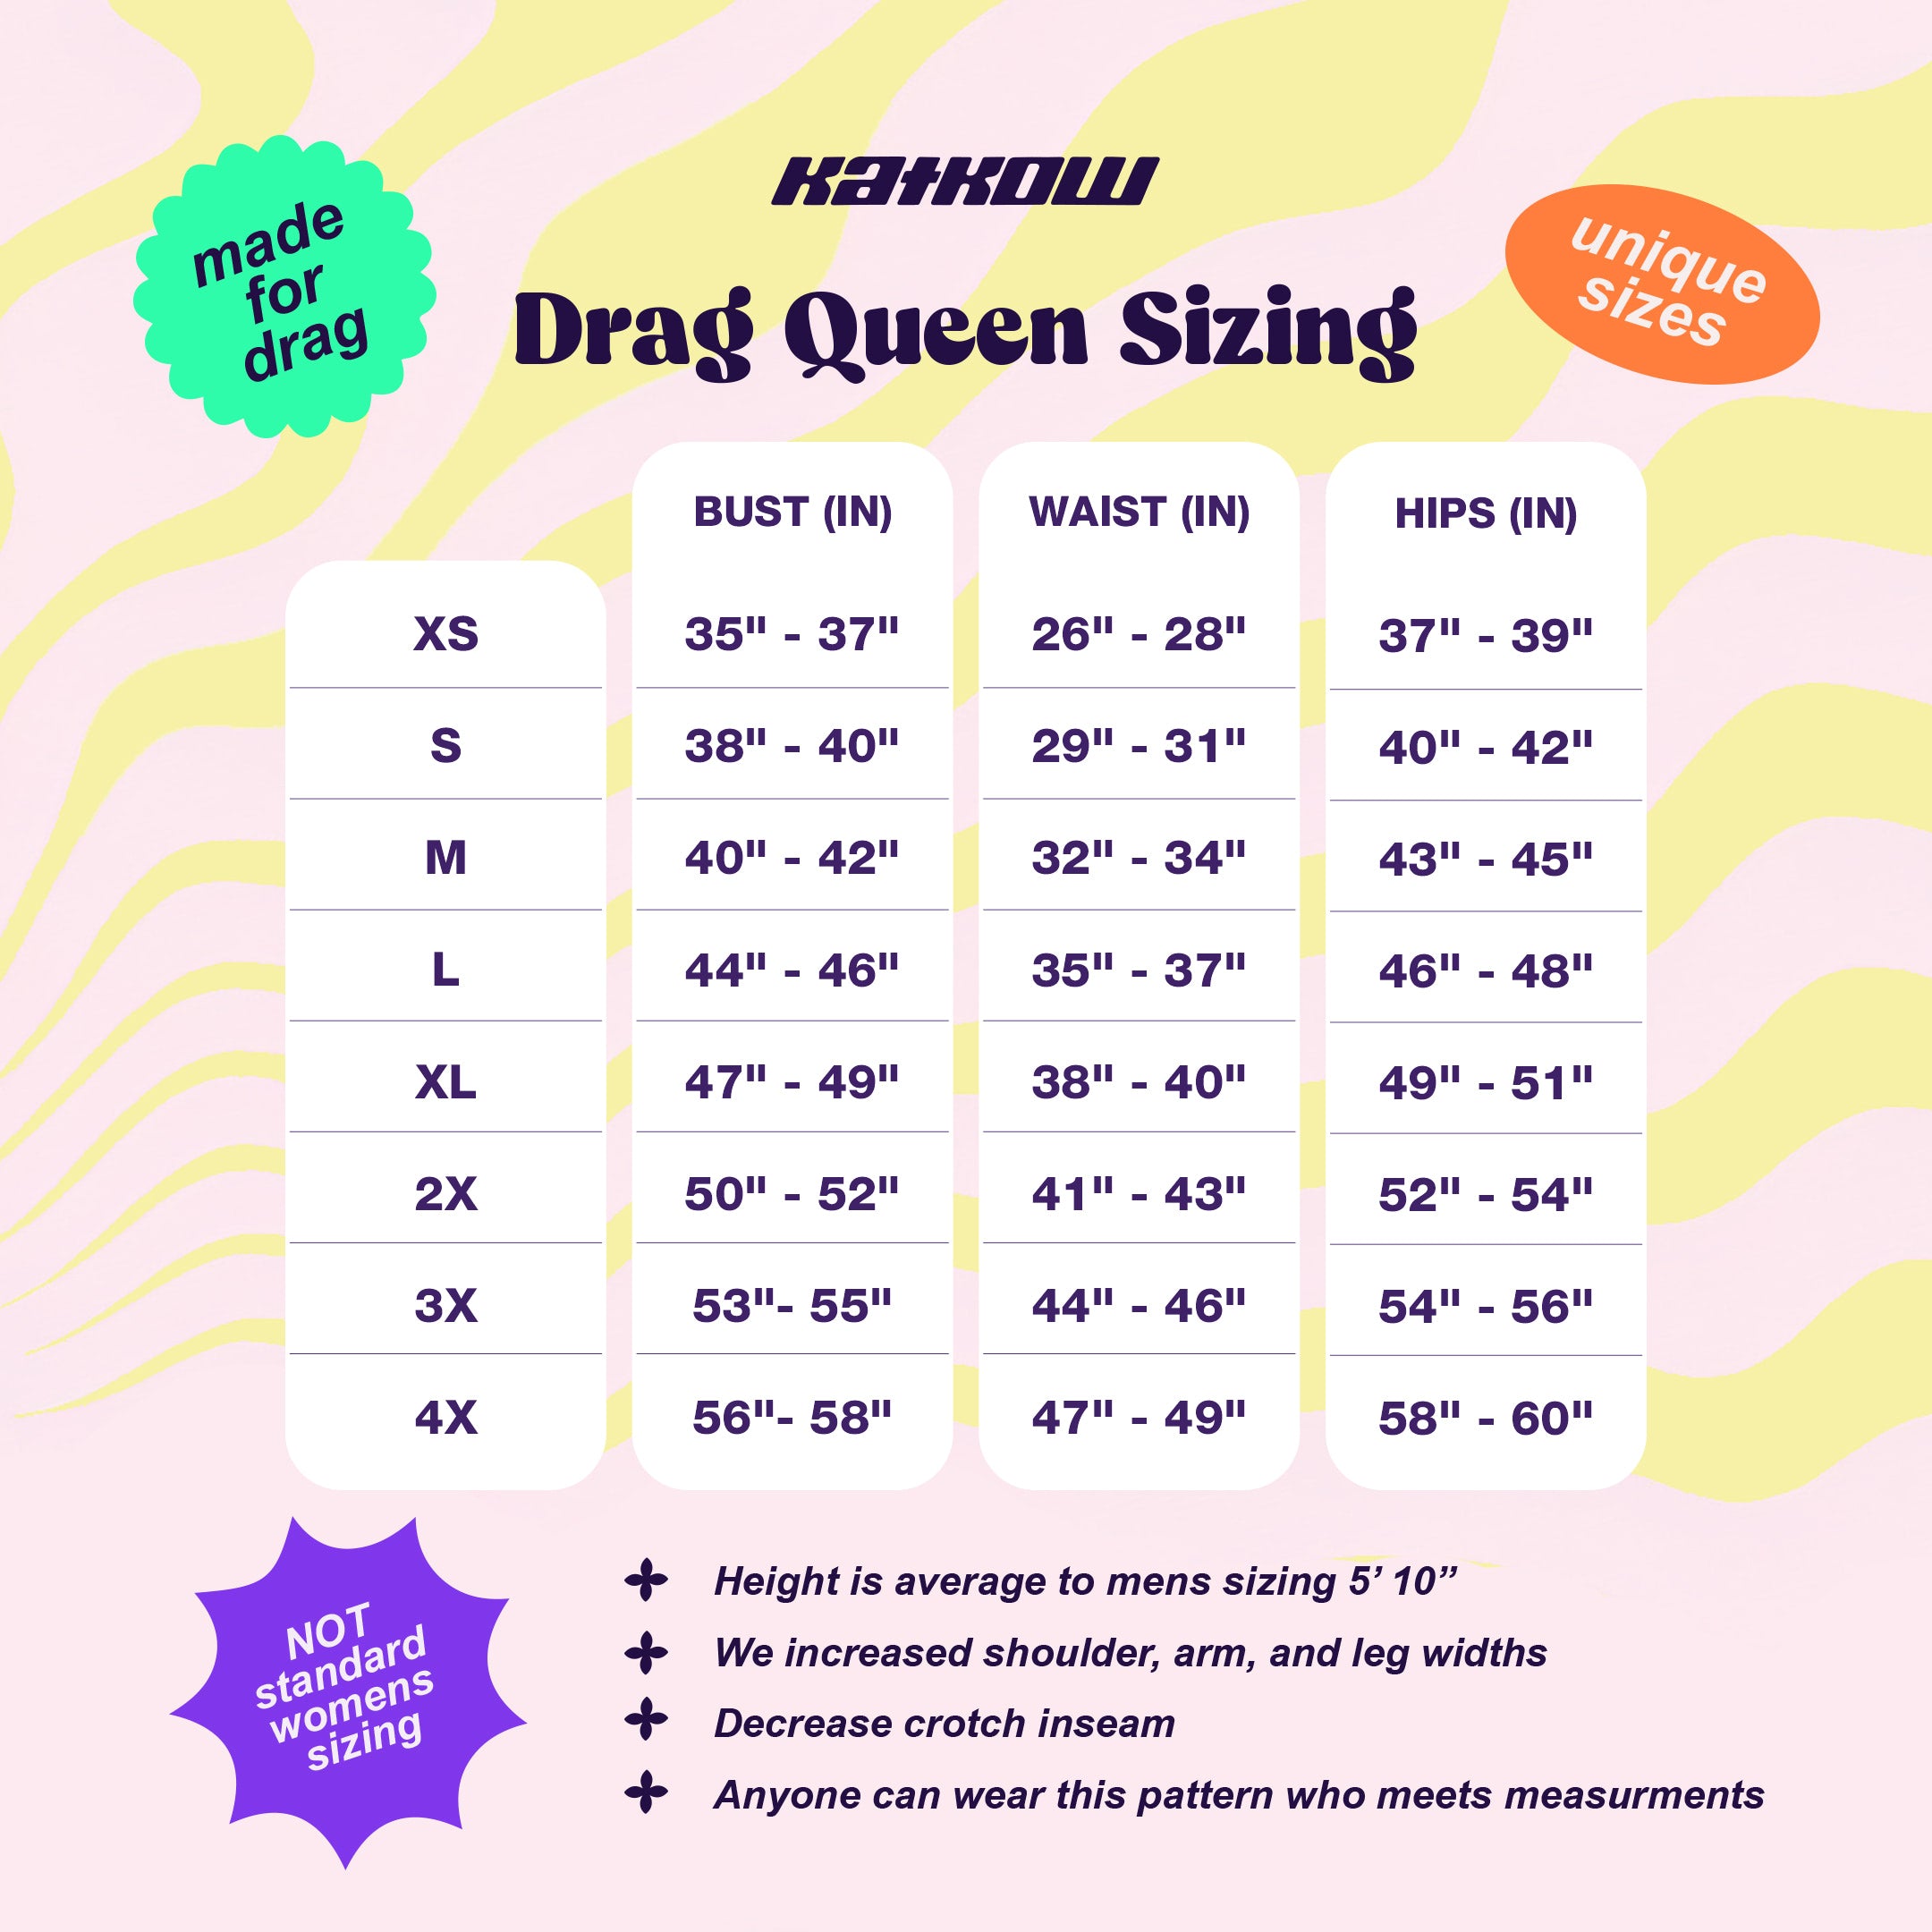
Este patrón está disponible en nuestros exclusivos talles Drag Queen (XS-4X). Consulta nuestra guía de talles para obtener más información sobre nuestras medidas de talle.
Telas y artículos de mercería
Adecuado para tejidos elásticos en 4 direcciones:
- Spandex
- Miliskin
- Licra
- Vinilo elástico
- Tejidos de punto elásticos
- Elástico de 1,5" a 2"
Yardas de tela
Este patrón requiere el uso de tela elástica con un ancho de yarda de 58 pulgadas. A continuación, encontrará la cantidad de yardas necesarias para cada tipo de tela.
| Tamaño | Yardas | Metros |
|---|---|---|
| XS | 2,75 años | 2,5 metros |
| S | 2,75 años | 2,6 metros |
| METRO | 3 años | 2,8 metros |
| yo | 3,25 años | 2,9 metros |
| SG | 3,5 años | 3,1 metros |
| 2X | 3,5 años | 3,2 metros |
| 3 veces | 3,75 años | 3,3 metros |
| 4X | 4 años | 3,5 metros |
Para obtener información sobre la conversión de pulgadas a metros, consulte nuestra guía de conversión.
Instrucciones de costura


Fabric Pieces
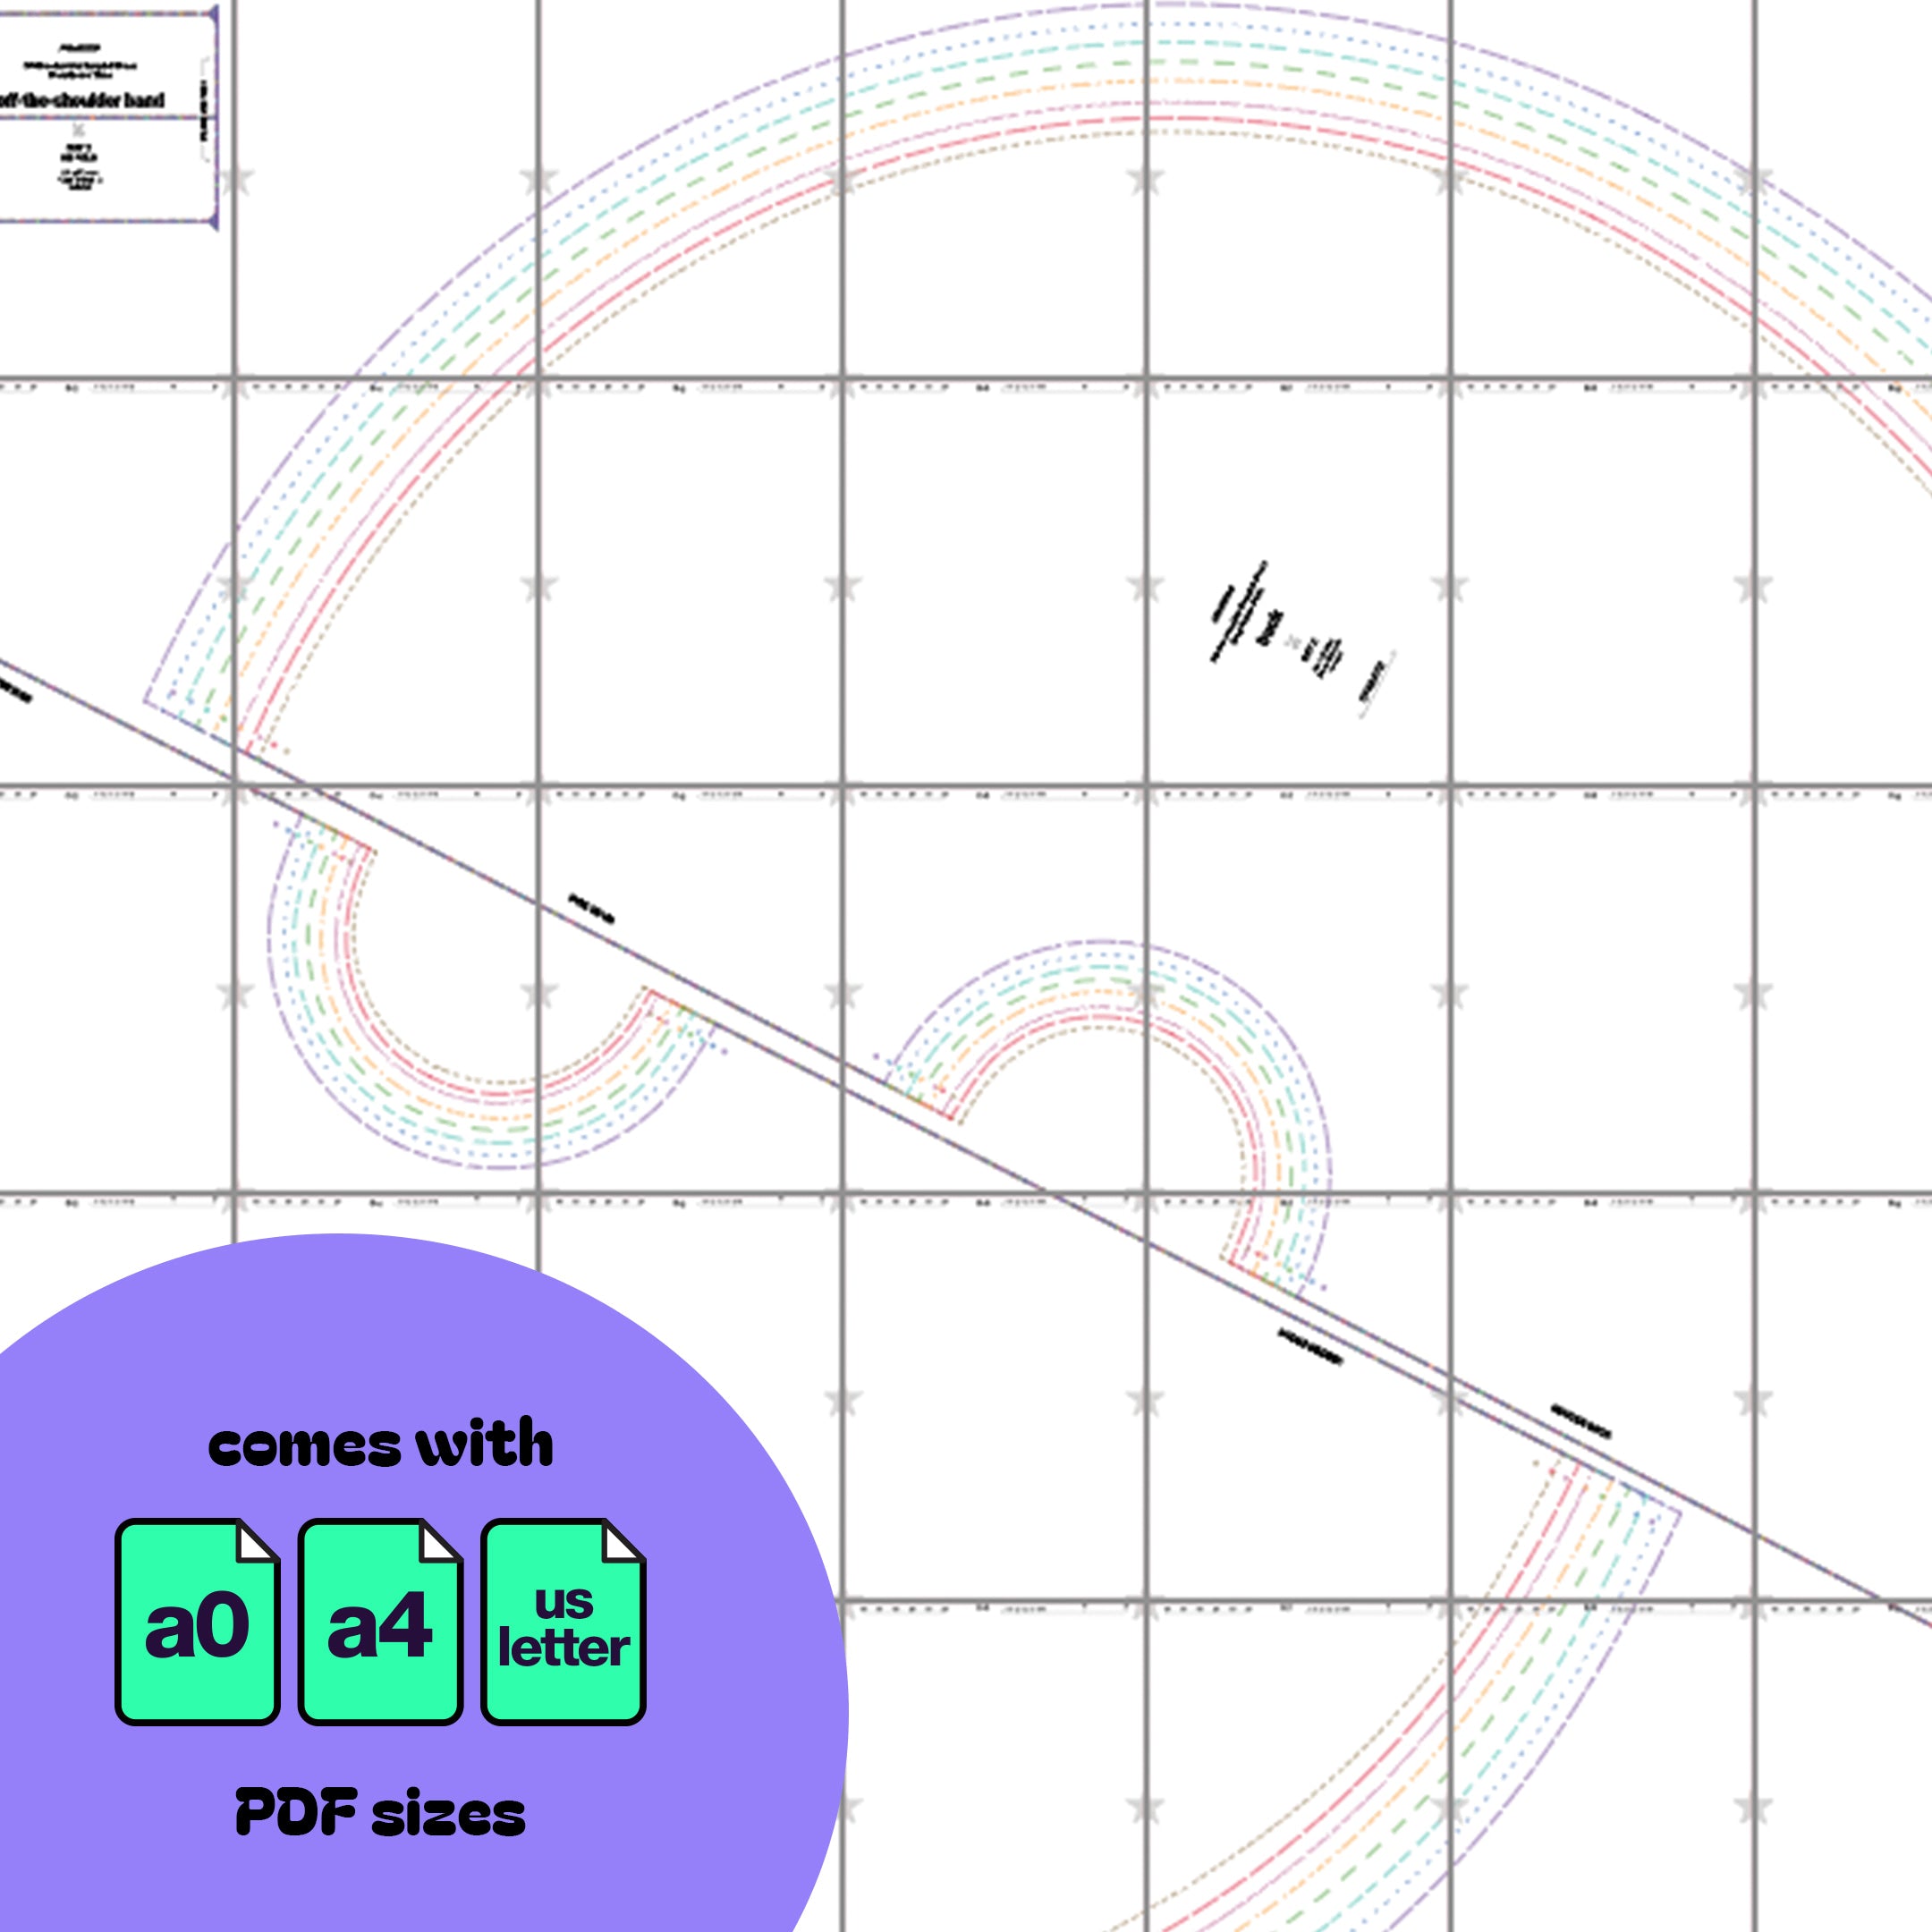
Once your fabric is cut you should have the following pieces: Two front (half circle) pieces and two back (half circle) pieces. As well as, two off-the-shoulder bands, one front band, and one for the back.

Stitches
Preferred stitches: Stretch stitch, zigzag stitch, or serger overlock stitch. You can use a straight stitch only on non-stretch areas like the half circle seams.

STEP 1
Gather your off-the-shoulder bands. Stack them right sides facing each other, and sew them together at the ends, creating one big loop. Then open and press the seams on the wrong side of the band.

STEP 2
Fold the band vertically in half, so the right side of the fabric is facing up. Then press the fold.

STEP 3
At this step you can try on the band. Position it above your bust and around our biceps to measure its stretch.
Place pins at the notches around the underarm. Pin the front and back notches so the band fits securely around the bicep and above the bust.

STEP 4
If you need more tightness you will need to insert elastic in-between the fold of the band. To do this you will need to leave an unsewn gap 2-3 inches at the center back of the band.
Elastic should be slightly shorter than the width of your off the shoulder band.
Then Insert elastic with a safety pin attached to one end. Guide the elastic through the unswend gap and pull the safety pin to help feed the elastic through the tunnel.

STEP 5
Once the elastic is in the tunnel, sew the elastic ends together, then sew the fabric gap closed. Then stretch the band so the elastic is evenly distributed inside and add pins to the center front and center back and side seams.

STEP 6
Sew the front half circles together, right sides facing each other, along the center front seam.
Note: the center front seam is slightly longer than the side seam, and is longer than the center back seam.

STEP 7
Repeat step 6 for the back half circles

STEP 8
Stack the front and back halves, right sides facing each other, and sew them together along the side seams. Creating one large circle skirt.

STEP 9
Gather your band, flip it upside down and wrong side out. Position the band over and outside of the dress. The dress should be right side out.
Pin the band around the top edge of the dress. The center front and center back seams of the dress should match up to the center front and center back pins of the band. And the side seams of the dress should line up to the side seams of the band.

STEP 10
Sew the band around the dress, right sides facing each other, using a stretch stitch, zig zag stitch, or serger.

STEP 11
Once sewn, flip the band right side up, and press the seam so it faces down. You can then top stitch the band seam facing down around the top edge of the dress.

STEP 12
On the right side of the band, sew the front and back notches of the band together using a bar tack, positioned under the arm around the armpit.
You can also use a zigzag stitch or a couple of straight stitches to secure this seam from ripping.

STEP 13
Lastly, hem around the bottom of your skirt.
Optionally you can add lining, underlayers, or petticoats under the dress to give it more volume.
