Cómo coser un minivestido con mangas asimétricas
Saltar a instrucciones
Descripción general
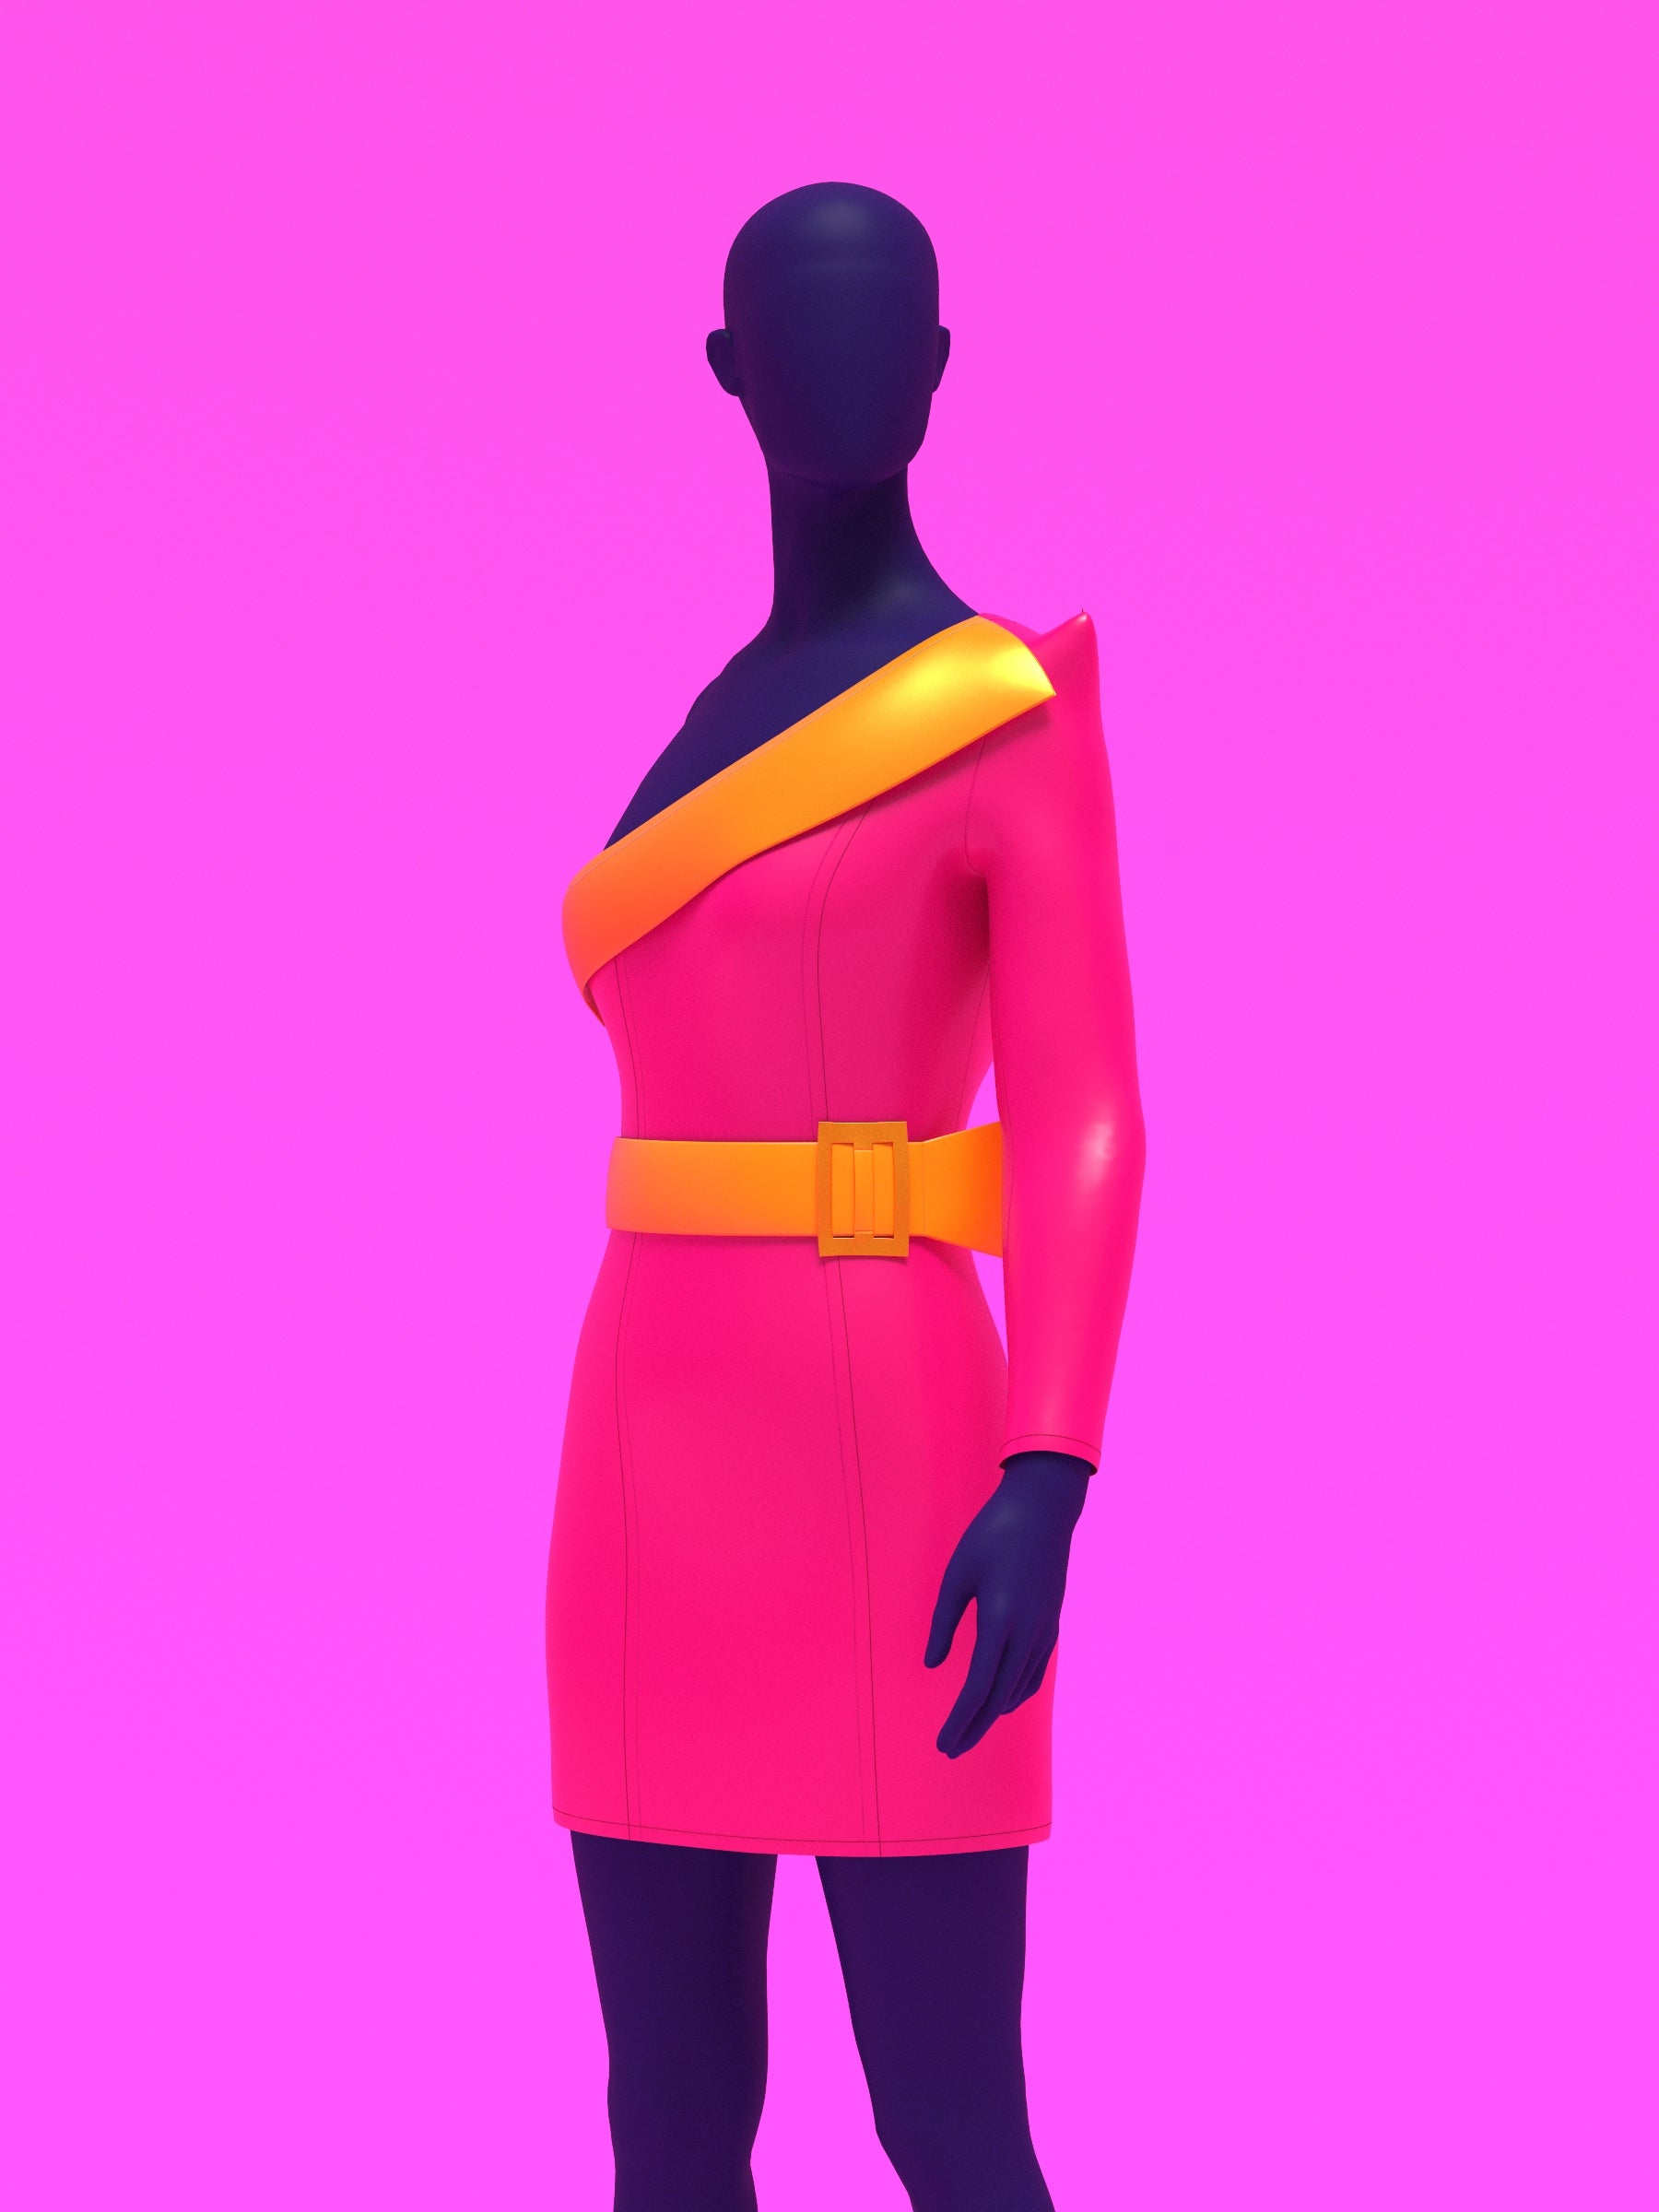
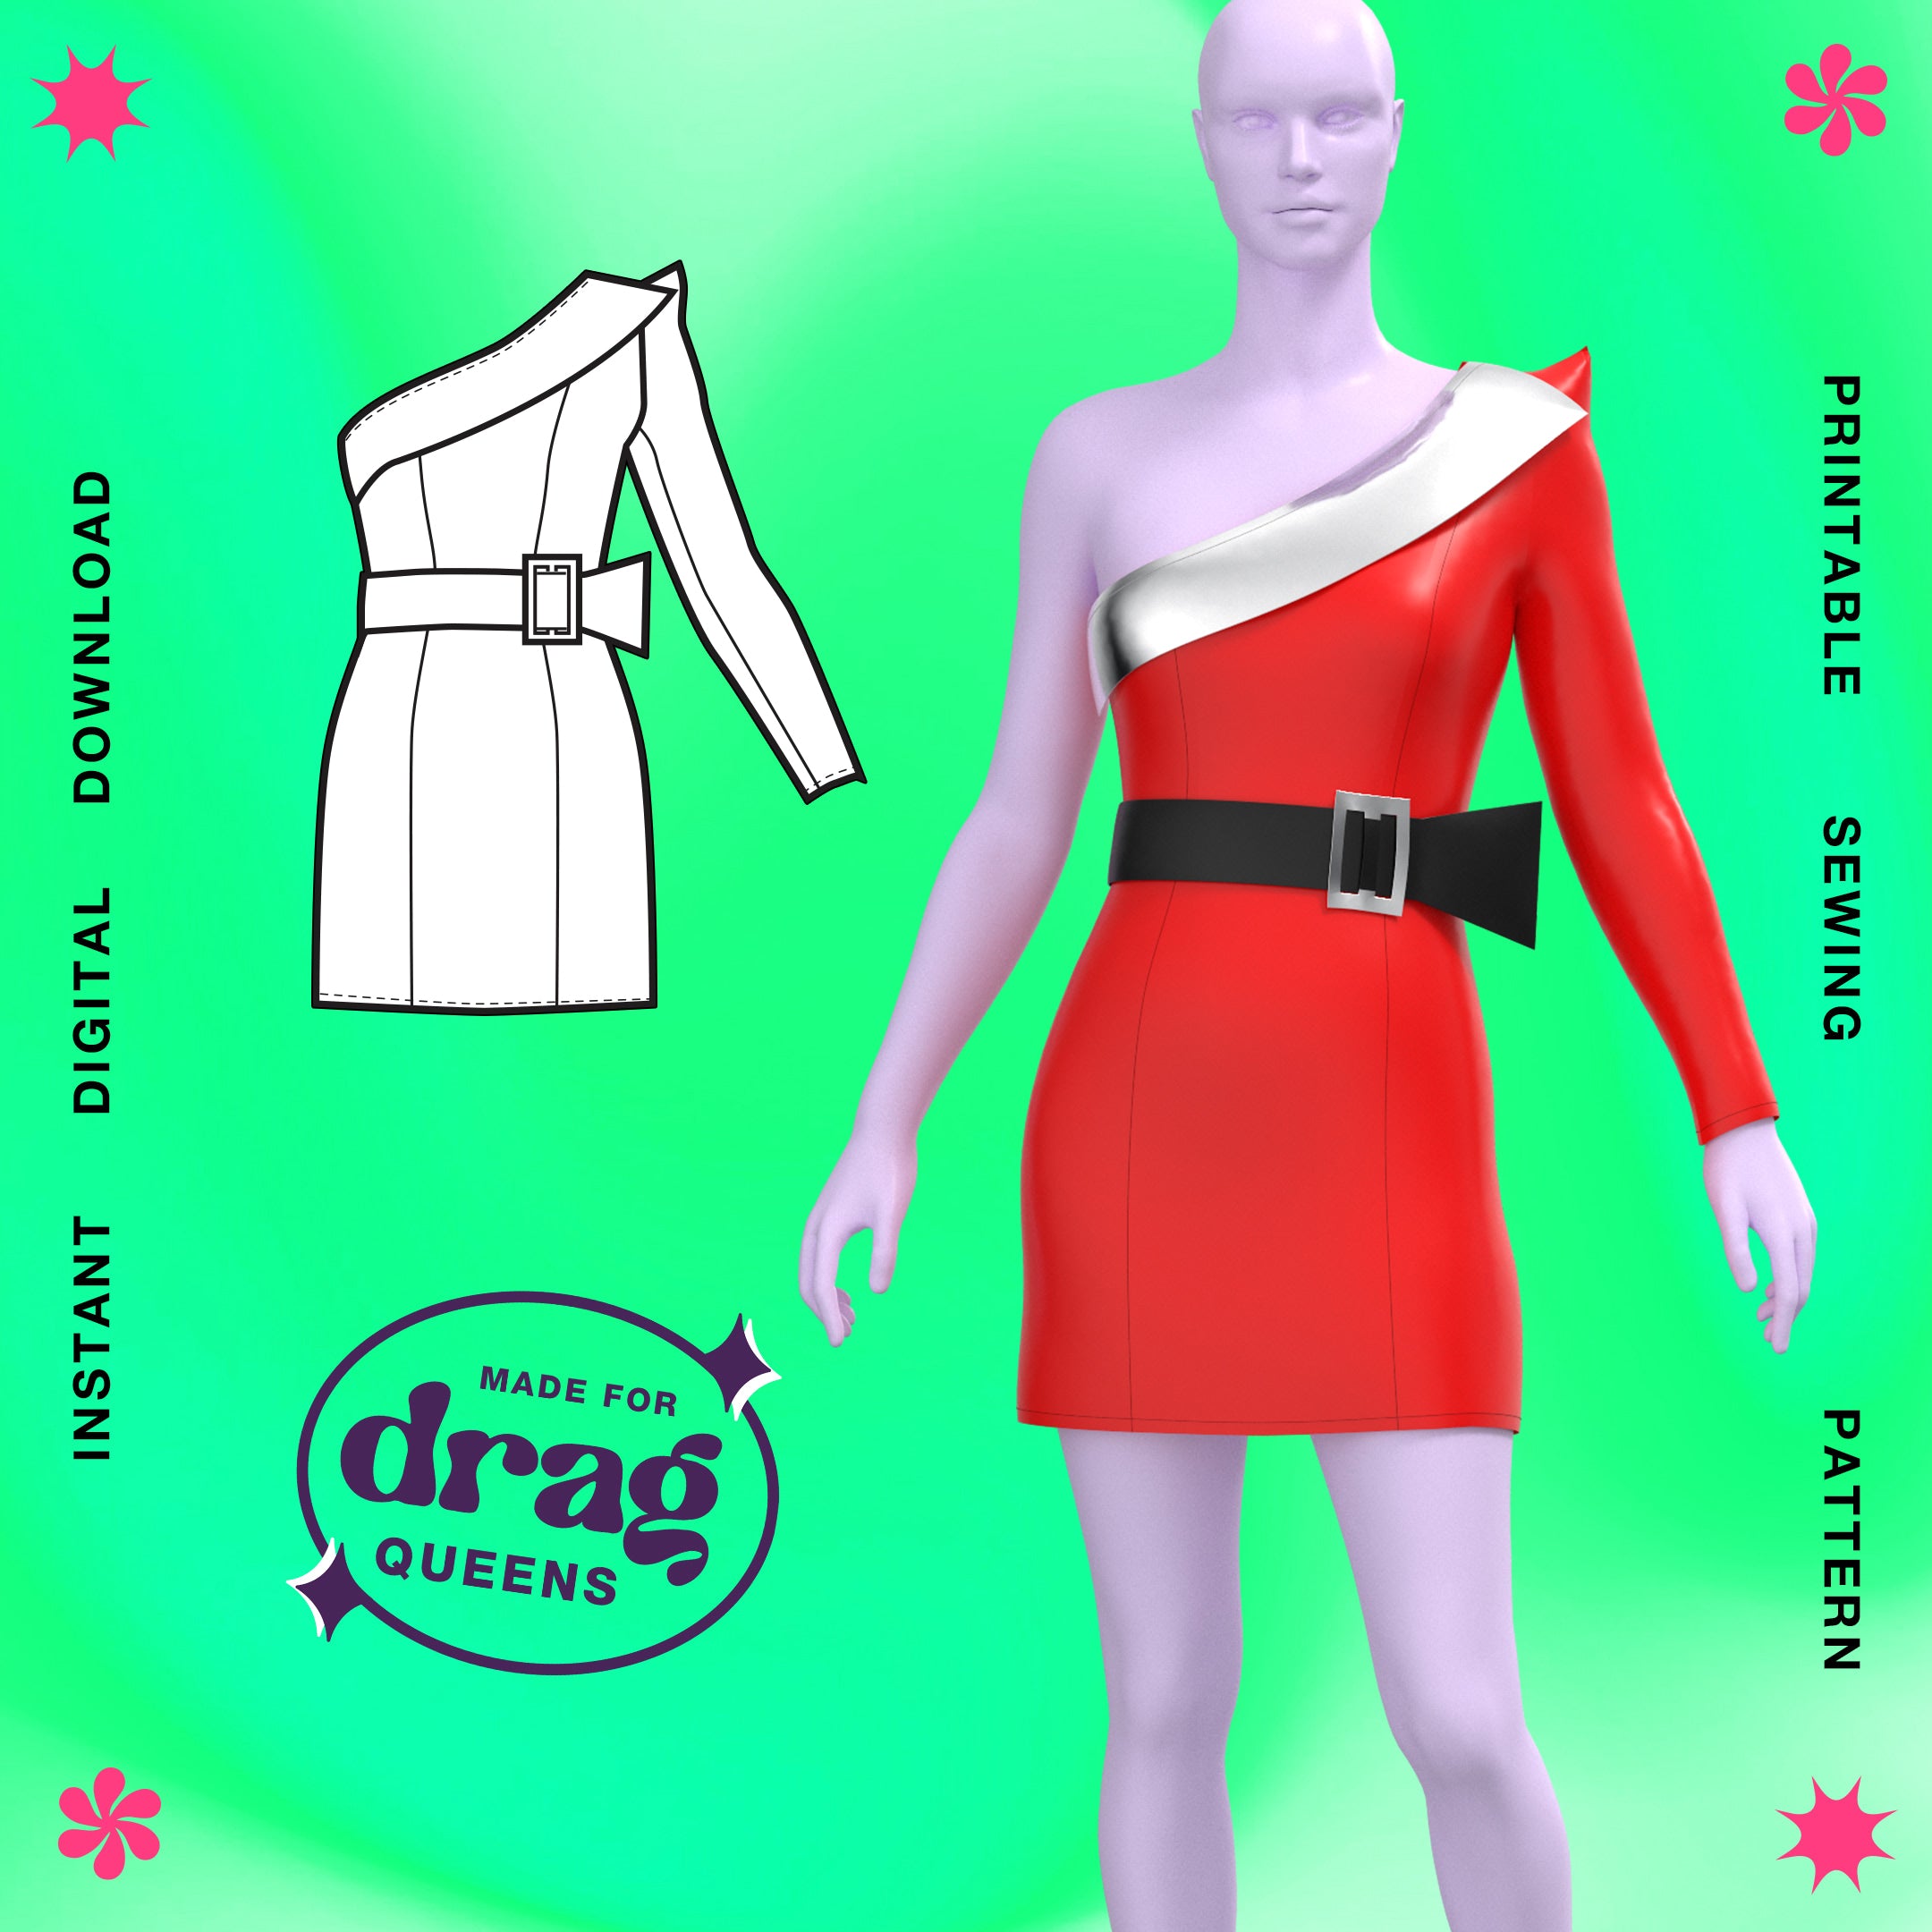
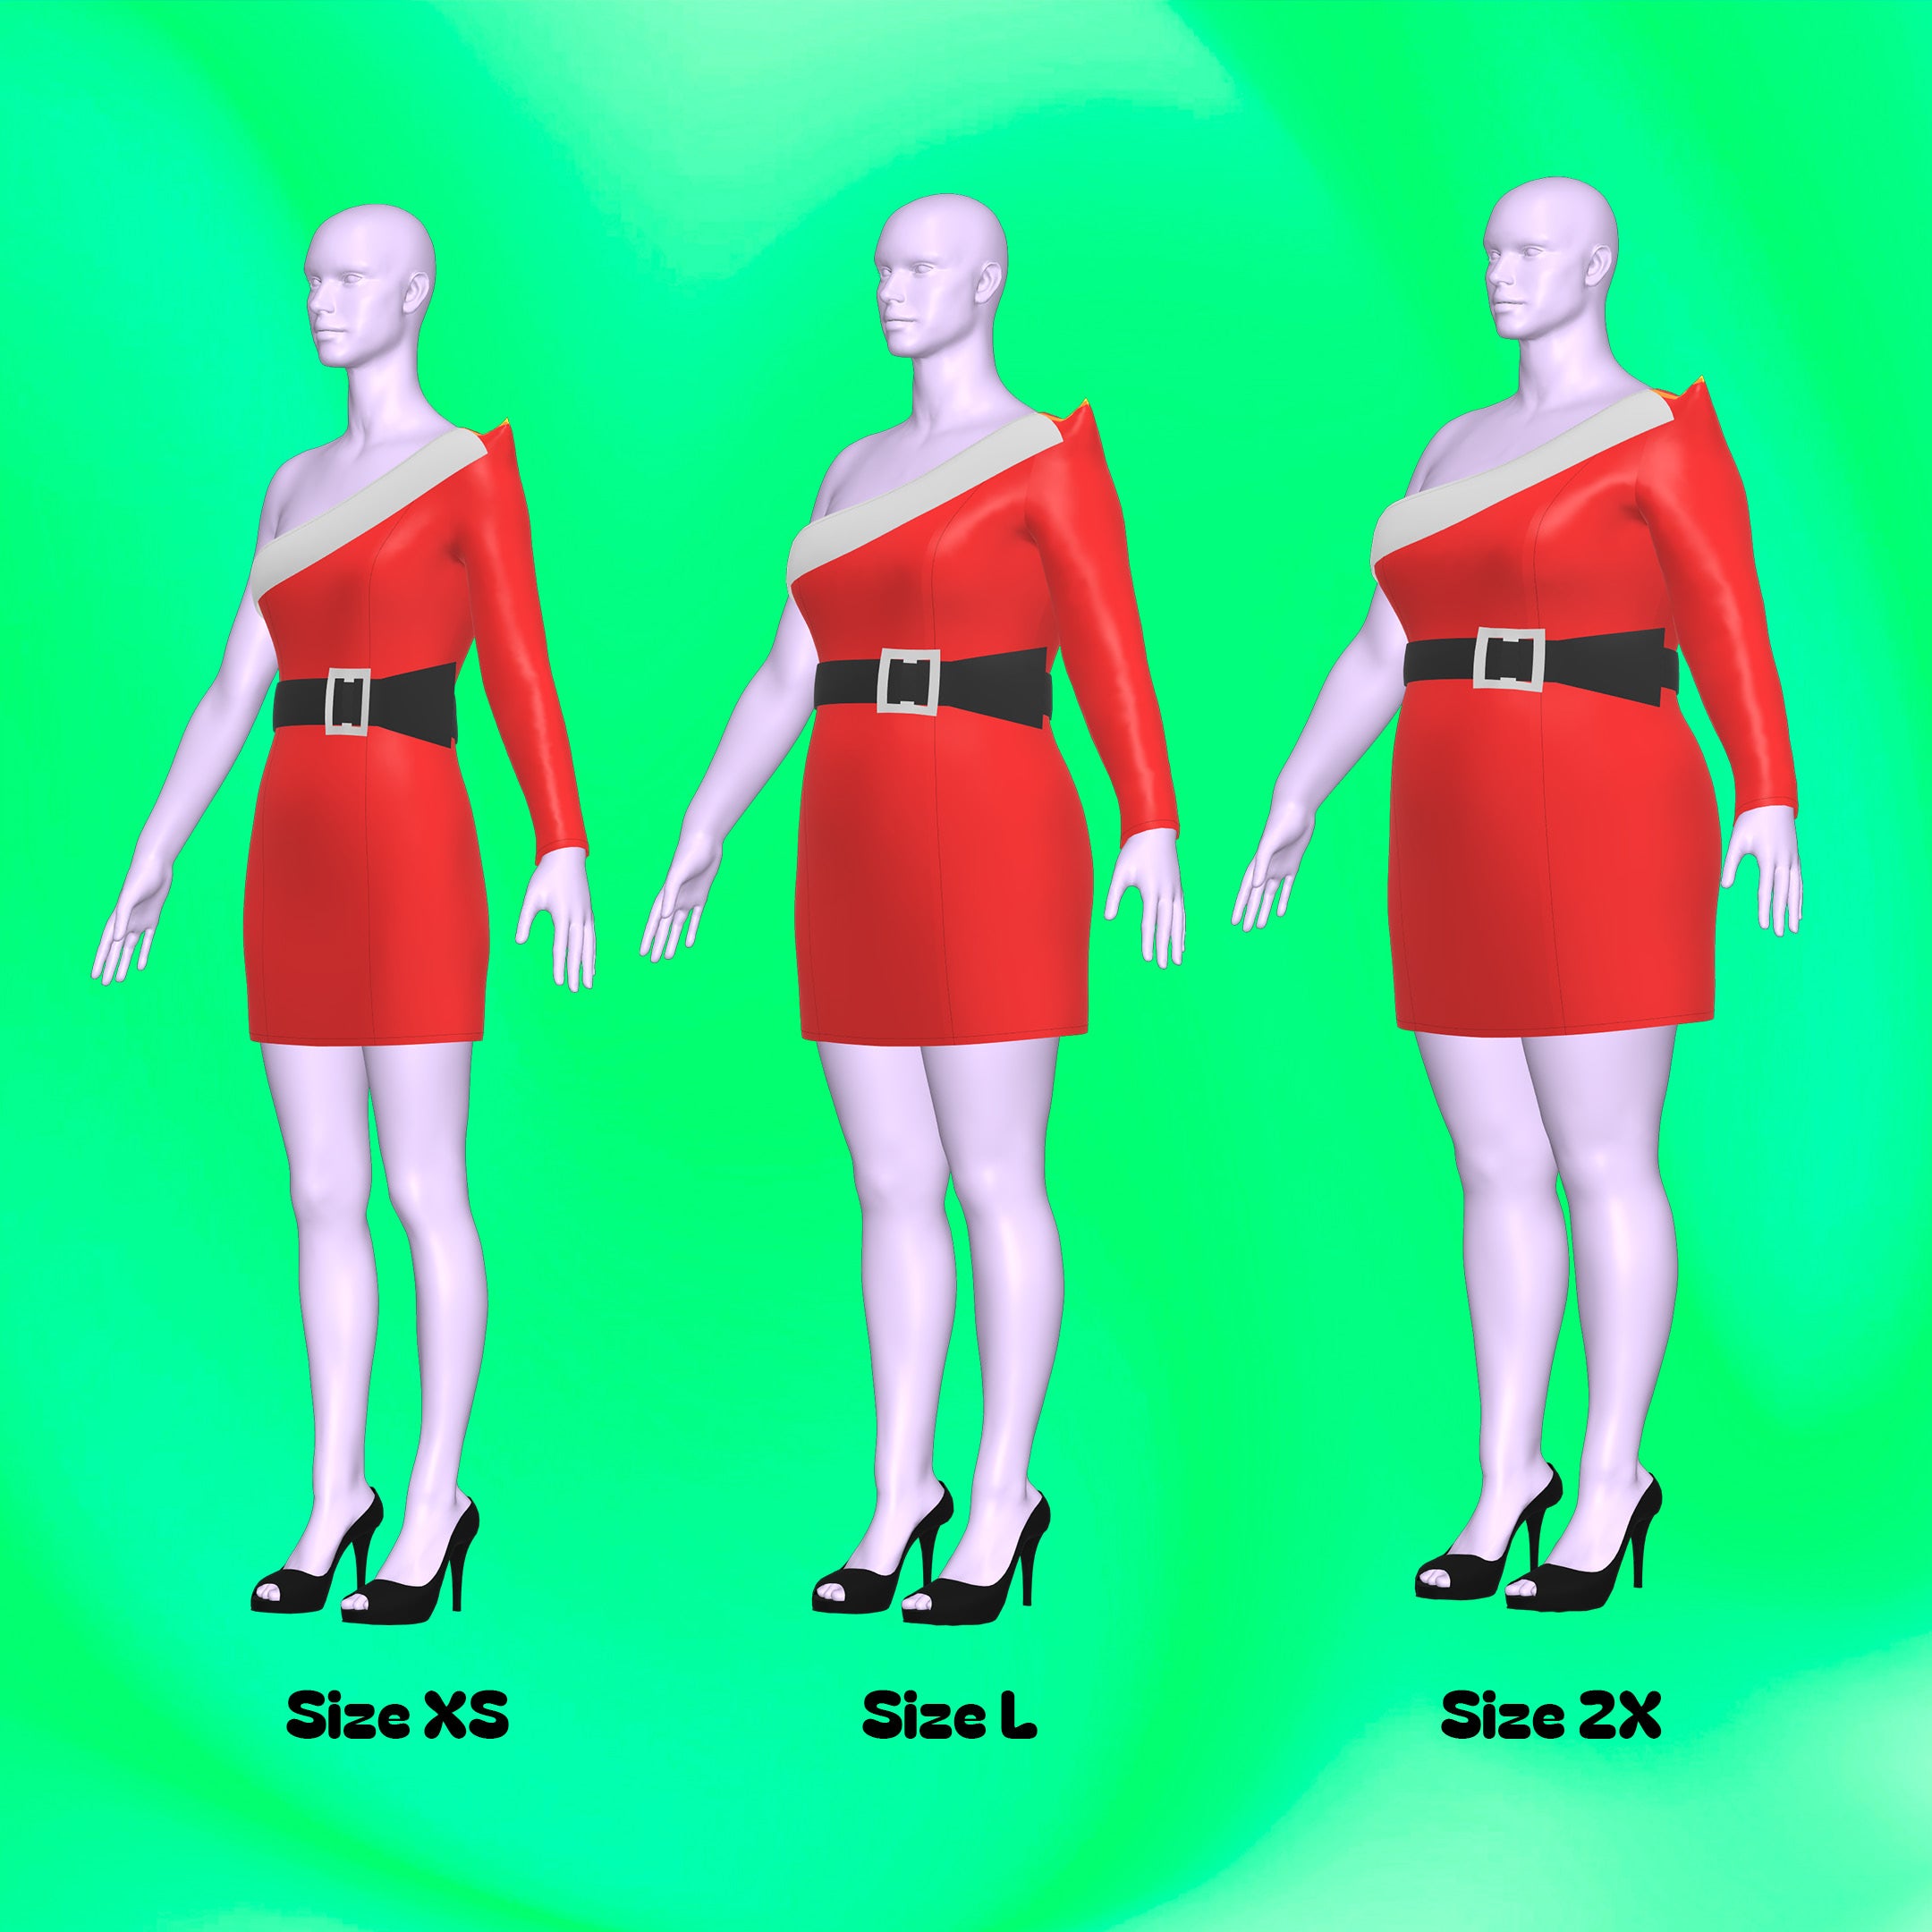
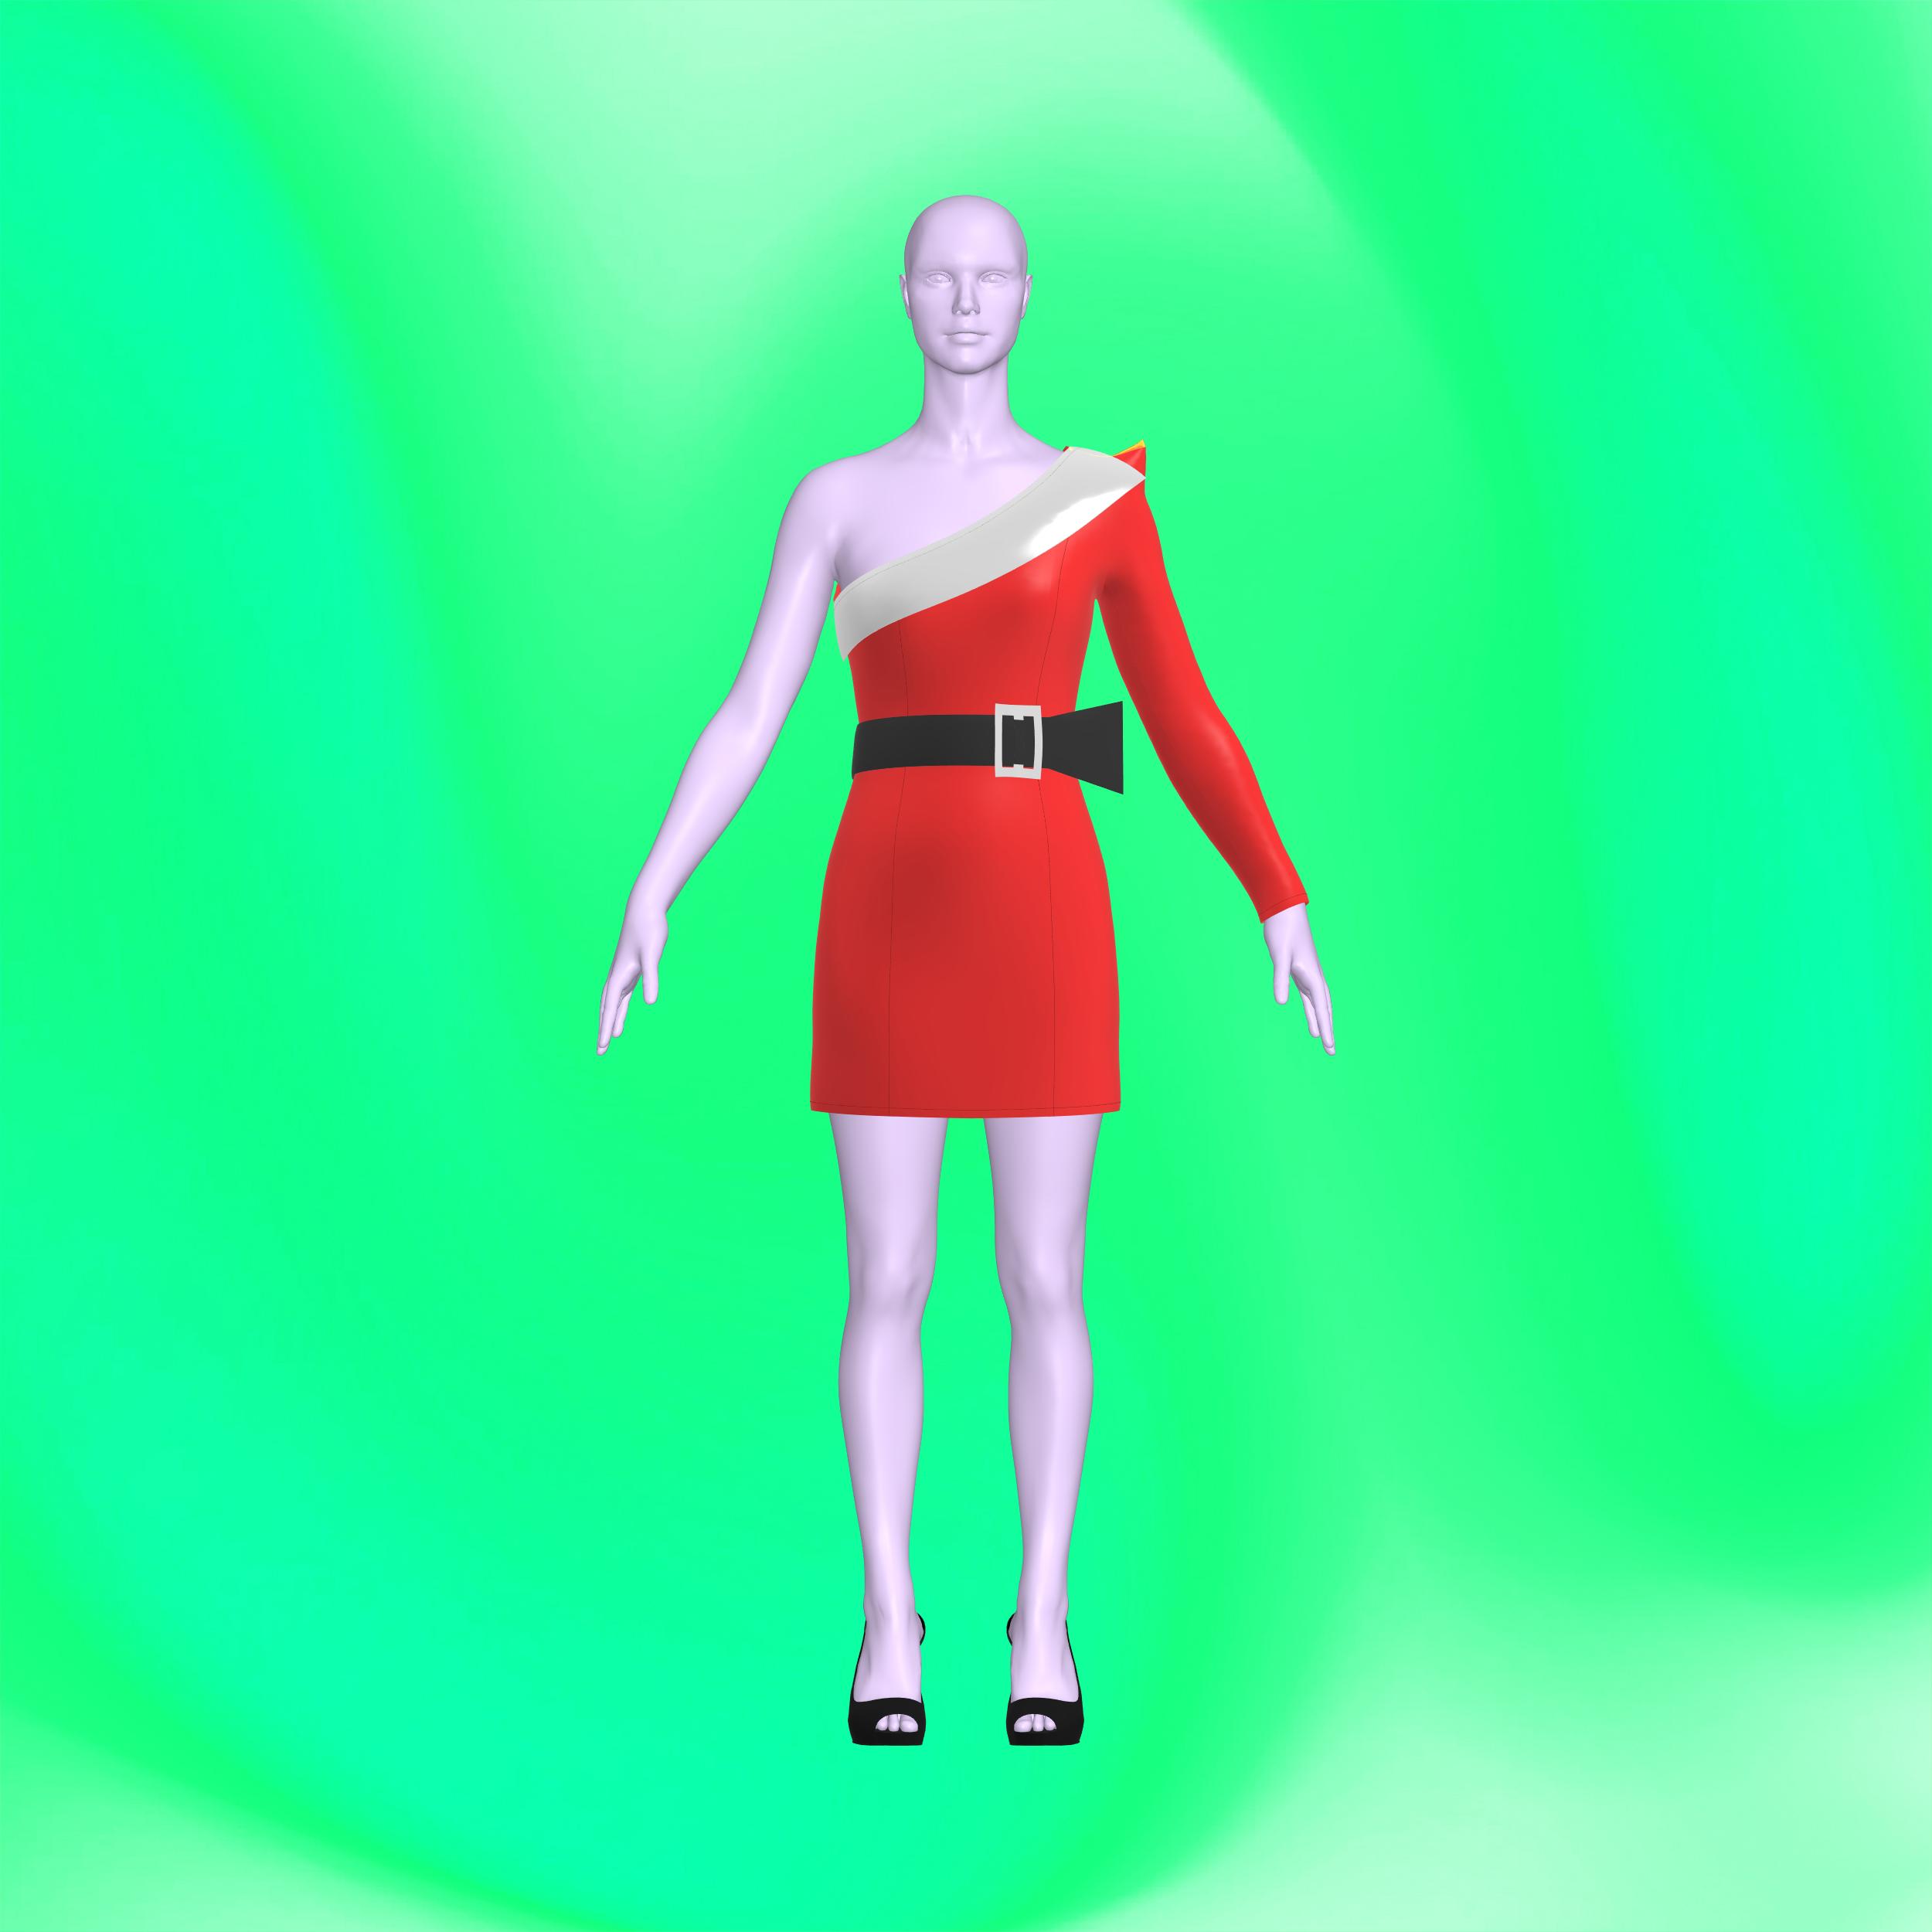
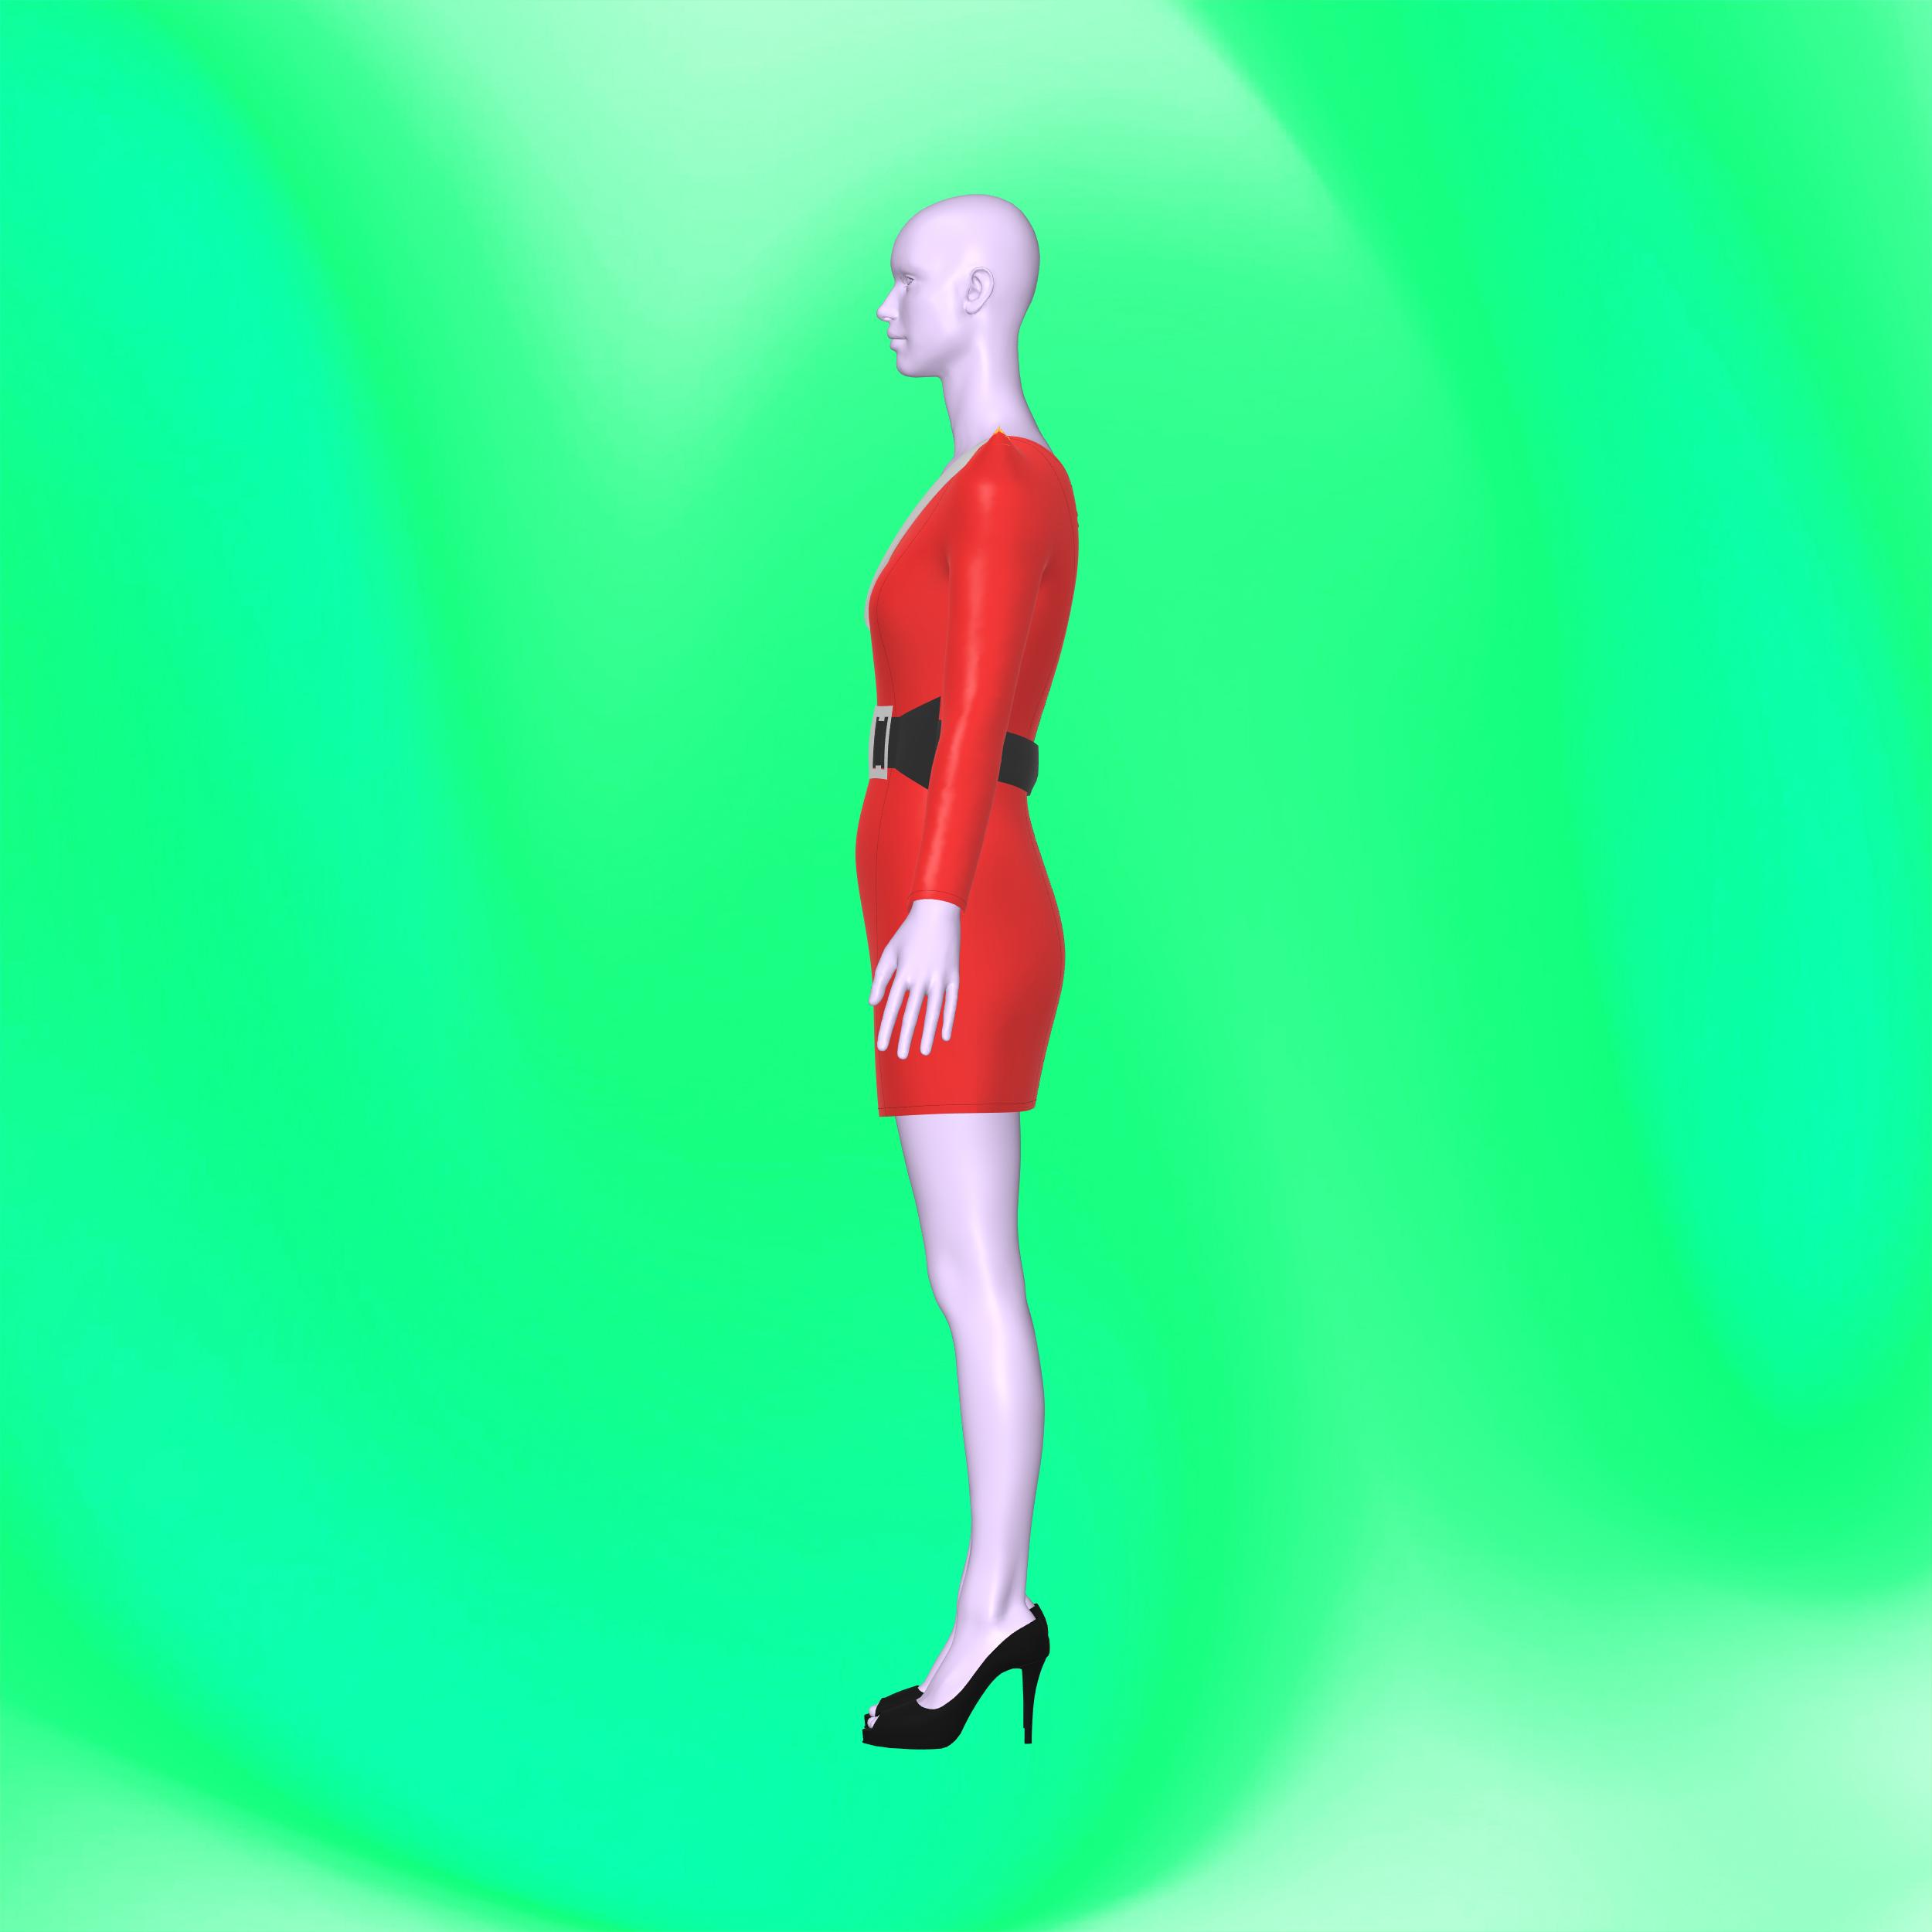
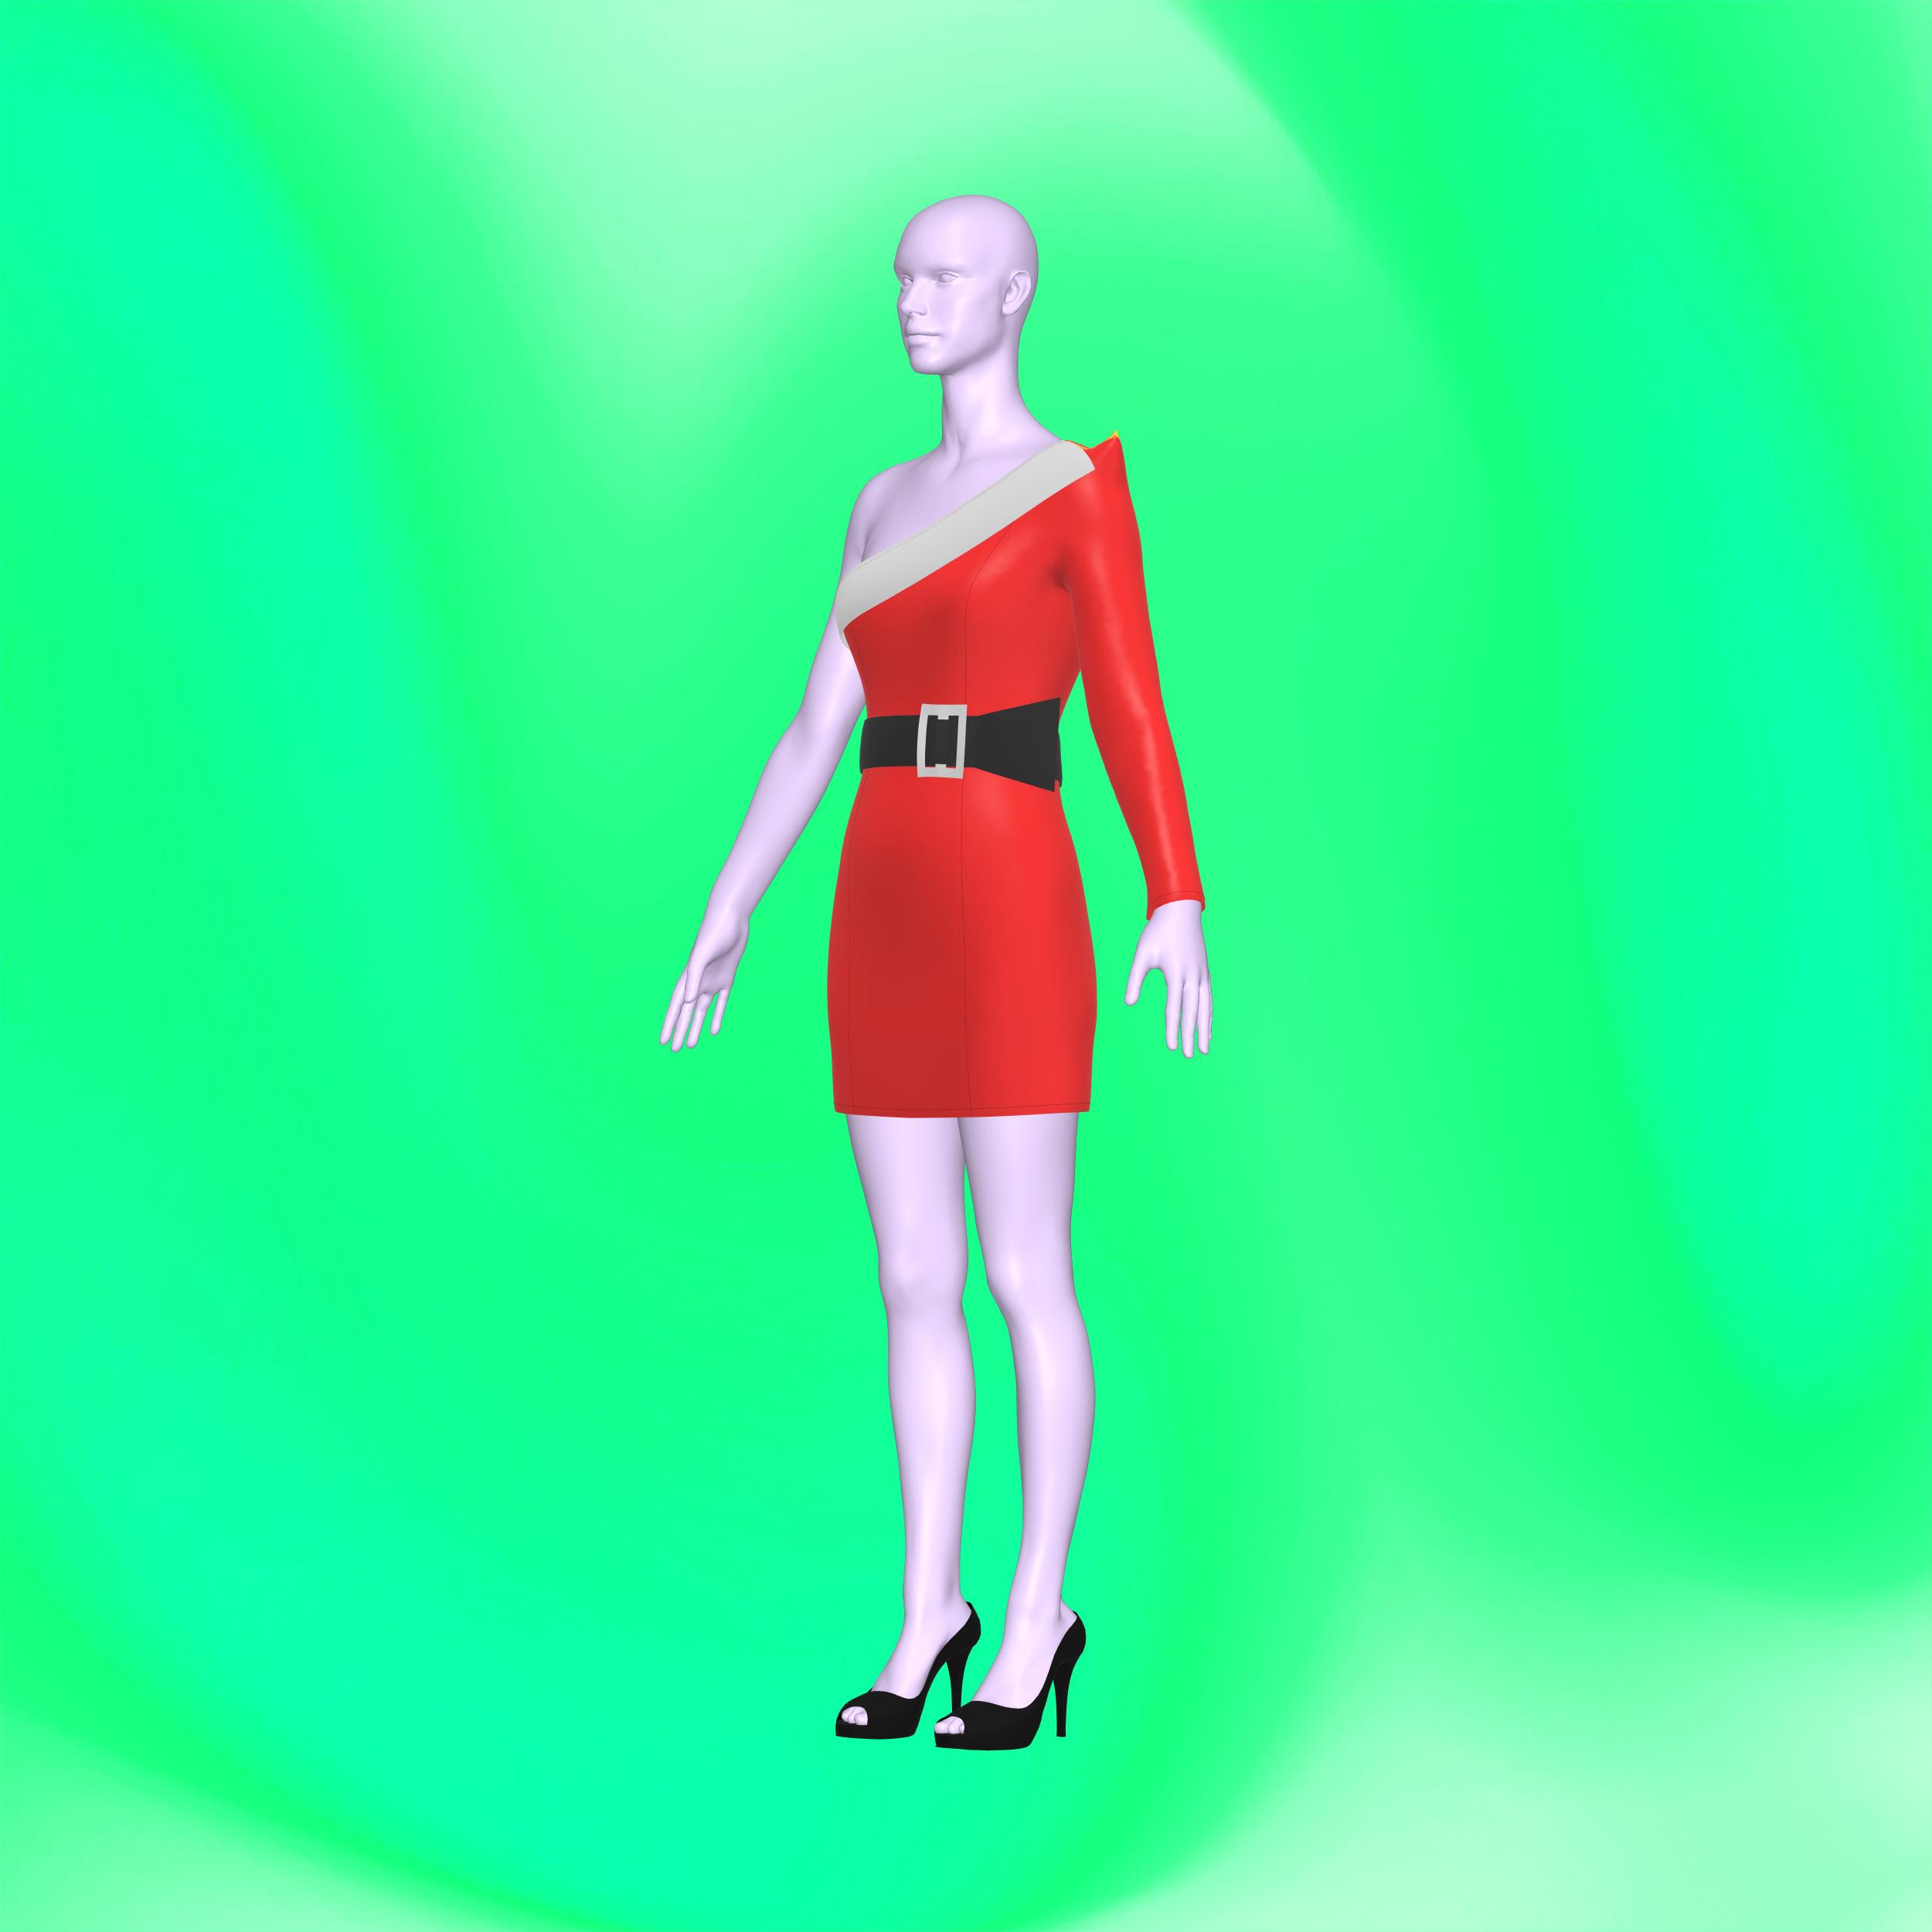
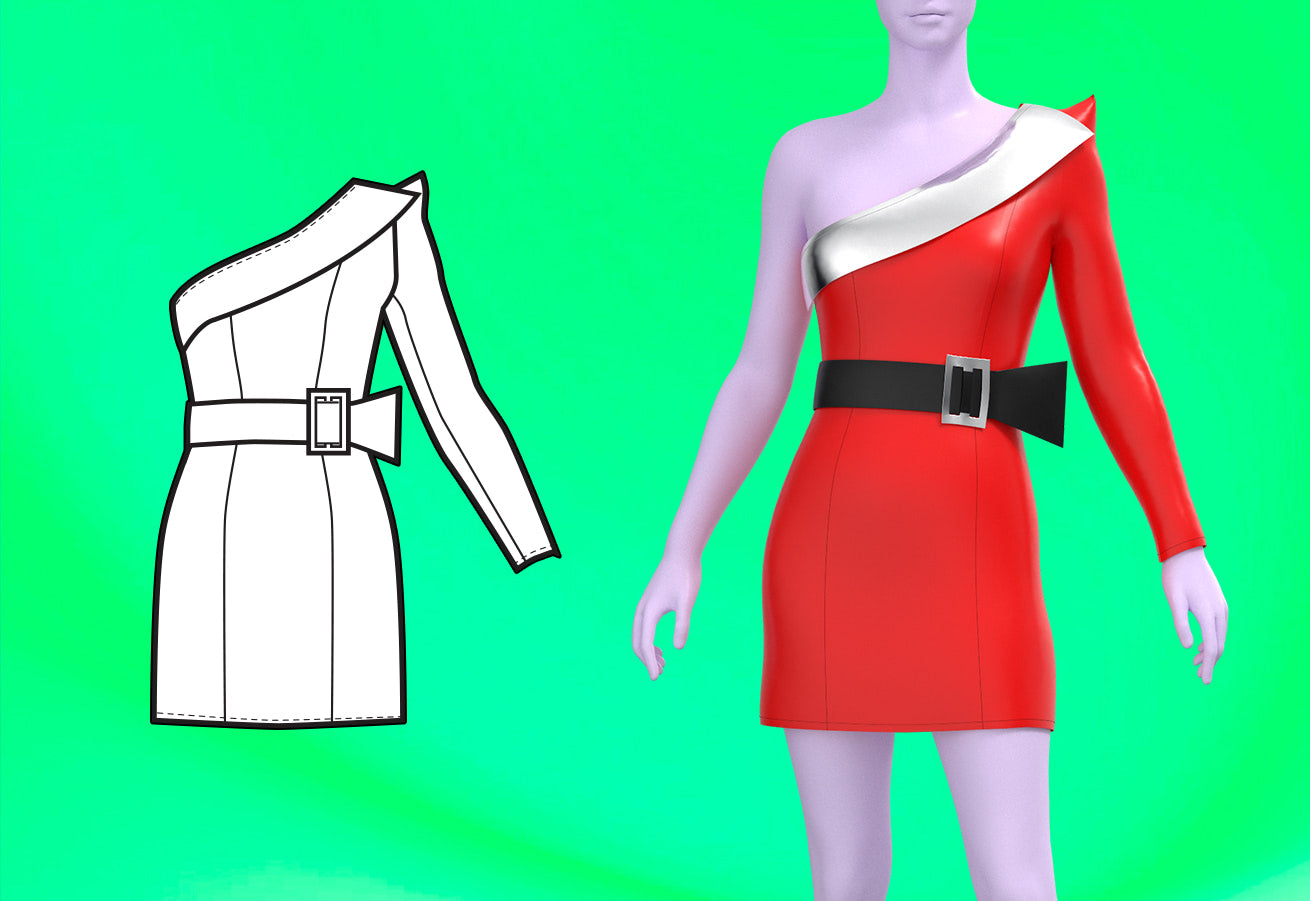
Presentamos nuestro fabuloso patrón de costura diseñado especialmente para drag queens: ¡el minivestido asimétrico de corte princesa con mangas puntiagudas y cinturón envolvente! Realza tu estilo drag inspirado en las fiestas con esta sensacional creación. Ya sea que deslumbres en el escenario o en un evento festivo, este patrón es ideal. Diseñado tanto para telas elásticas como no elásticas, ofrece versatilidad y estilo. Prepárate para arrasar en la temporada con tu conjunto único e inolvidable. Este patrón es imprescindible para todas las drag queens que buscan hacer una entrada triunfal y dejar una impresión duradera.
Dificultad del patrón: Intermedio
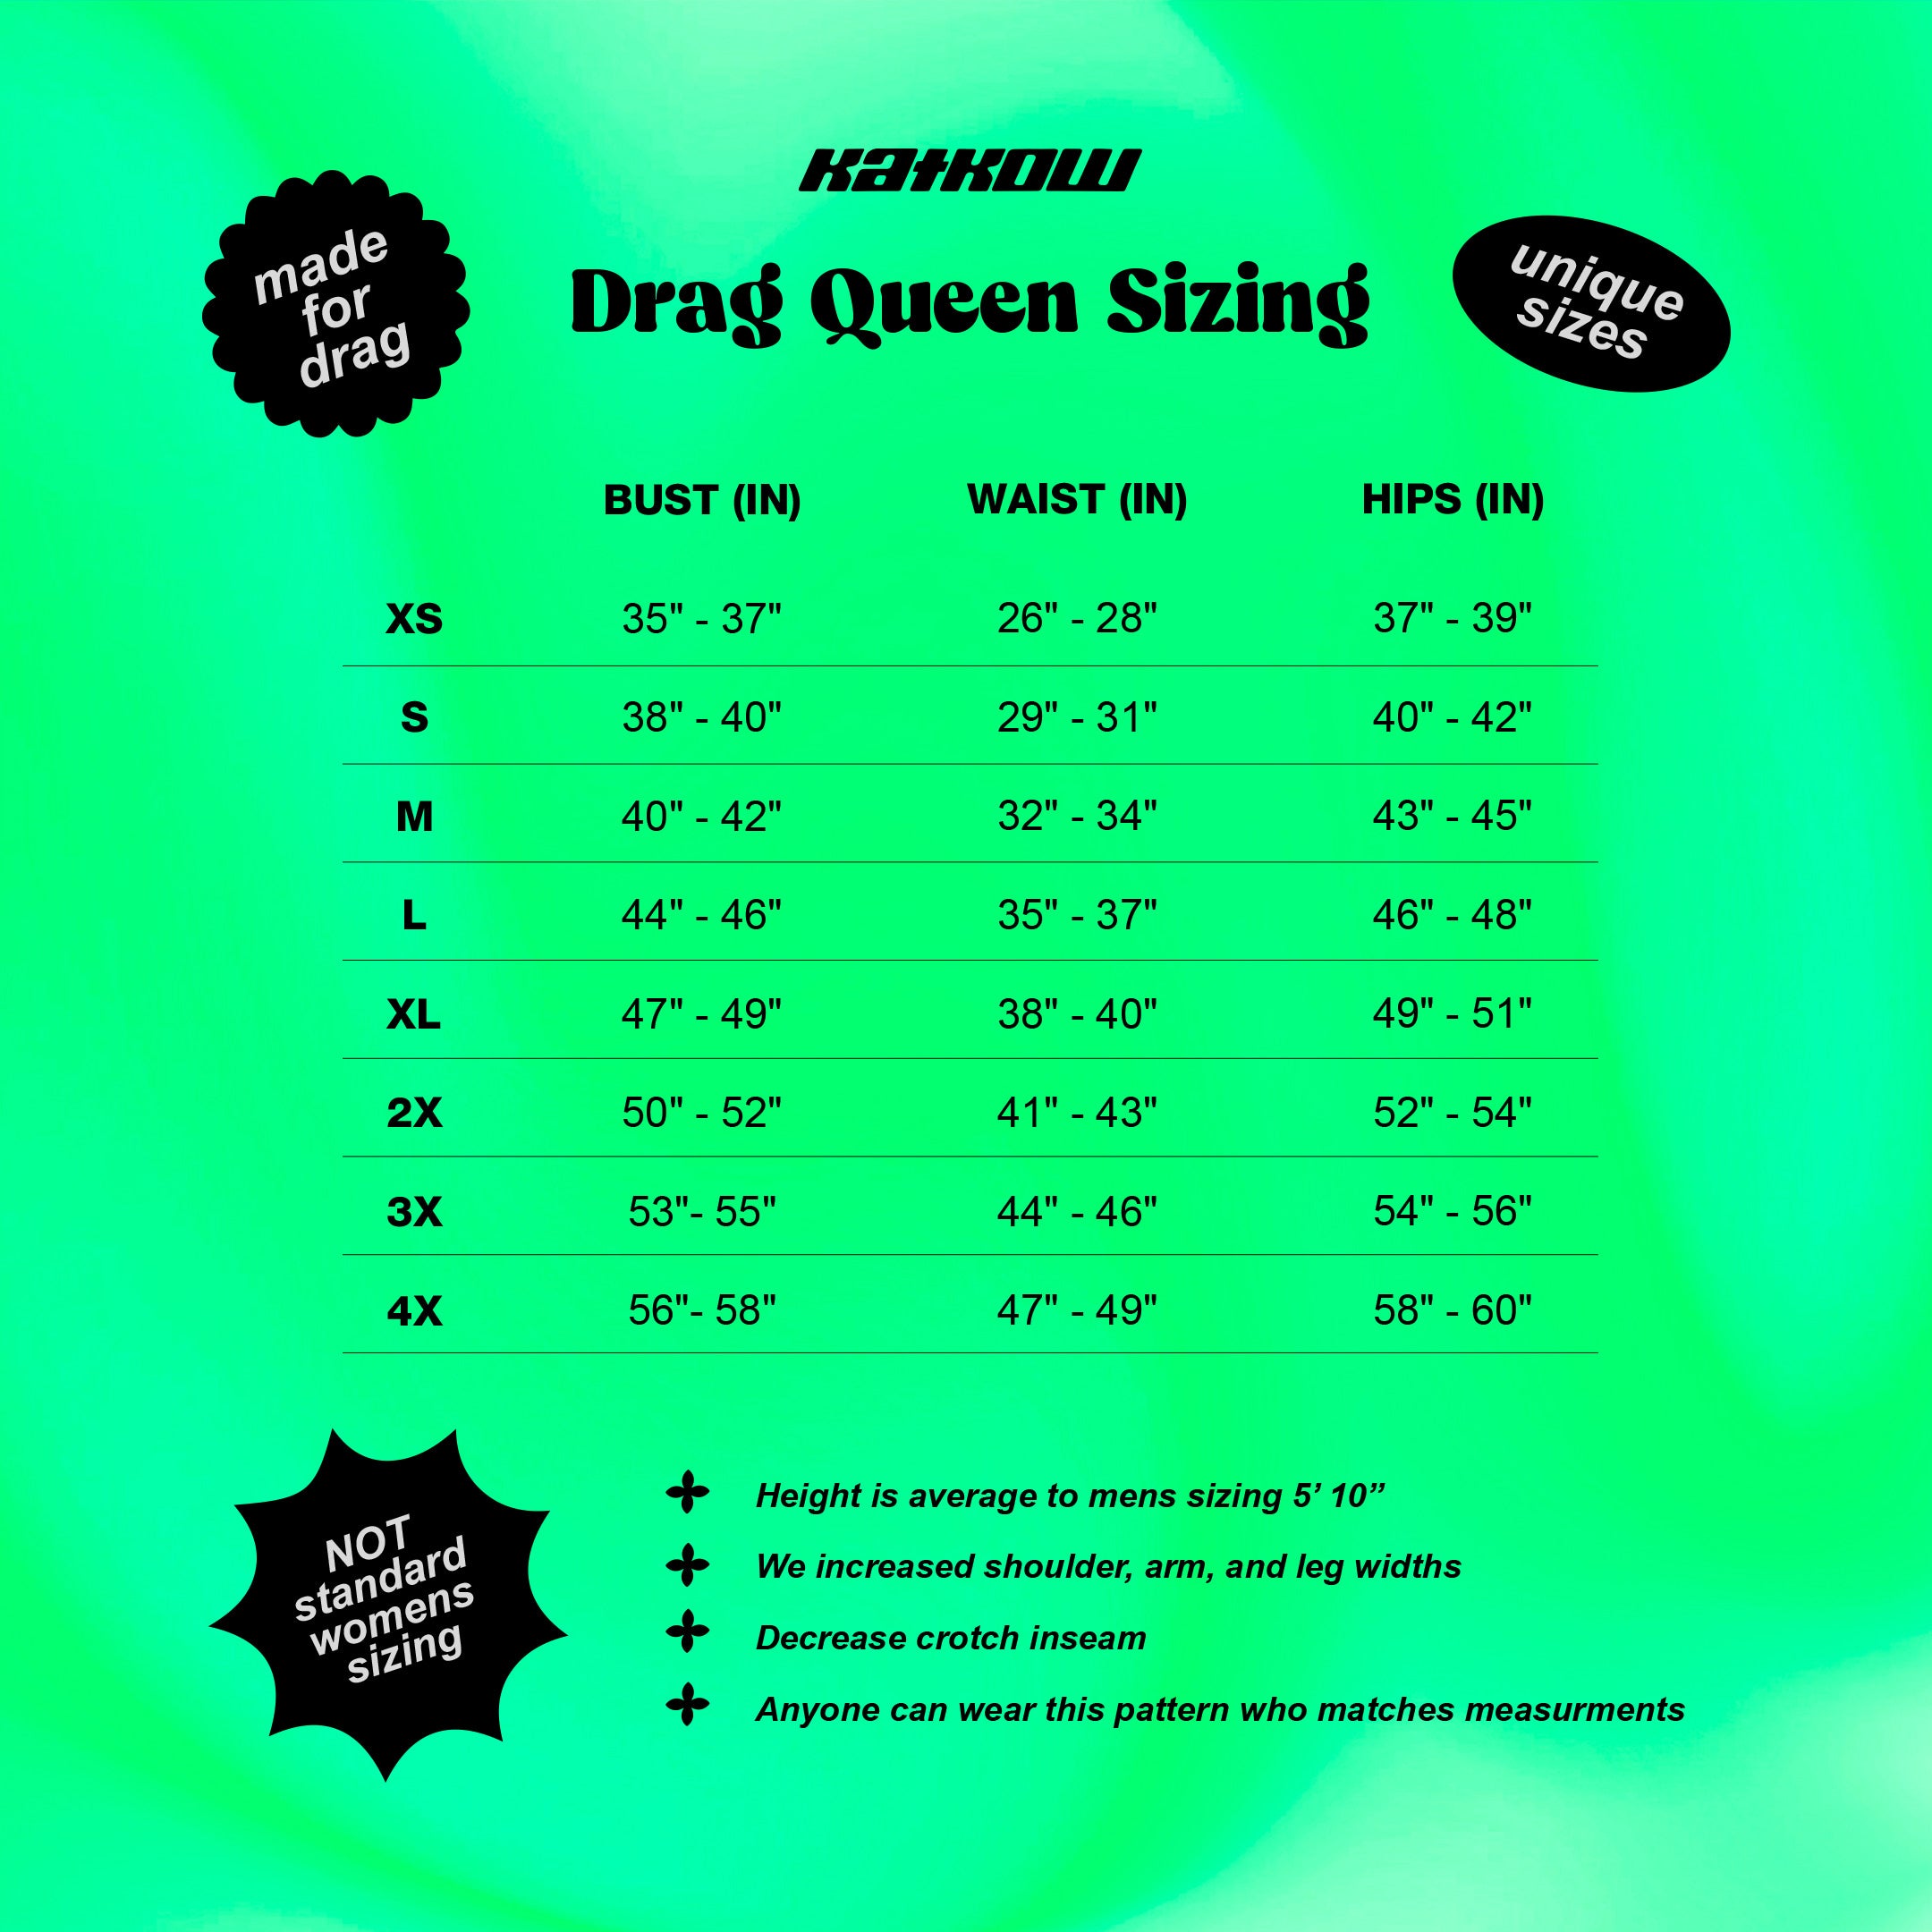
Detalles de tallas
Este patrón está disponible en nuestros exclusivos talles Drag Queen (XS-4X). Consulta nuestra guía de talles para obtener más información sobre nuestras medidas de talle.
Telas y artículos de mercería
Adecuado para tejidos elásticos y no elásticos:
- Cuero o polipiel
- Vinilo elástico
- Algodón
- Dril
- Cremallera de 14 a 16"
- Hebilla de 3"
Yardas de tela
A continuación, encontrará el metraje necesario para cada tamaño. El ancho de tela que se indica a continuación corresponde a una tela de entre 58 y 60 pulgadas de ancho.
| Tamaño | Vestido (yardas) | Aleta (yardas) | Cinturón (yardas) |
|---|---|---|---|
| XS | 1.25 | 0,25 | 0,5 |
| S | 1.25 | 0,25 | 0,5 |
| METRO | 1.25 | 0,25 | 0,5 |
| yo | 1.5 | 0,25 | 0,5 |
| SG | 1.5 | 0,25 | 0,5 |
| 2X | 1,75 | 0,25 | 0,5 |
| 3 veces | 1,75 | 0,25 | 0,5 |
| 4 veces | 1,75 | 0,25 | 0,5 |
Para obtener información sobre la conversión de pulgadas a metros, consulte nuestra guía de conversión.
Instrucciones de costura


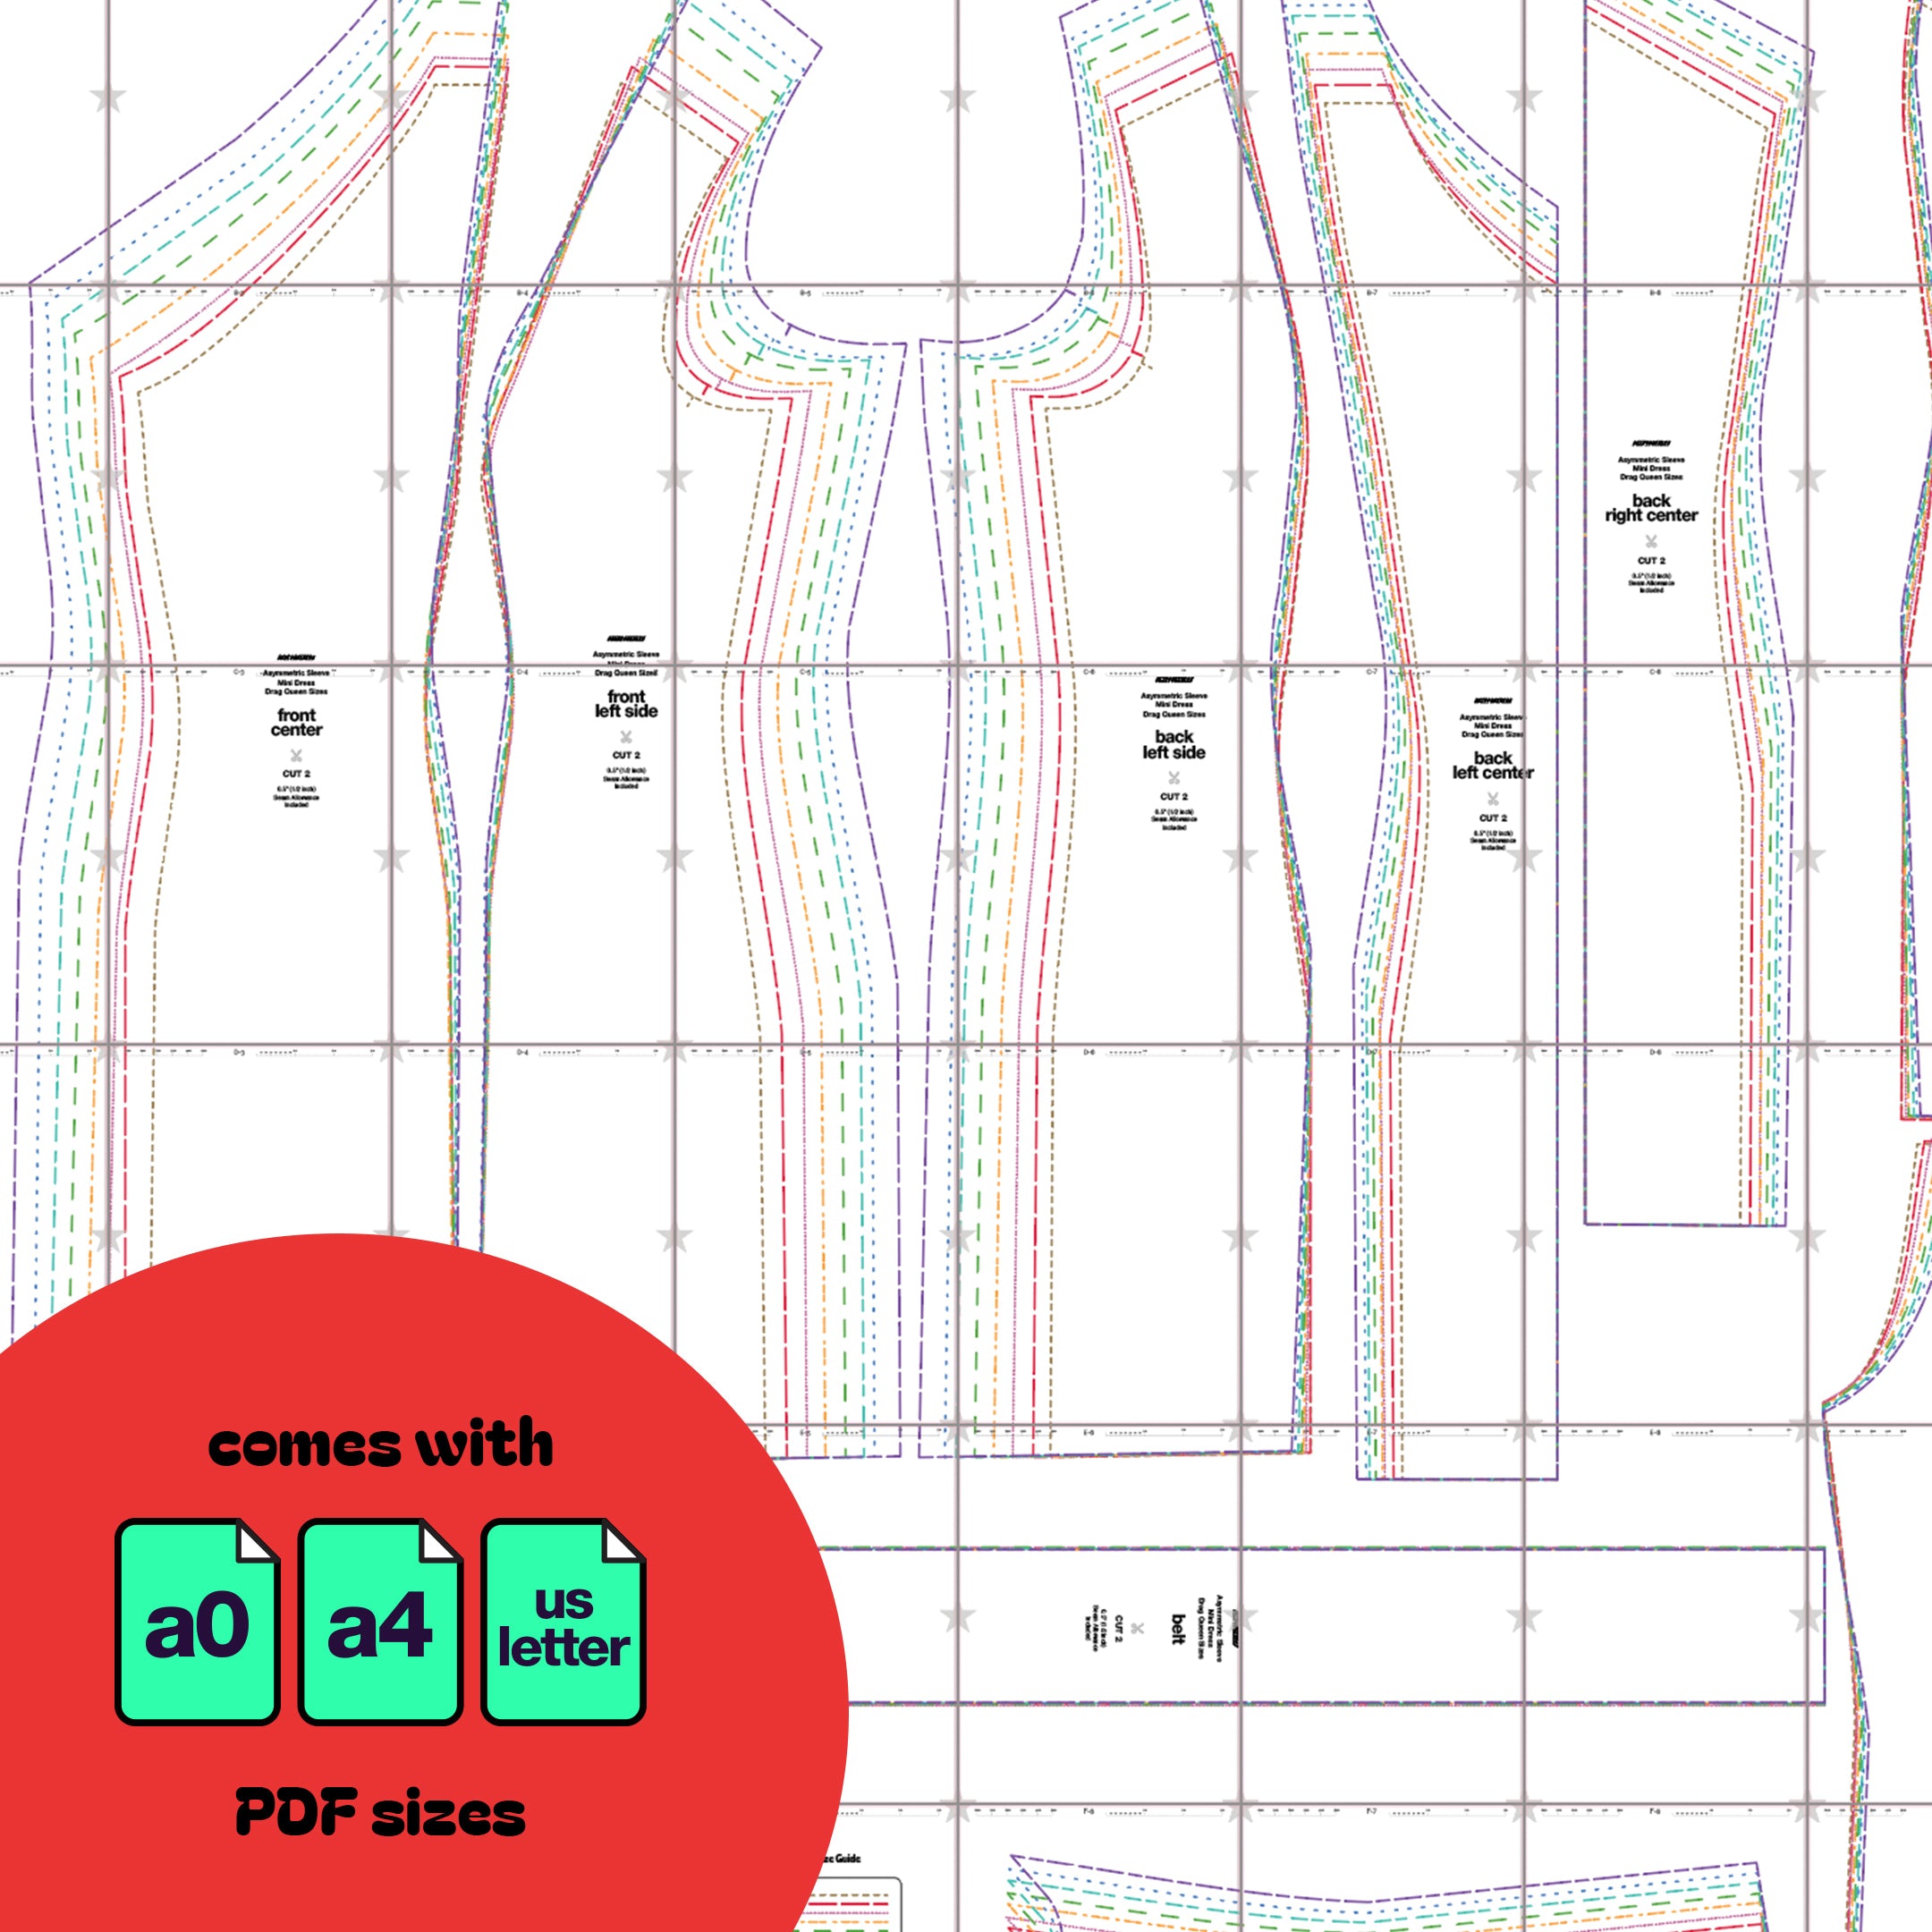
Fabric Peices
Once you've cut your fabric, you should have 3 front pieces, 4 back pieces, 2 sleeve pieces for one sleeve, an unfolded chest flap, and 2 belt fabric pieces.

STEP 1
Begin with the front center and front right side fabric pieces. Align them with the right sides facing each other and sew along the princess seam. Use an iron to press and flatten the seams. For a polished finish, consider topstitching the seams on the right side of the fabric.
If you're using non-stretch fabric, opt for a straight stitch. If you're working with stretch fabric, use a stretch stitch or zigzag stitch, without topstitching.

STEP 2
Repeat the previous step to attach the front left side pieces to the front panels.

STEP 3
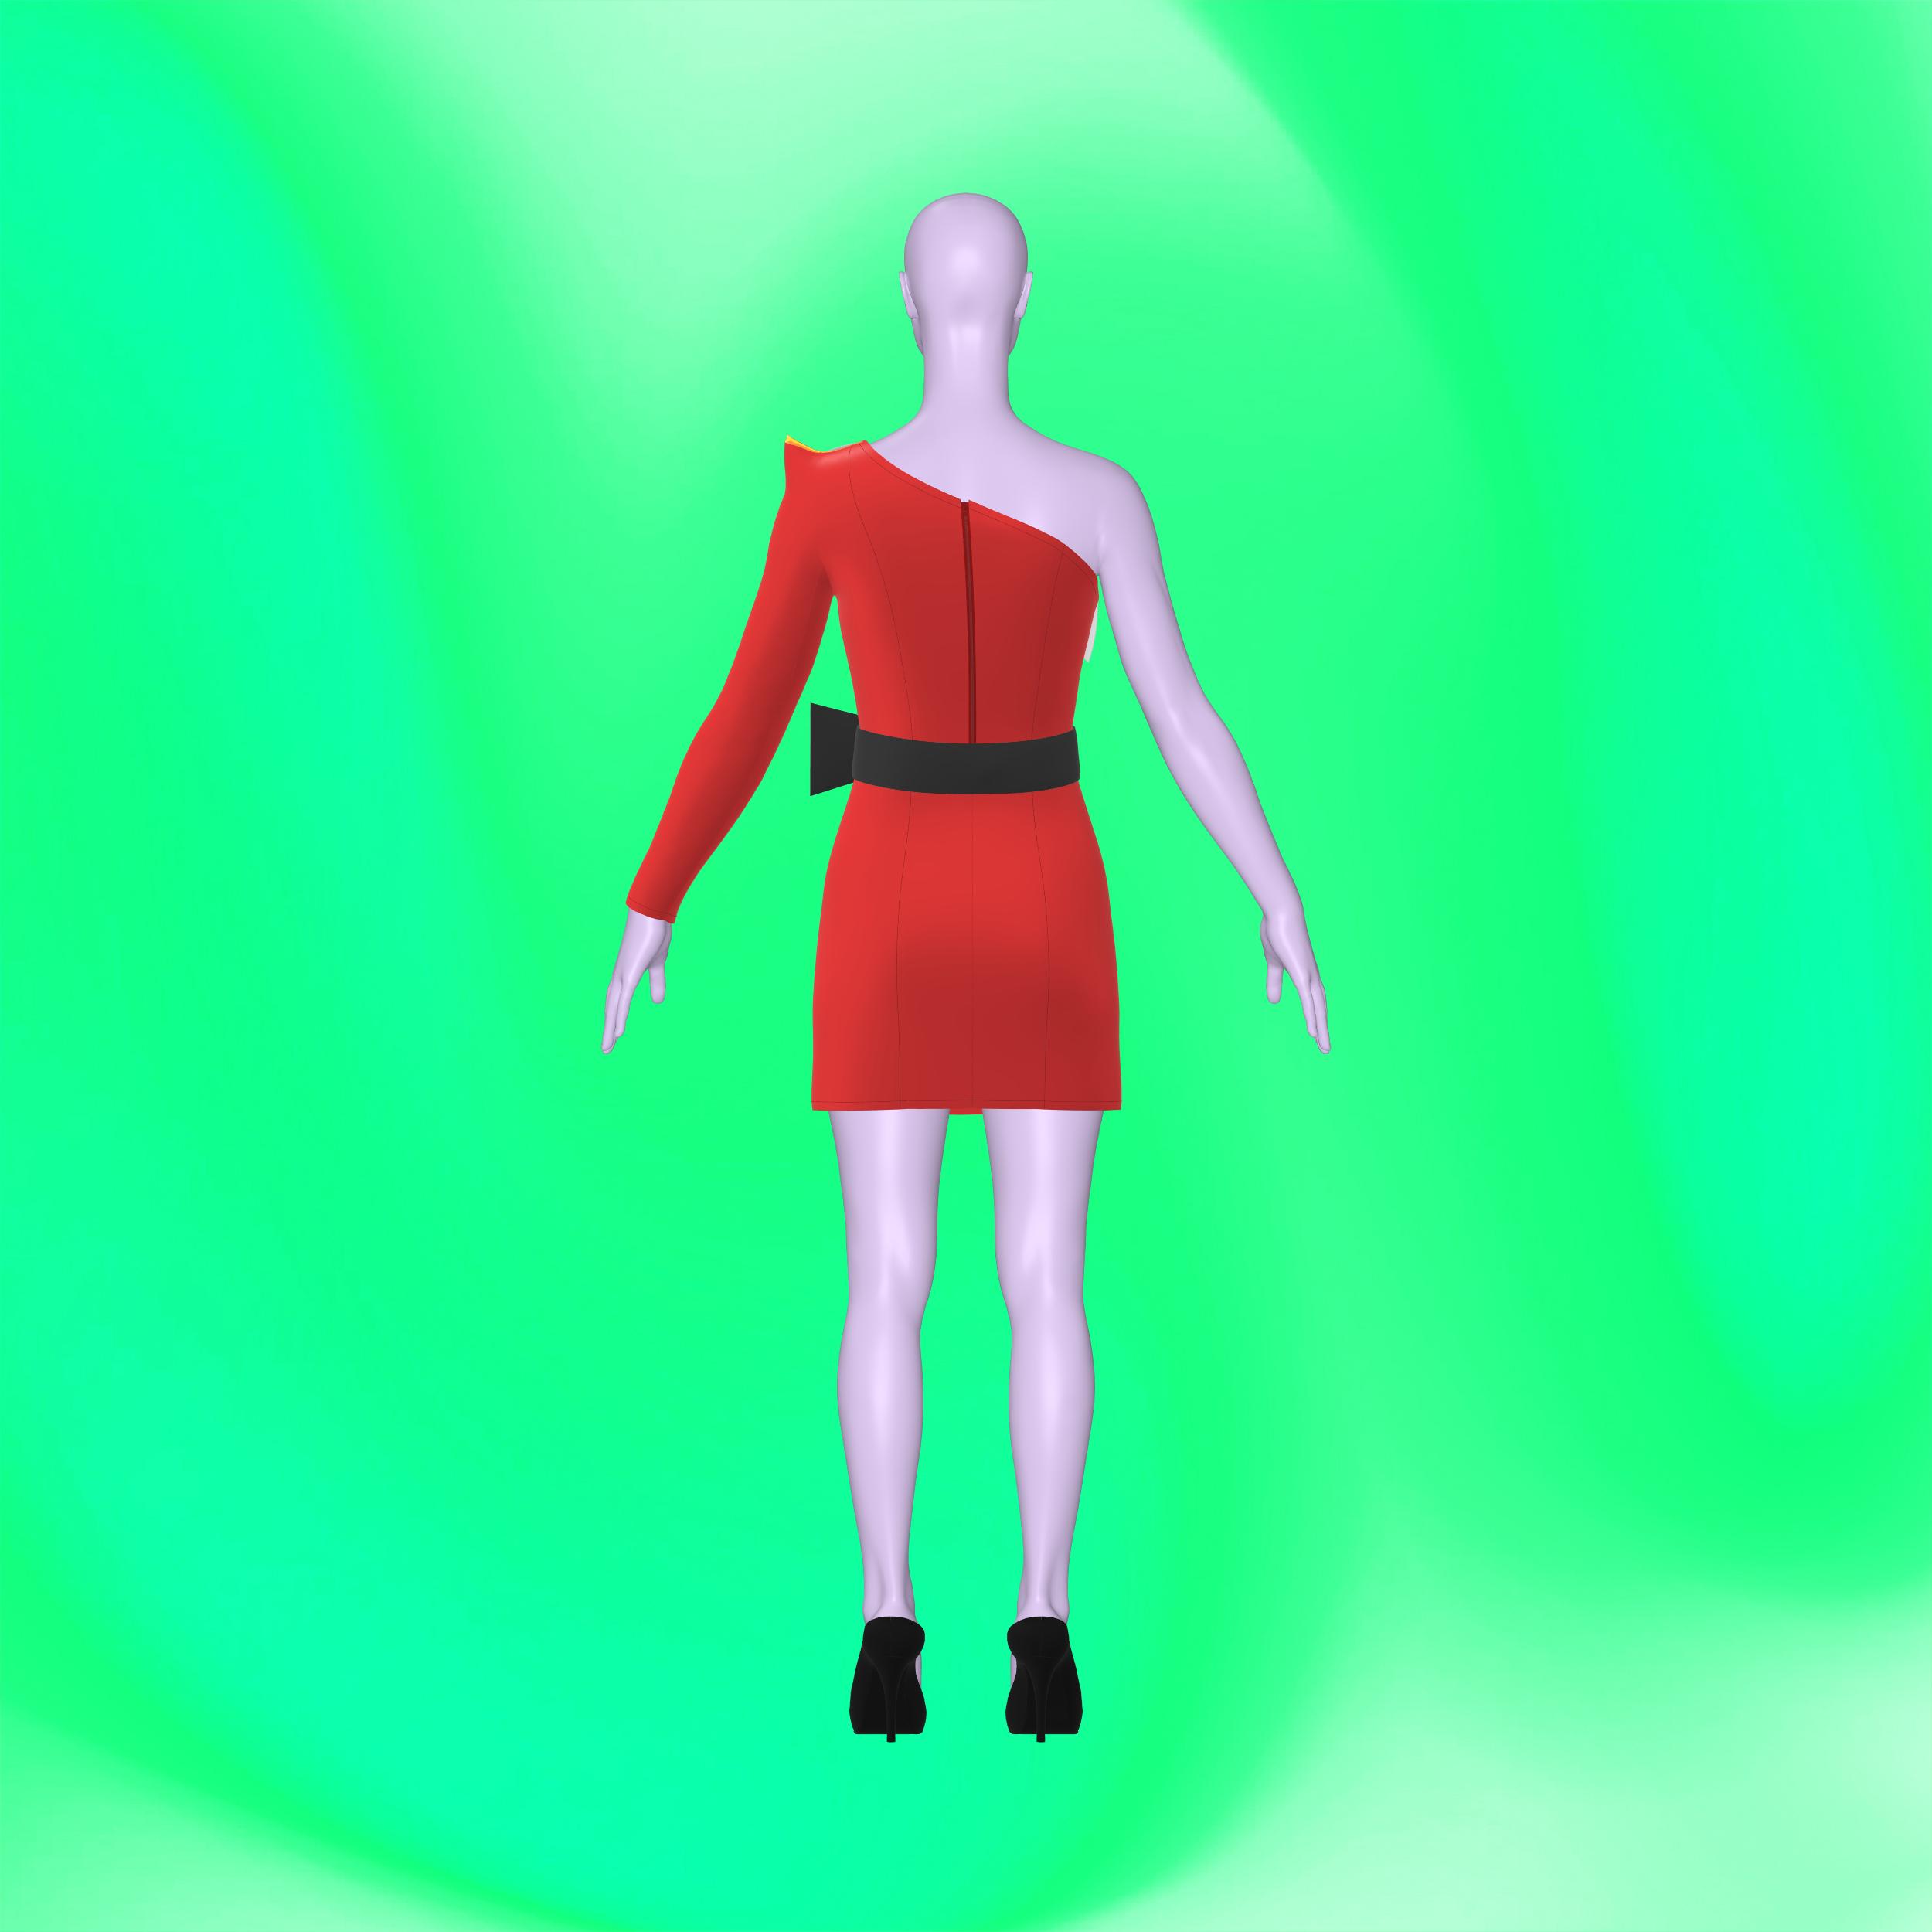
Follow the same process to attach the back side pieces to the back center pieces. However, do not sew the two back center pieces together, as you will be installing a zipper along the center back.

STEP 4
Install a 14-16 inch zipper down the center back, ensuring the right side of the zipper faces the right side of the fabric.

STEP 5
Sew the remaining gap below the zipper to close the center back seam.

STEP 6
With the right sides facing each other, stack the front and back pieces and sew them together along the sides and shoulder seams.

STEP 7
Take your sleeve pieces. Stack them with right sides facing each other and sew Sleeve B to the right curve of Sleeve A.

STEP 8
Now, sew Sleeve B to the left side of Sleeve A. Then, sew the tip of the sleeve cap, folding in half, creating a pointed shoulder.

STEP 9
Flip the sleeve right side out. With the garment wrong out, insert the sleeve into the armhole, aligning and pinning it to the notches. Sew the sleeve to the armhole with right sides facing each other.

STEP 10
Prepare your unfolded chest flap, folding it vertically in half with right sides facing each other, and sew along the side curves. Flip the flap right side out and press the seams with an iron to flatten them.

STEP 11
Gather your chest flap and turn the garment right side out.

STEP 12
Attach the flap to the neckline of the front of the garment. You have two options:
Sew the flap behind the front facing garment, then flip the flap over and topstitch it down.
Sandwich the neckline fabric between the open gap of the flap and sew it between the flap layers.
You may need to snip seam allowance fabric on the sides of the flap to hem the back neckline of the garment.

STEP 13
Hem the back neckline, bottom of the dress, and sleeve armholes.

STEP 14
Take your 2 belt pieces, stack them with right sides facing each other, and sew around the belt, leaving the smaller straight edge unsewn. Turn the fabric right side out and press the seams with an iron. Attach a belt buckle to the unsewn side of the belt.