Cómo coser una minifalda cruzada
Saltar a instrucciones
Descripción general
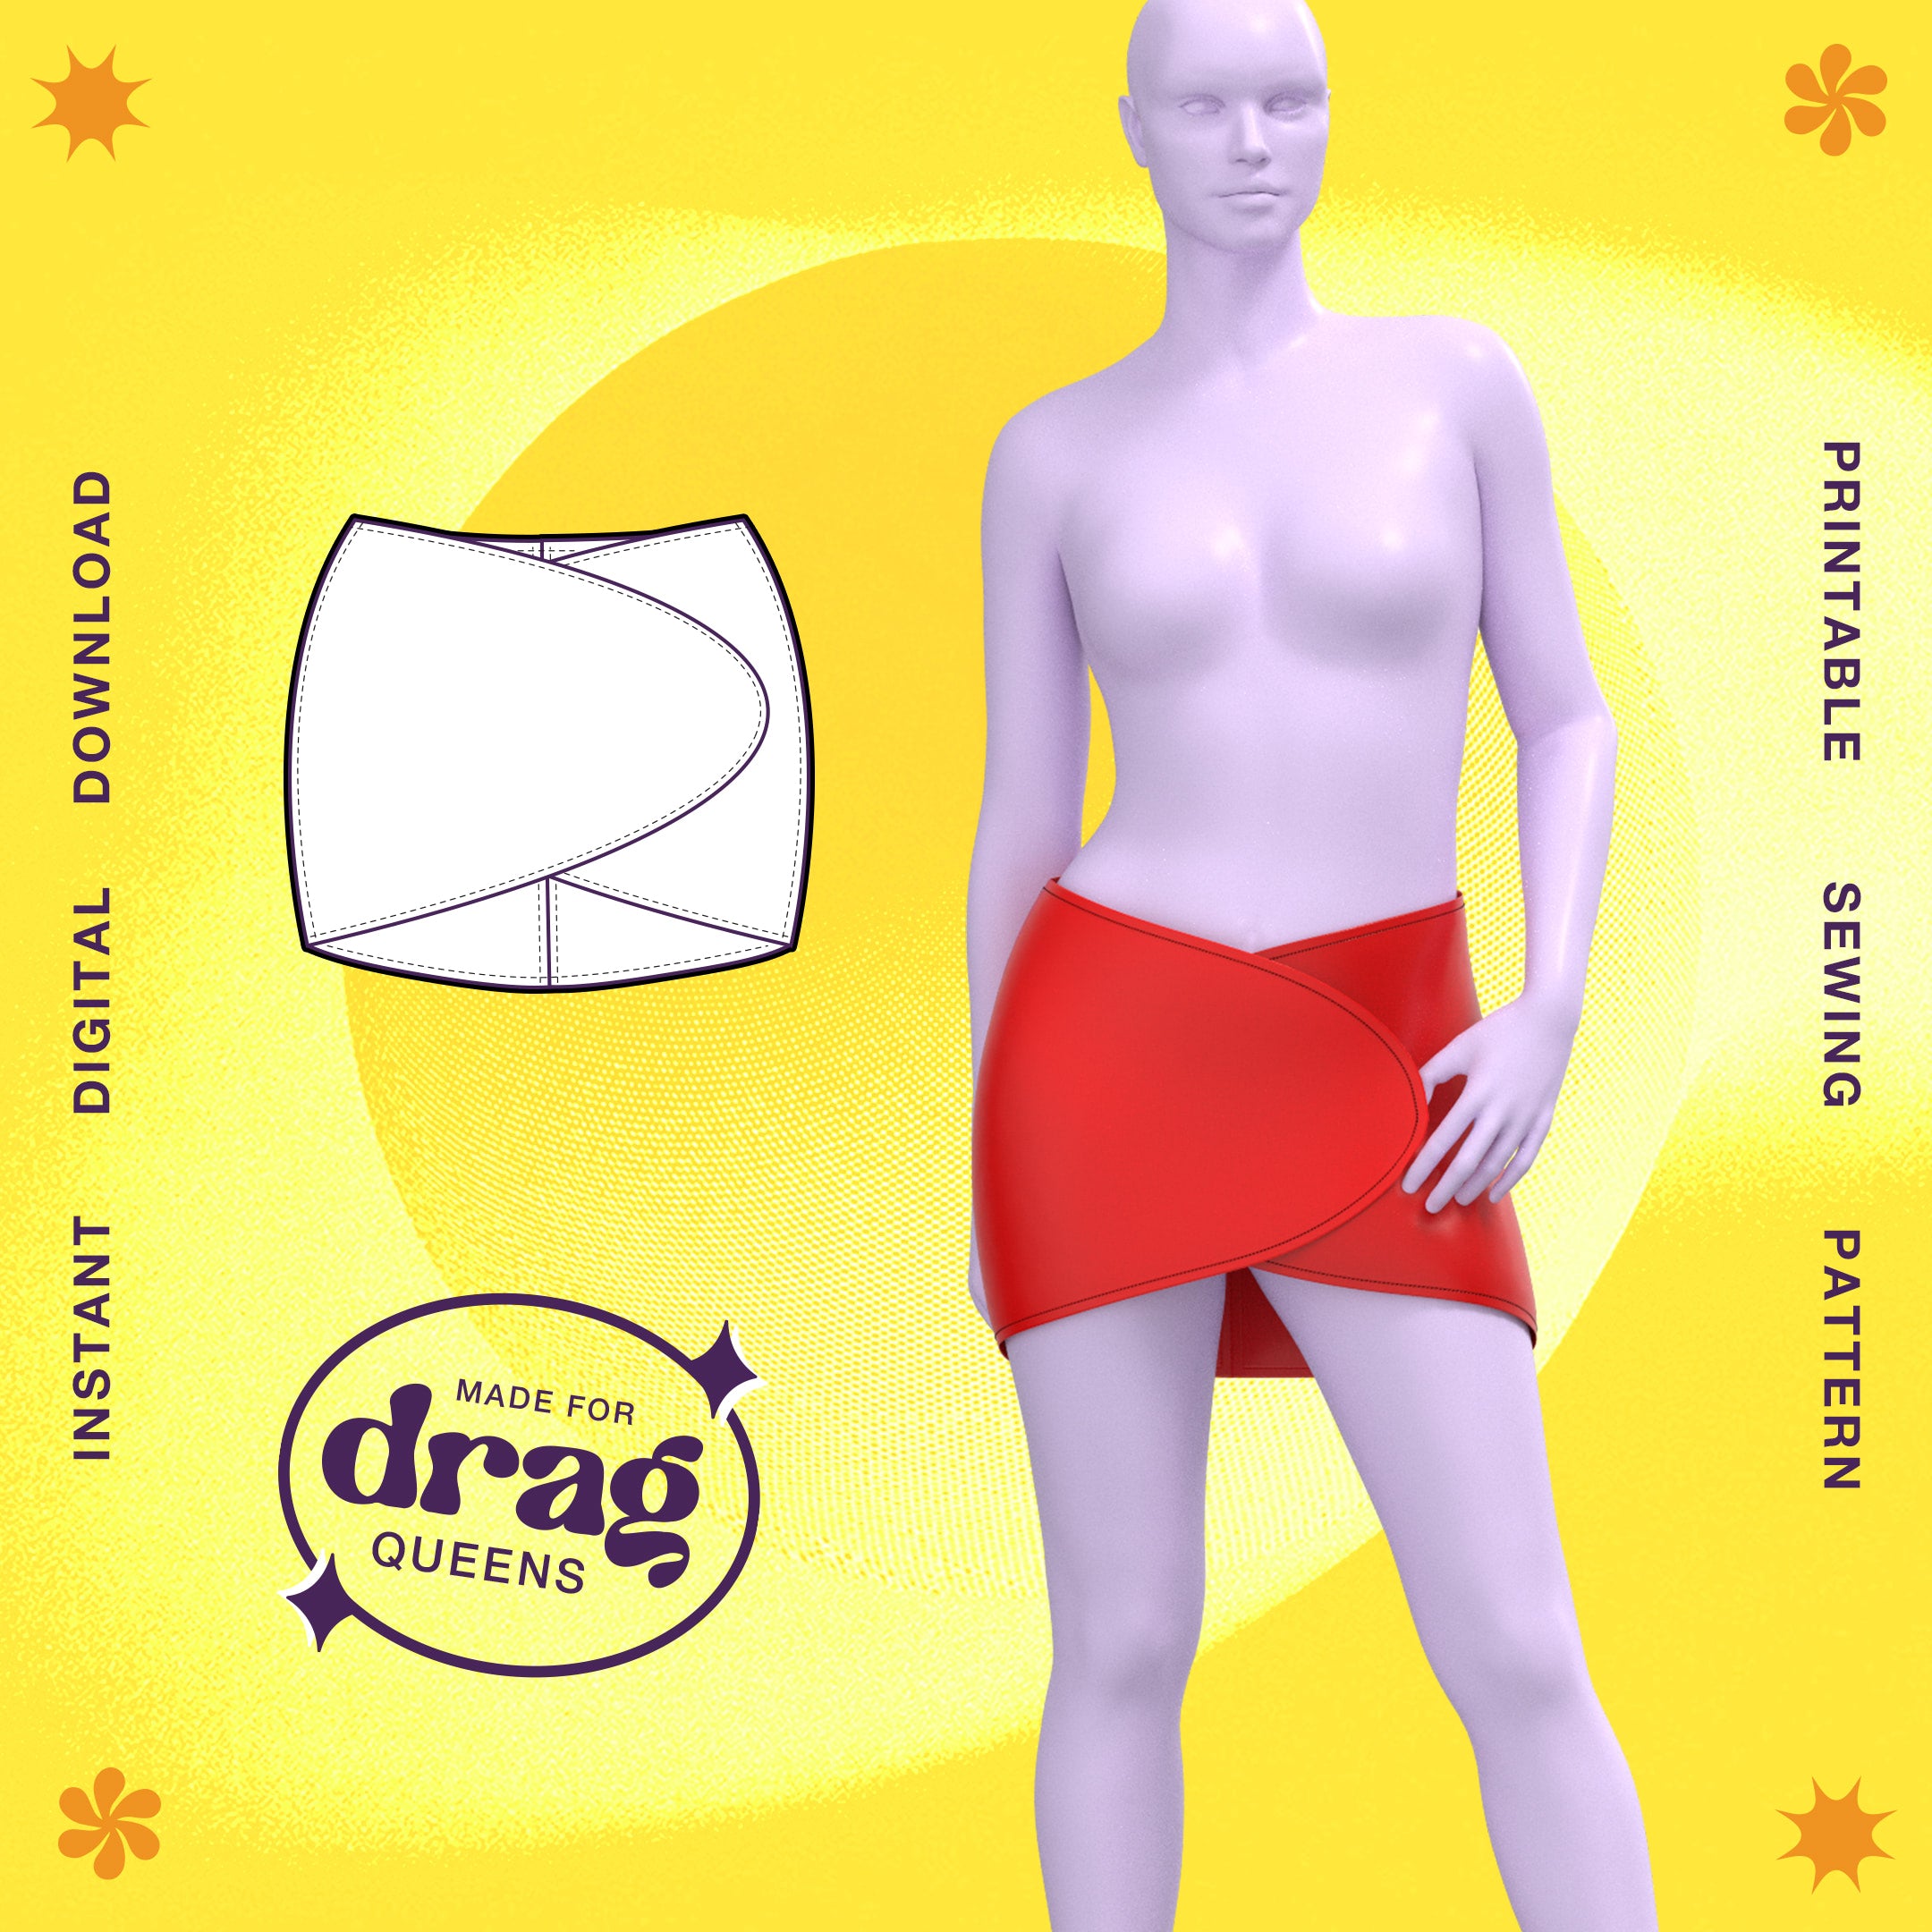
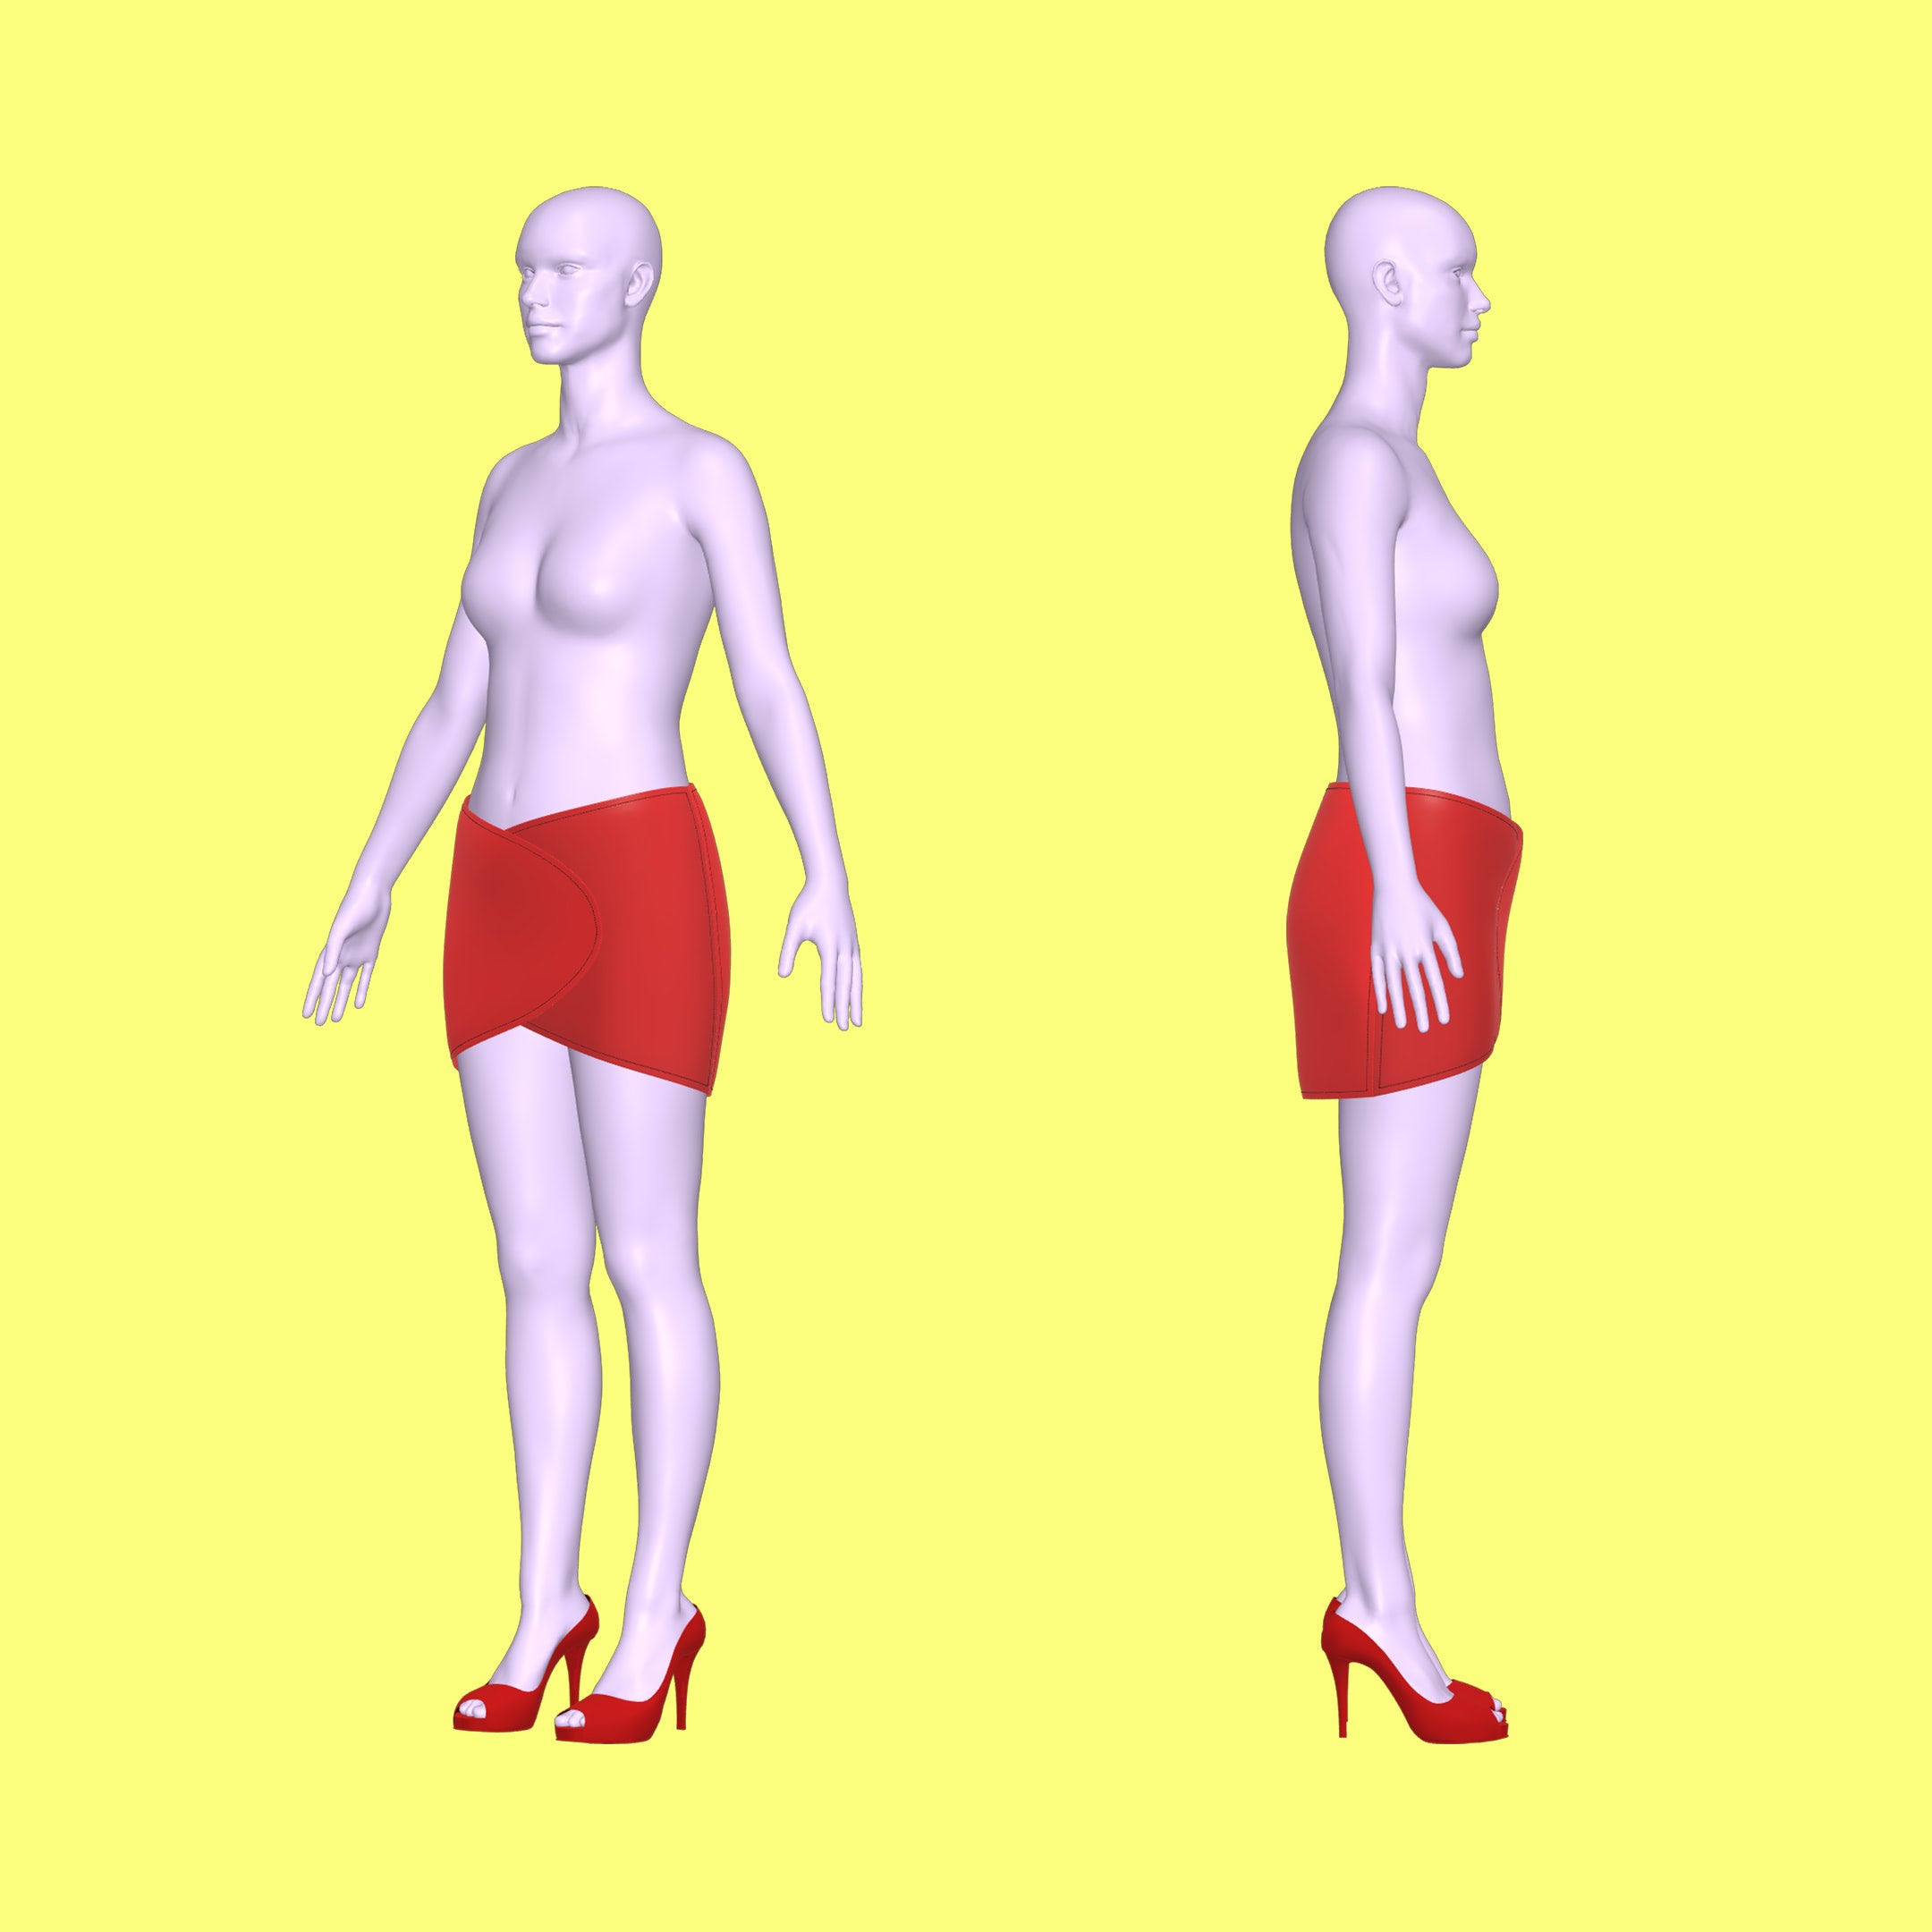
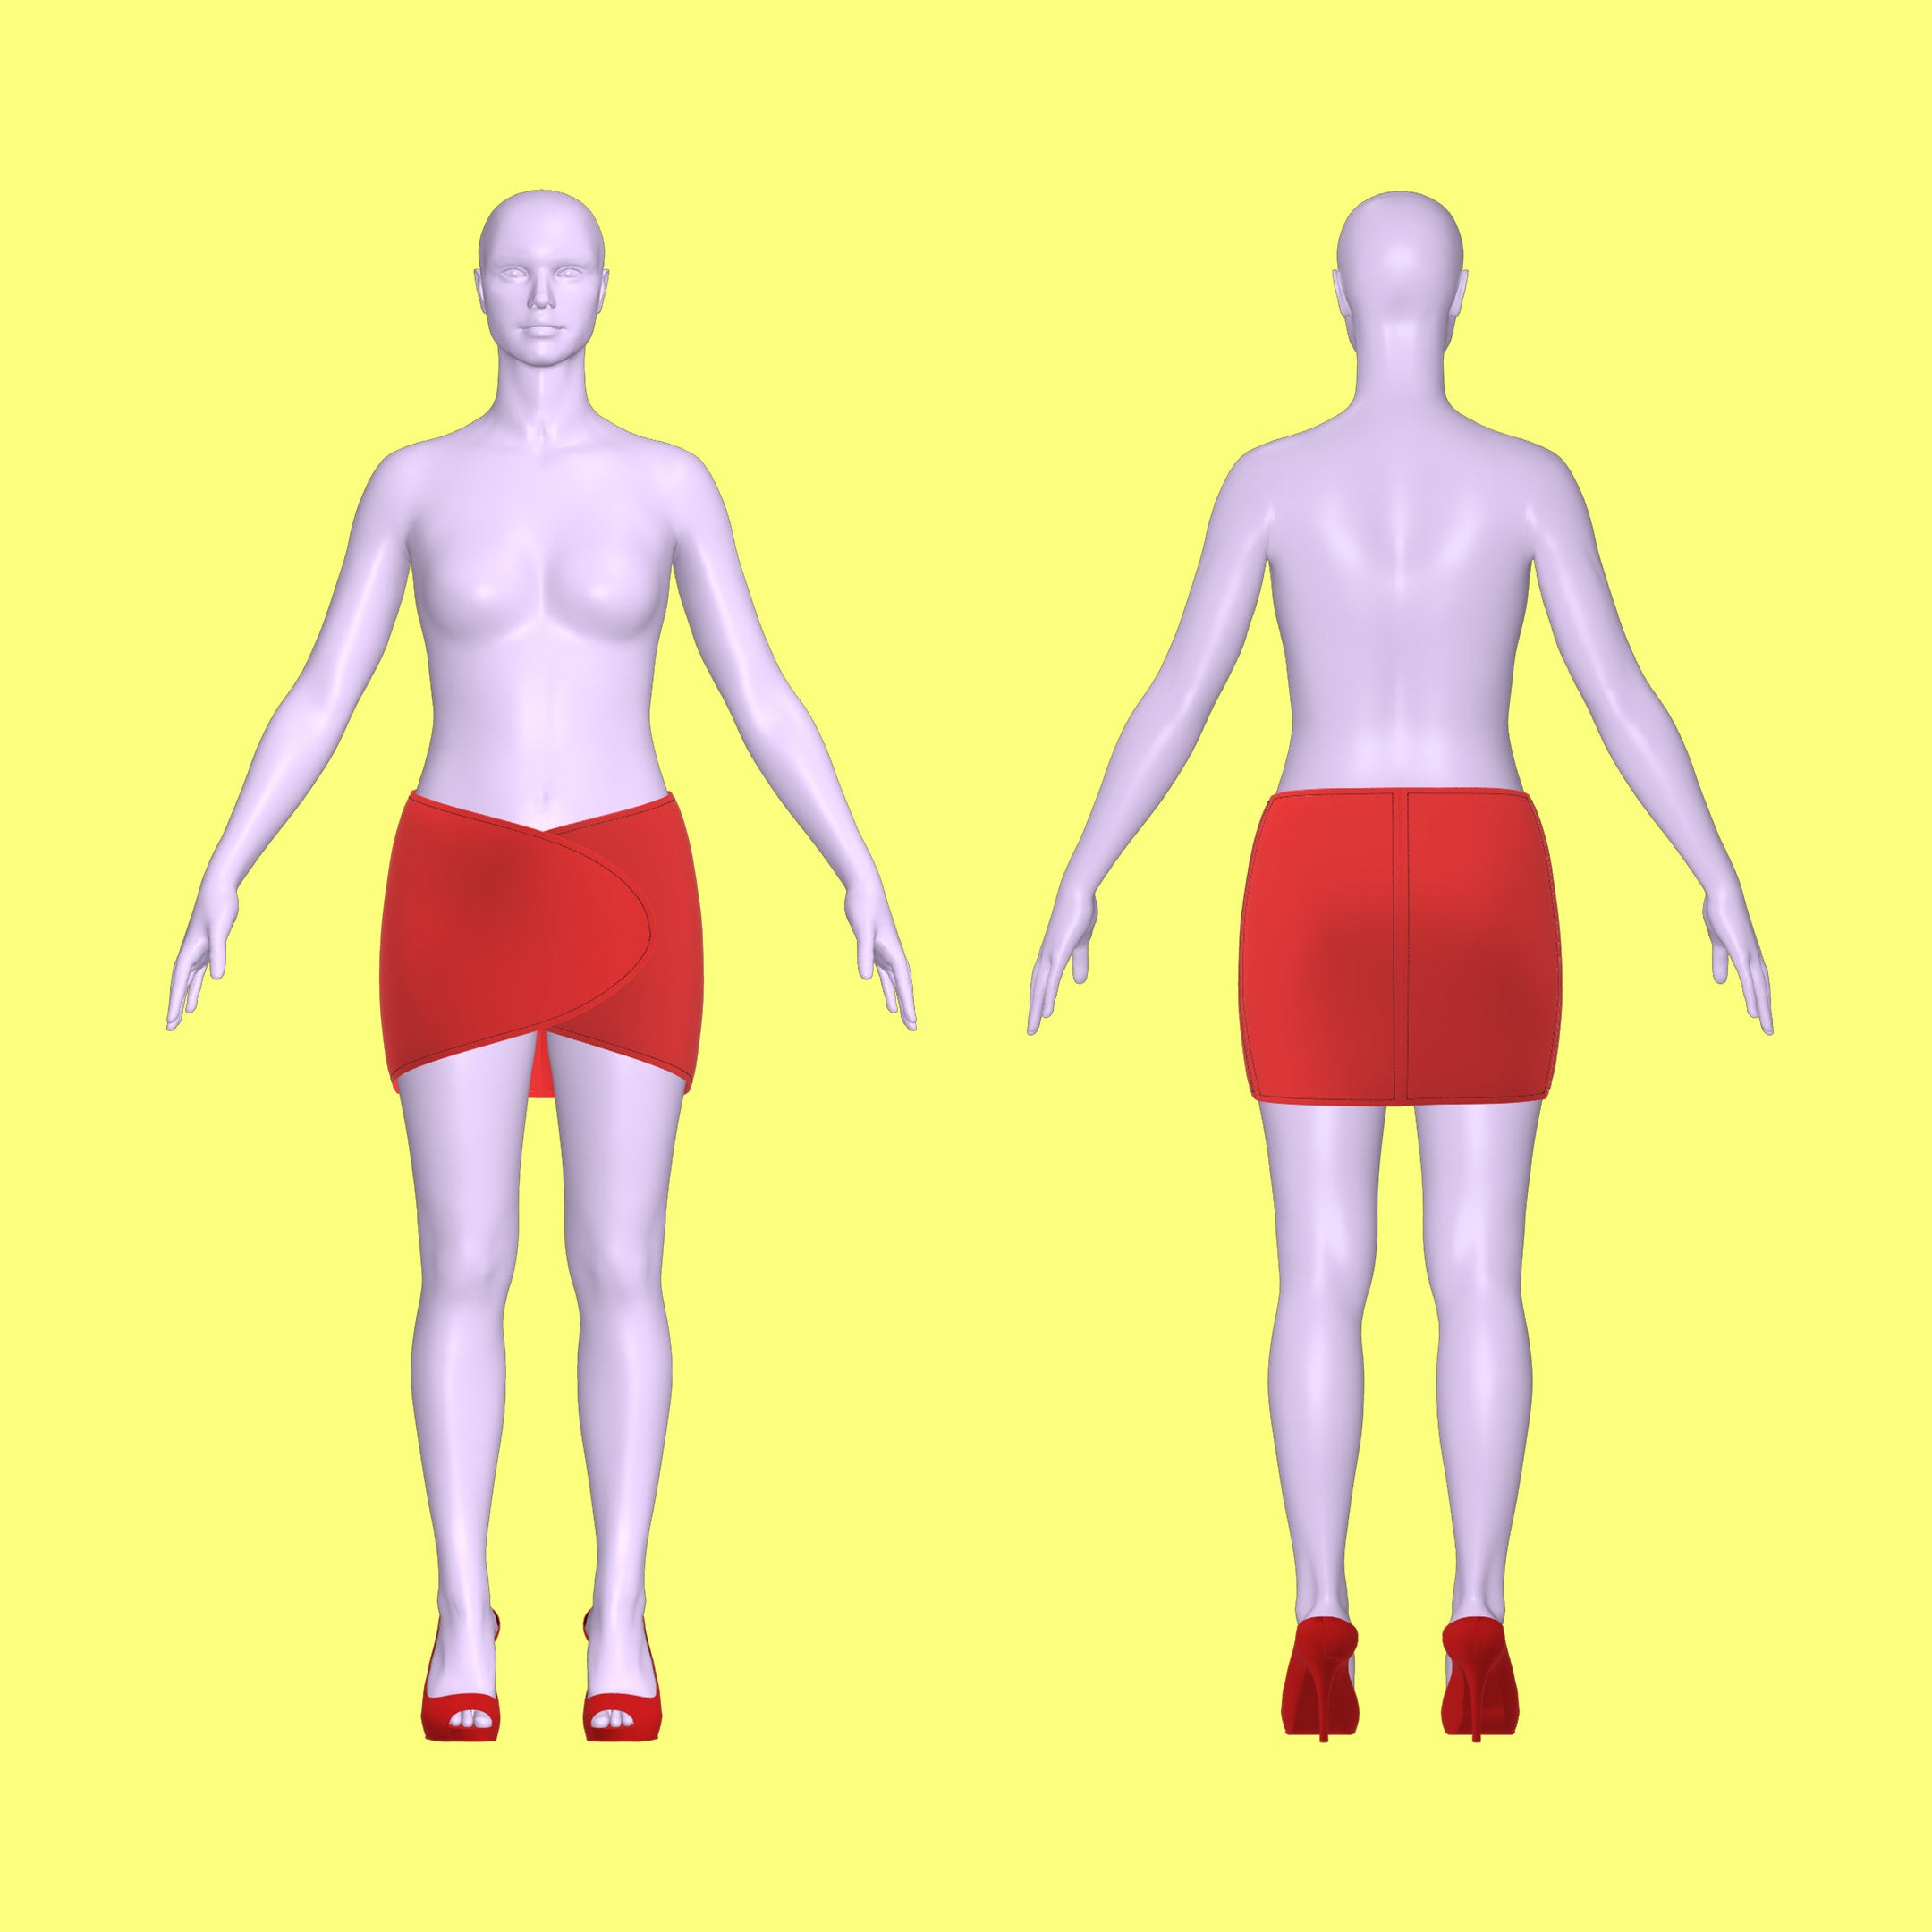
Dale un toque contemporáneo a la ropa de calle clásica con esta minifalda cruzada diseñada específicamente para las fabulosas drag queens. Diseñada para el estilo atrevido de los materiales de mezclilla gruesa o similares al cuero, esta falda ofrece una silueta única que es elegante y práctica a la vez. Con velcro oculto en la parte delantera para un acabado sin costuras, esta prenda seguramente llamará la atención dondequiera que vayas.
Dificultad del patrón: Para principiantes
Detalles de tallas
Este patrón viene en tallas desde XS hasta 4X. Nuestras tallas son únicas y están hechas para drag queens, así que revisa nuestra guía de medidas para obtener más información sobre las medidas de nuestras tallas.
Telas y artículos de mercería
Adecuado para tejidos gruesos que no se estiran:
- Dril
- Cuero sintético/cuero
- Vinilo
- Algodón
- Velcro resistente de 2 pulgadas (12 a 24 pulgadas)
Yardas de tela
Este patrón requiere una tela exterior gruesa. Puedes usar una tela liviana que no se estire para el forro. Encuentra la cantidad de yardas que necesitas para cada talla a continuación.
| Tamaño | Yardas de tela (ancho de 44”) | |
|---|---|---|
| Caparazón | Recubrimiento | |
| XS | 0,75 yardas | 0,75 yardas |
| S | 0,75 yardas | 0,75 yardas |
| METRO | 1 yard | 1 yard |
| yo | 1 yard | 1 yard |
| SG | 1 yard | 1 yard |
| 2X | 1 yard | 1 yard |
| 3 veces | 1,25 yardas | 1,25 yardas |
| 4 veces | 1,25 yardas | 1,25 yardas |
Para obtener información sobre la conversión de pulgadas a metros, consulte nuestra guía de conversión.
Instrucciones de costura


STEP 1
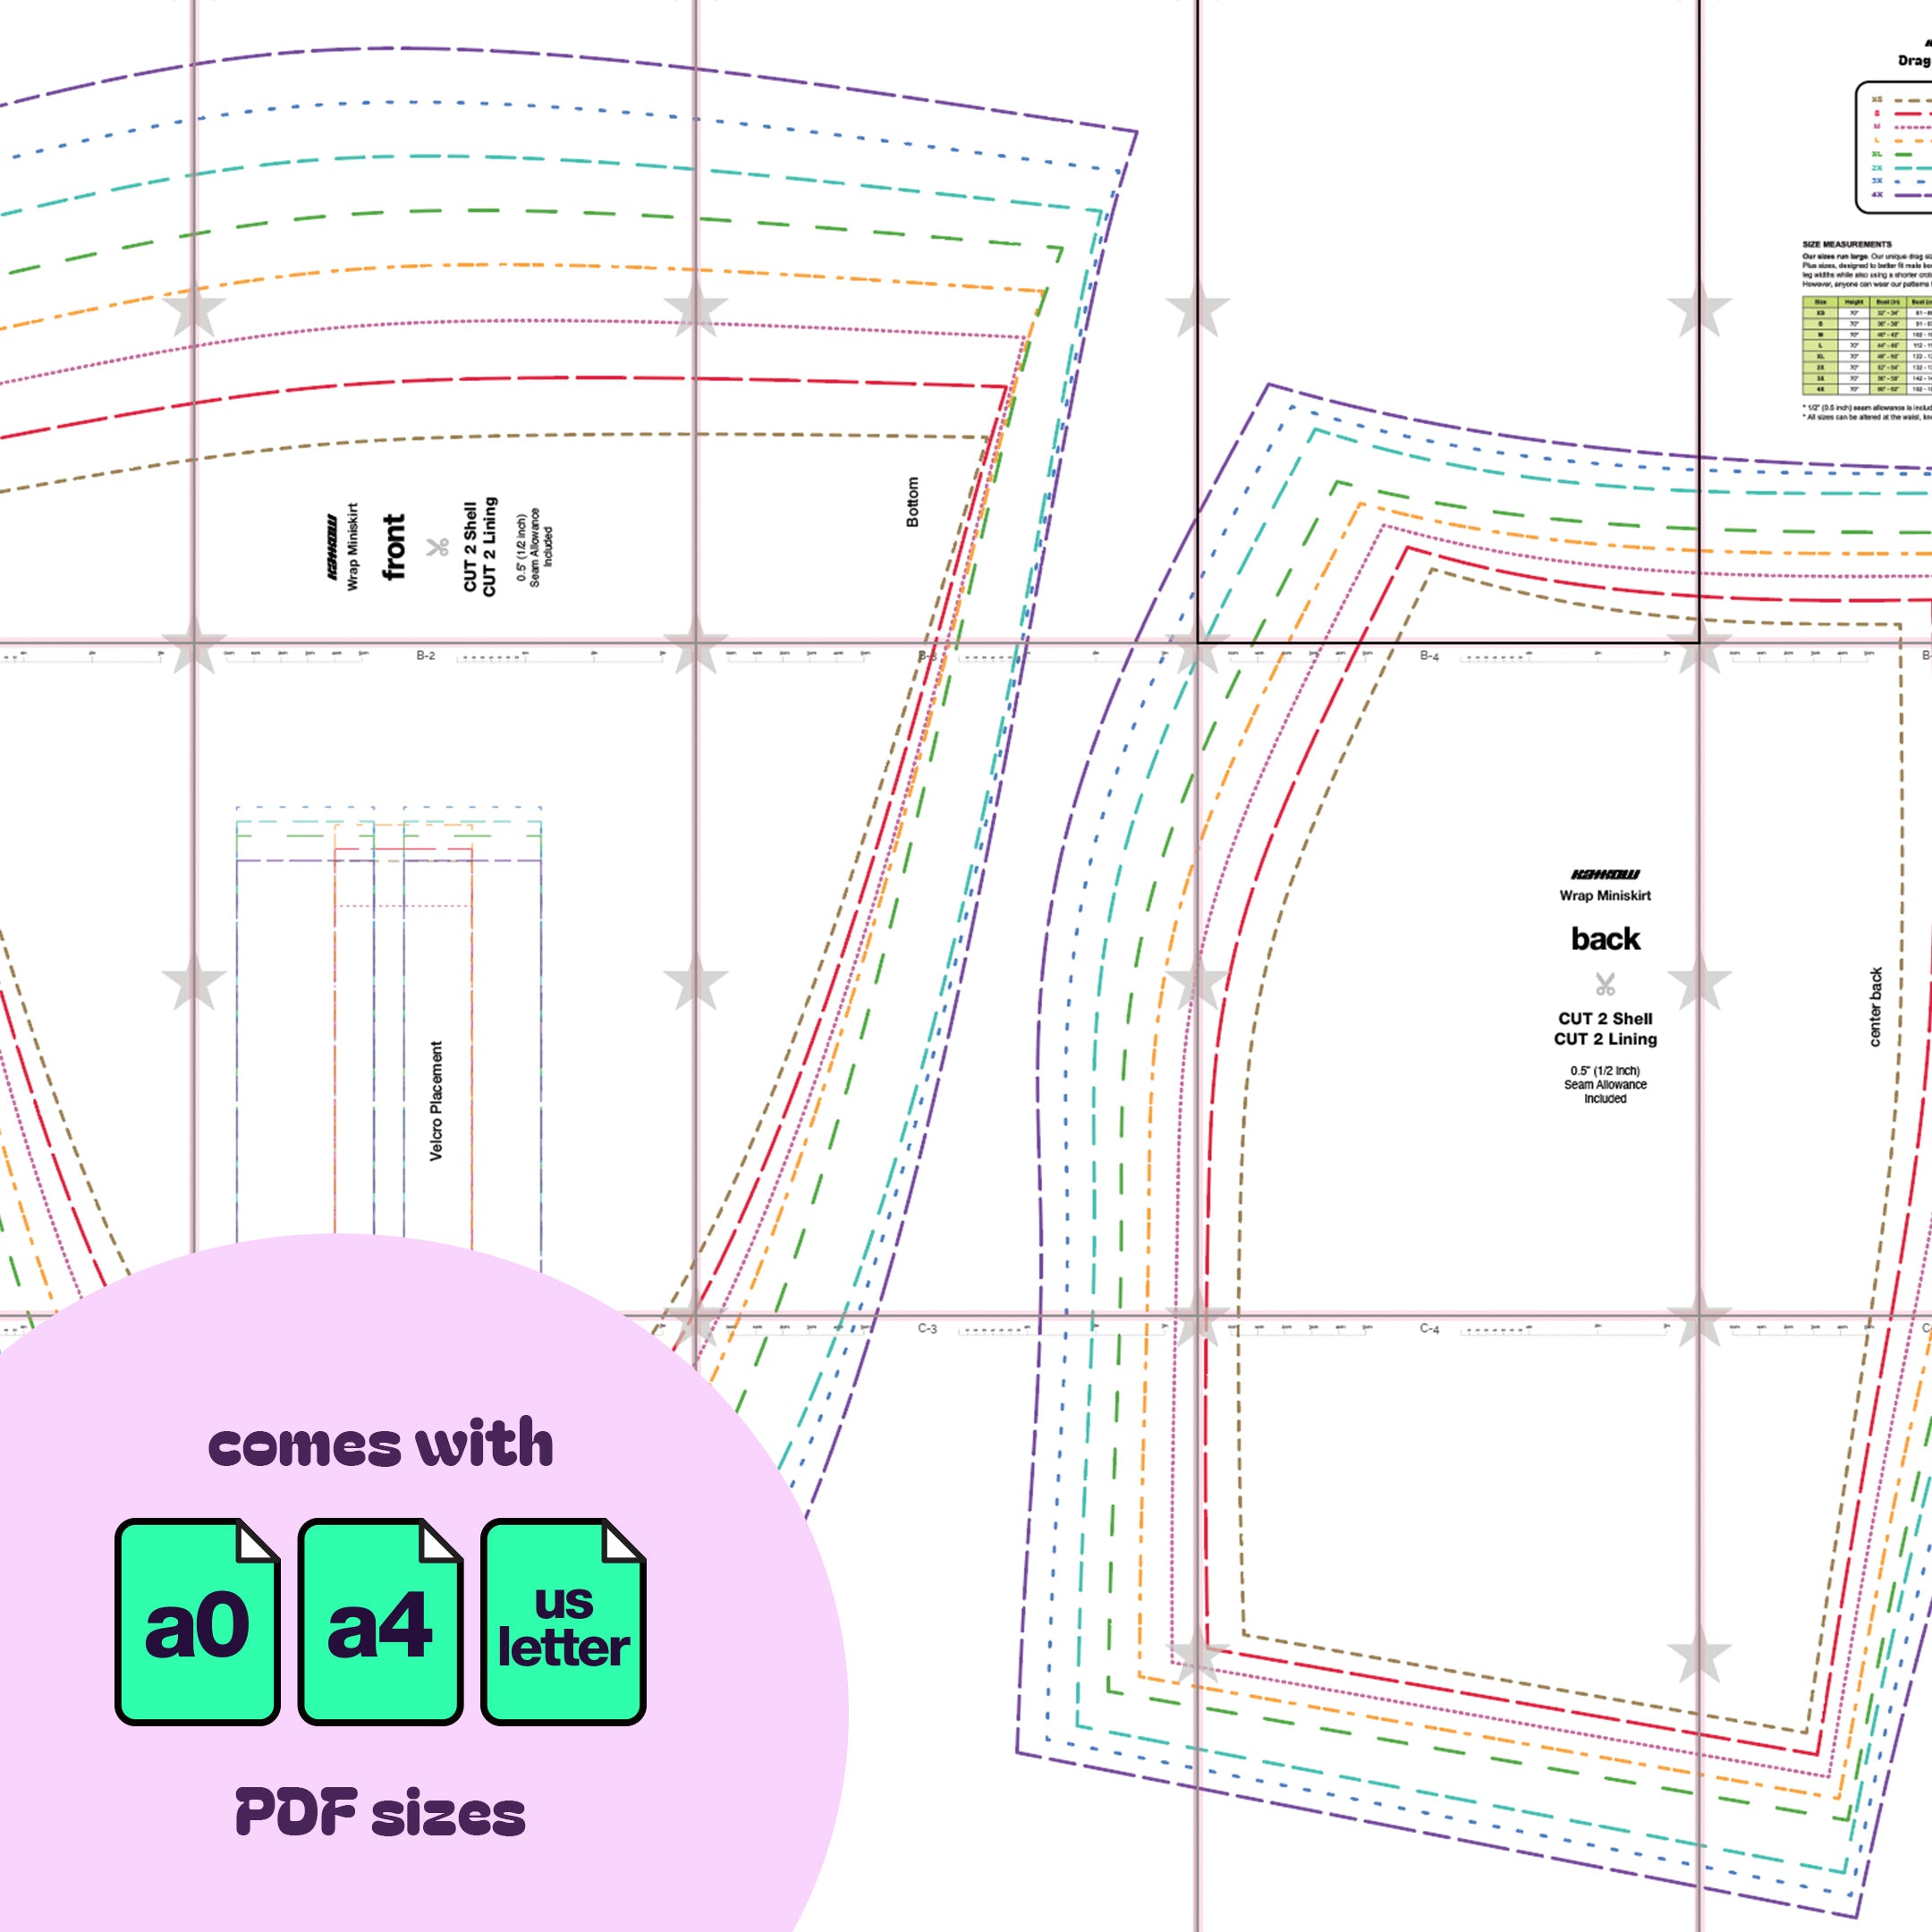
Begin by assembling the two back pieces. Place them right sides together and sew along the center back curve.

STEP 2
Open up the joined back pieces and, with the wrong side up, press the seam open using an iron to ensure a neat finish.

STEP 3
With the right side of the back piece facing up, top stitch on both sides of the center back seam, about 1/4 of an inch.

STEP 4
Take one of the front pieces and place it over the back piece, with their right sides together. Sew them along the side seam.

STEP 5
Open the sewn pieces and, on the wrong side, press the side seams open with an iron.

STEP 6
Turn the piece right side up and top stitch on both sides of the side seam, 1/4 inch away from the seam. Repeat this process for the other front piece.

STEP 7
Repeat the steps to construct both an outer shell and lining for the skirt.

STEP 8
With the right sides of the shell and lining facing up, sew heavy-duty Velcro onto the marked Velcro placement guides. Depending on the size, you might need two strips of 1.5 to 2-inch thick Velcro for a secure fit.

STEP 9
Place the shell and lining with their right sides together. Stitch around the sides and top edges, leaving a gap at the bottom to turn the skirt right side out.

STEP 10
Turn the skirt right side out through the opening left at the bottom. After ensuring the bottom seam allowances are tucked inside, press the edges then topstitch all around the skirt. Make sure to tuck in the bottom seam allowance to sew the bottom gap closed.