Cómo coser un sombrero de ala ancha
Saltar a instrucciones
Descripción general
¡Aprenda a coser nuestro fabuloso sombrero de ala ancha estilo drag con este patrón de costura para principiantes! Diseñado teniendo en cuenta a los principiantes, este patrón lo guía a través de cada paso con instrucciones claras y consejos útiles, lo que garantiza una experiencia de costura divertida y gratificante. Perfecto para agregar un toque de dramatismo y estilo a su guardarropa, este sombrero de ala ancha es una pieza llamativa que llamará la atención. Ya sea que esté confeccionando su primer sombrero o ampliando sus habilidades, este patrón lo ayudará a crear un accesorio impresionante con facilidad y confianza. ¡Libere su creatividad y comience a coser su propio sombrero de estilo drag hoy mismo!
Dificultad del patrón: Para principiantes
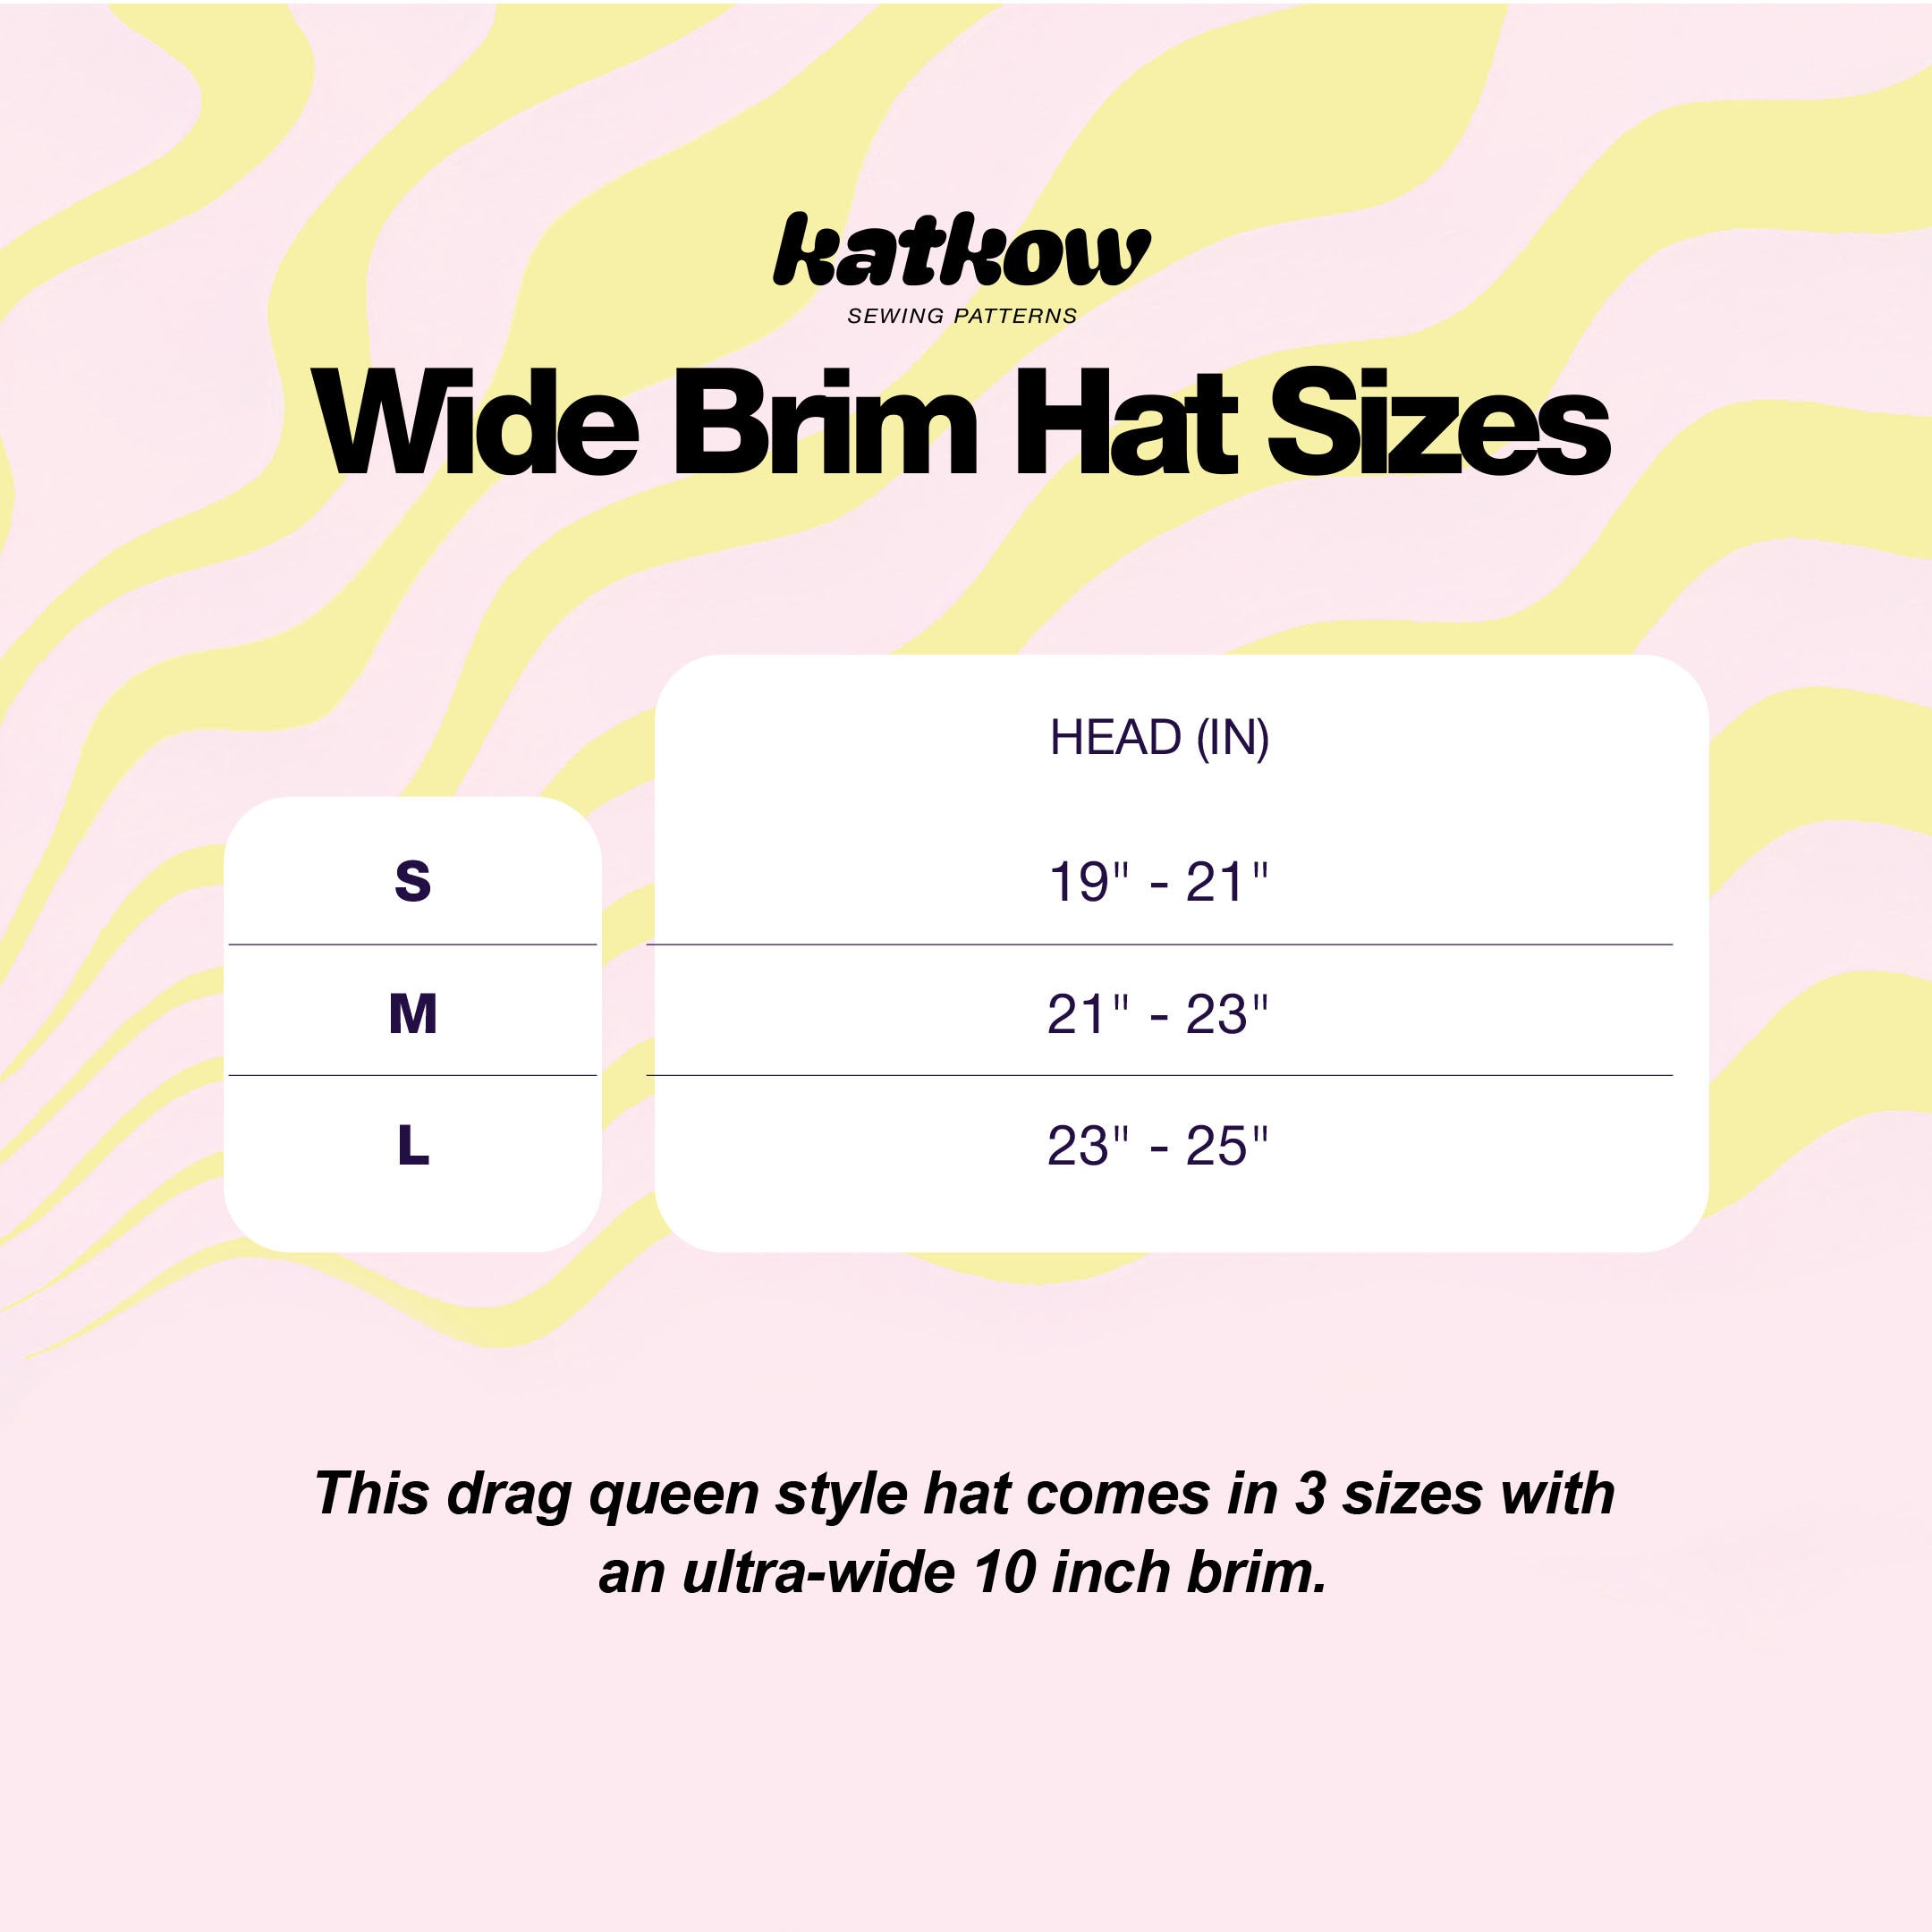
Detalles de tallas
Nuestro patrón de costura para sombrero de ala ancha estilo drag queen viene en tres tamaños versátiles para garantizar el ajuste perfecto para todos. Los tamaños son los siguientes:
- Pequeño (S): se adapta a tamaños de cabeza de 19" a 21"
- Mediano (M): se adapta a tamaños de cabeza de 21" a 23"
- Grande (L): se adapta a tamaños de cabeza de 23" a 25"
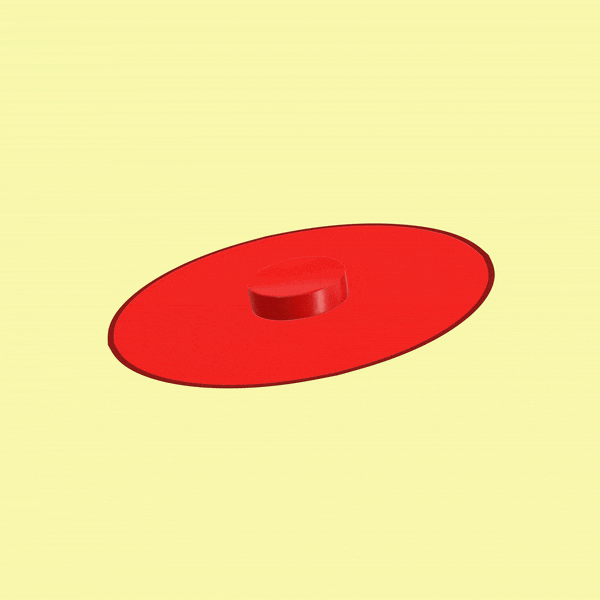
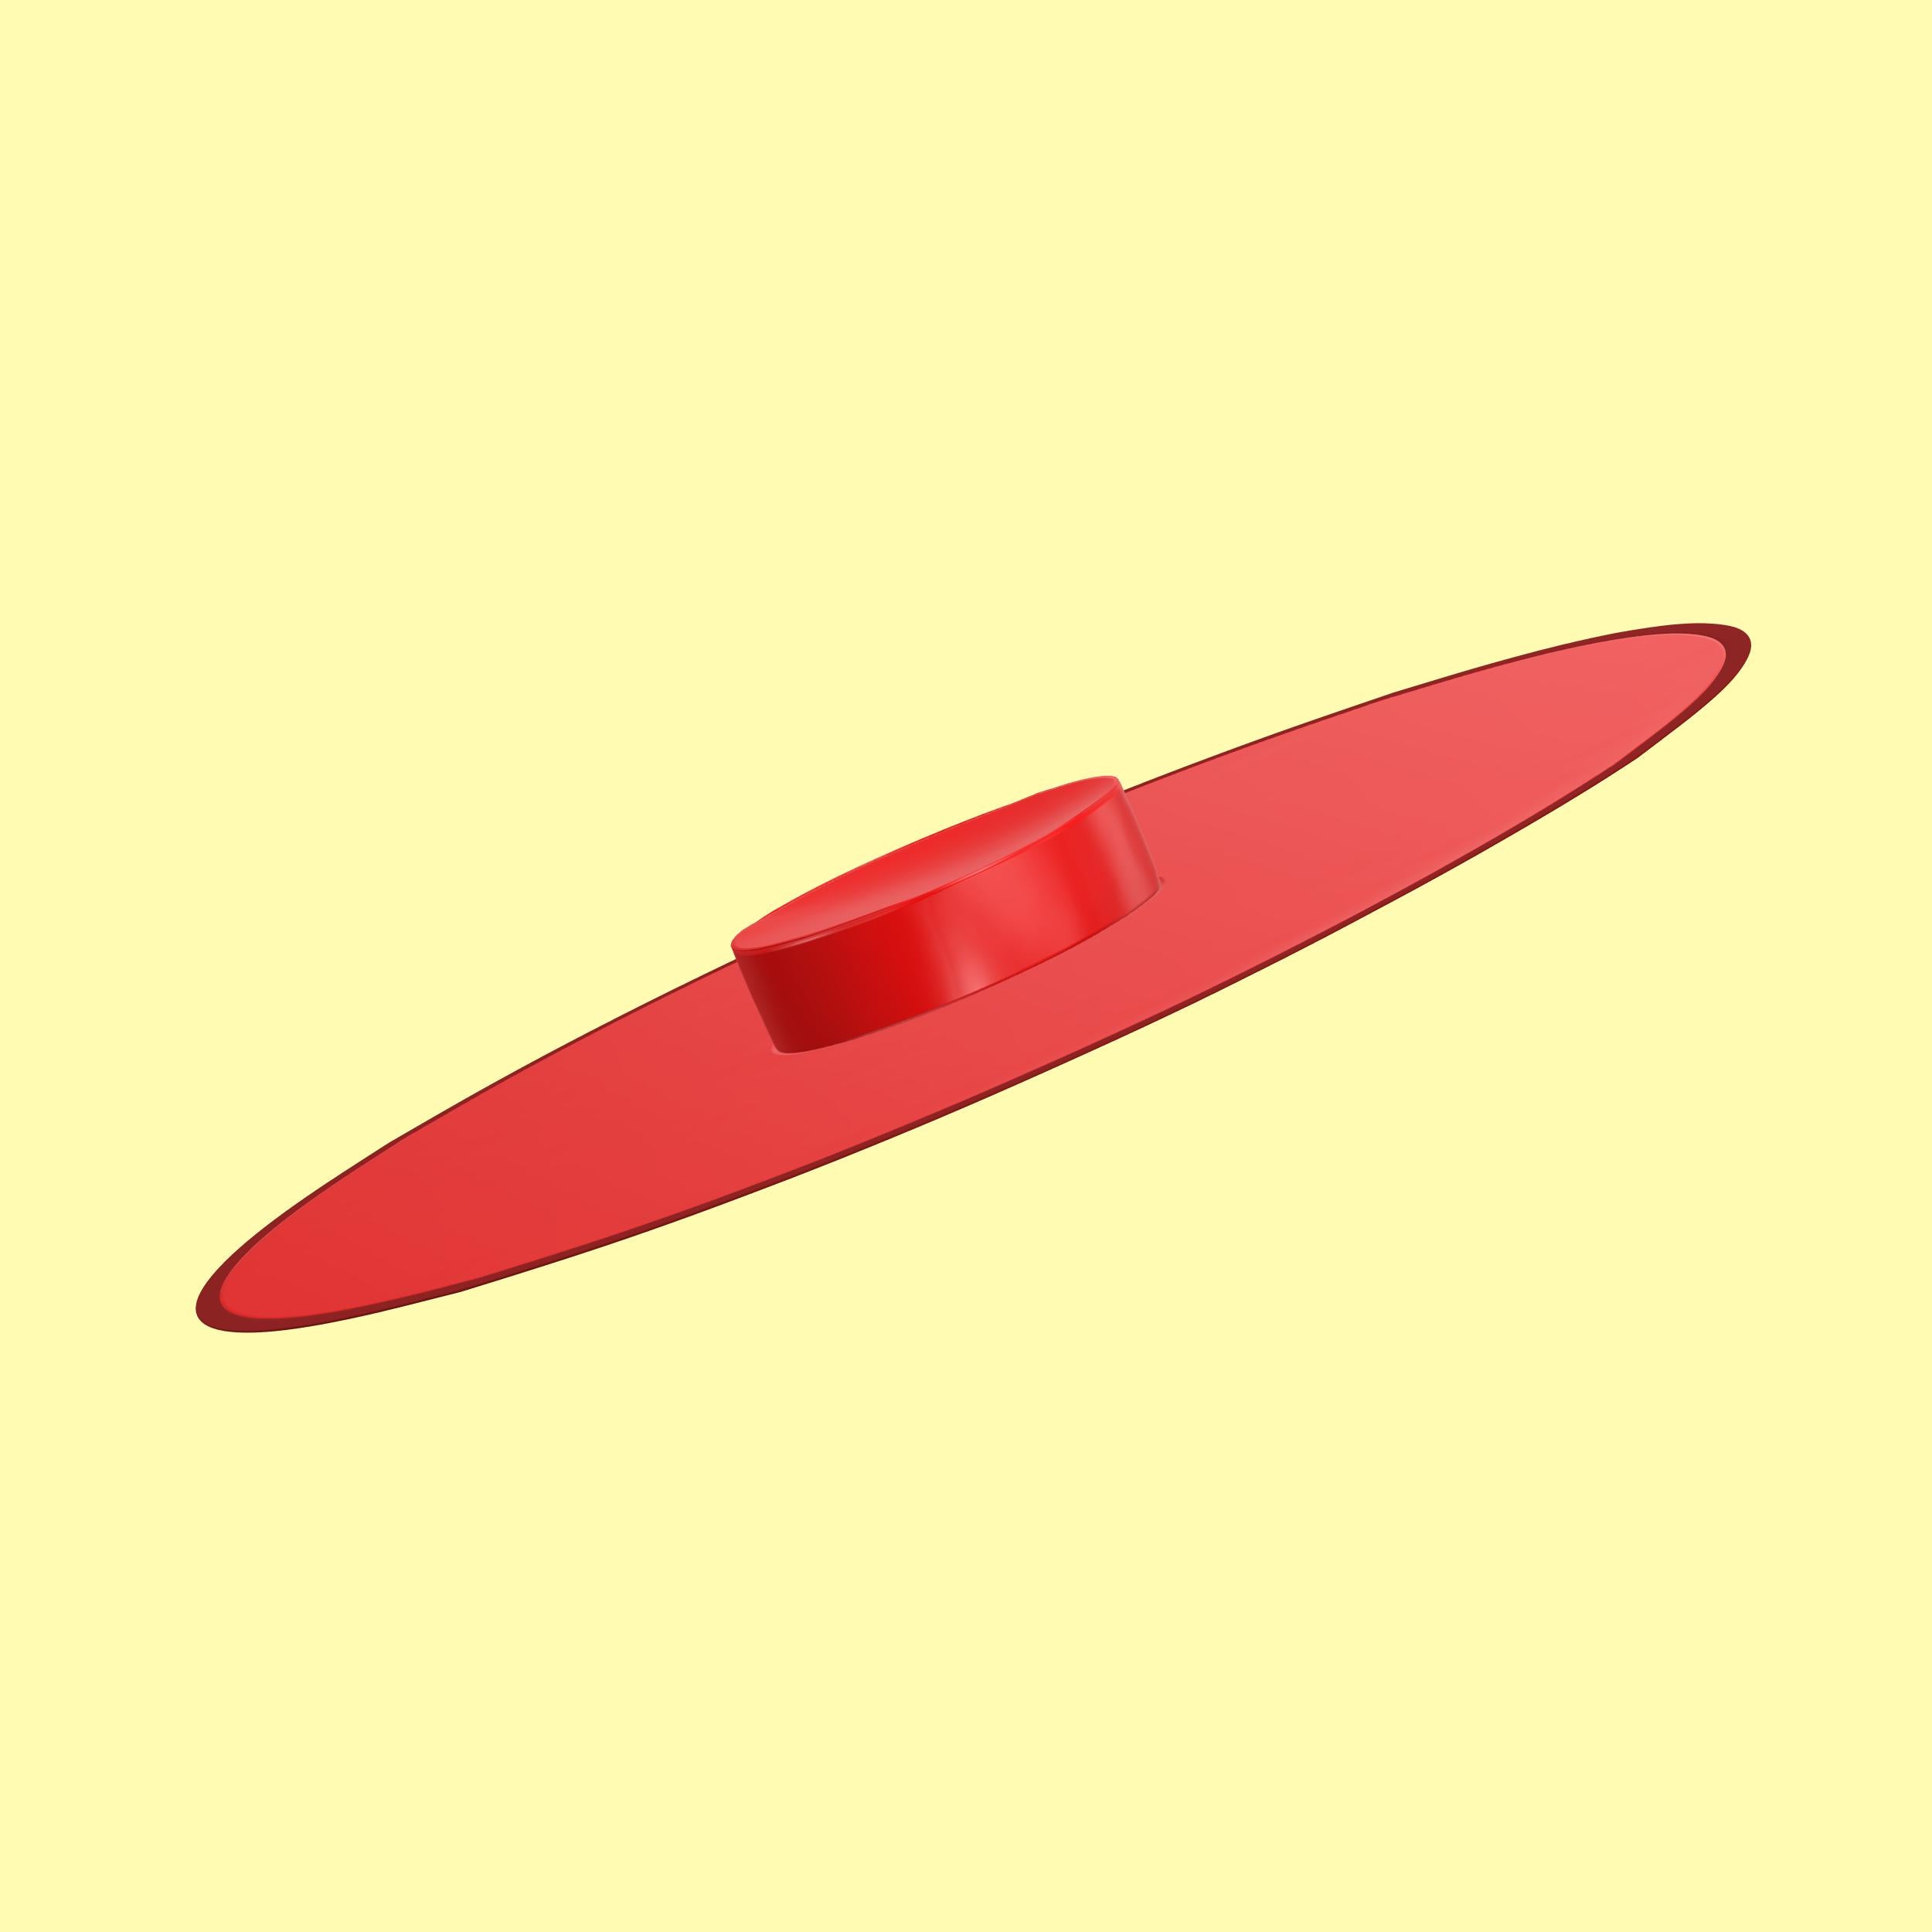
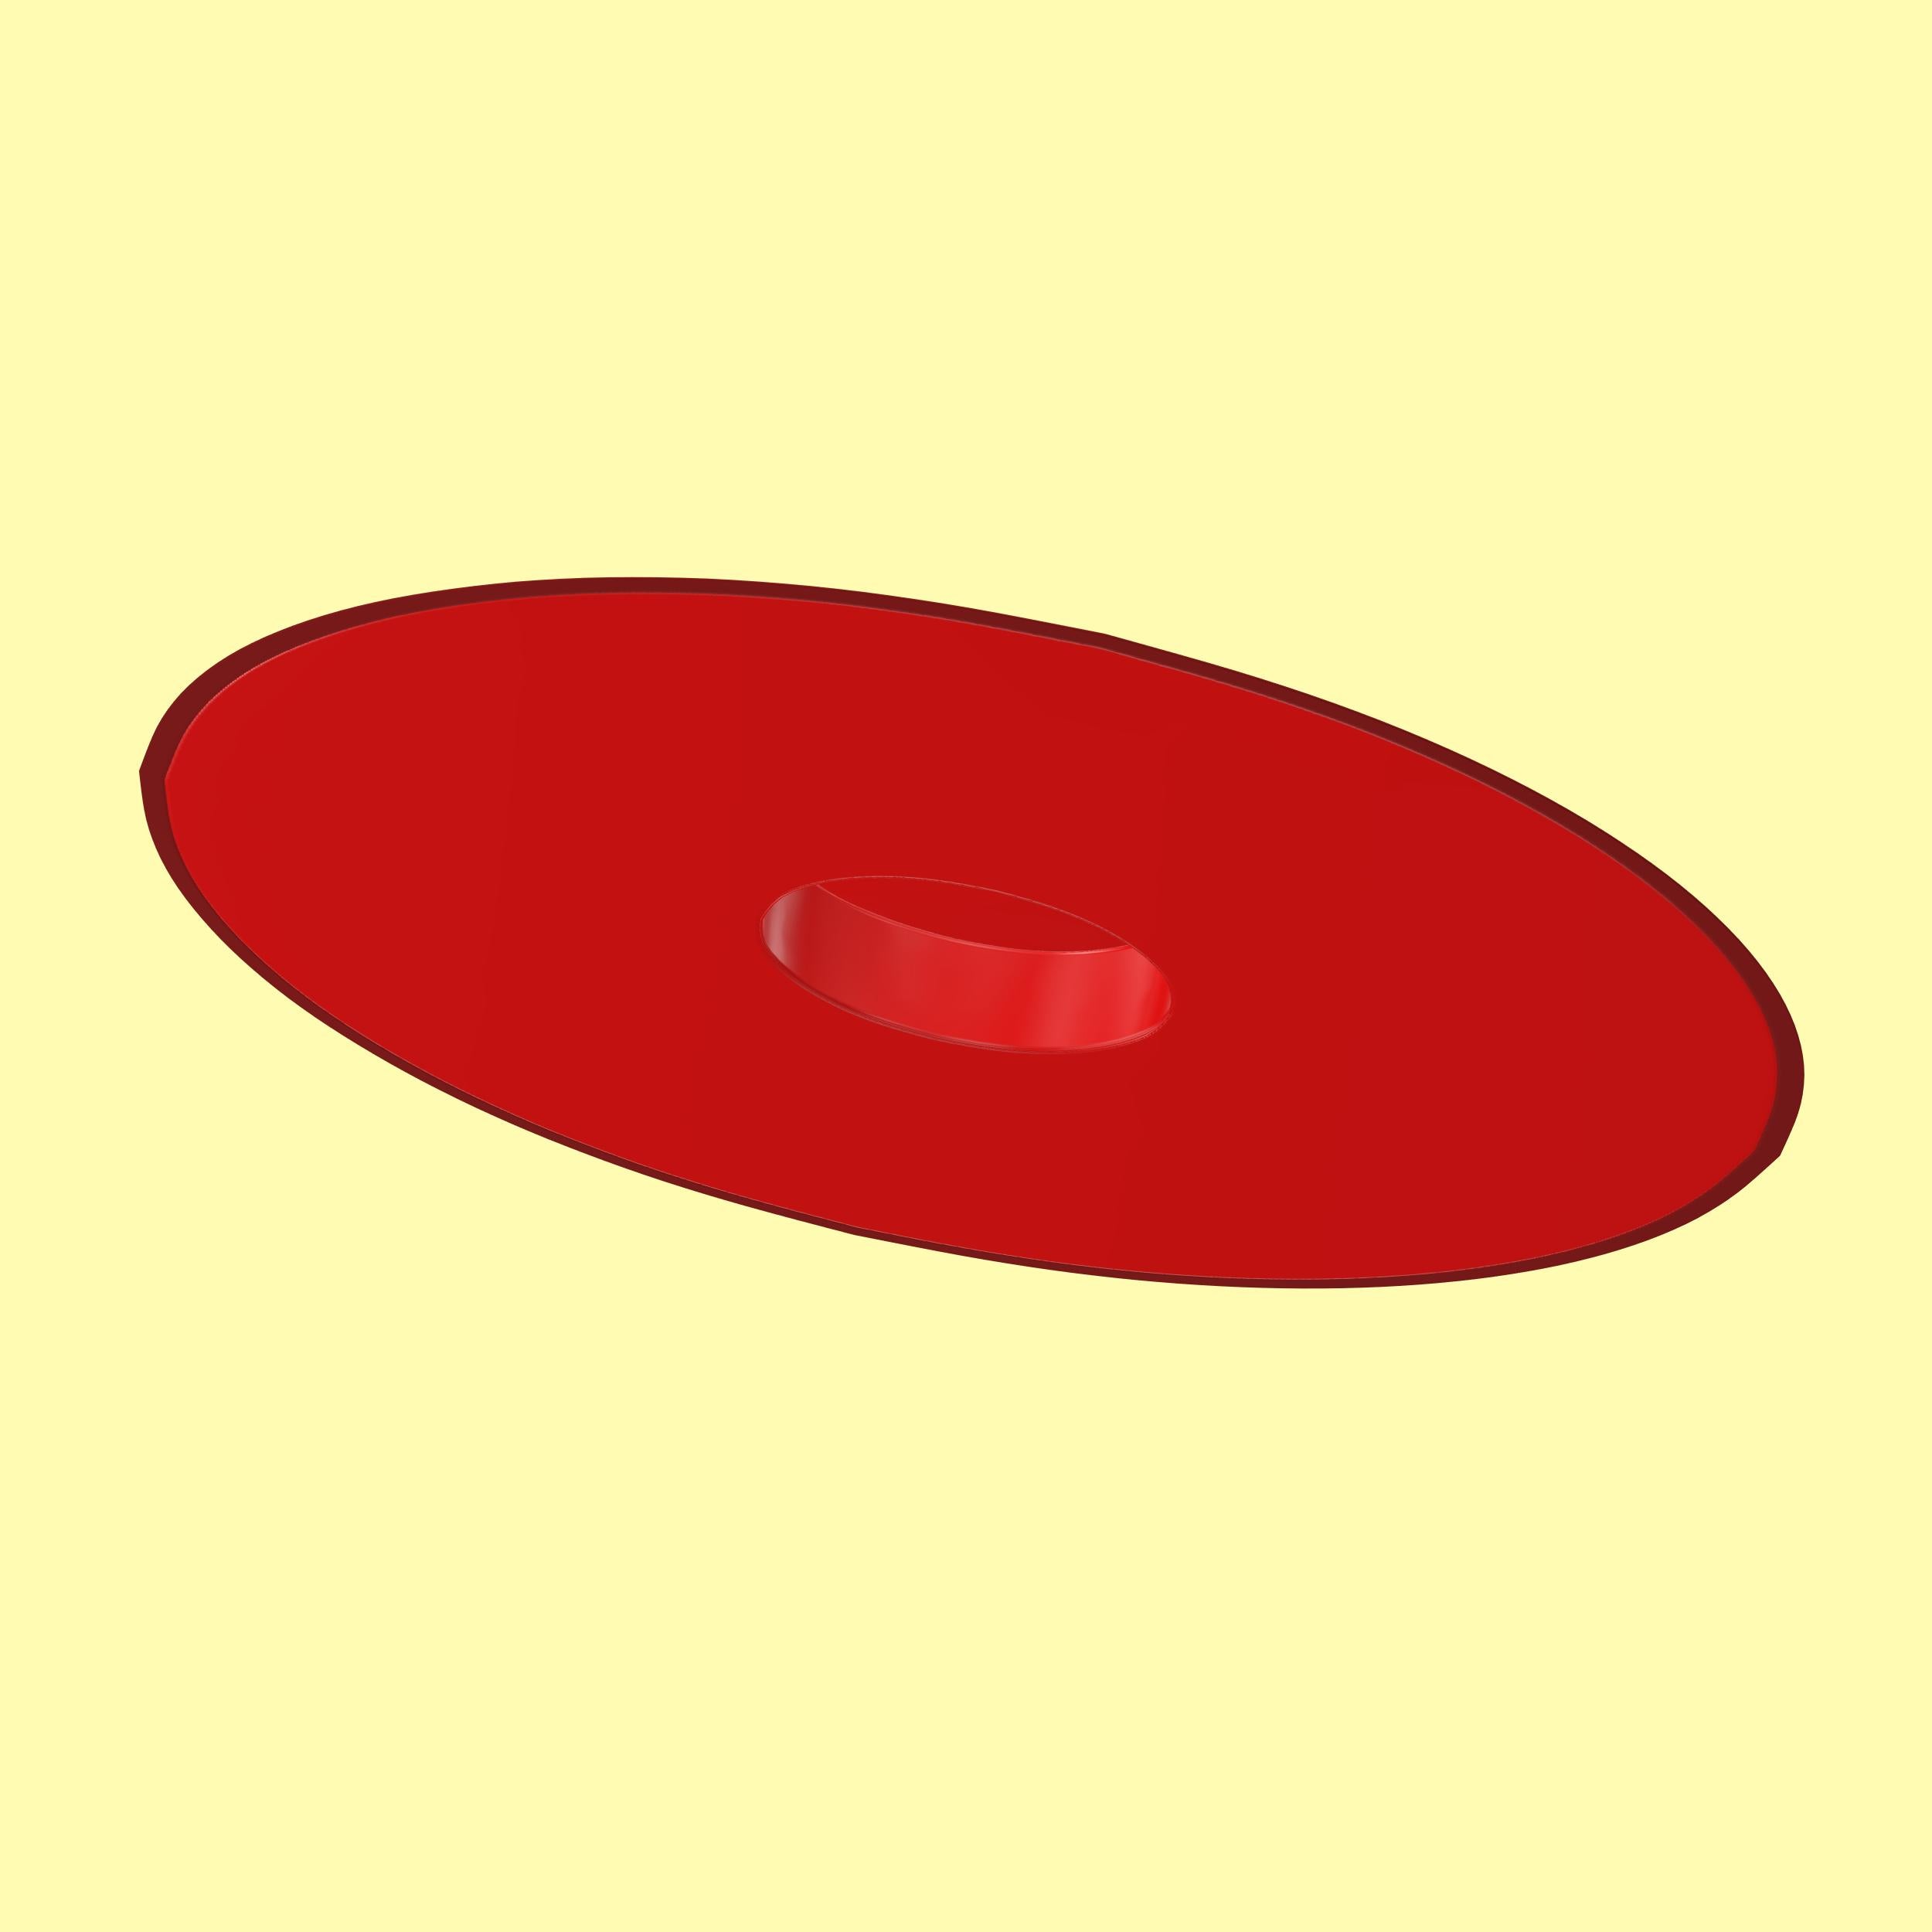
Este impresionante sombrero tiene un ala ultra ancha de 25 cm que le da un toque dramático y glamoroso a cualquier atuendo. Elige el tamaño que mejor se adapte a la medida de tu cabeza y disfruta creando una fabulosa pieza llamativa con nuestro patrón fácil de seguir.
Telas y artículos de mercería
Adecuado para tejidos pesados que no se estiran:
- Algodón de peso pesado (por ejemplo, algodón de caña o dril)
- Cuero o cuero sintético
- Vinilo brillante
- Tela con lentejuelas
- Tejido metalizado
- Satín
- Entretela fusible de peso ligero a medio para coronas
- Entretela Ultra Frim o cartulina para ala
- Cinta de bies de doble pliegue de 0,5" (90" de largo)
Yardas de tela
Las medidas a continuación se basan en anchos de tela de 44 pulgadas.
| Tamaño | Tejido de concha | Tejido de forro | Tejido de entretela |
|---|---|---|---|
| S | 1 año / 0,9 meses | 1 año / 0,9 meses | 1 año / 0,9 meses |
| METRO | 1 año / 0,9 meses | 1 año / 0,9 meses | 1 año / 0,9 meses |
| yo | 1 año / 0,9 meses | 1 año / 0,9 meses | 1 año / 0,9 meses |
Para obtener información sobre la conversión de pulgadas a metros, consulte nuestra guía de conversión.
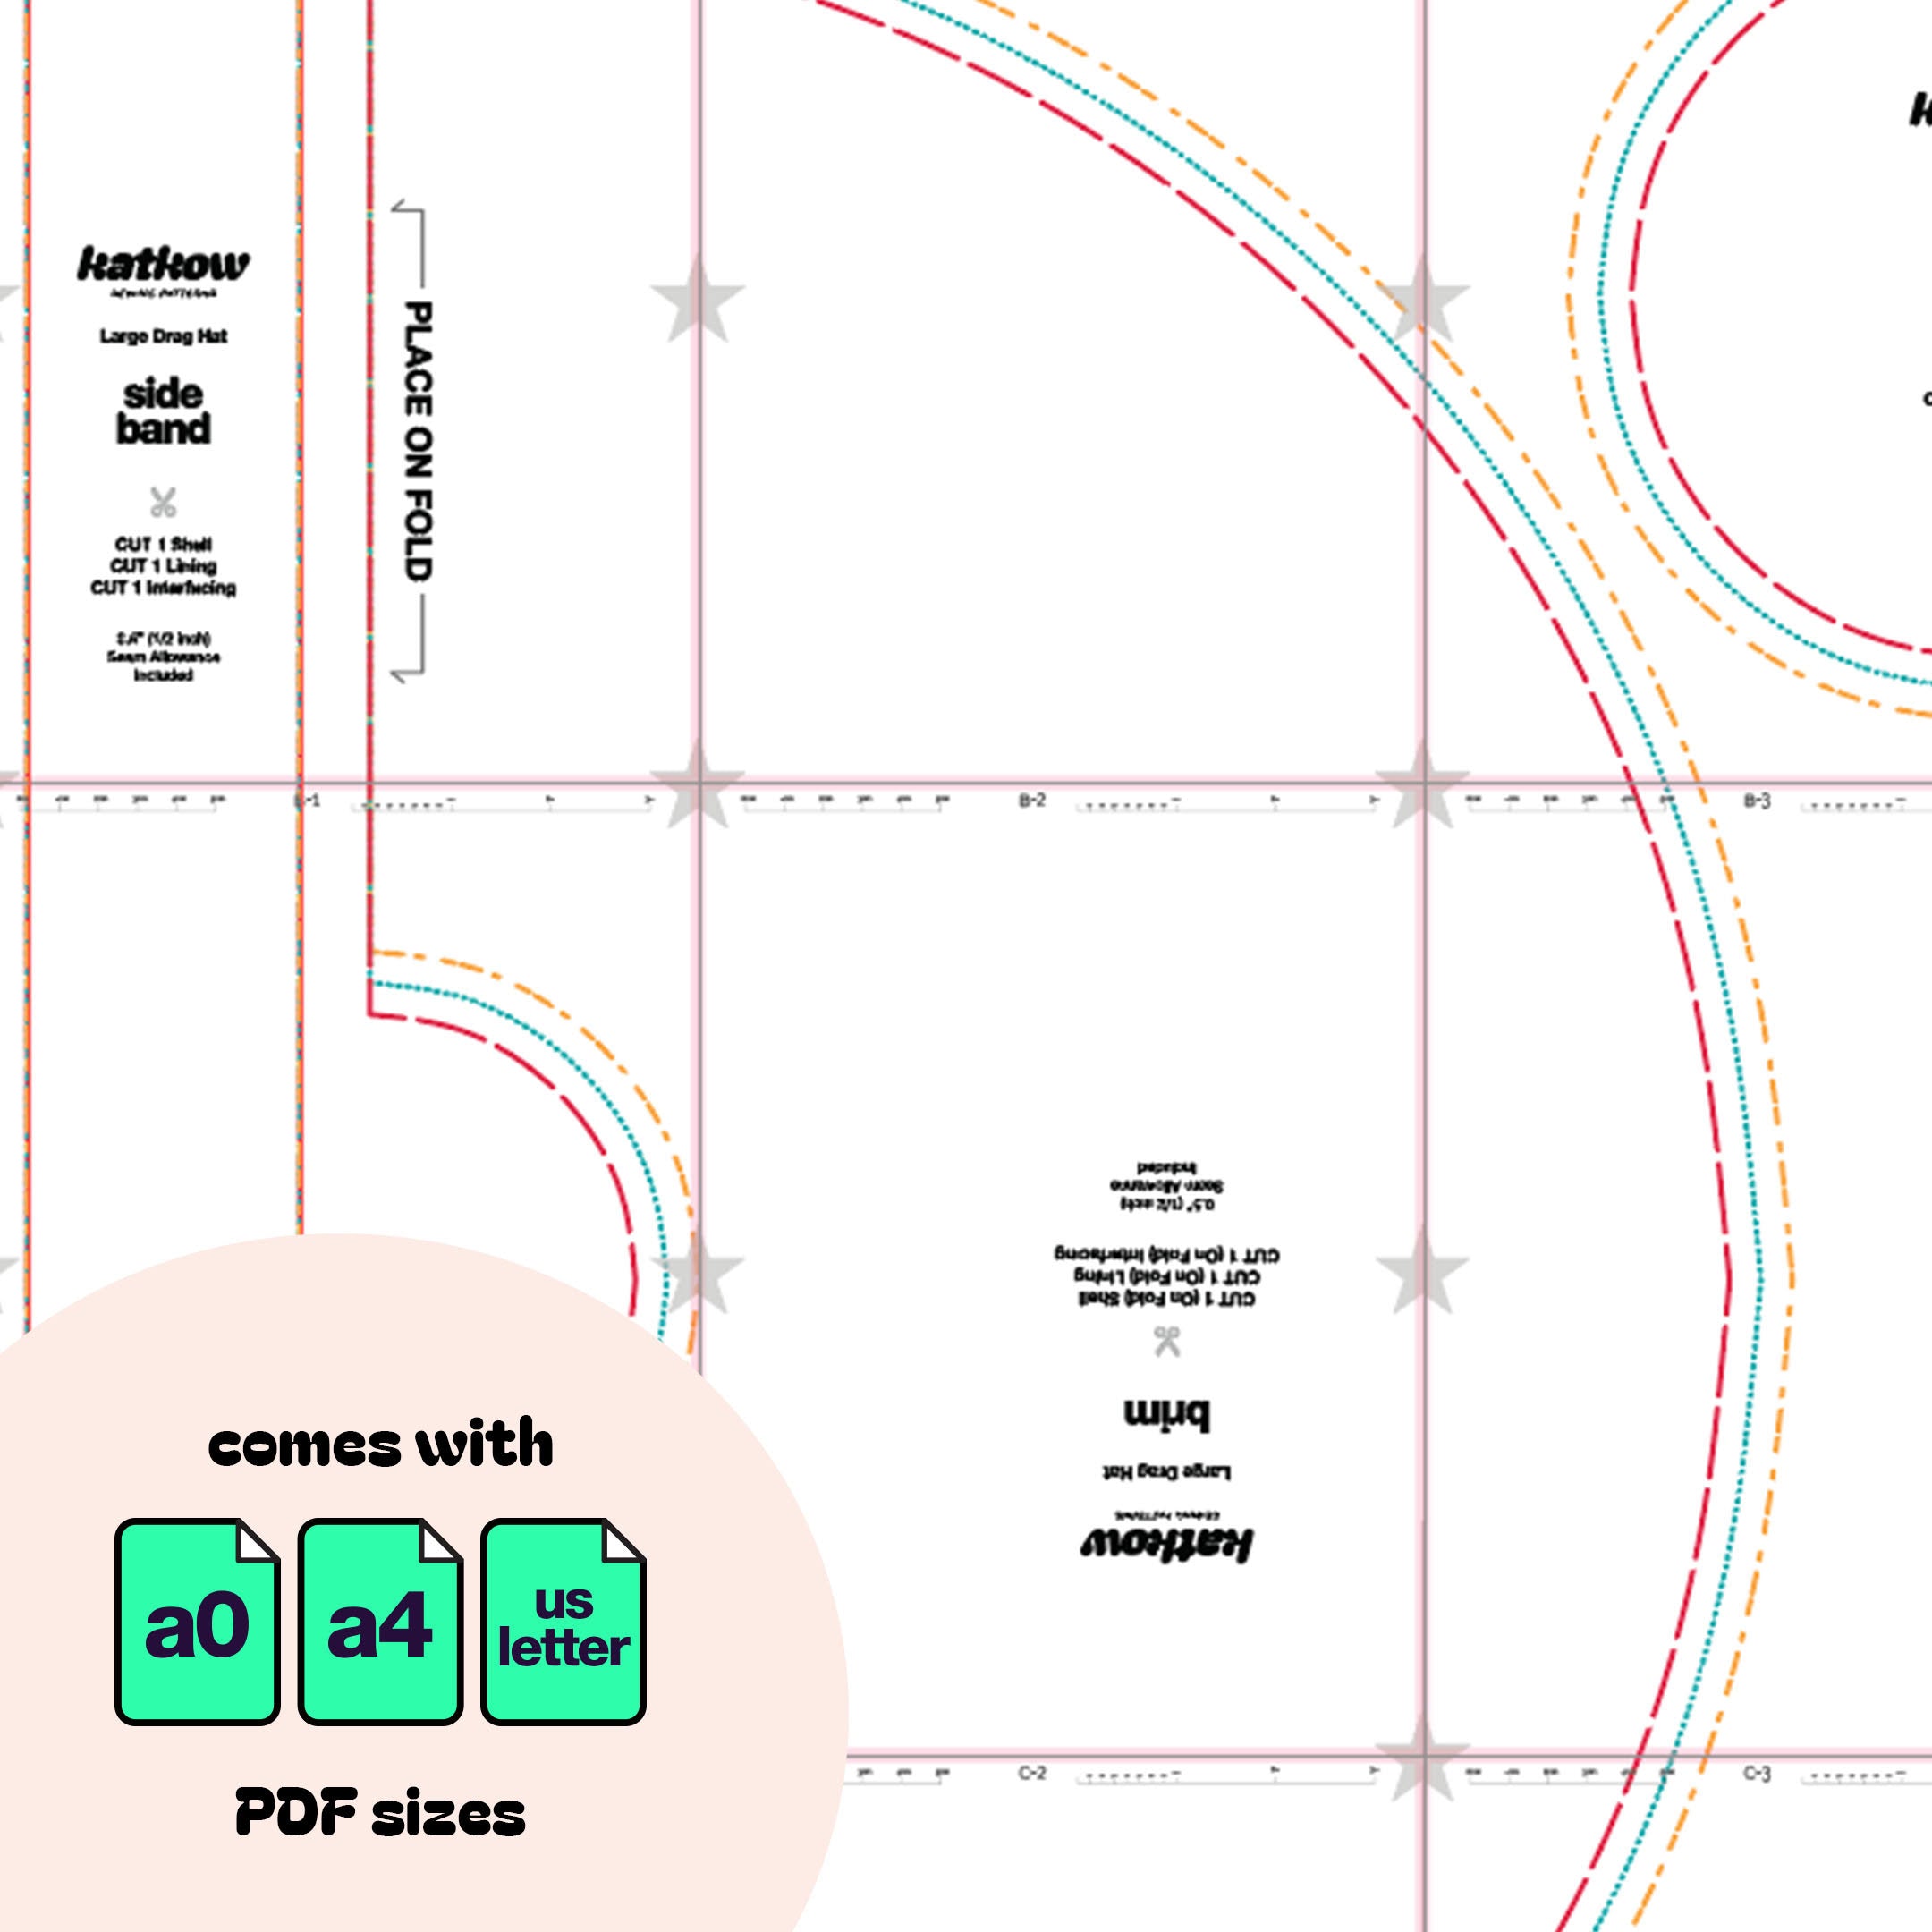
Instrucciones de costura


Fabric Pieces
After cutting your fabric, you should have the following pieces: one crown, one side band, and one brim for the shell.
Repeat these steps for the lining. For interfacing, use lightweight and medium interfacing for the crown and side band patterns, but opt for ultra-firm or poster board interfacing for the brim.

STEP 1
Apply the lightweight to medium interfacing to the wrong side of the crown and side band shell fabric pieces. Ensure the sticky side of the interfacing is facing down, then fuse it in place with an iron.

STEP 2
Gather the side band with the right side facing up. Fold it horizontally in half and sew the ends together with the wrong side of the fabric facing out, creating a loop.

STEP 3
Place the side band on top of the crown with the right sides facing each other. Pin the seams together, then sew along the outer edge. Trim off the excess seam fabric.

STEP 4
Turn the side band and crown right side out, forming the top of the hat.

STEP 5
Repeat the process for the lining's crown and side band, but do not add interfacing.

STEP 6
Gather the shell brim and the shell top hat. Place both pieces with the wrong sides facing up, with the brim on top.

STEP 7
Pin the inner circle of the brim around the top hat, ensuring the right sides of the edges are facing each other.

STEP 8
Now sew around that seam, attaching the top hat to the brim.

STEP 9
Repeat this process for the lining brim and top hat.

STEP 10
For the brim interfacing, you have two options:
A. If you can find ultra-firm interfacing the size of the circle, use the same brim pattern to create the interfacing.
B. For a more sturdy and stiff brim, you can use poster board. Cut it into four pieces and tape them together heavily with duct tape along the seams.

STEP 11
Fuse the brim interfacing to the wrong side of the lining brim. If you don't have fusible interfacing, you can use double-sided tape or even glue. Be sure to spread the glue evenly to avoid bumps and creases.

STEP 12
With the wrong side of the lining facing up, place the shell, right side out, over the lining, sandwiching the brim interfacing between the shell and lining. Use sewing clips to hold the layers together.
You can also add double-sided tape or glue to secure the shell to the brim interfacing.

STEP 13
Ensure the shell and lining edges are aligned and smoothly spread with no creases. Then, sew the layers together as close to the edge as possible.

STEP 14
Lastly, to cover the raw edge, use a double-folded bias trim or tape and sew it around the brim edge. Alternatively, you can cover the raw edge with any trim, fringe, or fur.