Cómo coser un corsé moldeador de cintura alta y elástico
Saltar a instrucciones
Descripción general
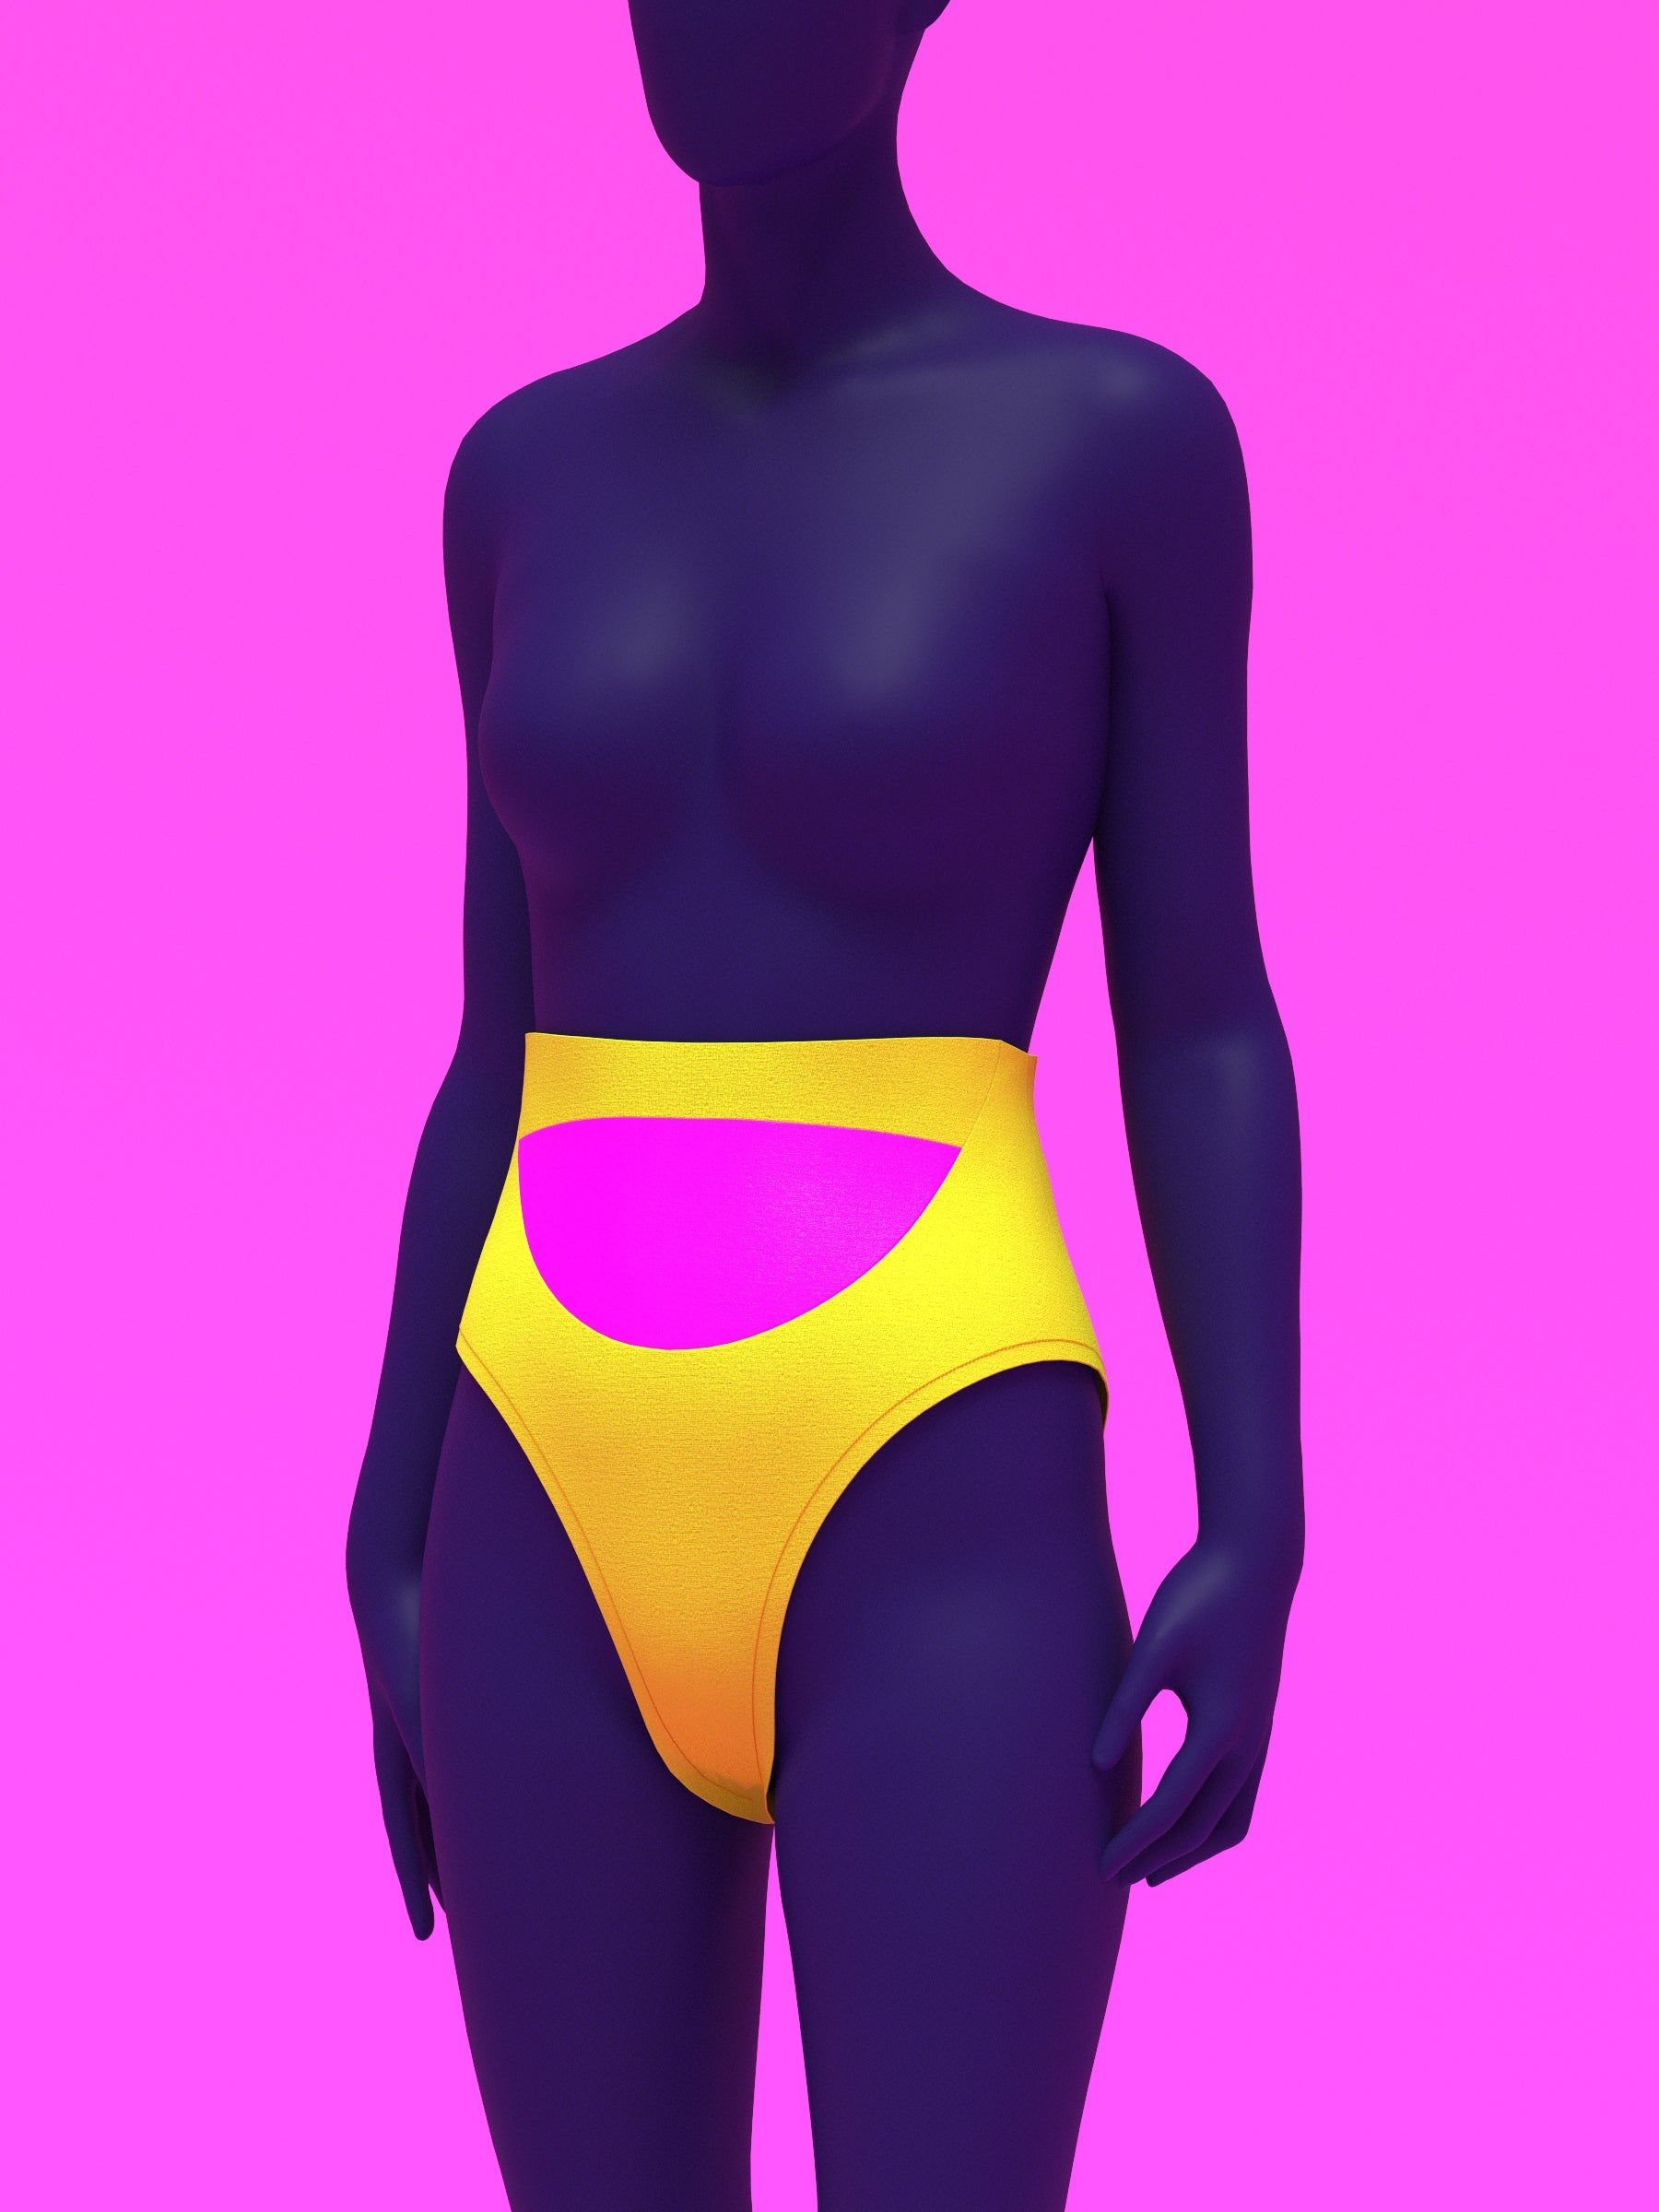
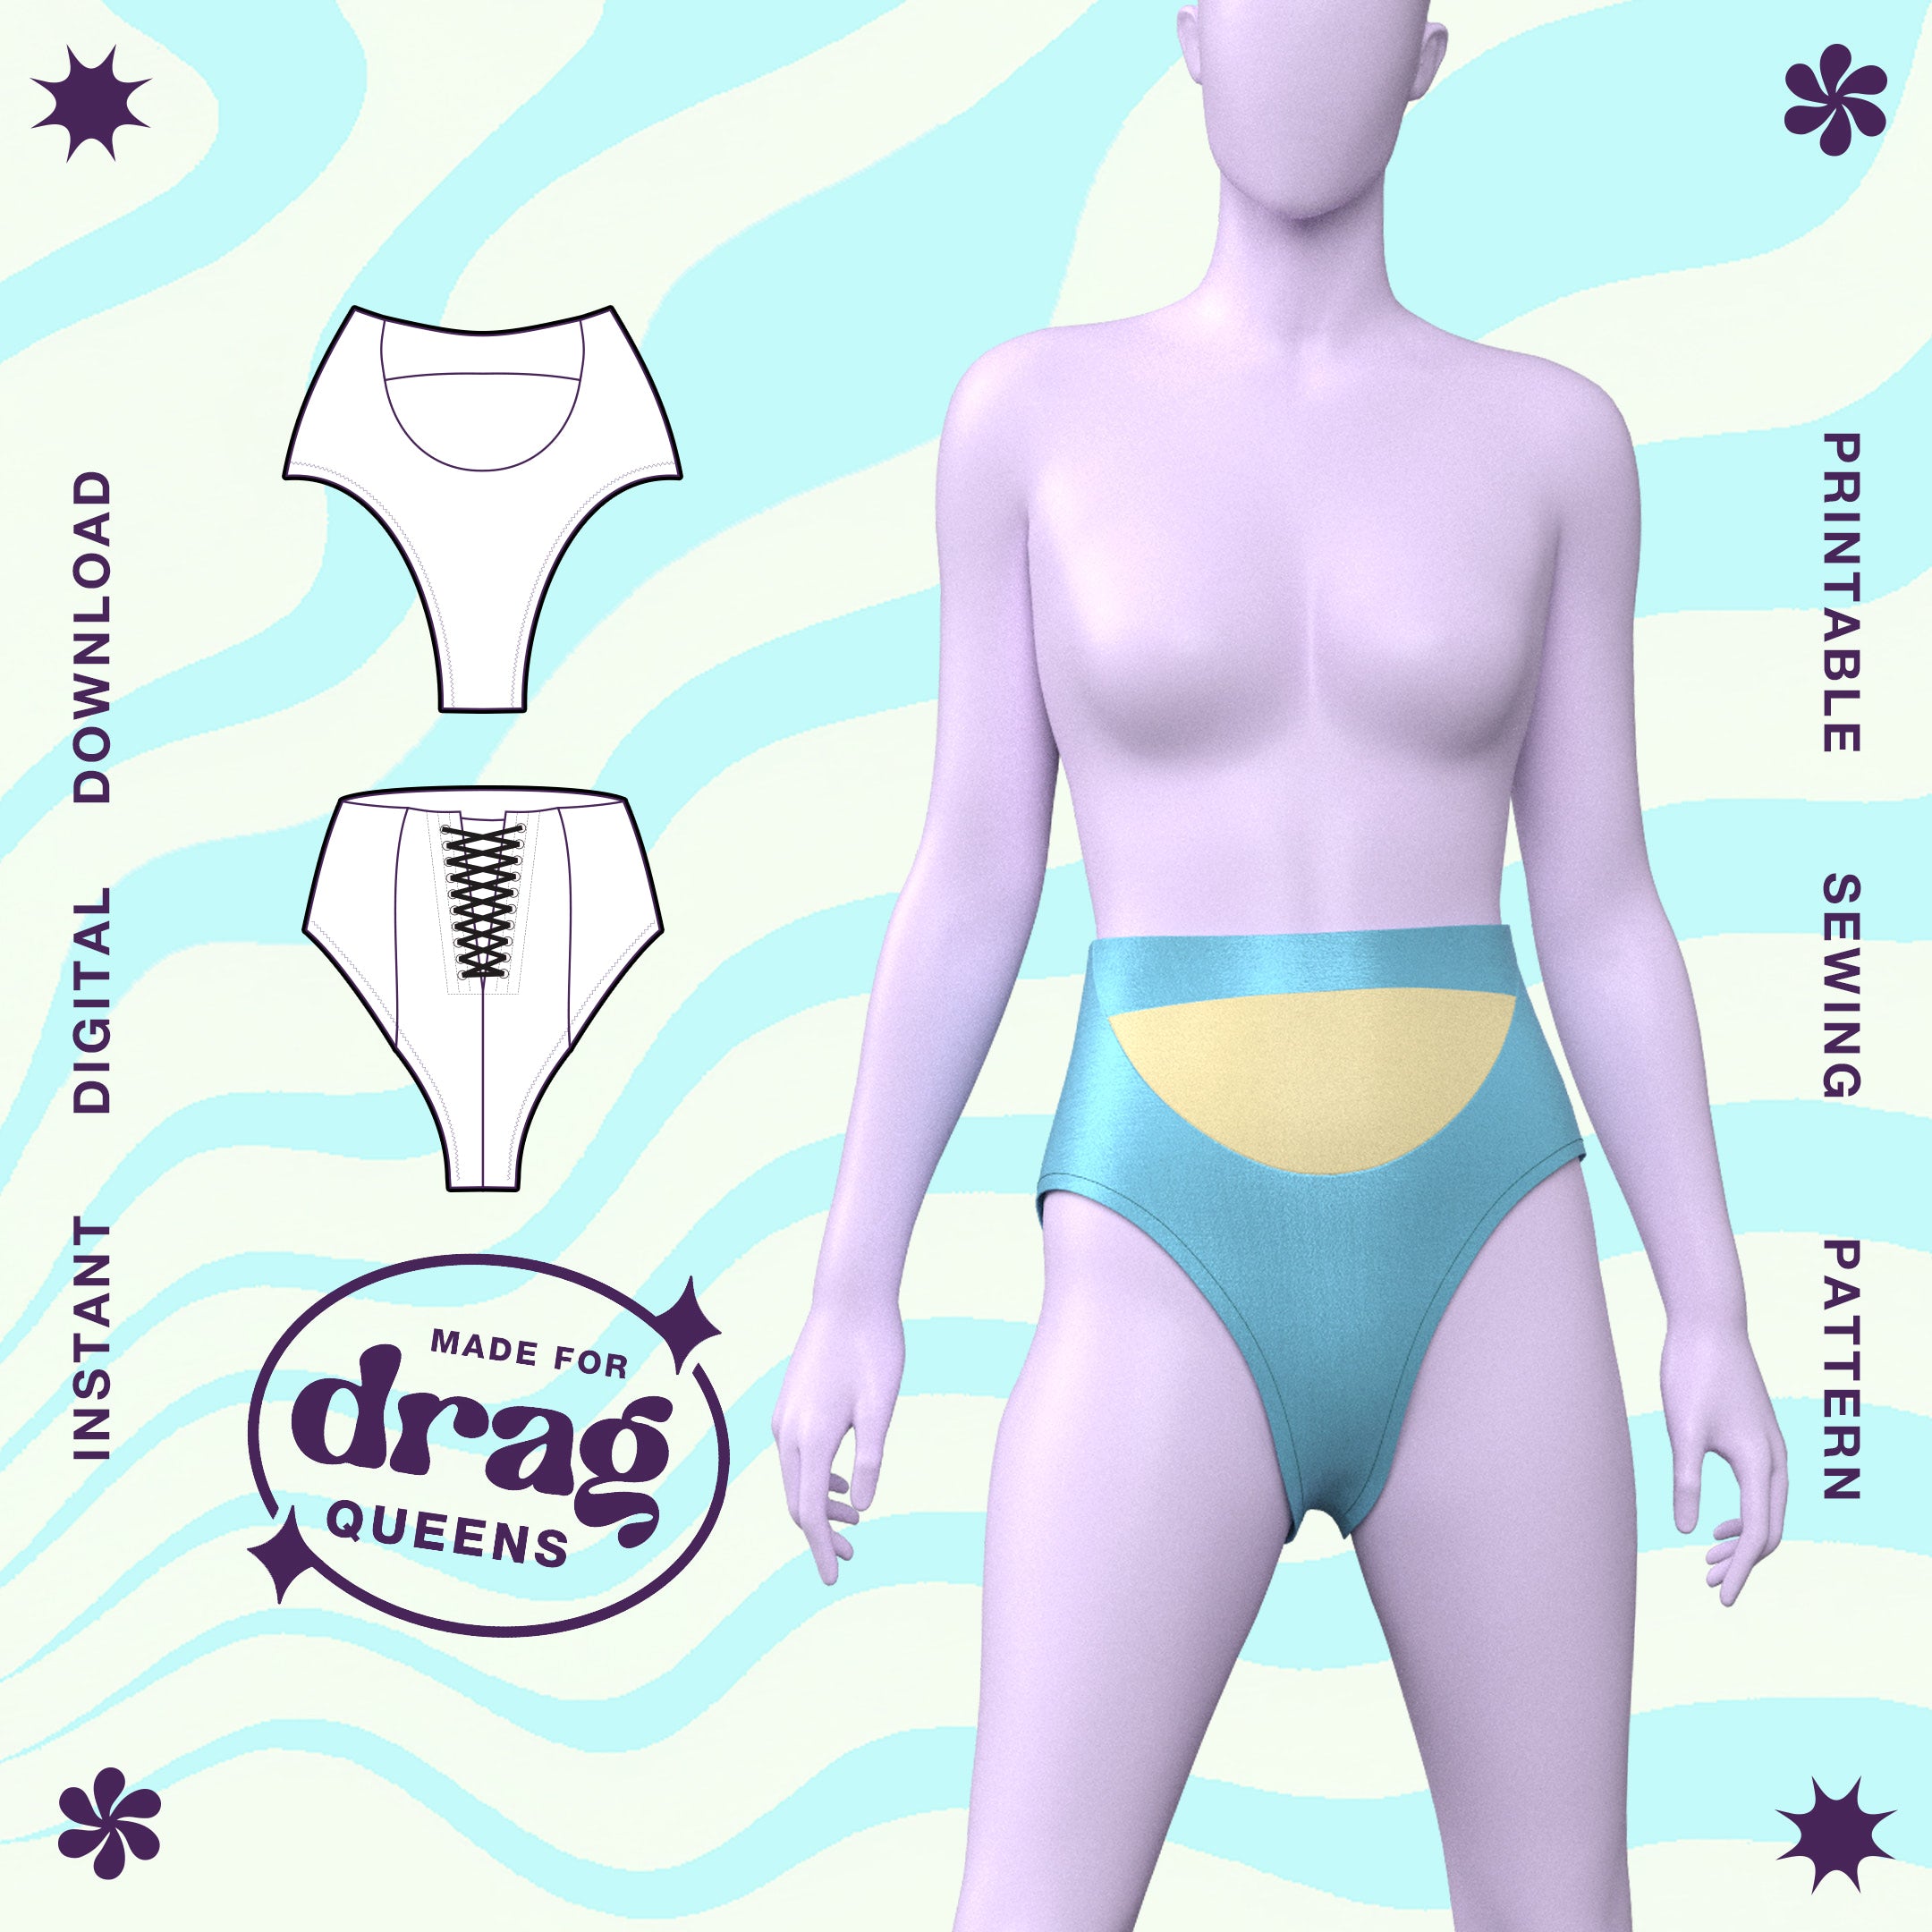
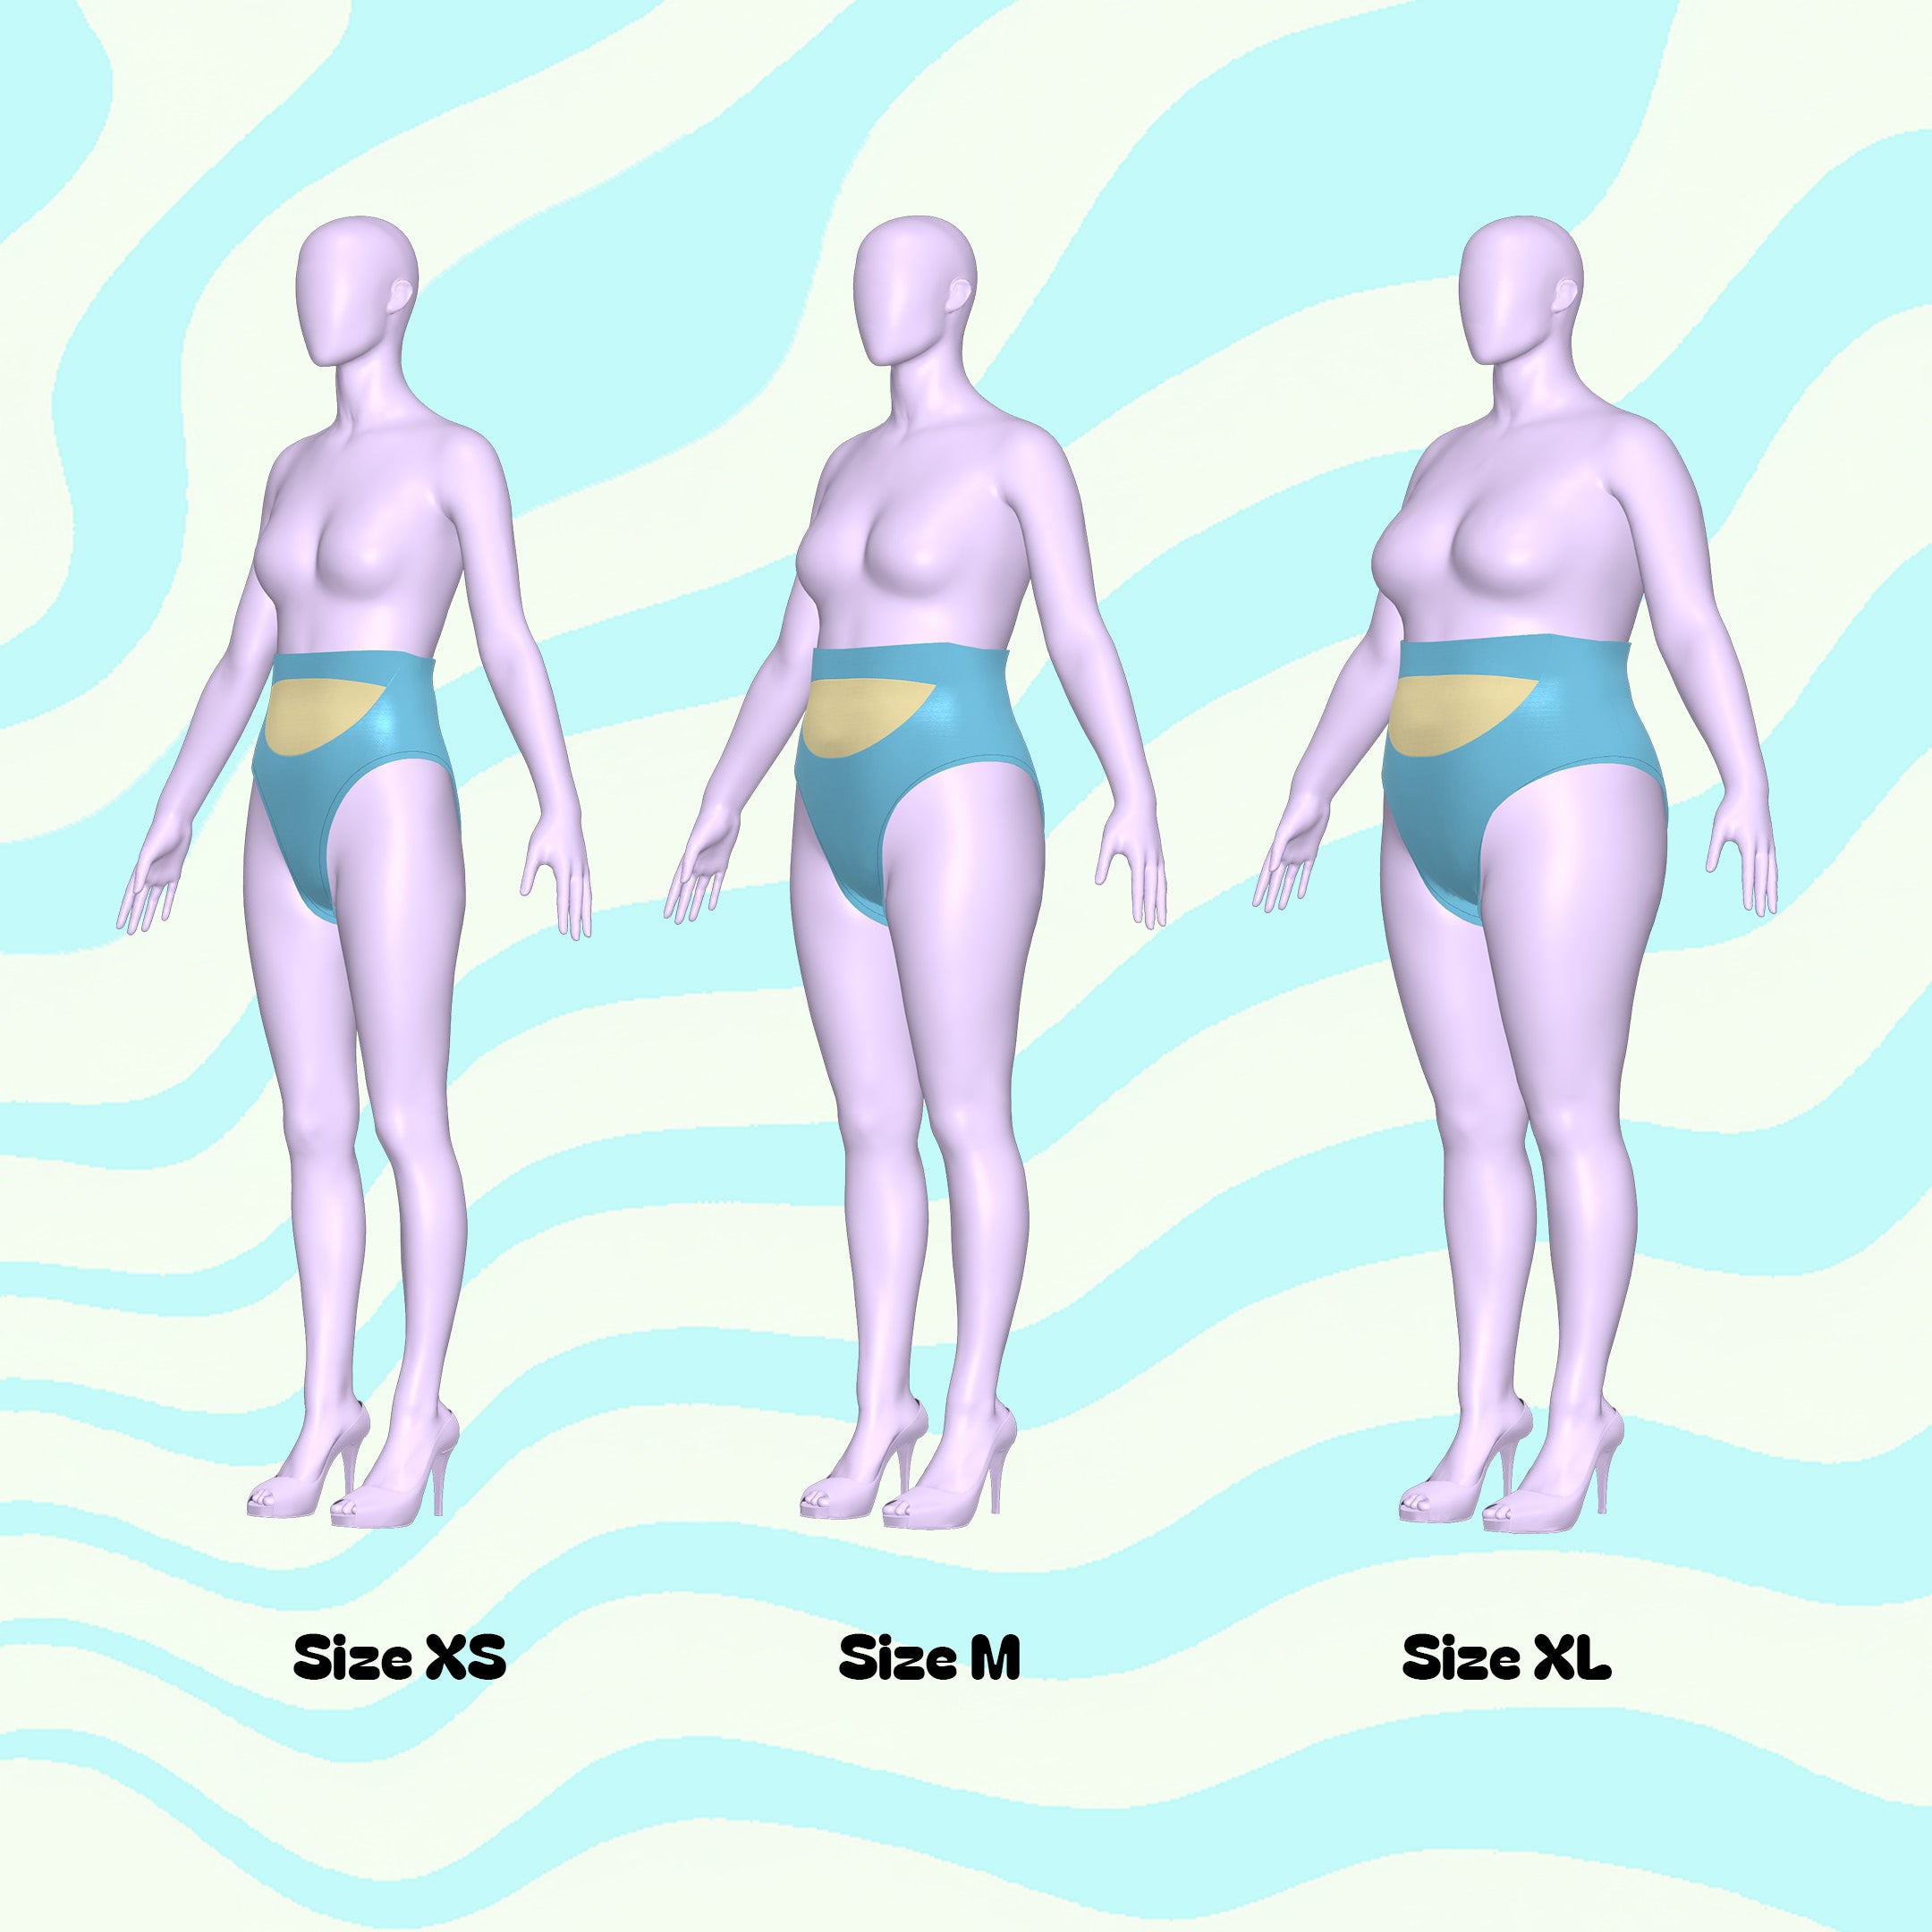
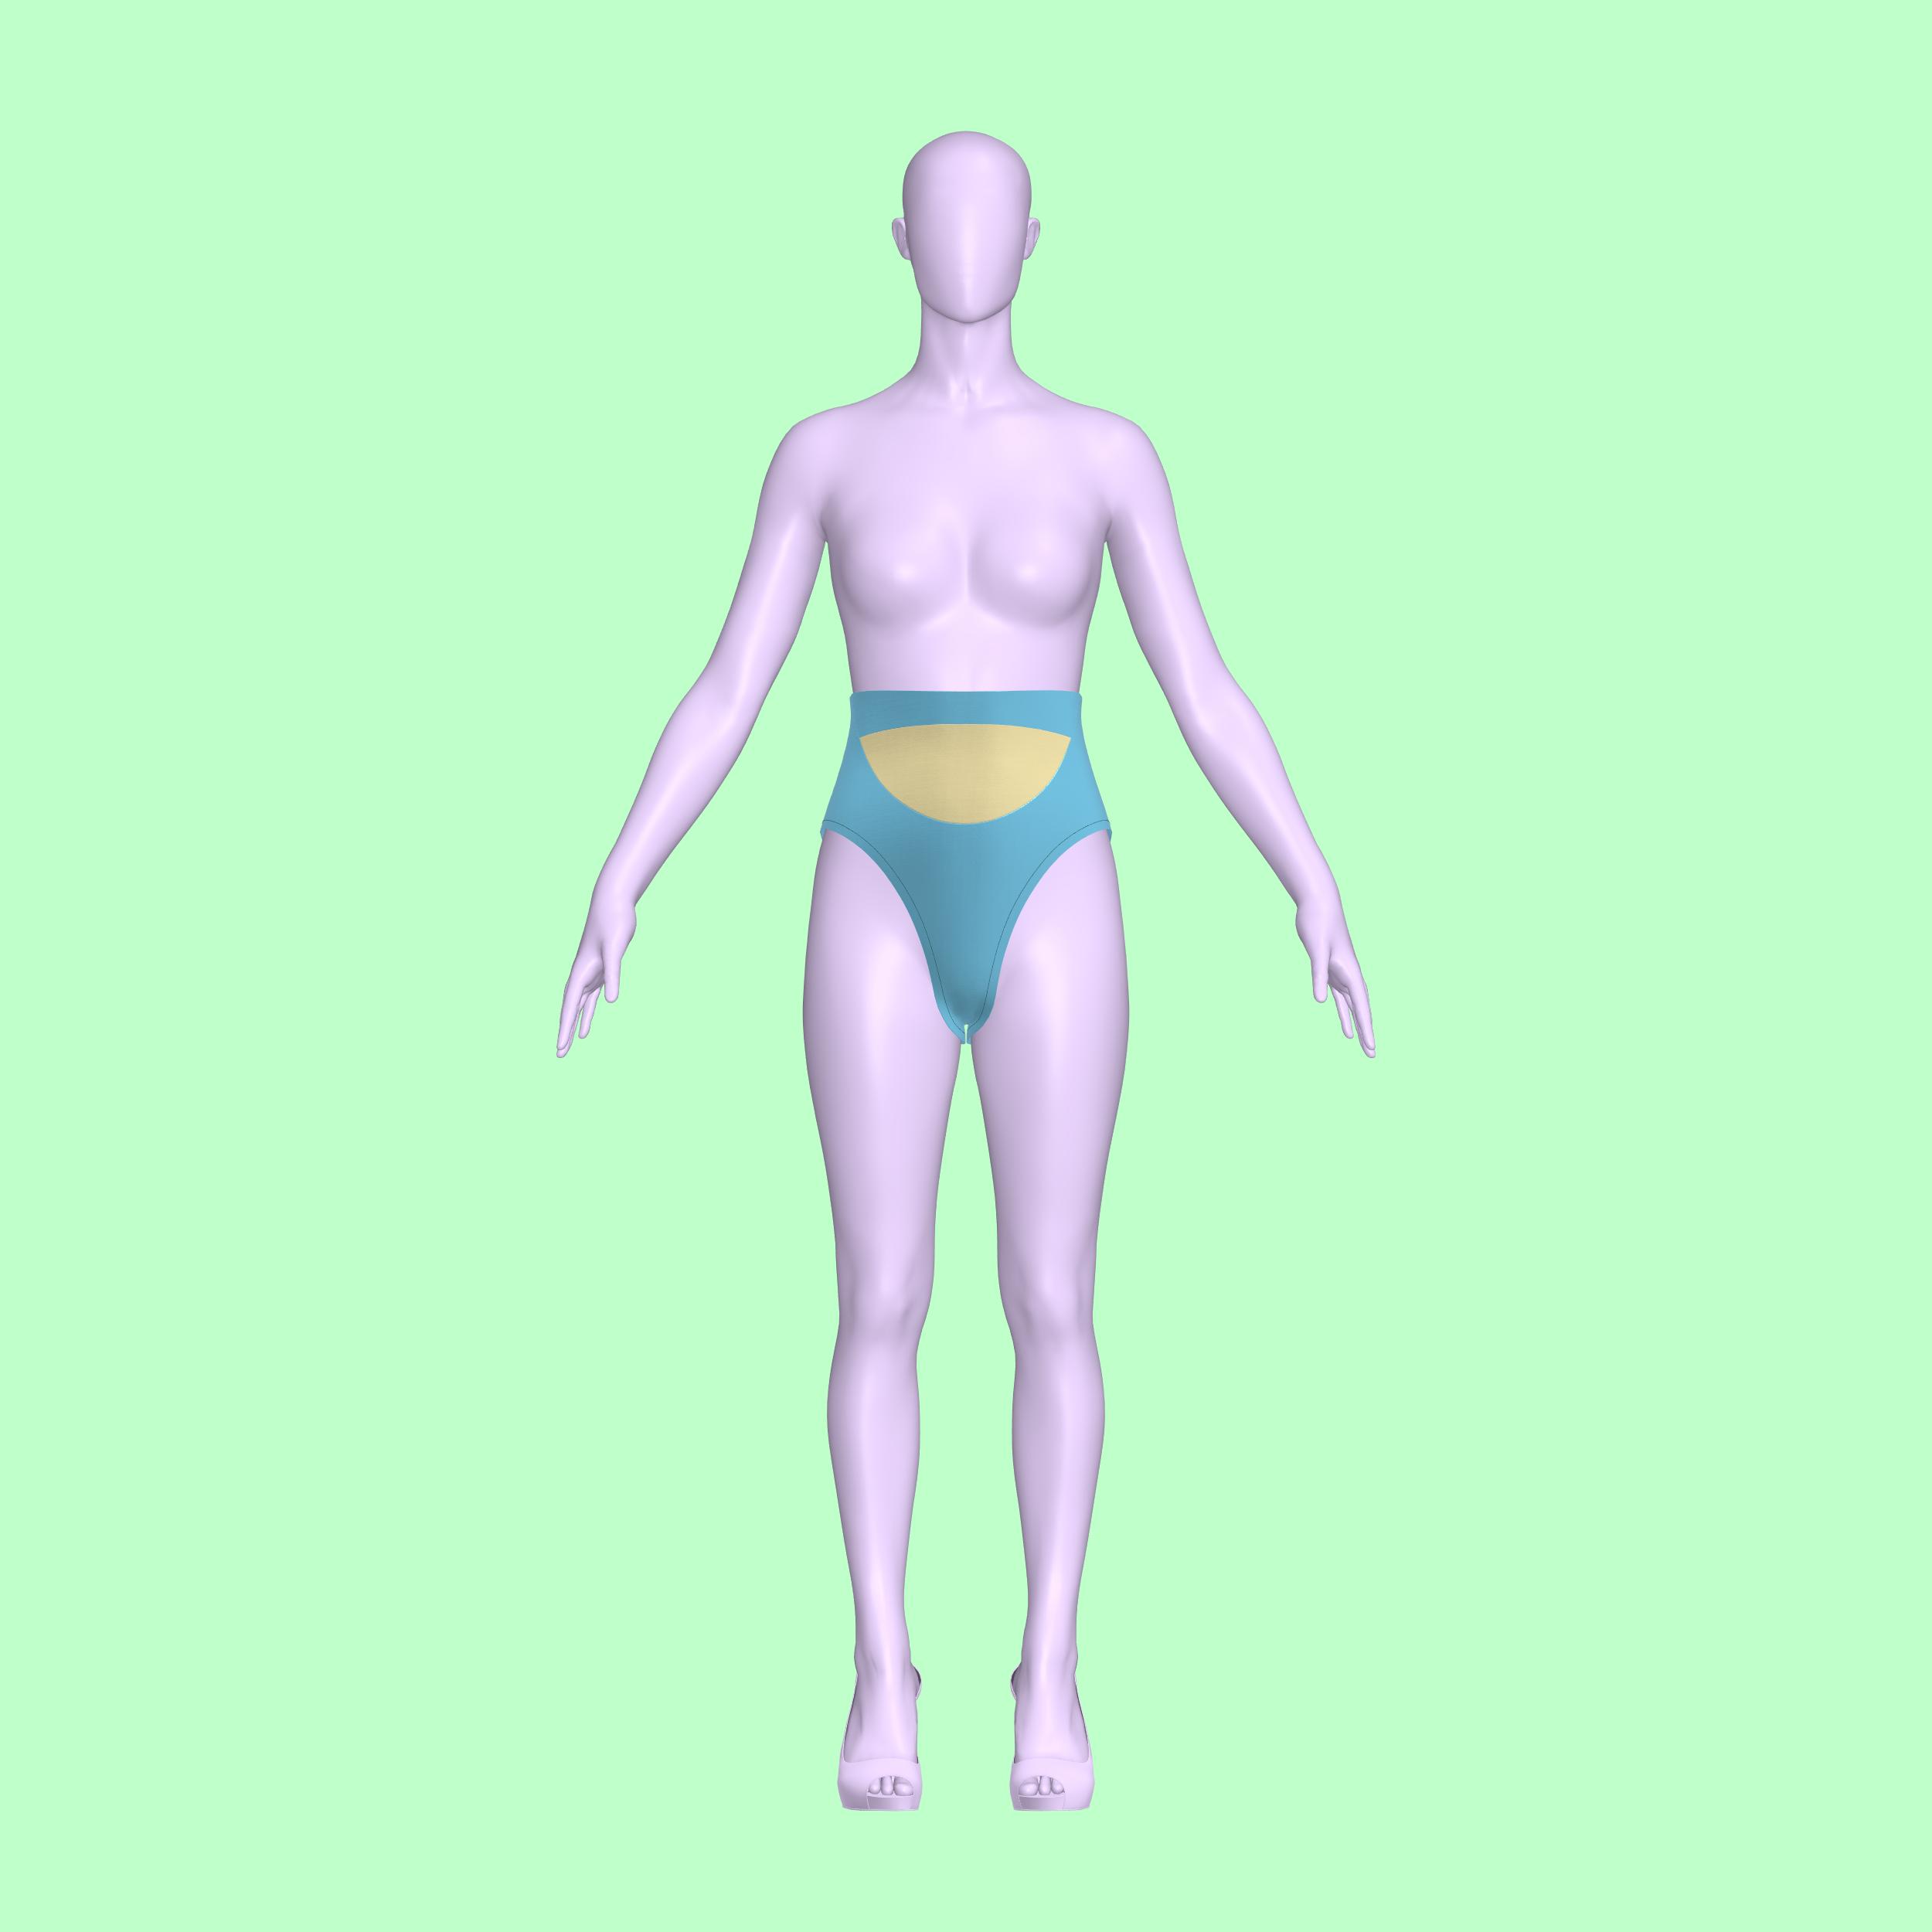
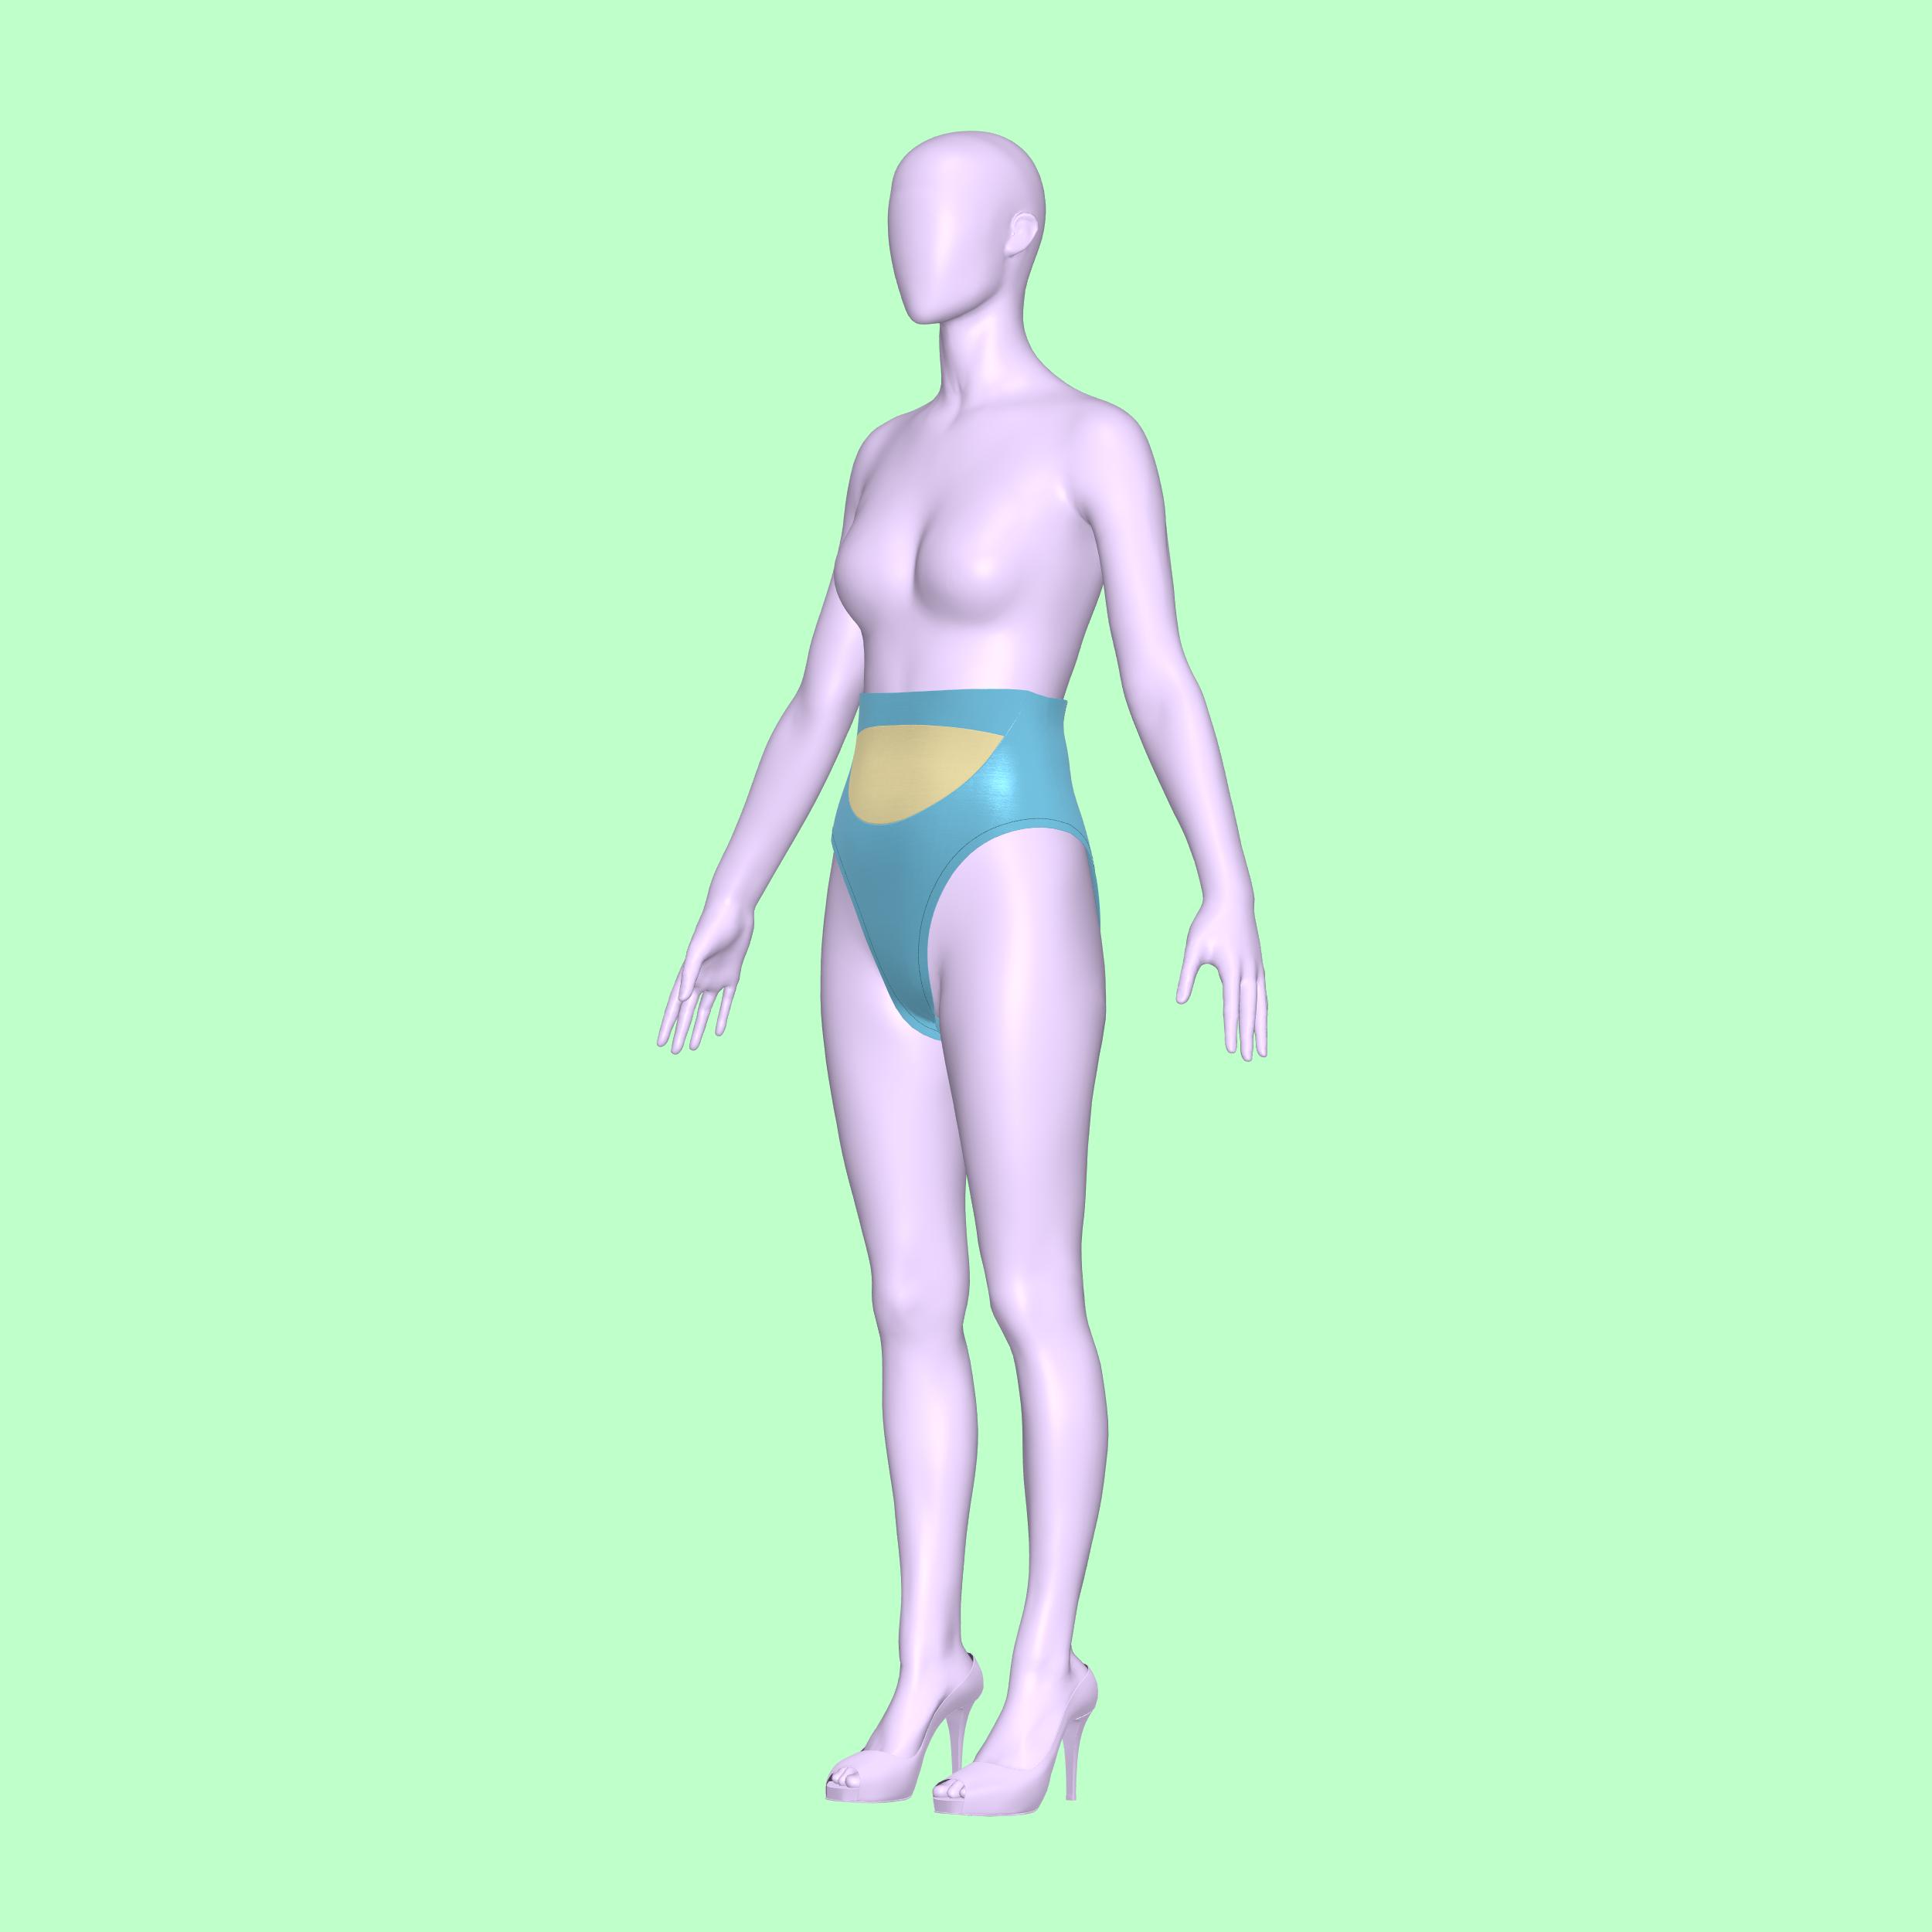
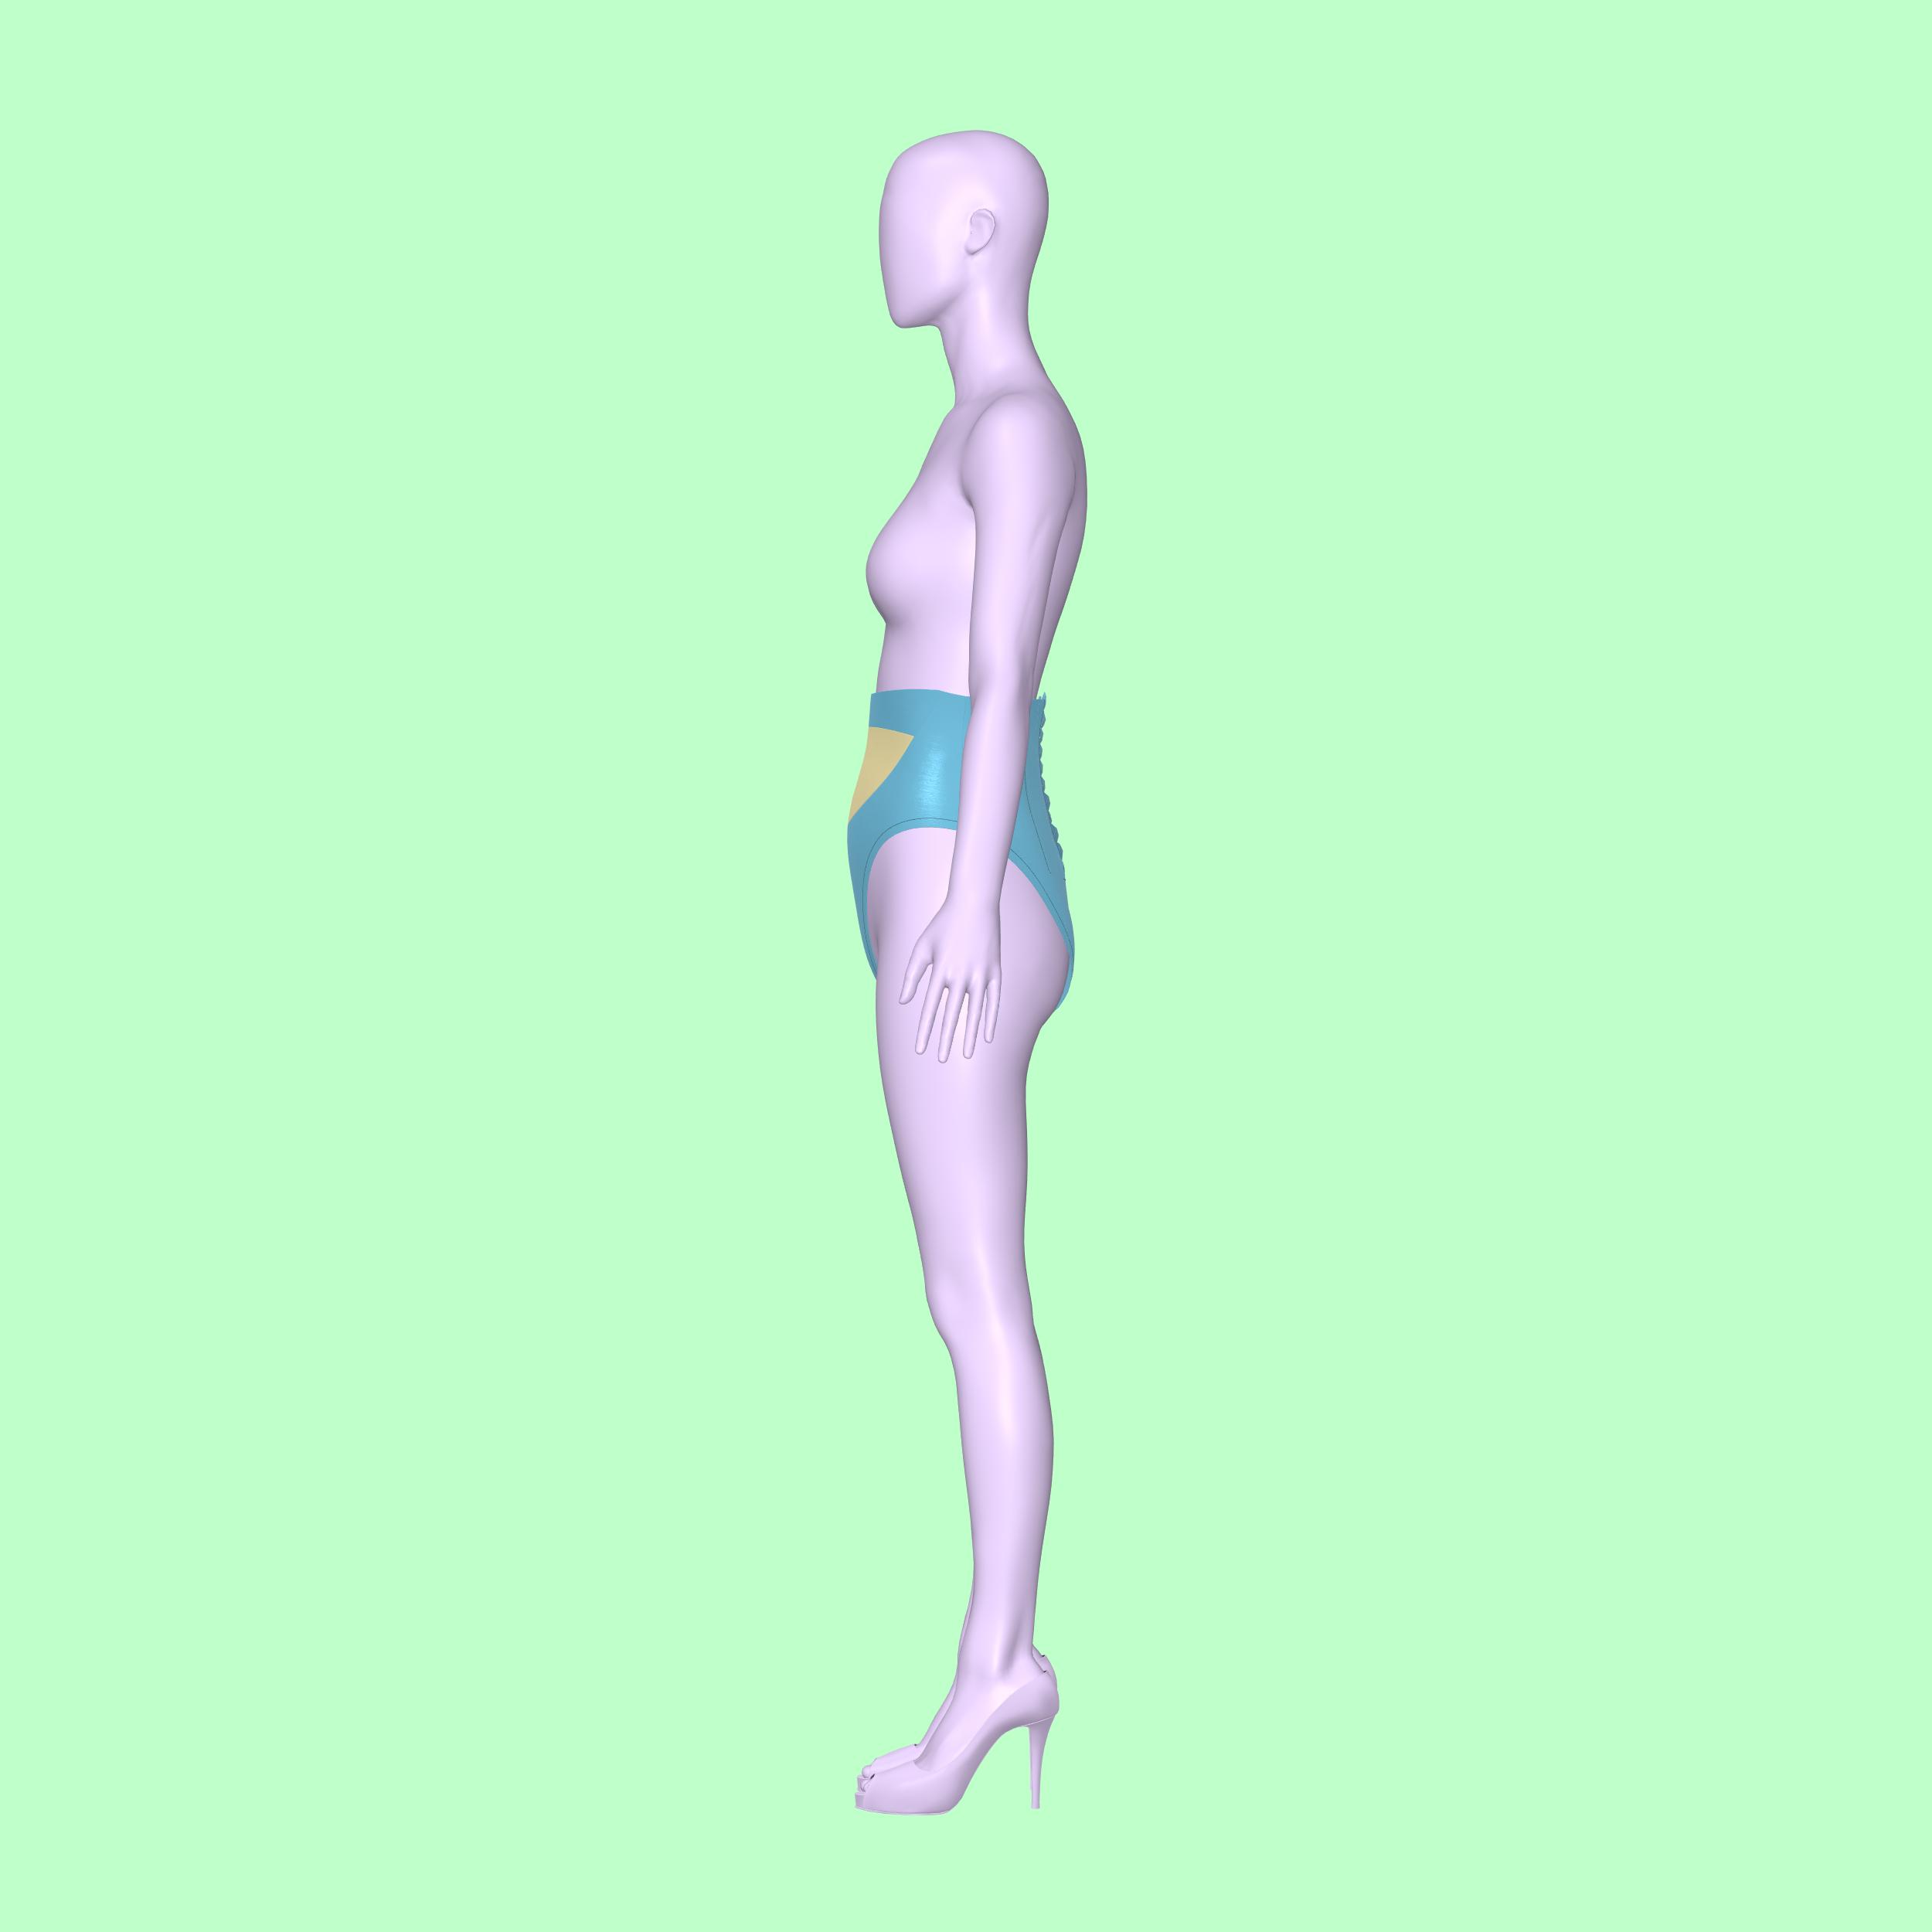
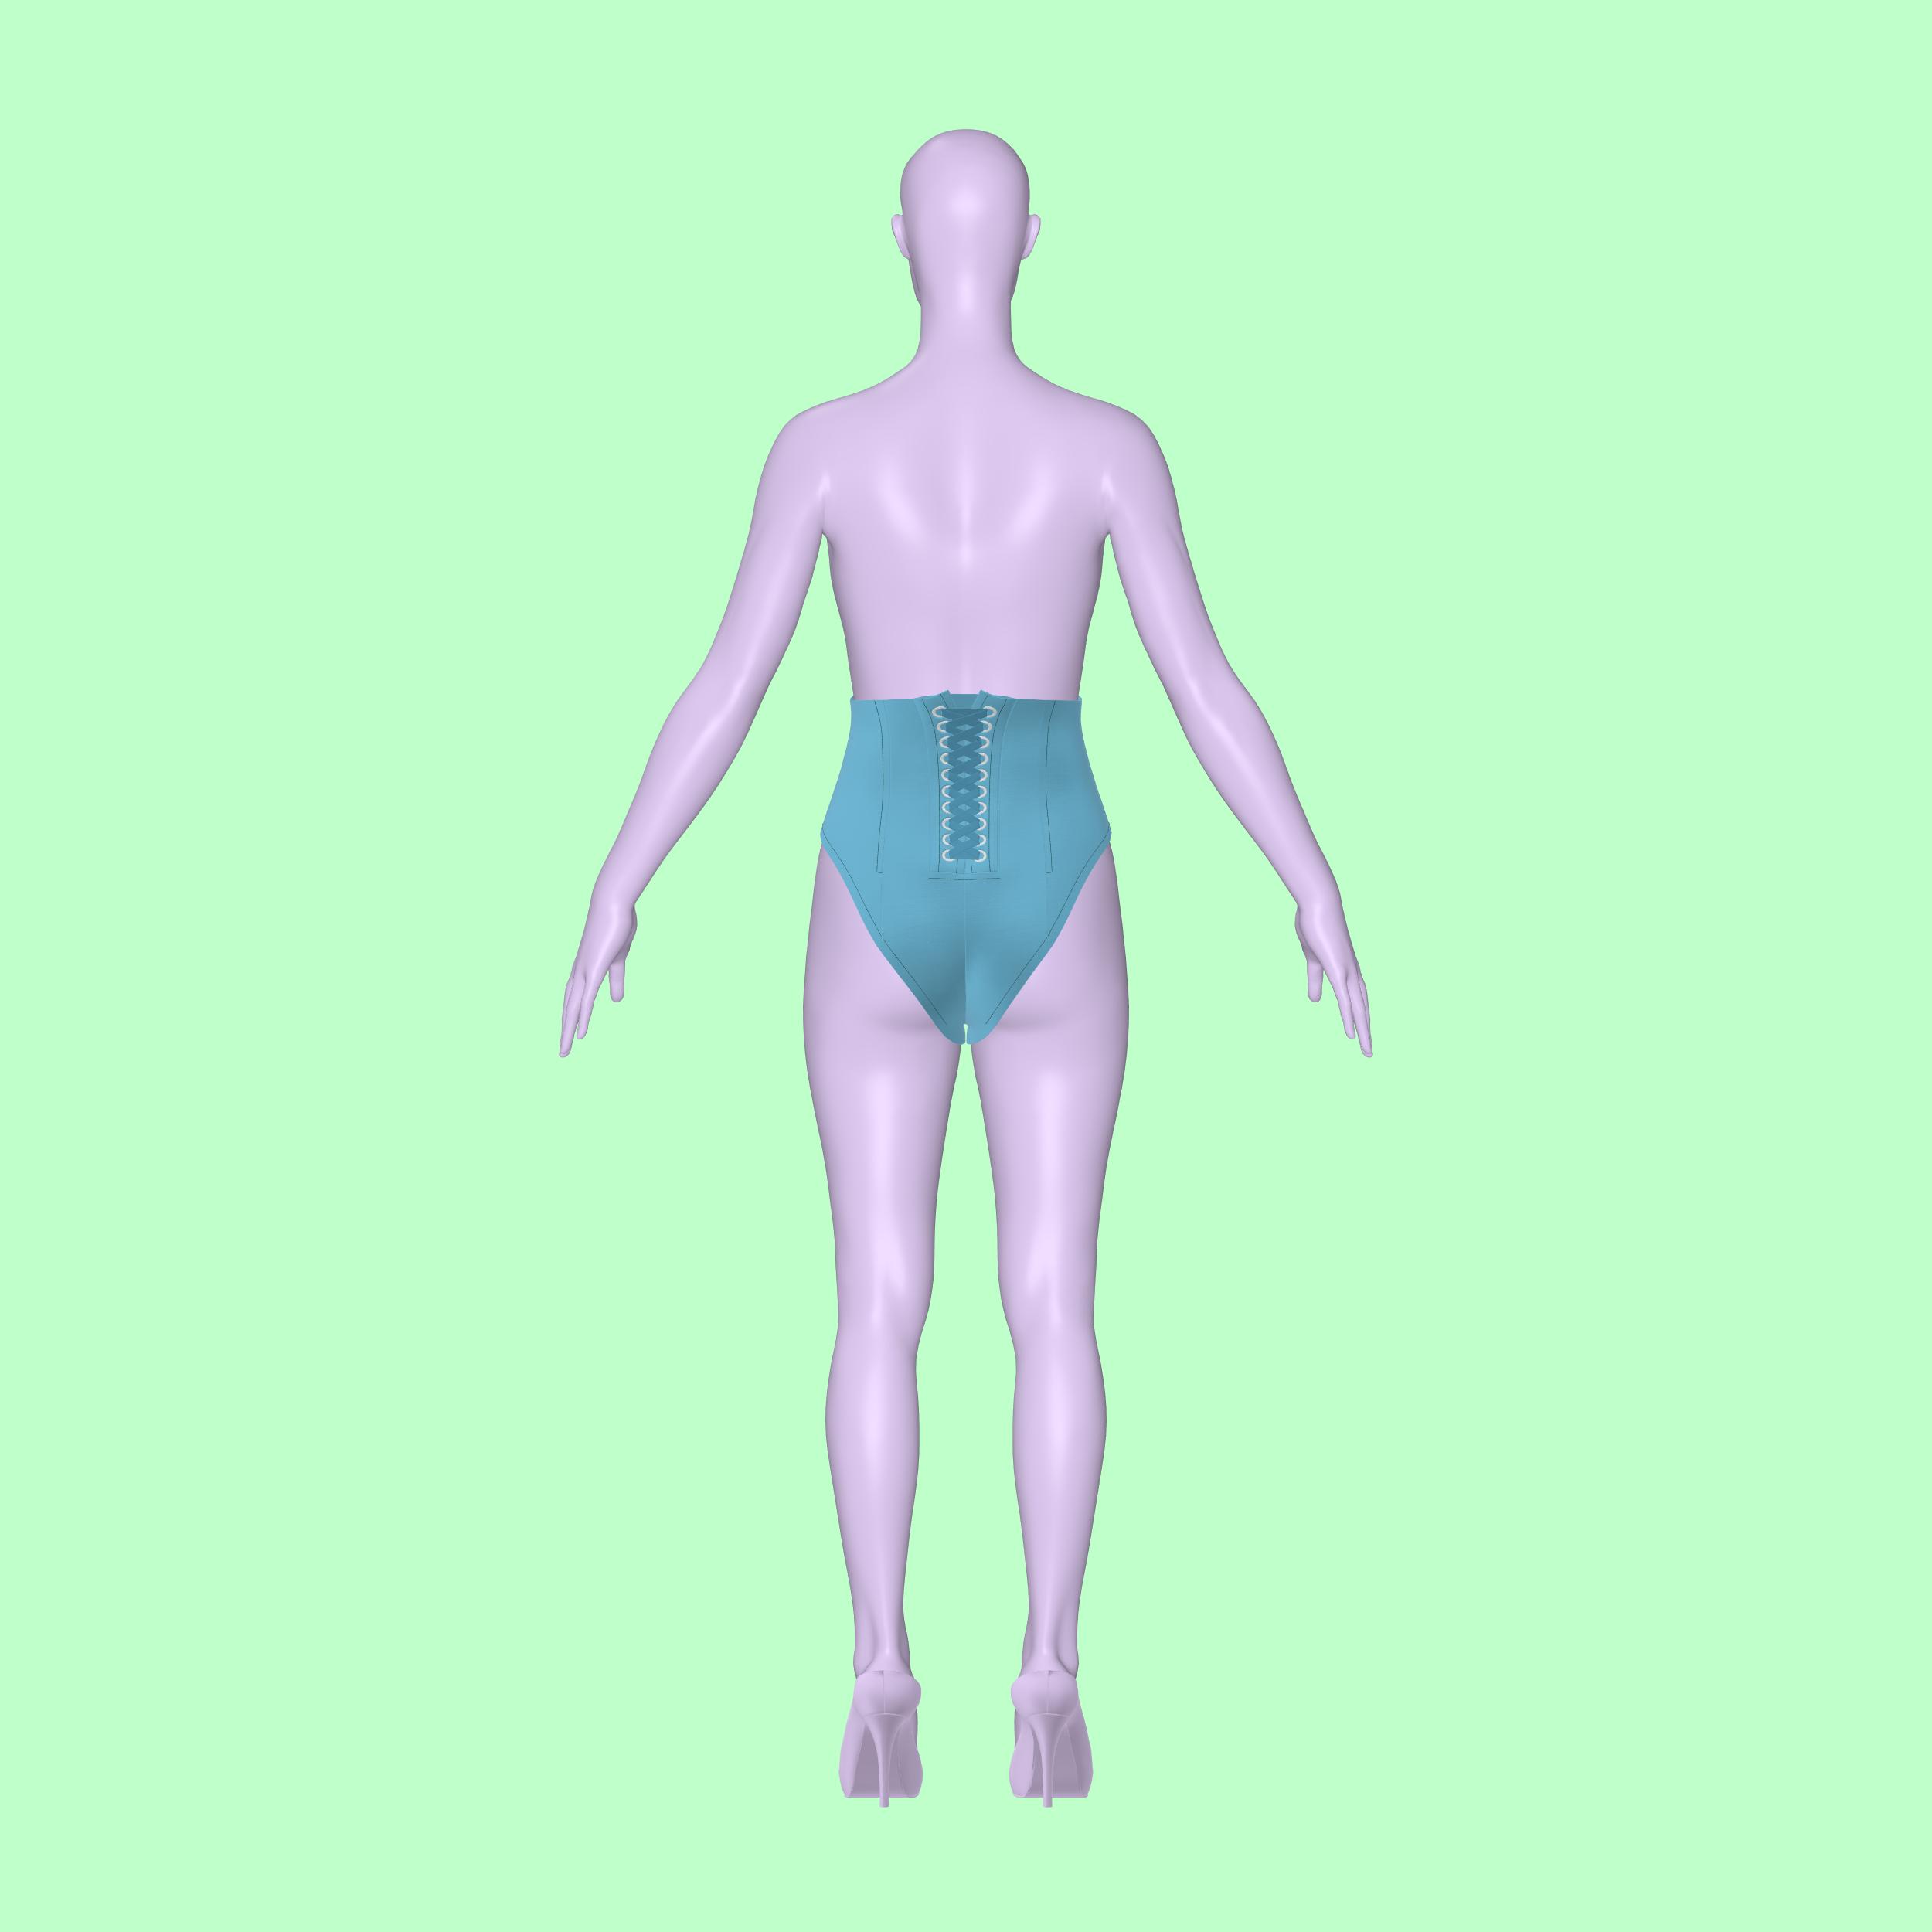
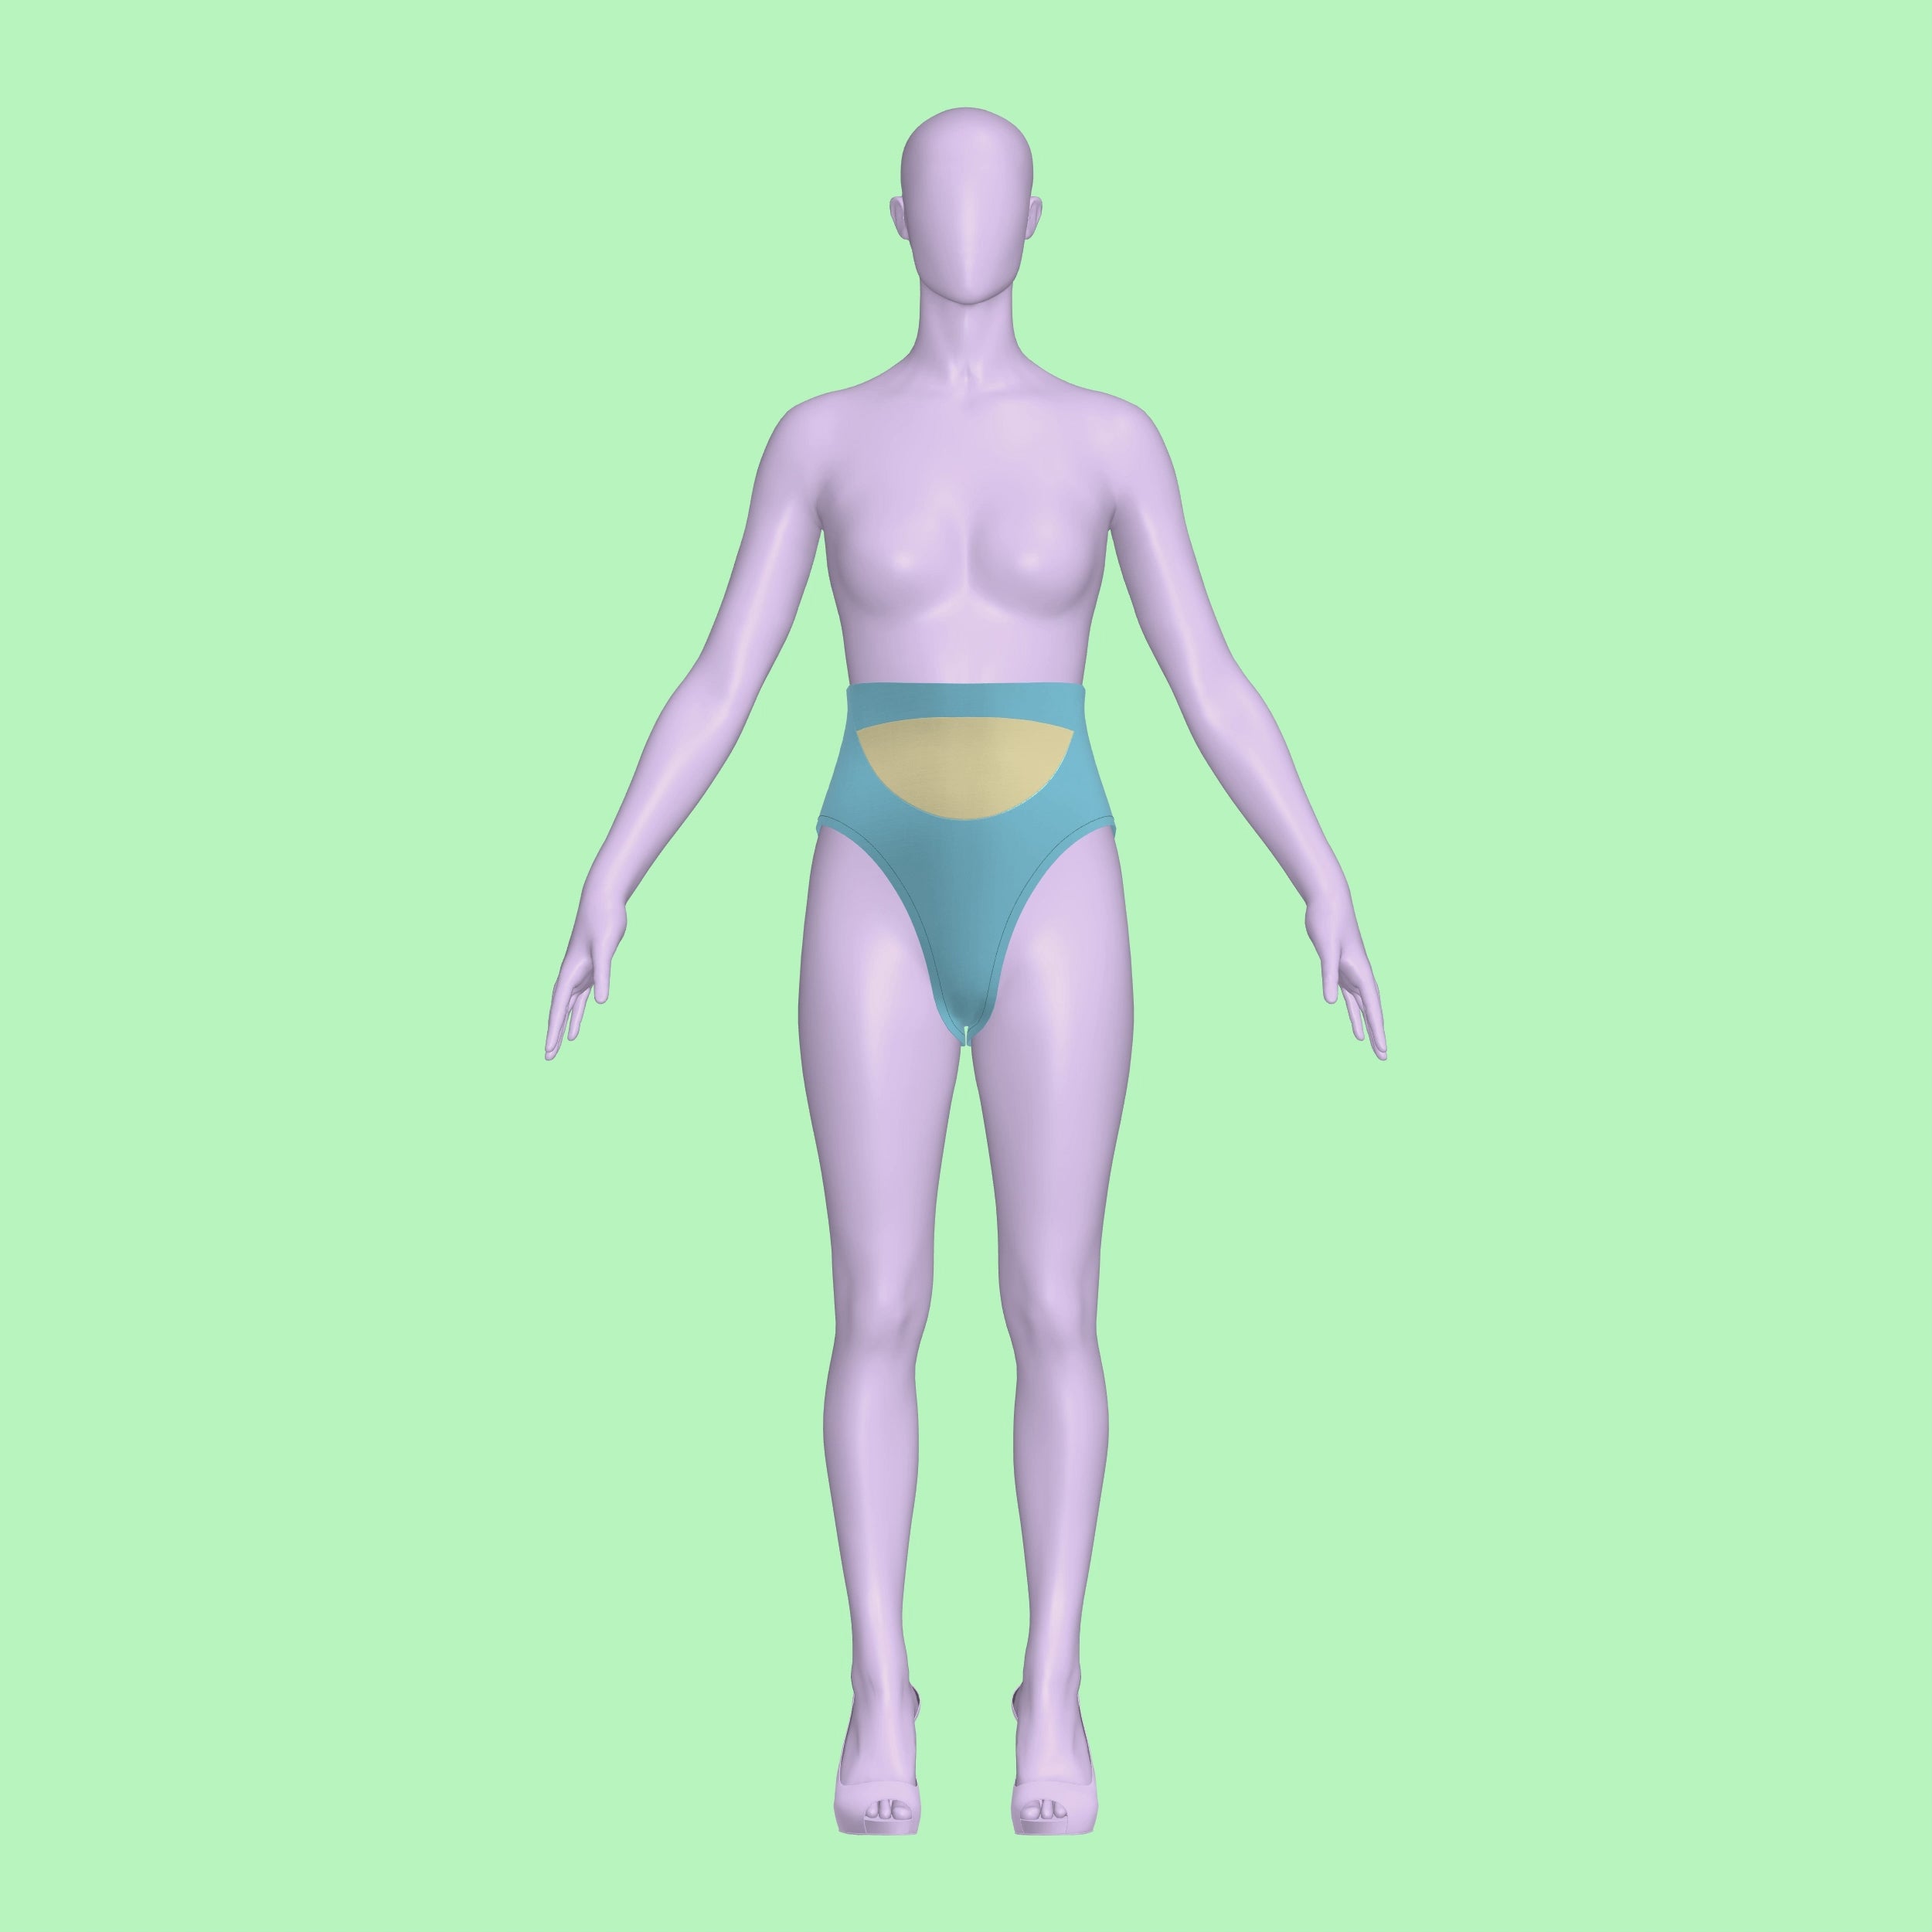
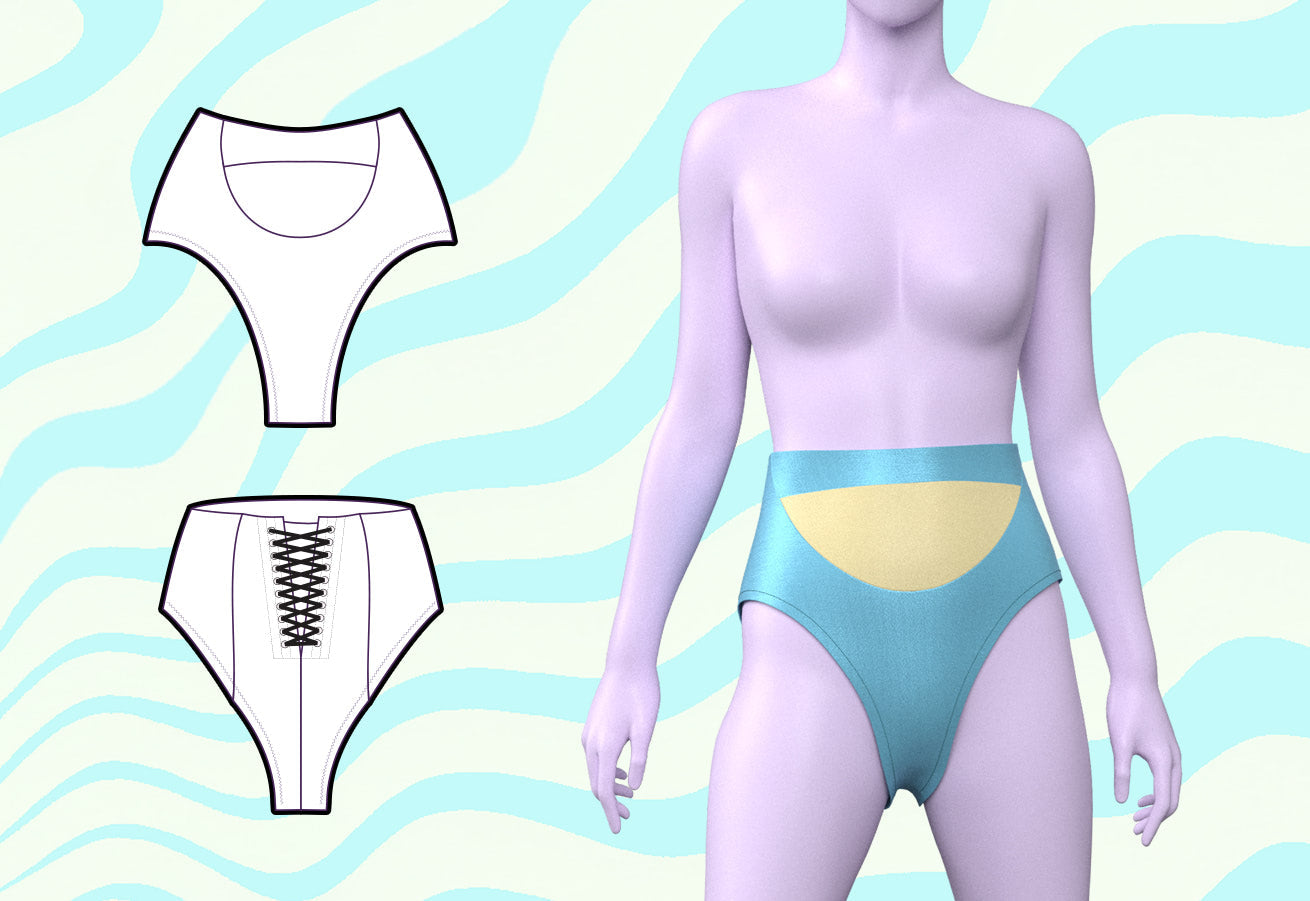
¡Libera la diva que llevas dentro con nuestro fabuloso patrón de costura de ropa interior moldeadora de cintura alta con cortes elásticos! Esta prenda interior estilo corsé está diseñada para ceñir la parte inferior de tu cuerpo, dándote esa codiciada figura de reloj de arena. Con un tentador corte frontal, este patrón te permite usar tela elástica en tonos piel o nude para lograr un aspecto único y sexy que es perfecto para cualquier drag queen que quiera triunfar. Disponible en nuestros exclusivos tamaños de drag queen XS a XL, que se adaptan a una variedad de tipos de cuerpo y garantizan un ajuste favorecedor para todas.
Dificultad del patrón: Intermedio
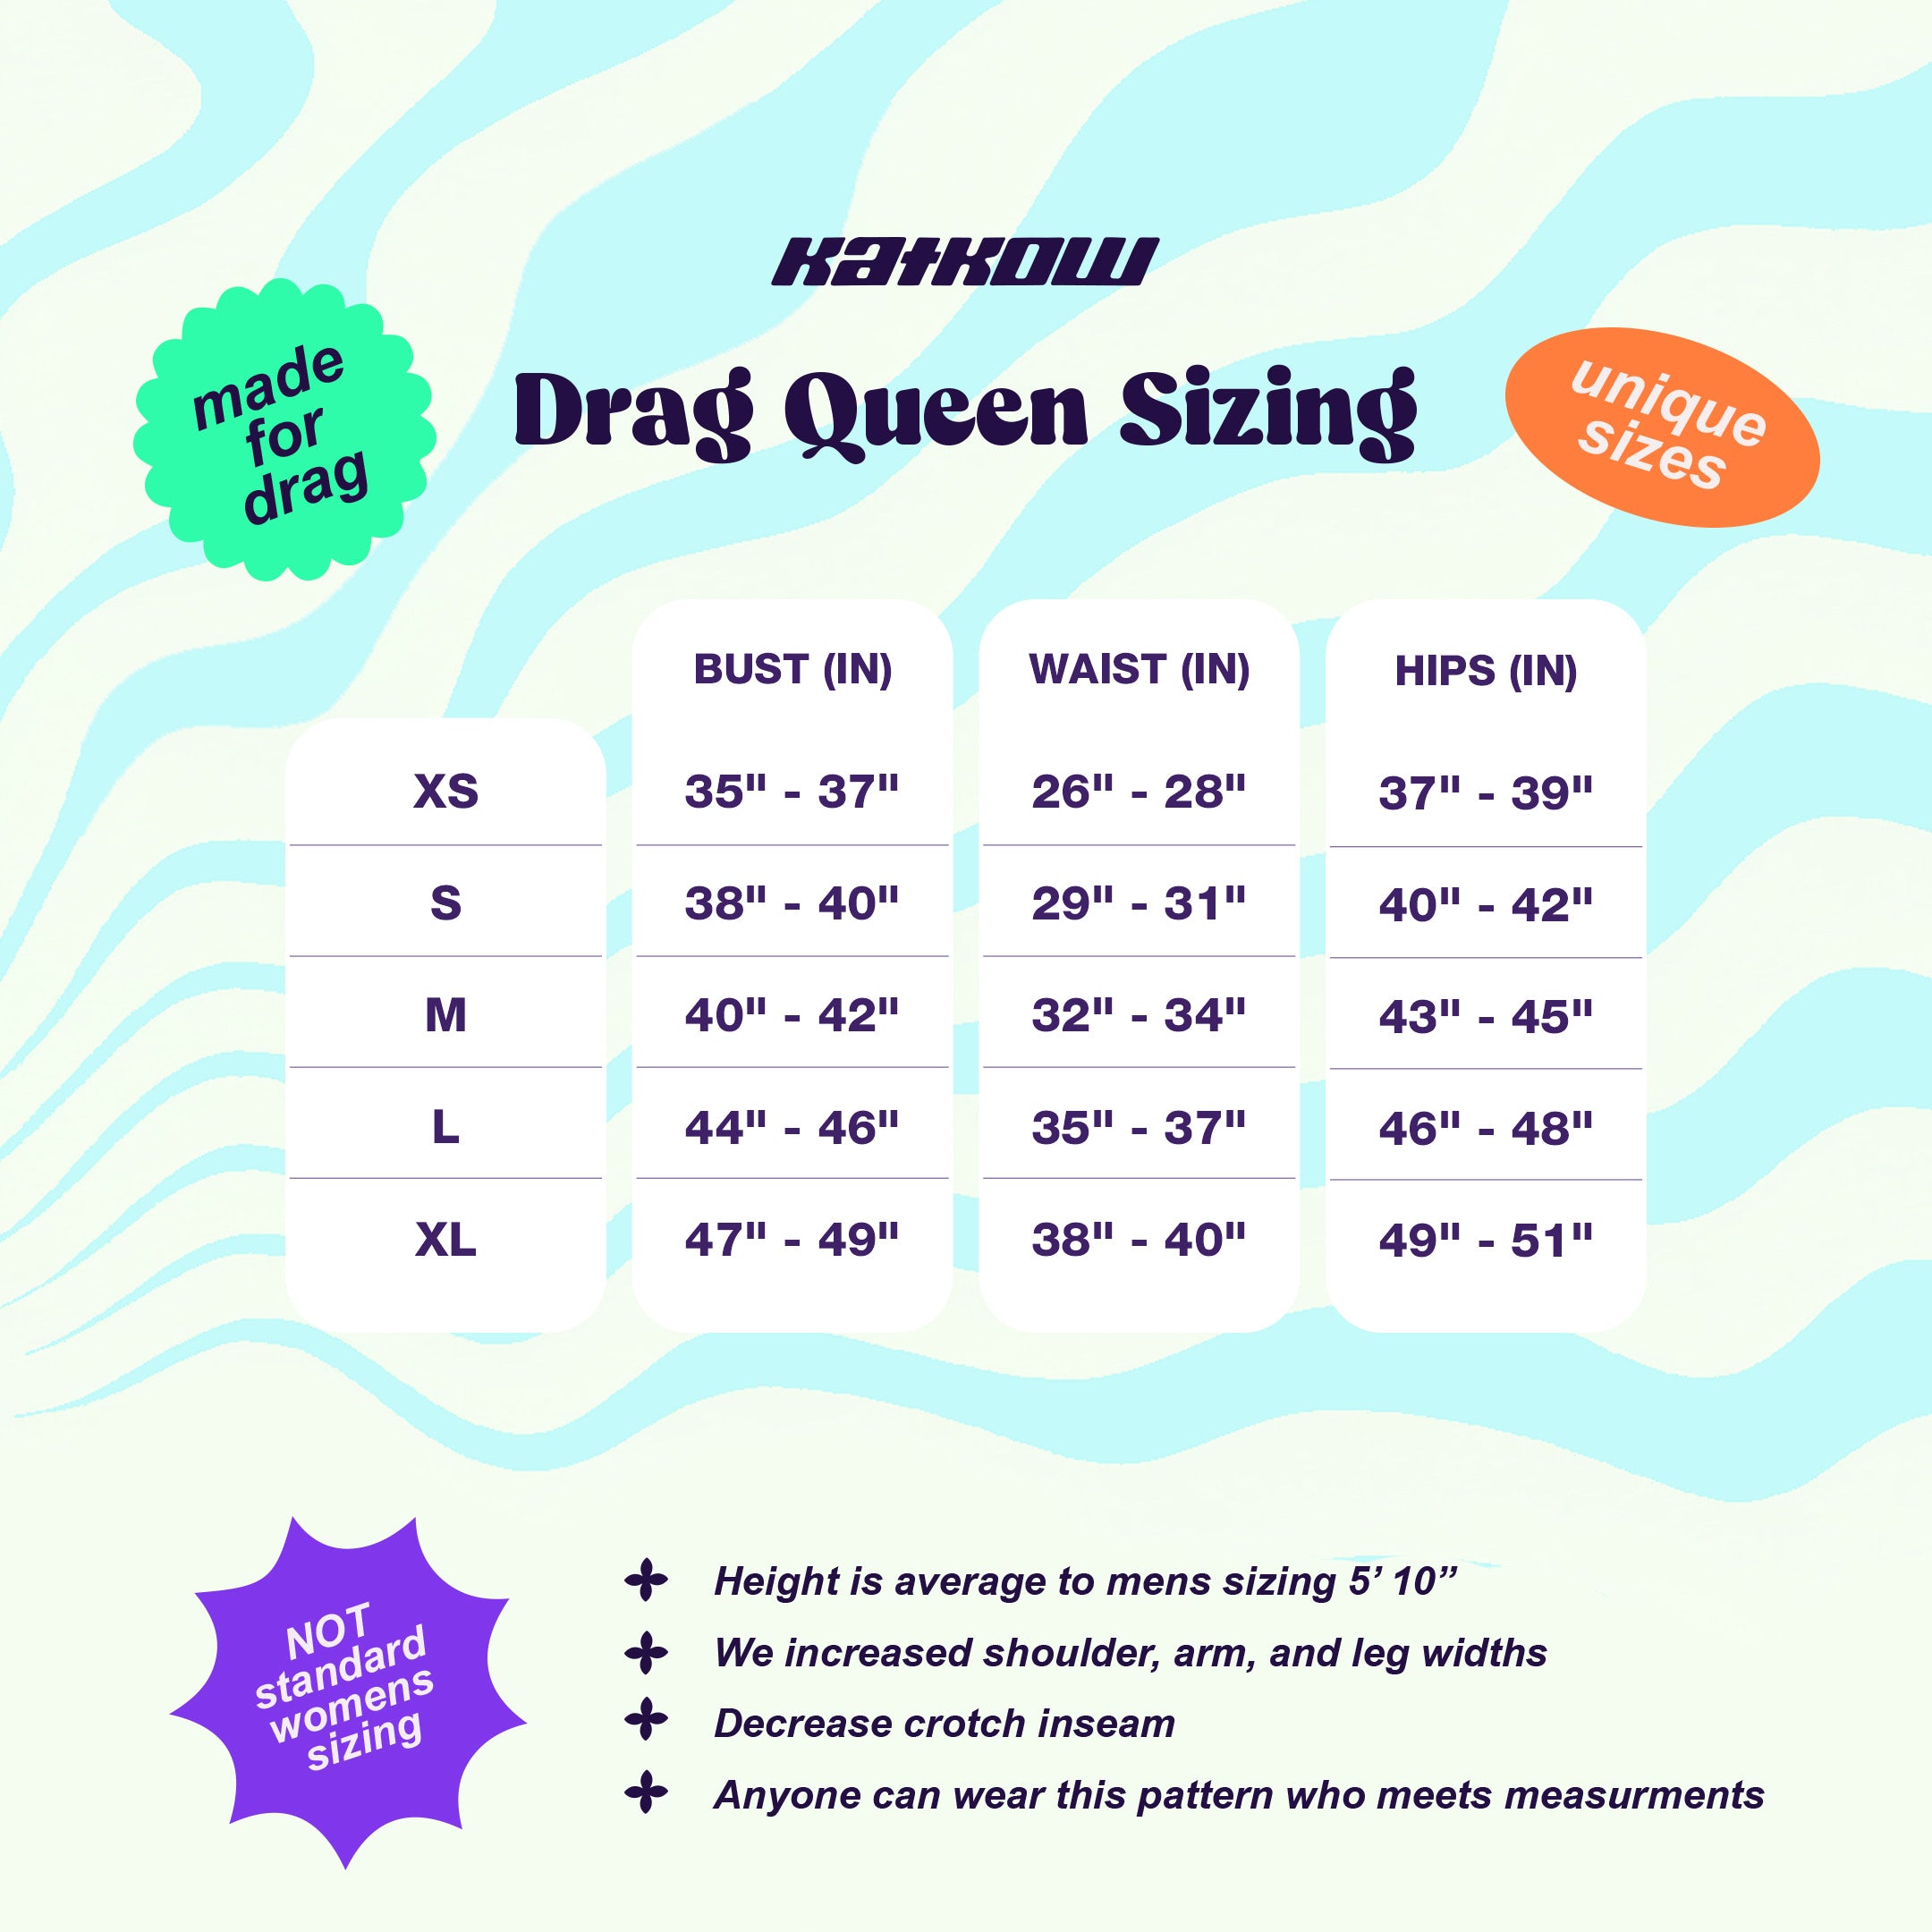
Detalles de tallas
Este patrón está disponible en nuestros exclusivos talles Drag Queen (XS-XL). Consulta nuestra guía de talles para obtener más información sobre nuestras medidas de talle.
Telas y artículos de mercería
Adecuado para tejidos elásticos en 4 direcciones:
- Spandex
- Miliskin
- Licra
- Vinilo elástico
- Tejidos de punto elásticos
- Deshuesado flexible de ragliene
- Entretela fusible de peso medio
- Ojales de corsé
- Corsé de encaje o cinta
Yardas de tela
Este patrón incluye tanto la capa exterior como el forro. Las piezas de la capa exterior y del forro se incluyen juntas en cada uno de los tamaños que se indican a continuación. El metraje se basa en un ancho de tela de 58 pulgadas.
| Tamaño | Tela A | Tela B |
|---|---|---|
| XS | 0,75 años | 0,25 años |
| S | 1 año | 0,25 años |
| METRO | 1 año | 0,25 años |
| yo | 1 año | 0,25 años |
| SG | 1 año | 0,25 años |
Para obtener información sobre la conversión de pulgadas a metros, consulte nuestra guía de conversión.
Instrucciones de costura


Fabric Pieces
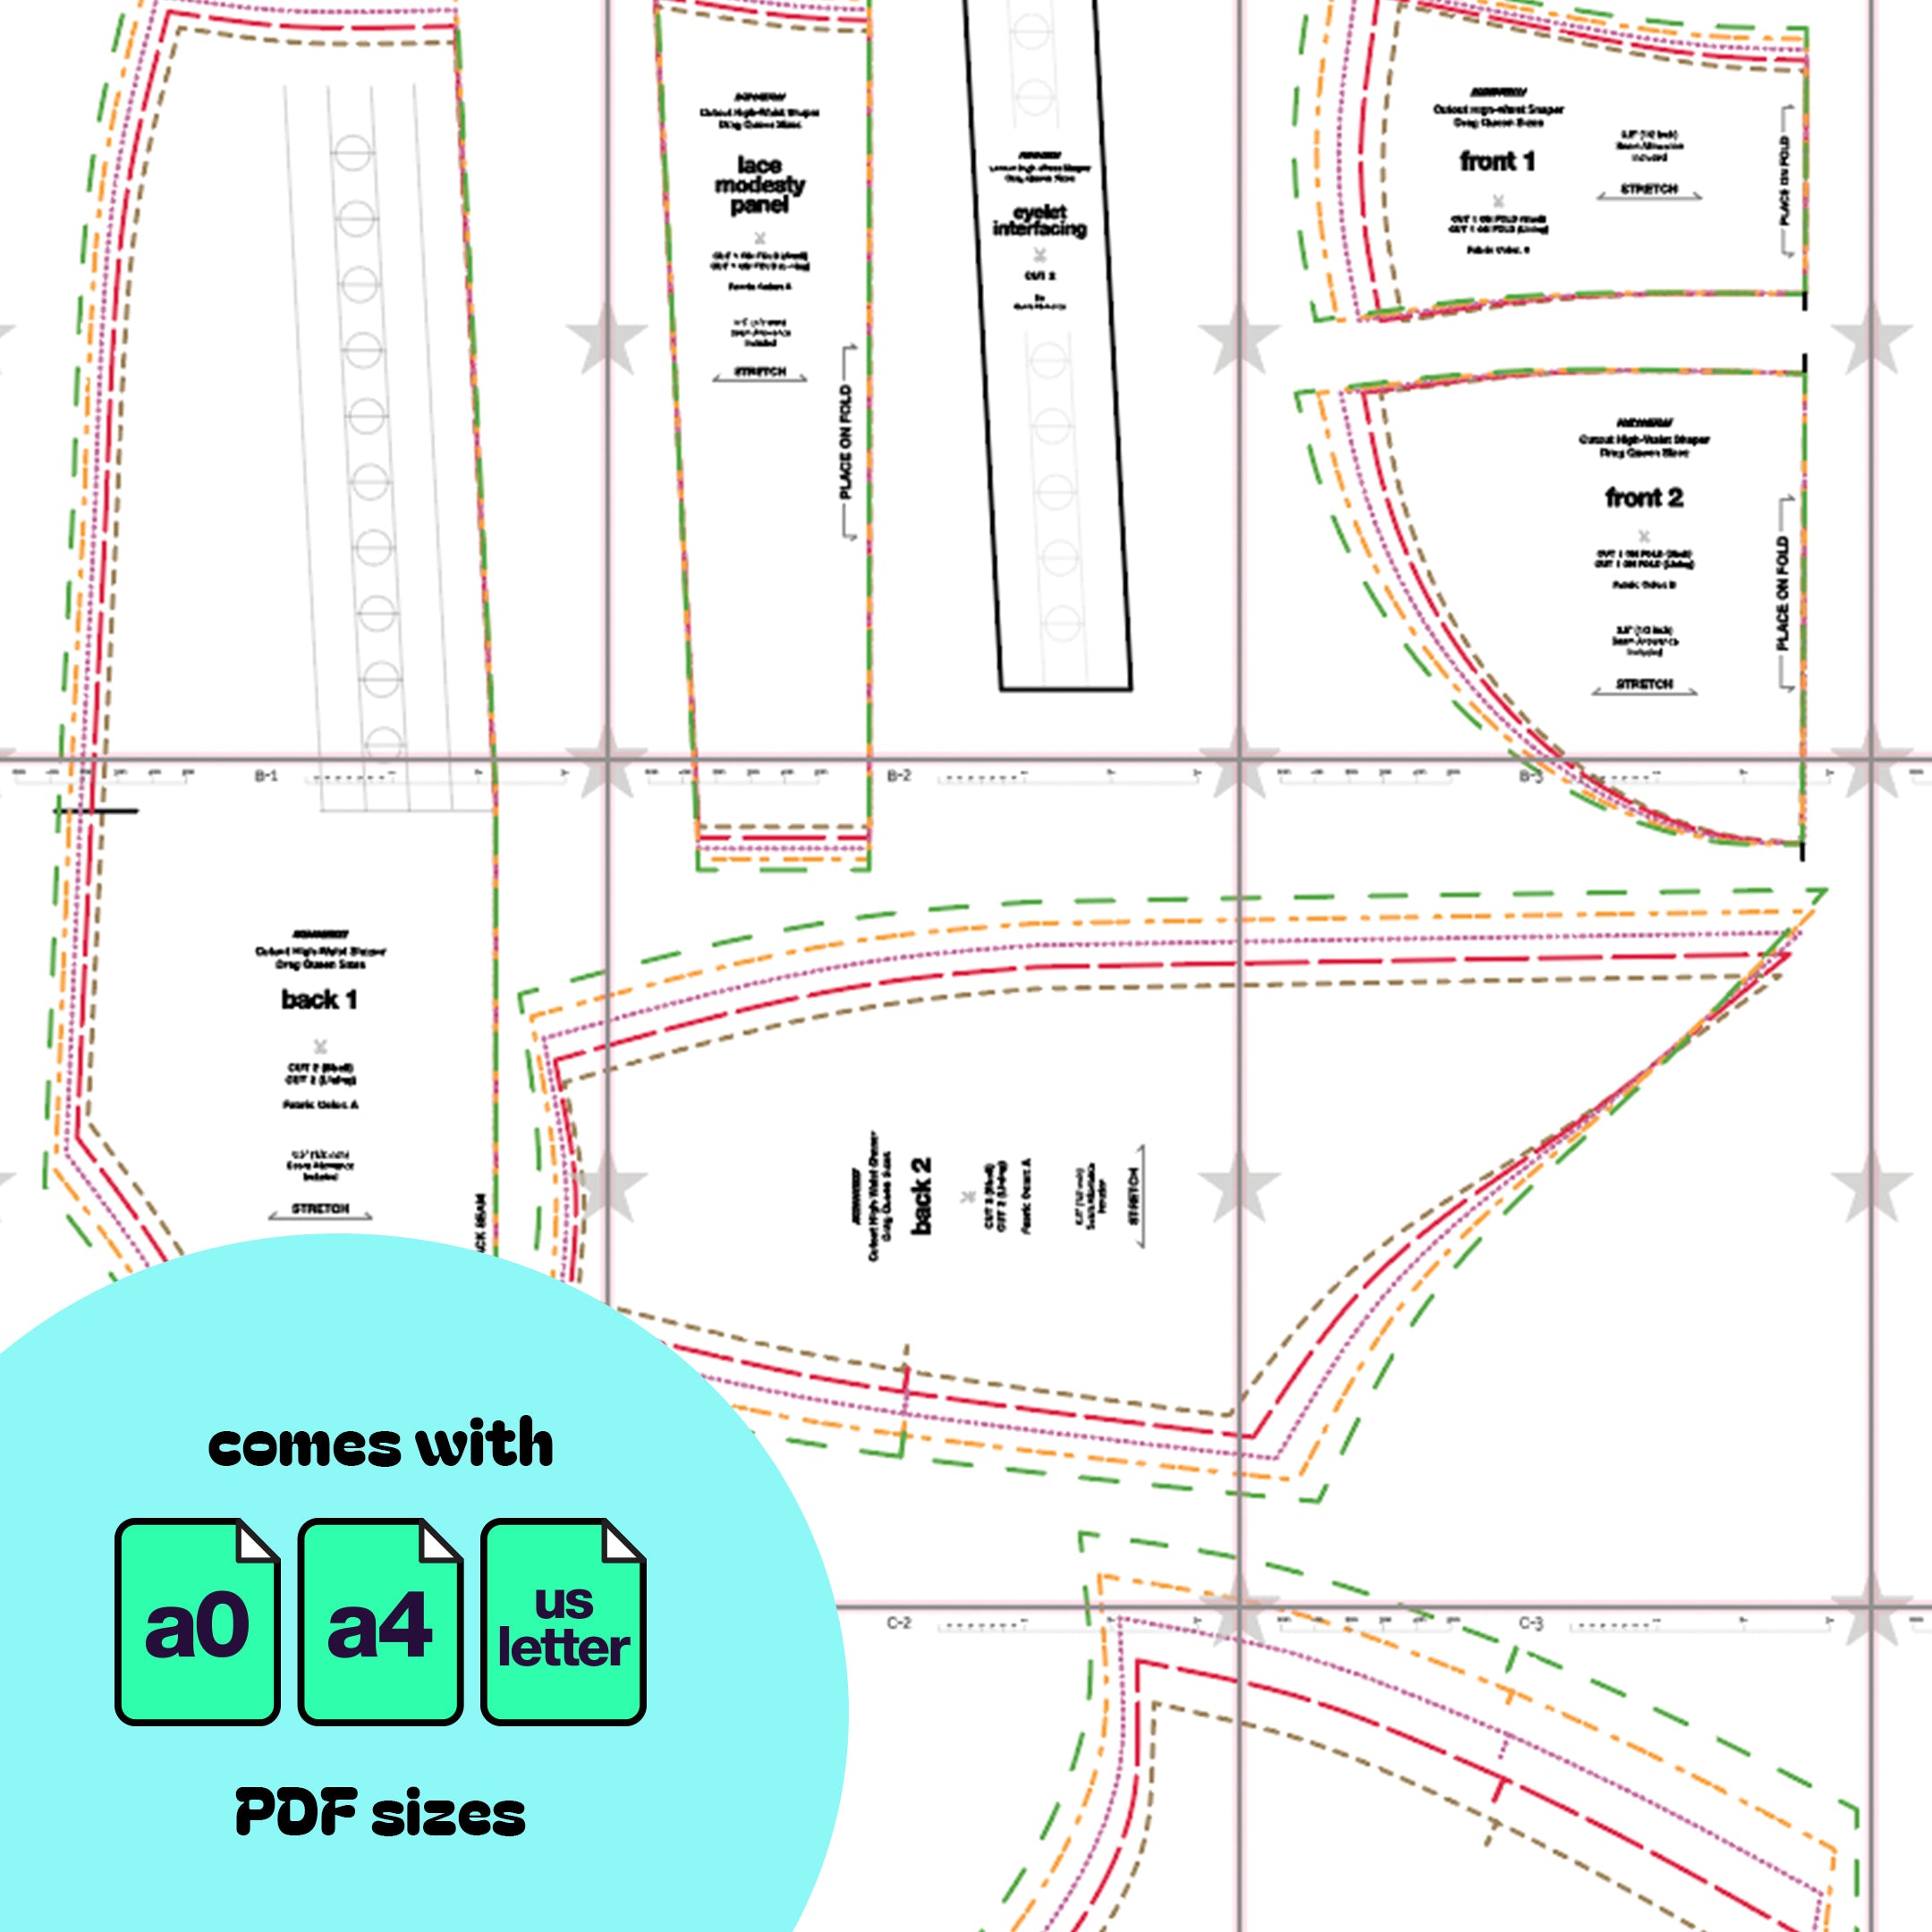
After cutting your fabric, you should have the following pieces:
- 2 front 1 pieces cut on a fold (1 shell, 1 lining)
- 2 front 2 pieces cut on a fold (1 shell, 1 lining)
- 2 front 3 pieces cut on a fold (1 shell, 1 lining)
- 4 back 1 pieces (1 shell, 1 lining)
- 4 back 2 pieces (1 shell, 1 lining)
- 2 eyelet interfacing pieces
- 2 lace modesty panels cut on a fold (1 shell, 1 lining)

Stitches
Preferred stitches: Stretch stitch, zigzag stitch, or serger overlock stitch. You can use a straight stitch only on non-stretch areas.

STEP 1
Gather the shell front 1 and front 2 pieces. Position them so the notches match up. Sew them together with the right sides facing each other using a stretch stitch, zigzag stitch, or serger.

STEP 2
Gather the shell front 3 piece and the assembled front 1/2 piece. Position them so the notches match up. Sew them together with the right sides facing each other using a stretch stitch, zigzag stitch, or serger.

STEP 3
This completes the entire front panel for the shell fabric.

STEP 4
Gather the back 1 piece and the fusible interfacing. Line up the interfacing on top of the wrong side of the shell fabric, with the sticky side down, then press with an iron to fuse the interfacing to the fabric.

STEP 5
Snip the seam allowance slightly less than 0.5 inches on the center back seam notch, right below the interfacing.

STEP 6
Stack the 2 back 1 pieces with the right sides facing each other and sew them together along the straight line below the interfacing using a stretch stitch, zigzag stitch, or serger.

STEP 7
Gather your back 2 pieces and sew them to the back 1 pieces, with the right sides facing each other using a stretch stitch, zigzag stitch, or serger.

STEP 8
With the back panel wrong side up, flip the seam allowance so they point towards the sides, then sew the seam allowance all the way down, leaving enough room to insert the boning into the tunnels.

STEP 9
Sew a horizontal stitch at the notch, over the seam tunnels to prevent the boning from going past the buttocks.

STEP 10
Measure and cut the boning, smoothing out the edges to prevent fabric tears. The boning should be 0.5-0.75 inches shorter than the height of the tunnel to allow for hemming at the top.

STEP 11
Insert the boning into the tunnels.

STEP 12
Sew a horizontal stitch at the top of the boning, over the seam tunnels, leaving room for the seam allowance.

STEP 13
Repeat the previous steps for the front and back lining panels, without adding interfacing or boning.

STEP 14
Stack the shell and lining front panels, with the right sides facing each other, and sew them together along the top edge using a stretch stitch, zigzag stitch, or serger.

STEP 15
Flip the front pieces so the right sides are facing out, and pin the sides to hold them in place.

STEP 16
Stack the shell and lining back panels, with the right sides facing each other, and sew them together along the top edge using a stretch stitch, zigzag stitch, or serger. Sew them together along the center back angles near the interfacing using a straight stitch.

STEP 17
Flip the back panel right side out and pin the shell and lining sides in place. Then, following the line guides, sew 3 rows of straight stitches over the interfacing.

STEP 18
Install eyelets over the eyelet guides.

STEP 19
Insert boning into the 2 tunnels around each row of eyelets between the back shell and lining fabric.

STEP 20
Top stitch a horizontal stitch right below the boning at the guide to hold the boning in place.

STEP 21
Stack the shell and lining of the lace modesty panel, with the right sides facing each other, and sew them together around the top, one side, and bottom. Leave the other side open to flip the panel right side out. You can then serge the unseen edge but do not trim or cut off the seam allowance.

STEP 22
Position the modesty panel behind the back piece and sew it to one side only, following the straight stitch seams on the side of the eyelets. You might need to use a zipper foot to avoid sewing over the boning.

STEP 23
Gather the front and back pieces, stacking them together with the shell sides facing each other. Serge them together along the side seams or use a stretch or zigzag stitch.

STEP 24
Sew the front and back fabrics together at the crotch. You can sew the shell fabrics together first, then the lining, so the seam allowance will stay inside the garment.

STEP 25
Hem the leg holes by folding over the seam allowance of the shell and lining fabric to the wrong side of the undergarment. You can also sew elastics to the leg holes if you wish.

STEP 26
Lace up the back and your undergarment is complete!