Cómo coser un maillot sin mangas con aberturas
Saltar a instrucciones
Descripción general
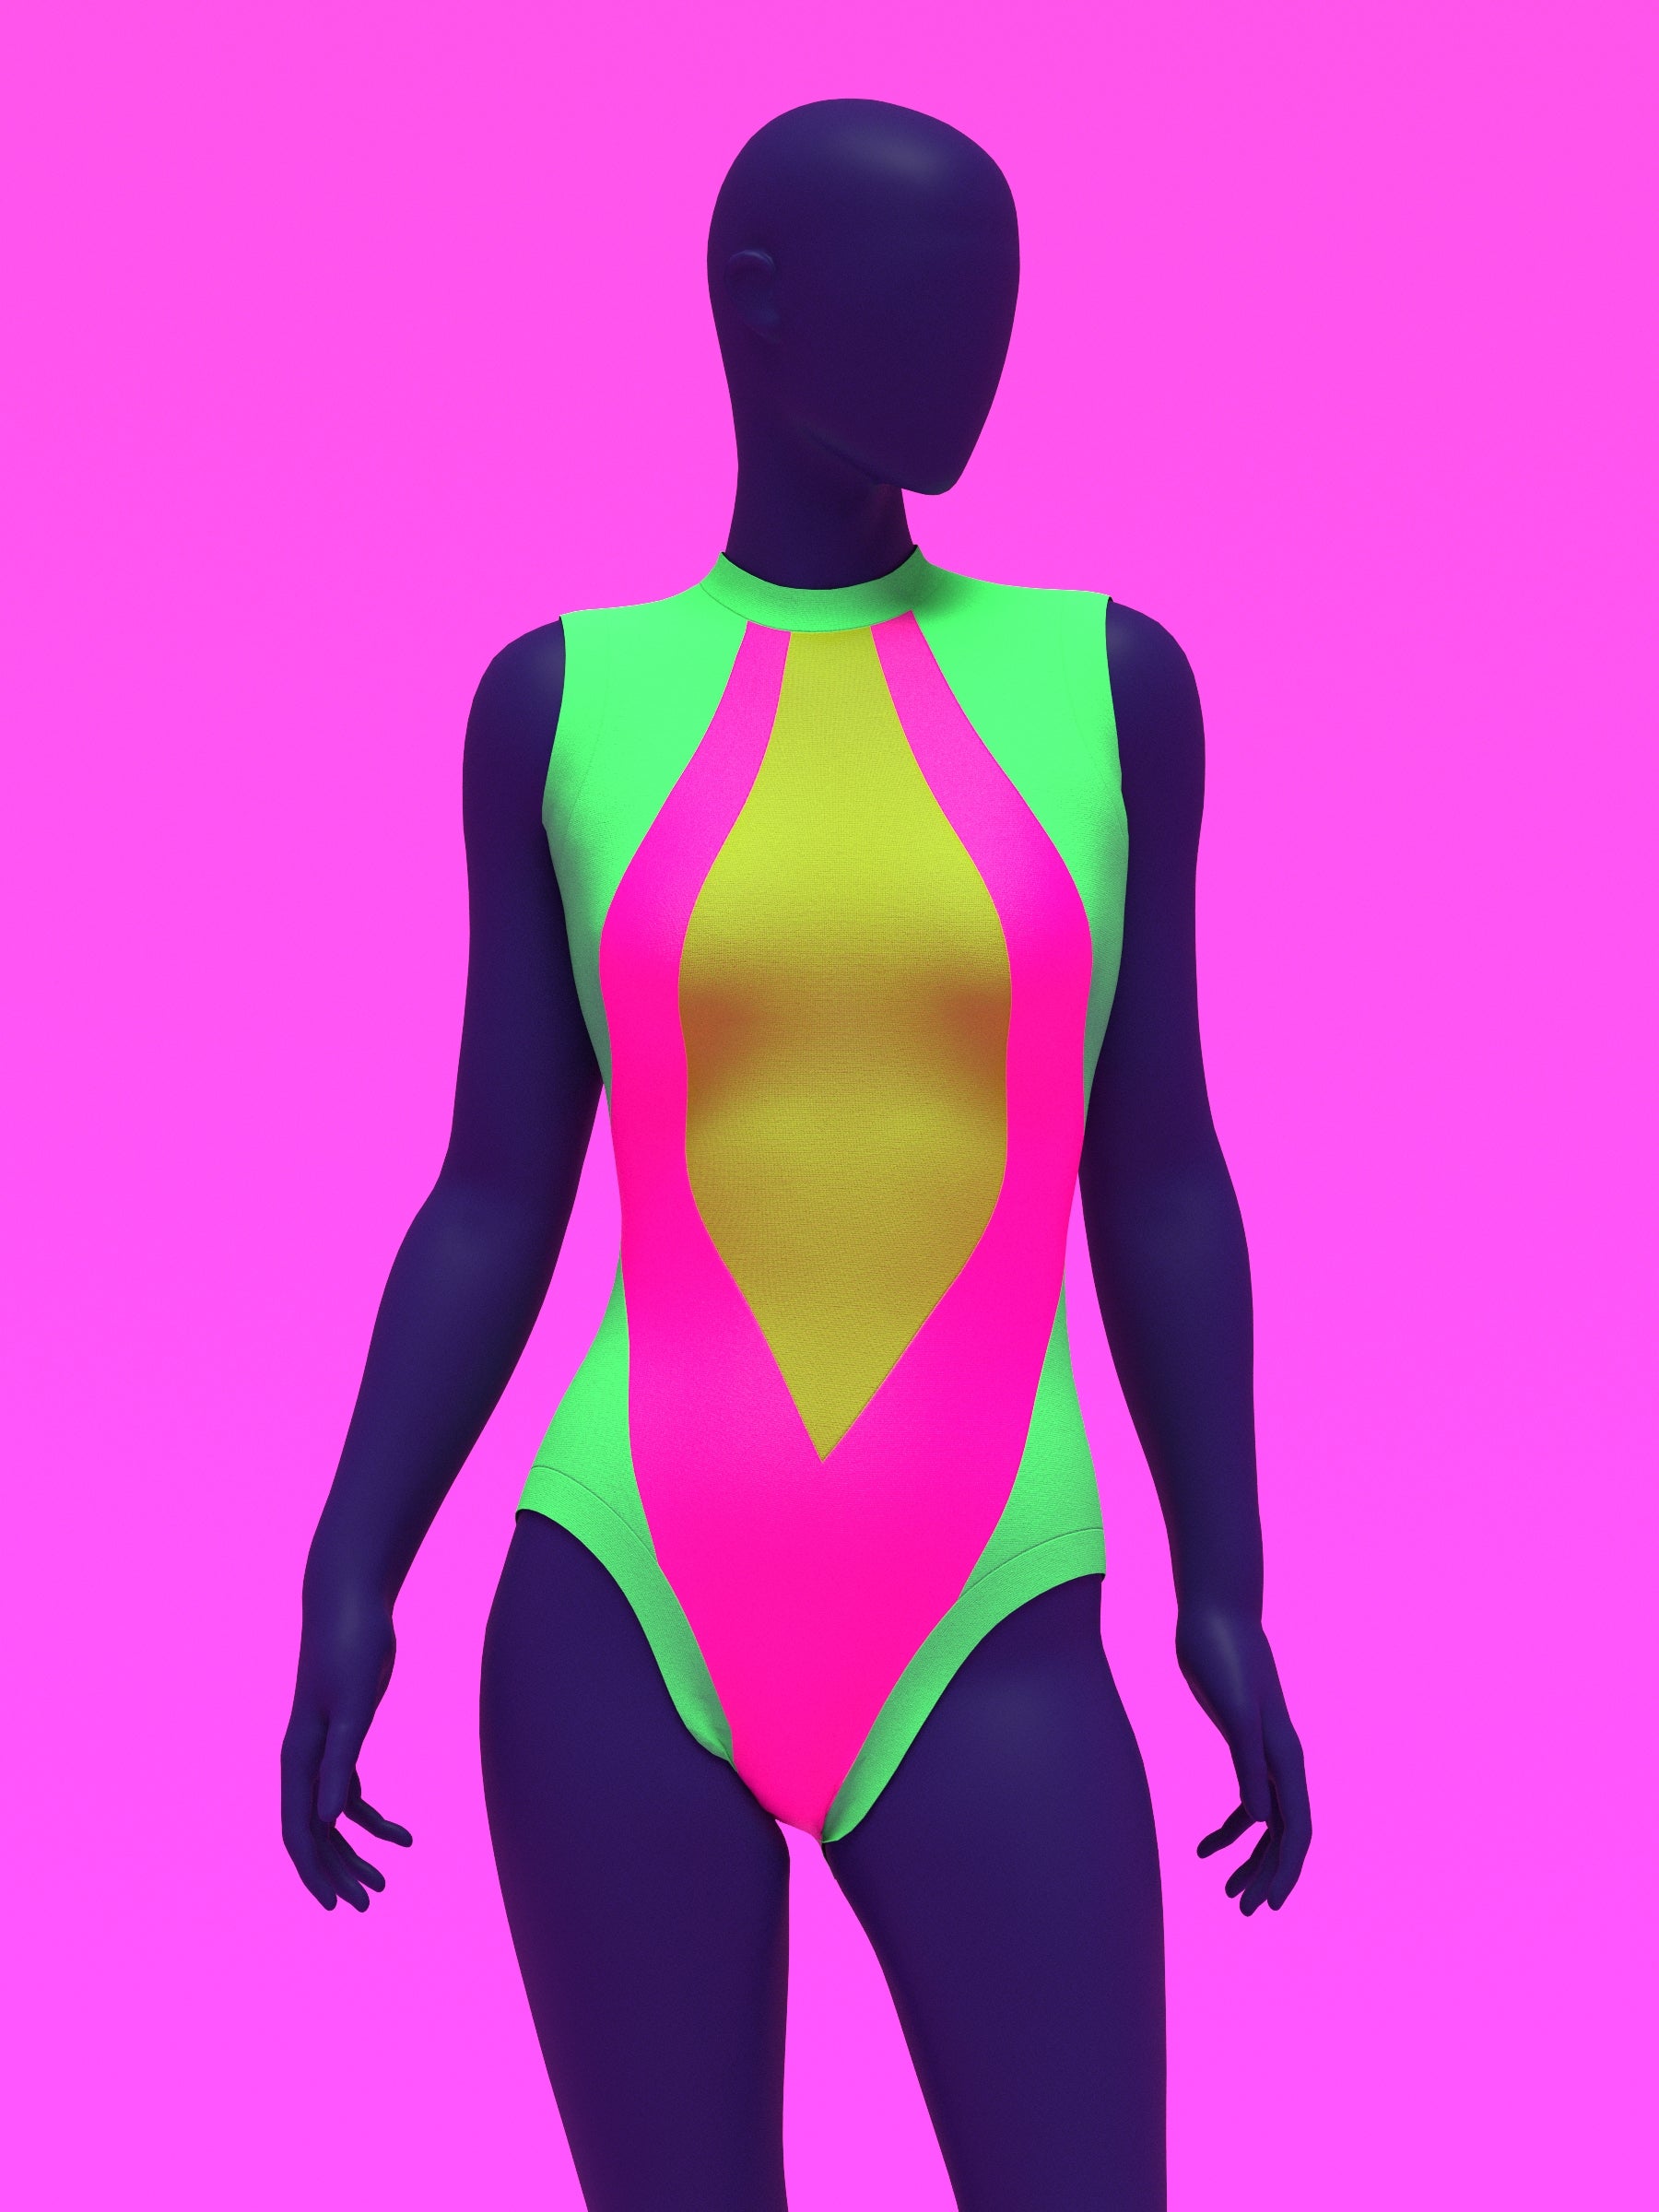
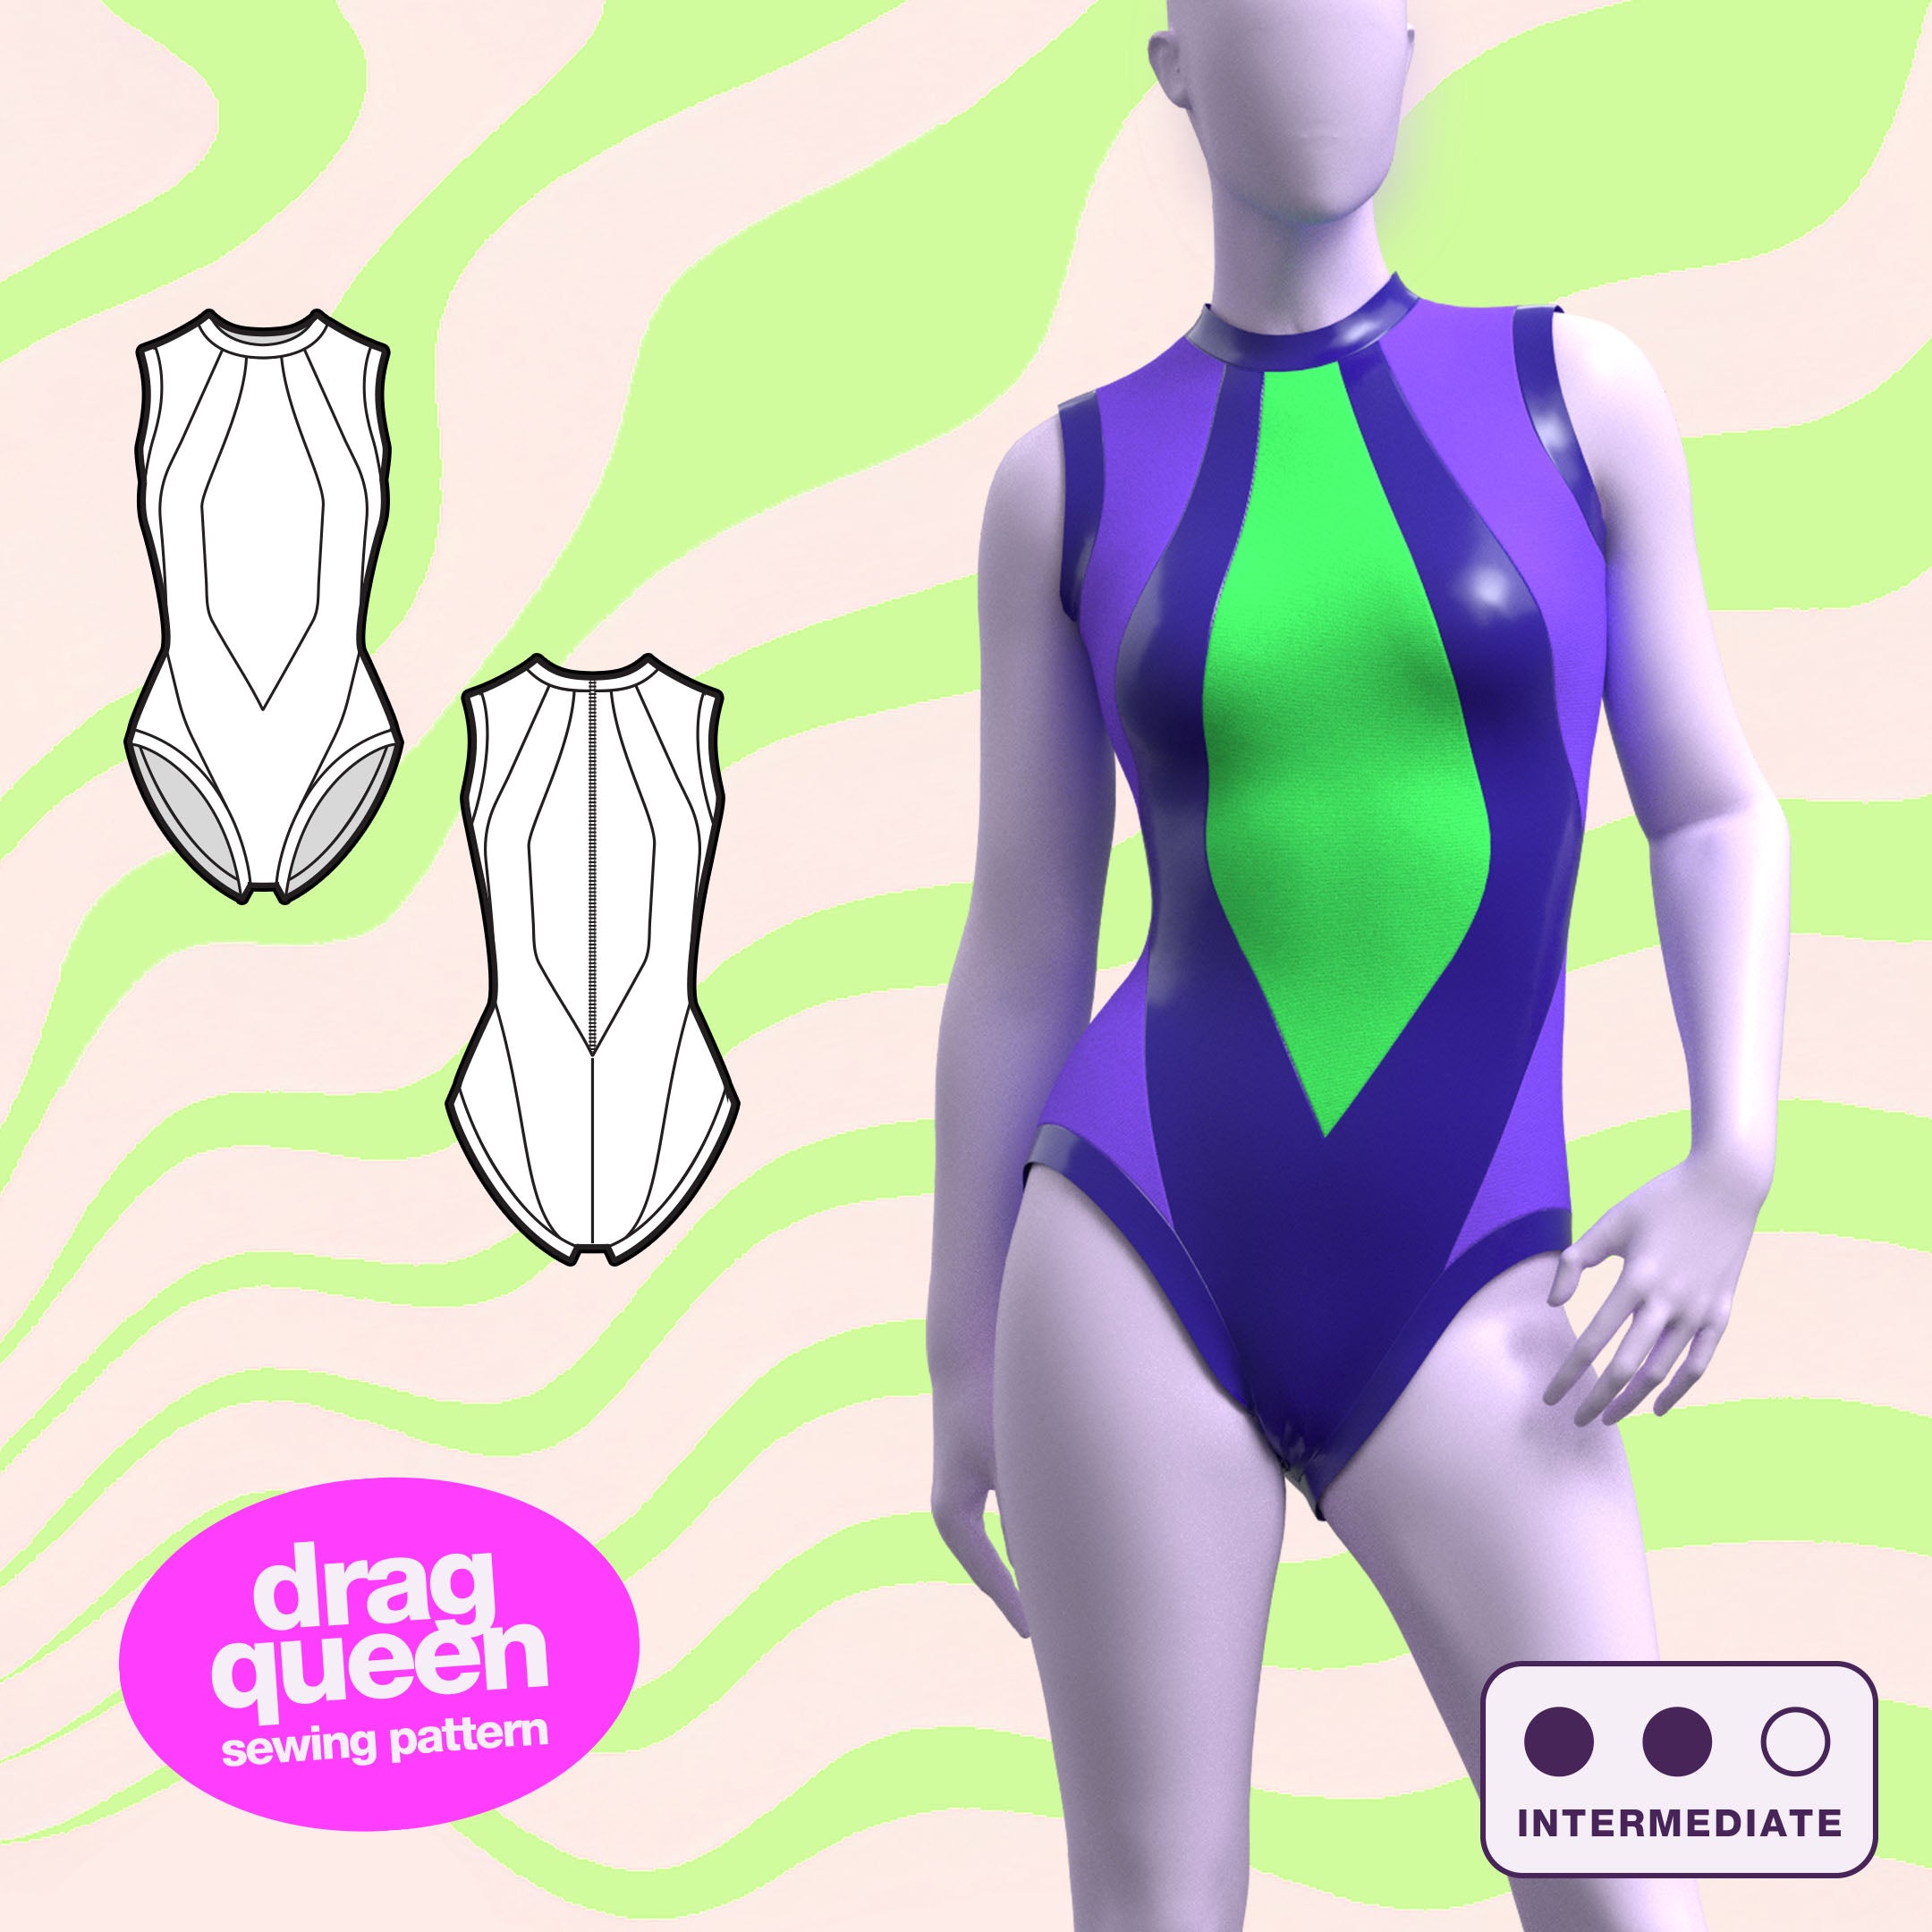
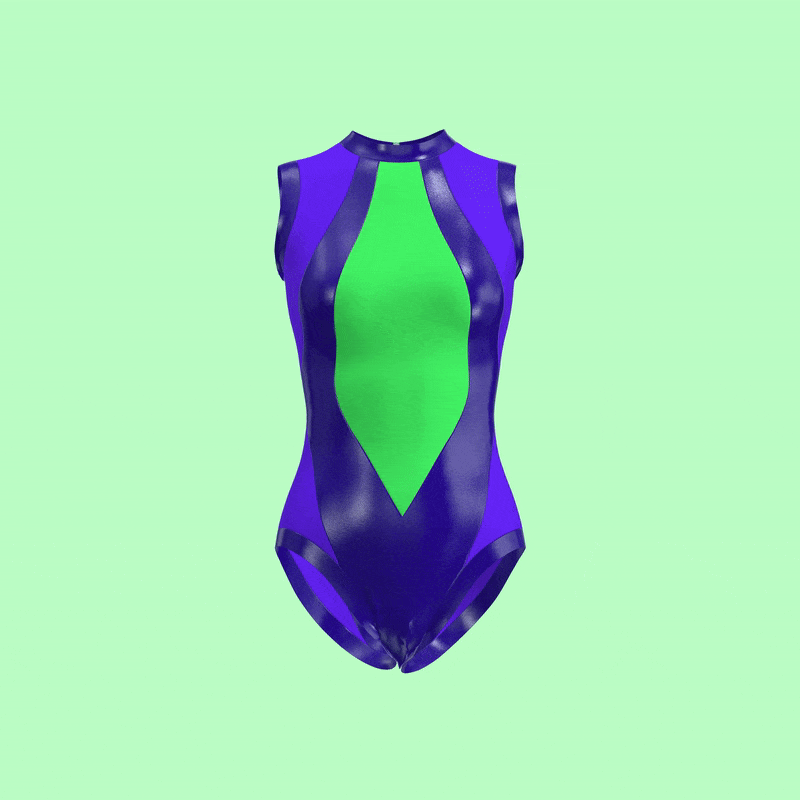
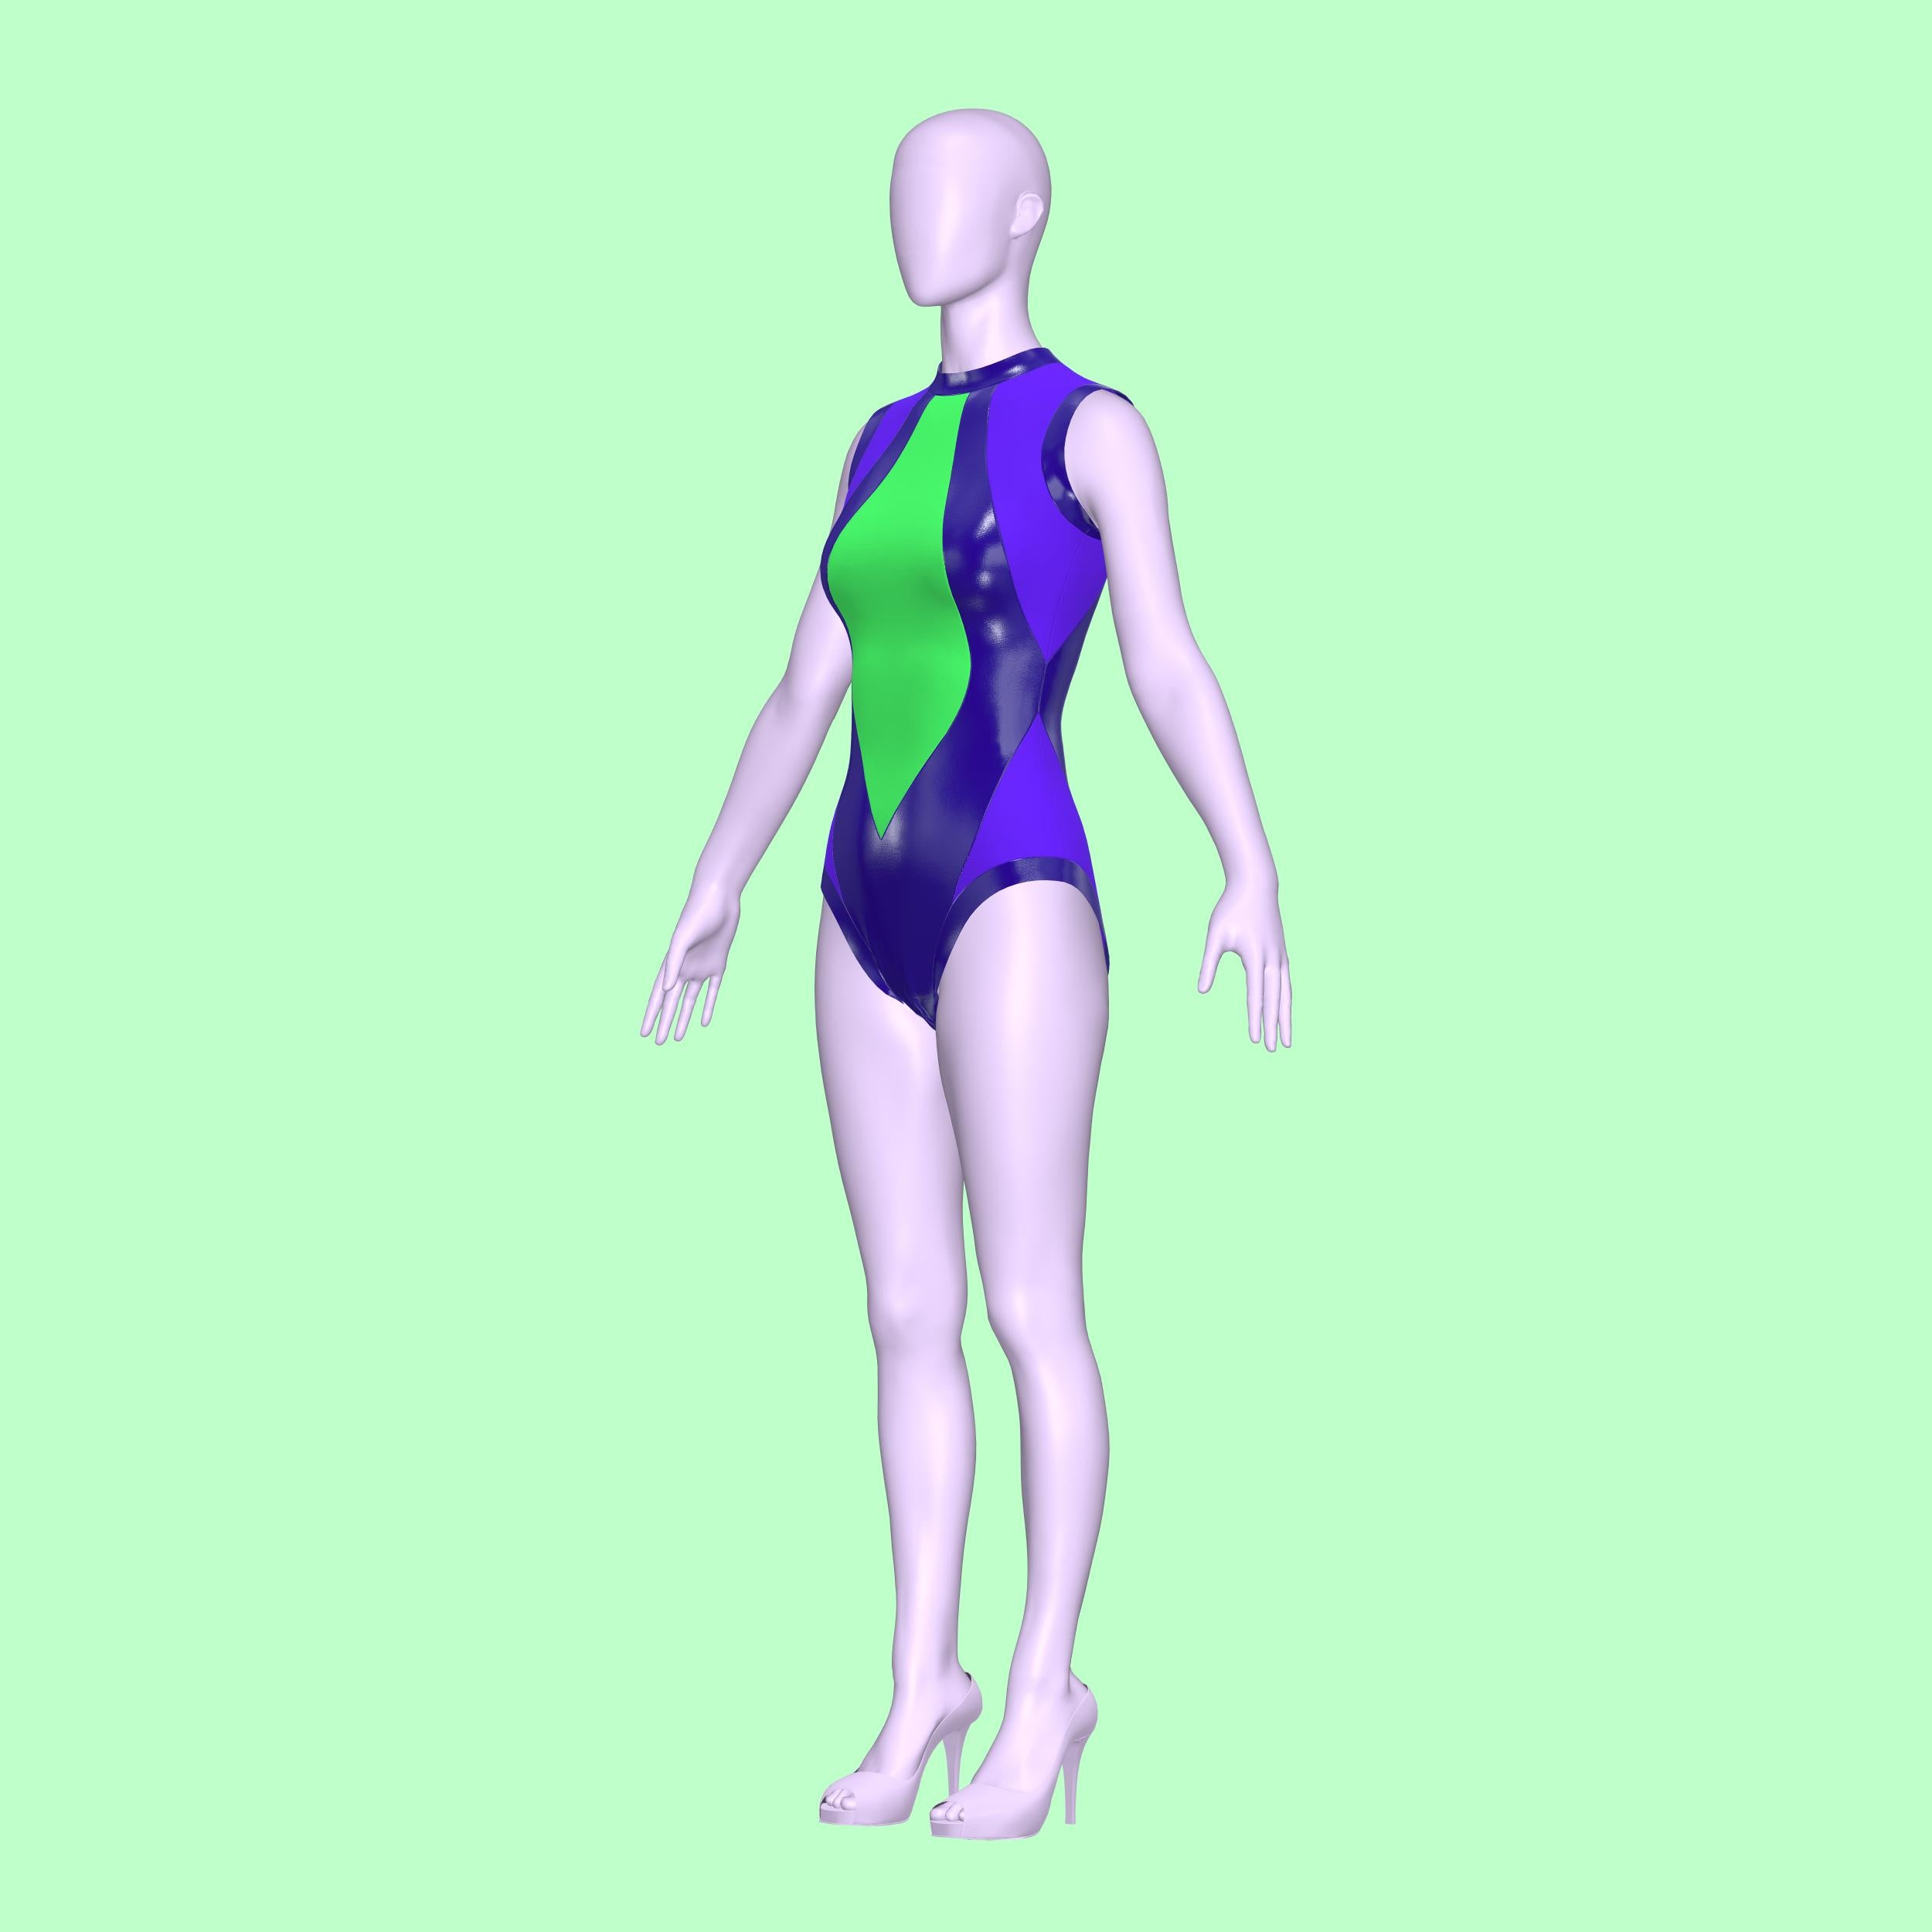
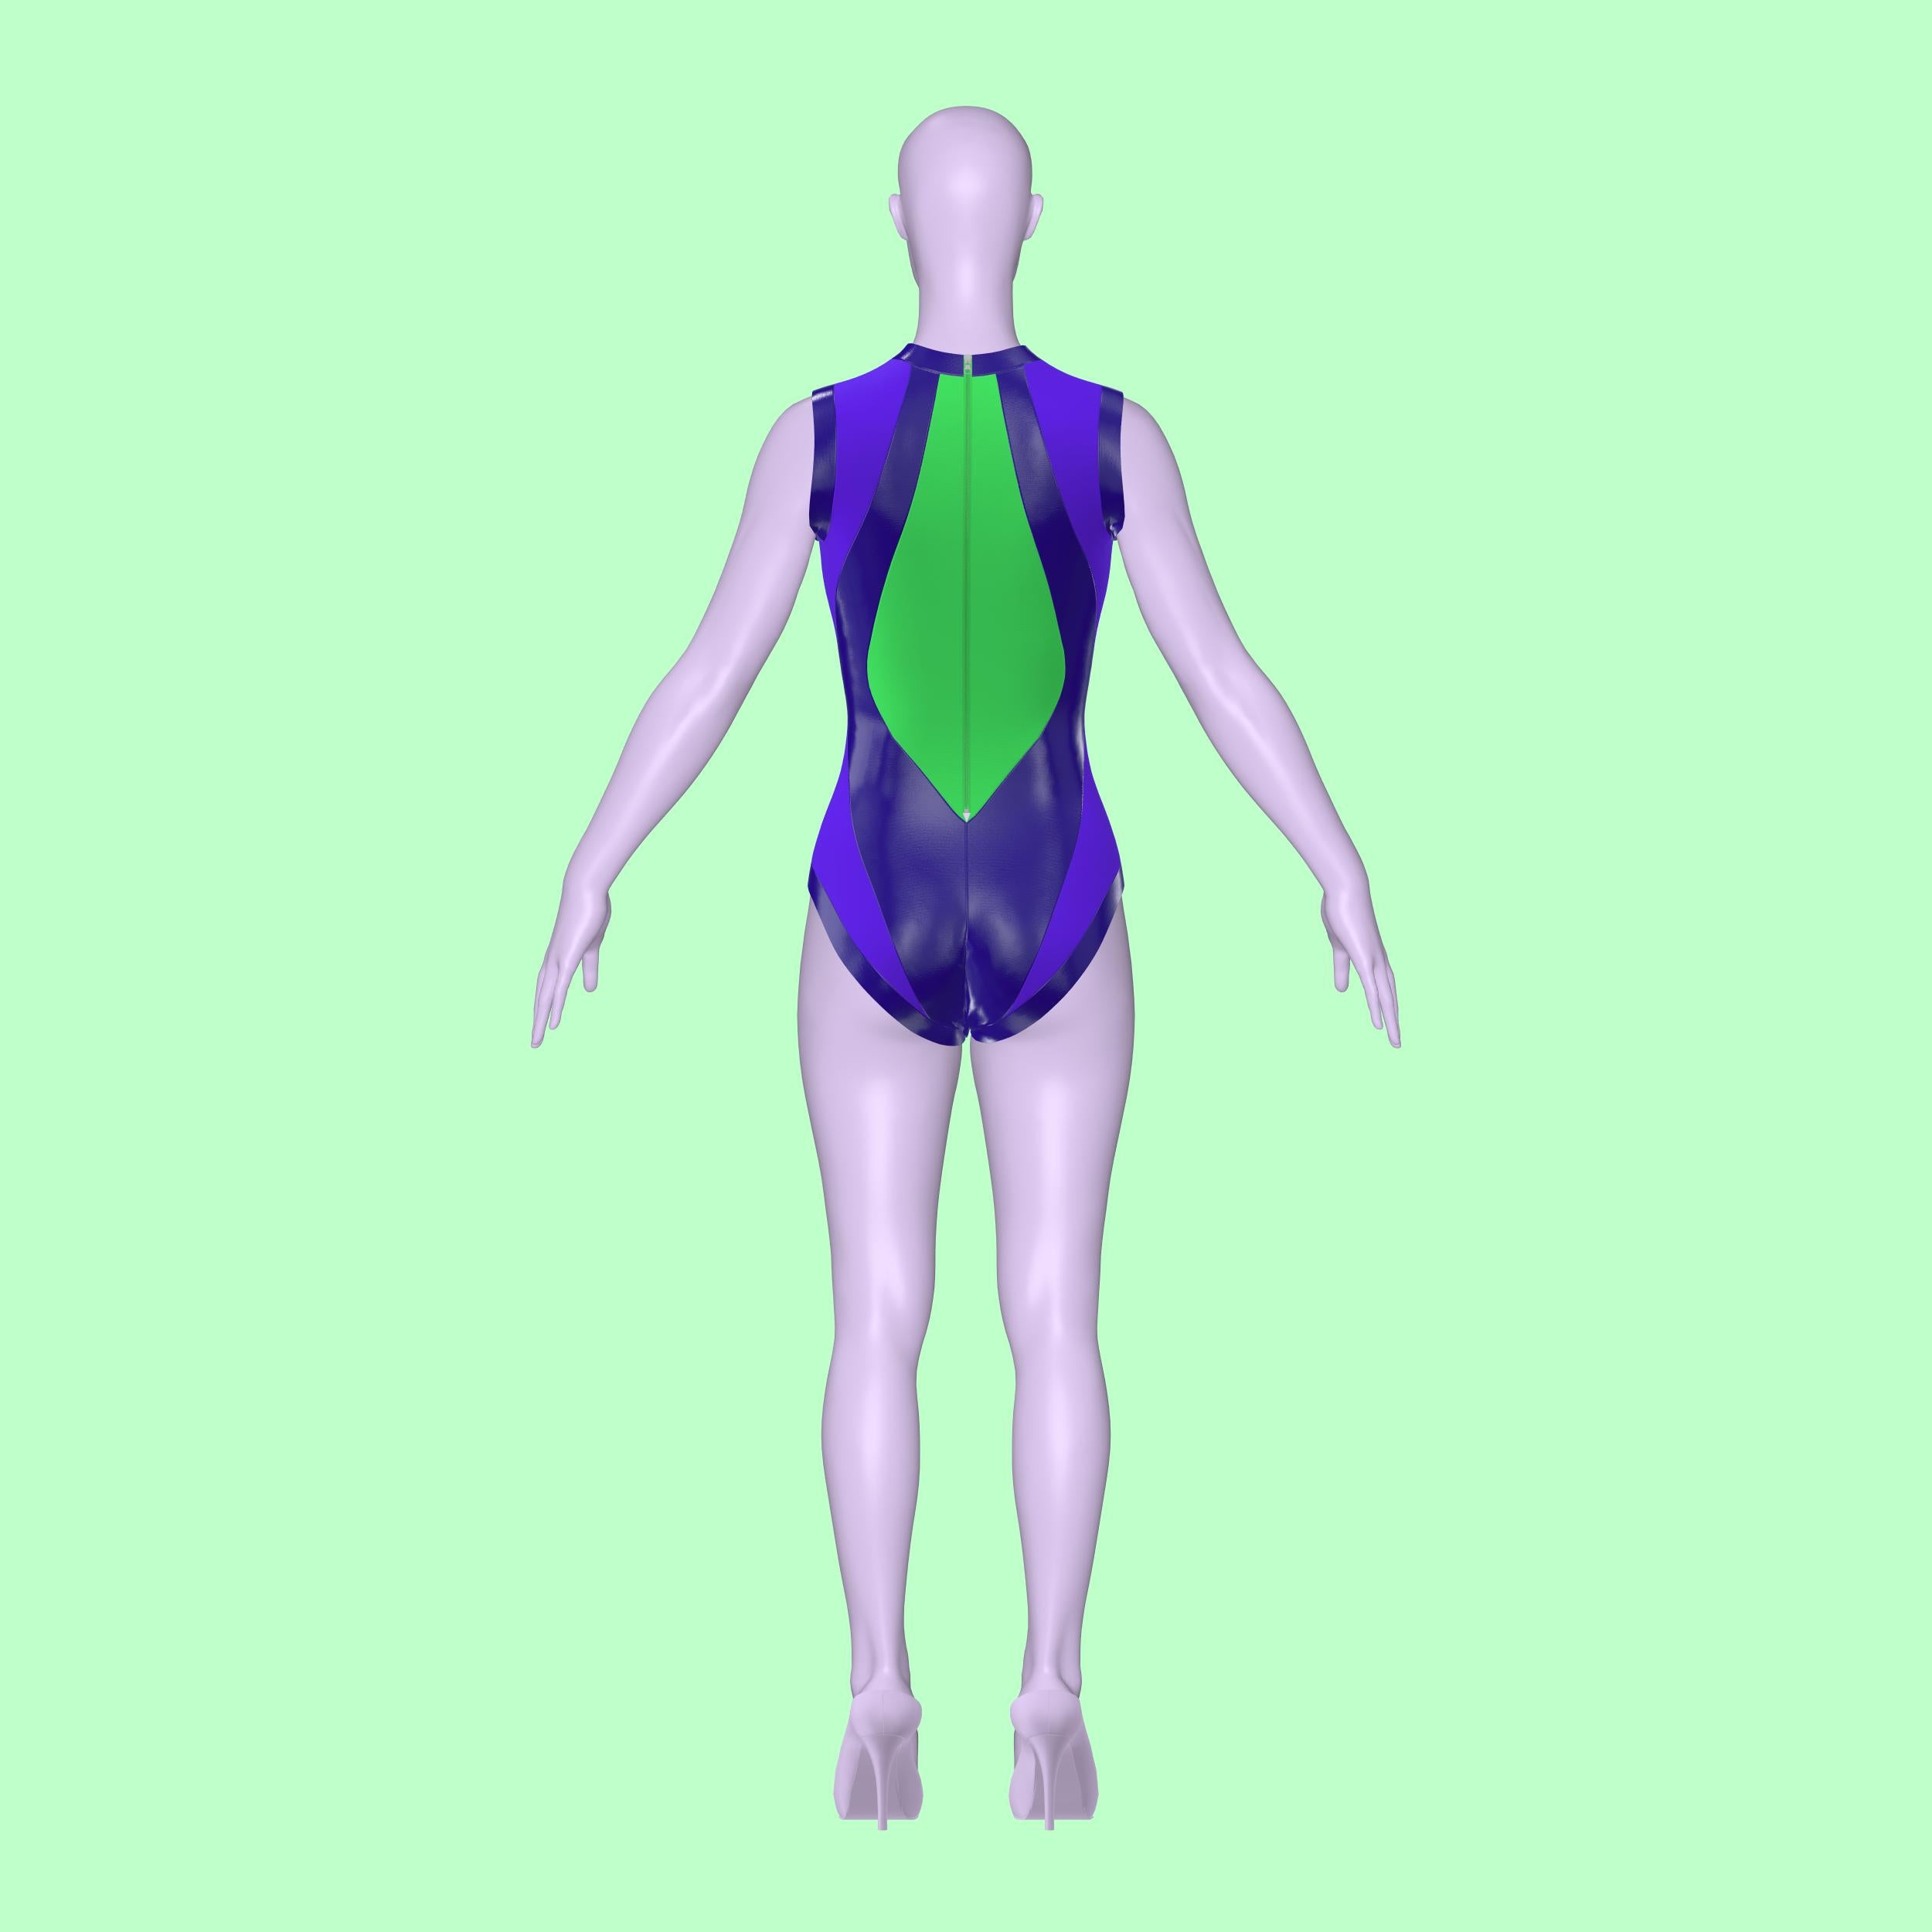
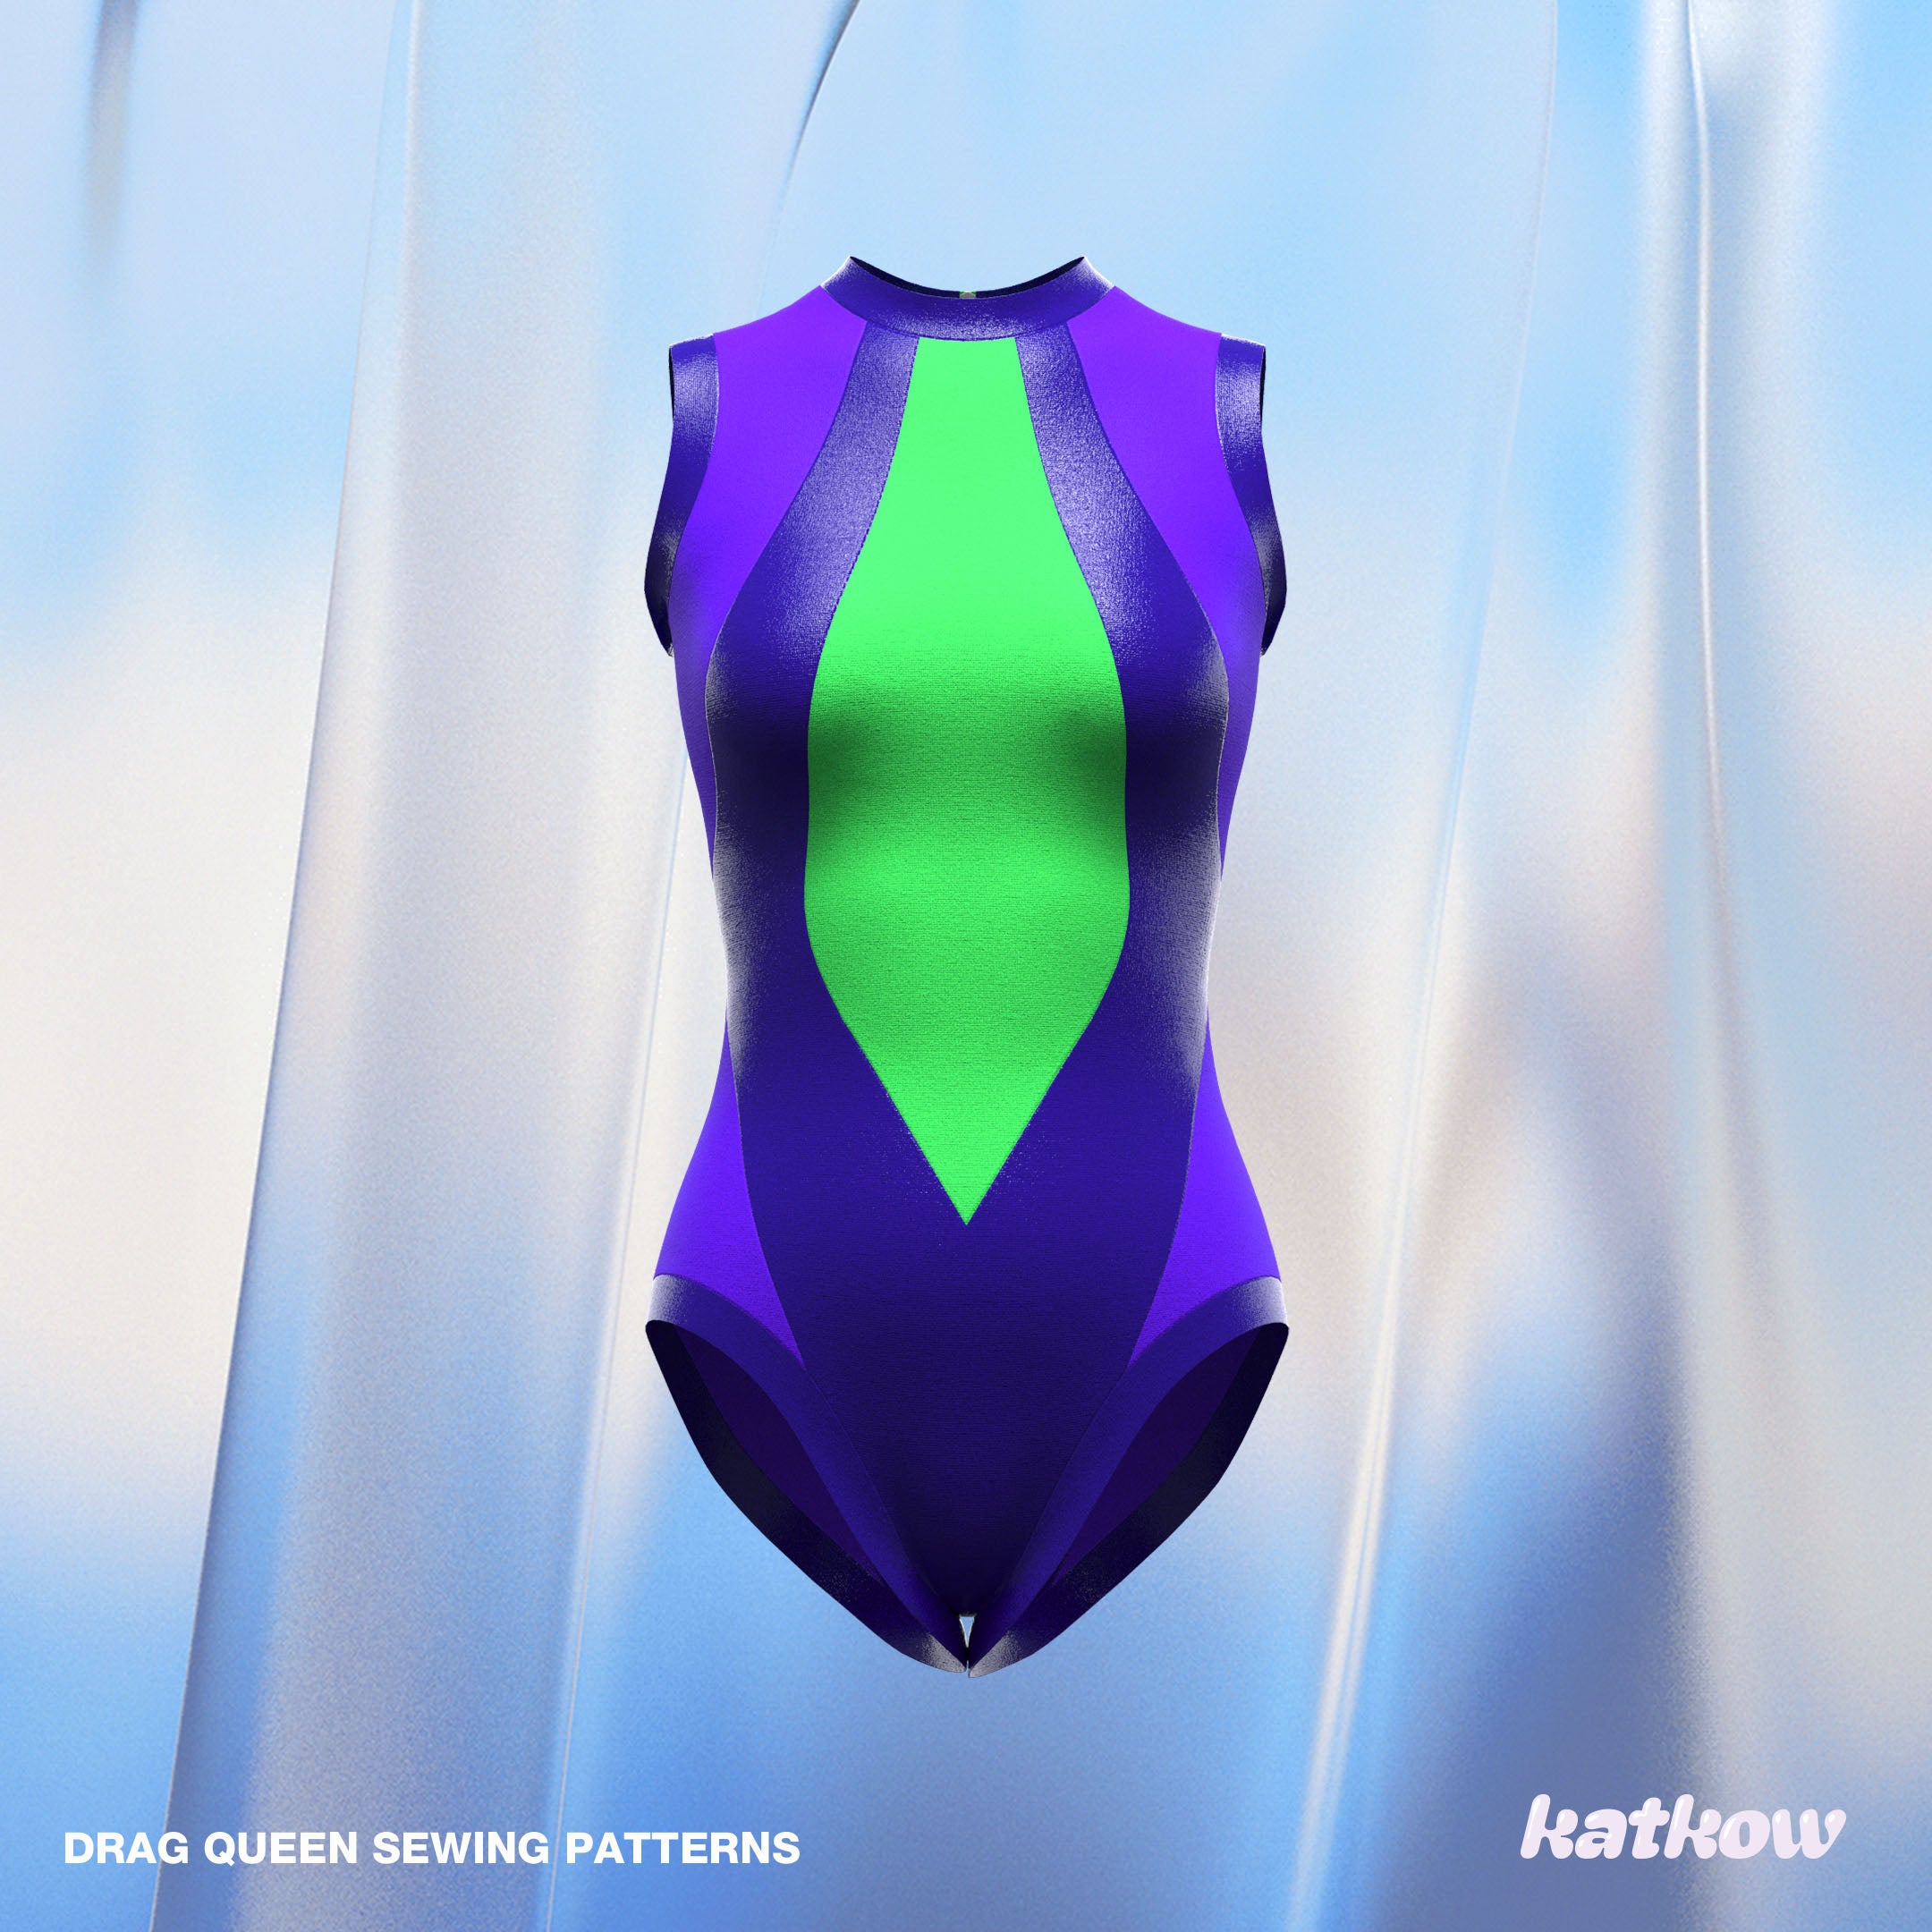
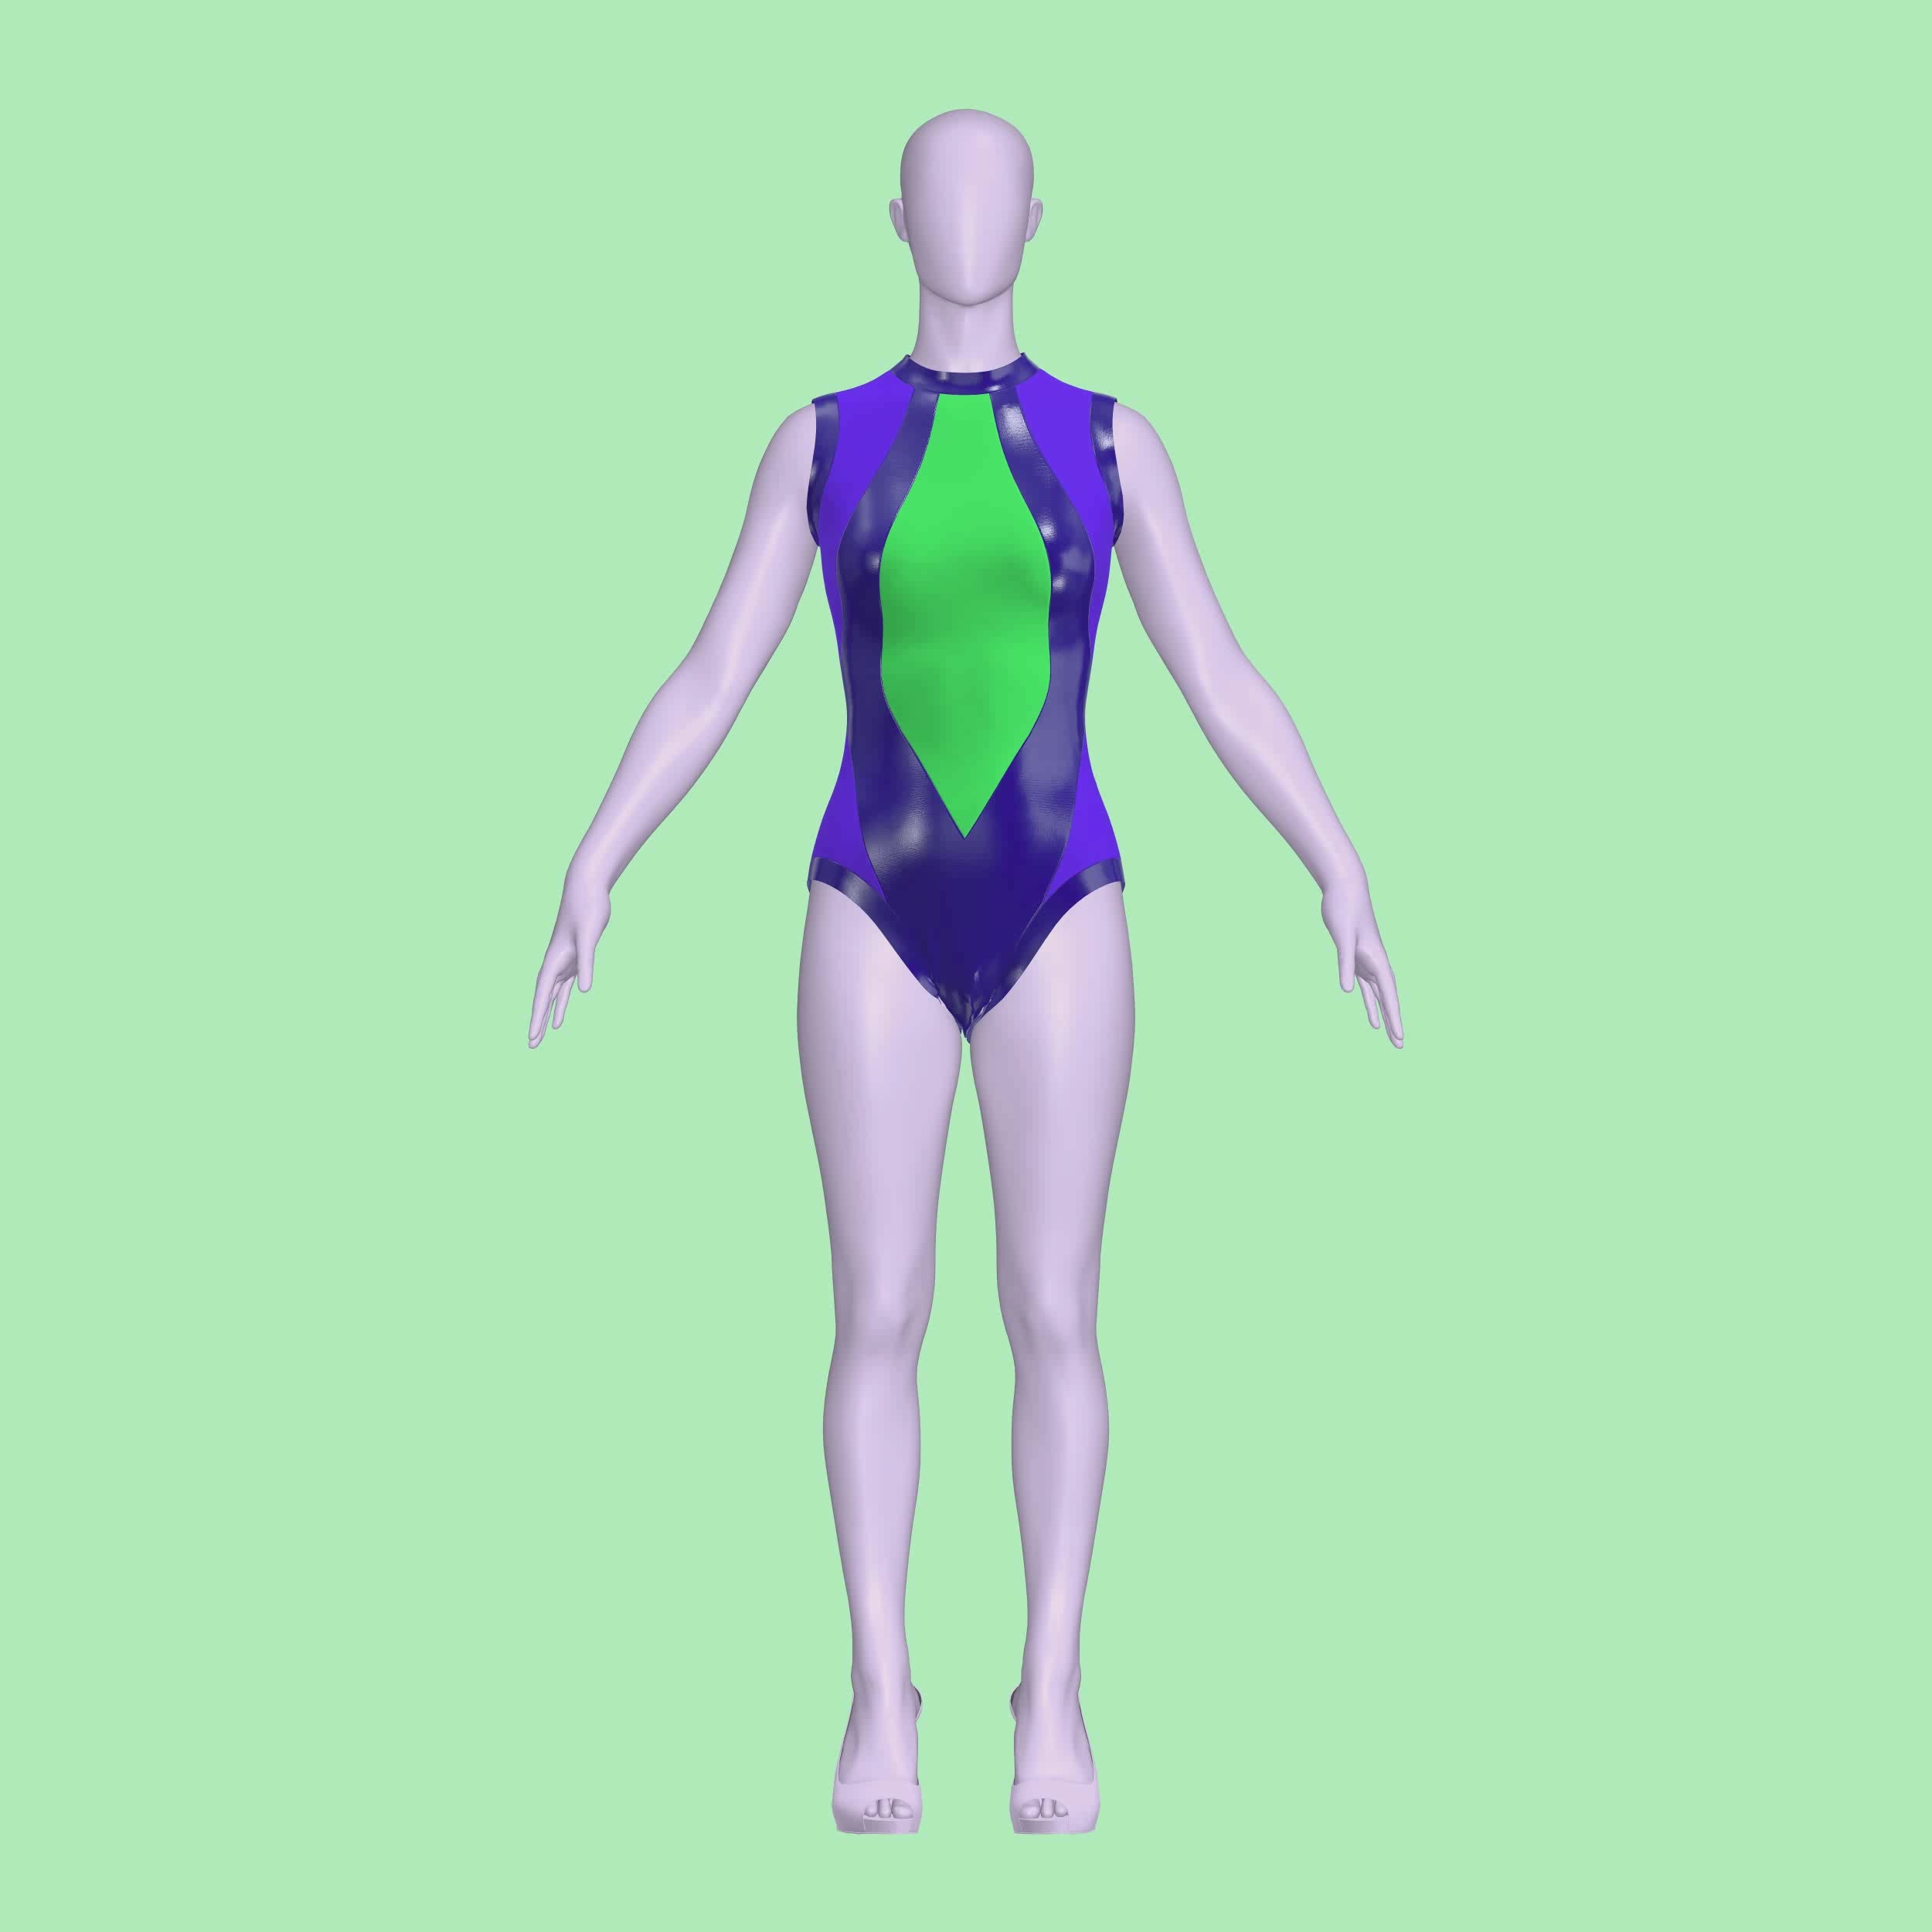
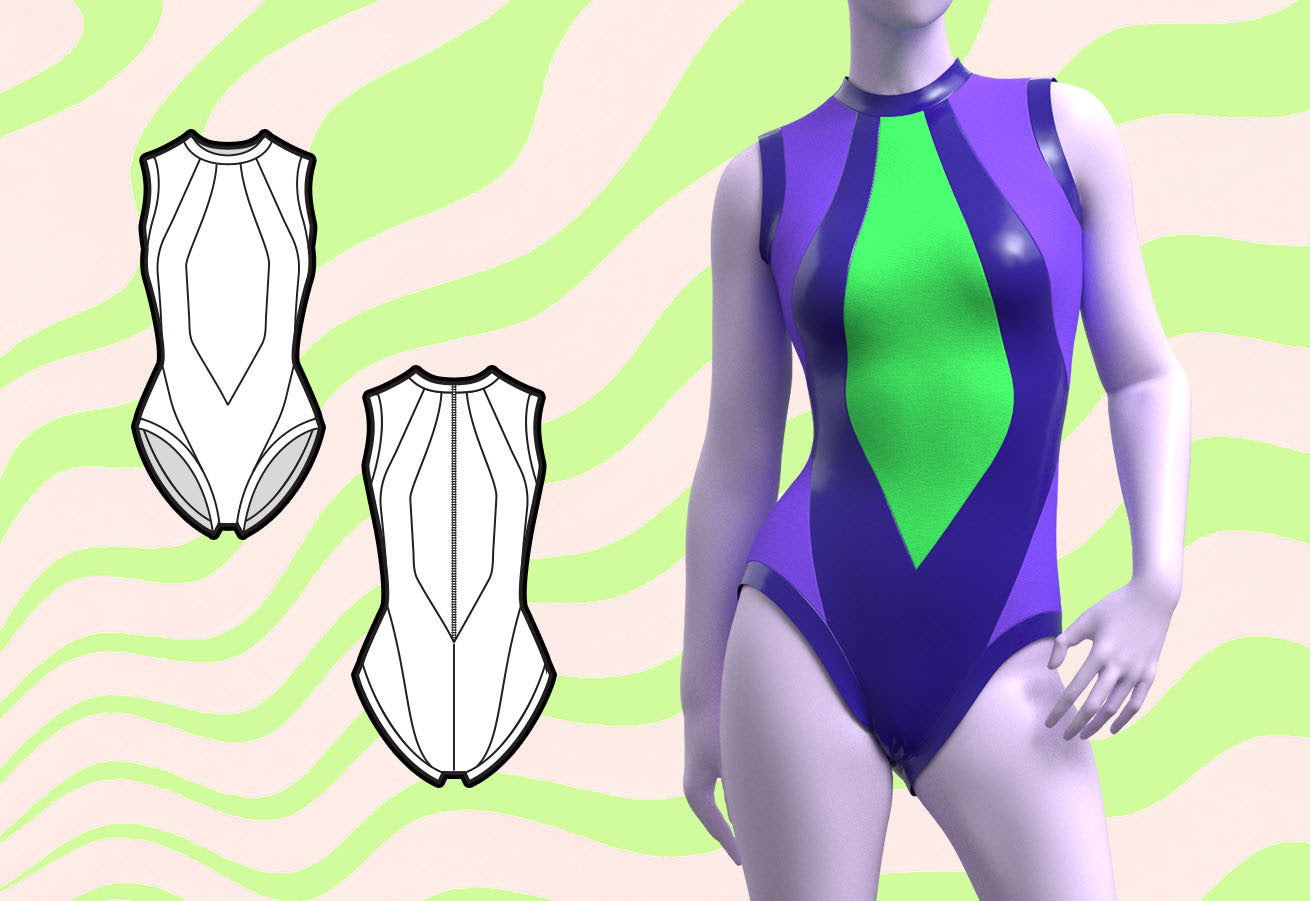
¡Aprenda a coser nuestro maillot sin mangas con aberturas, diseñado pensando en las drag queens! Este maillot presenta llamativos contrastes de colores y una silueta elegante y ceñida al cuerpo que garantiza que se destaque en cualquier escenario. Con instrucciones detalladas y fáciles de seguir, logrará un acabado profesional perfecto para presentaciones. ¡Mejore sus habilidades de costura y cree un maillot deslumbrante que capte la atención y transmita confianza!
Dificultad del patrón: Intermedio
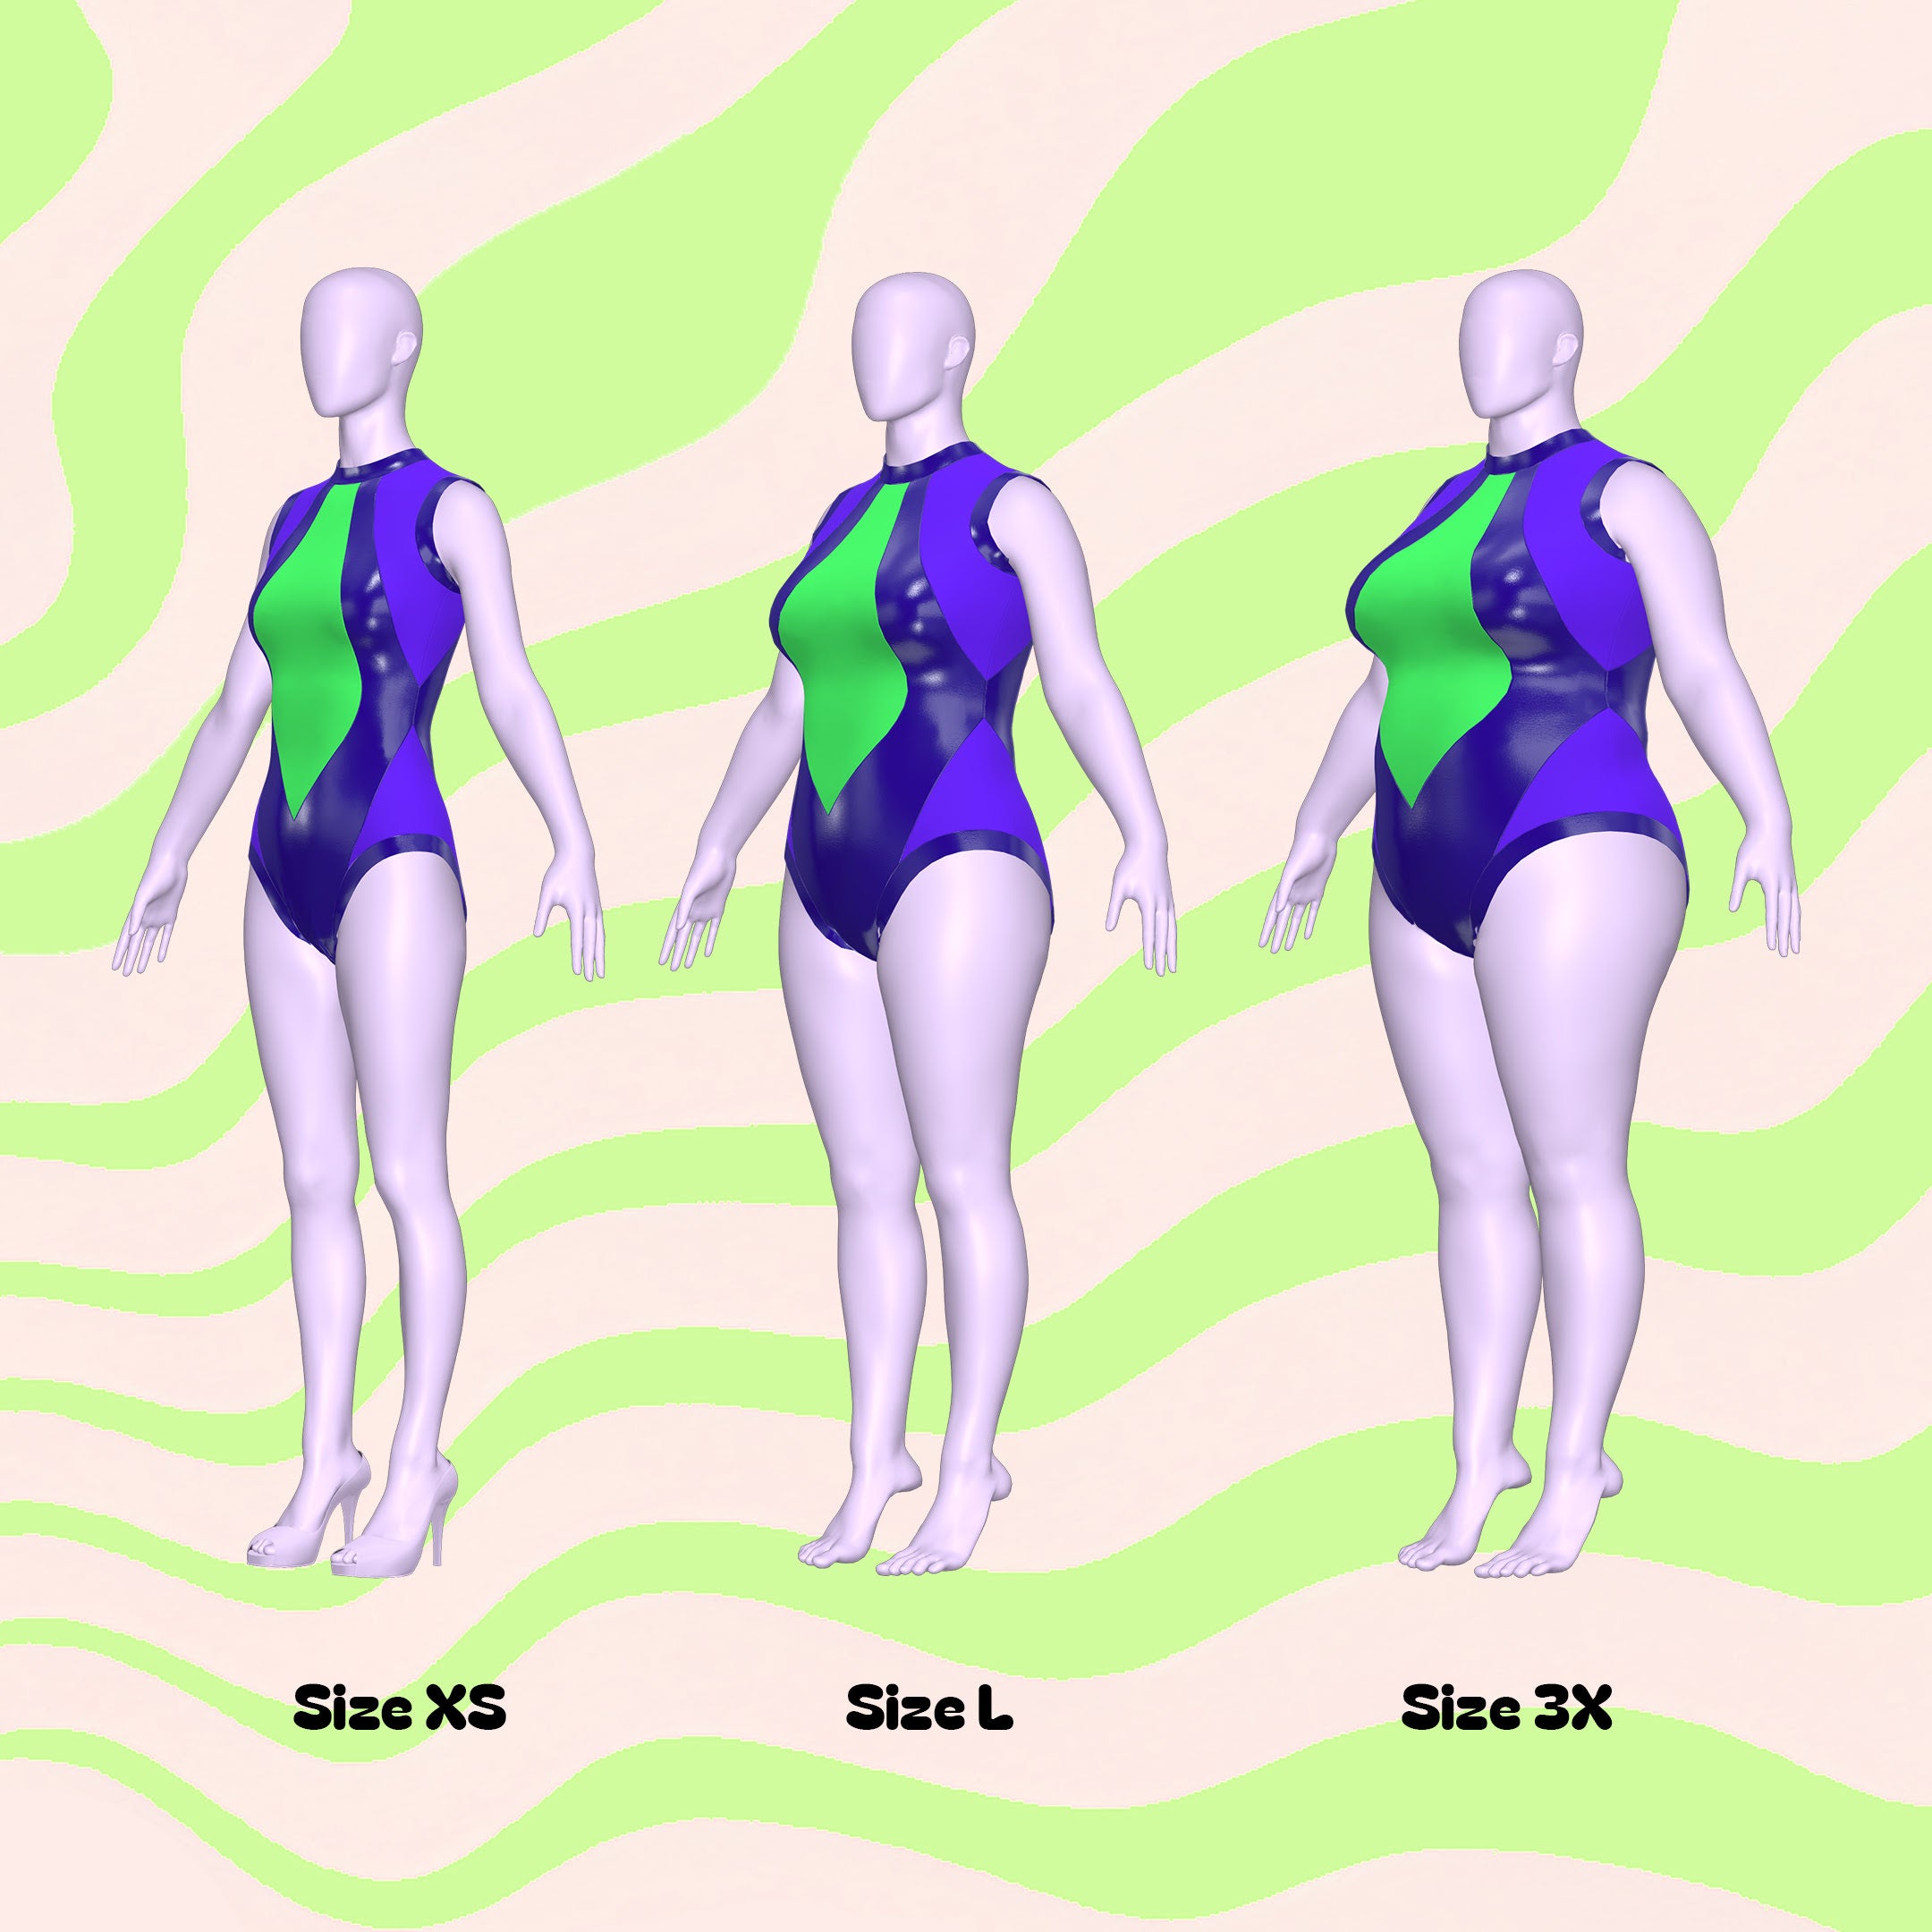
Detalles de tallas
Este patrón está disponible en nuestros exclusivos talles Drag Queen (XS-4X). Consulta nuestra guía de talles para obtener más información sobre nuestras medidas de talle.
Telas y artículos de mercería
Adecuado para tejidos ligeros con elasticidad en 4 direcciones:
- Spandex
- Miliskin
- Vinilo elástico
- Tejidos de punto elásticos
- Mezclas de lycra
- Cremallera invisible de 20 a 22"
Yardas de tela

The yardage below is based on fabric widths of 58 inches.
| Size | Fabric A | Fabric B | Fabric C |
|---|---|---|---|
| XS | 0.75y / 0.6m | 1y / 0.9m | 0.5y / 0.5m |
| S | 0.75y / 0.6m | 1y / 0.9m | 0.5y / 0.5m |
| M | 0.75y / 0.6m | 1y / 0.9m | 0.5y / 0.5m |
| L | 0.75y / 0.6m | 1y / 0.9m | 0.5y / 0.5m |
| XL | 0.75y / 0.6m | 1y / 0.9m | 0.5y / 0.5m |
| 2X | 0.75y / 0.6m | 1y / 0.9m | 0.5y / 0.5m |
| 3X | 0.75y / 0.6m | 1y / 1m | 0.5y / 0.5m |
| 4X | 0.75y / 0.6m | 1.25y / 1.1m | 0.75y / 0.6m |
For information on converting inches to meters, please check out our conversion guide.
Instrucciones de costura

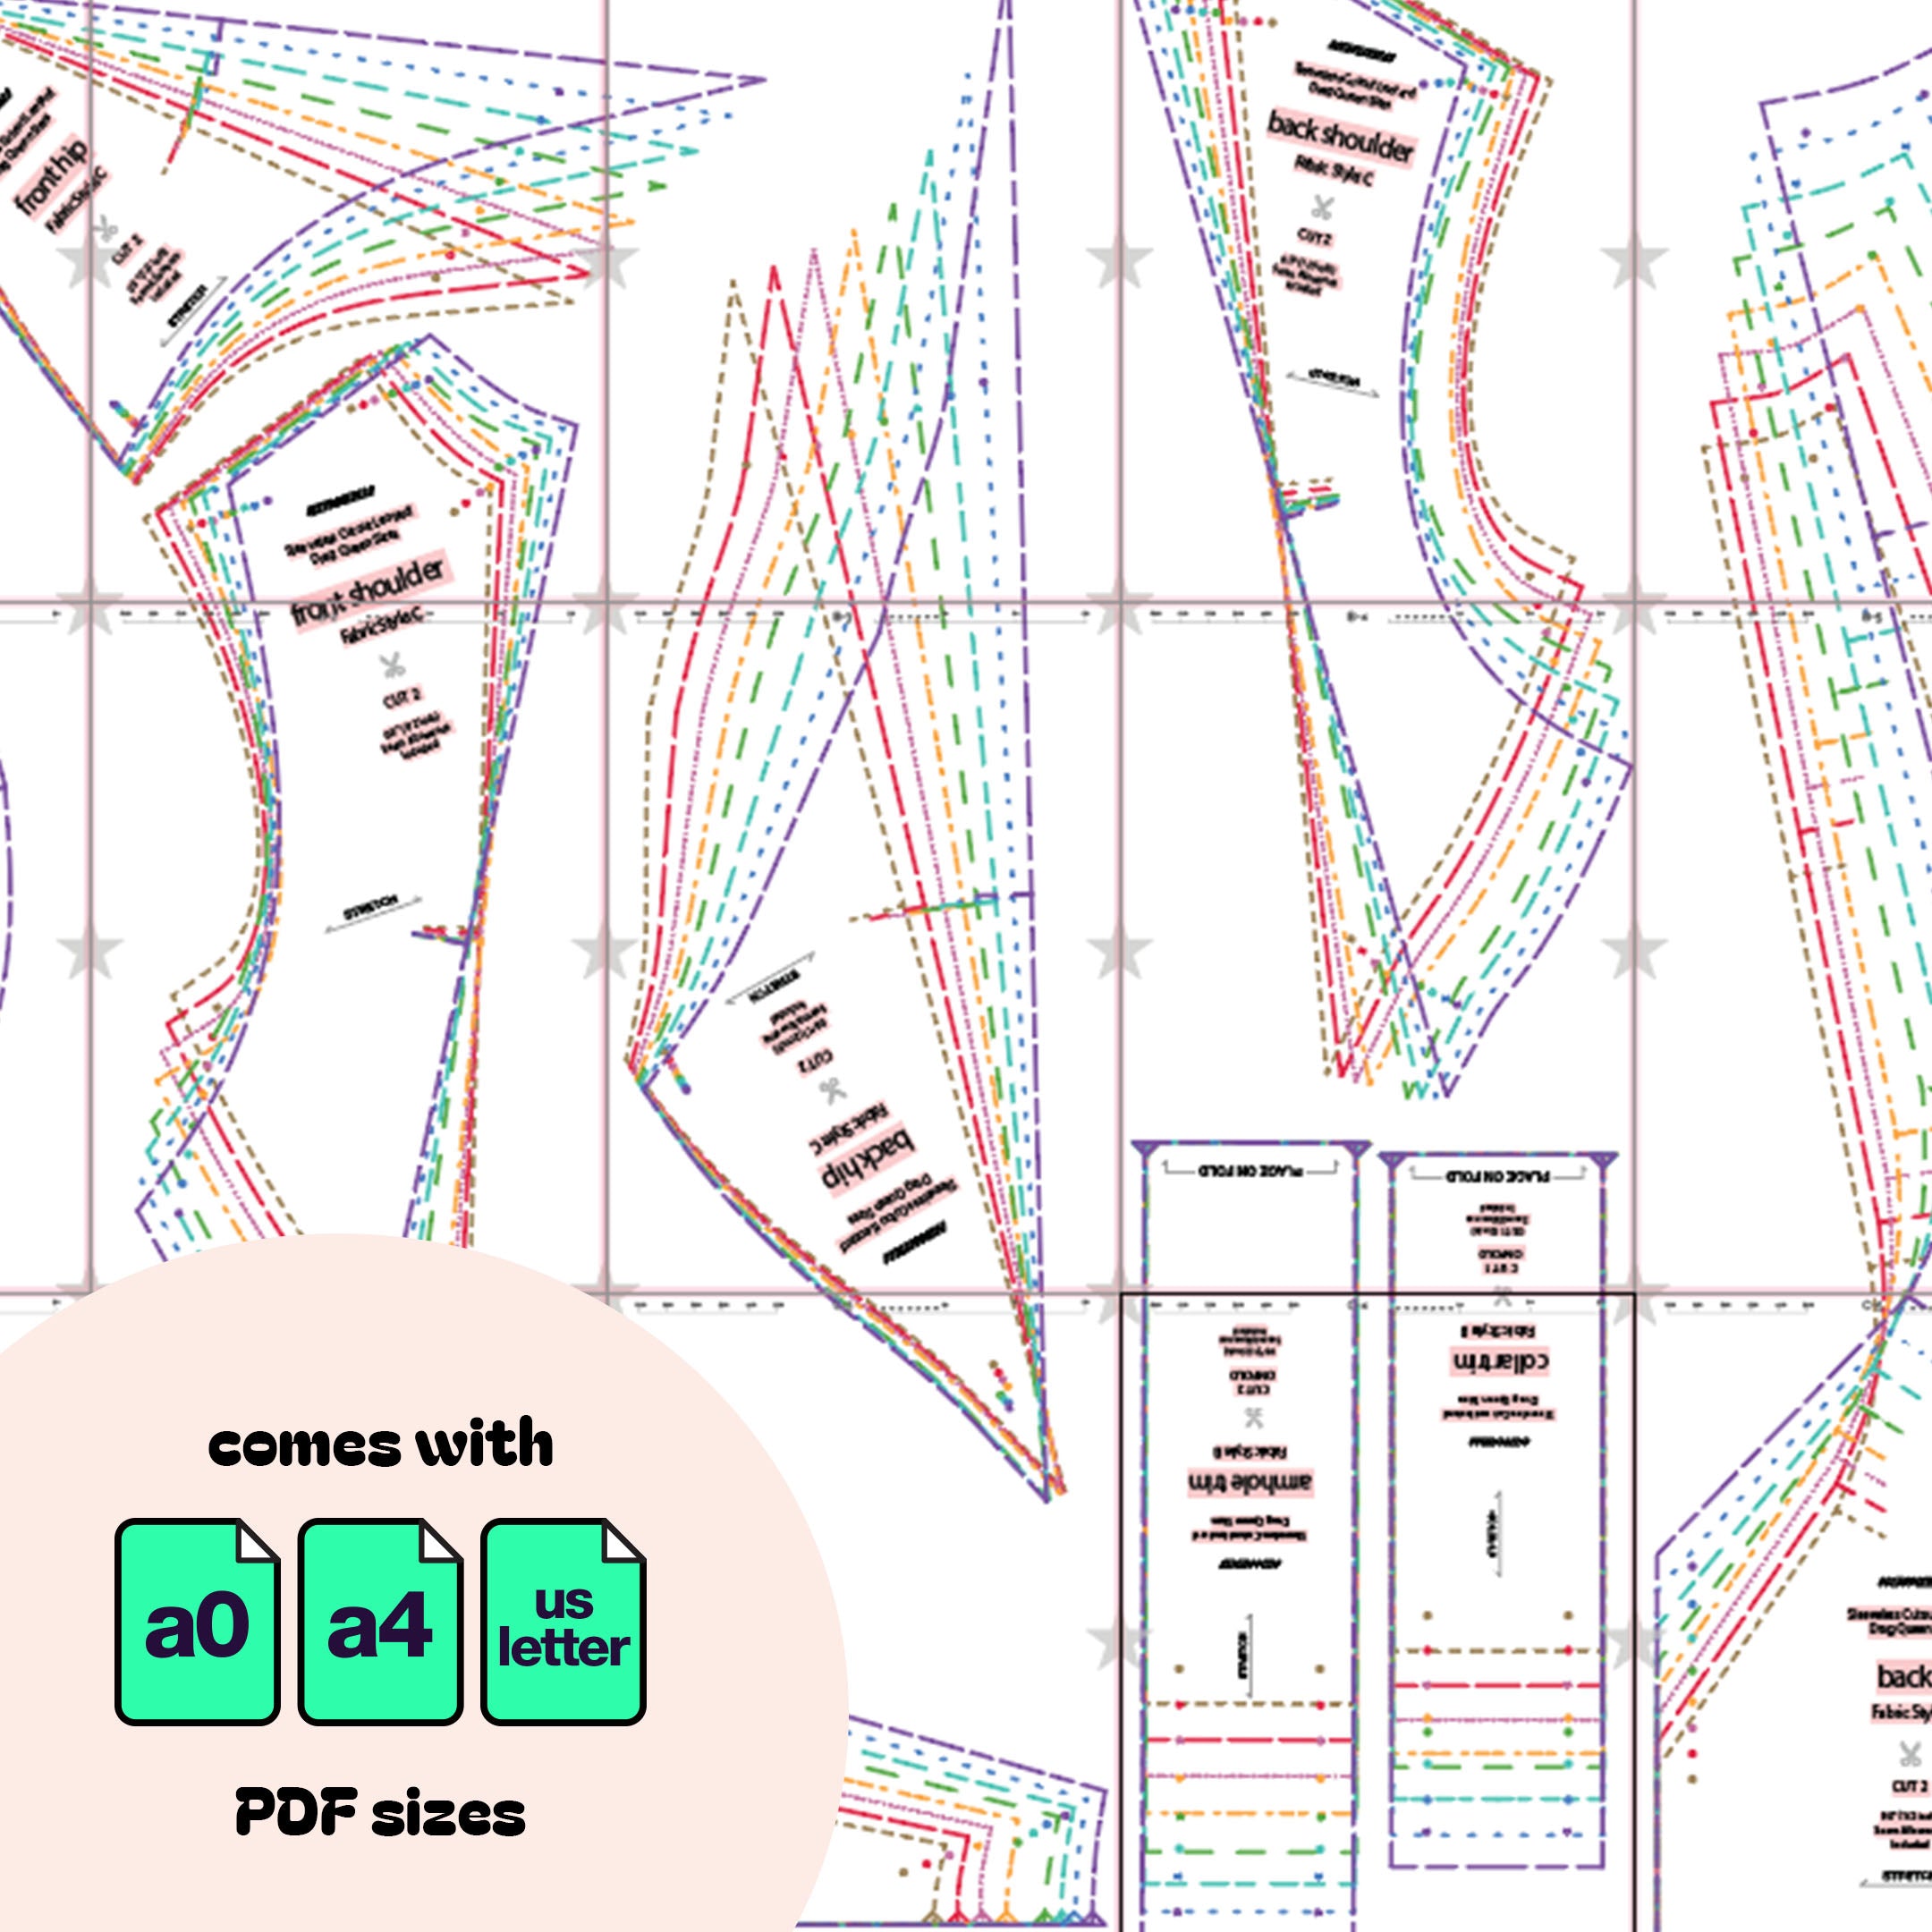
Fabric Pieces
After cutting your fabric, you should have the following pieces:
- One “Center Front 1” piece cut on a fold
- One “Front 2” piece cut on a fold
- Two “Front Shoulder” pieces
- Two “Front Hip” pieces
- Two “Center Back 1” pieces
- Two “Back 2” pieces
- Two “Back Shoulder” pieces
- Two “Back Hip” pieces
- One “Collar Trim” piece
- Two “Armhole Trim” piece
- Two “Leg Hole Trim” pieces

Stitches
Preferred stitches: Stretch stitch, zigzag stitch, or serger overlock stitch. You can use a straight stitch only on non-stretch areas like the zipper.

STEP 1
Gather the “Center Front 1” and “Front 2” pieces.
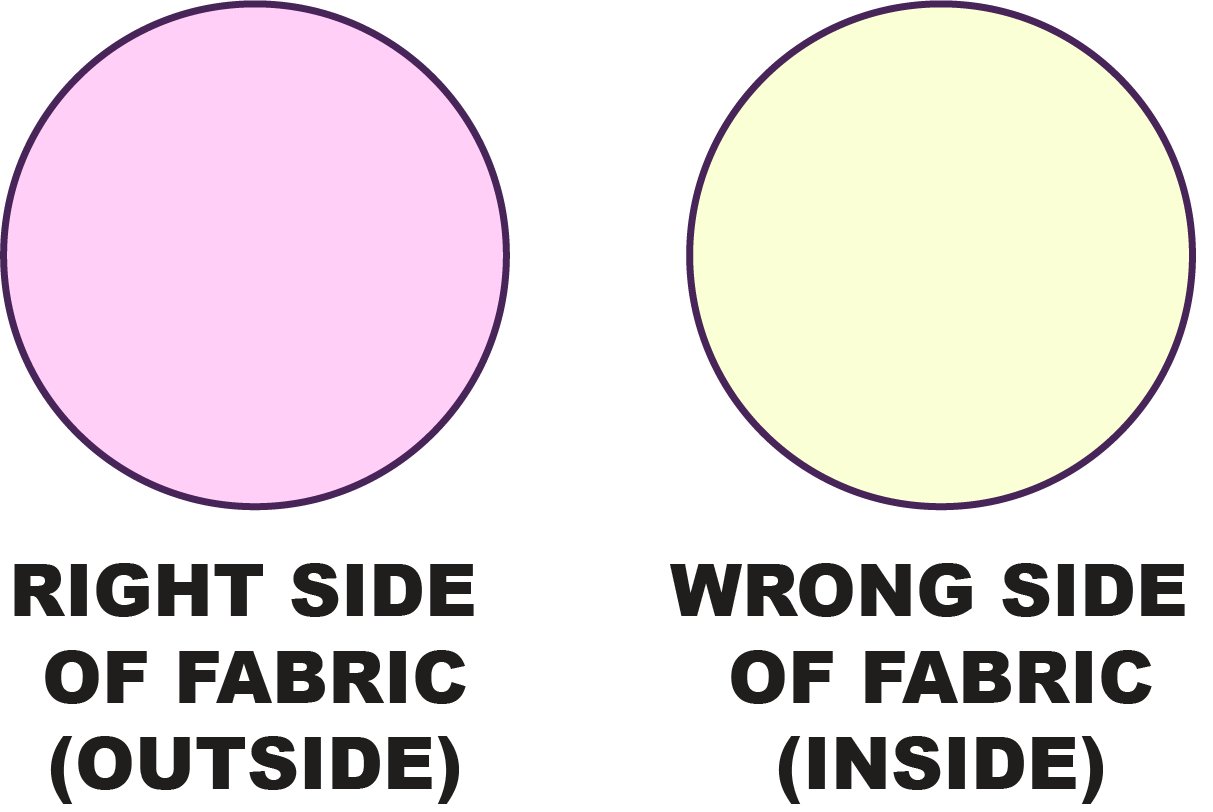
Mark the center points for both pieces. With the right sides of the fabric facing each other, pin the fabrics together at the center point first, then pin the rest of the sides.
Sew from the center point outwards towards the collar, then repeat for the other side.

STEP 2
Gather the “Front Shoulder” pieces.
Position and pin them to the top edges of the center front piece, aligning notches, right sides of the fabrics facing each other. Then sew using a stretch stitch, zig zag, or serger.

STEP 3
Repeat for the “Front Hip” pieces along the bottom sides of the center front piece. Completing the entire front pieces of the leotard.

STEP 4
Create the two back pieces. Similarly sew the “Center Back 1” piece to the “Back 2” piece right sides facing each other.
Then sew on the “Back Shoulder” and “Back Hip” pieces.
Creating two complete back pieces, where a zipper will be added to the center back. Do not sew the back pieces together.

STEP 5
Stack the front and back pieces, right sides facing each other, and sew them together along the shoulder seams.

STEP 6
Prep the collar trim. Fold the collar trim vertically in half, wrong sides facing each other. Then pin on the center point/fold to hold in place.

STEP 7
Lay the front and back pieces right side up and pin the collar around the neckline with the center pin matching the center front, keeping the collar upside down. Serge or sew in place.

STEP 8
Sew an 20-22 inch invisible zipper along the center back opening, starting at the collar. Ensure the right side of the zipper faces the right side of the fabric. Use a straight stitch with a zipper foot for sewing.
For a flat zipper finish, you may use a tear-away stabilizer between the zipper and the fabric.

STEP 9
After attaching the zipper, fold the excess fabric at the top of the zipper vertically and hand-stitch it down to secure this fold before proceeding.

STEP 10
Next, fold over the zipper tape horizontally and pin it in place, ready for topstitching. Repeat the same steps on the opposite side. Topstitch around the zipper sides to reinforce and neatly finish the edges.
Once the zipper is secured to the back pieces, sew the remaining gap below the zipper at the back crotch.

STEP 11
Position the garment wrong side out and sew the front and back side seams and crotch seam together. Using a stretch, zig zag or serger.

STEP 12
Prep the armhole and leg hole trim pieces. Fold the trim pieces horizontally in half so the ends meet, with right sides facing each other. Sew the ends closed to create a loop.
Then flip the fabric right side out, folding each trim vertically in half.

STEP 13
Pin the trim around the armholes and leg holes, aligning the notches. Ensure the right sides of the trim and garment are facing each other.
Sew the trim in place. Flip the trim seams over to the inside of the garment. If desired, you can topstitch the trim seams down for a neat finish.