Cómo coser una capa de encogimiento de hombros
Saltar a instrucciones
Descripción general
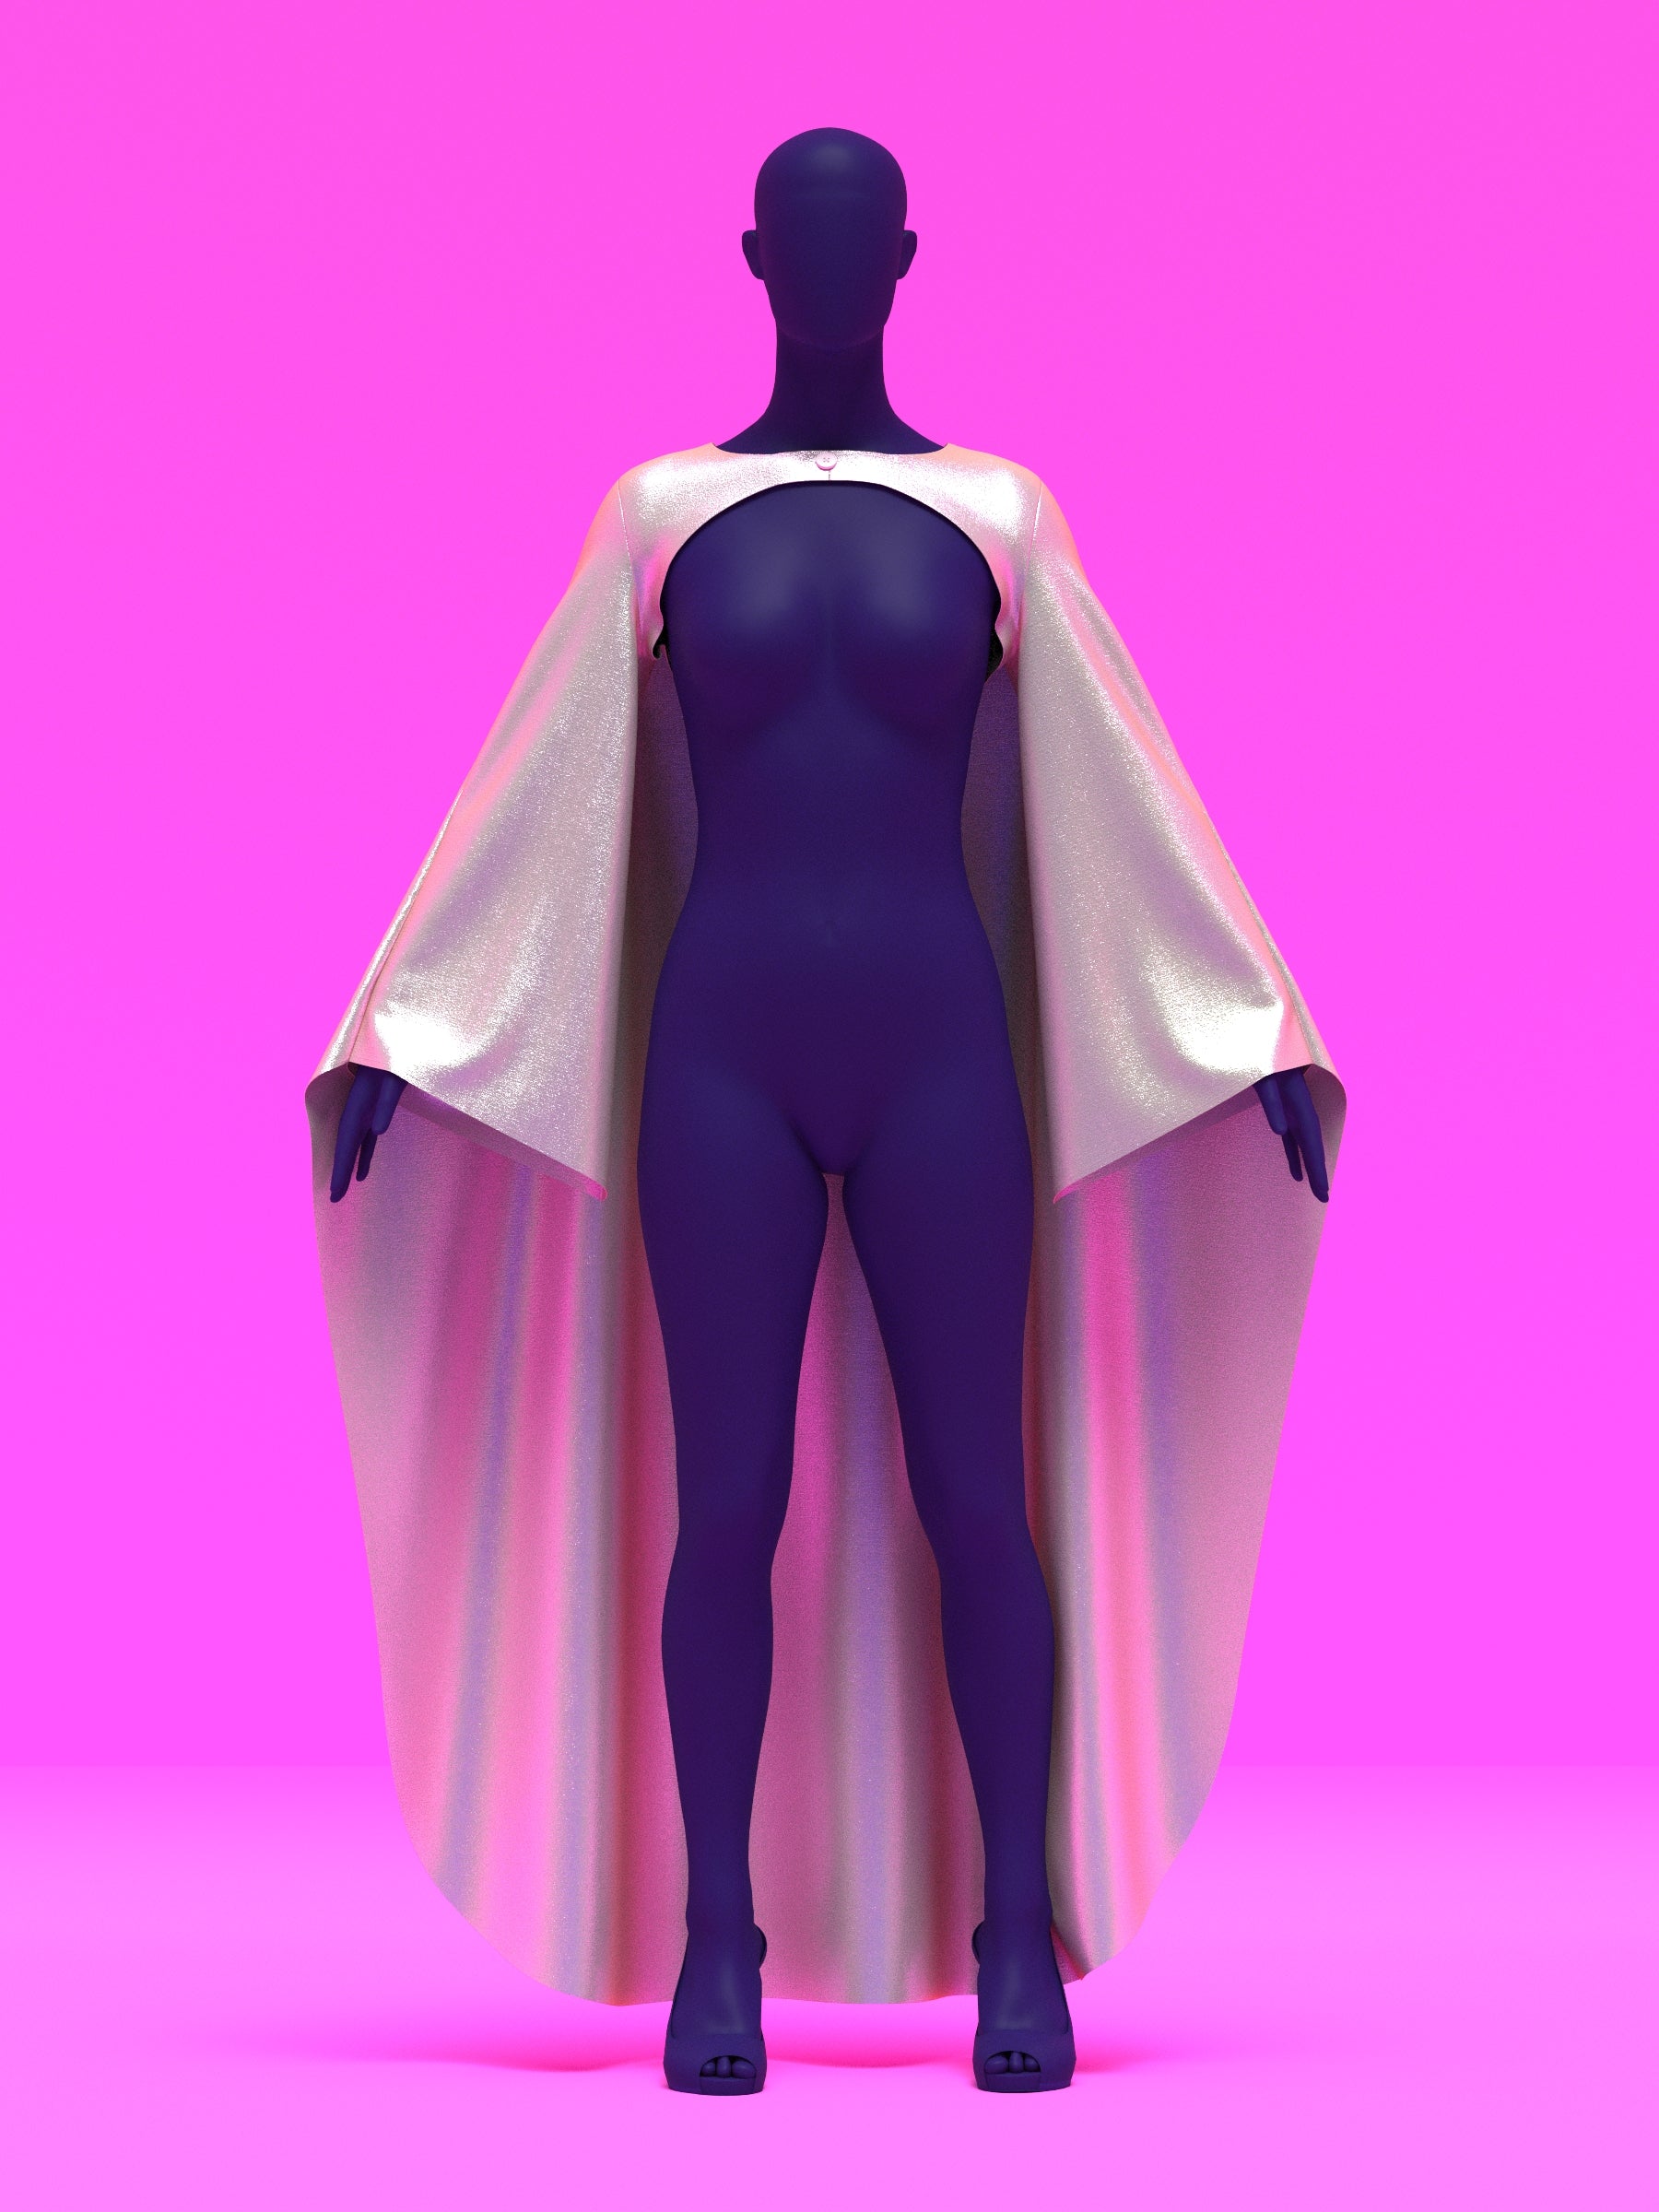
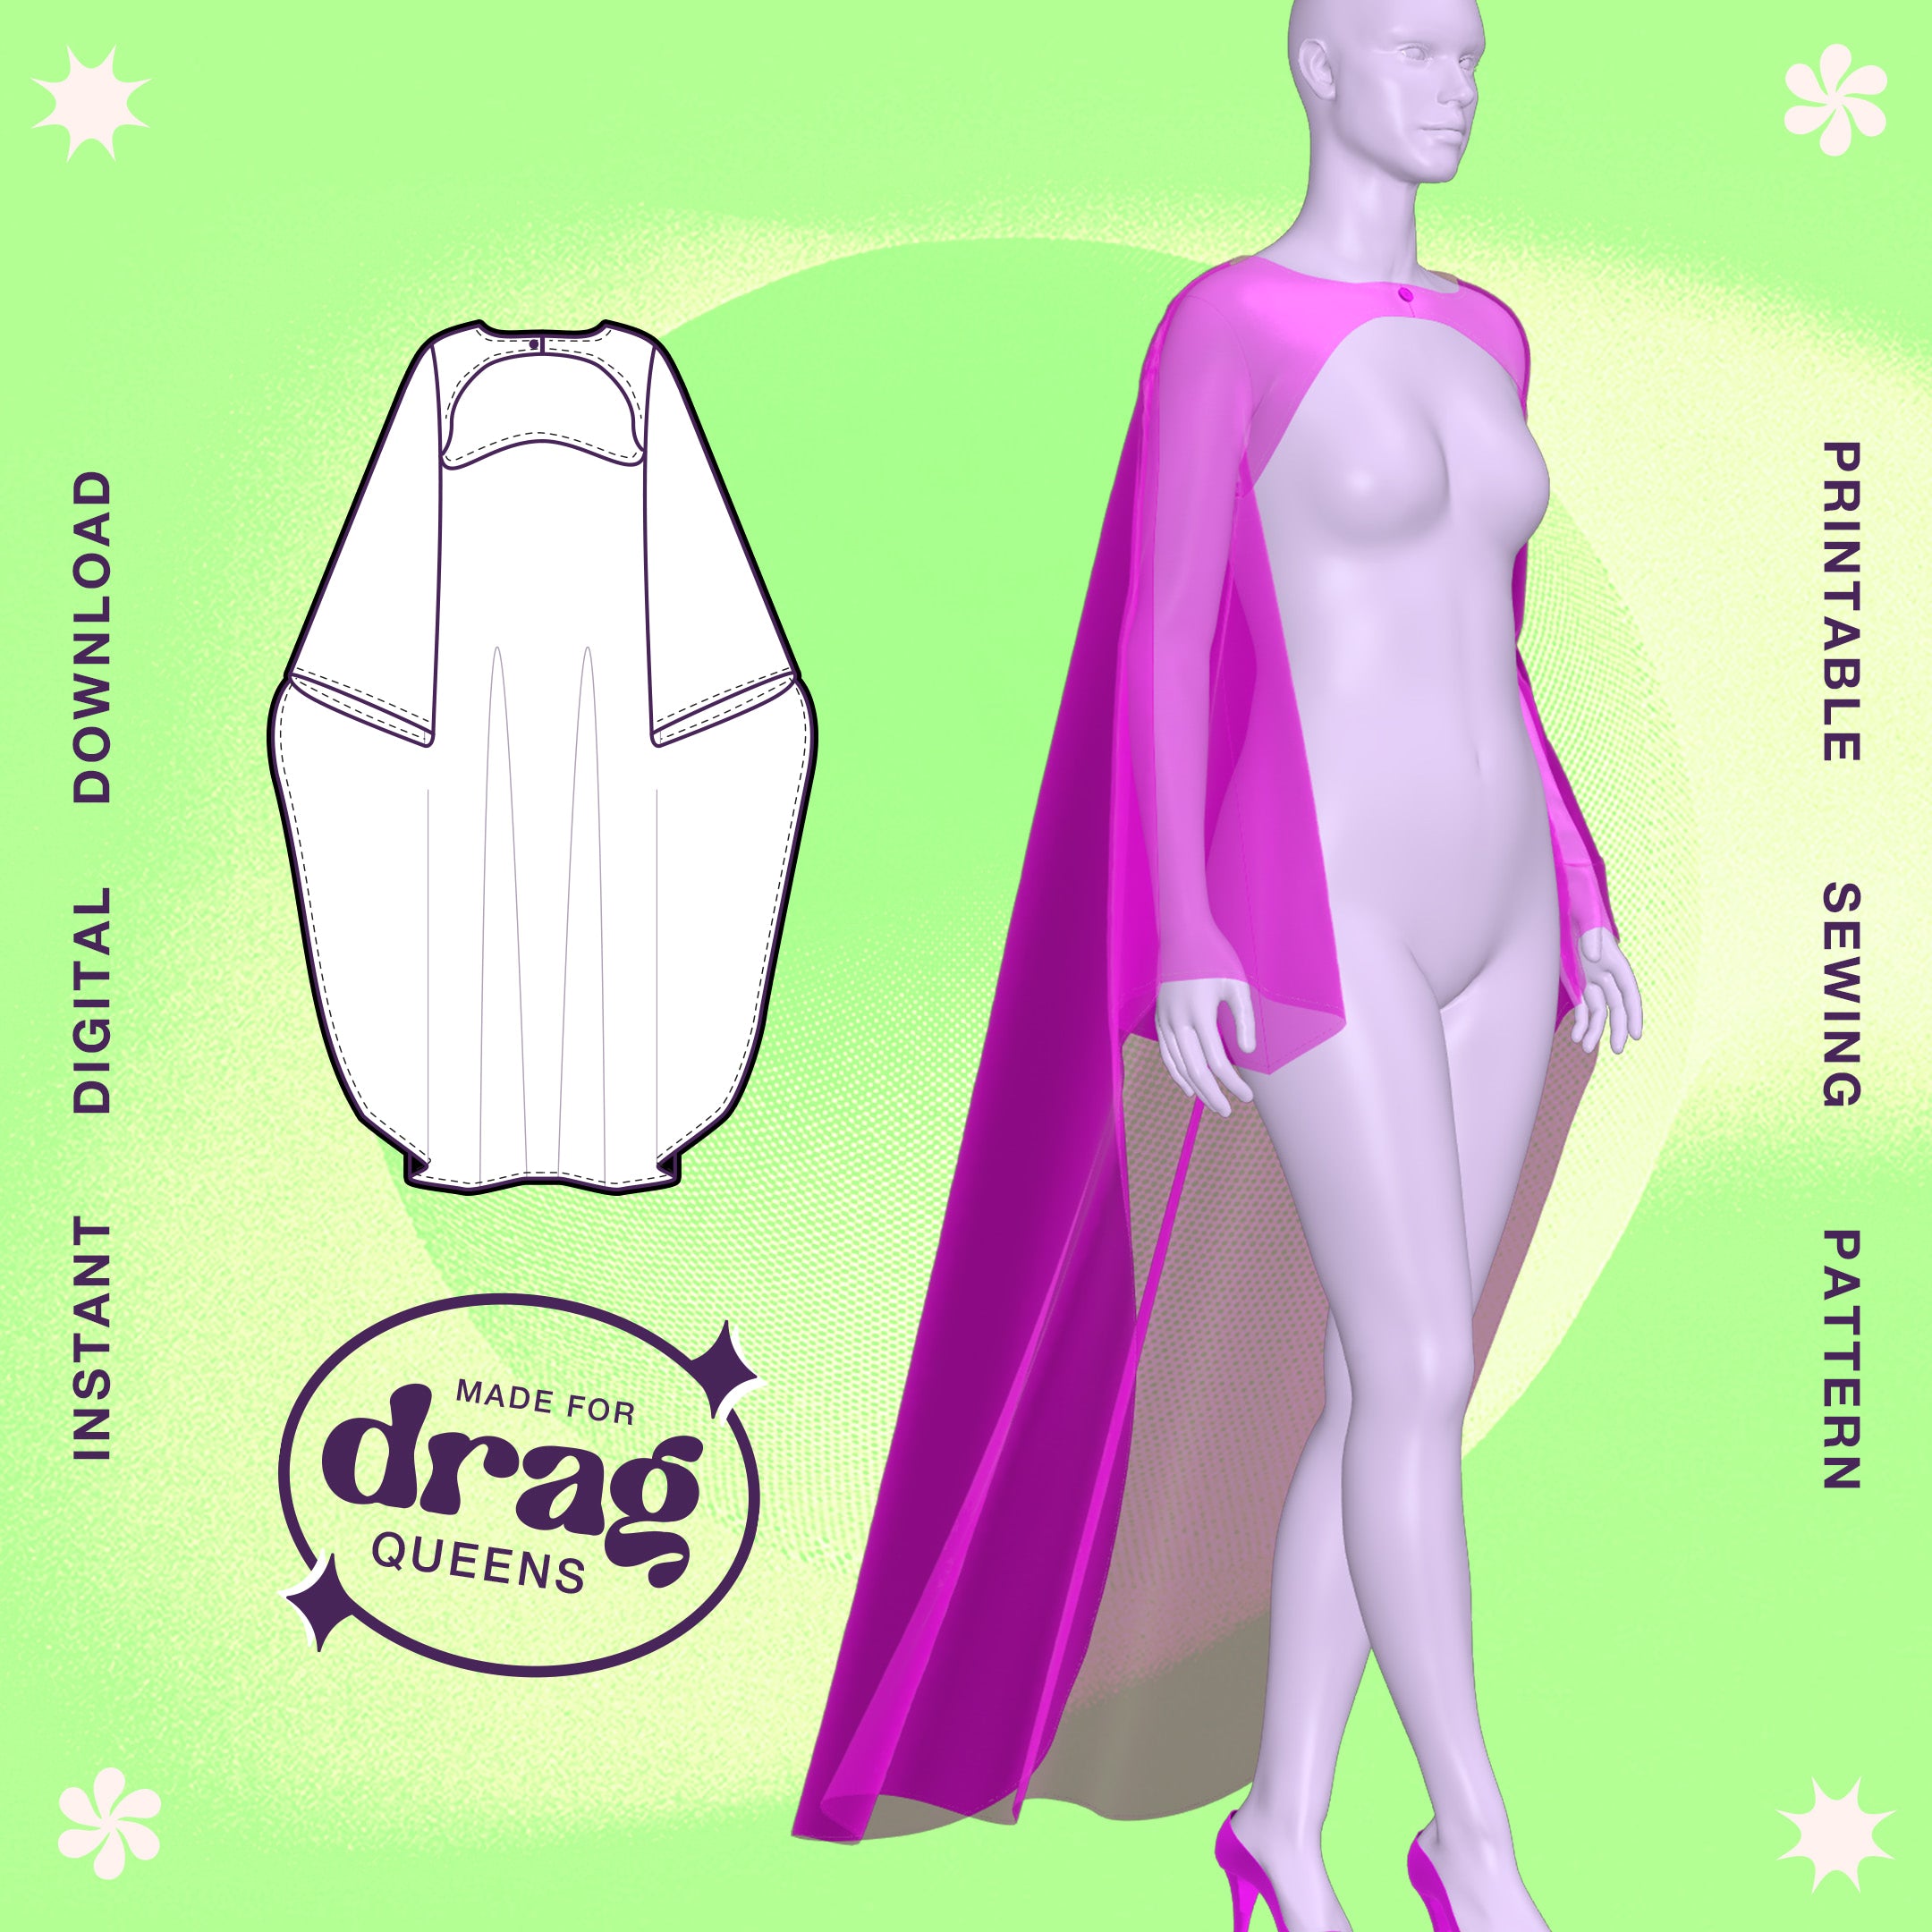
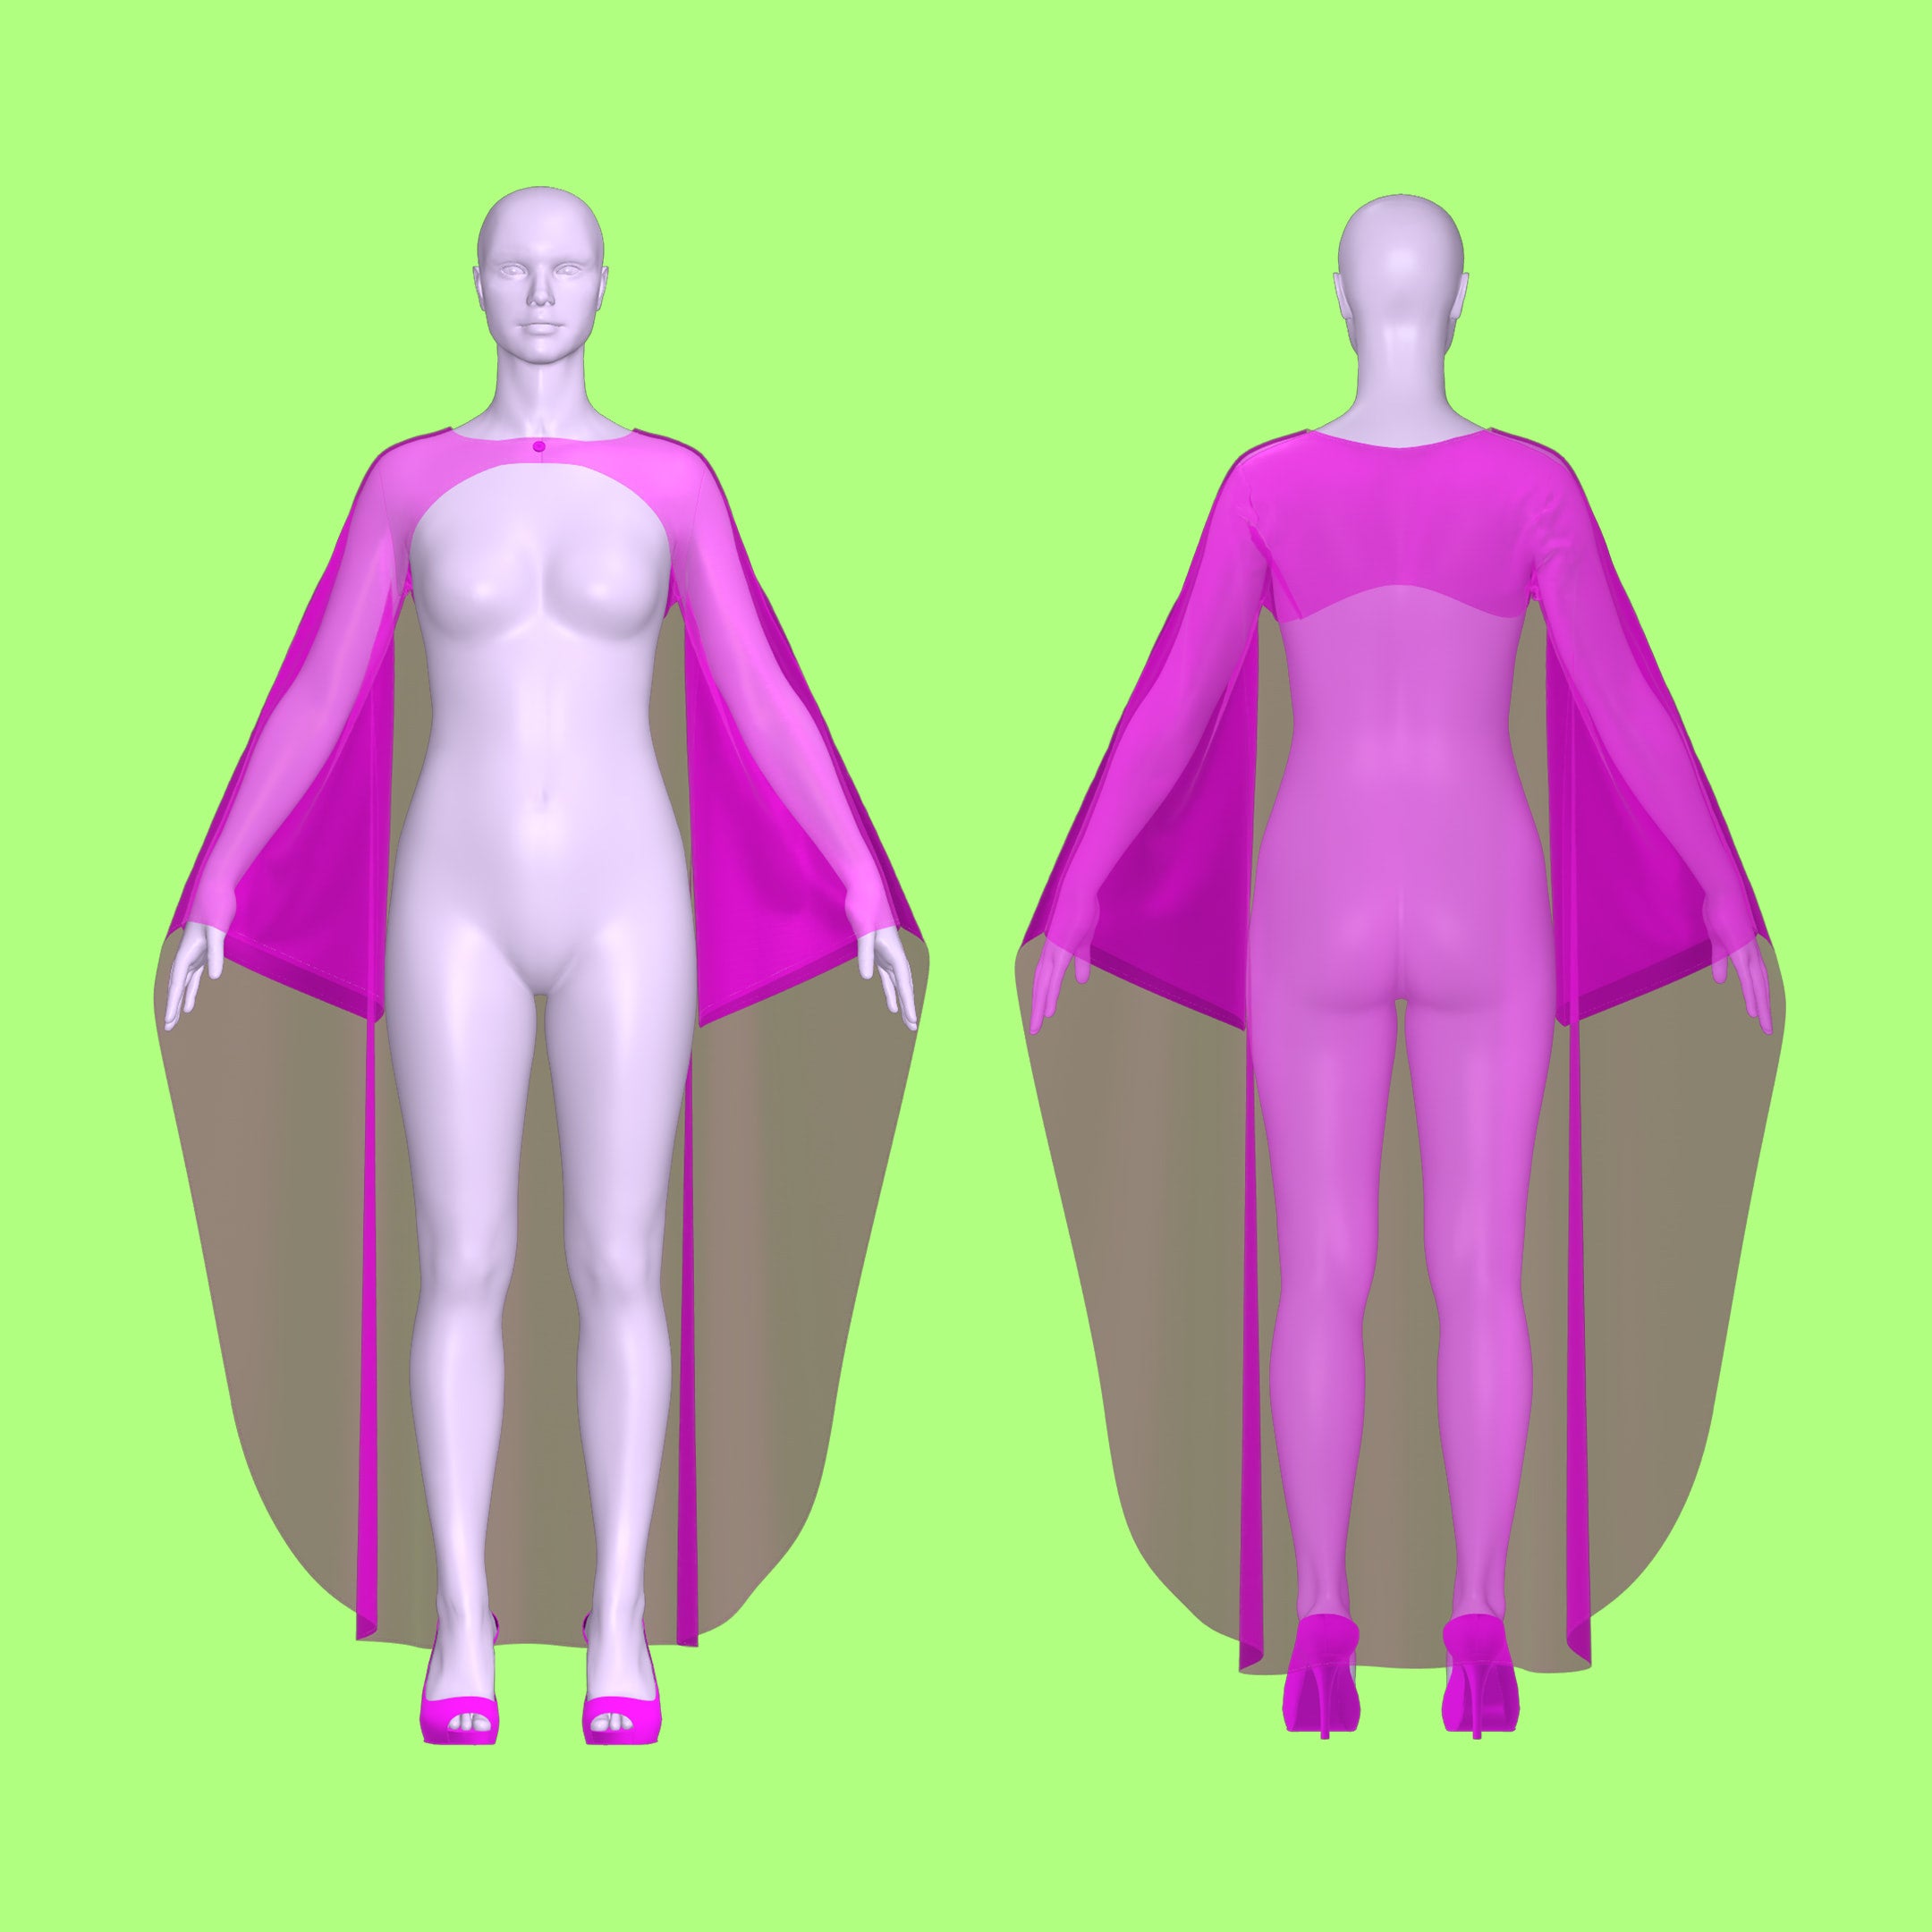
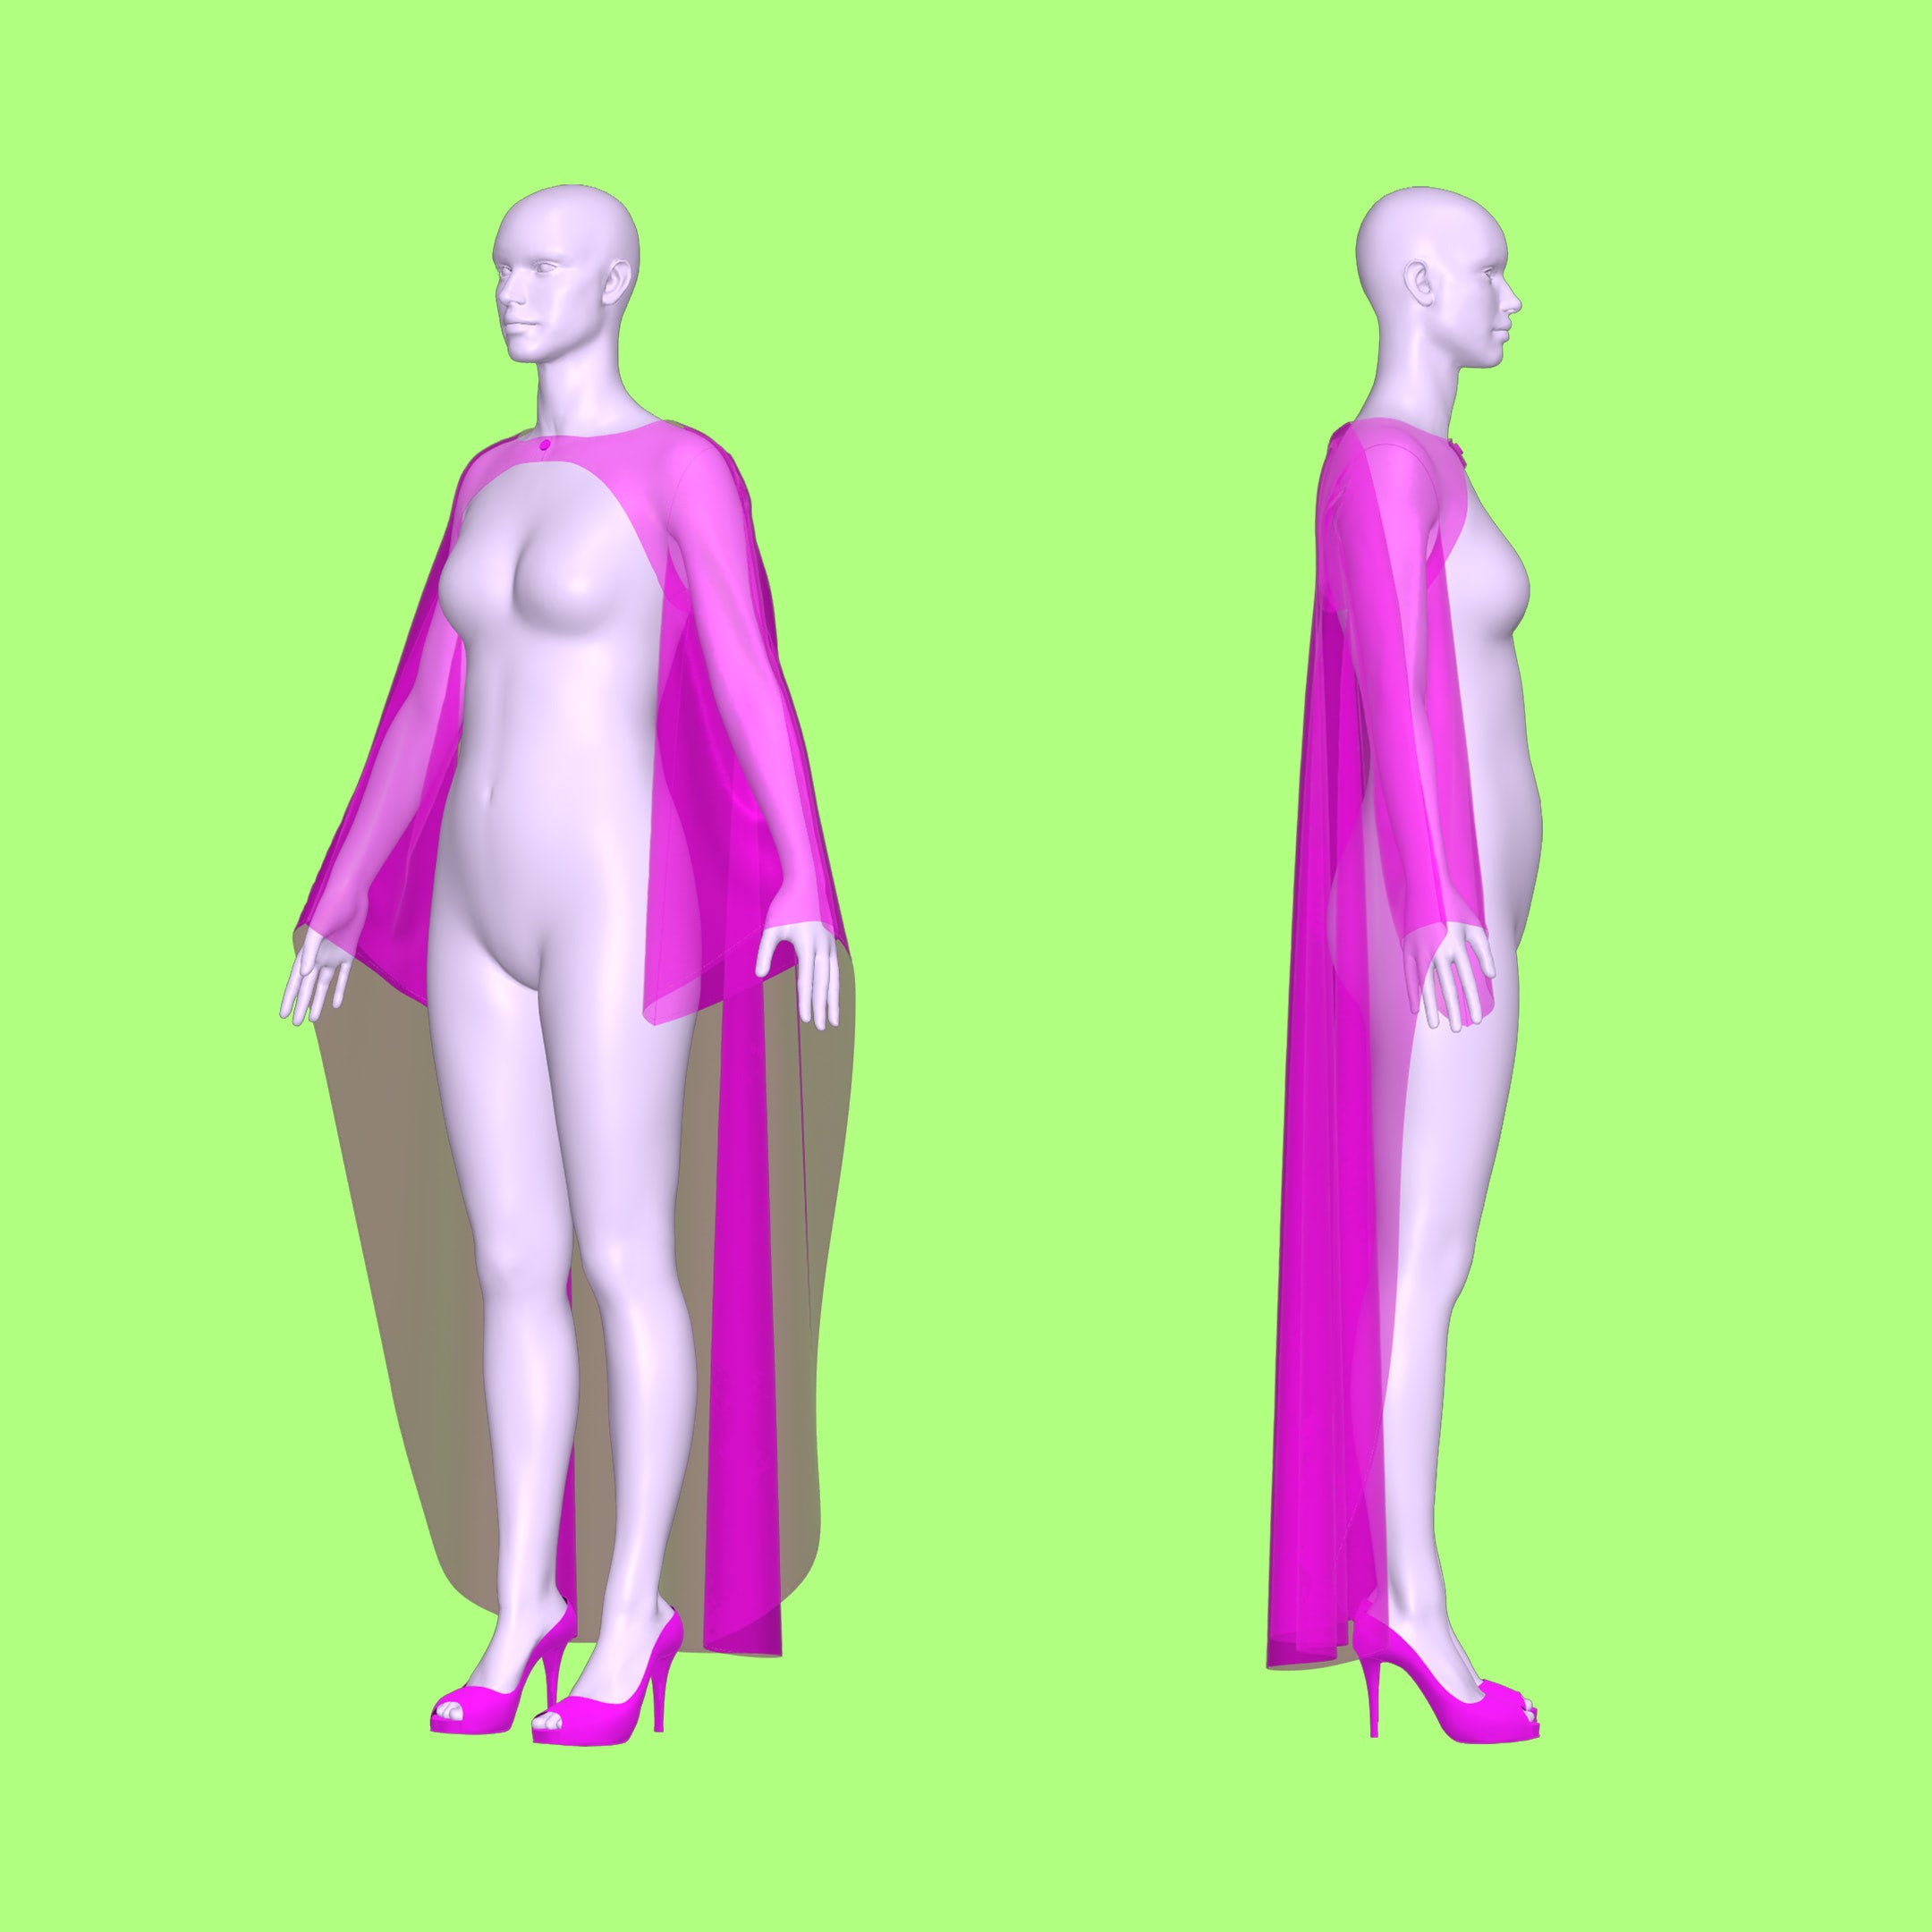
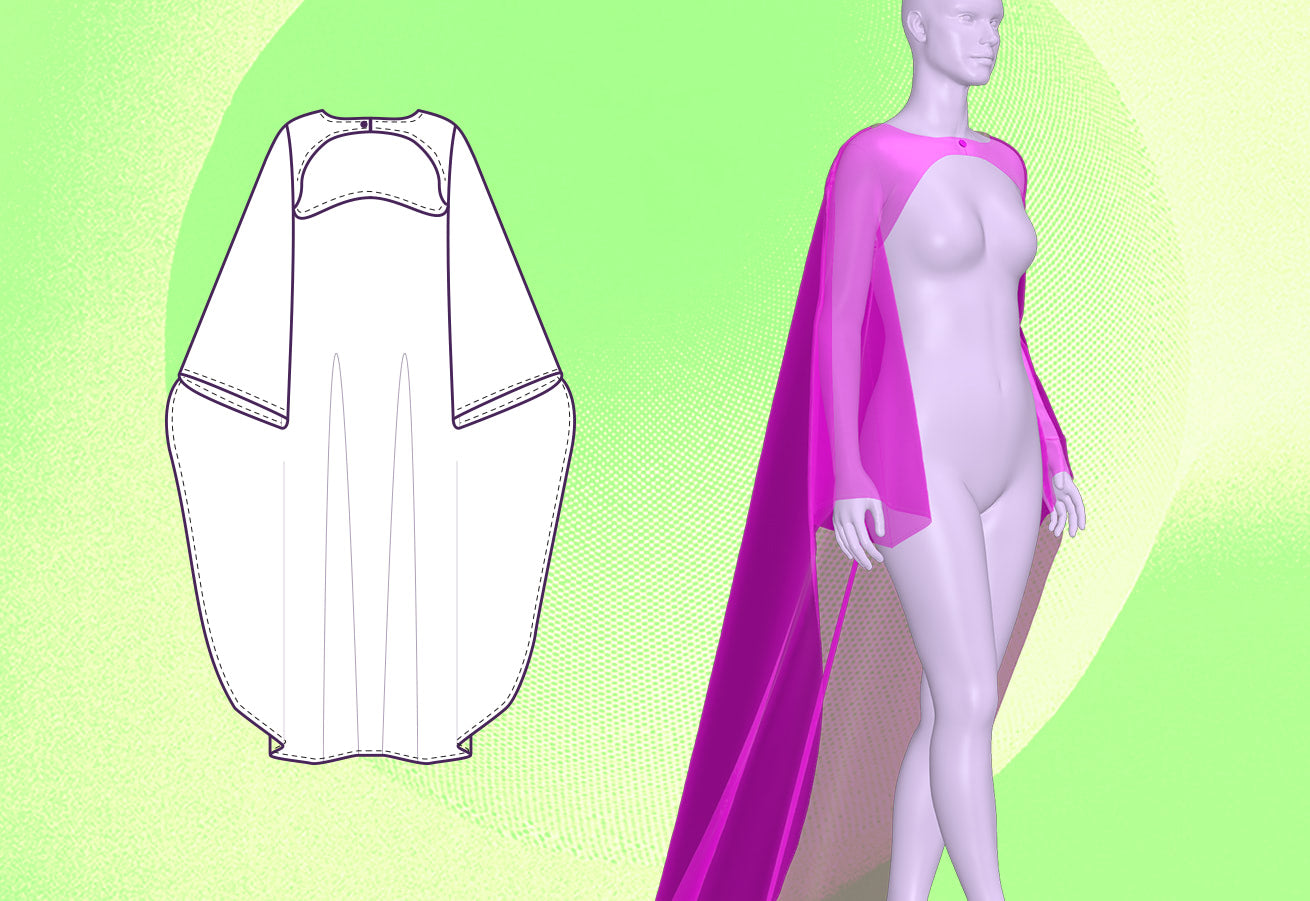
Presentamos nuestro vanguardista patrón de costura elaborado exclusivamente para drag queens: la Majestic Shrug Cape. Esta pieza única está diseñada para introducir un toque de drama teatral y una silueta etérea en cualquier conjunto. Con mangas alargadas que se transforman sin problemas en una capa suelta, este shrug se mueve con gracia y elegancia, capturando la esencia del estilo dramático. Su diseño abierto al frente se acentúa con una disposición para una hebilla o broche elegante justo encima del pecho, que ofrece estilo y seguridad. Diseñado idealmente para telas ligeras como la organza, la translucidez se suma a su misticismo, creando una apariencia delicada y aireada. Úselo sobre cualquier atuendo para elevar instantáneamente su apariencia, agregando un toque de grandeza y delicadeza. Ya sea que esté pavoneándose en el escenario o simplemente buscando hacer una declaración en una gala, este shrug es su boleto a ser el centro de atención al instante.
Dificultad del patrón: Intermedio
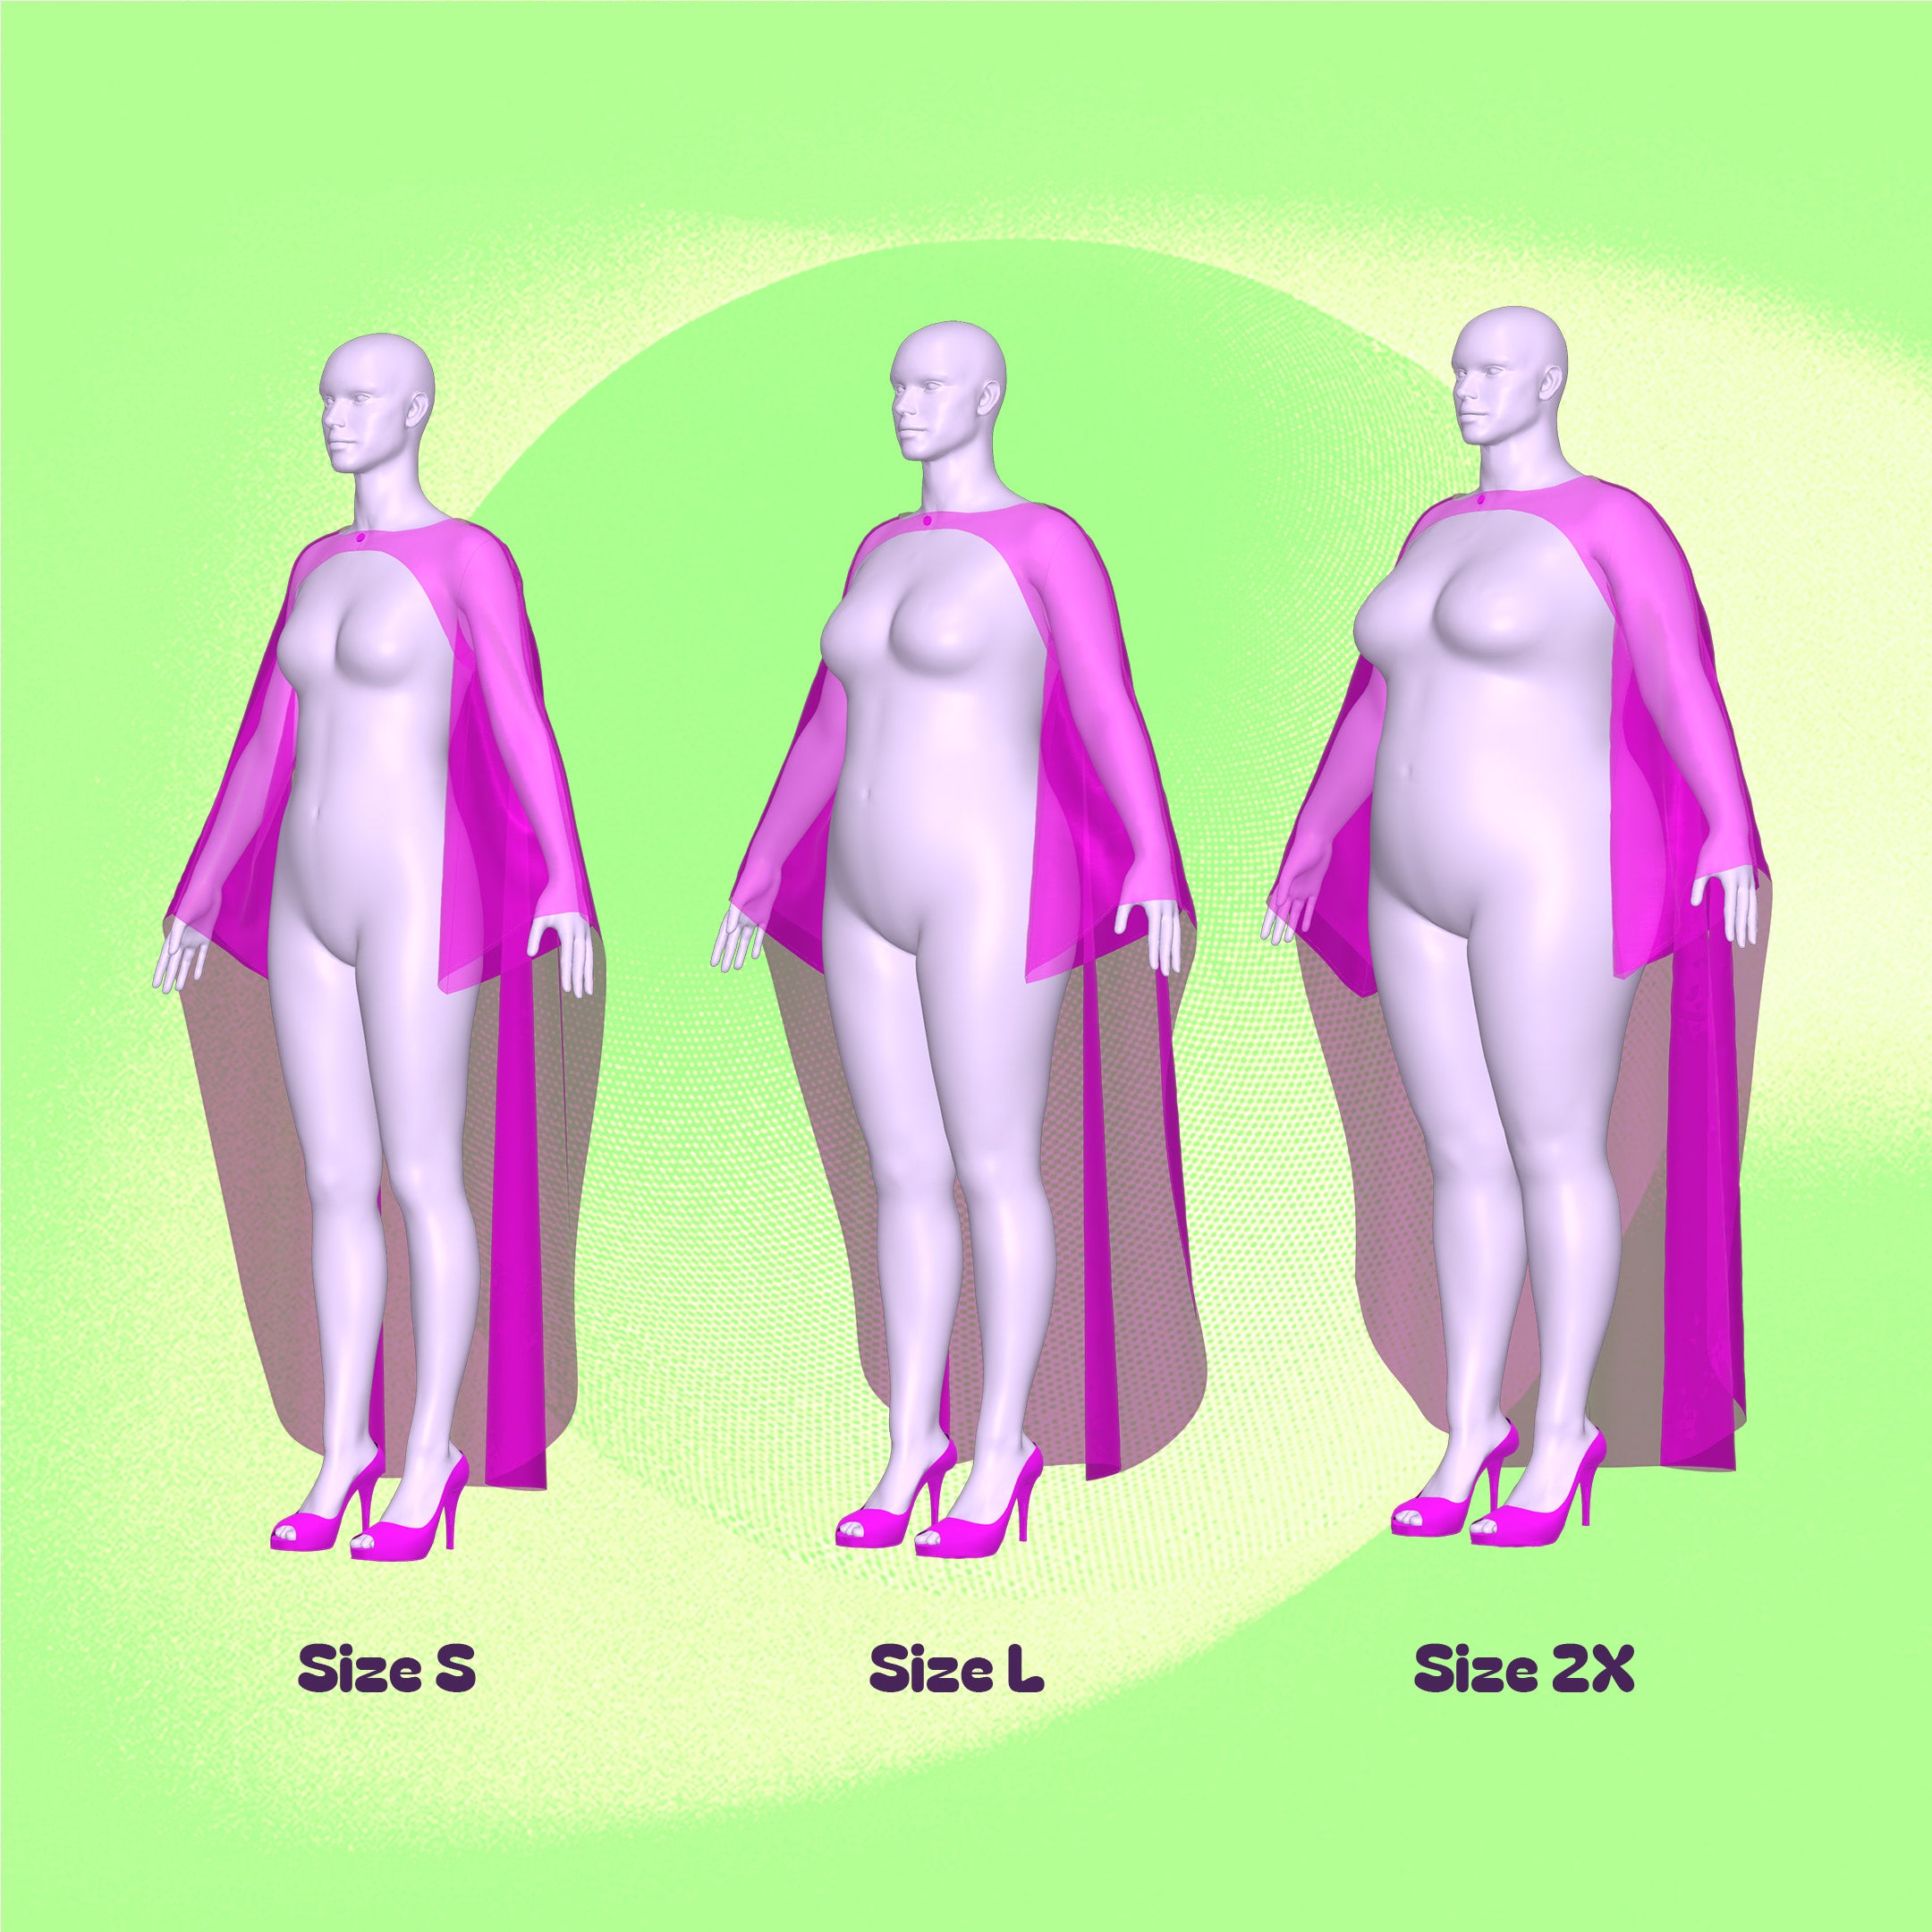
Detalles de tallas
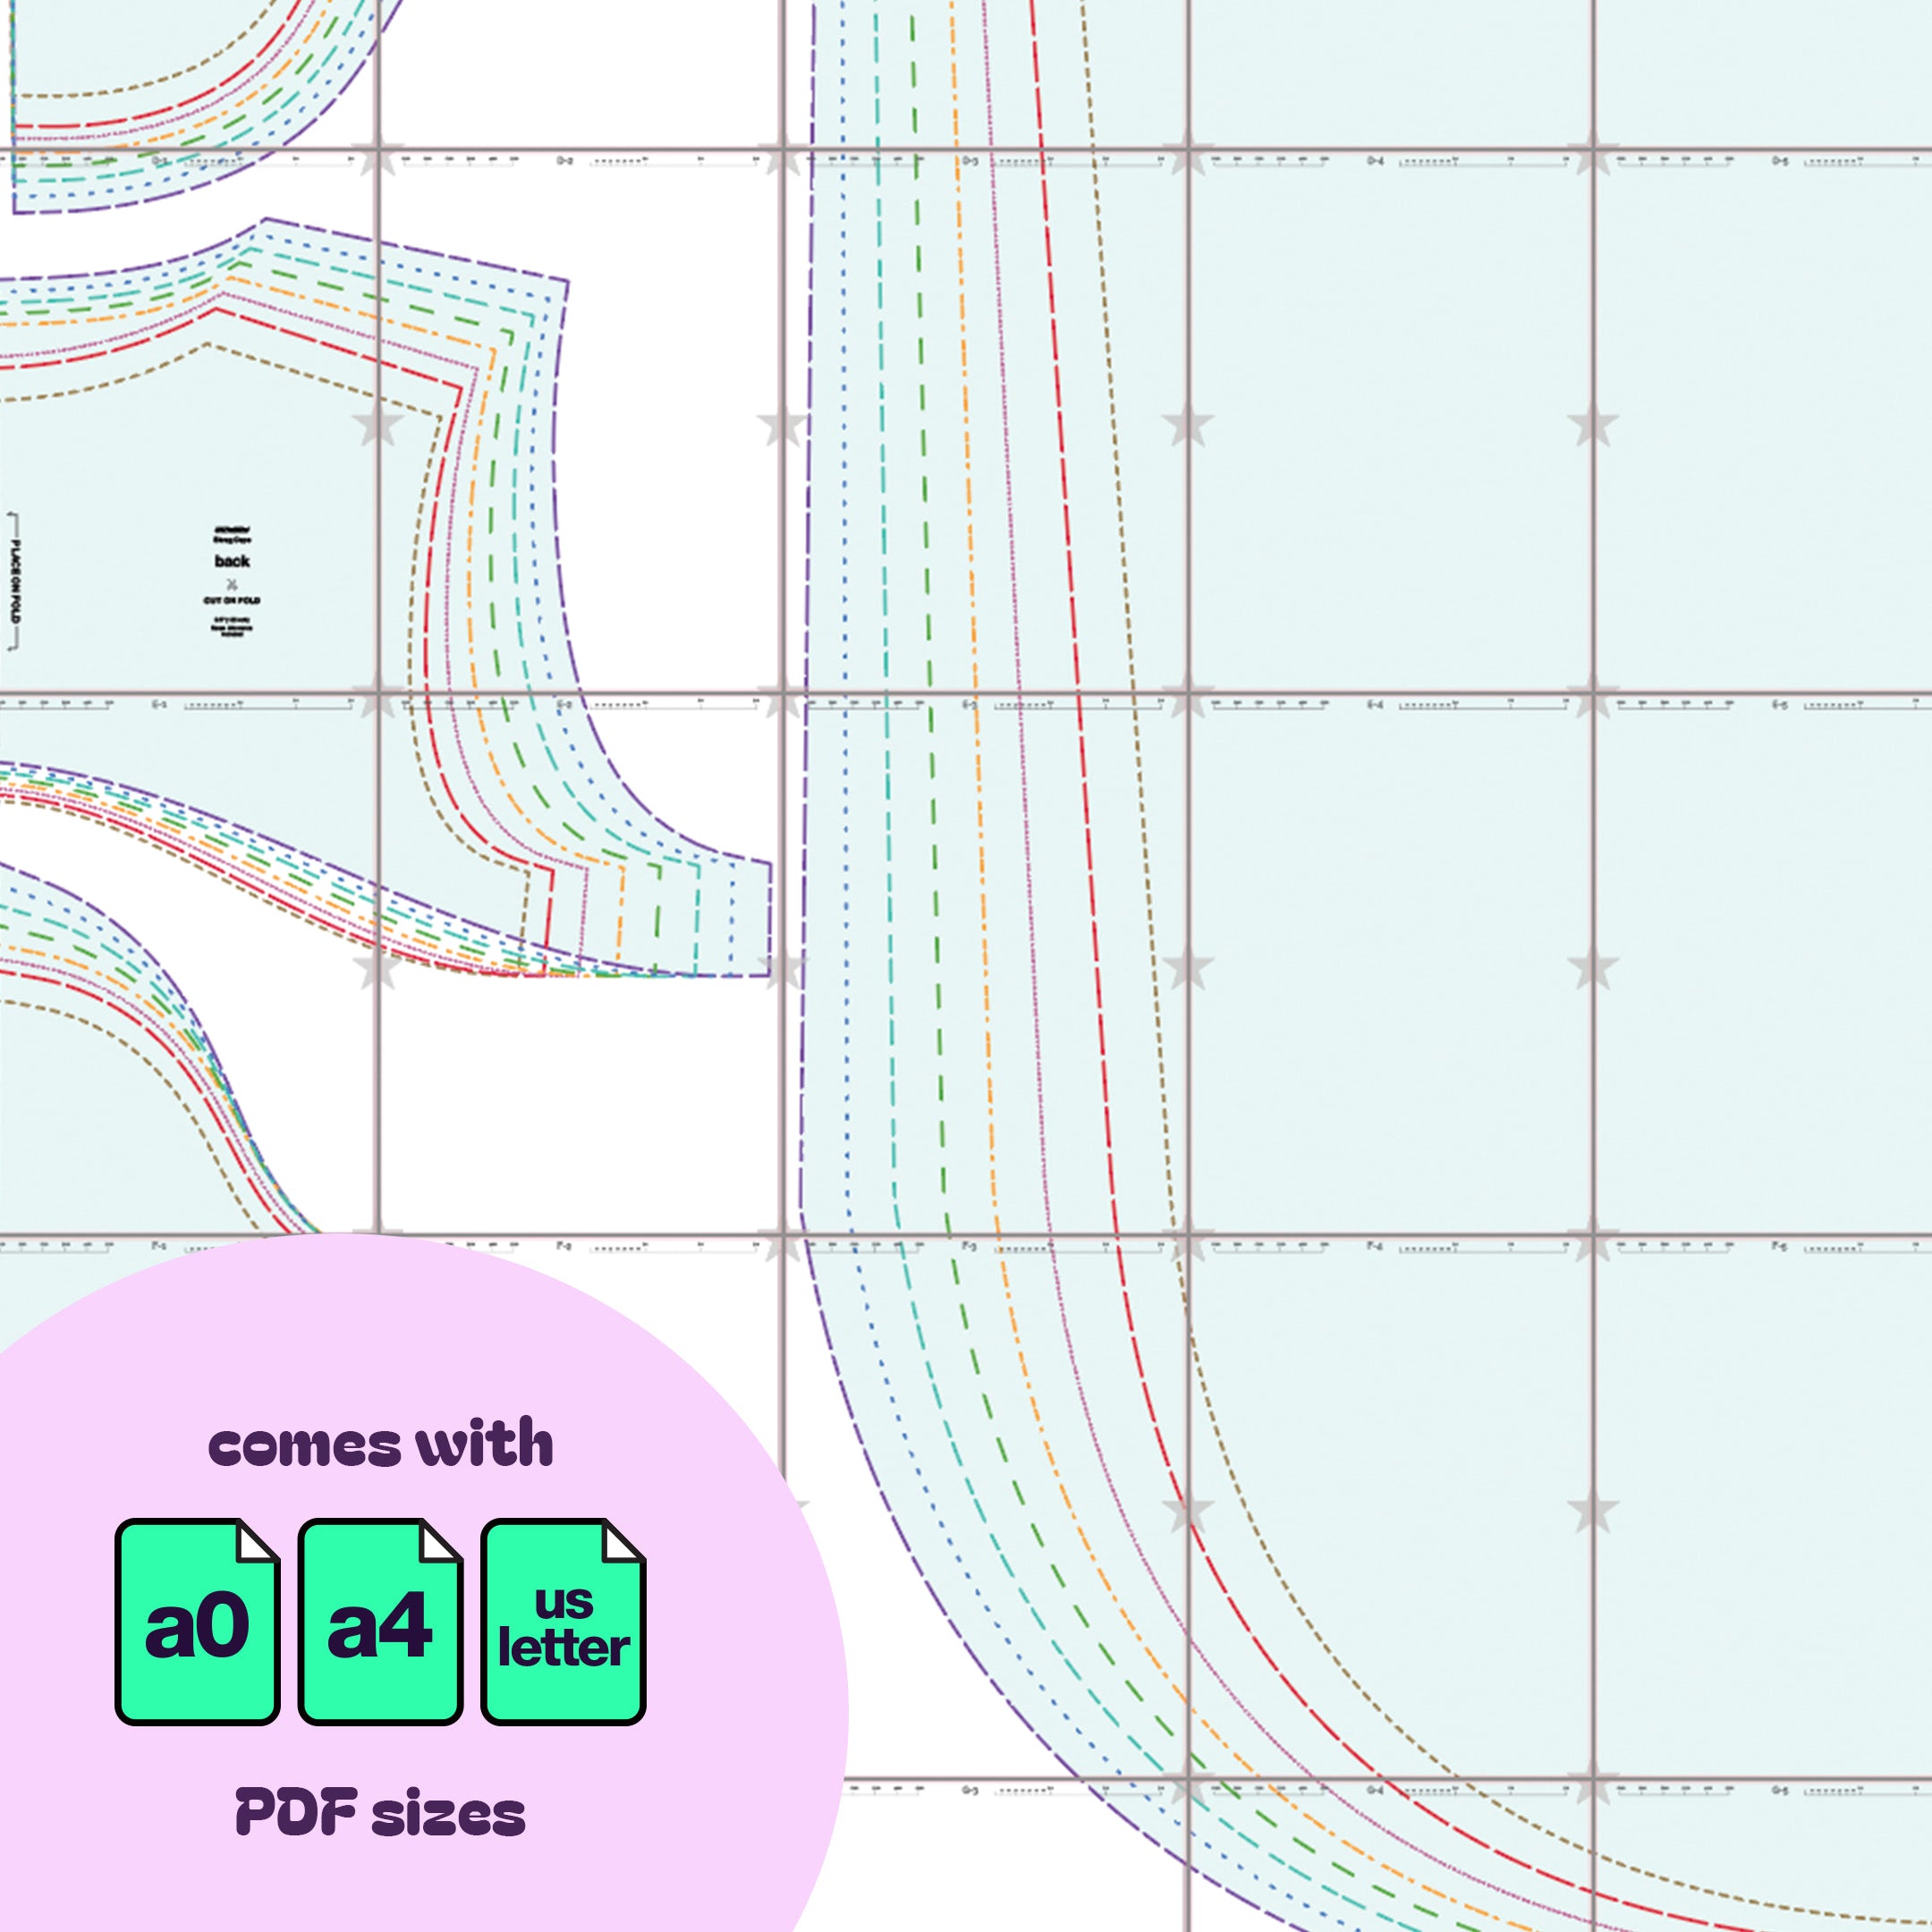
Este patrón viene en tallas desde XS hasta 4X. Nuestras tallas son únicas y están hechas para drag queens, así que revisa nuestra guía de medidas para obtener más información sobre las medidas de nuestras tallas.
Telas y artículos de mercería
Adecuado para tejidos ligeros:
- Organdí
- Gasa
- Georgette
- gasa
- Charmeuse
- Tejidos ligeros
- Hebilla o broches de 1,5 pulgadas para el cierre frontal. También puedes usar botones, broches o velcro.
Yardas de tela
Este patrón requiere una tela liviana. A continuación, encontrará la cantidad de yardas necesarias para cada tamaño.
| Tamaño | Yardas de tela (ancho de 60”) |
|---|---|
| XS | 2,5 yardas |
| S | 2,5 yardas |
| METRO | 2,75 yardas |
| yo | 2,75 yardas |
| SG | 3 yardas |
| 2X | 3 yardas |
| 3 veces | 3 yardas |
| 4 veces | 3 yardas |
Para obtener información sobre la conversión de pulgadas a metros, consulte nuestra guía de conversión.
Instrucciones de costura


STEP 1
Begin by gathering the front and front sleeve fabric pieces. Place them with their right sides facing each other, then pin along the sleeve curve.

STEP 2
Sew them together along the sleeve curve using a straight stitch, zig-zag stitch, or a serger. Follow the same process for the opposite front piece.

STEP 3
At this point, you should have two distinct front pieces assembled.

STEP 4
For the back, gather the back and back sleeve pieces. Like the front, place them with their right sides facing each other and pin along the sleeve curve.

STEP 5
After pinning, sew them together along the sleeve curve.

STEP 6
You'll now have a single assembled back piece.

STEP 7
Prepare for the main assembly by laying out your two front pieces right side up. Overlap the cape on the front pieces with the wrong side up, and then layer the back piece over the cape, also with the wrong side up.

STEP 8
Ensure the layers are aligned along the sleeve, shoulder, and neck edges. Once aligned, pin the layers together and proceed to sew along the sleeve and shoulder seams.

STEP 9
Begin rolling the cape layer upwards, starting from its bottom. The aim is to neatly tuck it within the confines of the sleeves.

STEP 10
With the cape rolled up inside the sleeves, sew the sleeves together and the sides front and back side seams, right sides facing each other.

STEP 11
Turn the garment right side out through the neck hole. Begin hemming the exposed edges, including the neckline, bottom of the shrug, sleeve openings, and the bottom edge of the cape. For a neat finish around the cape attachment, use a seam ripper around the sleeve.

STEP 12
Once all hemming is complete, attach your chosen lightwieght front closure. Choose a button, snap, velcro, buckle or clasp. This pattern is tailored for hardware that's 1.5 inches in size.