Cómo coser una capa reveladora
Saltar a instrucciones
Descripción general
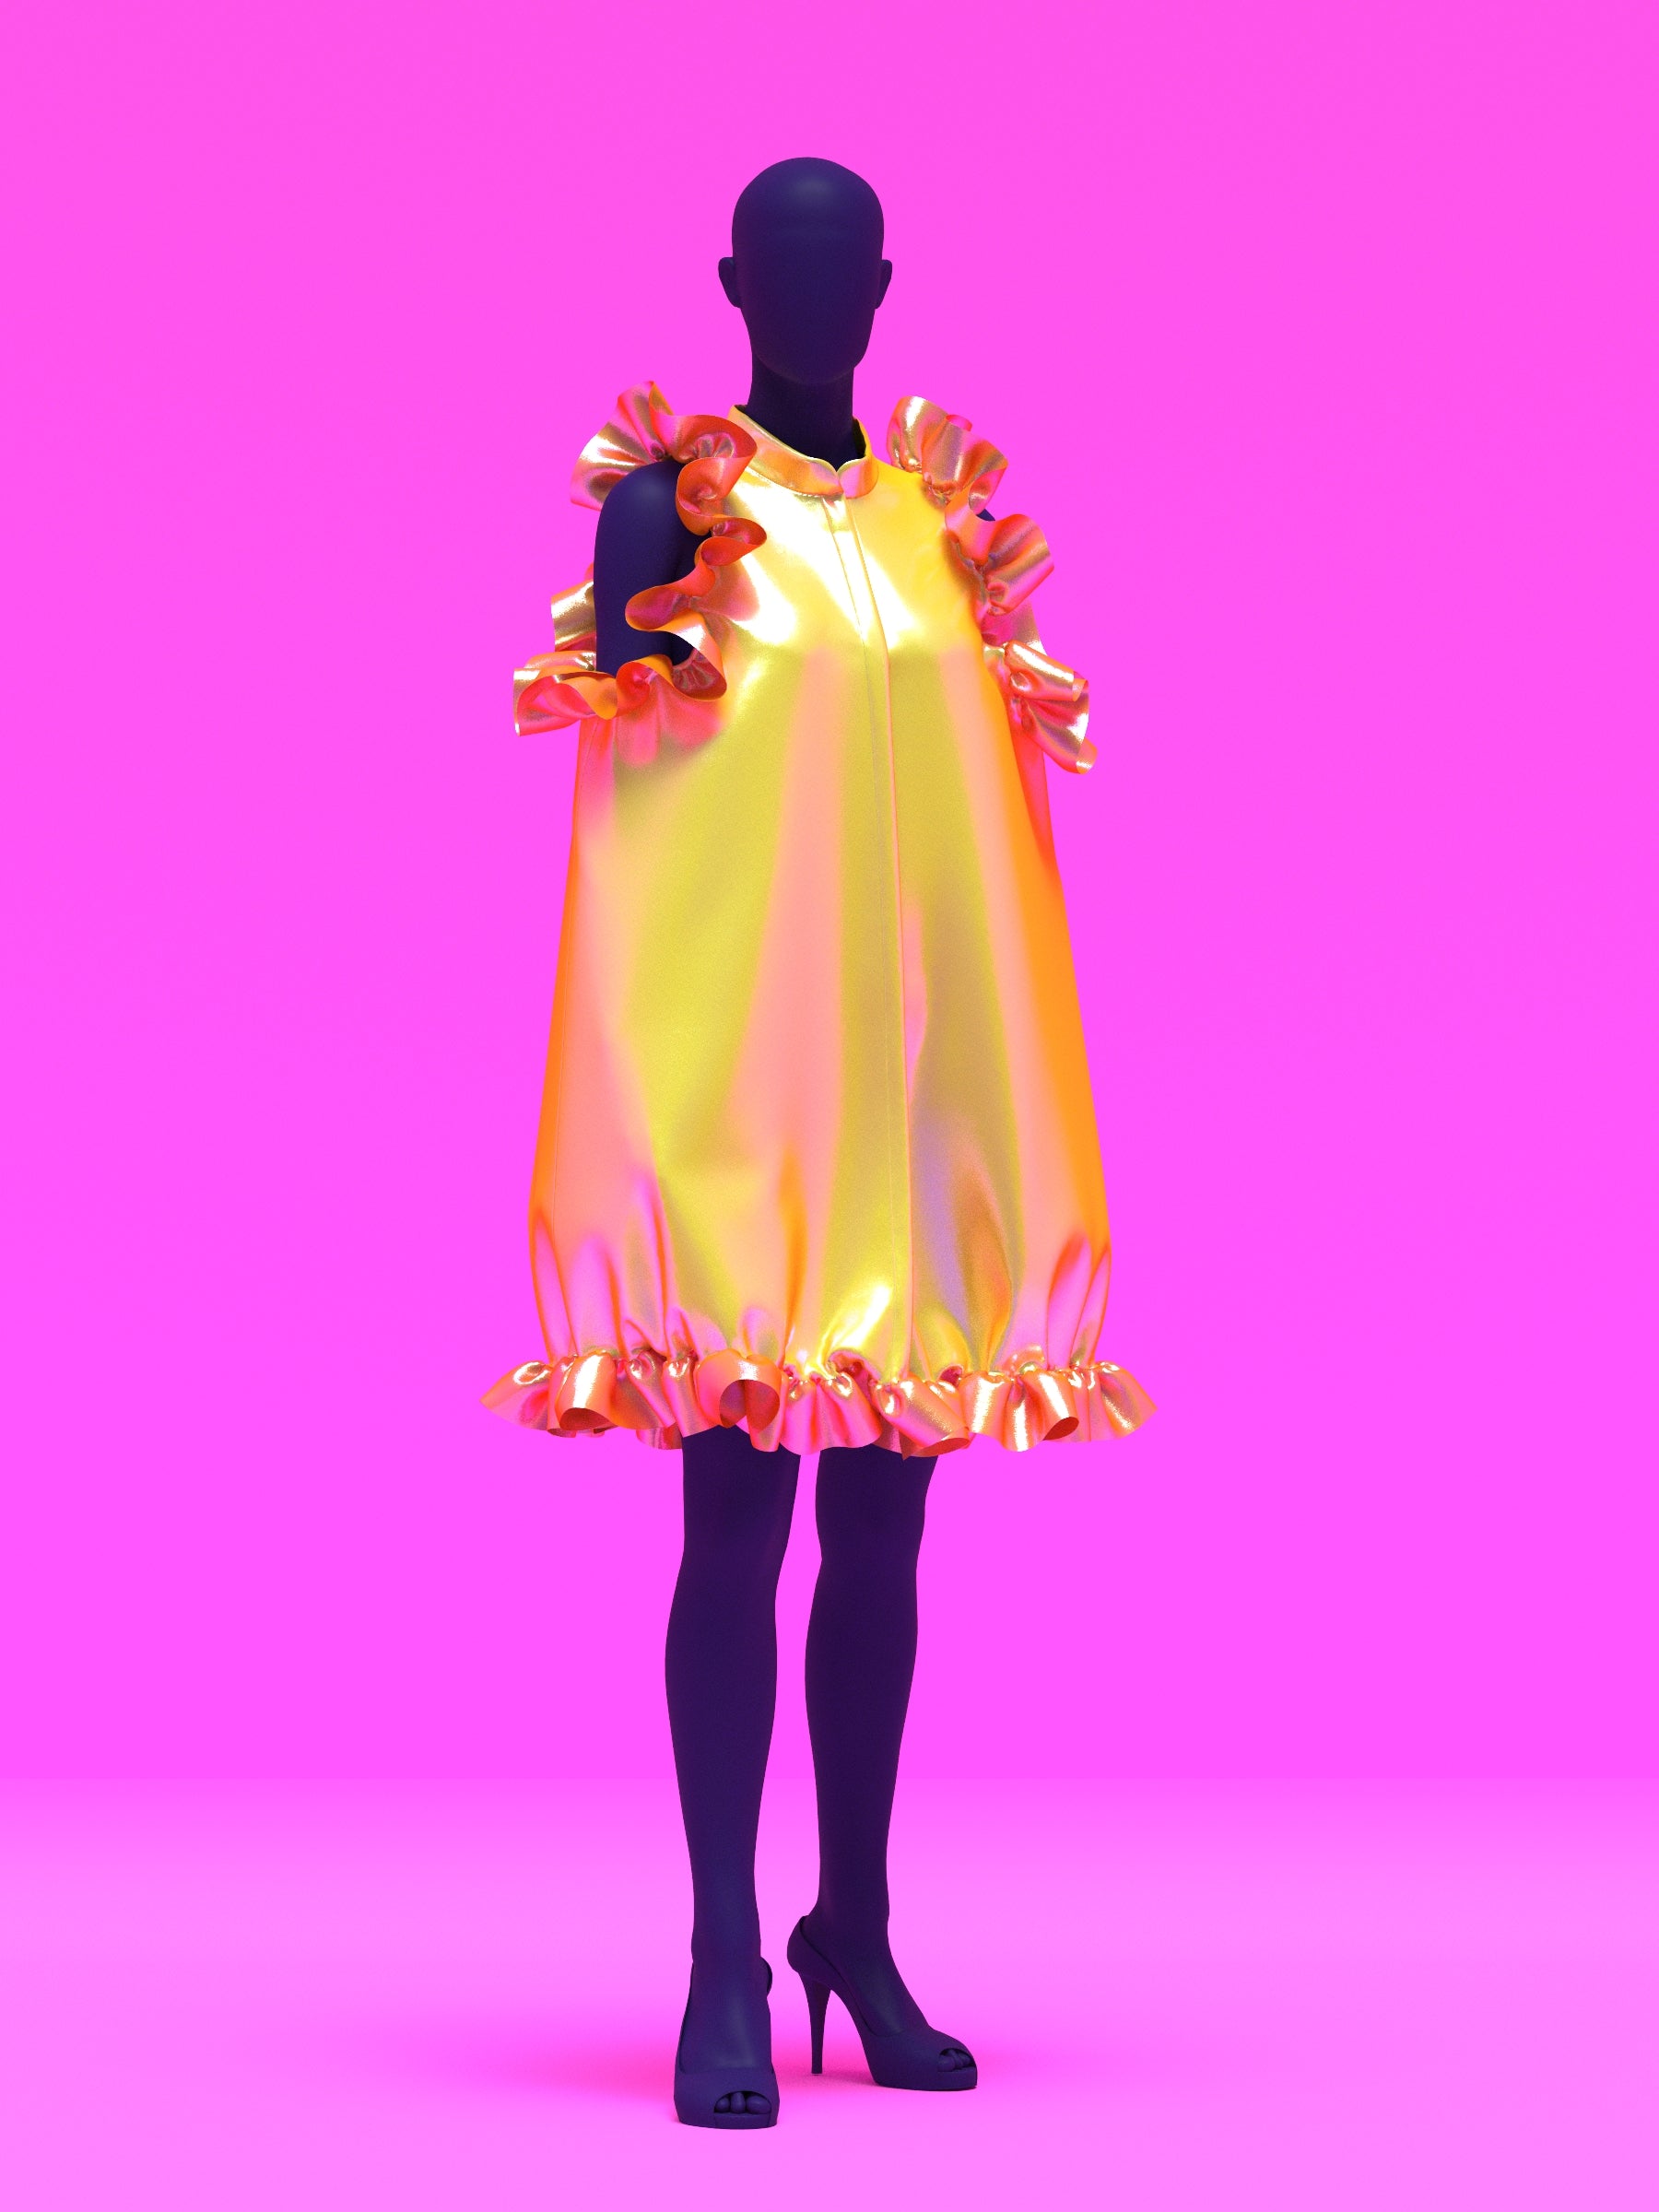
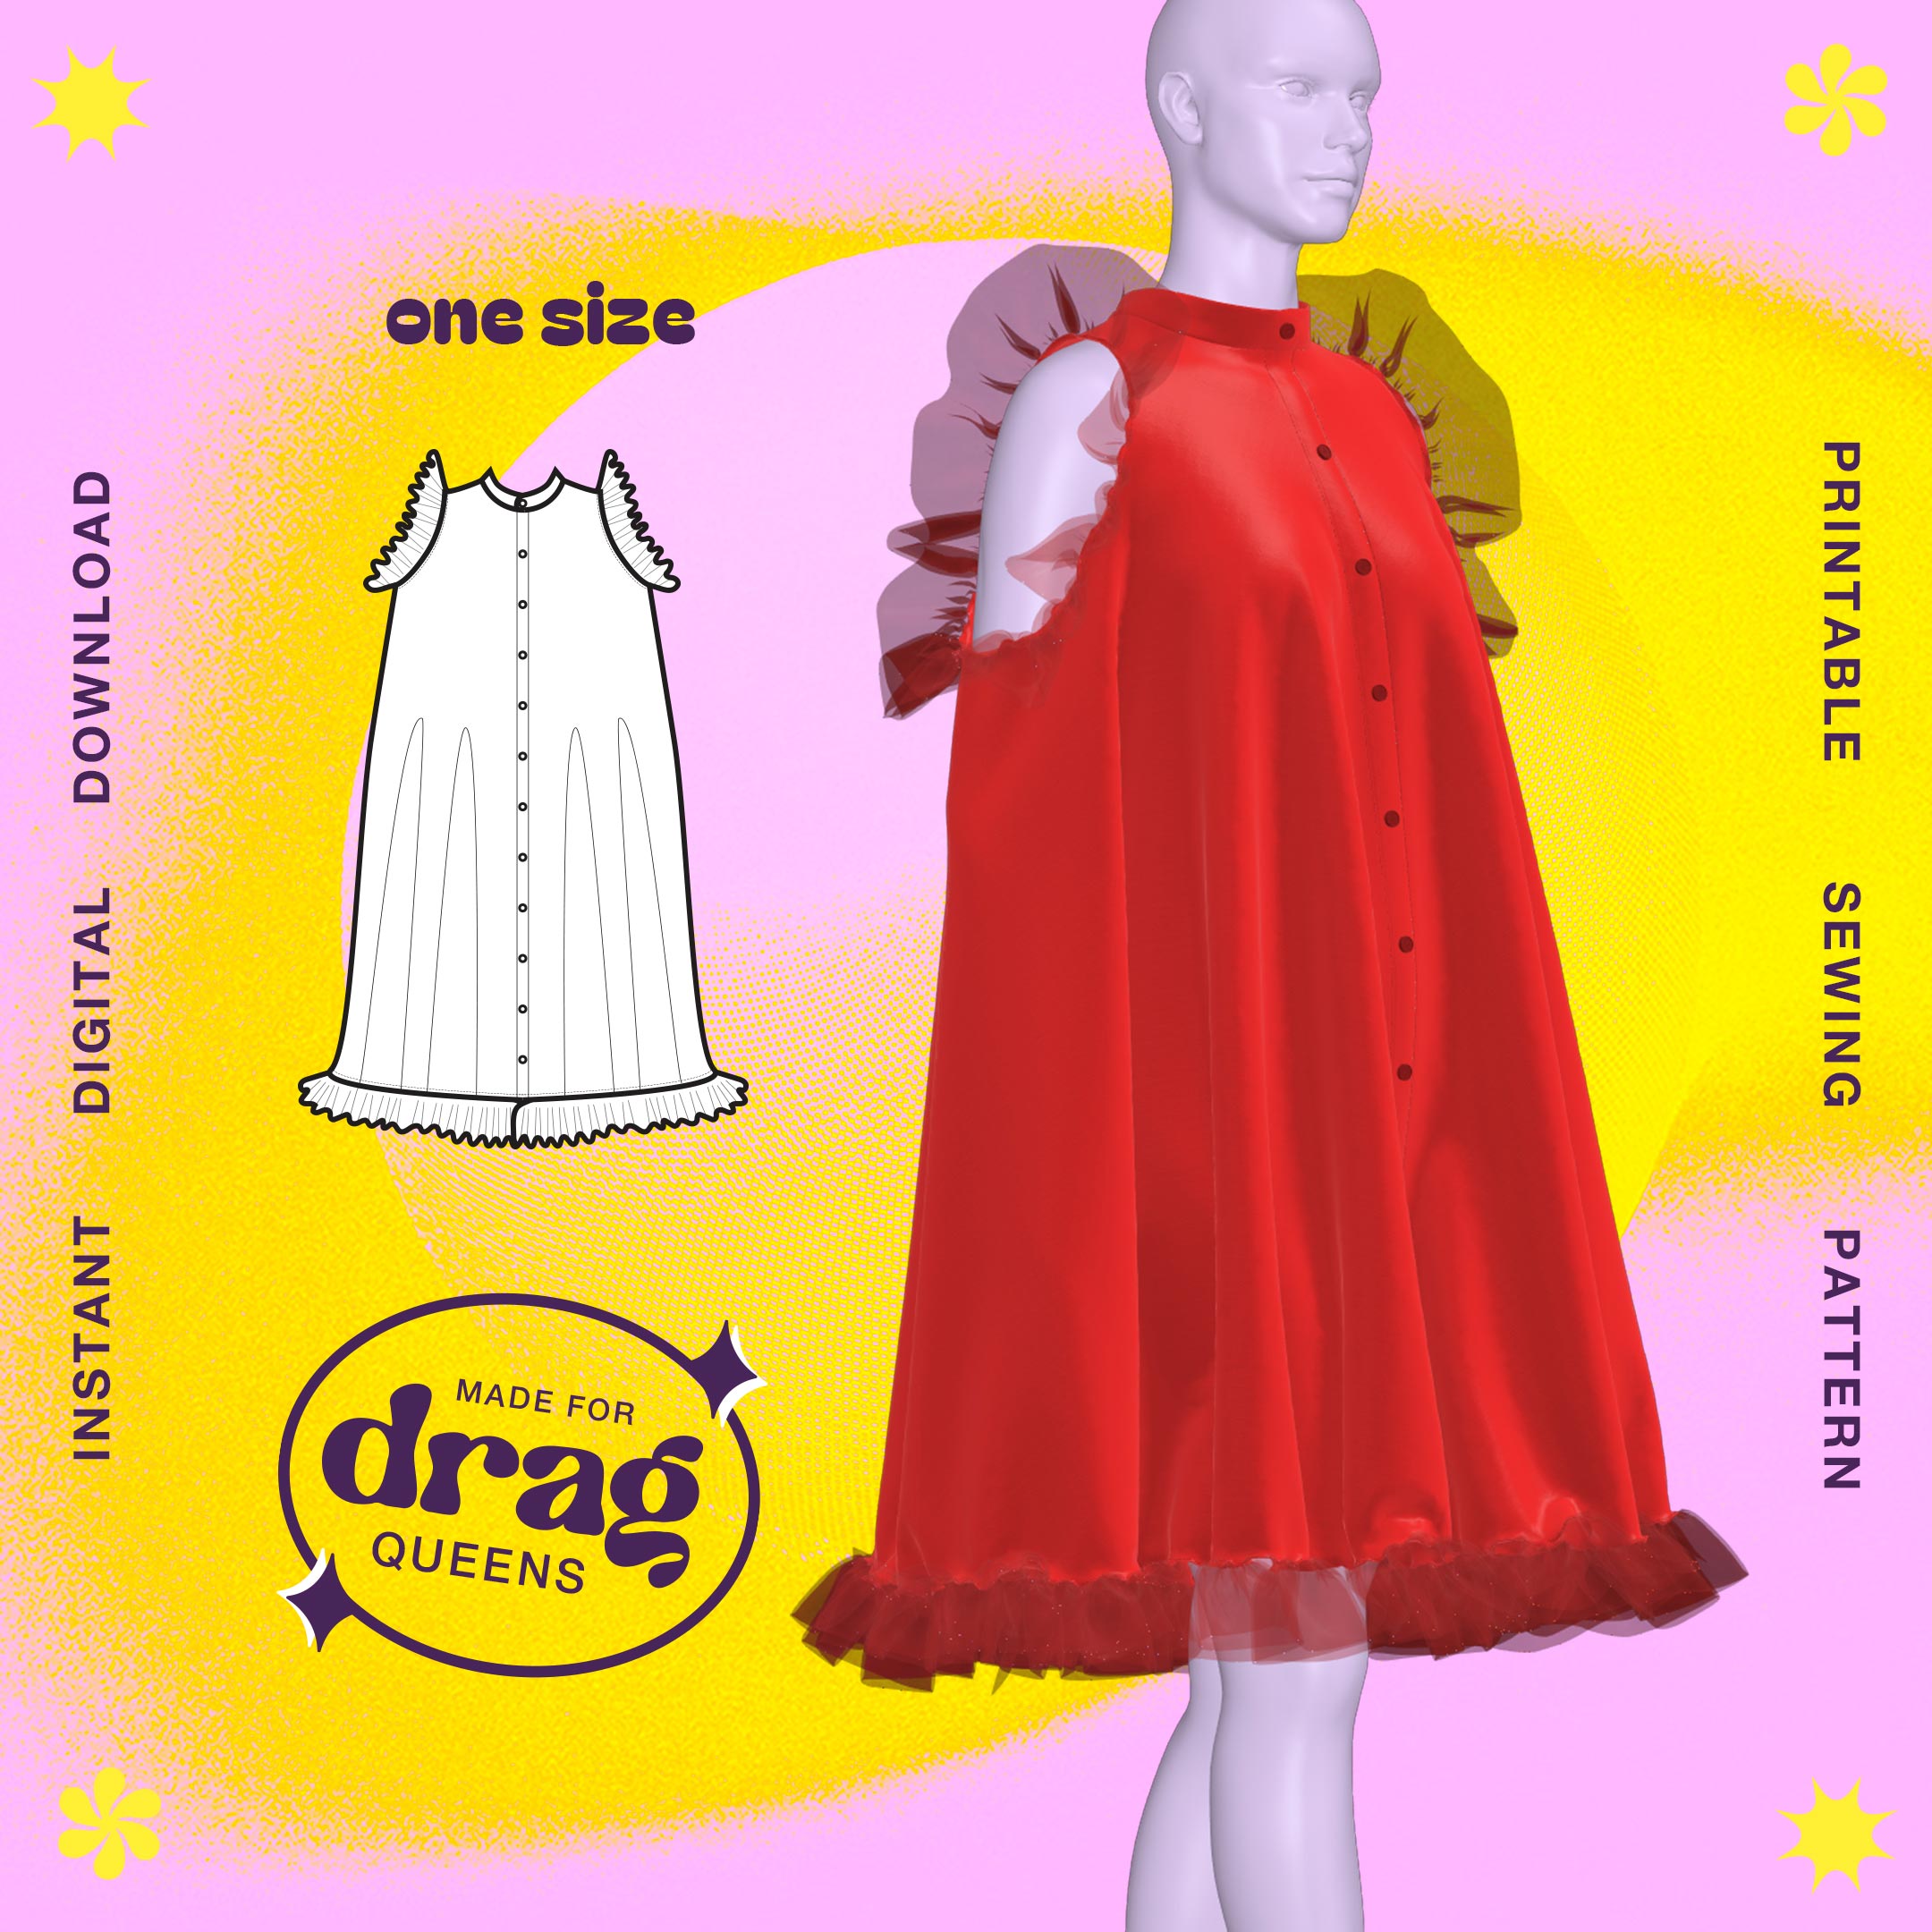
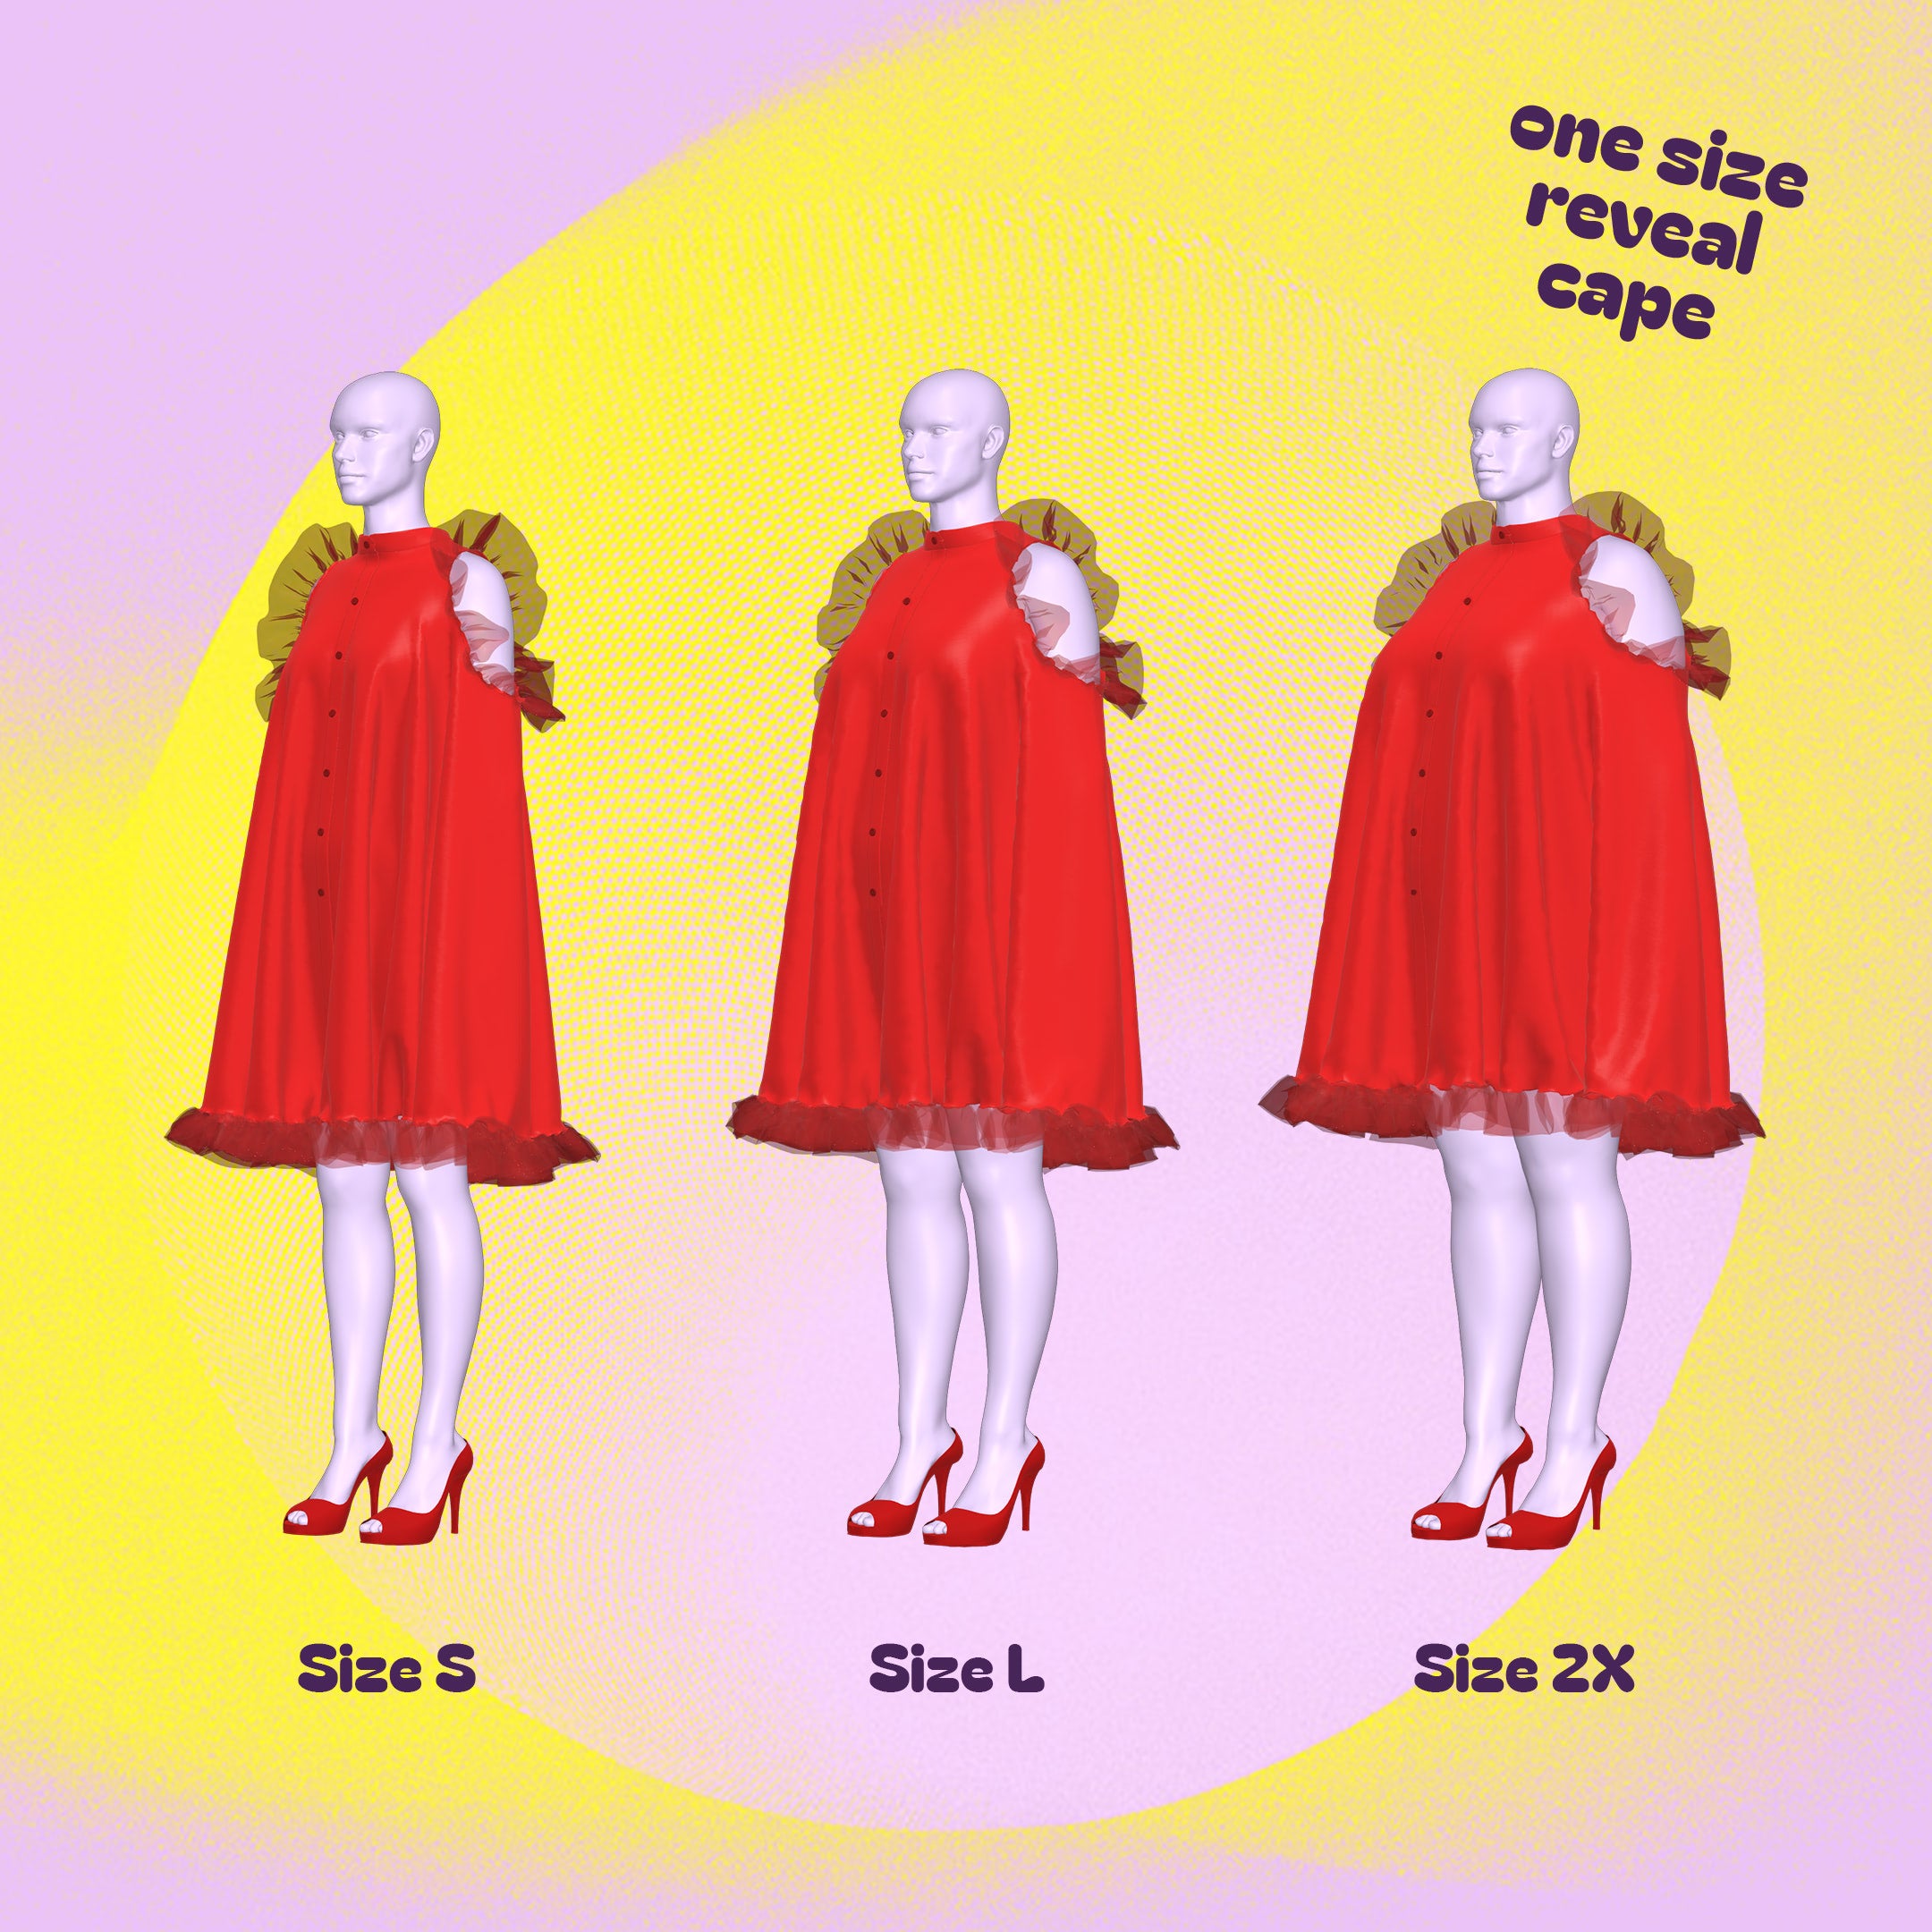
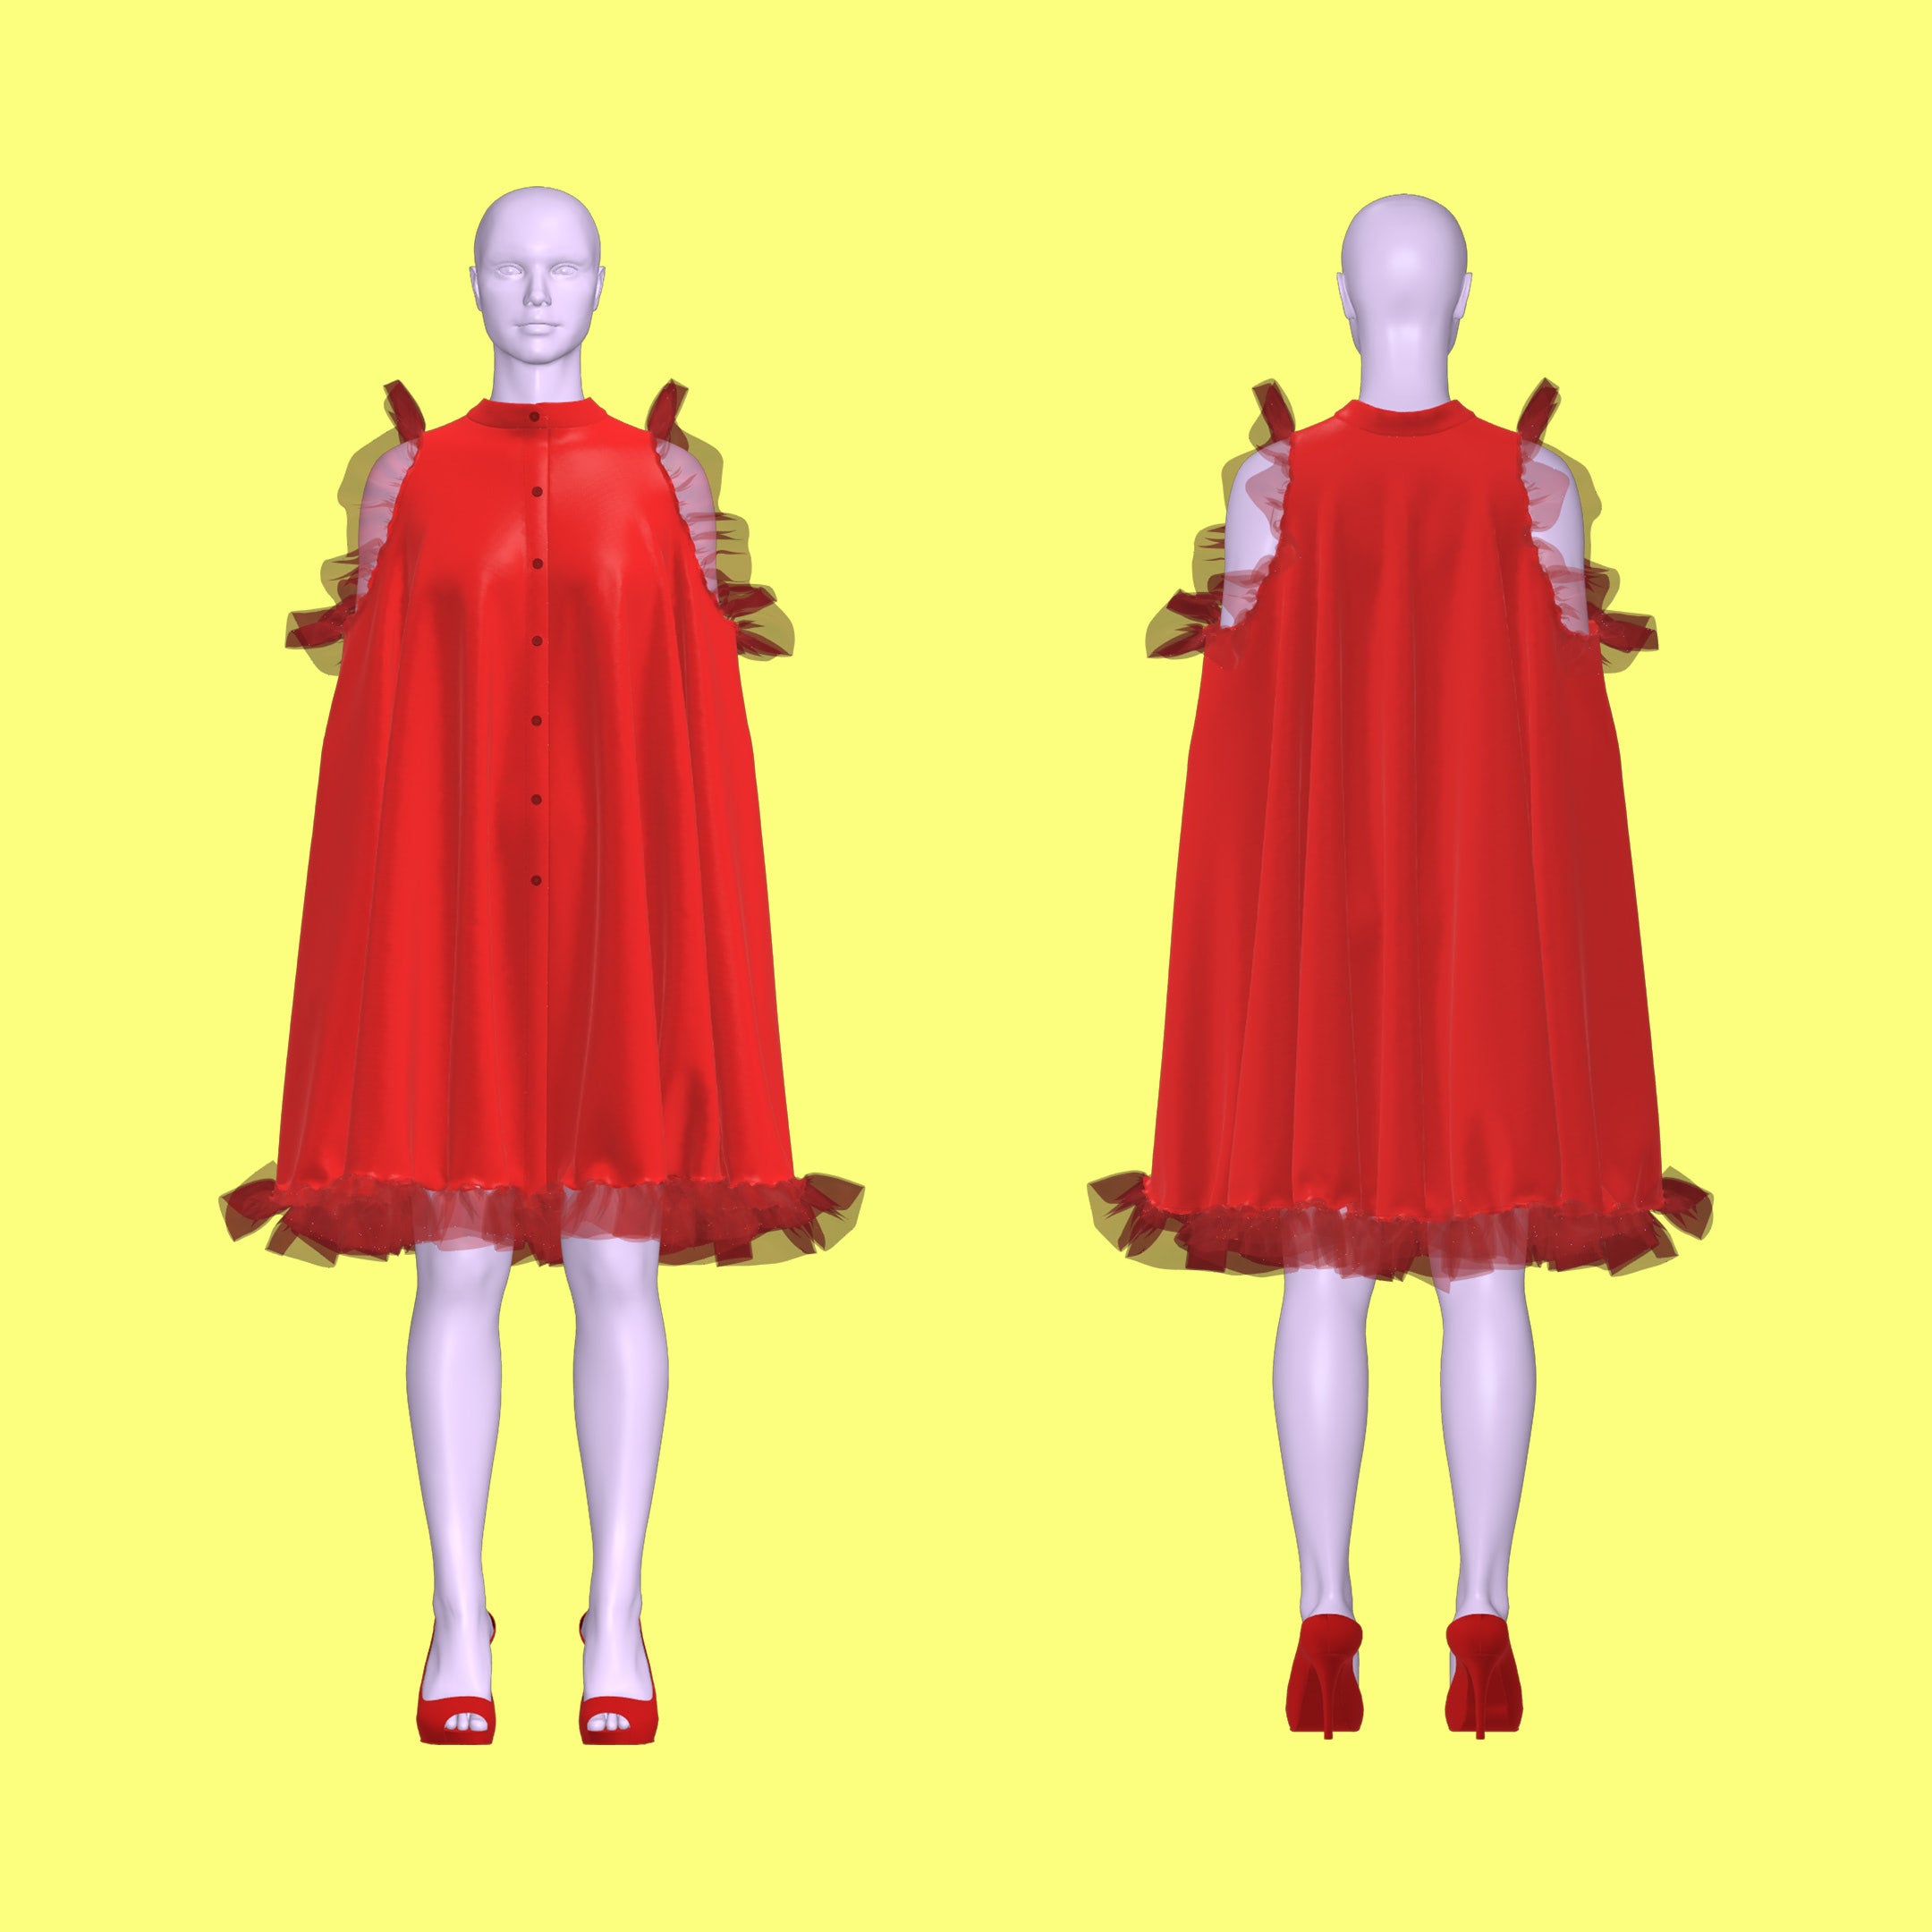
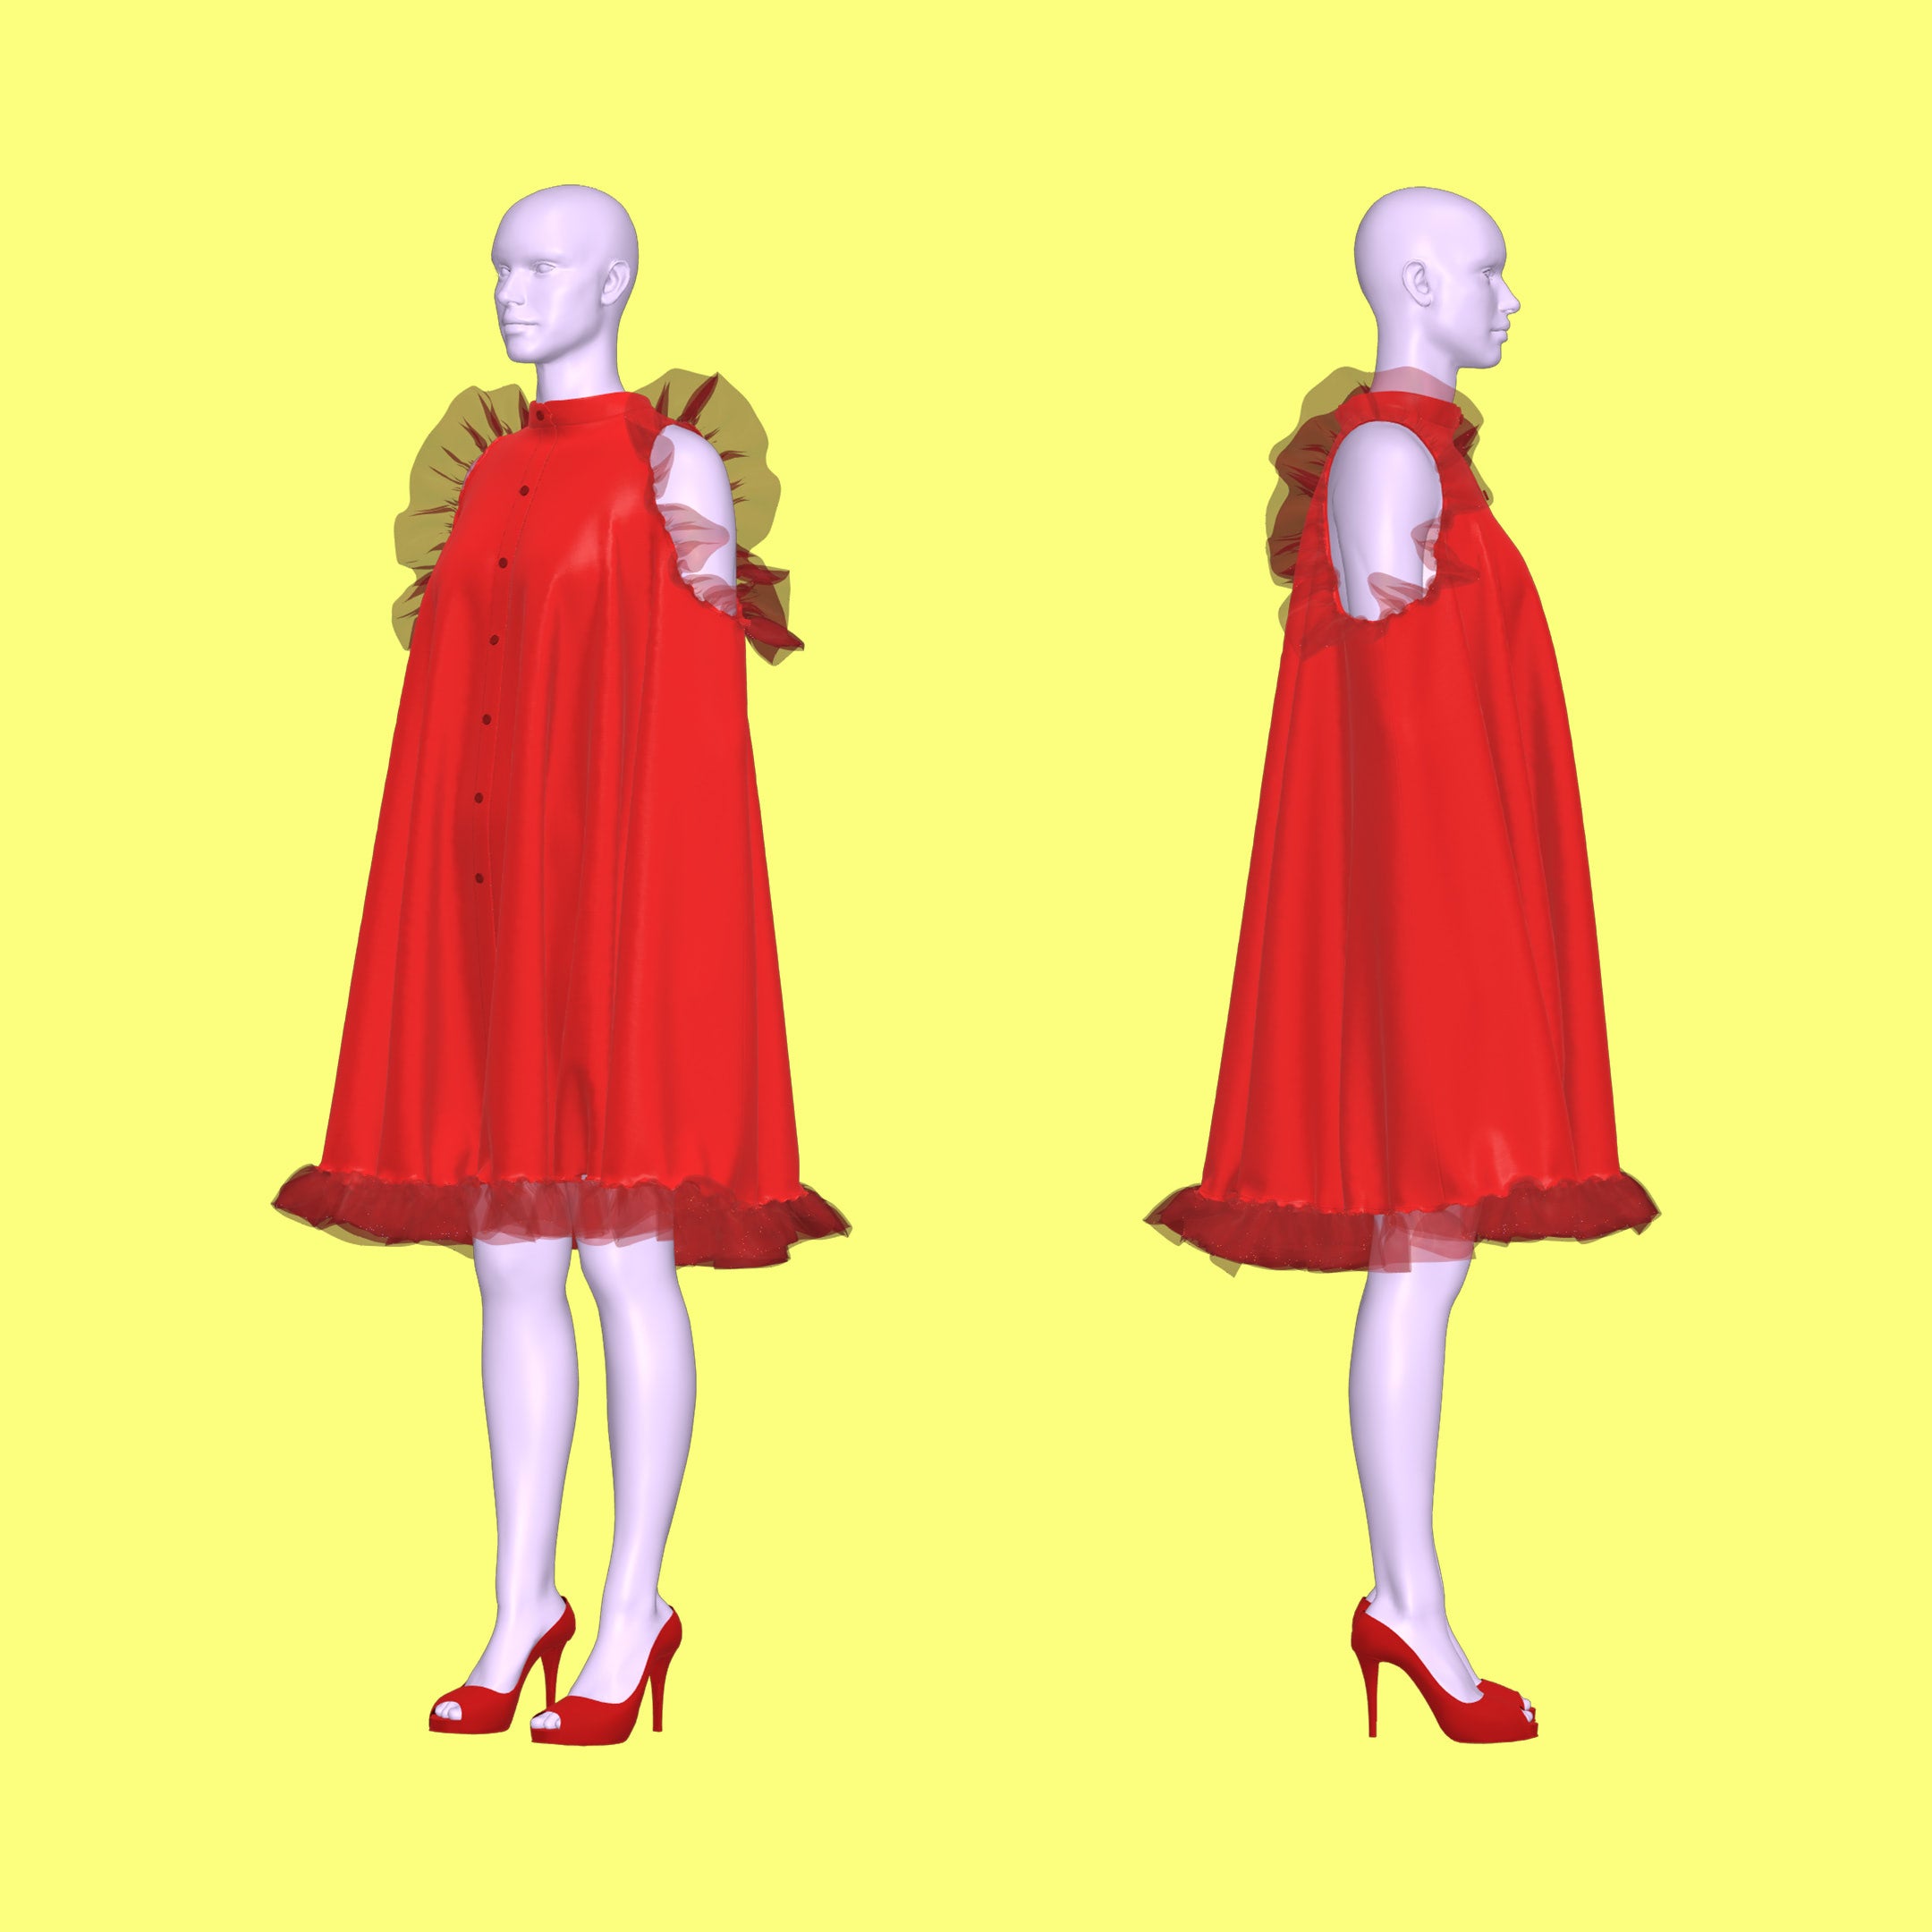
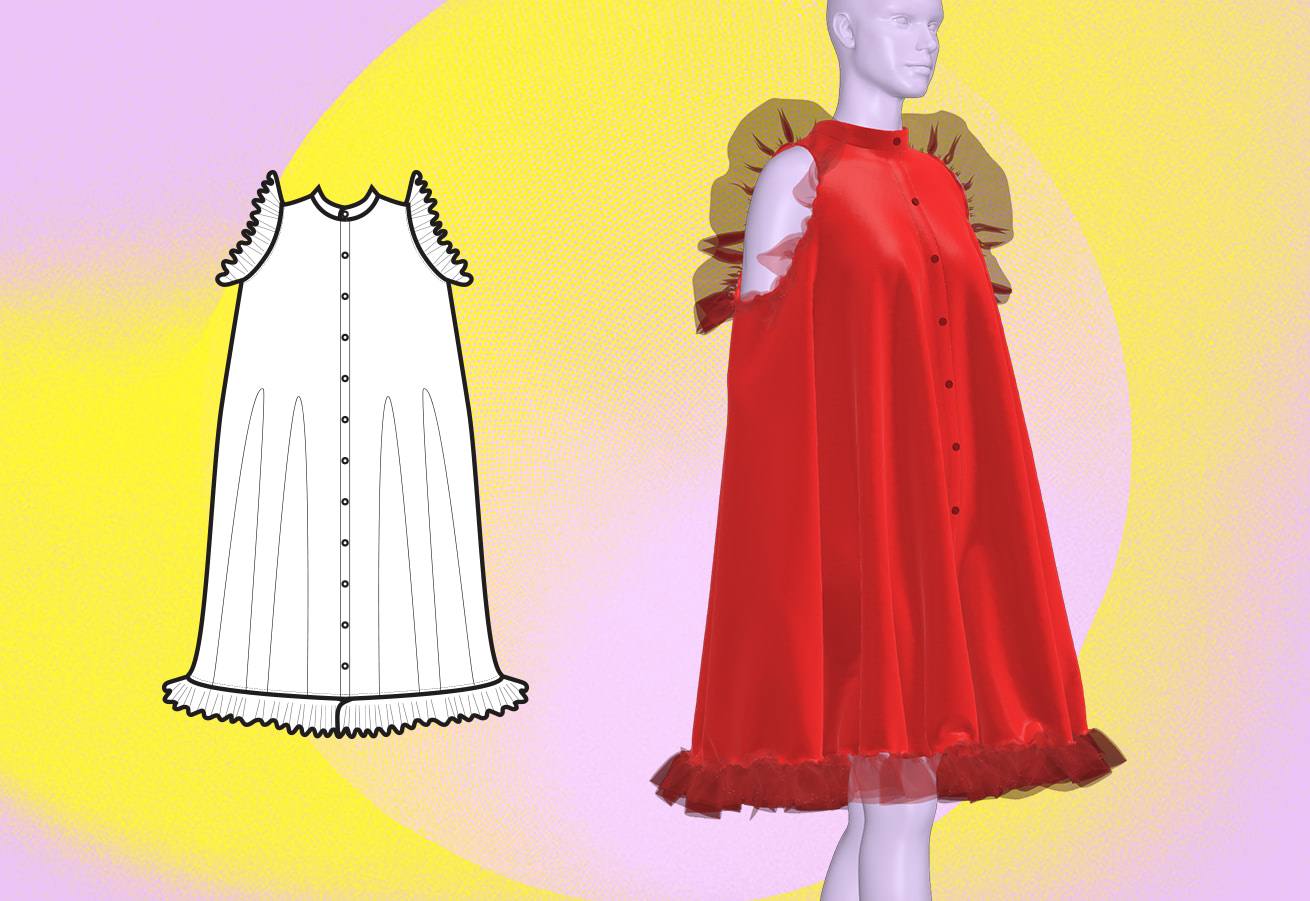
Presentamos el espectacular patrón de costura de capa de talla única Reveal, diseñado para la dinámica intérprete drag queen. Confeccionada con el arte de revelar el cuerpo, esta capa cubre elegantemente la parte superior del cuerpo y cae en cascada hasta la mitad de los muslos, esperando el momento perfecto para revelar el deslumbrante conjunto que se encuentra debajo. El diseño universal de la capa garantiza un ajuste favorecedor para todas, y se ajusta a nuestro exclusivo espectro de tallas diseñado para la comunidad drag.
La capa está diseñada con aberturas en los hombros para brindar un toque de encanto, con voluminosos volantes de tul para agregar dramatismo. Personaliza el cierre frontal según tus necesidades de actuación con opciones que van desde botones clásicos hasta broches rápidos o velcro práctico. ¡Con la capa Reveal, tu entrada será tan inolvidable como tu revelación!
Dificultad del patrón: Para principiantes
Detalles de tallas
Este patrón se adapta a todos los tamaños, desde XS a 4X. Consulta nuestra guía de medidas para obtener más detalles.
Telas y artículos de mercería
Adecuado tanto para tejidos elásticos como no elásticos:
- Algodón
- Poliéster
- Satín
- Terciopelo
- Licra/spandex
- Tejido de punto elástico
- Vinilo
- Tul de 6 pulgadas de ancho por yarda
- Botones, broches o velcro para el cierre central delantero.
Yardas de tela
- 4,5 yardas (44” de ancho)
Para obtener información sobre la conversión de pulgadas a metros, consulte nuestra guía de conversión.
Recortar yardas
No existe un patrón de papel específico para el ribete. En cambio, la longitud del ribete se determina mediante medidas, que varían según el tipo de ribete que elijas. En el caso de los volantes, la longitud total debe ser tres veces el ancho de la costura para permitir que se frunca y se cree el efecto del volante. Por el contrario, en el caso de los ribetes de piel o las cintas al bies, la longitud total debe ser igual al ancho de la costura.
| Volantes | Sin volantes | |
|---|---|---|
| Peekaboo de hombro | 3,5 yardas (1,75y por hombro) |
1,25 yardas (21” por hombro) |
| Dobladillo inferior | 16 yardas | 5,75 yardas |
Para hacer un volante, considera comprar tul de 6 pulgadas de ancho por yarda. Dobla el tul por la mitad para crear una capa doble, lo que dará como resultado una sección de 3 pulgadas de ancho. Luego, puedes fruncirlo y coserlo alrededor del hombro y el dobladillo inferior de la capa.
Instrucciones de costura


STEP 1
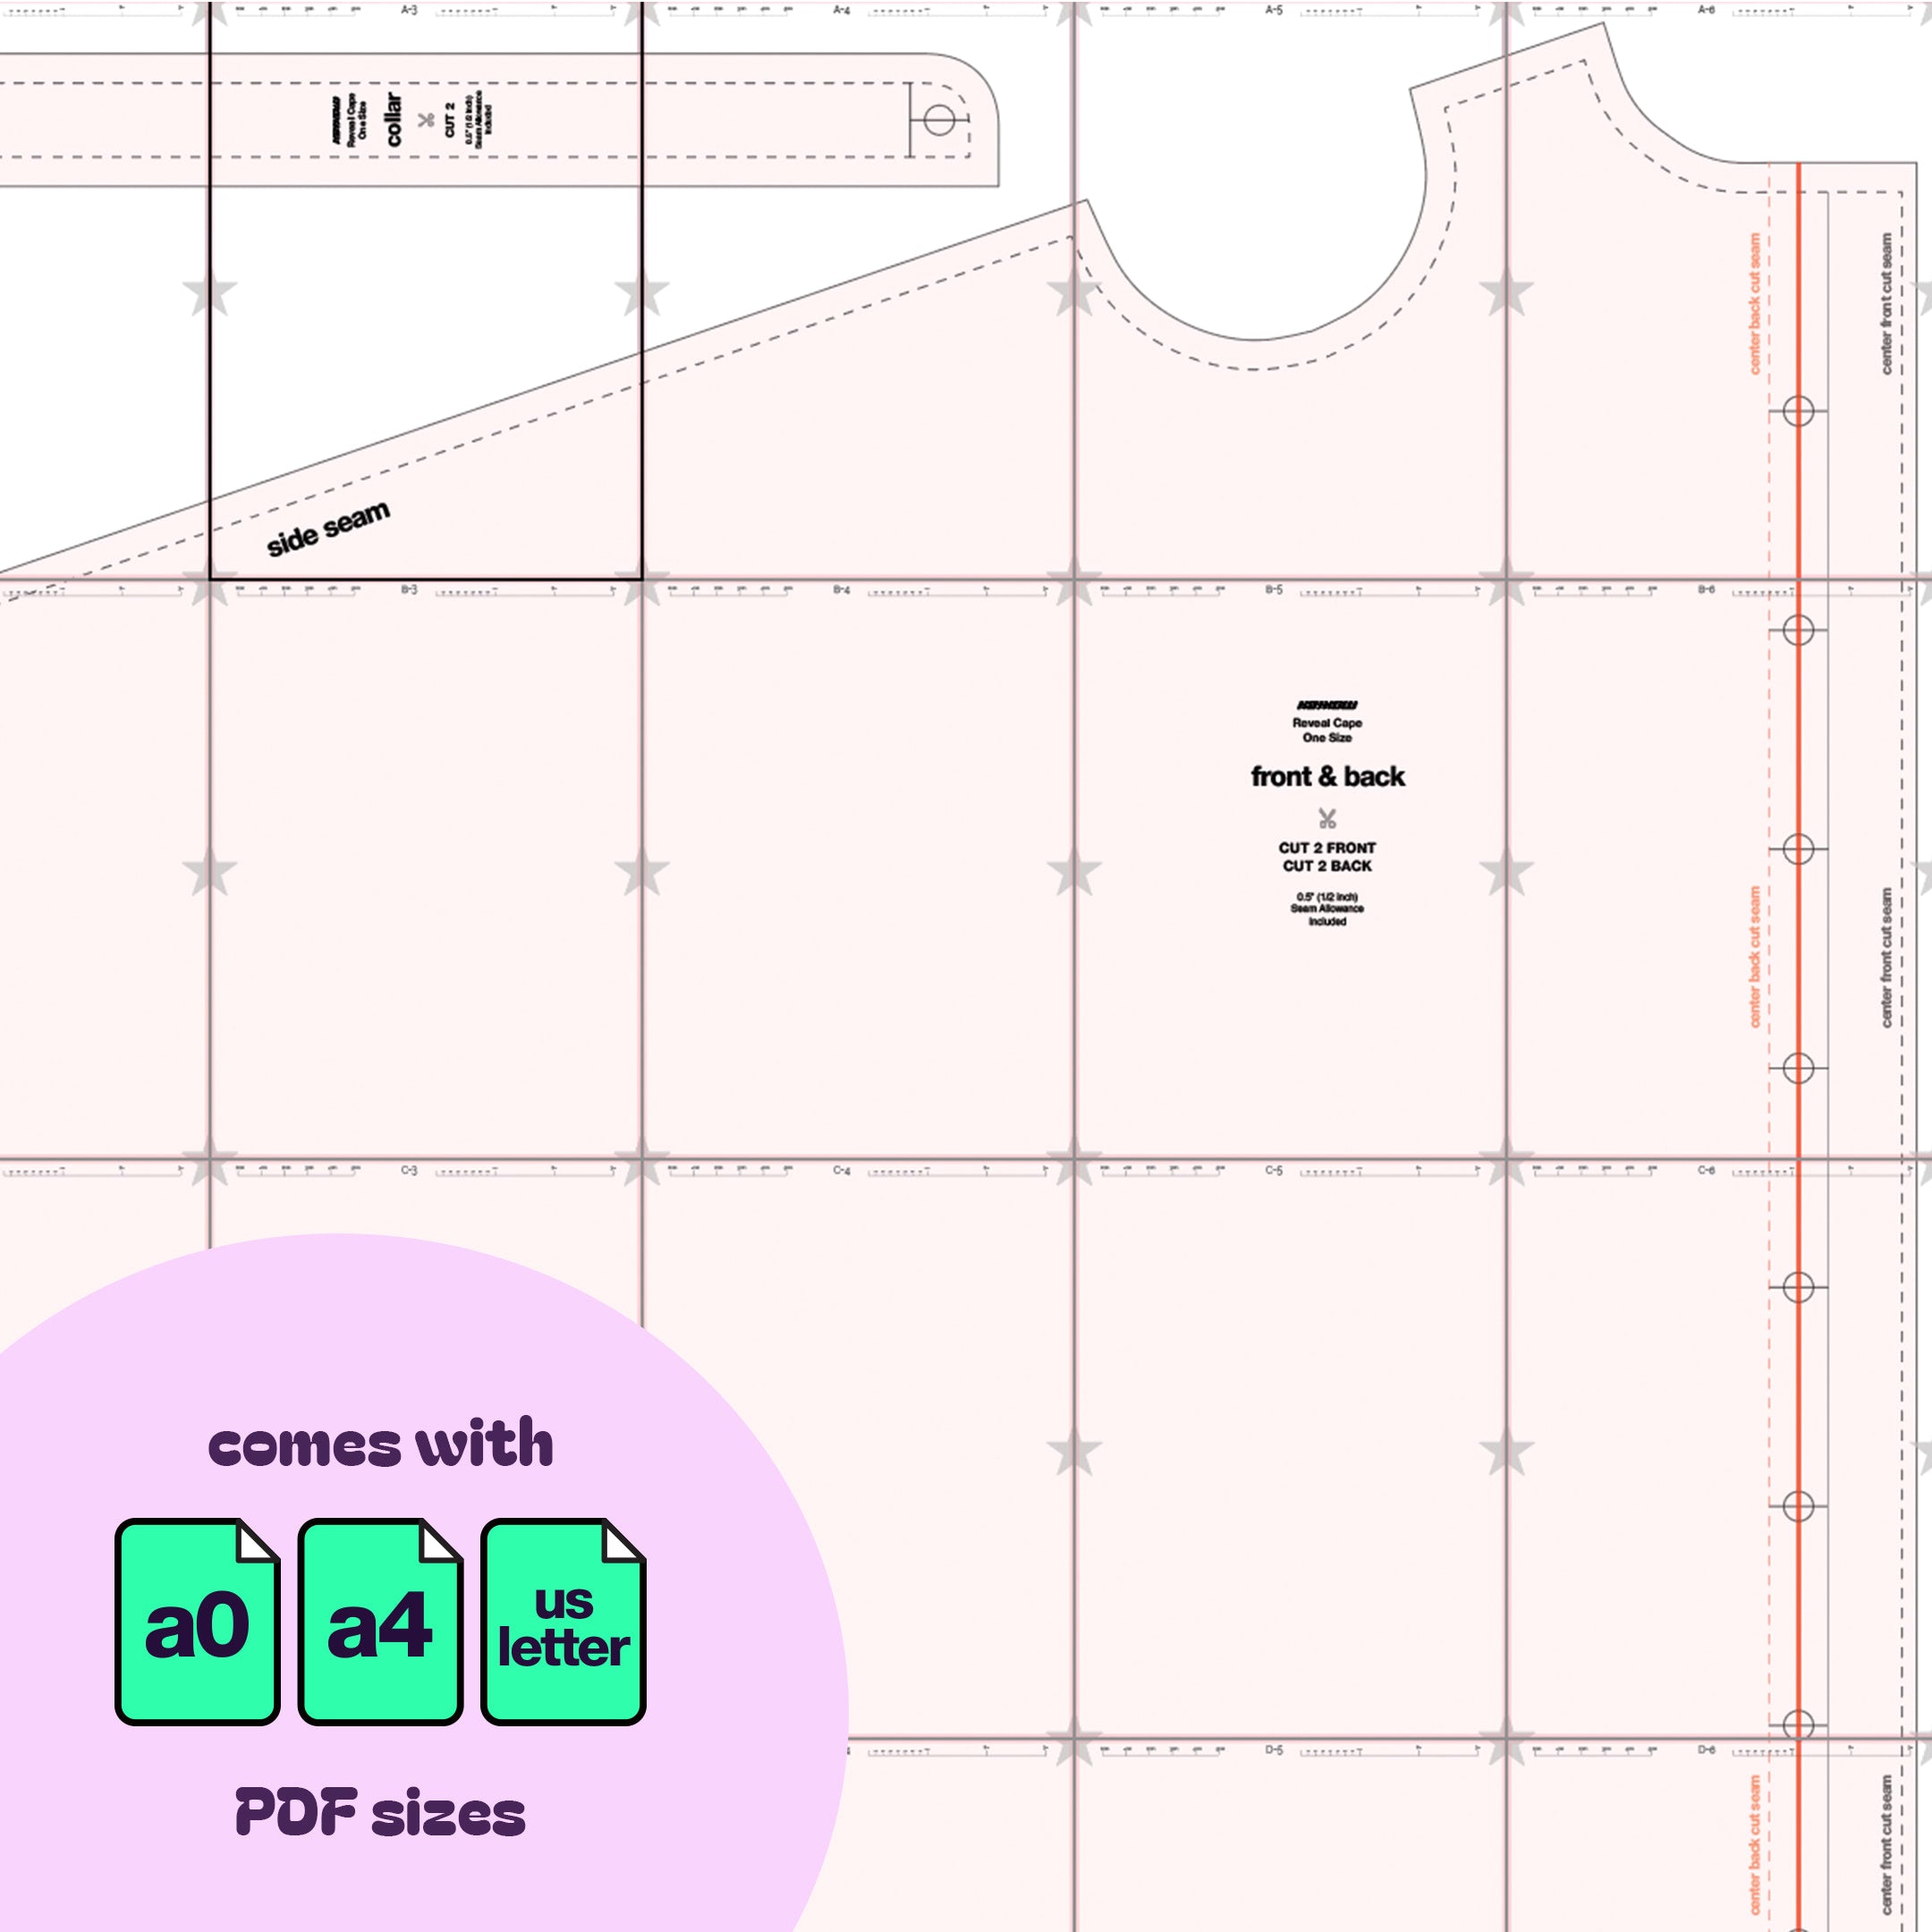
Use the paper pattern as is to cut 2 front pieces of fabric. When you're ready to cut the back pieces, fold the paper pattern at the center back line; this line appears right over the buttonholes.

STEP 2
Gather your 2 front pieces and your 2 back pieces of fabric.

STEP 3
Stack the 2 back pieces with right sides facing each other. The back pieces will not have buttons and will instead be sewn together down the center back seam.

STEP 4
Gather your sewn back piece and your 2 front pieces, and stack them with right sides facing each other.

STEP 5
Sew the front and back together along the shoulder seam up to the neck curve, do not sew the peekaboo circle together.

STEP 6
For each front piece, fold over 0.5 inches of fabric, wrong side up, and press with an iron.

STEP 7
Fold again, this time 1 inch, wrong side up, and press with an iron.

STEP 8
Now you can stitch the button fold on both sides of the folded edge. Repeat for the other front piece.

STEP 9
Gather your collar pieces. Fold over 0.5 inches of fabric, wrong side up, along the bottom edge and press with an iron.

STEP 10
Stack 2 collar pieces, right sides facing each other, and sew along the side curve and top edges. Flip the collar right side out and press with an iron.

STEP 11
With the cape right side out, insert the neckline fabric 0.5 inches inside the bottom of the collar, sandwiching the fabric and top stitching around the neck hole.

STEP 12
Install your buttons and buttonholes. You can choose to use snaps or velcro instead.

STEP 13
For tulle trim, fold your 6 inch wide tulle in half to create 2 layers of 3 inch wide tulle.

STEP 14
Base stitch the folded edge, you want large stitches here to allow you to pull the thread and gather the tulle, creating ruffles. Repeat for 2 shoulder peekaboo ruffles and 1 long ruffle around the bottom hem of the cape.

STEP 15
Once you've gathered your ruffles, position them outside of the right side of the fabric, all around the peekaboo shoulder circle then sew along the edge.

STEP 16
Once sewn around, flip the ruffles over and top stitch on the opposite side, sewing the seam allowance down. Repeat for the bottom hem.