Cómo coser un vestido con corsé peplum
Saltar a instrucciones
Descripción general
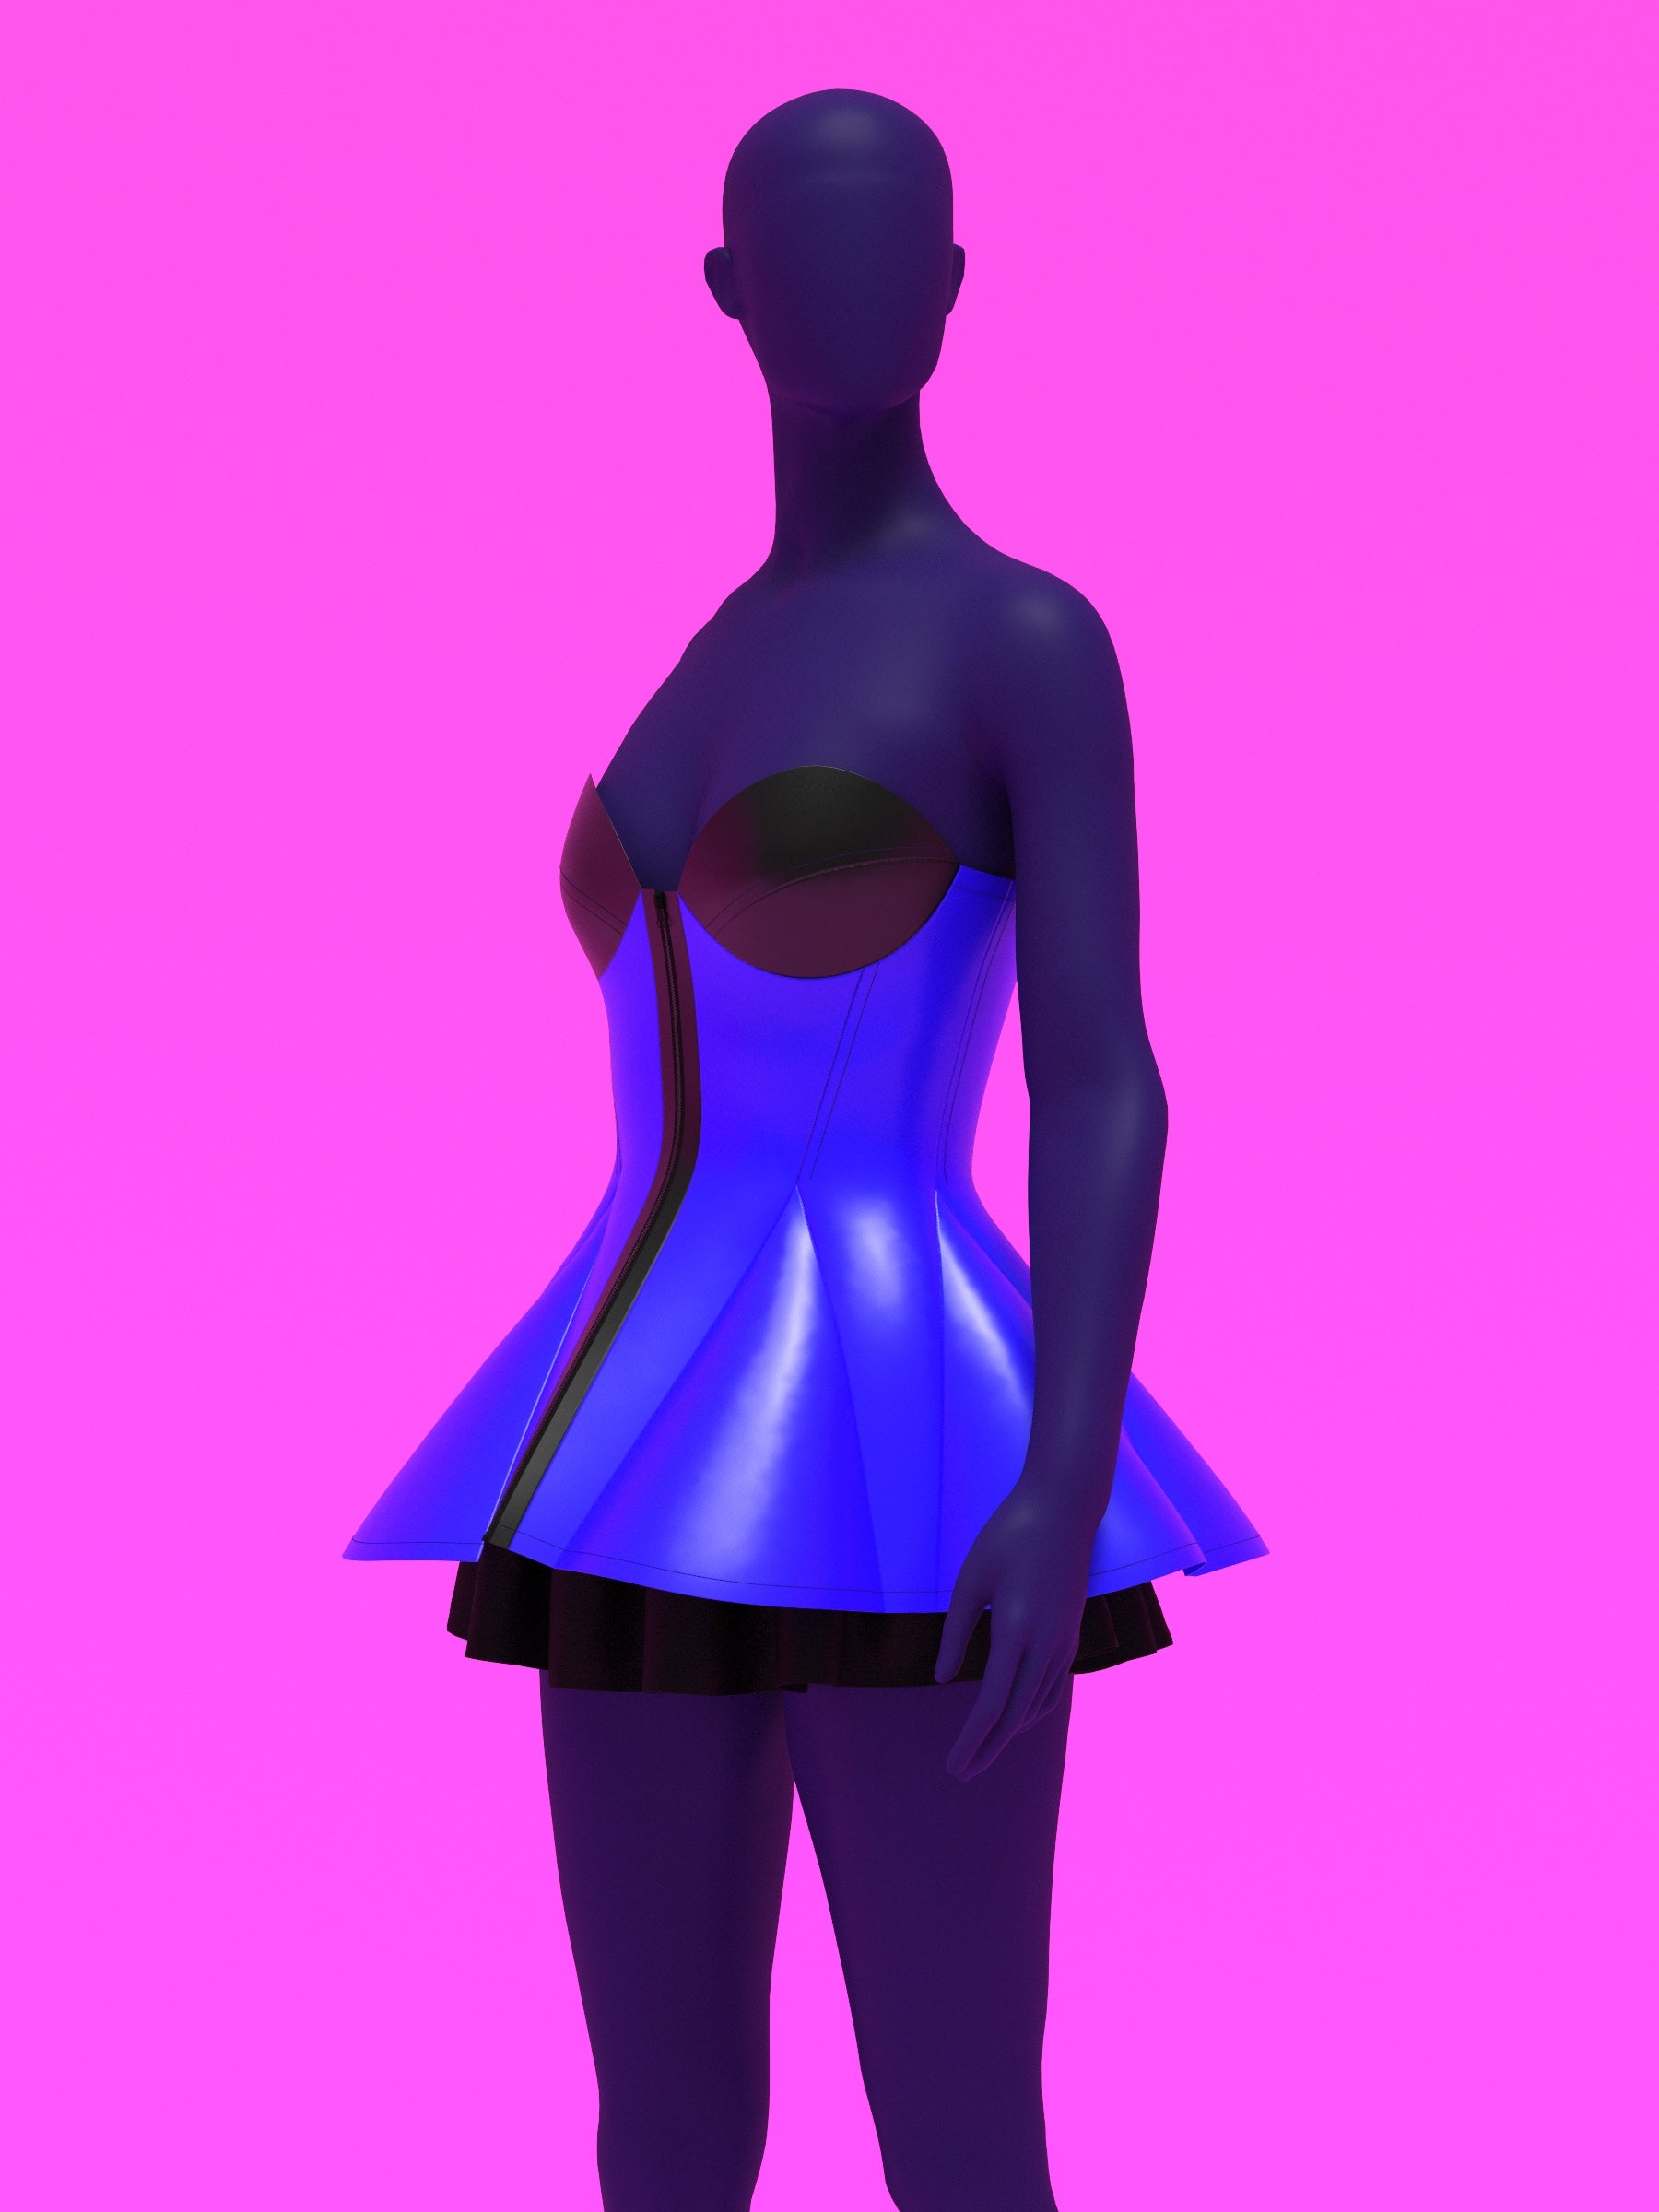
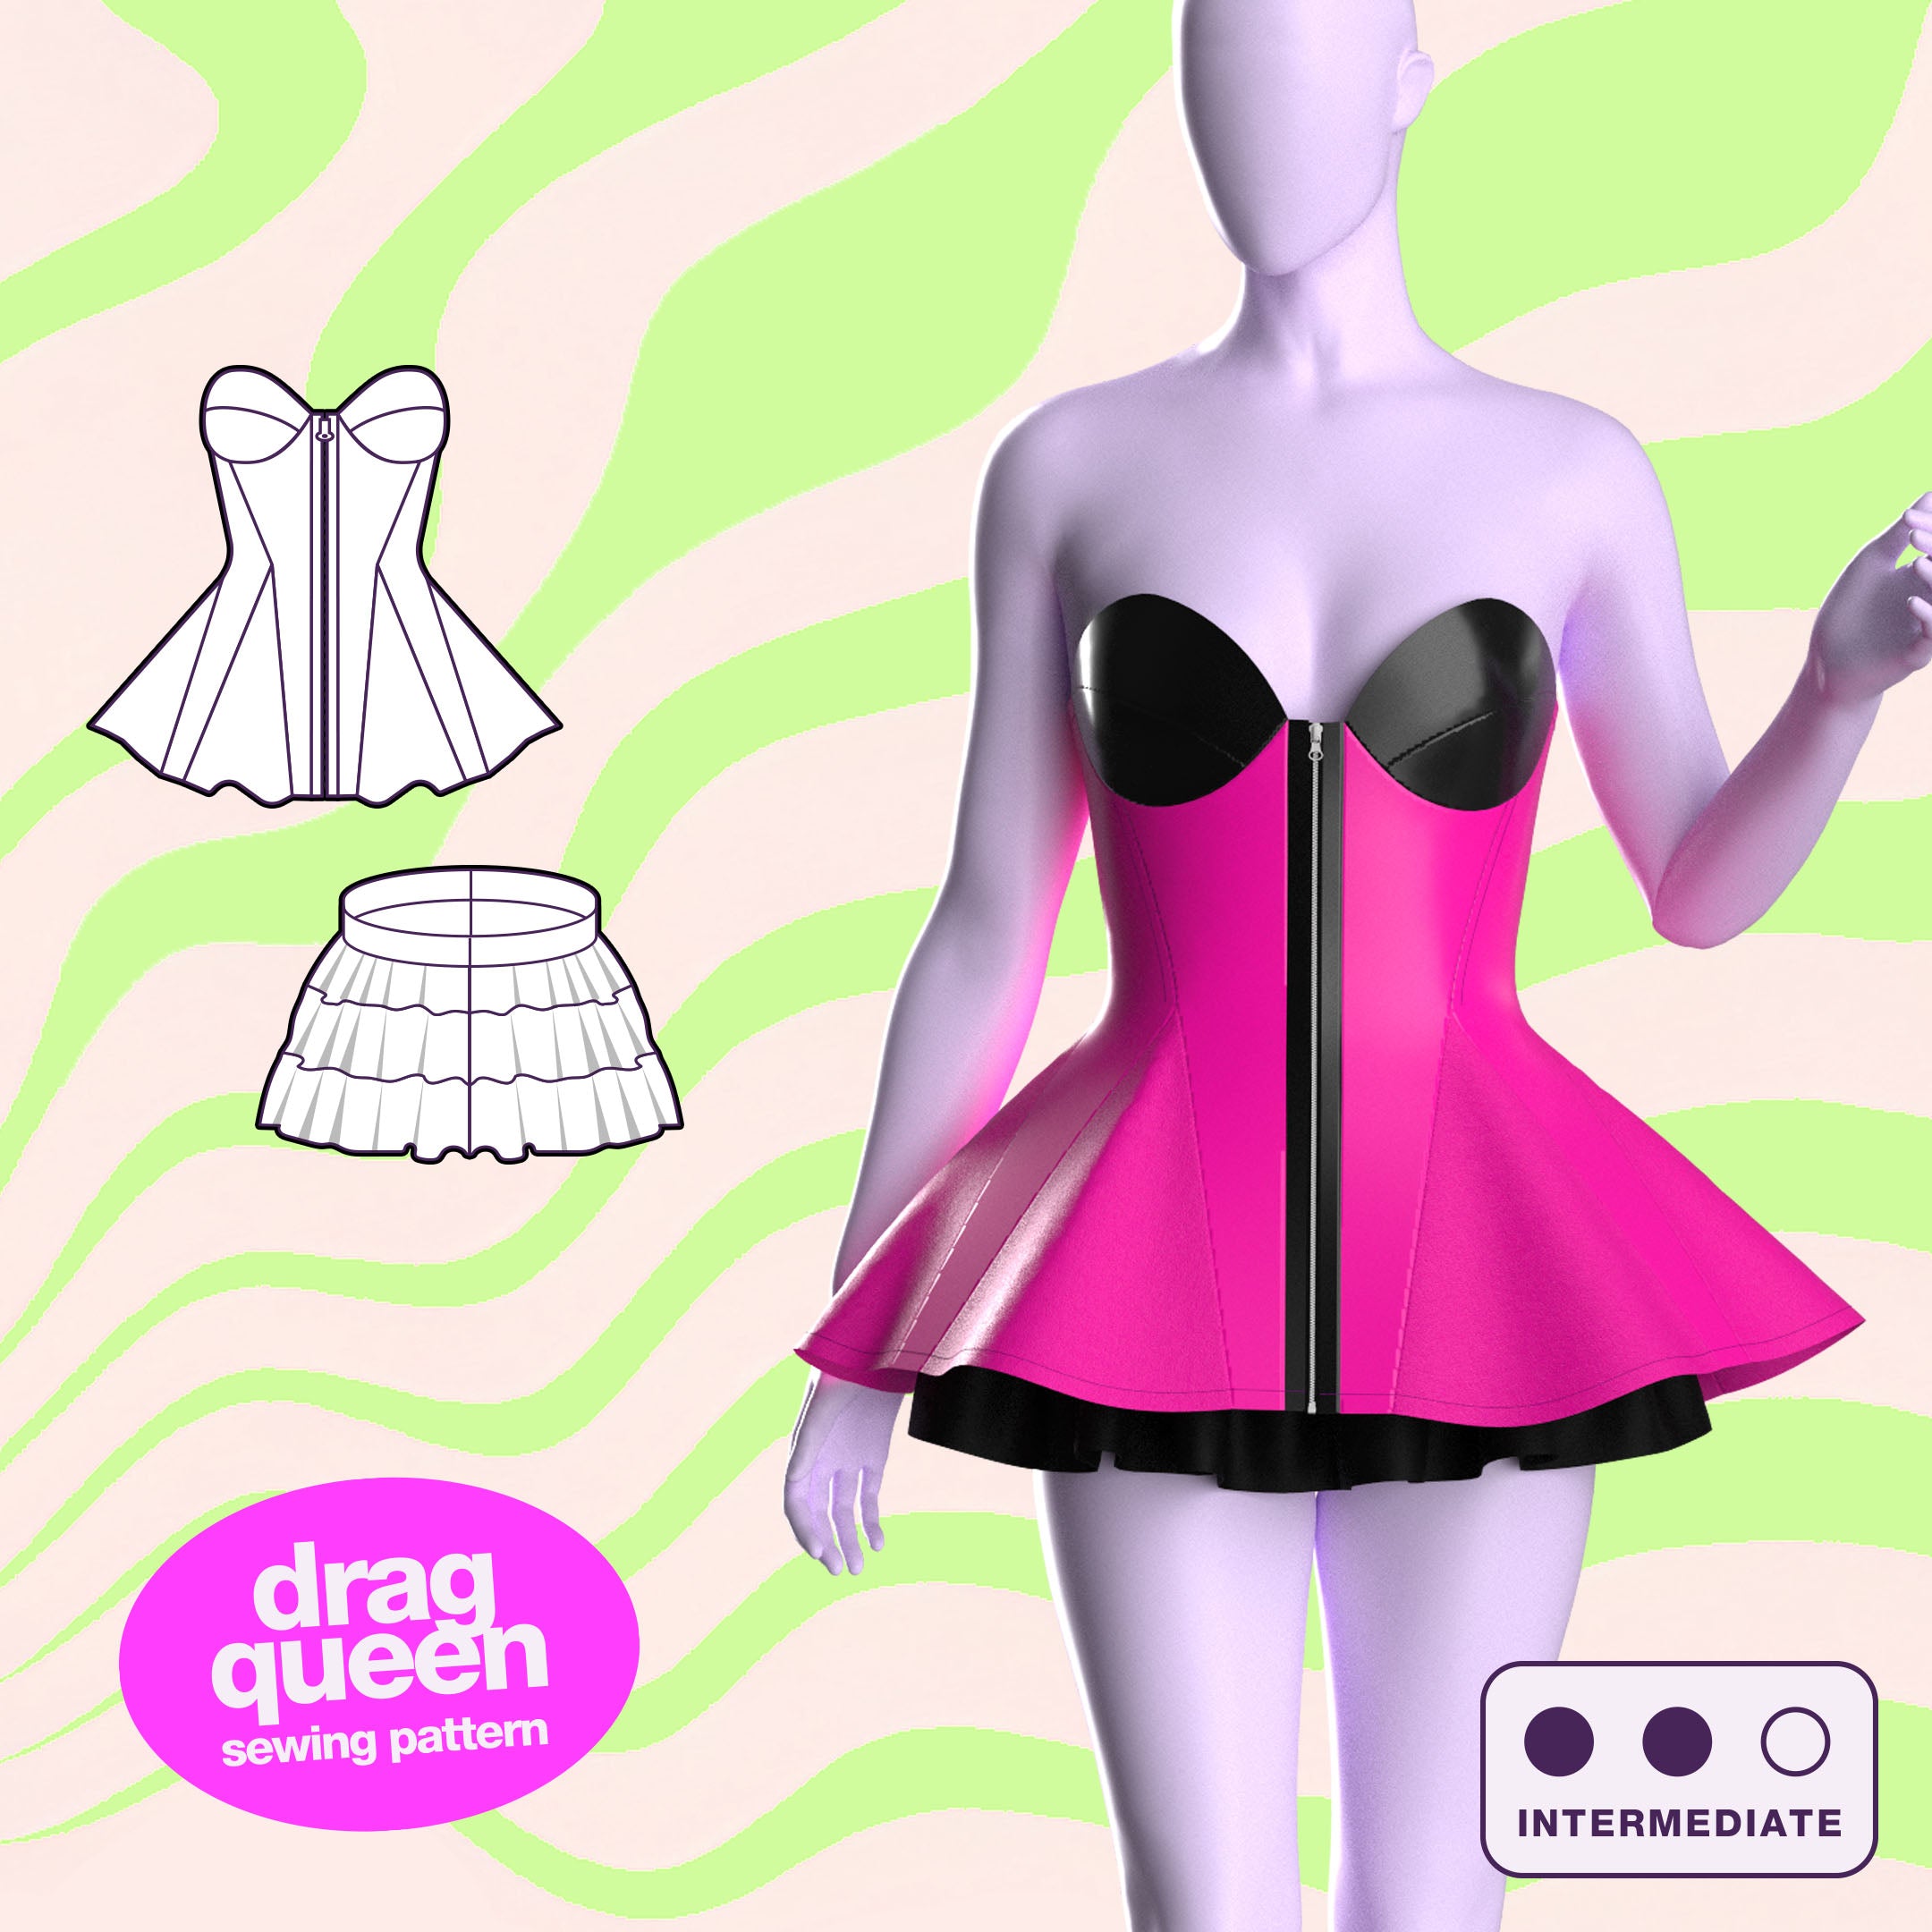
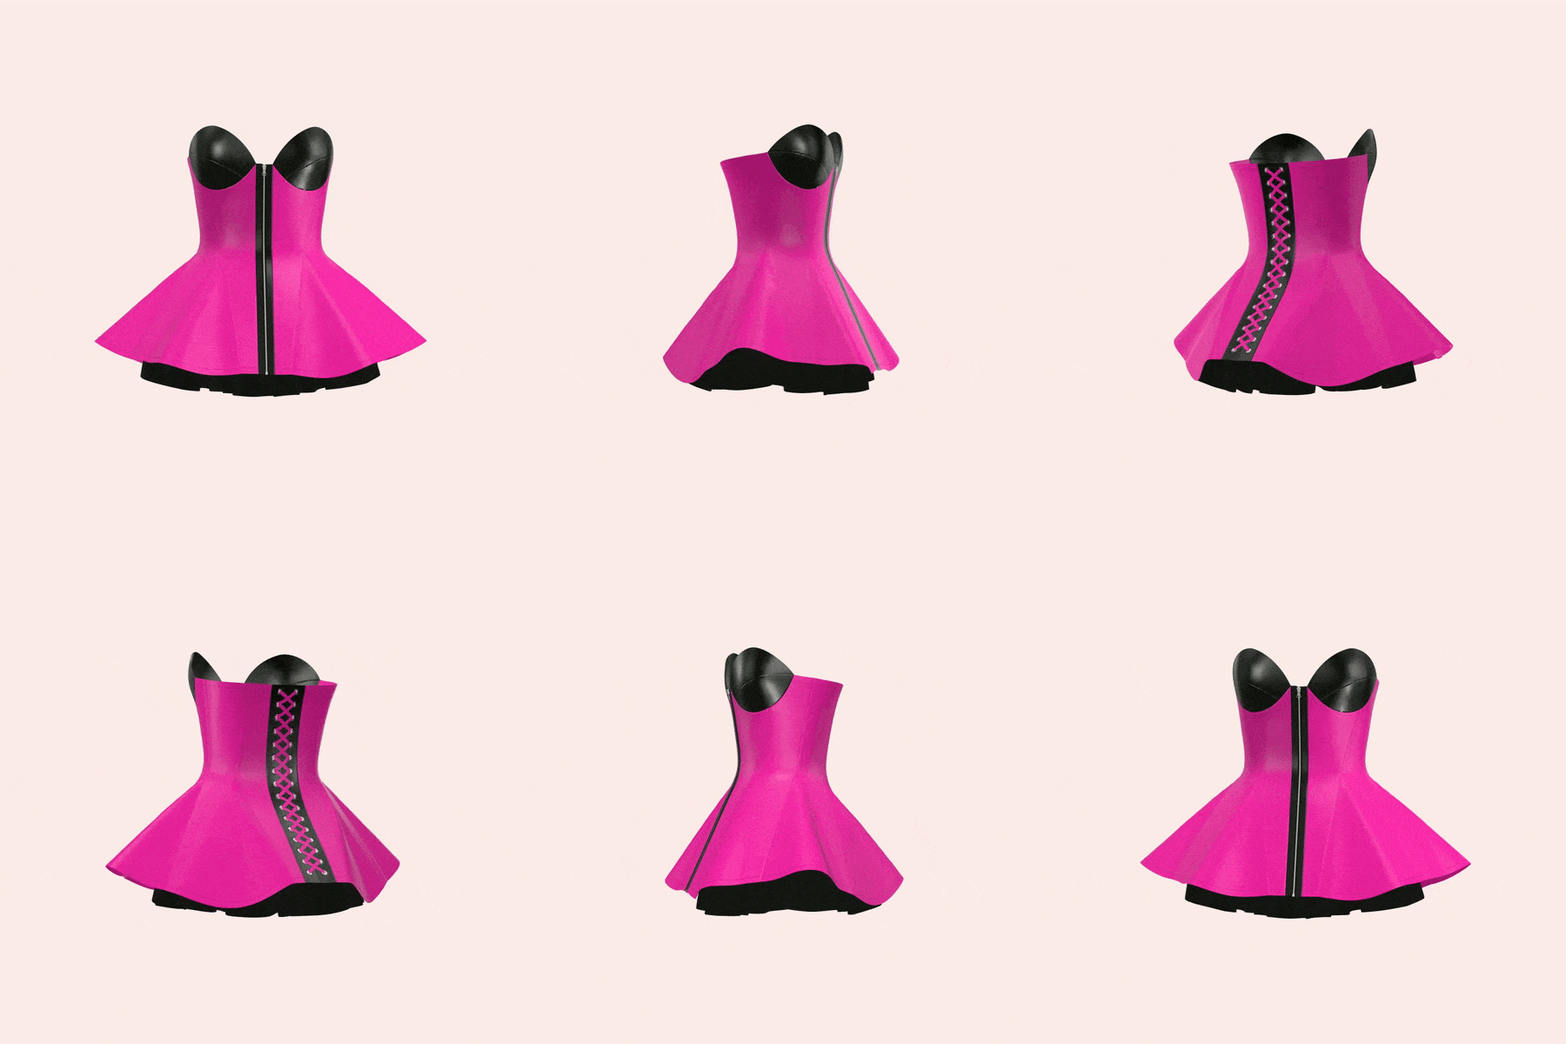
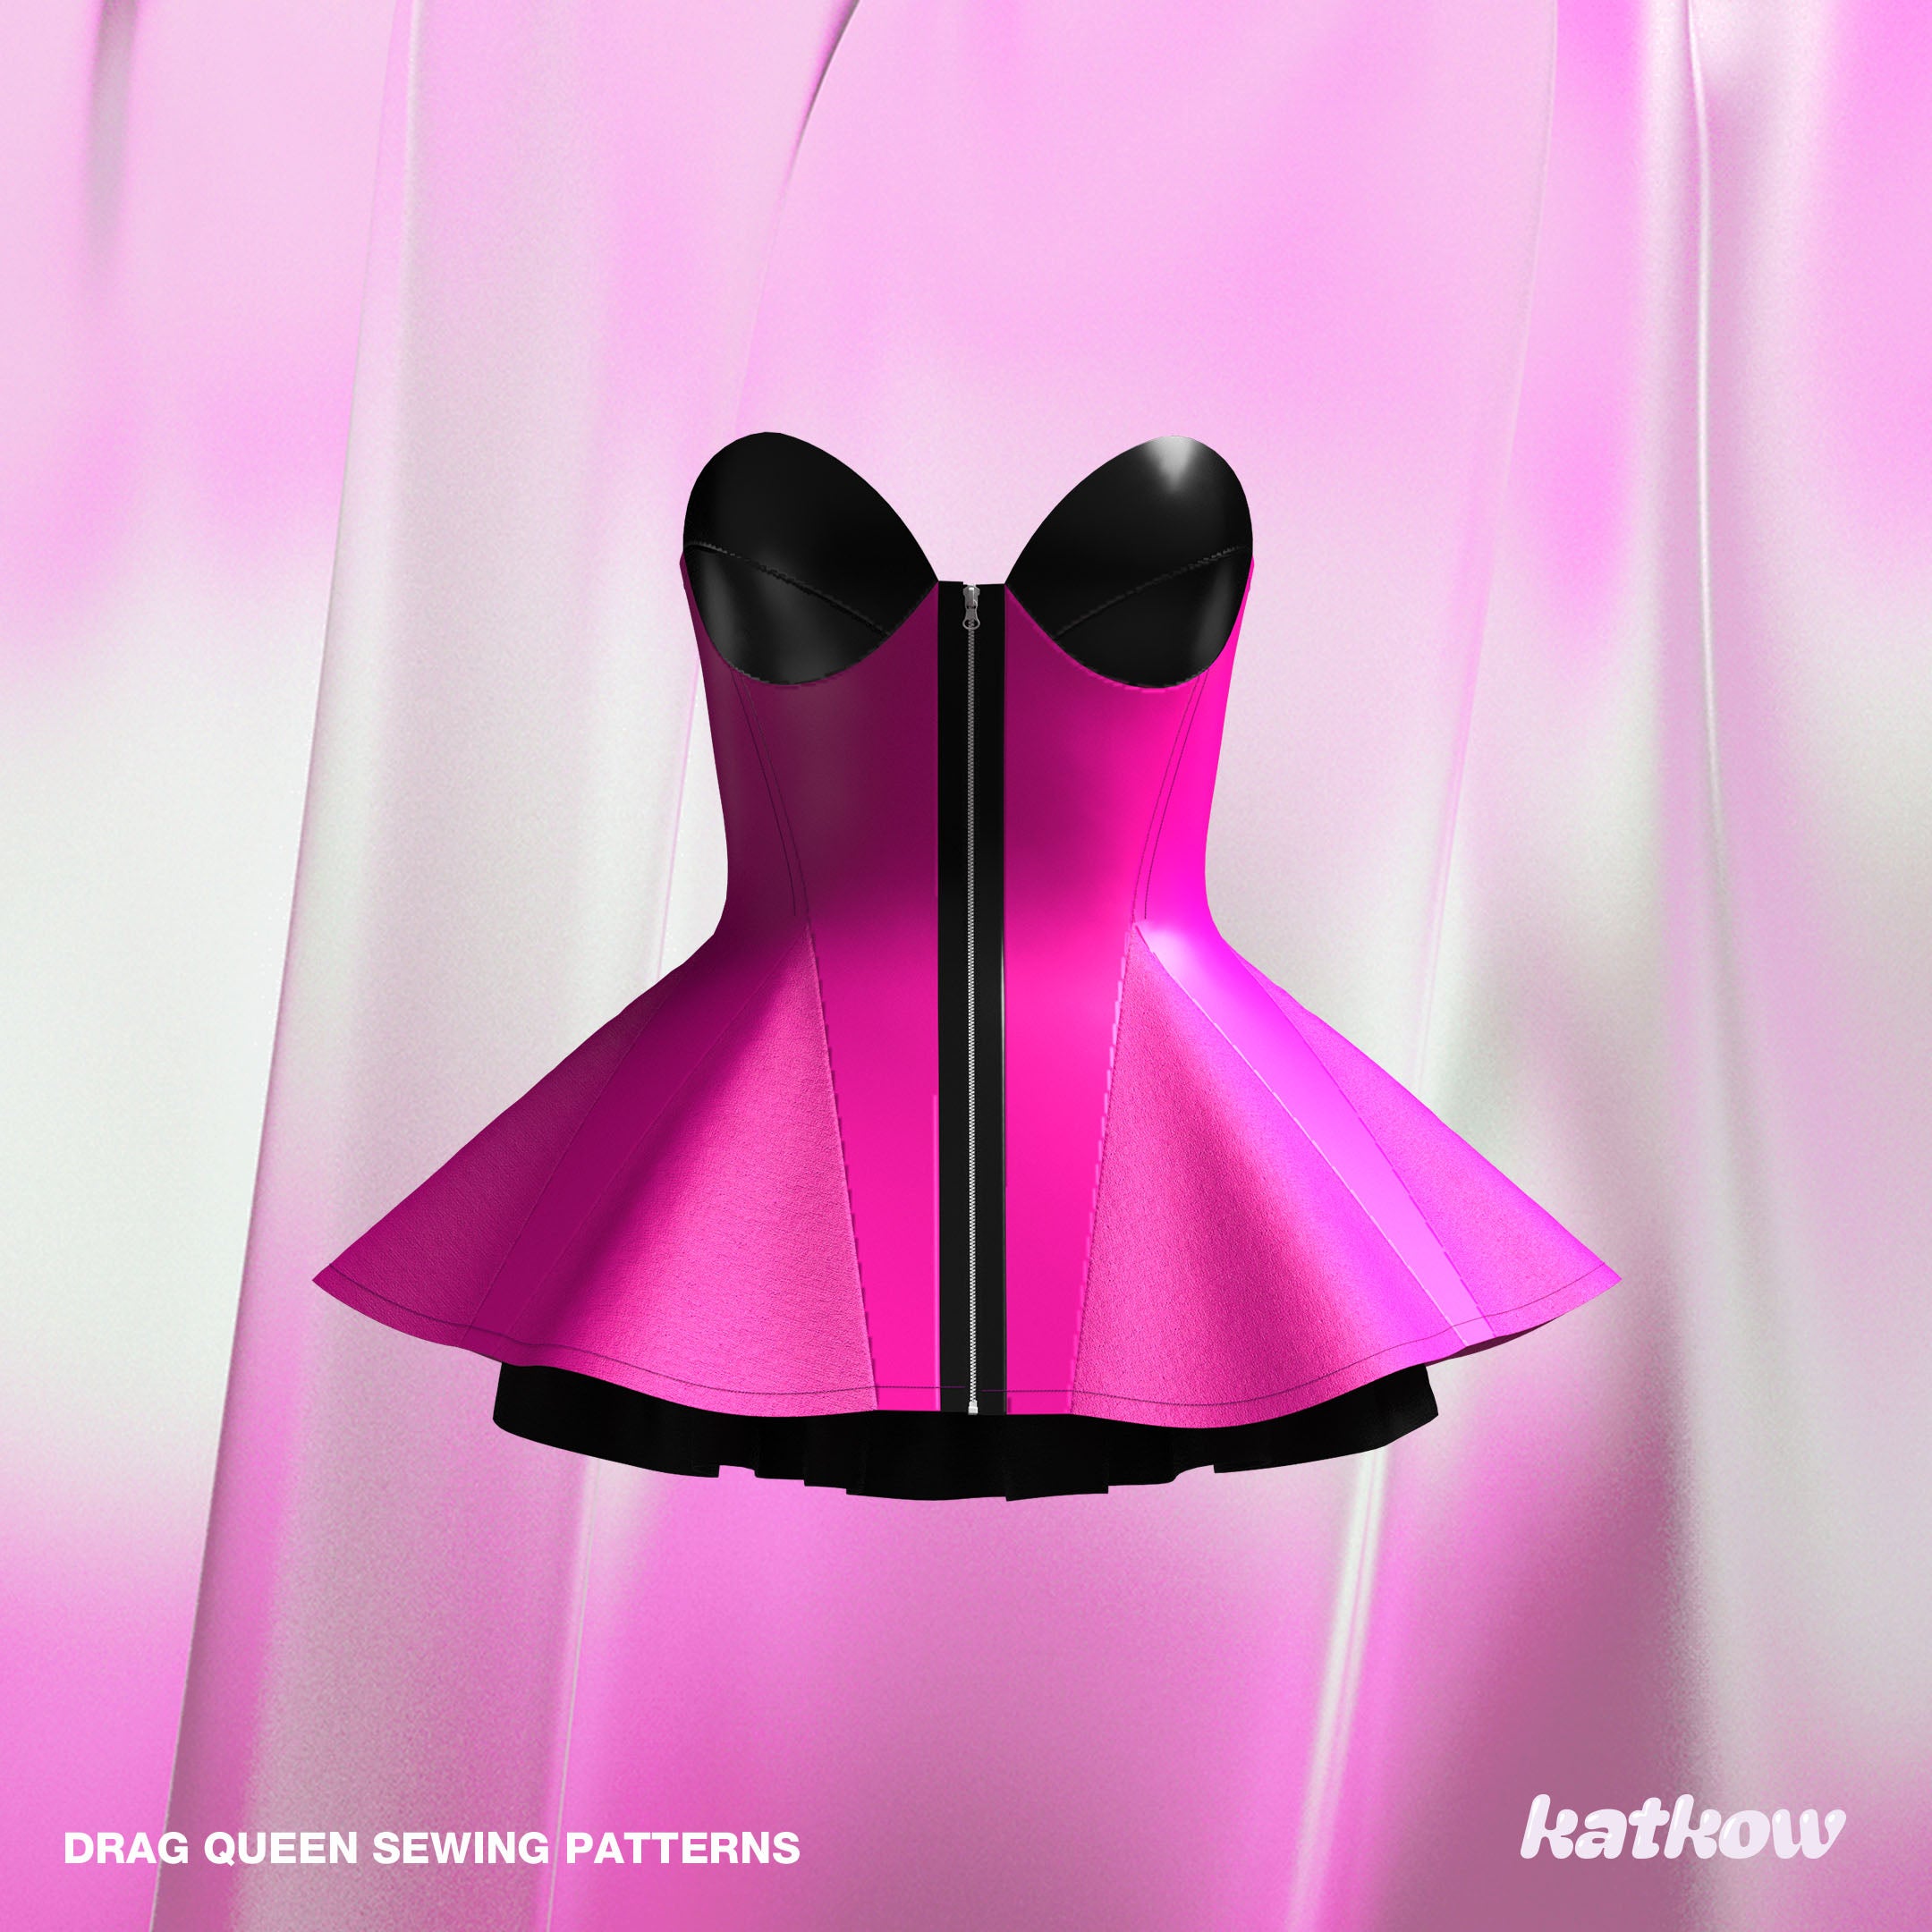
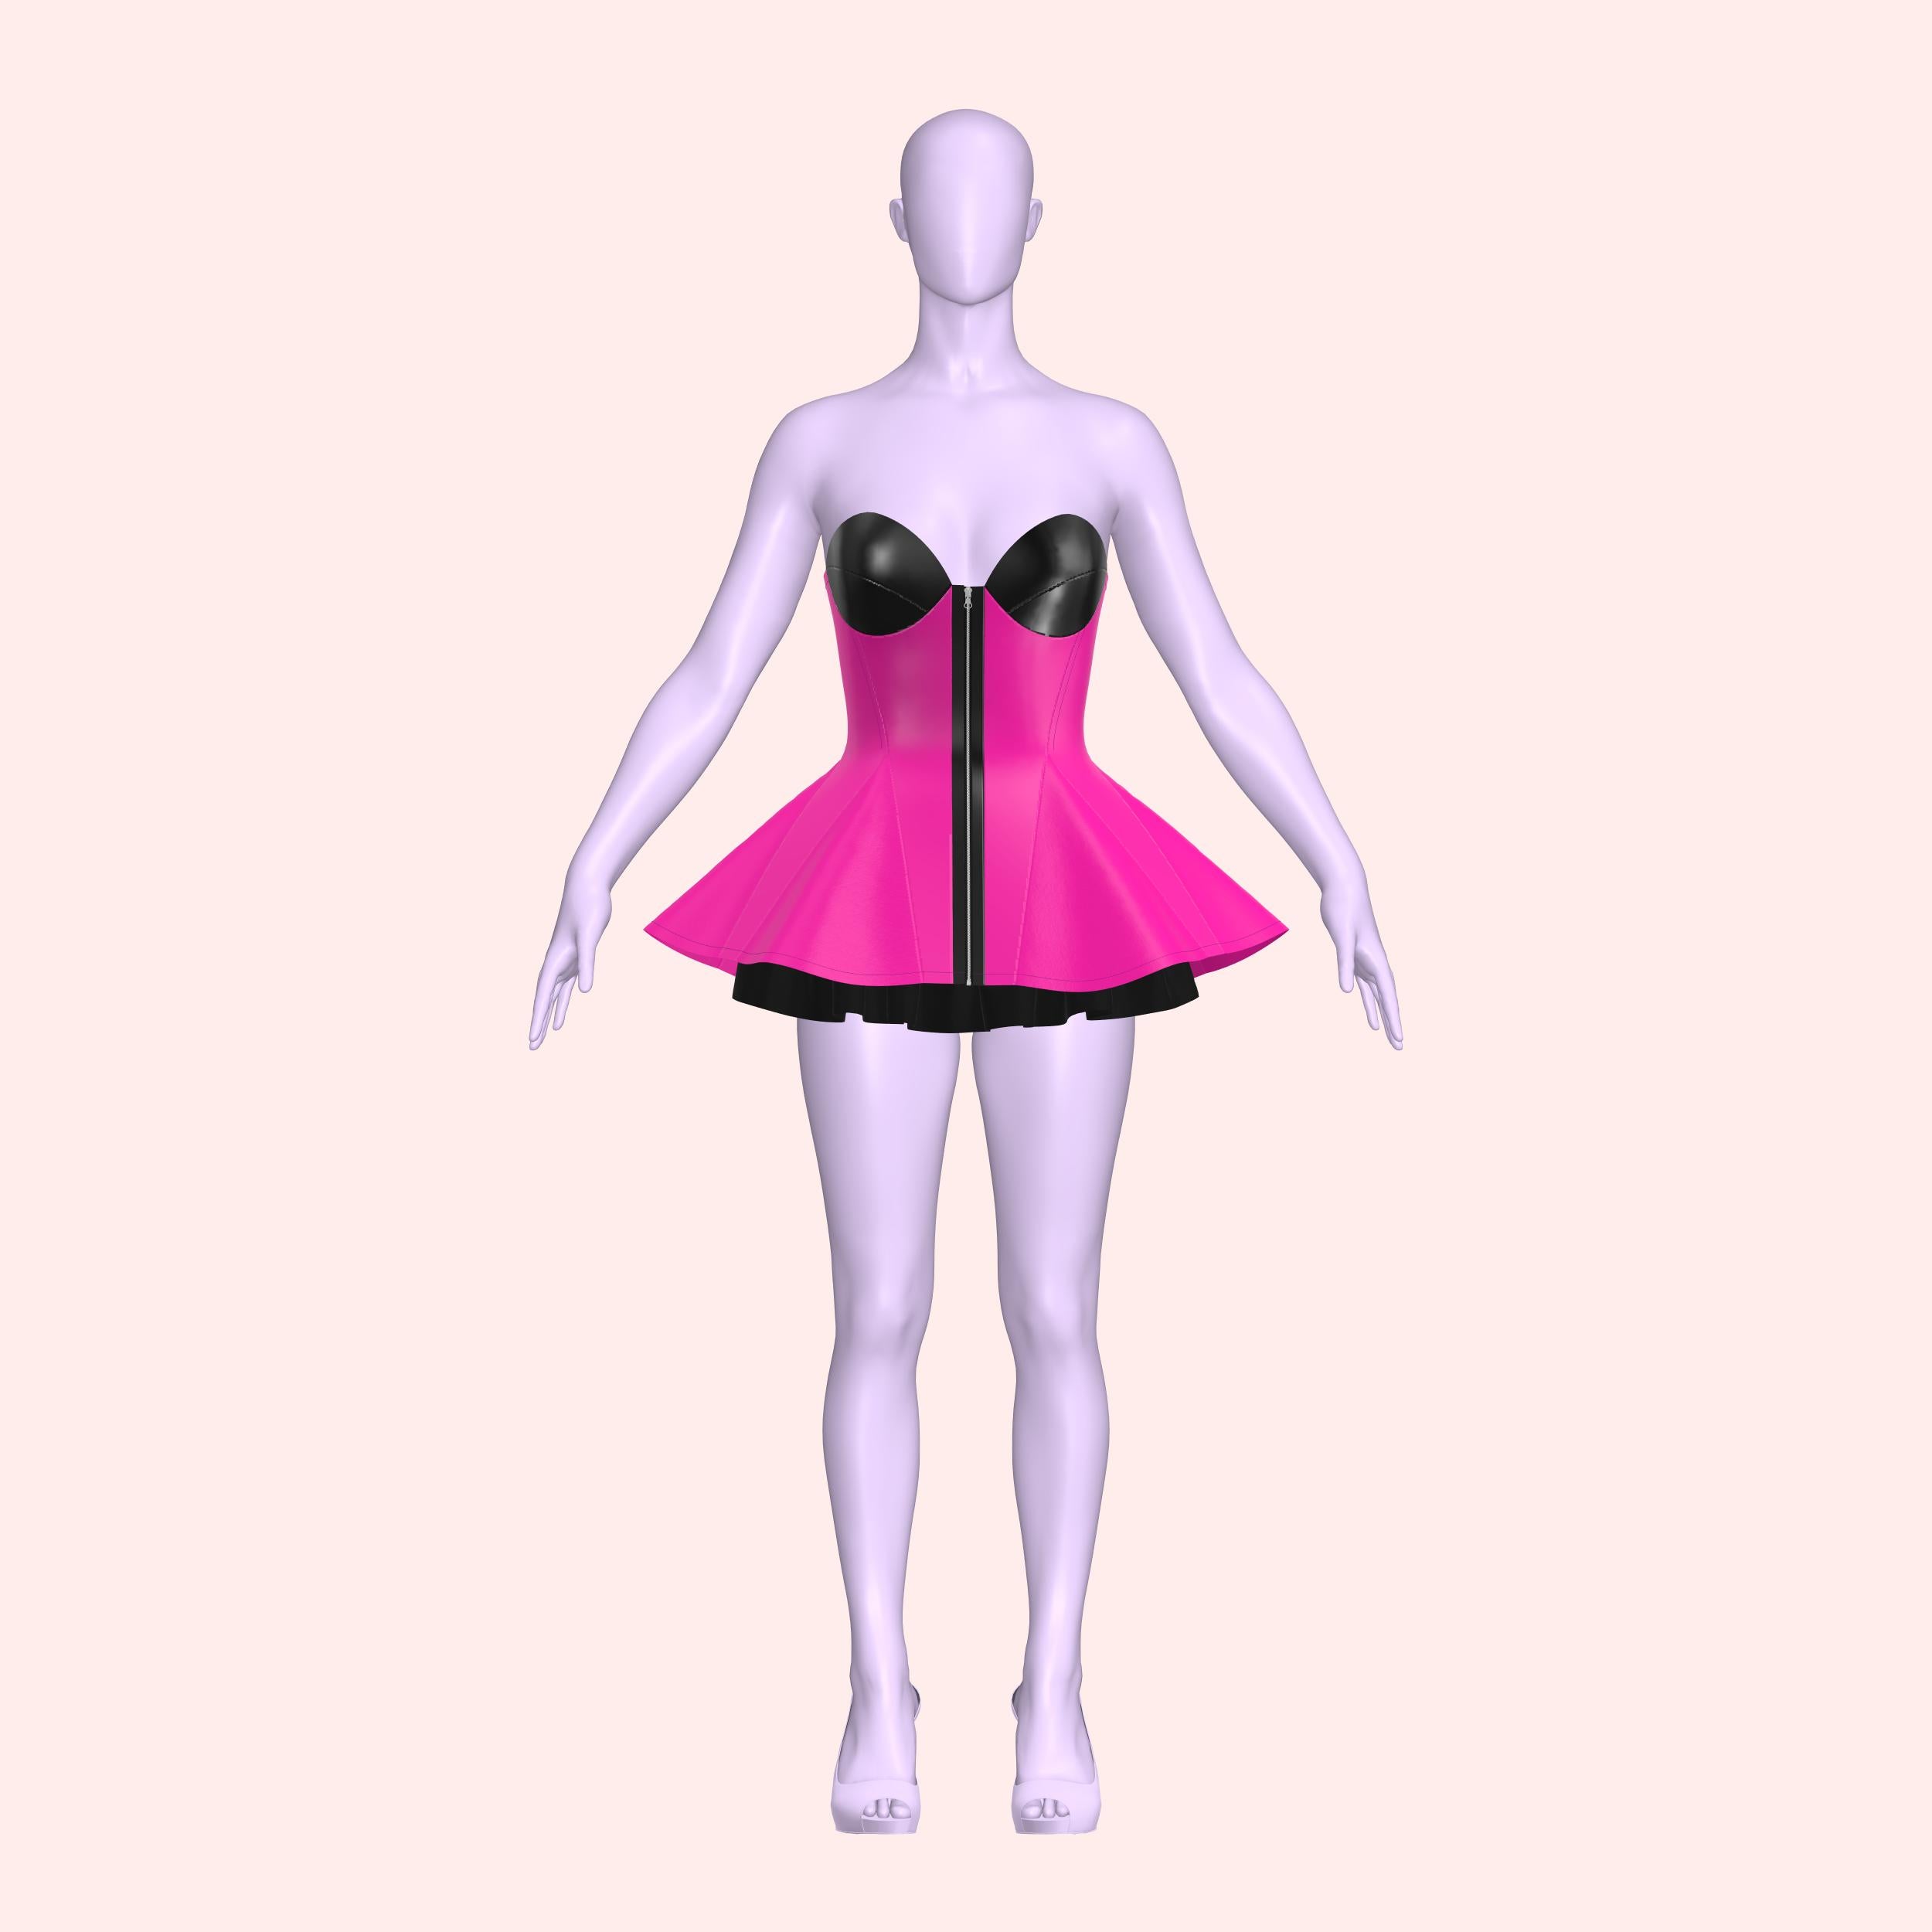
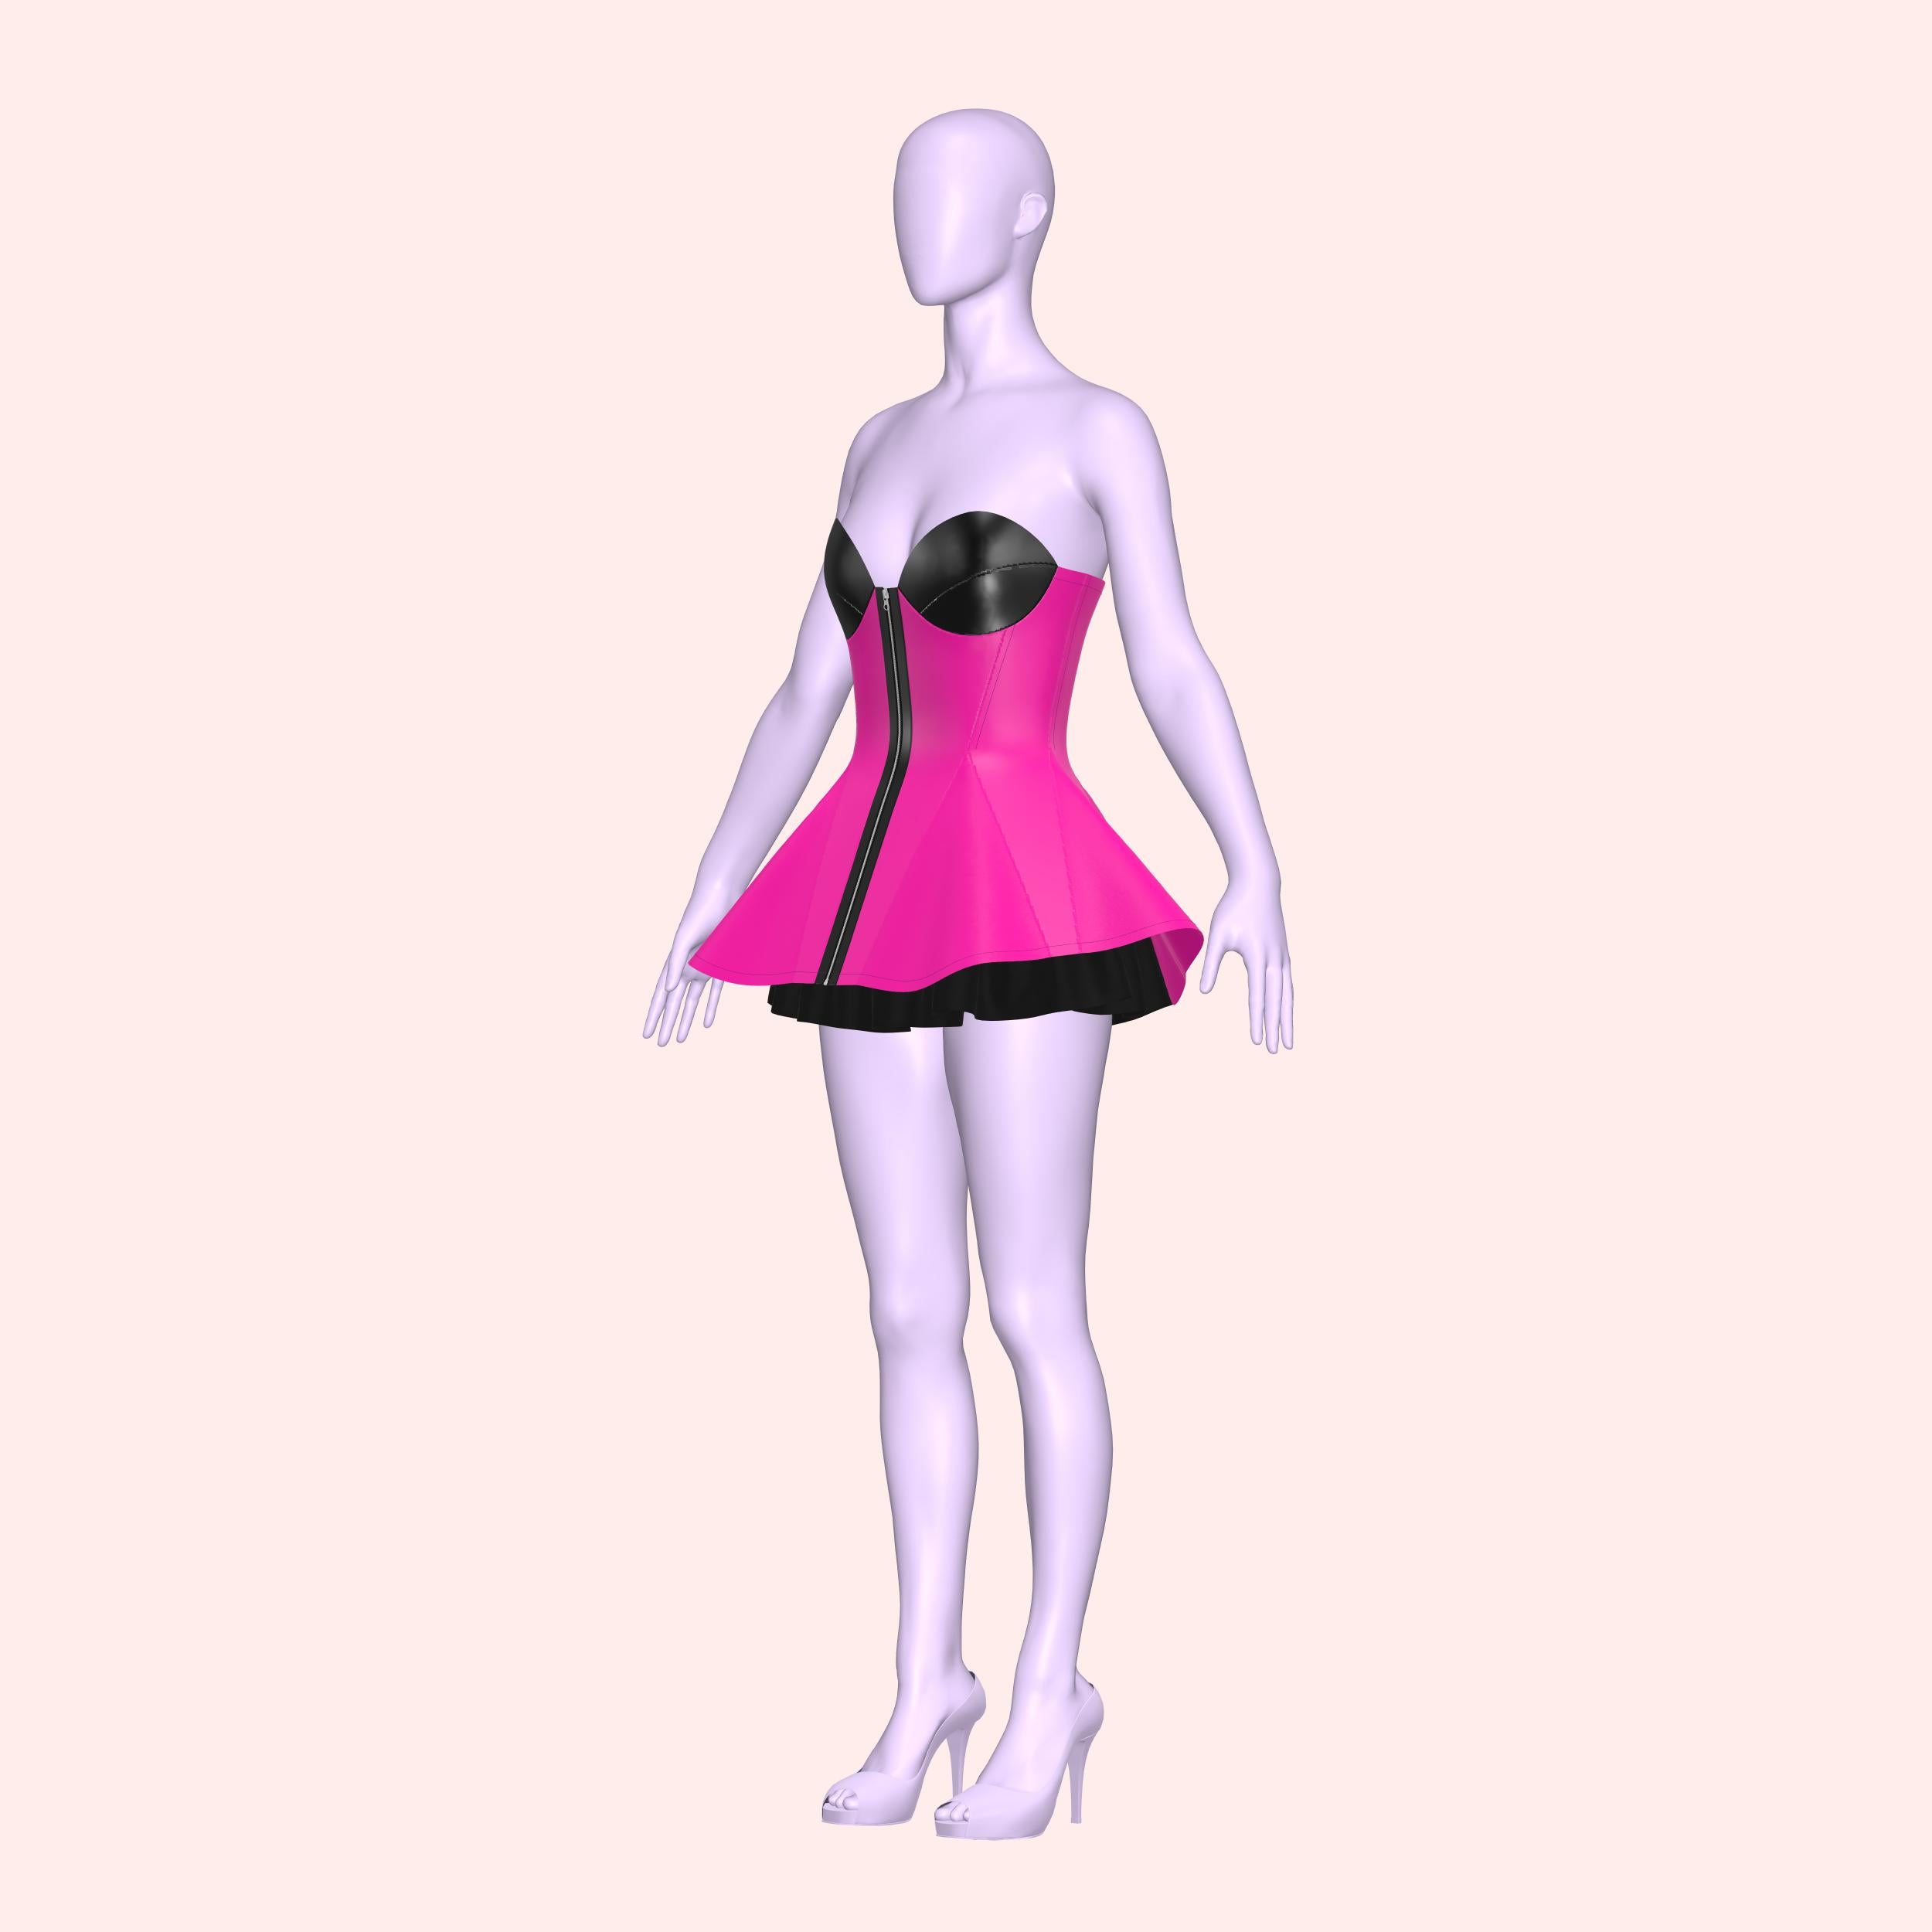
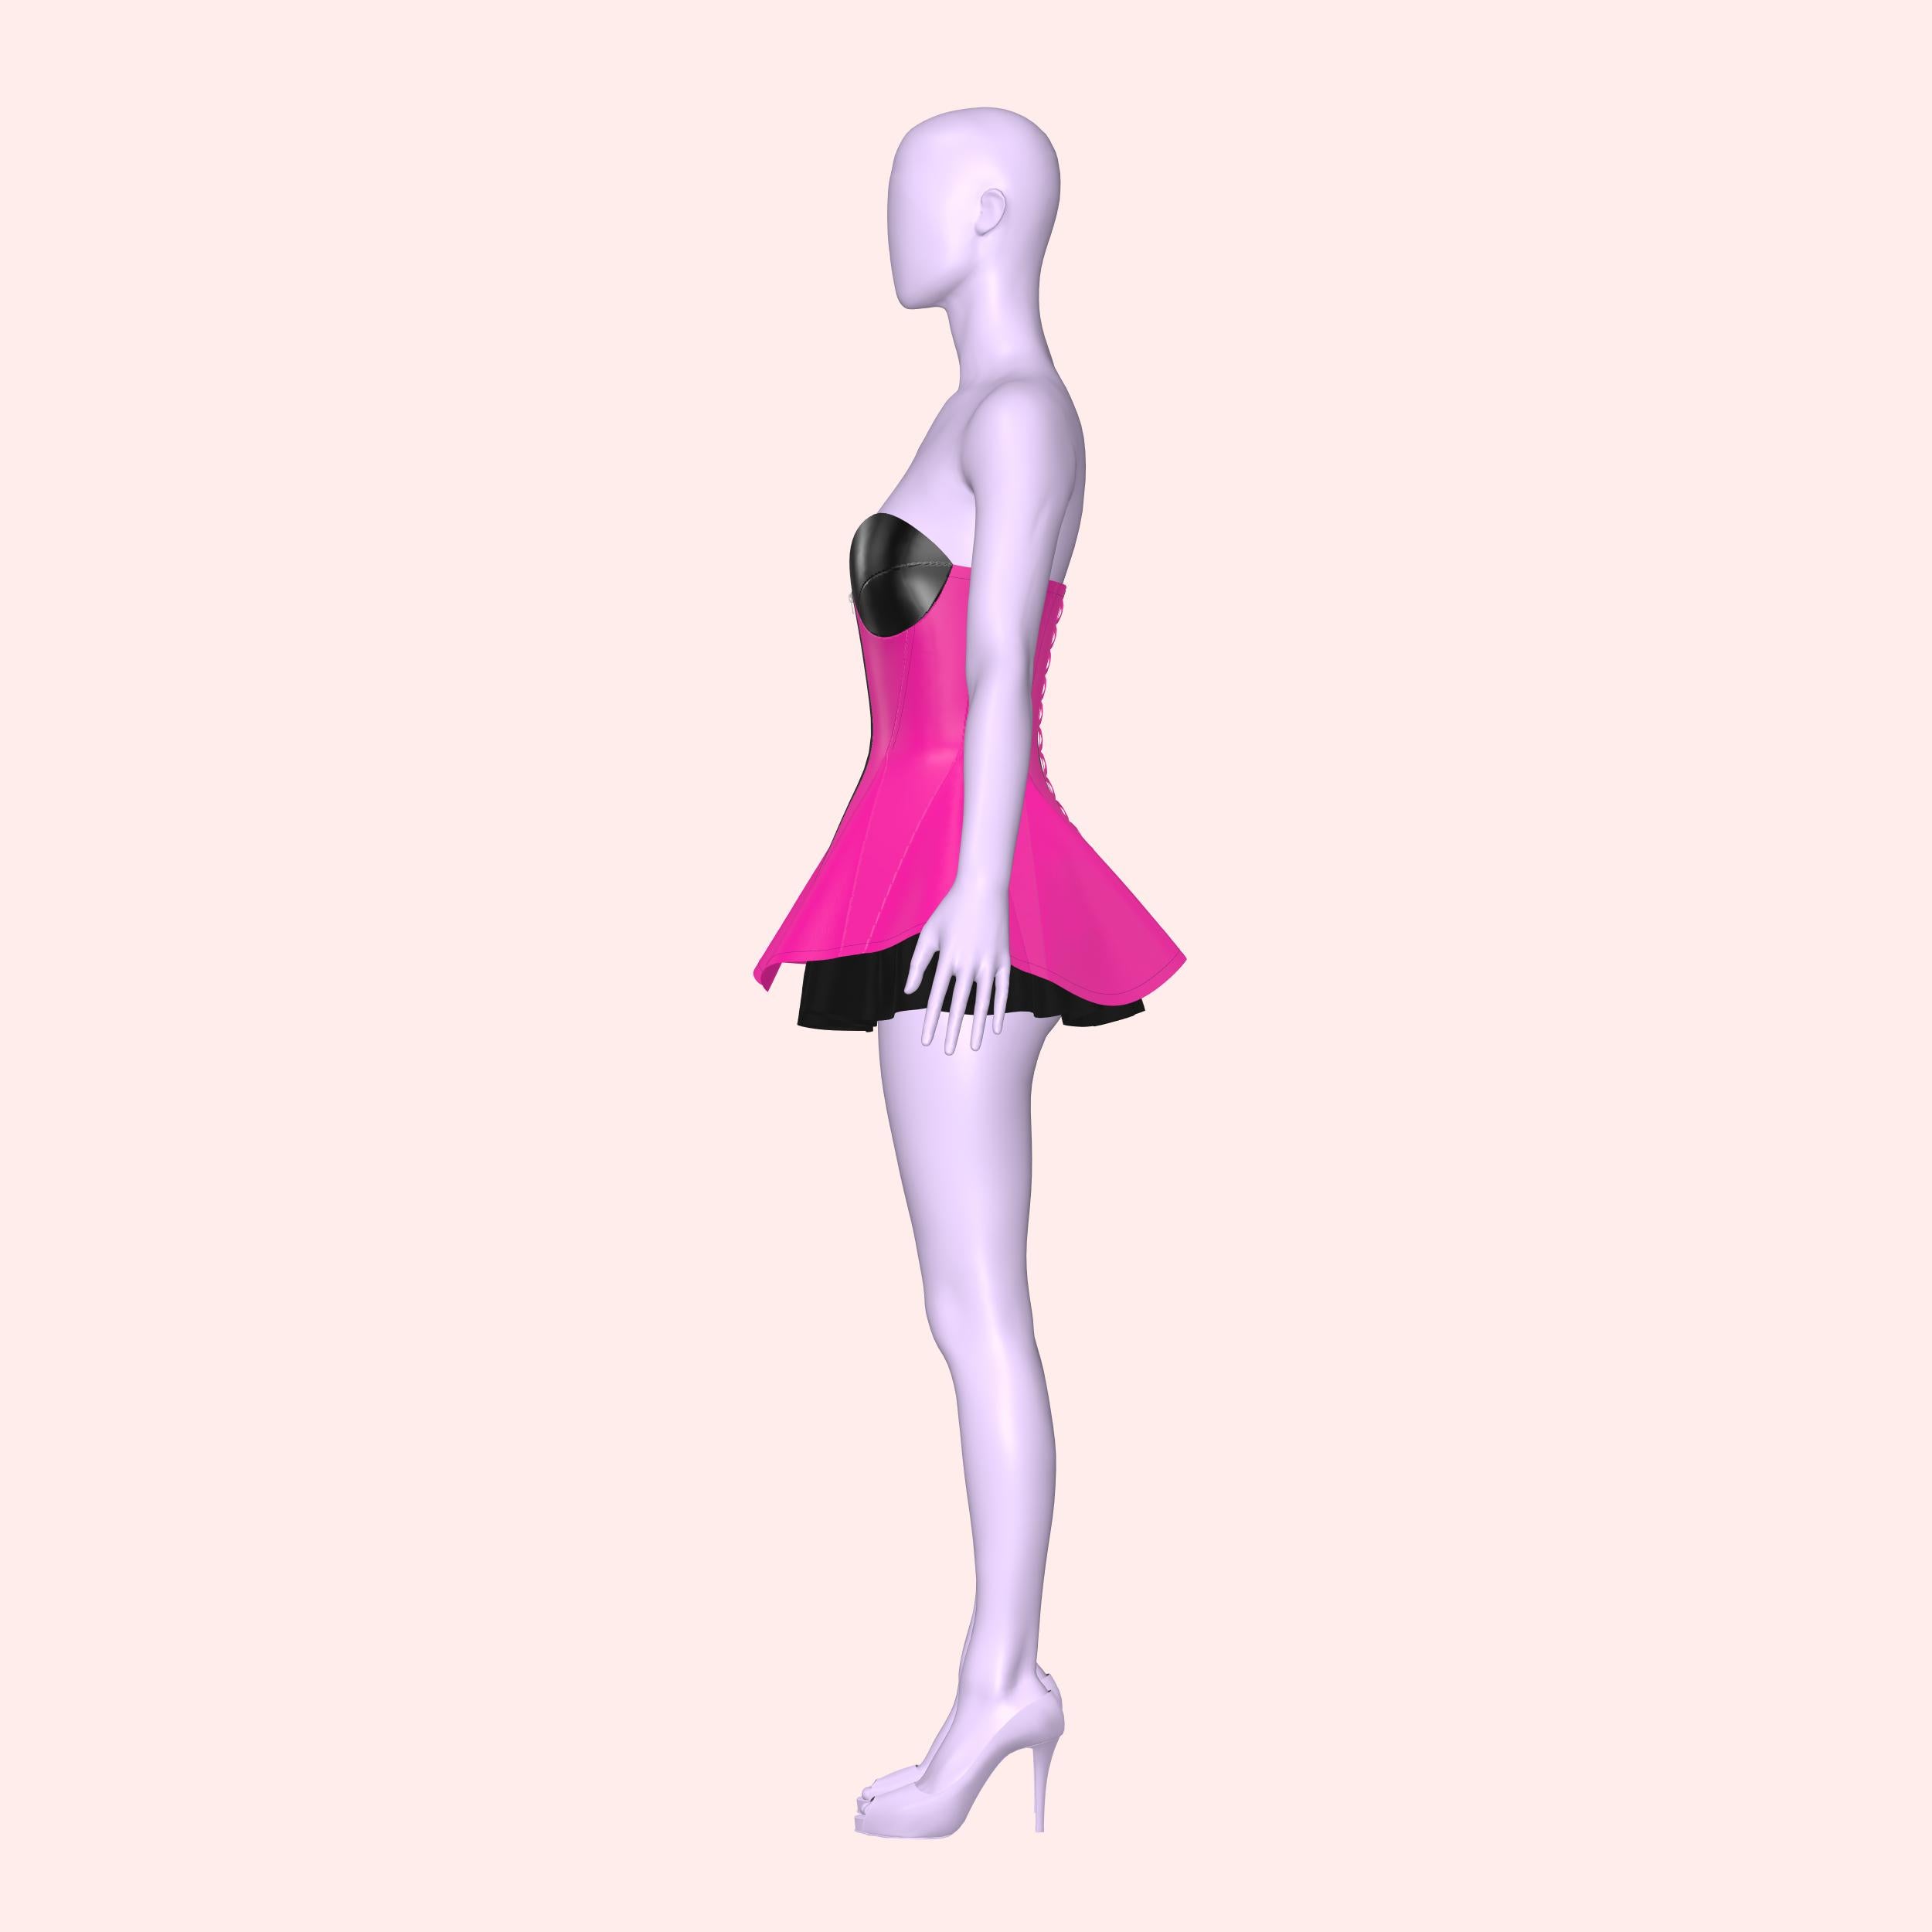
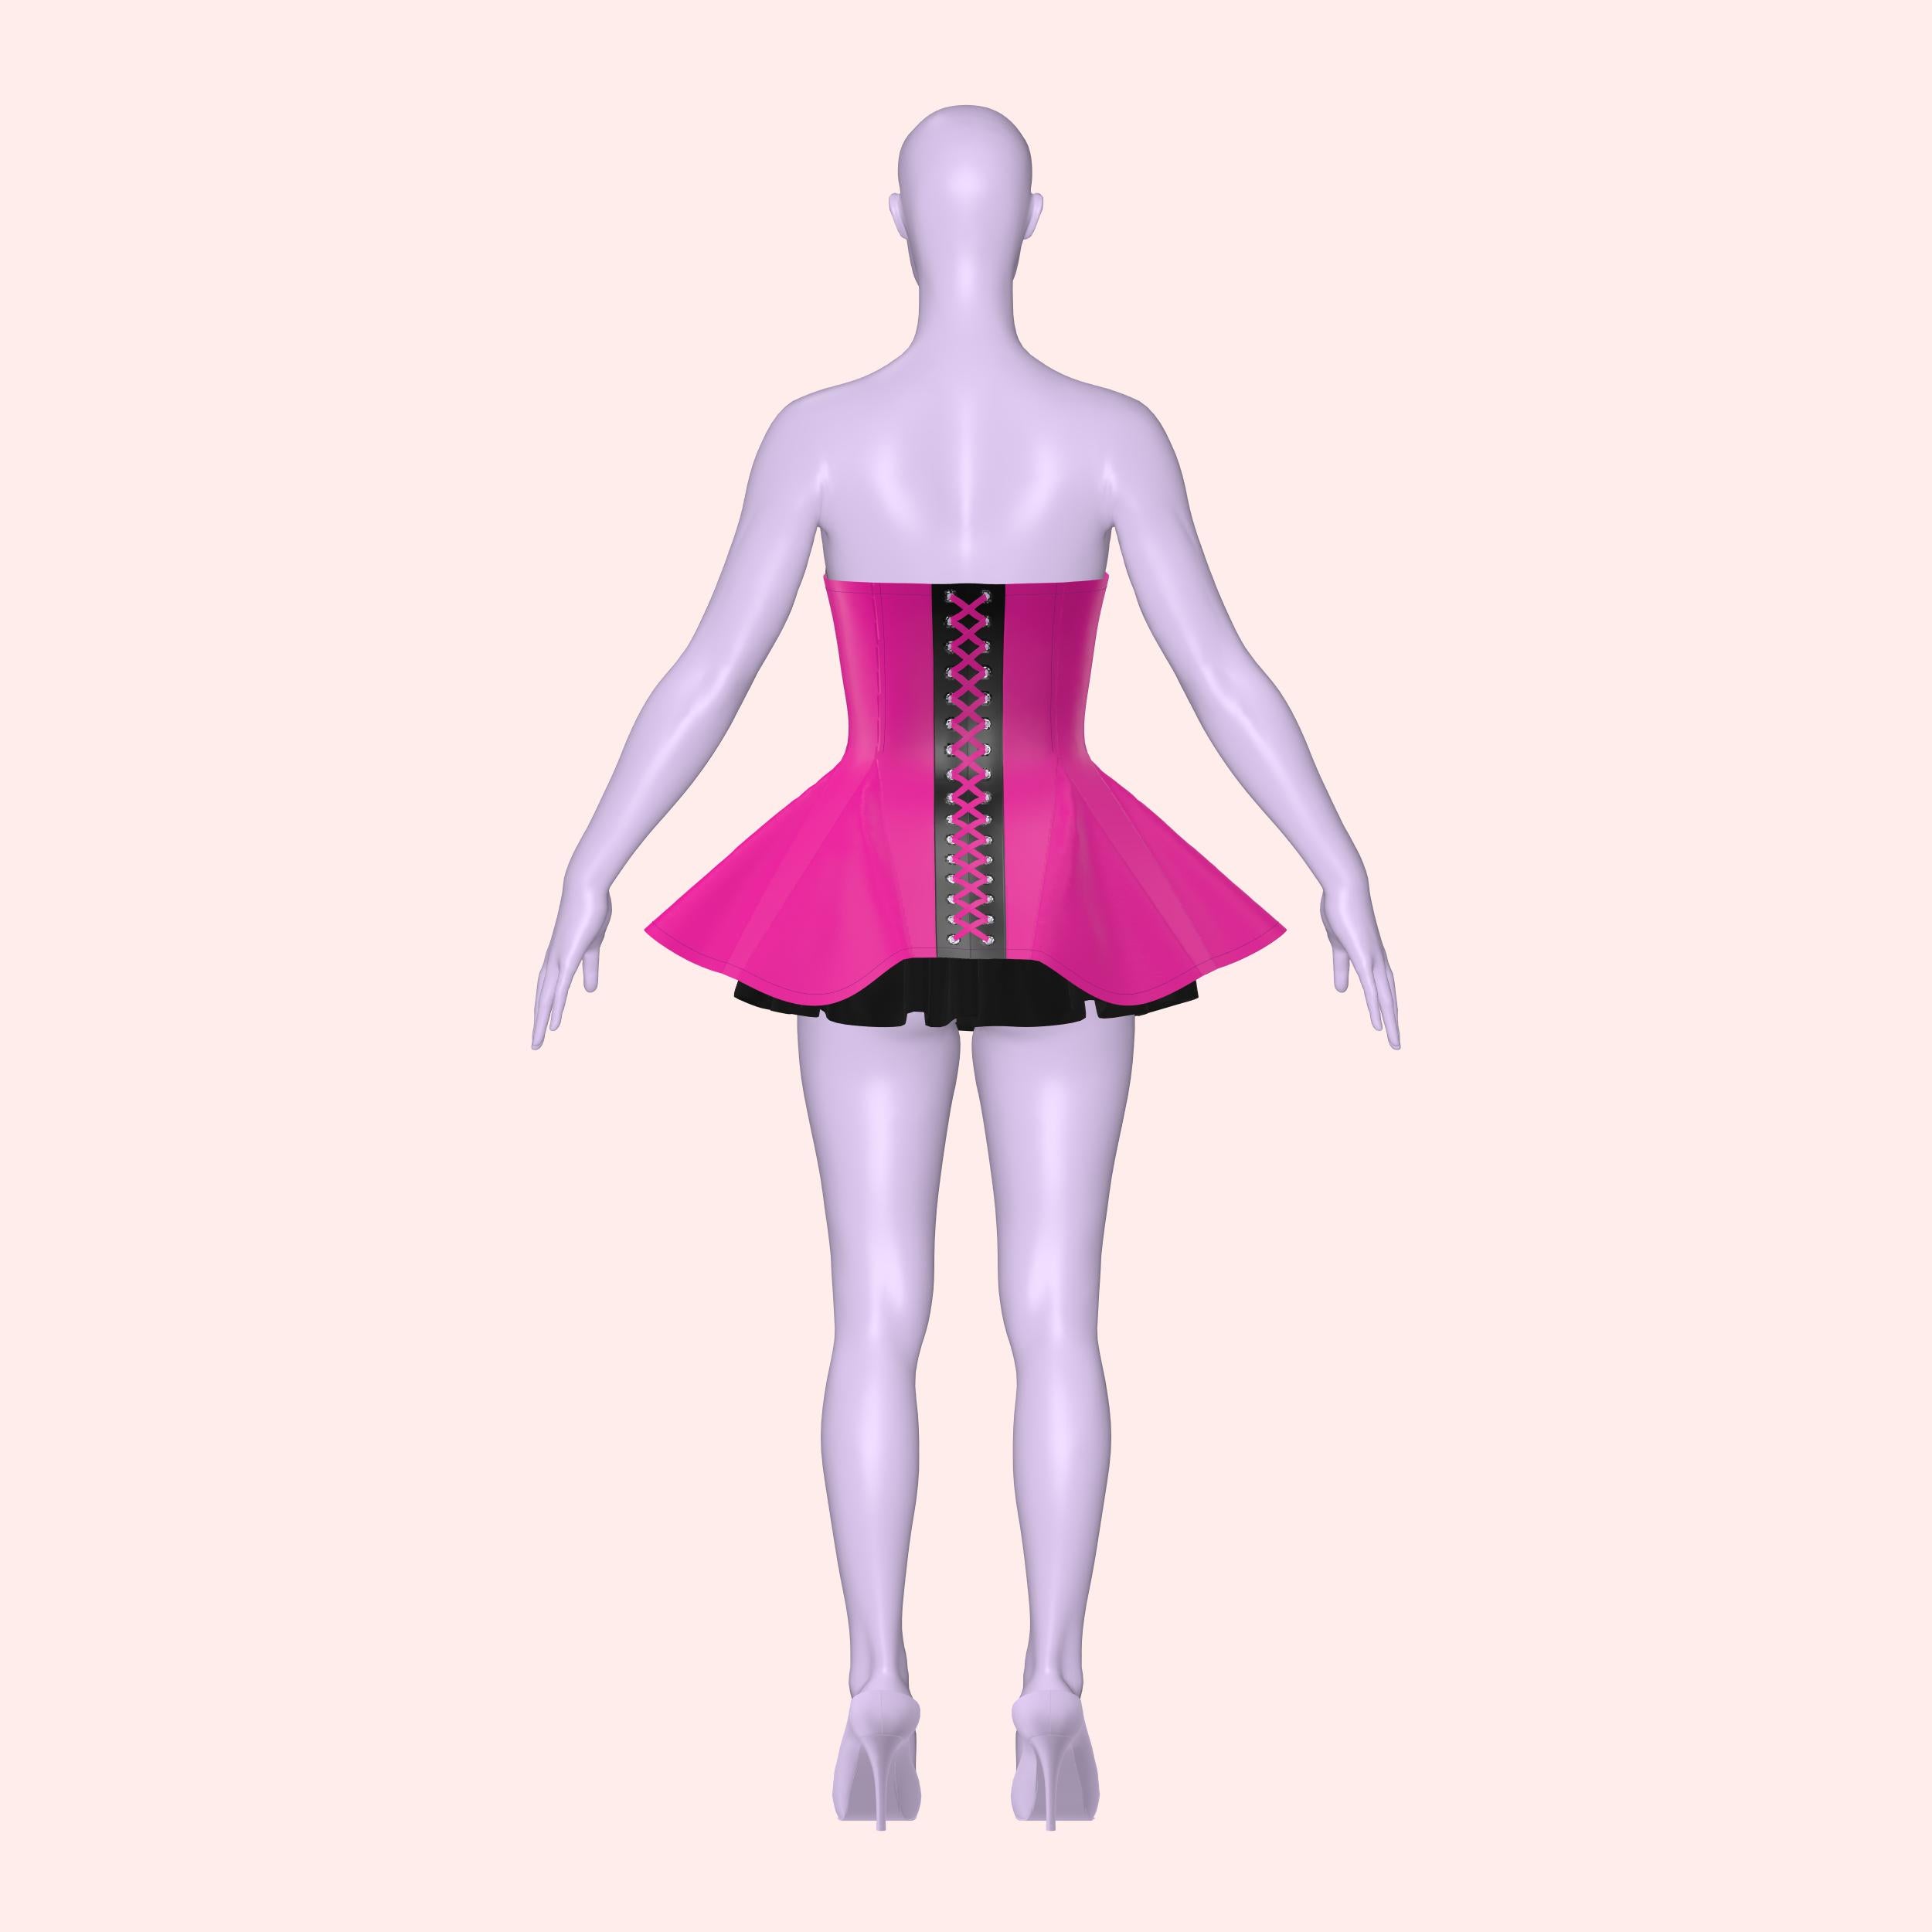
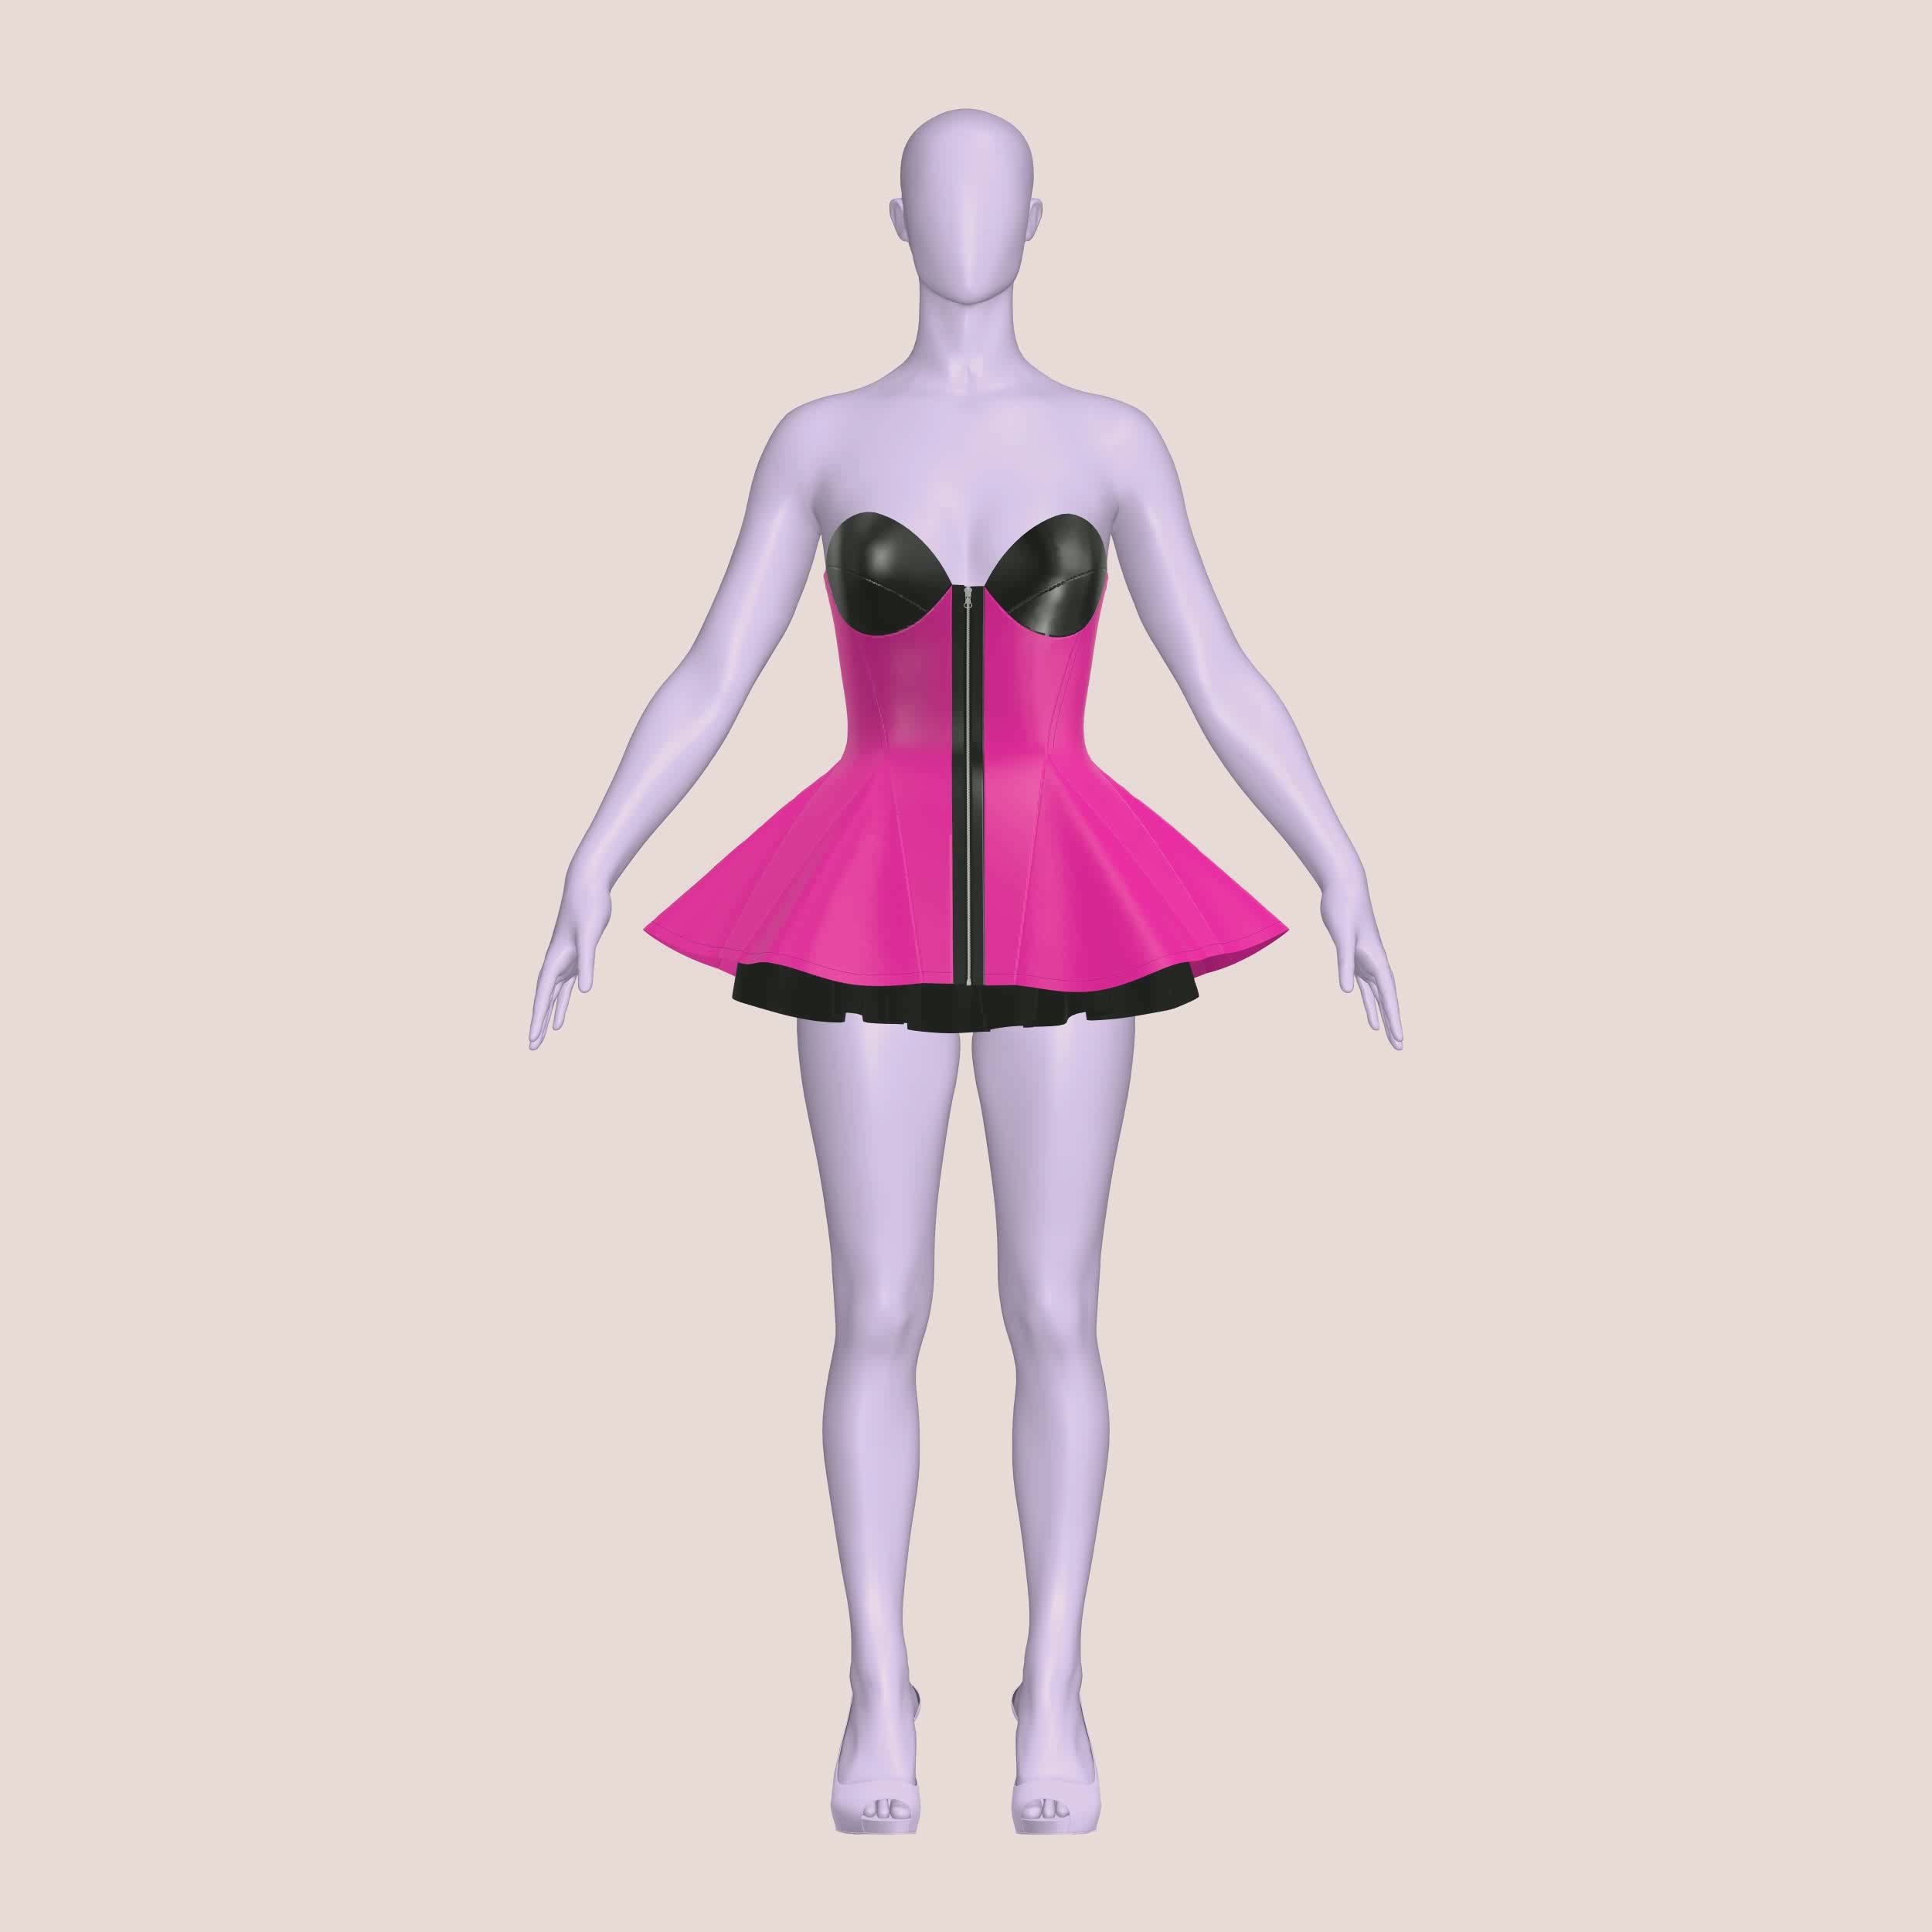
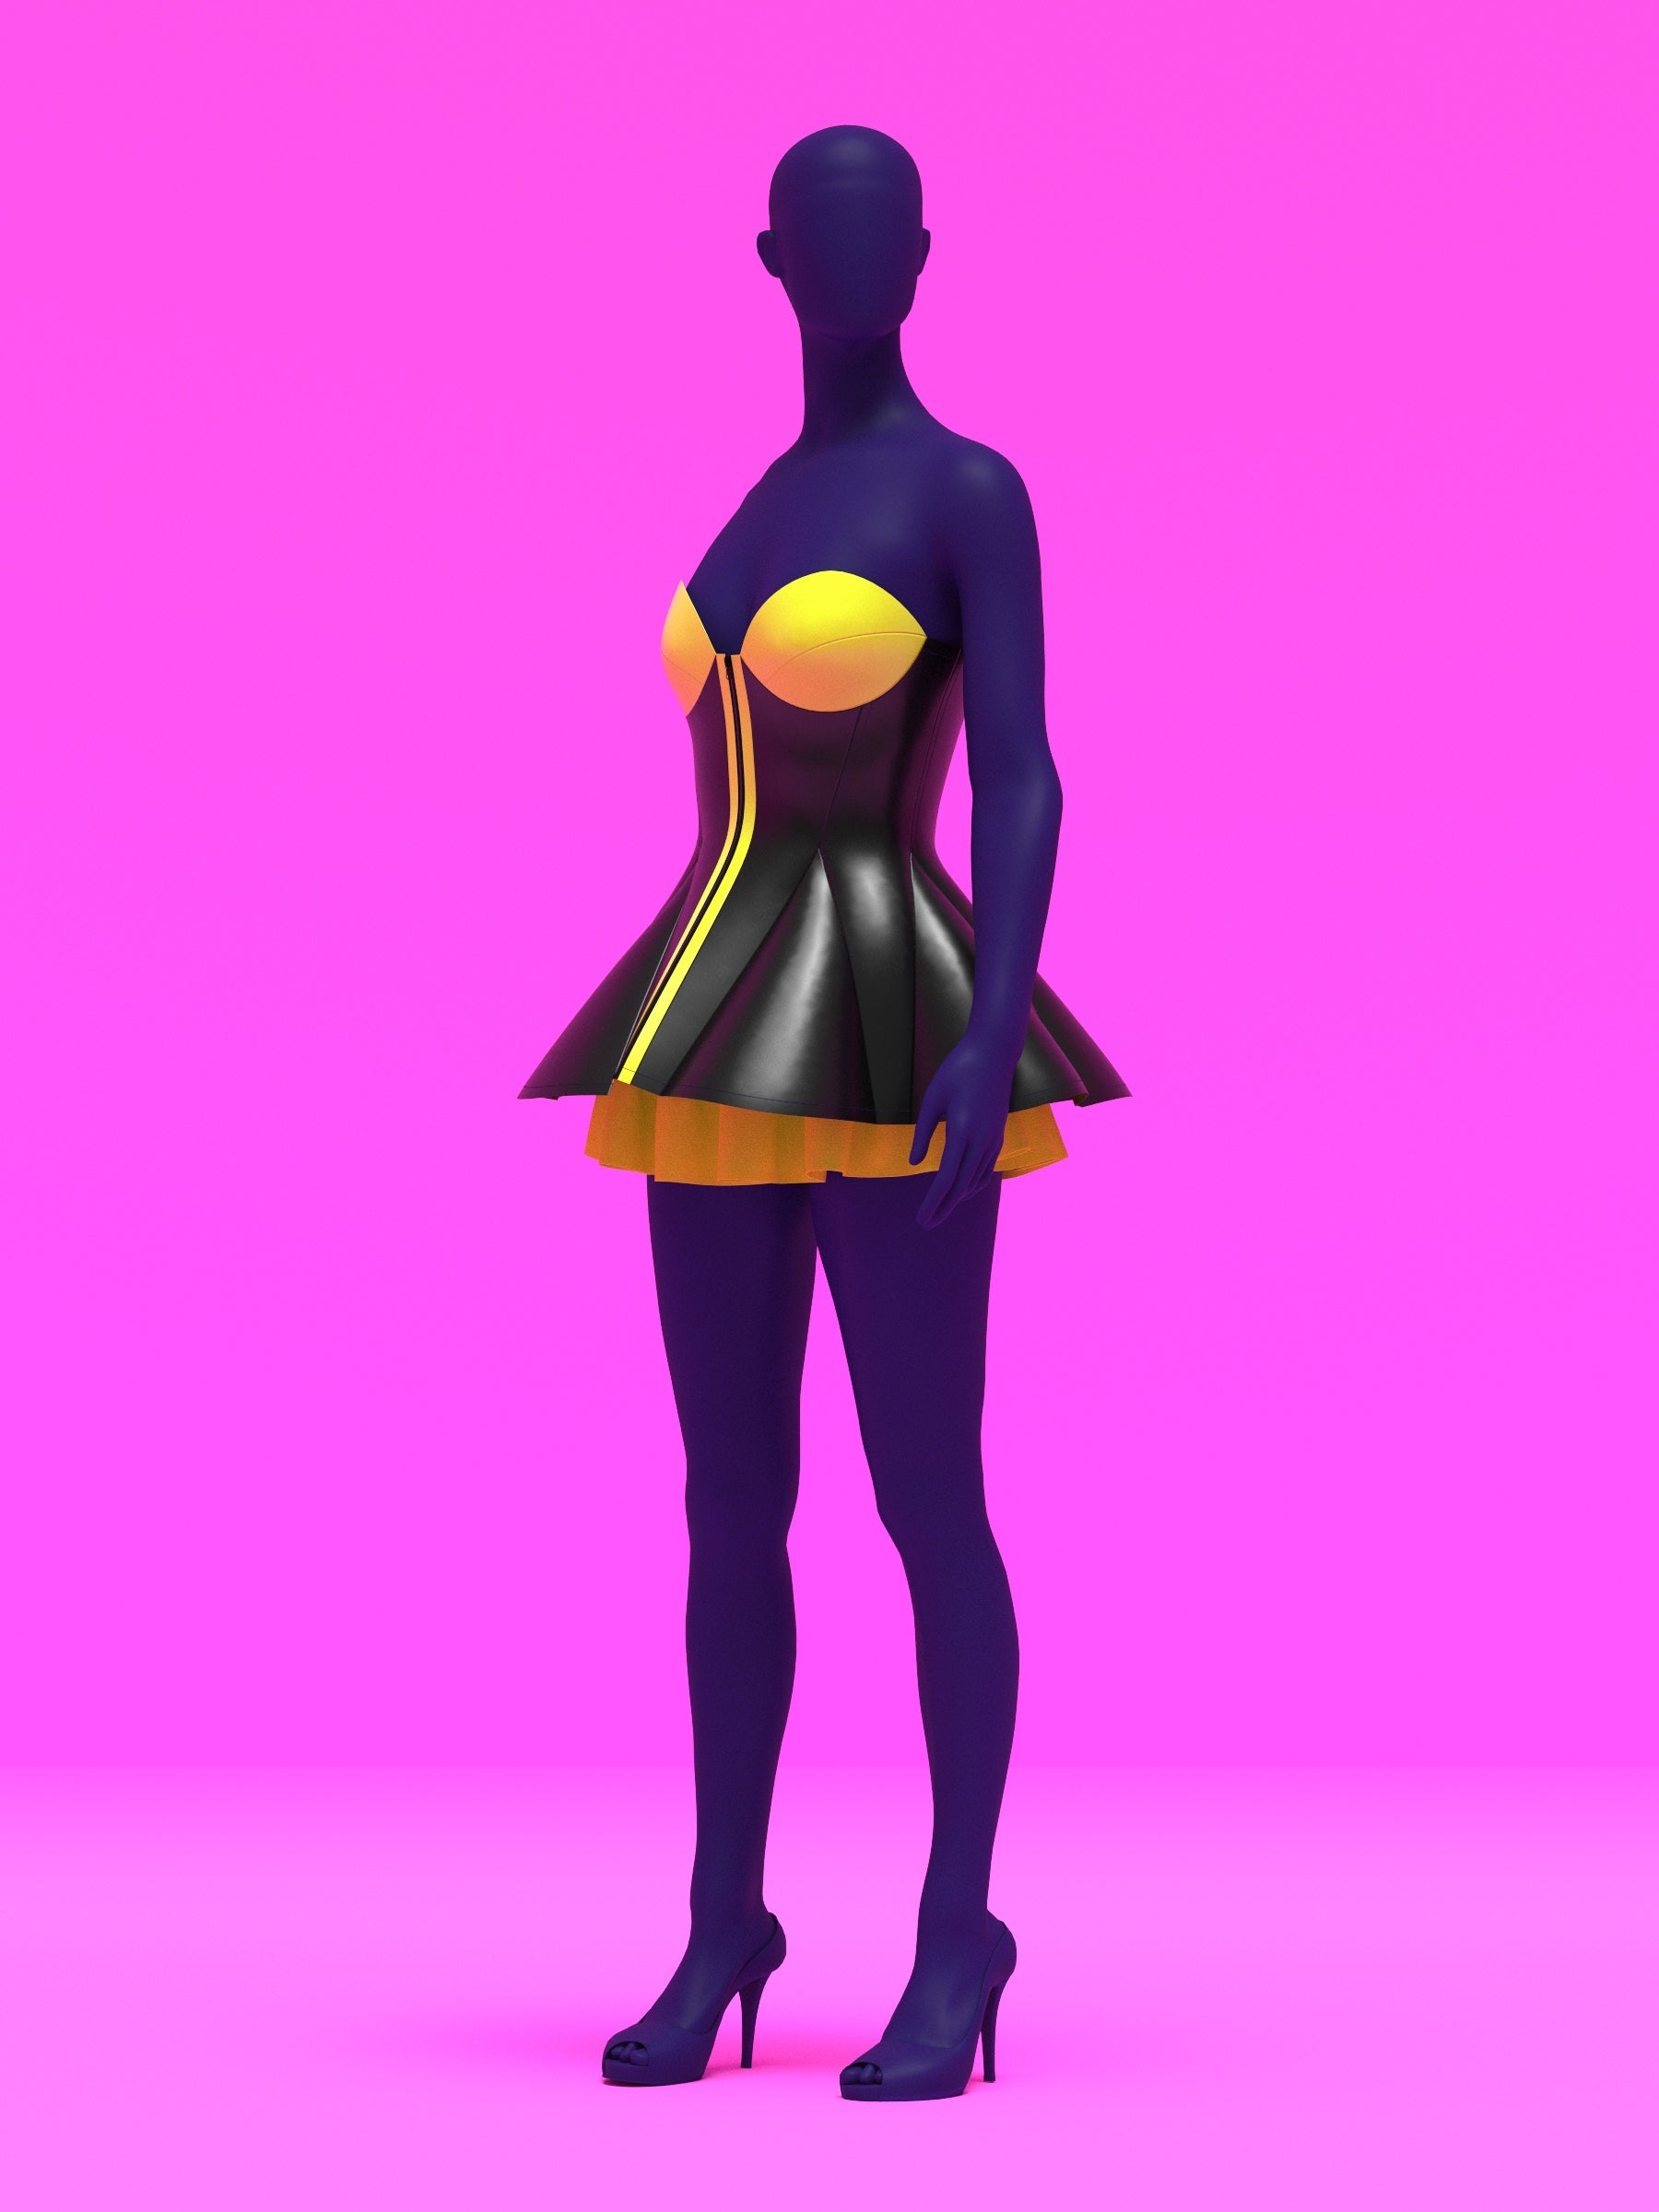
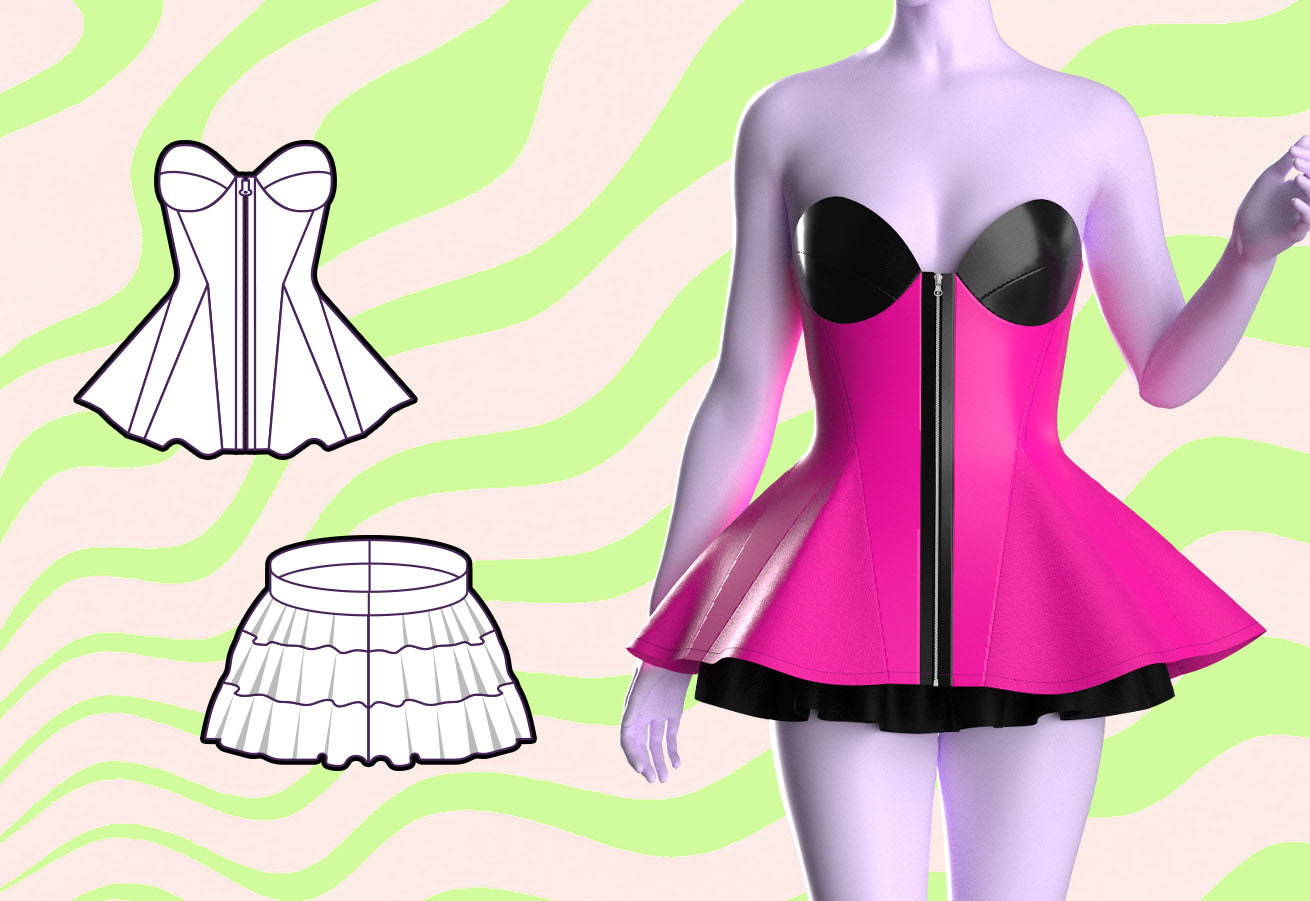
Aprende a coser nuestro vestido con corsé Peplum, un llamativo minivestido con corsé que cuenta con godets que añaden un toque extra de estilo debajo de la cintura. Diseñado específicamente para telas no elásticas, este patrón crea una silueta estructurada que favorece y acentúa tus curvas. Para mayor versatilidad, hemos incluido un patrón de enagua adicional hecho para telas elásticas, que ofrecen comodidad y estilo. Perfecto para drag queens que buscan hacer una declaración audaz, este tutorial proporciona una guía paso a paso para ayudarte a crear un conjunto espectacular que cautivará a cualquier audiencia.
Dificultad del patrón: Intermedio
Detalles de tallas
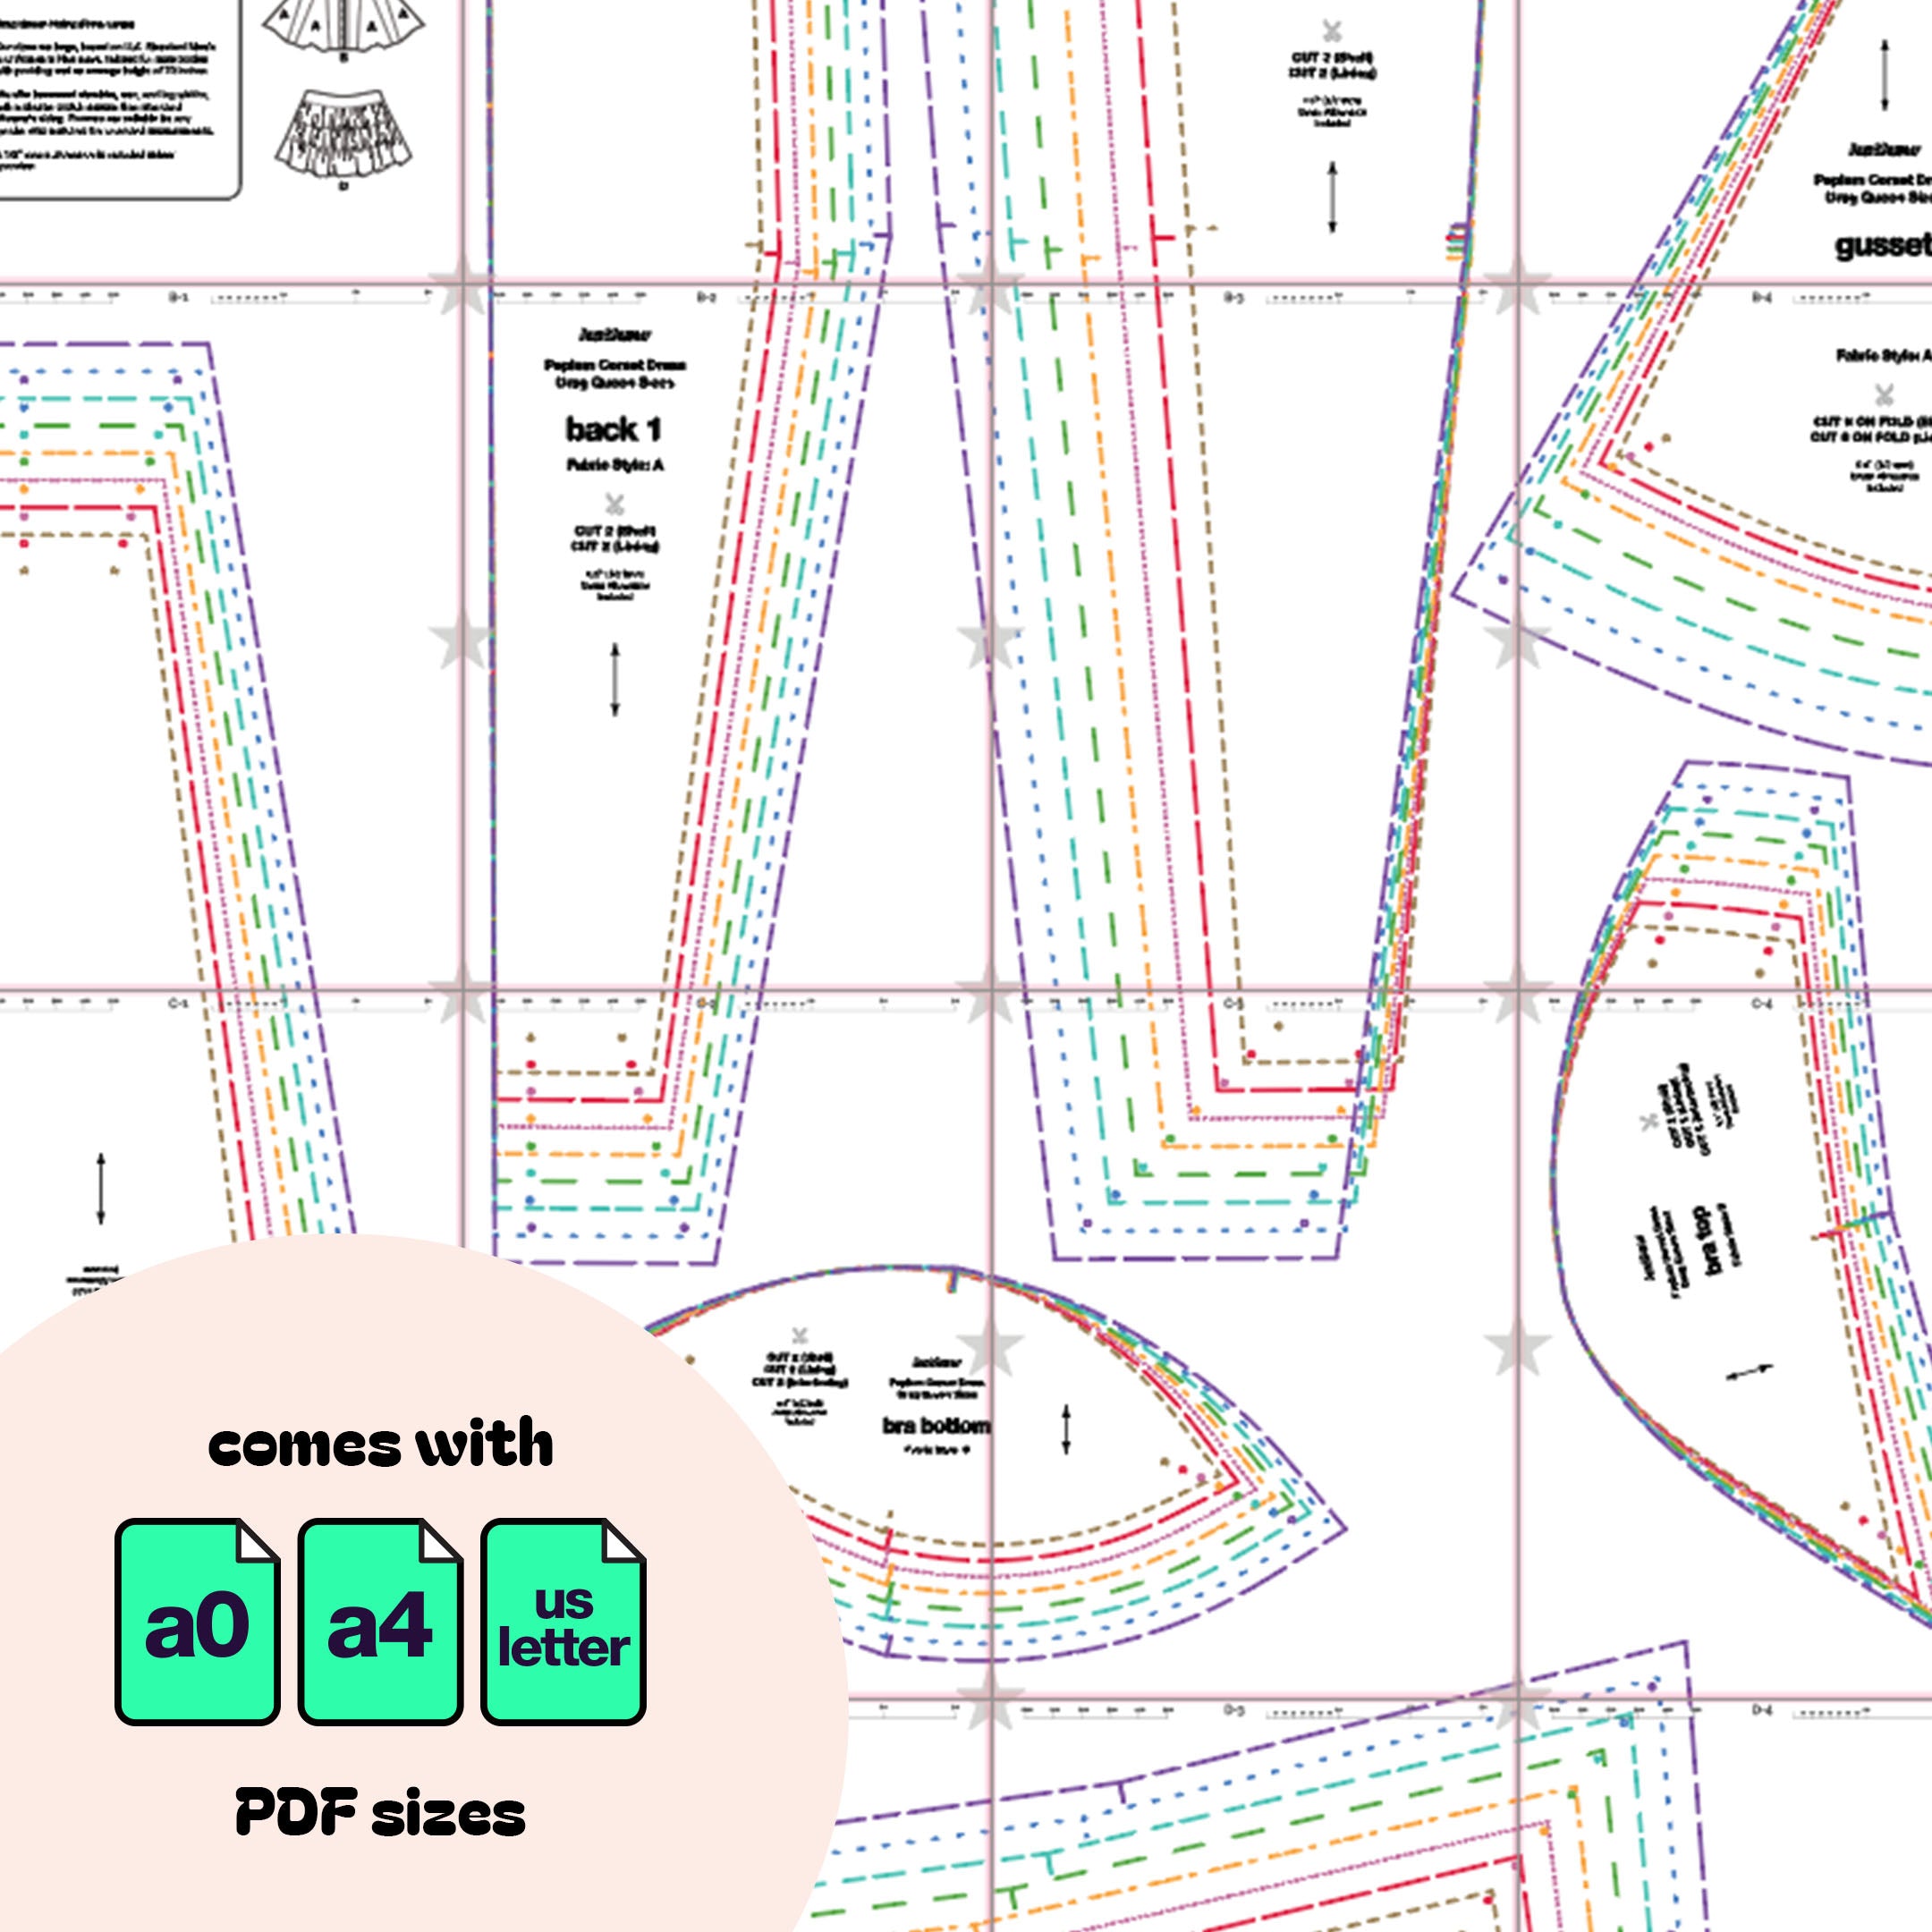
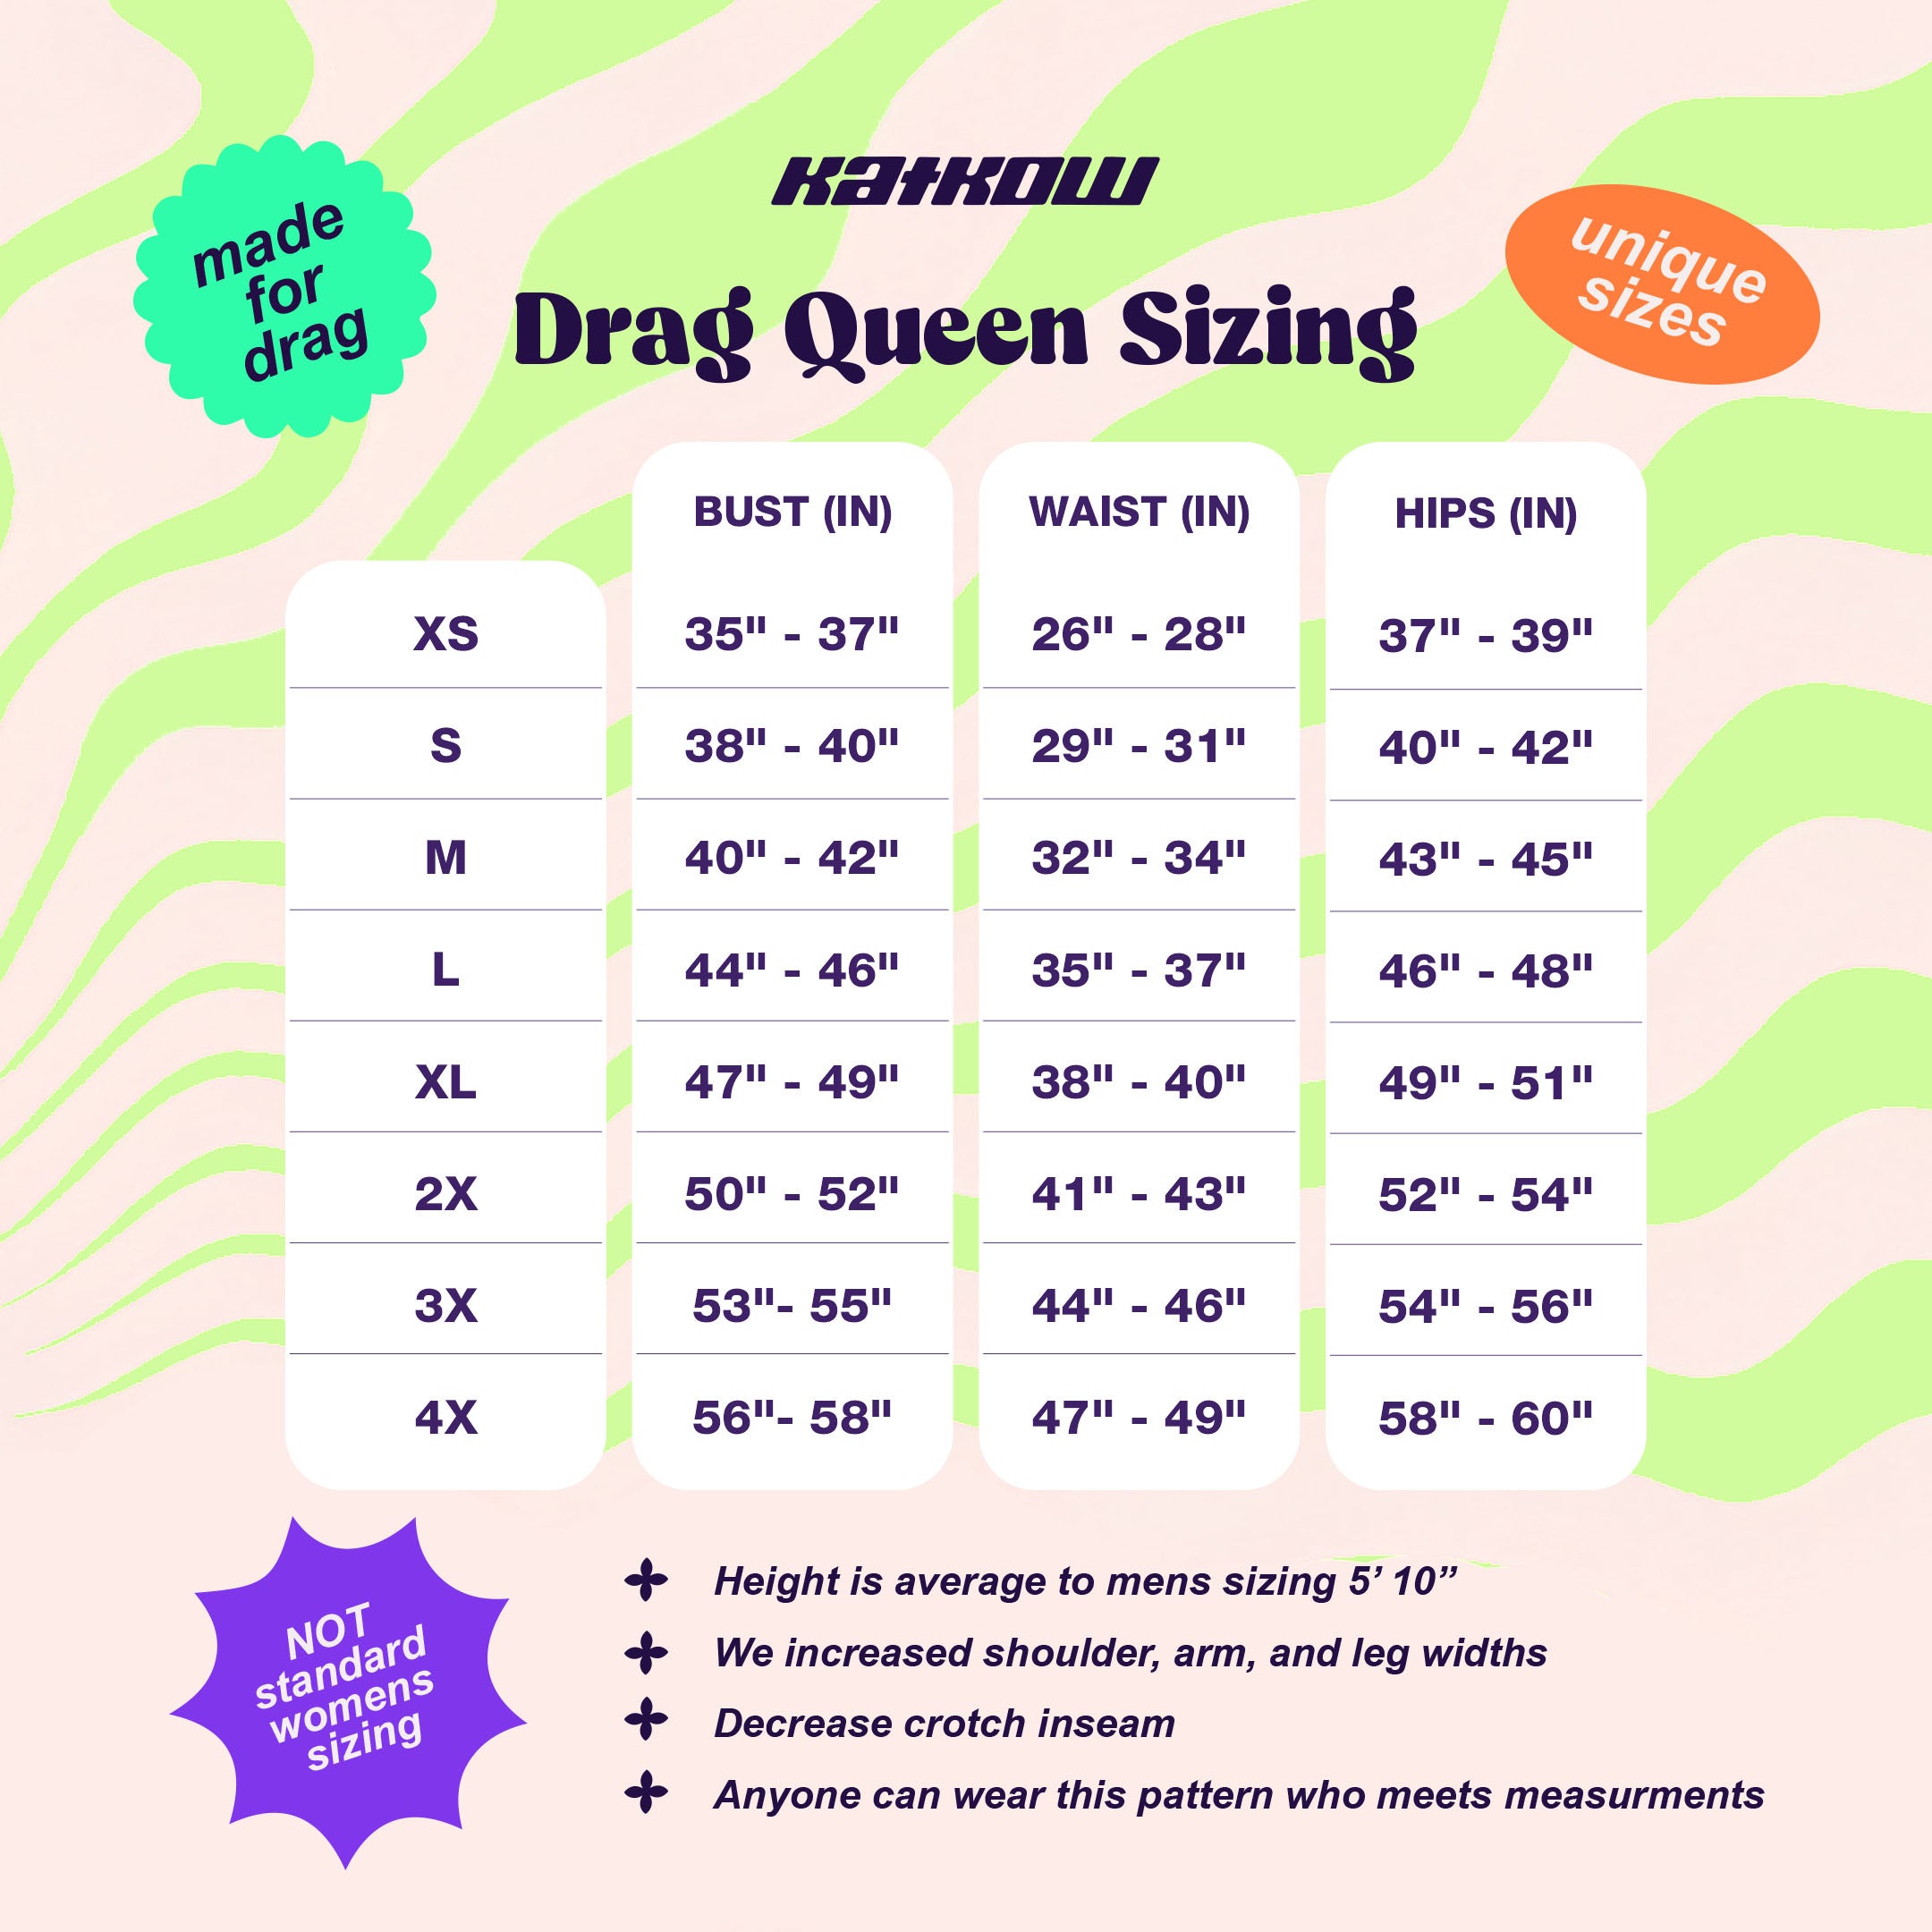
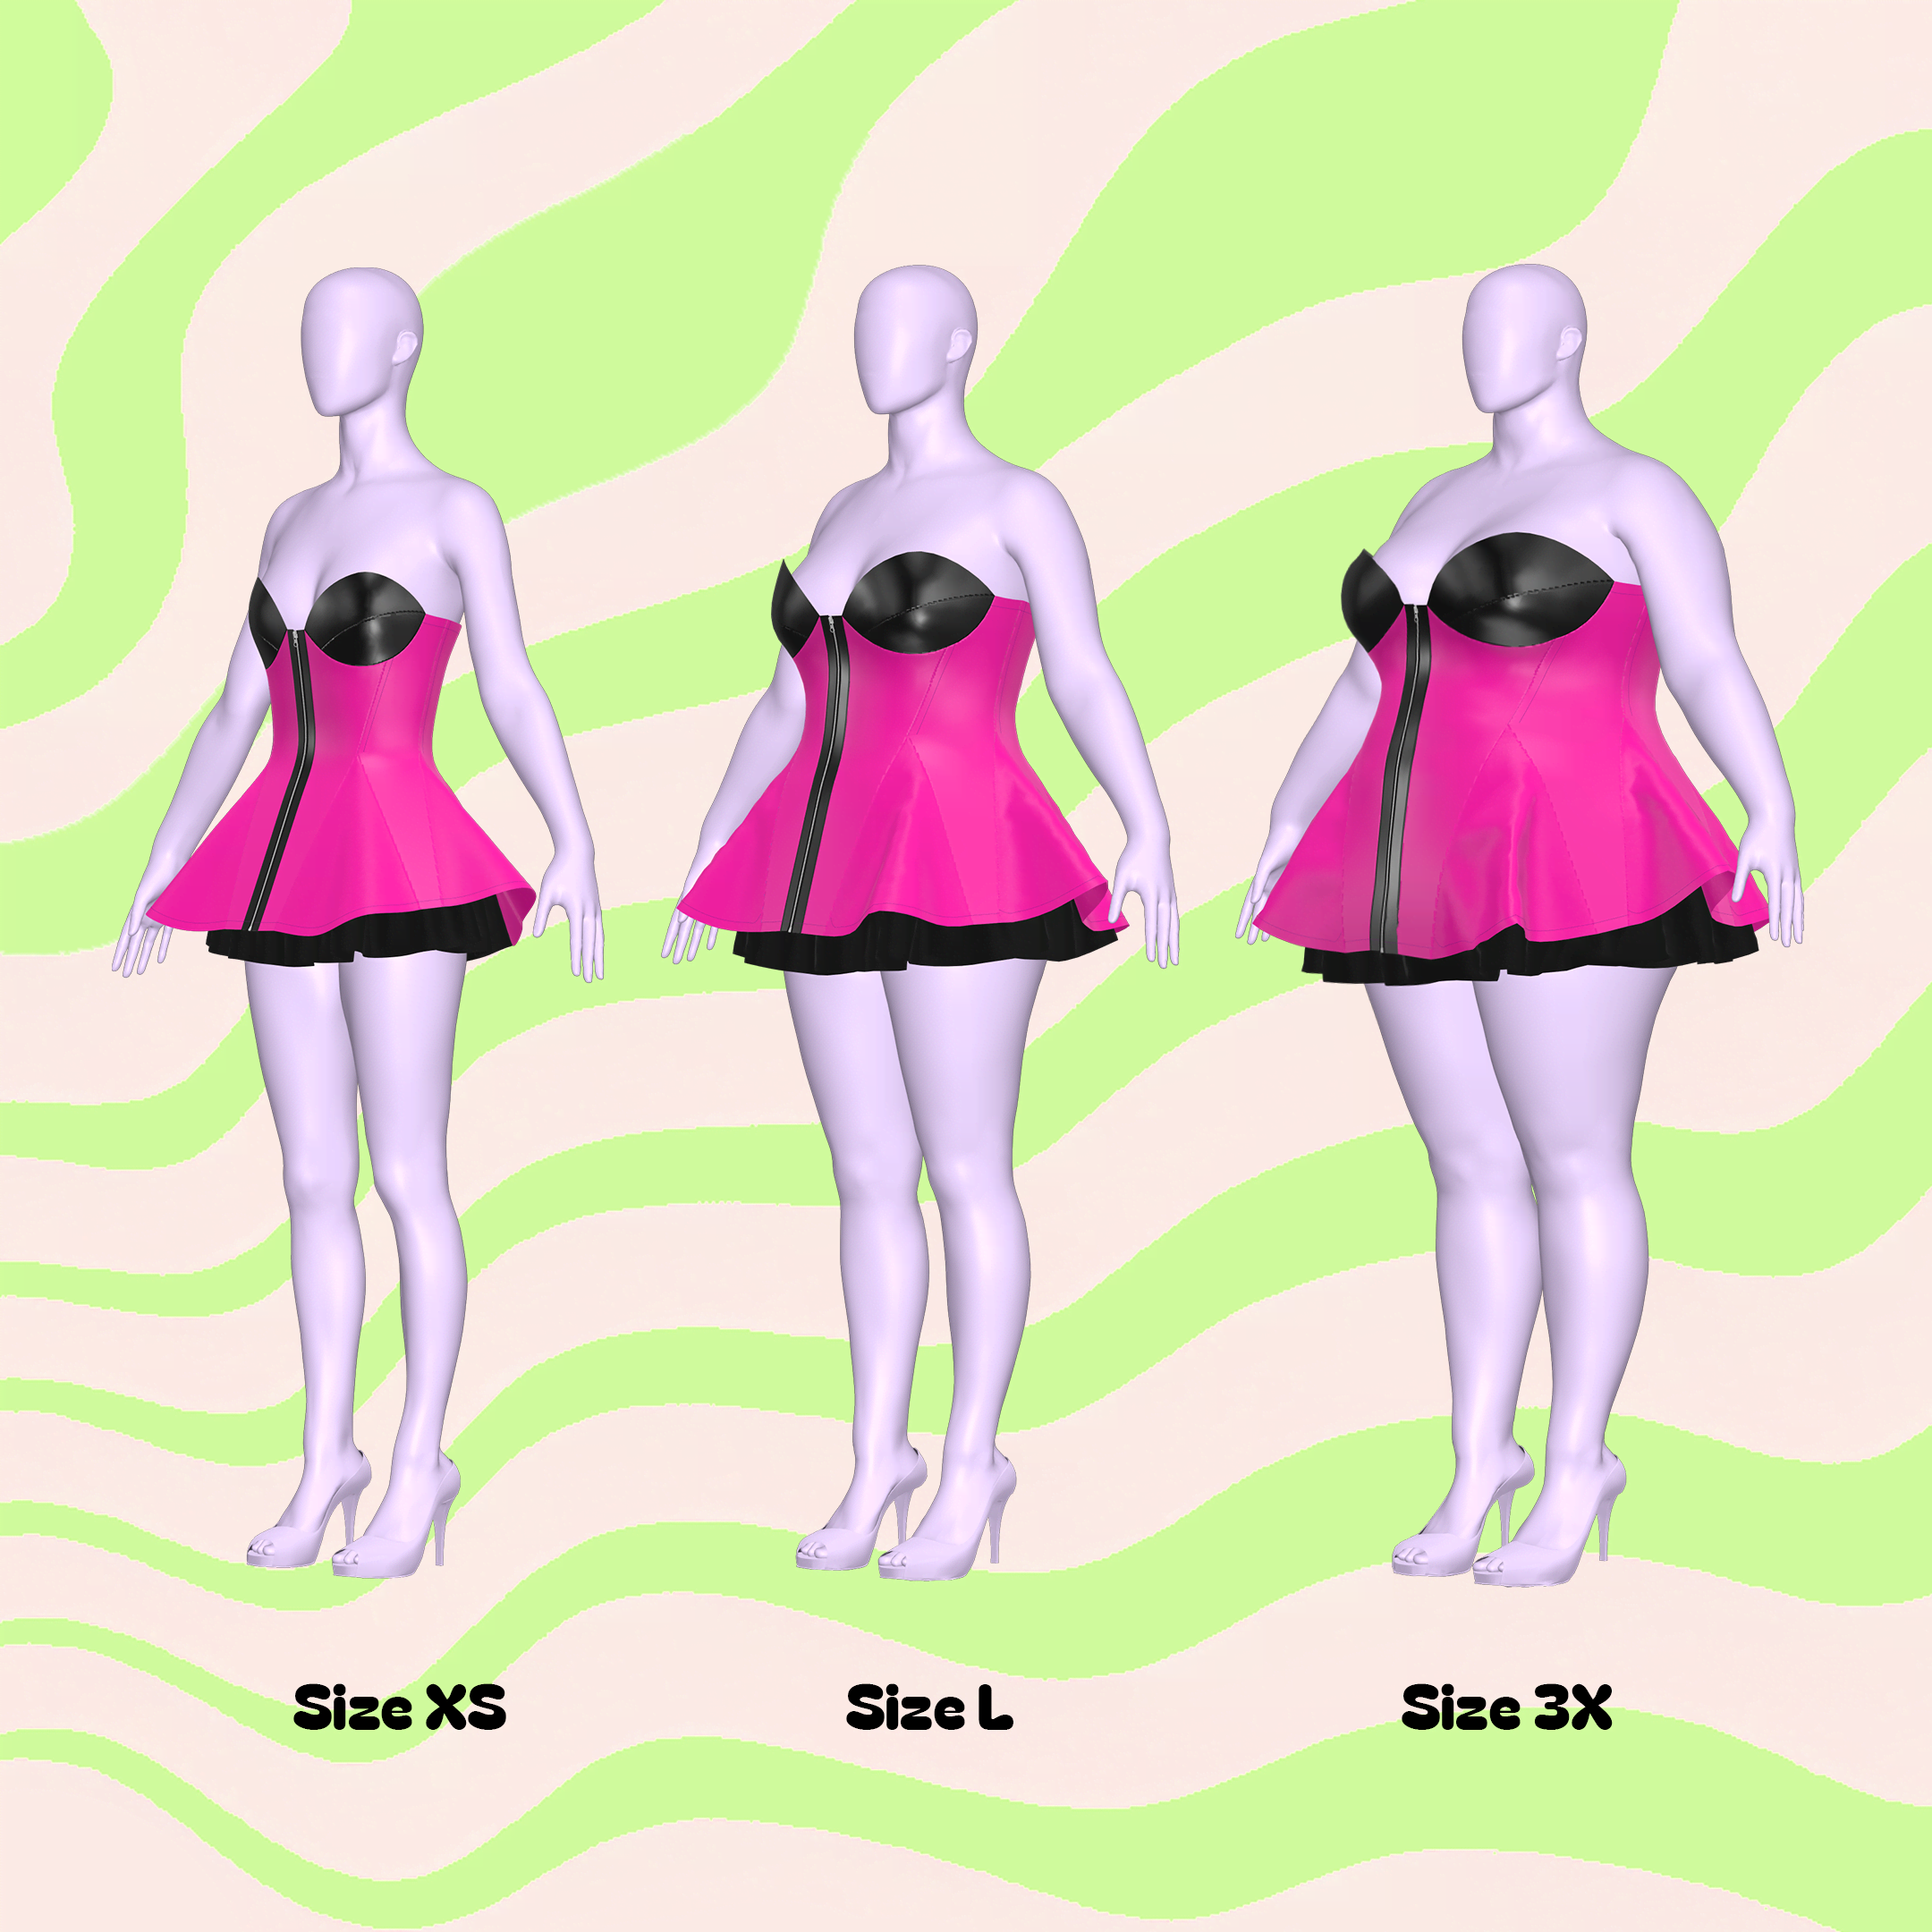
Este patrón está disponible en nuestros exclusivos talles Drag Queen (XS-4X). Consulta nuestra guía de talles para obtener más información sobre nuestras medidas de talle.
Telas y artículos de mercería
Este patrón es ideal para telas no elásticas para el vestido corsé y telas elásticas para la enagua.
Sin estiramiento
- Vinilo
- Cuero o polipiel
- Lienzo
- Dril
Estirar
- Malla de potencia
- Licra/spandex
- Tejido de punto elástico
- Malla de potencia
- Tul
- Entretela fusible de peso medio
- Cremallera separadora de 18" a 20" pulgadas
- Ojales de corsé
- Cordón de cinta/encaje
- Deshuesado opcional
- Cinta al bies/adorno doblemente doblado opcional
Yardas de tela

The yardage below is based on fabric widths of 54 inches.
| Size | Fabric A | Fabric B | Lining A&B | Underskirt D |
|---|---|---|---|---|
| XS | 1y | 0.5y | 1.25y | 1.5y |
| S | 1.25y | 0.5y | 1.25y | 1.75y |
| M | 1.25y | 0.5y | 1.25y | 1.75y |
| L | 1.25y | 0.5y | 1.25y | 2y |
| XL | 1.25y | 0.5y | 1.25y | 2.25y |
| 2X | 1.25y | 0.5y | 1.5y | 2.25y |
| 3X | 1.25y | 0.5y | 1.5y | 2.25y |
| 4X | 1.25y | 0.5y | 1.5y | 2.25y |
For information on converting inches to meters, please check out our conversion guide.
Instrucciones de costura


Fabric Pieces (Non-Stretch)
After cutting your fabric, you should have the following pieces.
Shell (Main Fabric):
- 2 “Bra Top” pieces
- 2 “Bra Bottom” pieces
- 2 “Front Placket” pieces
- 2 "Front 1" pieces
- 2 "Front 2" pieces
- 2 "Back 1" pieces
- 2 "Back 2" pieces
- 2 “Back Placket” pieces
- 6 Godet pieces cut on the fold
Lining: Same pieces as the shell
Interfacing (For structure):
- 2 “Bra Top” pieces
- 2 “Bra Bottom” pieces
- 2 “Front Placket” pieces
- 2 “Back Placket” pieces

STEP 1
Prepare the Bra Cup and Placket Pieces. Start by attaching interfacing (a special material that gives the fabric more stiffness) to the wrong side (the inside part that won’t be visible) of your fabric.

STEP 2
Sew the Bra Cups. Take the top and bottom bra cup pieces. Sew them together along the middle seam. Be sure to match up the notches (small cuts or markings that help you align pieces).

STEP 3
Sew the Front Placket and Front 1 Pieces. Take the Front Placket and Front 1 pieces. Stack them with the right sides (the side of the fabric that will be visible) facing each other. Sew them together along the center front seam.

STEP 4
Sew the Back Placket and Back 1 Pieces. Take the Back Placket and Back 1 pieces. Stack them with the right sides facing each other, and sew them together along the center back seam.

STEP 5
Assemble One Side of the Dress. Sew the front and back pieces together. Sew Front 1, Front 2, Back 2, and Back 1 together, making sure the right sides are facing each other. Only sew down to the waist notch (this is a small mark on the pattern that indicates where the waist is).

STEP 6
Sew the Godets. Now it's time to sew the godets. These will be sewn in the gaps below the waist notch.
Here's a video tutorial to help give you more instructions for sewing godets:

STEP 7
Optional – Add Boning for Structure. You can add boning (plastic or metal strips used to stiffen corsets) above the waist notch if you want. This helps the corset hold its shape.
Here's a video tutorial on different ways to sew in boning:

STEP 8
Attach the Bra Cups to the Dress. Sew the bra cups onto the bust curve of the dress. Make sure the notches line up, and the right sides are facing each other.

STEP 9
Make the Lining. Repeat the steps above to create the lining of your dress. You don’t need to add interfacing or boning to the lining.

STEP 10
Sew the Shell and Lining Together. Stack the shell and lining with the right sides facing each other. Sew them together along the center back placket, up and around the top, over the bra cups, and stop at the front placket edge.

STEP 11
Install the Zipper. Install an 18-20 inch separating zipper down the center front placket seam. Separate the zipper, and place the right side of the zipper against the right side of the shell fabric. Sew the shell, lining, and zipper together along the center front seam.

STEP 12
Turn the Dress Right Side Out. Flip the shell and lining right side out. Then, topstitch along the top edges of the dress to keep everything in place.

STEP 13
Add Eyelets and Boning to the Back Placket. On the back placket, sew two vertical lines about 0.5 inches apart to create three columns. Place the eyelets (small metal rings for the lacing) in the center column. You can add boning in the other two columns for extra structure.

STEP 14
Hem the Dress. Hem the bottom of the dress by folding the fabric and stitching it, using a rolled hem or double-sided bias tape/trim.
Lace Up the Back. Zip up both sides of the dress and lace up the back using the eyelets. If you need help with lacing techniques, check out this video:
