Cómo coser un bolero de manga larga
Saltar a instrucciones
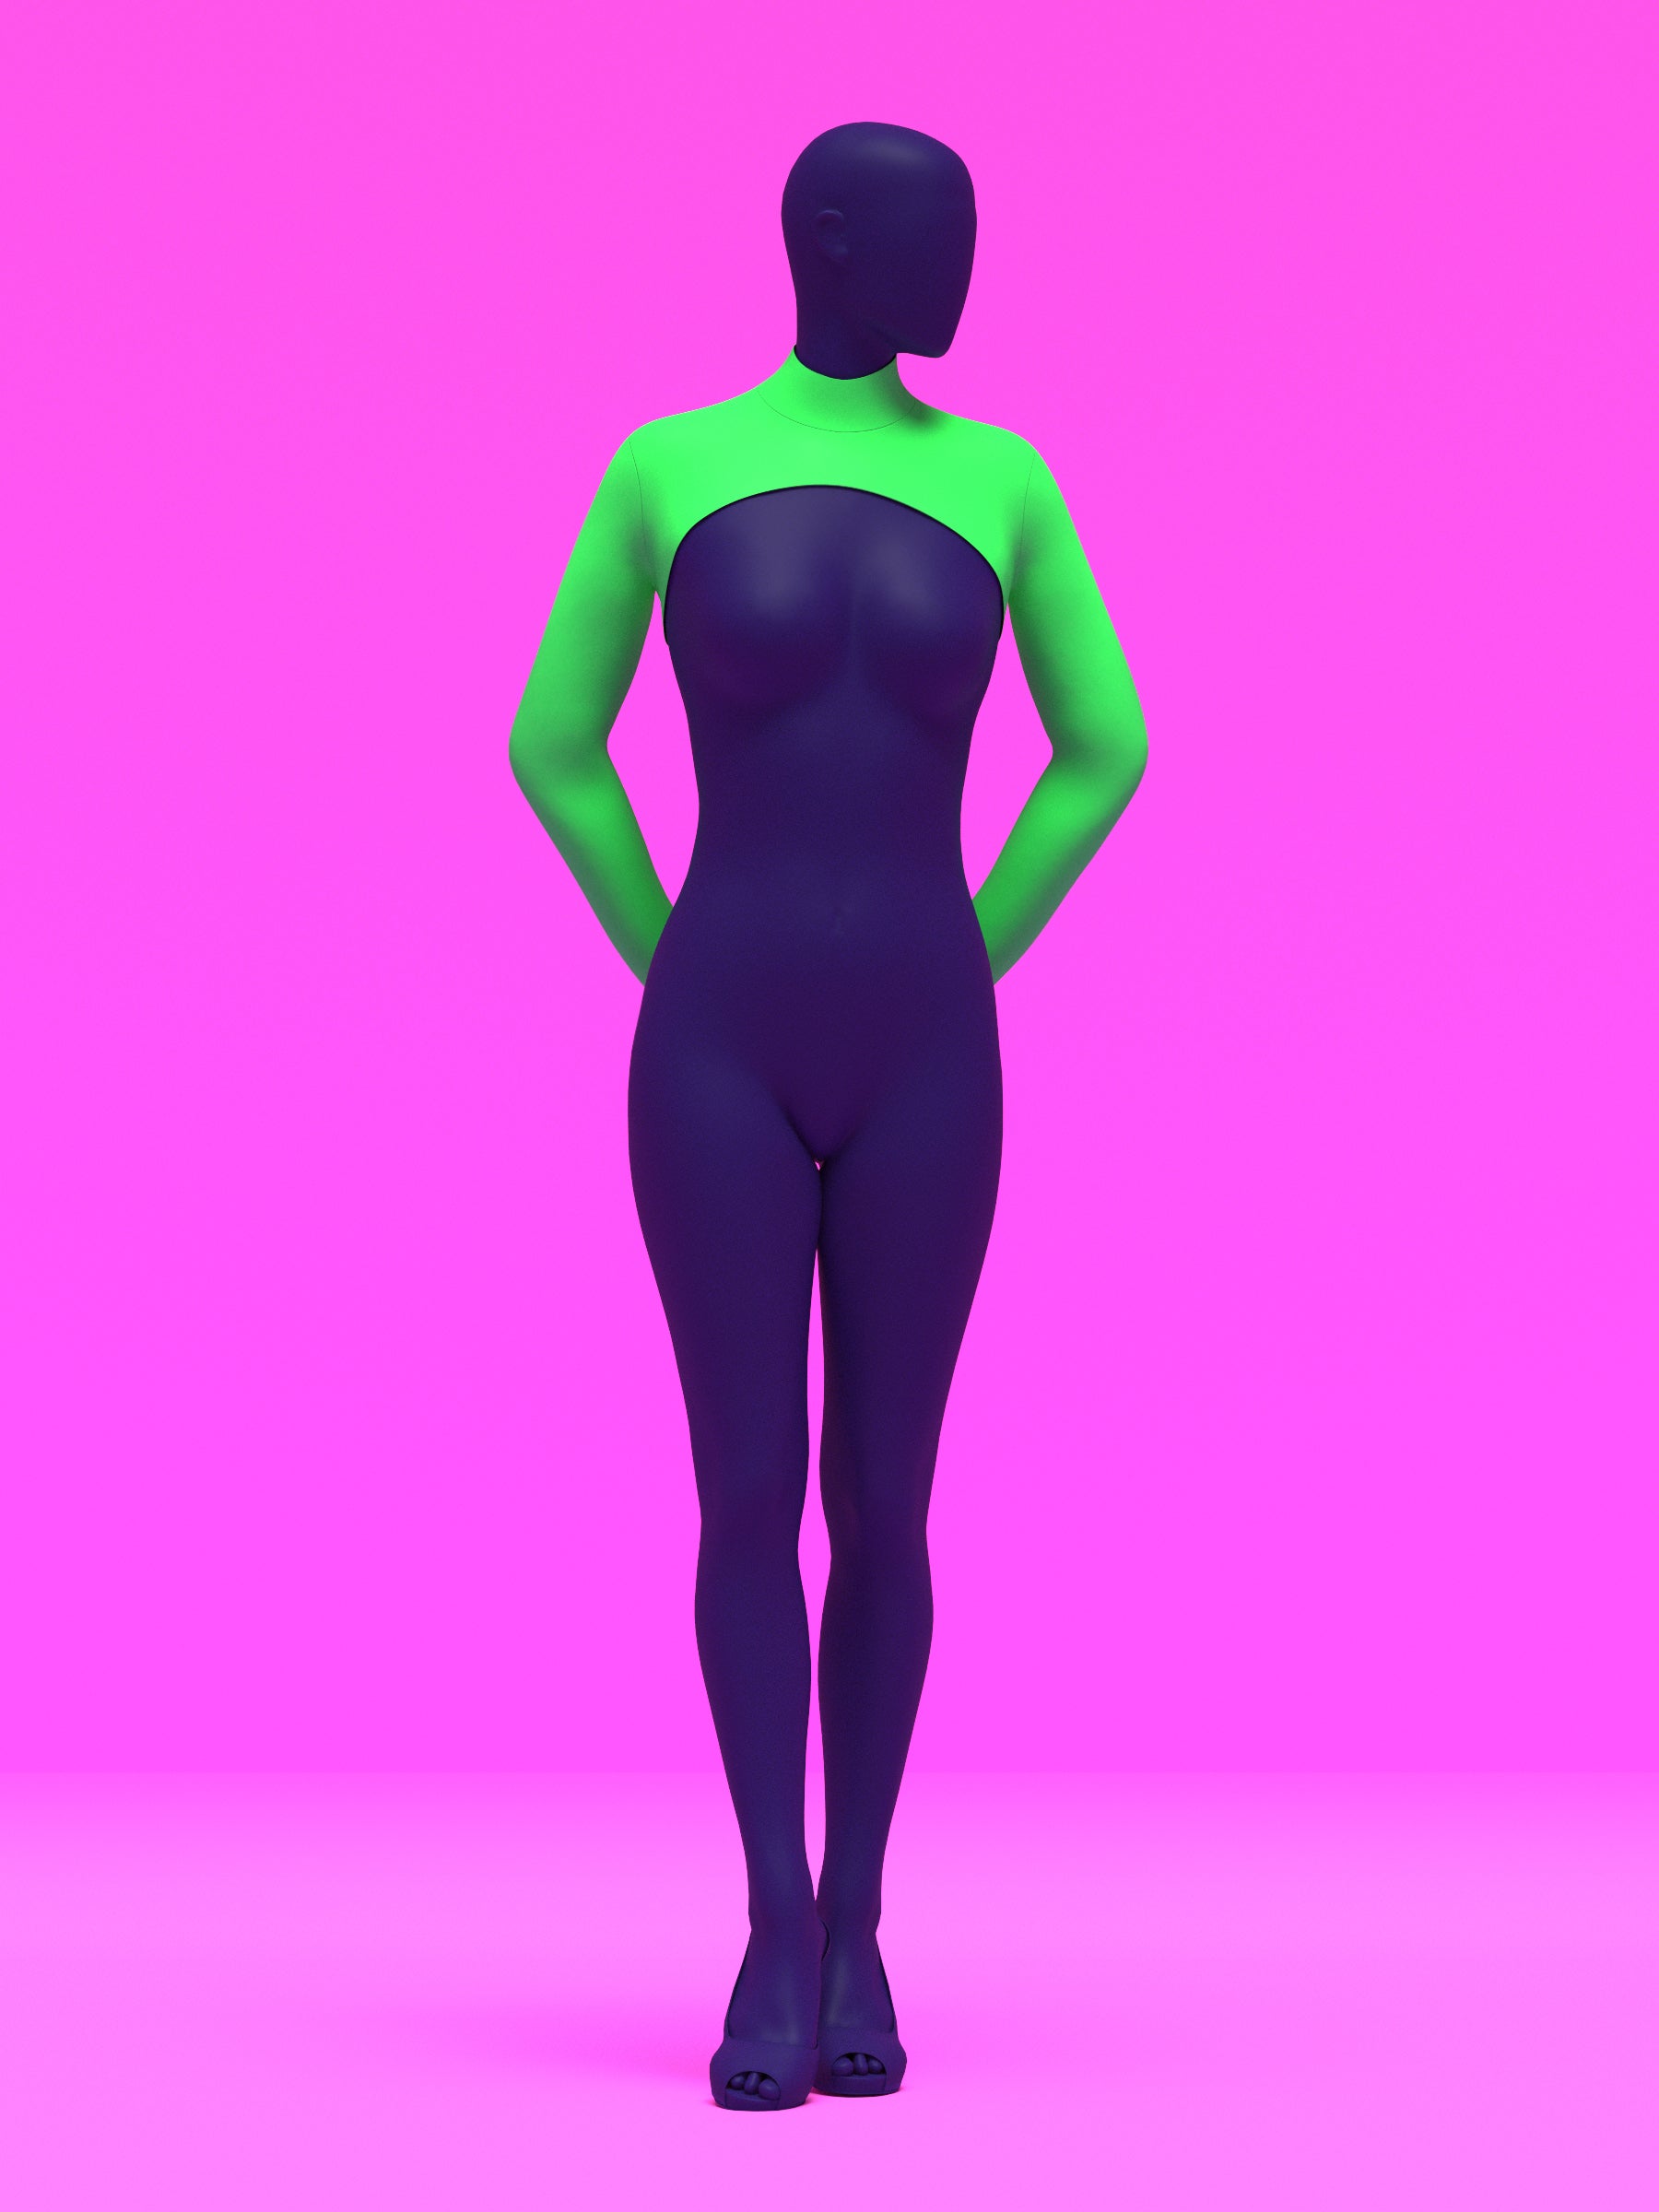
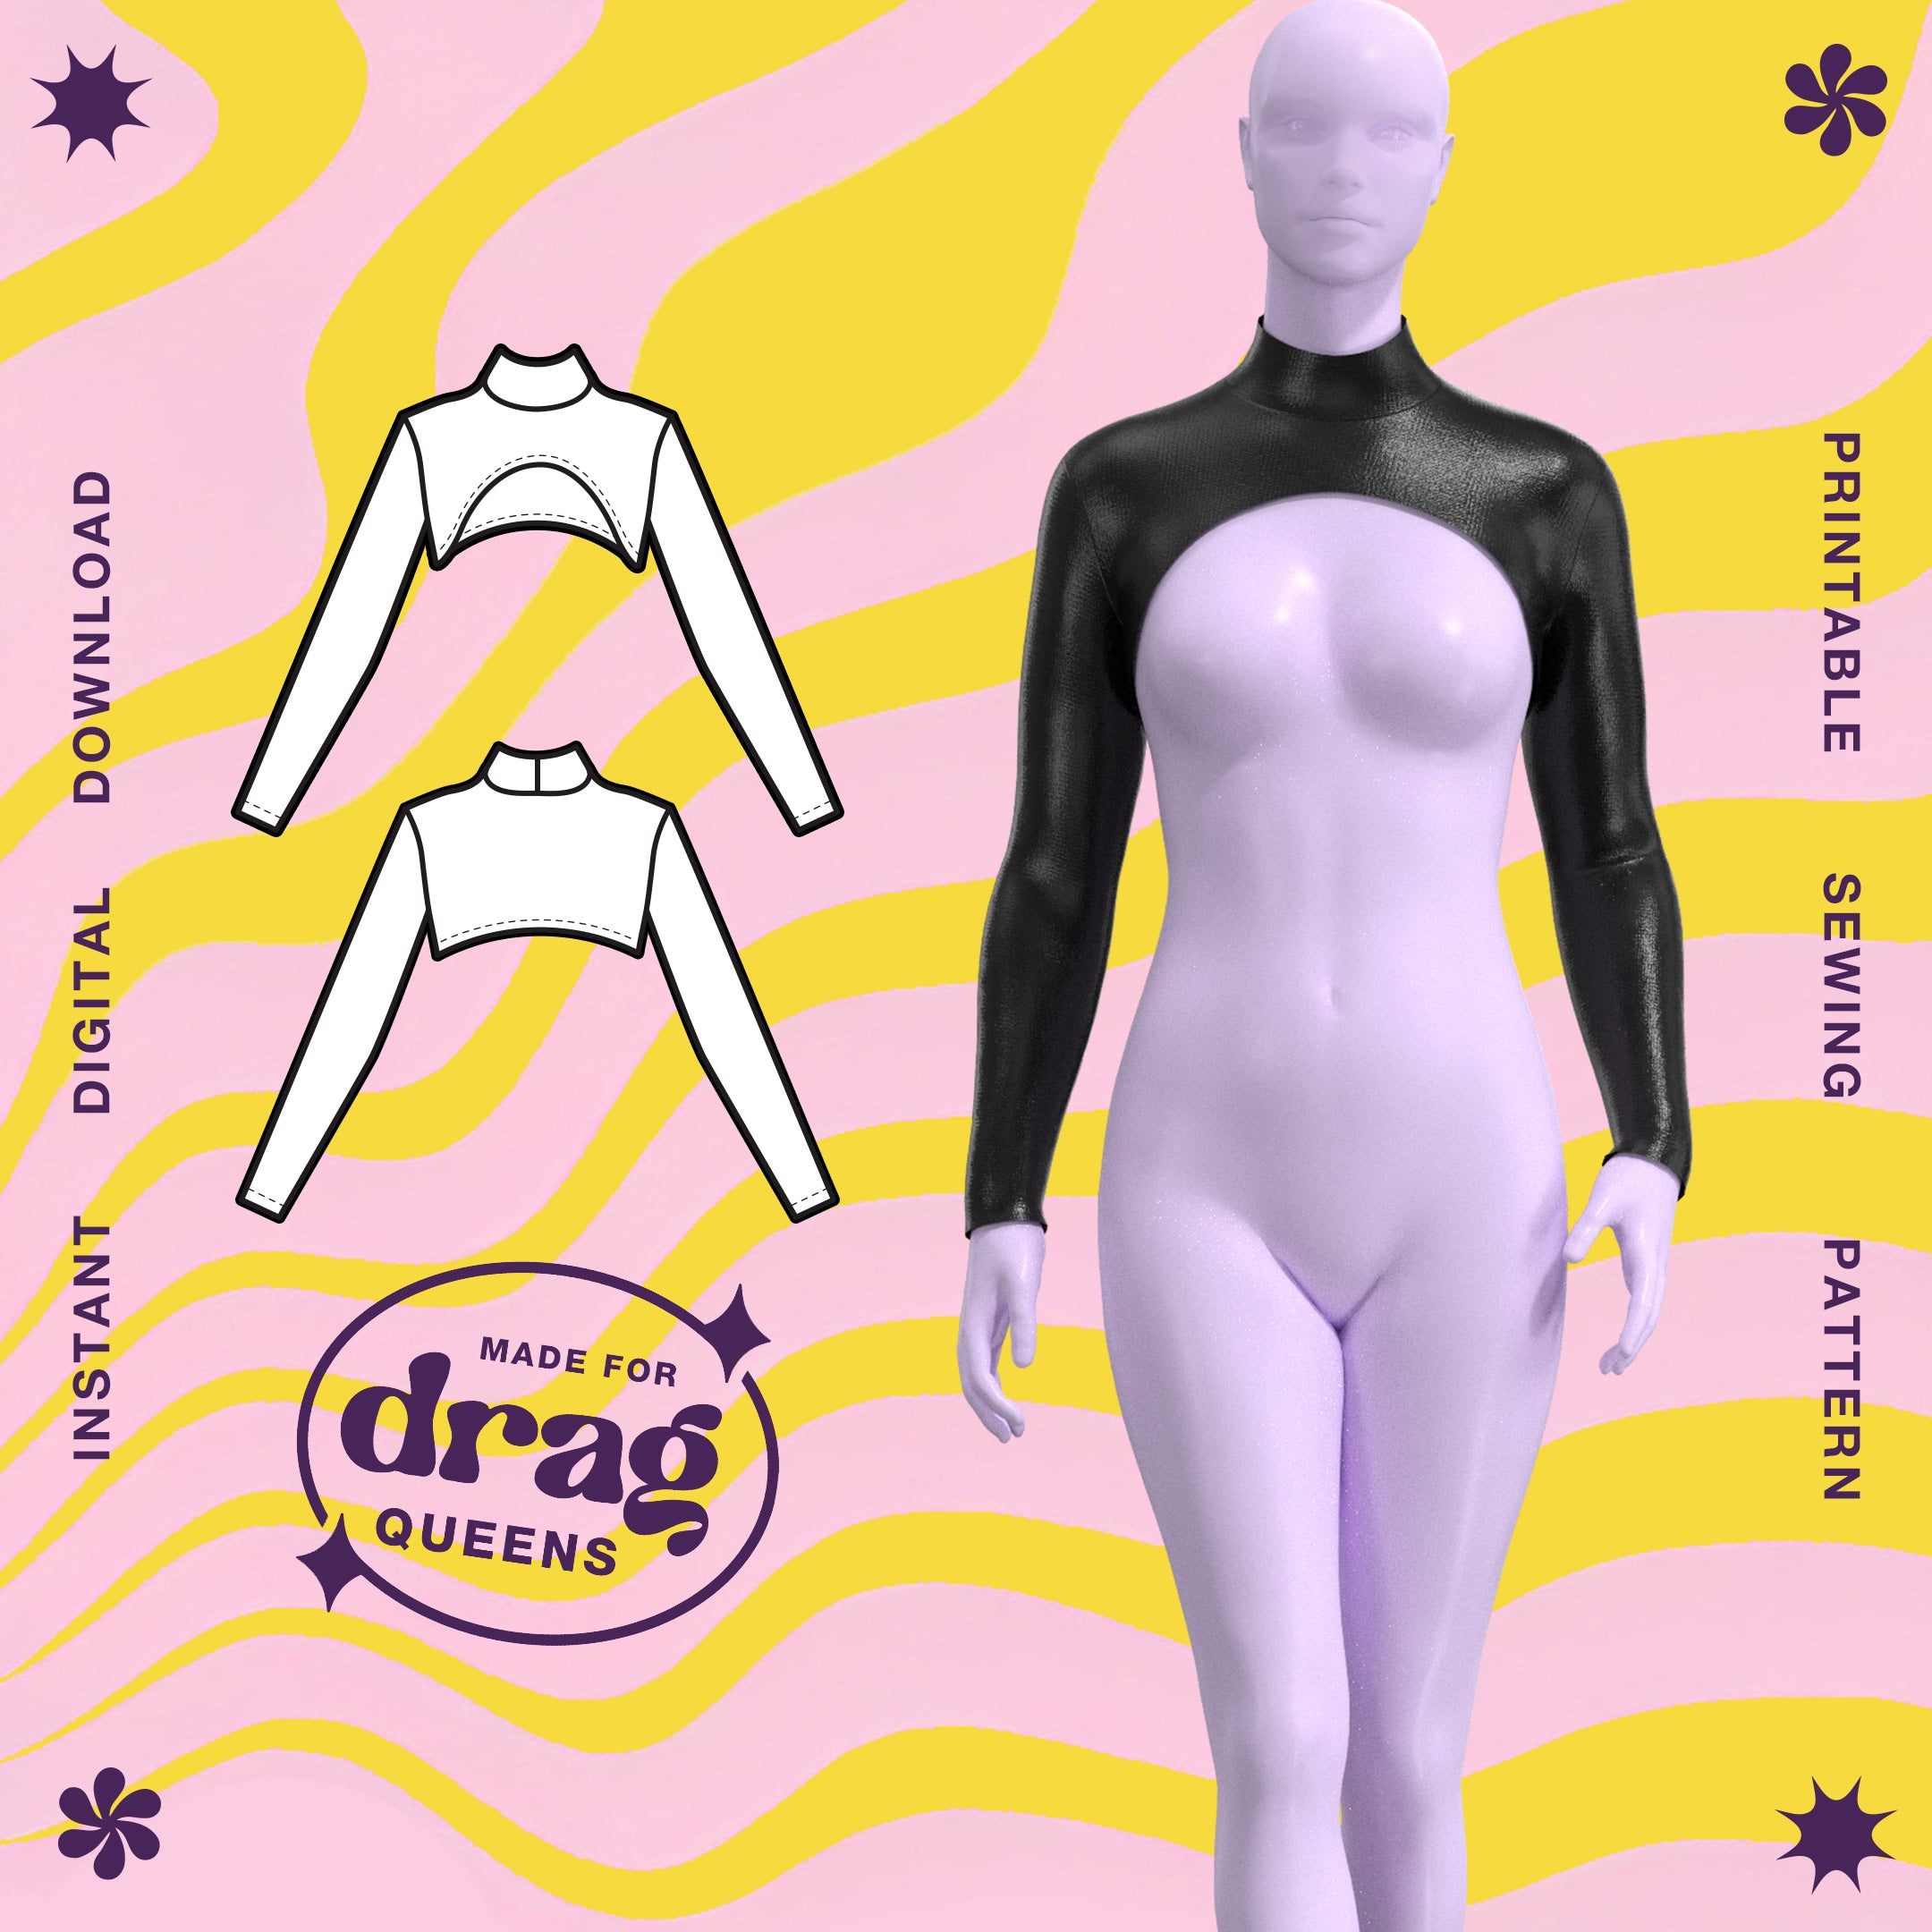
Descripción general
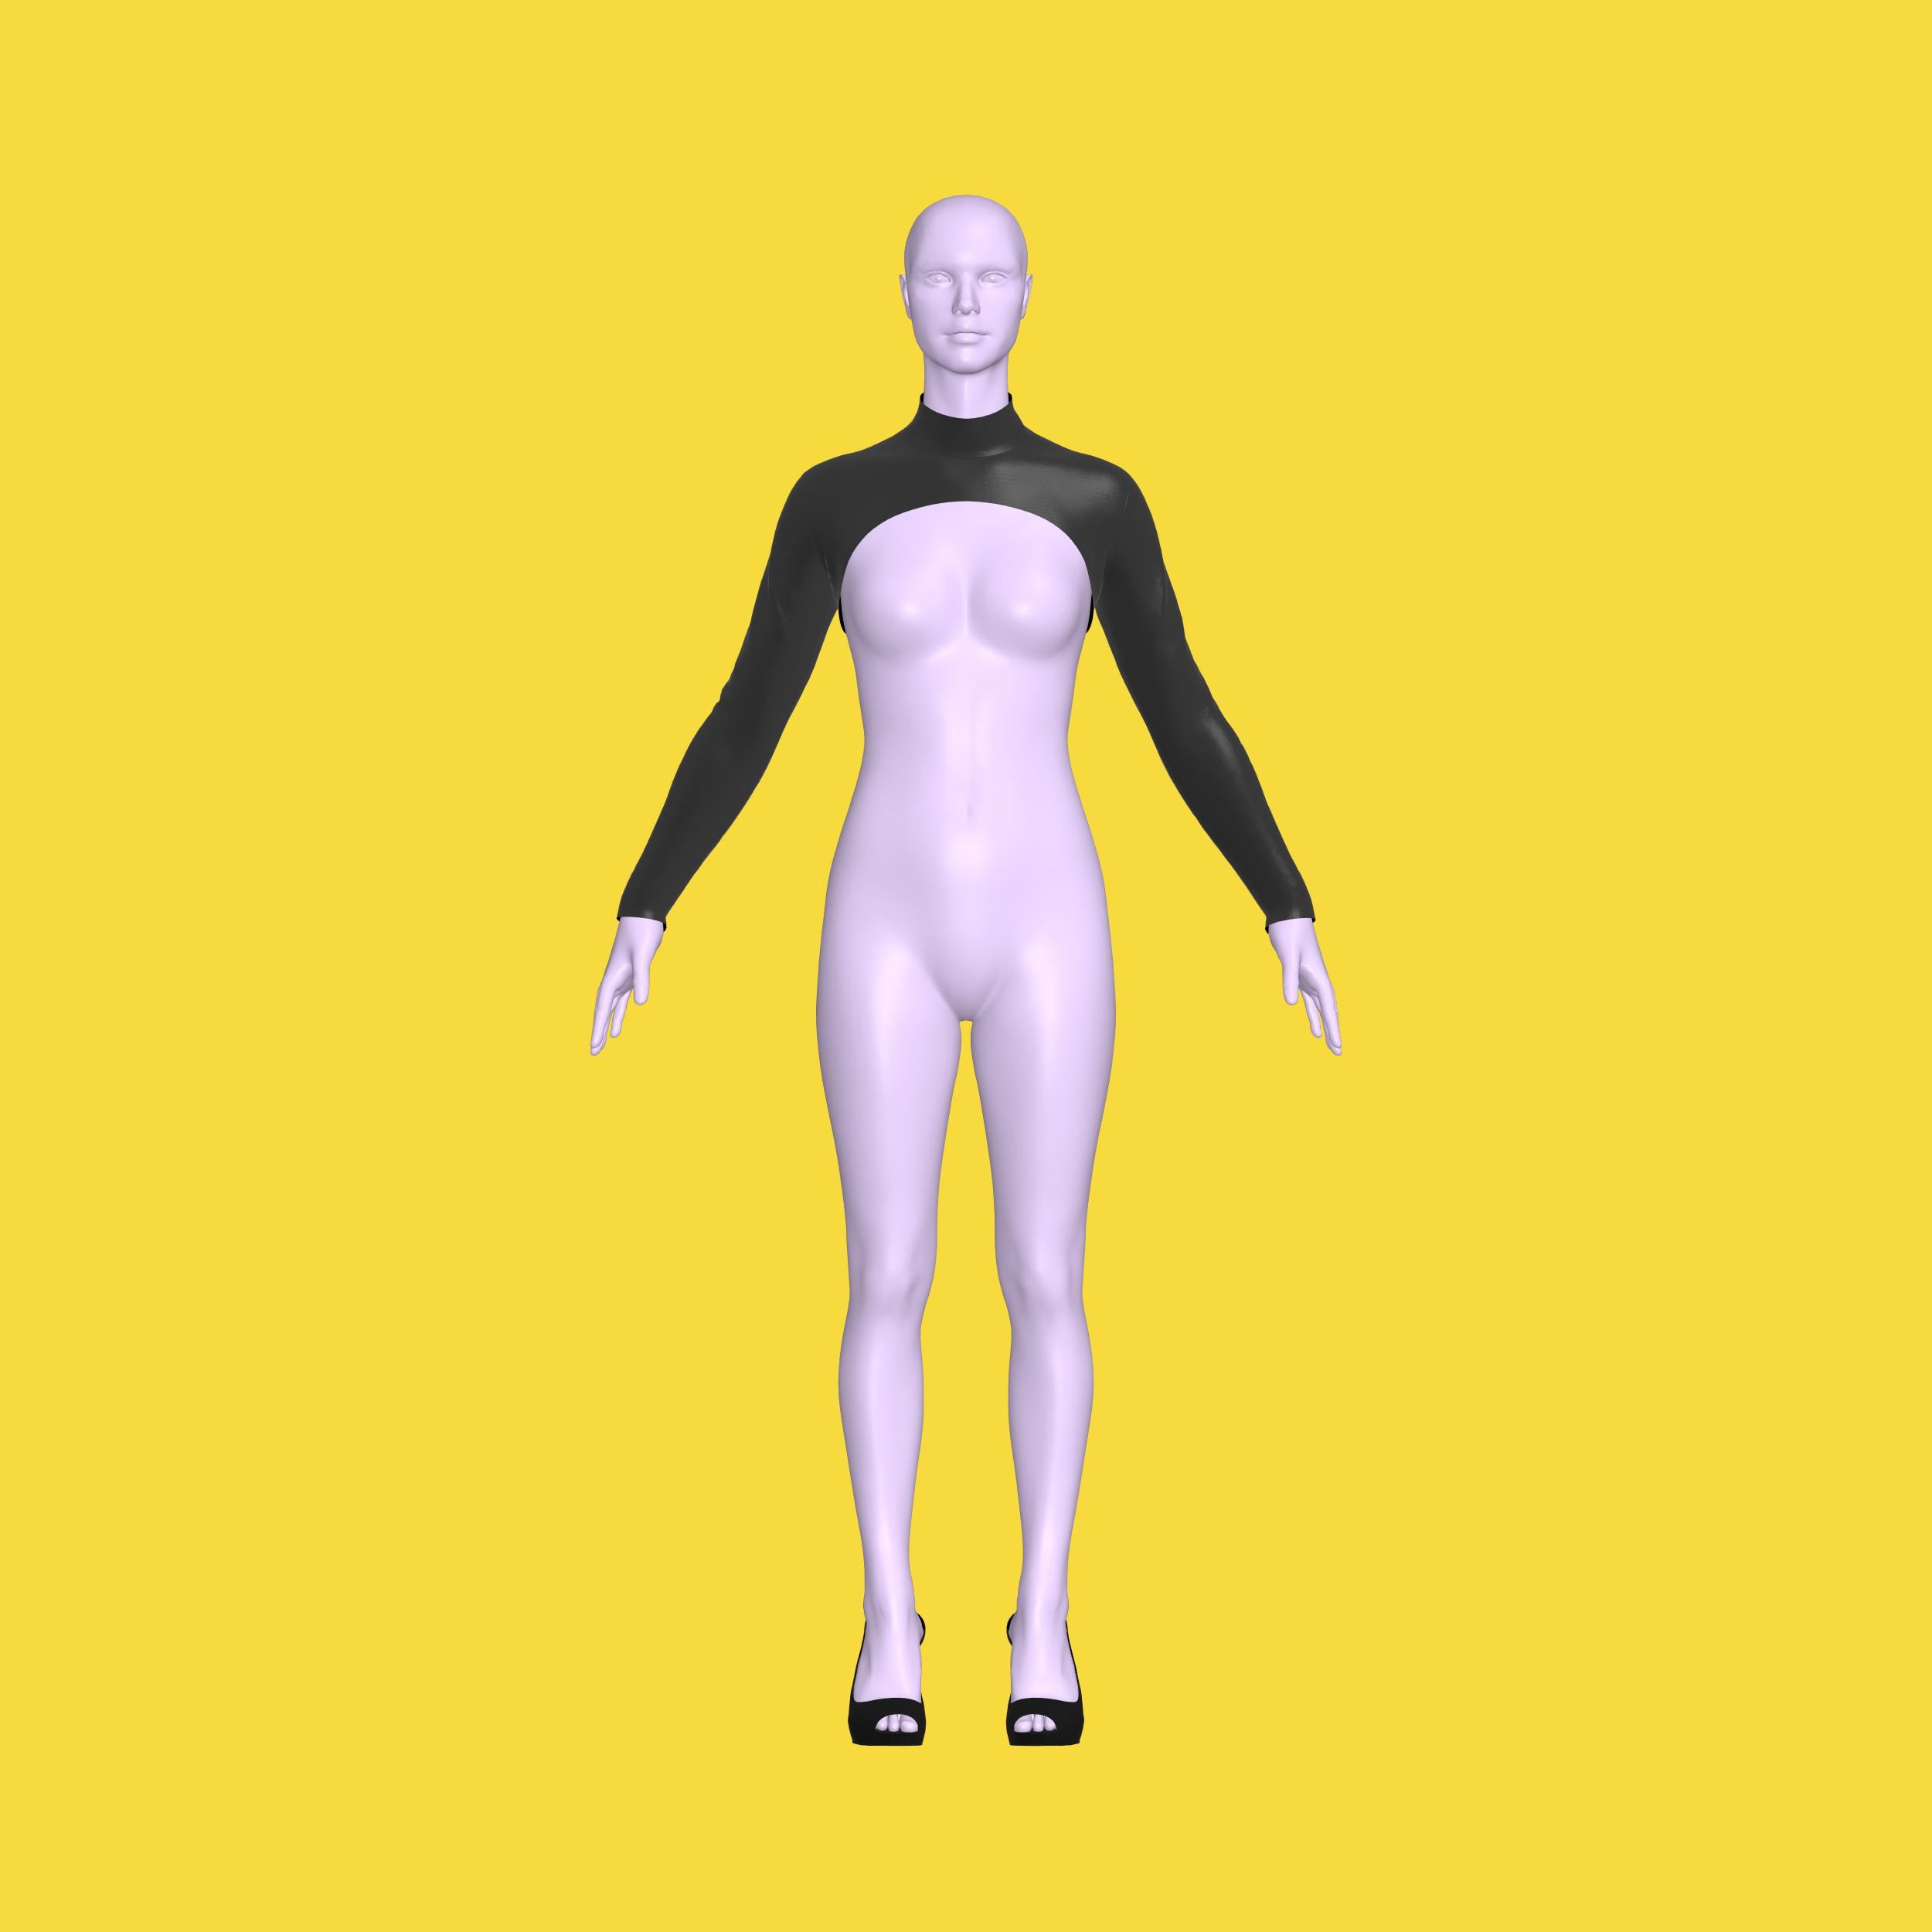
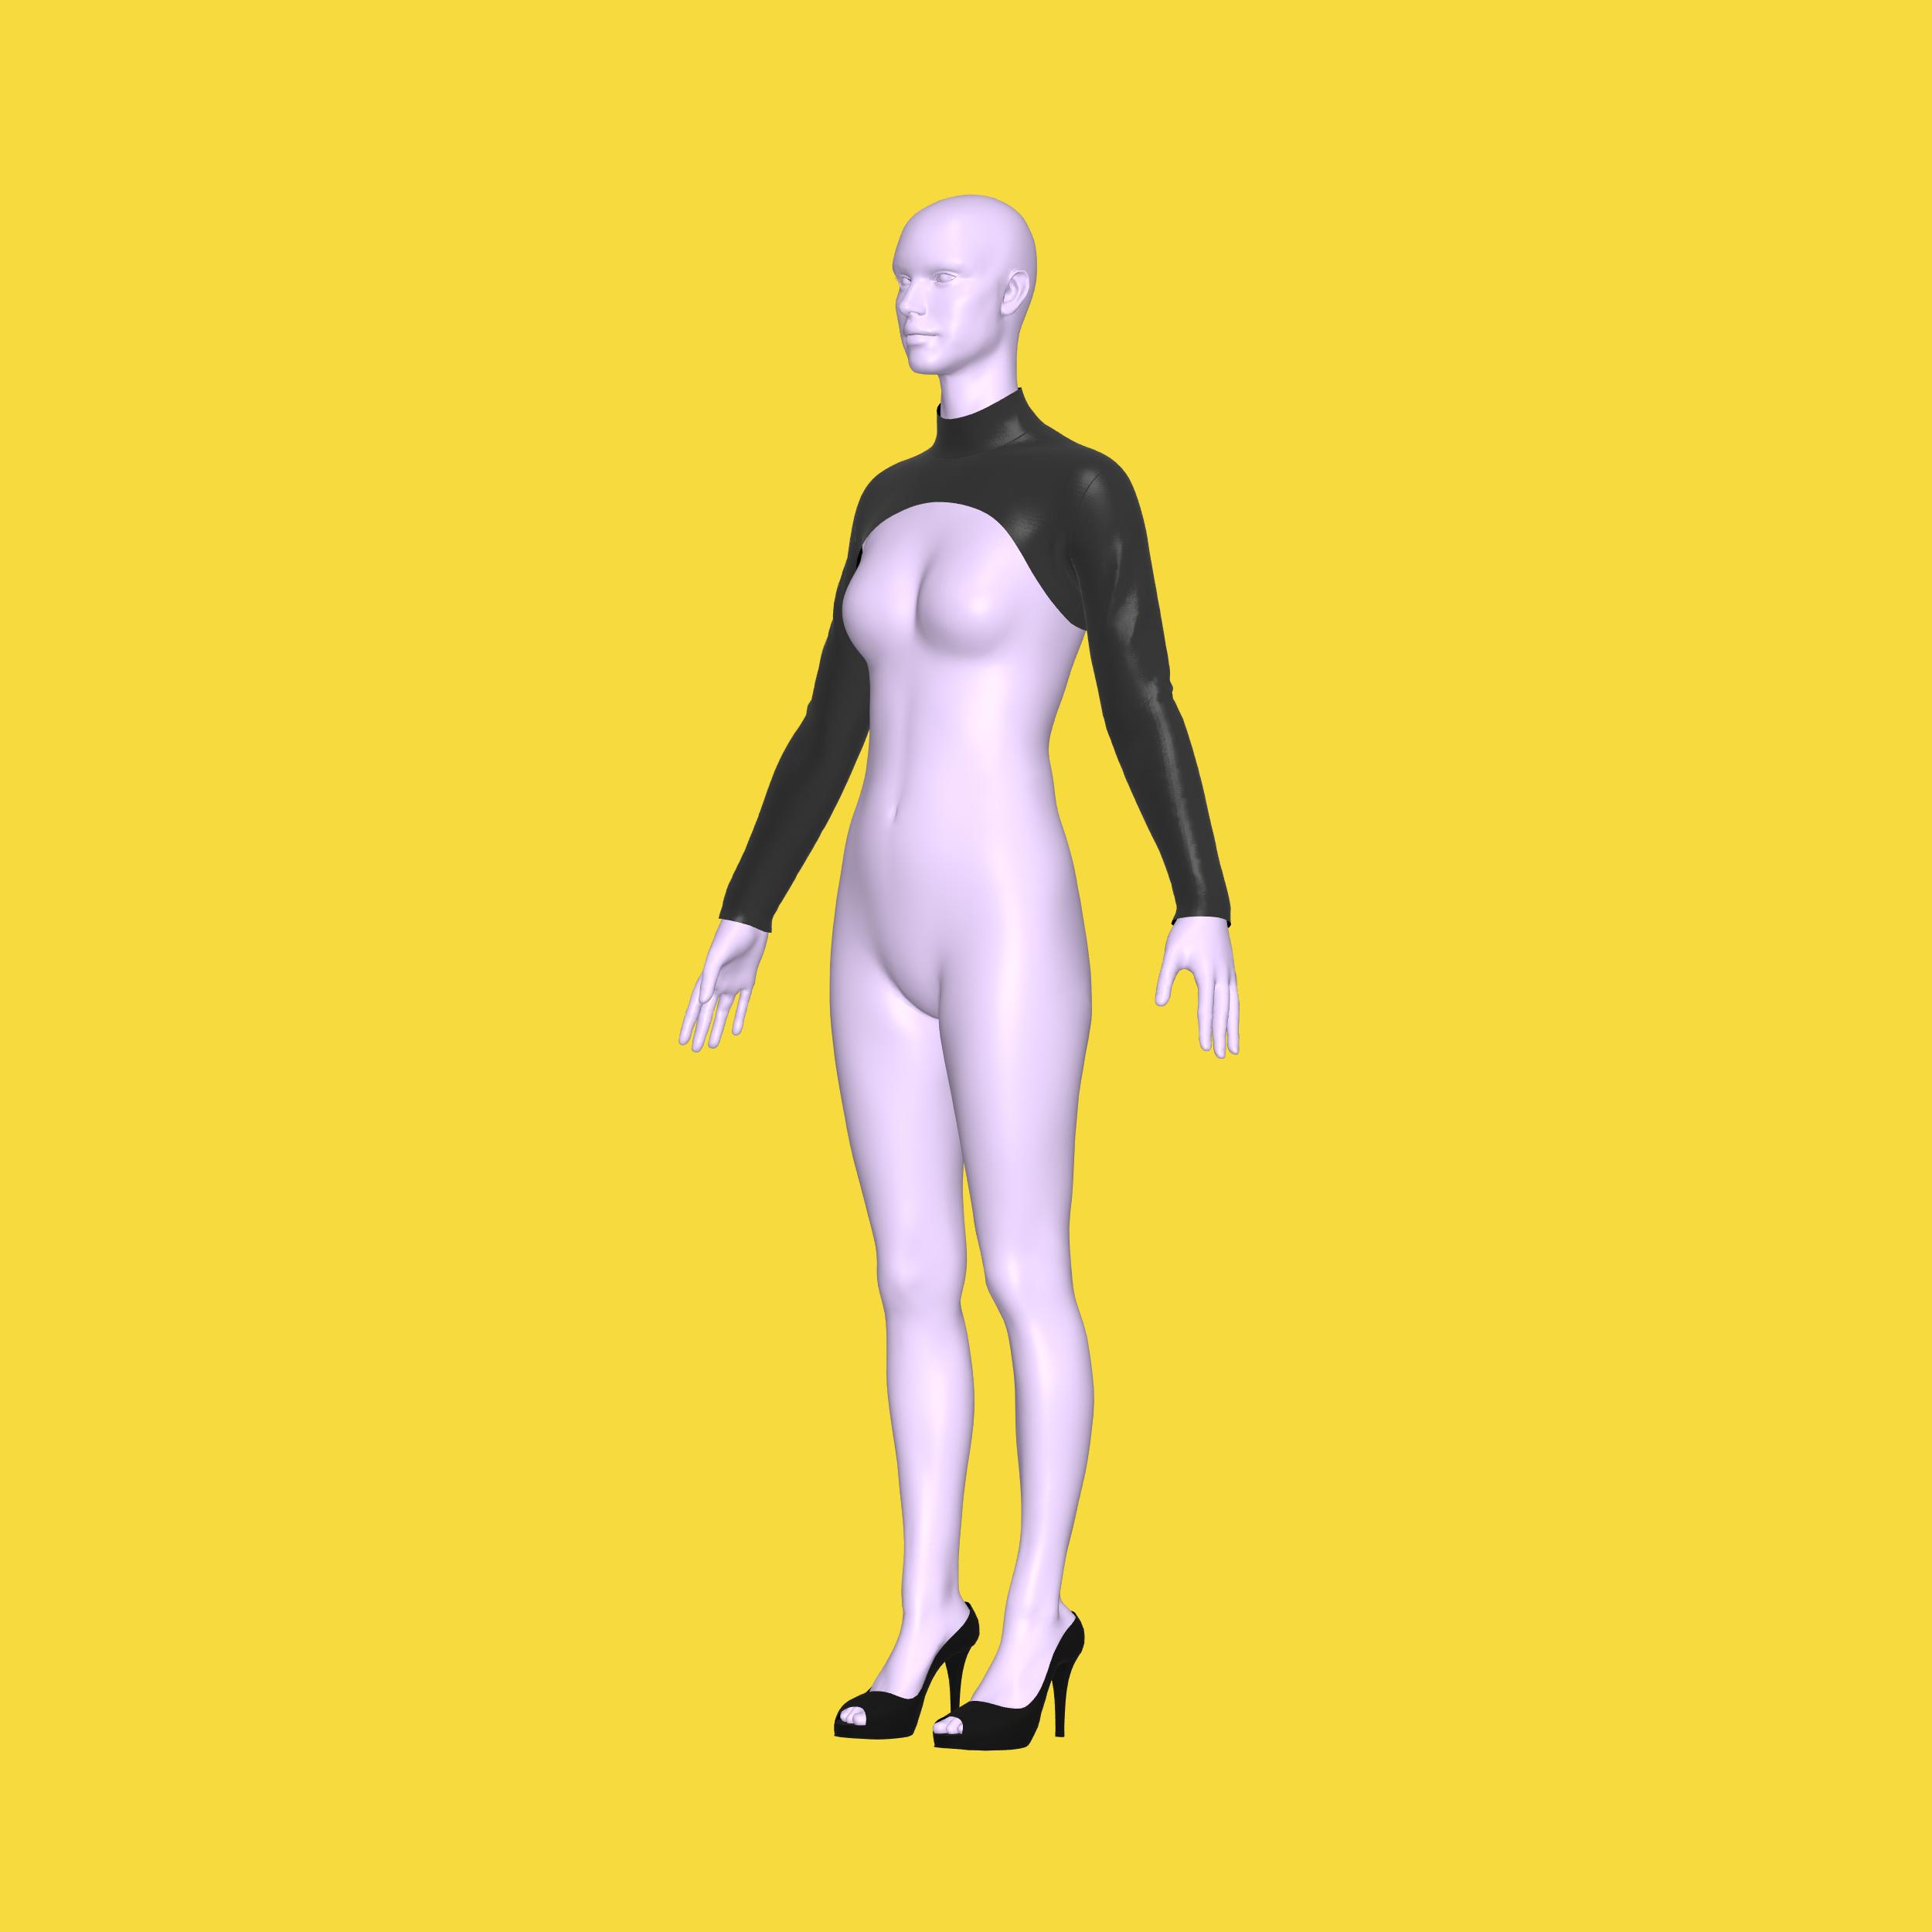
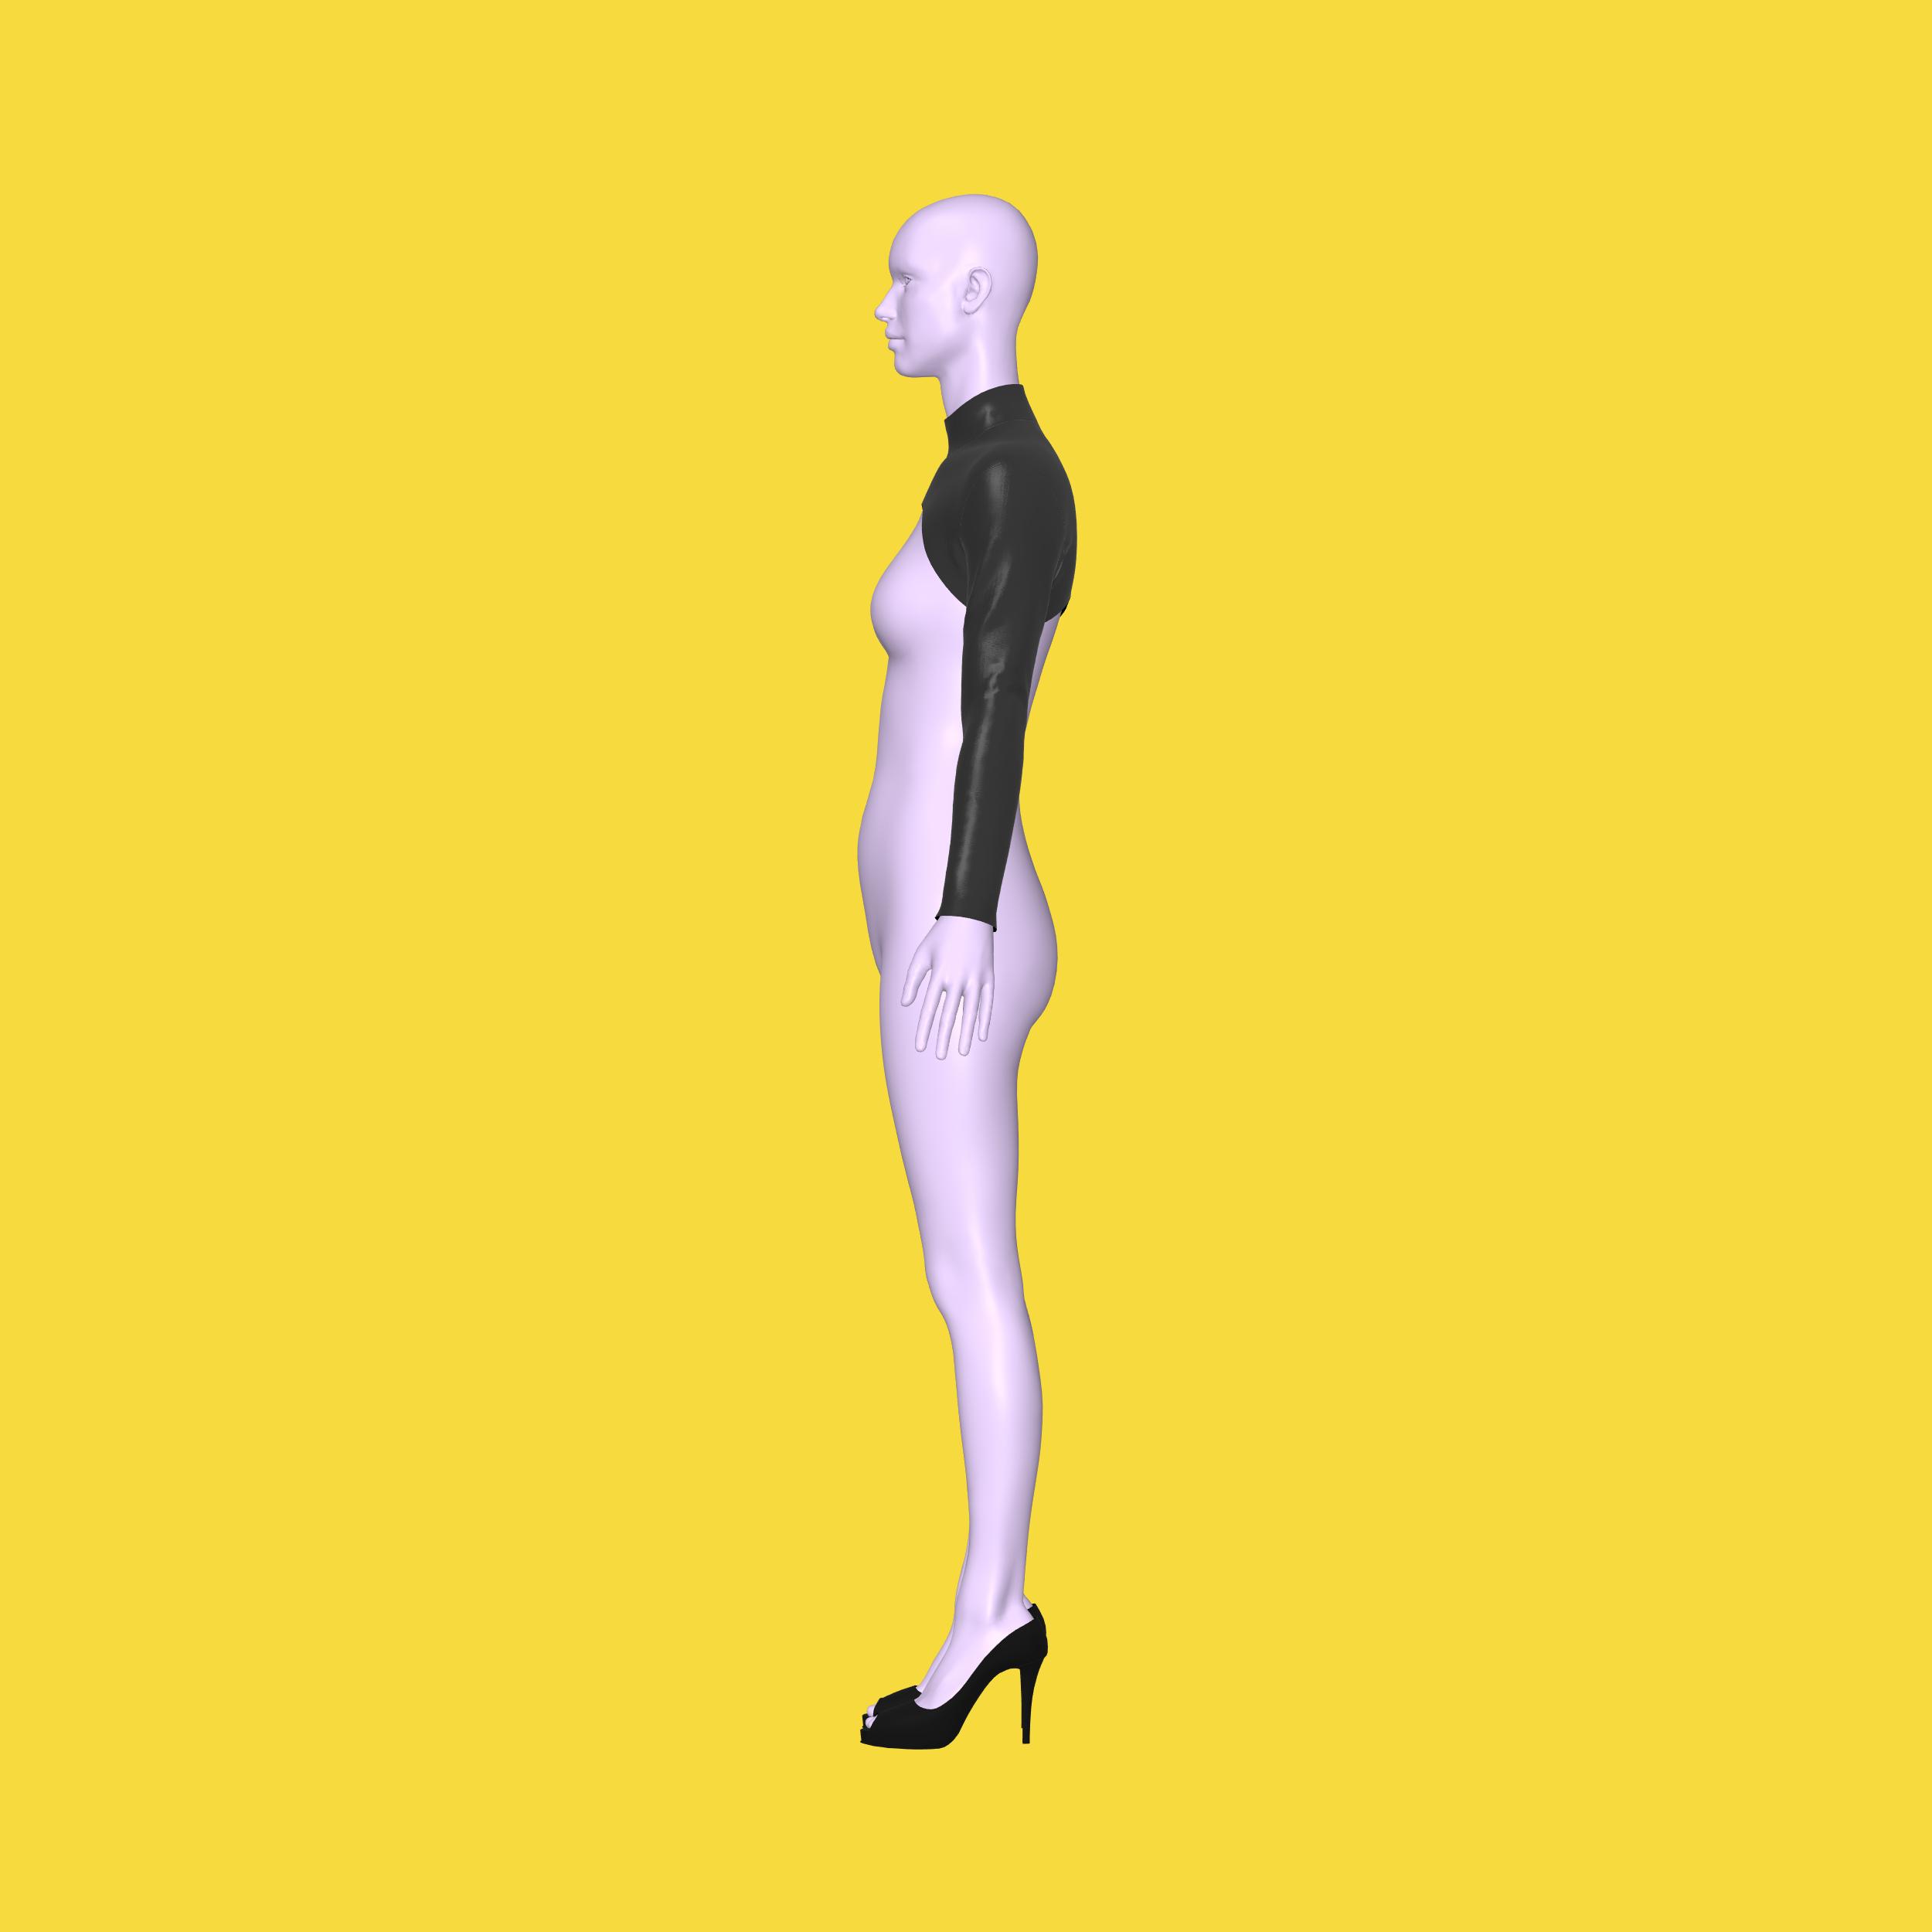
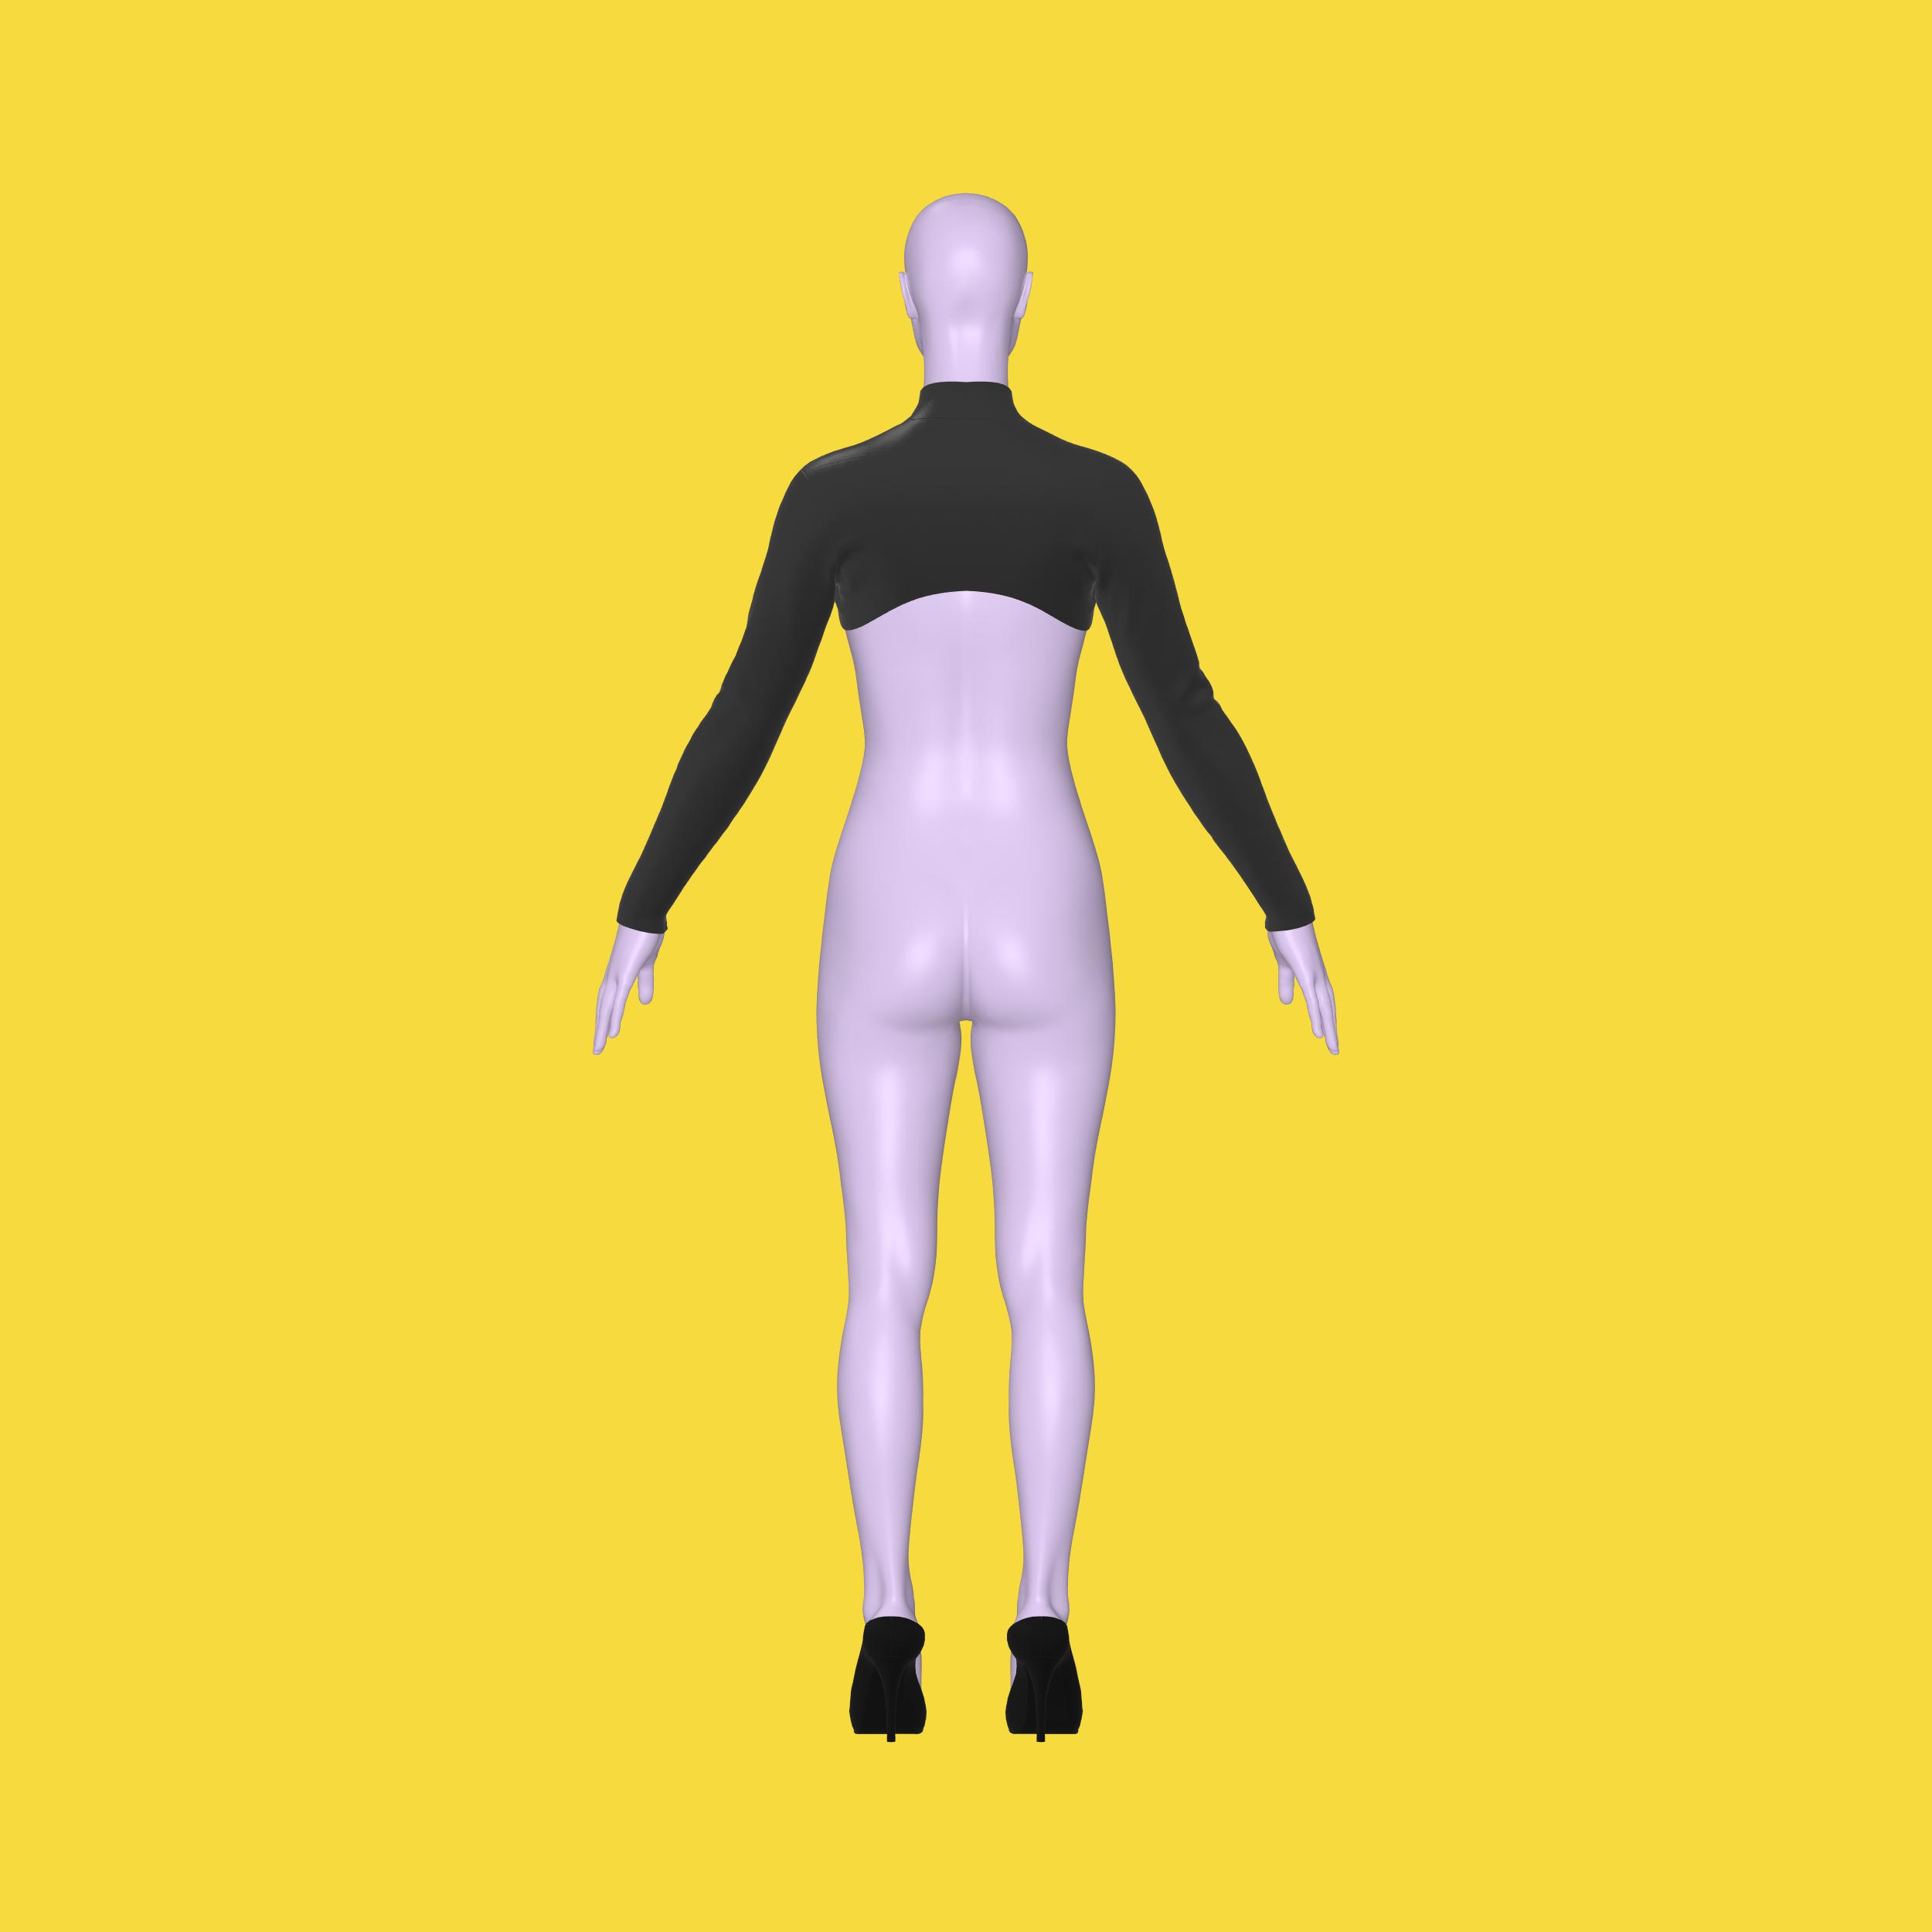
Sumérgete en el mundo del drag con nuestro patrón de costura de bolero de manga larga, ¡un complemento esencial para el guardarropa de cualquier drag queen! Este patrón se incluye en las categorías de Accesorios y Tops, lo que lo convierte en una pieza versátil para cualquier actuación o evento. Diseñado específicamente para drag queens, este bolero de manga larga agrega una capa adicional de estilo y dramatismo a tu atuendo, perfecto para quienes buscan hacer una declaración. Ya sea que estés subiendo al escenario o simplemente vistiéndote para impresionar, ¡este patrón de costura te ayudará a crear una pieza que sea tan única como tú!
Dificultad del patrón: Para principiantes
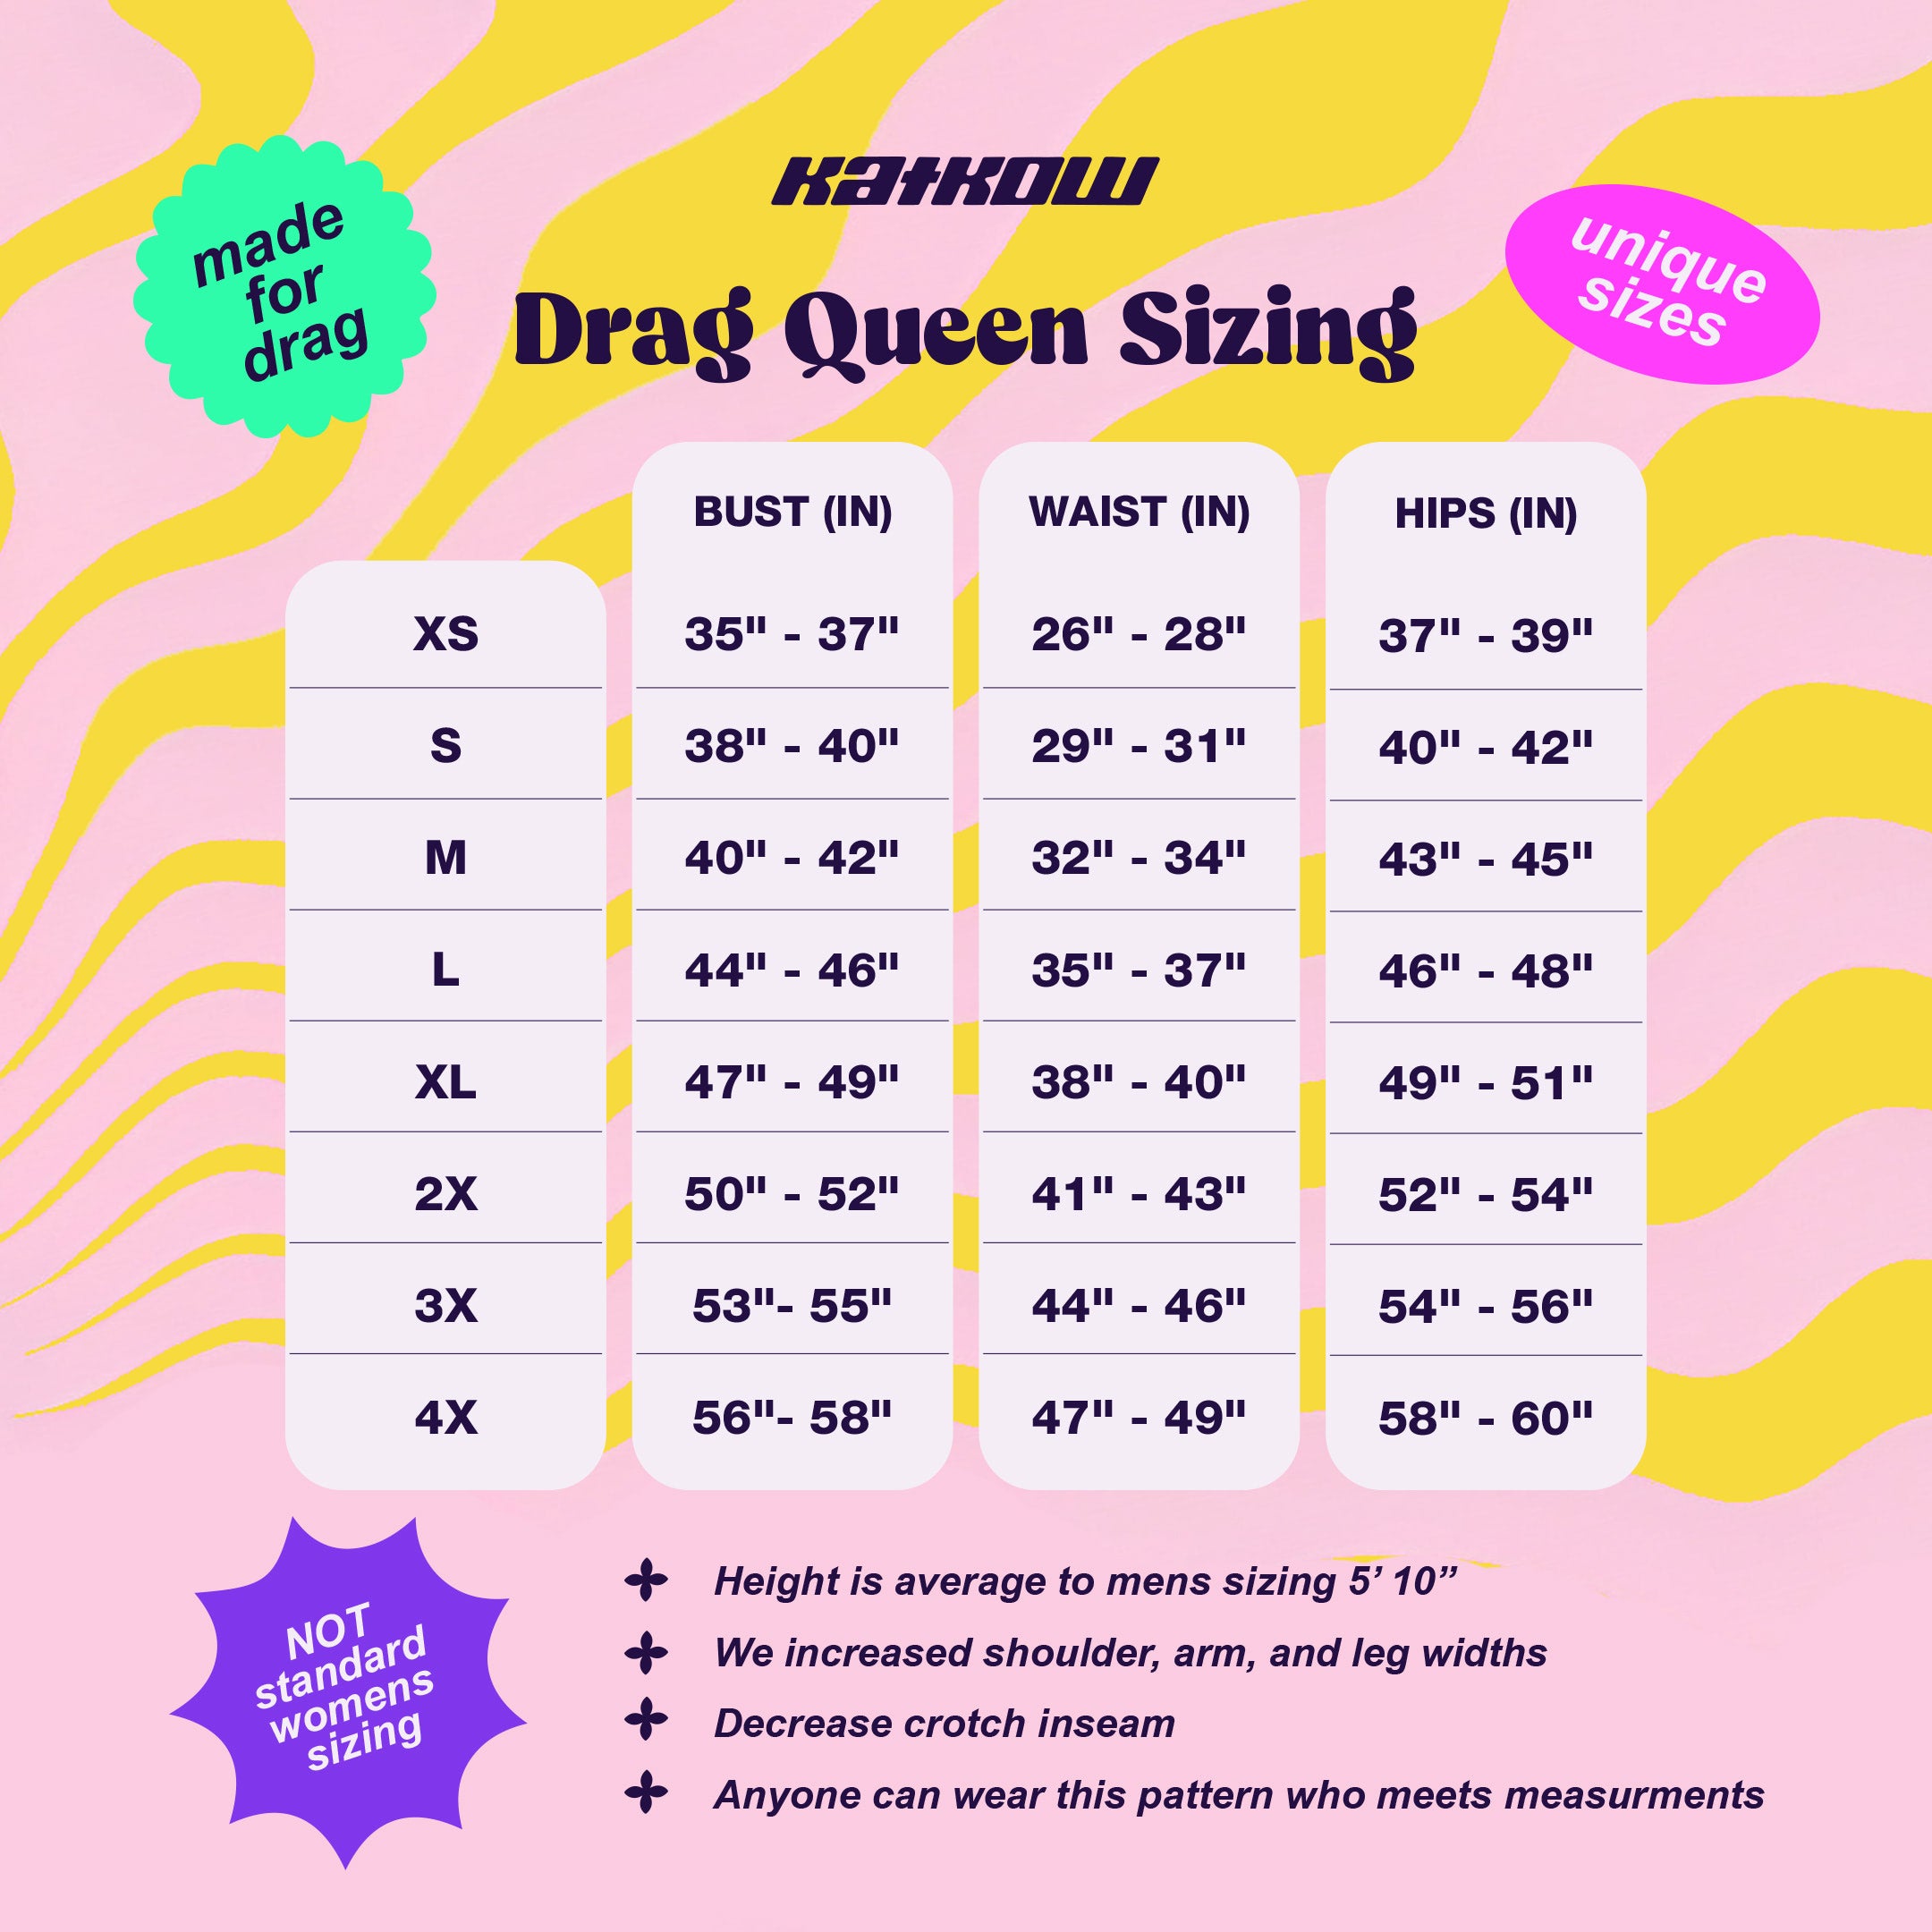
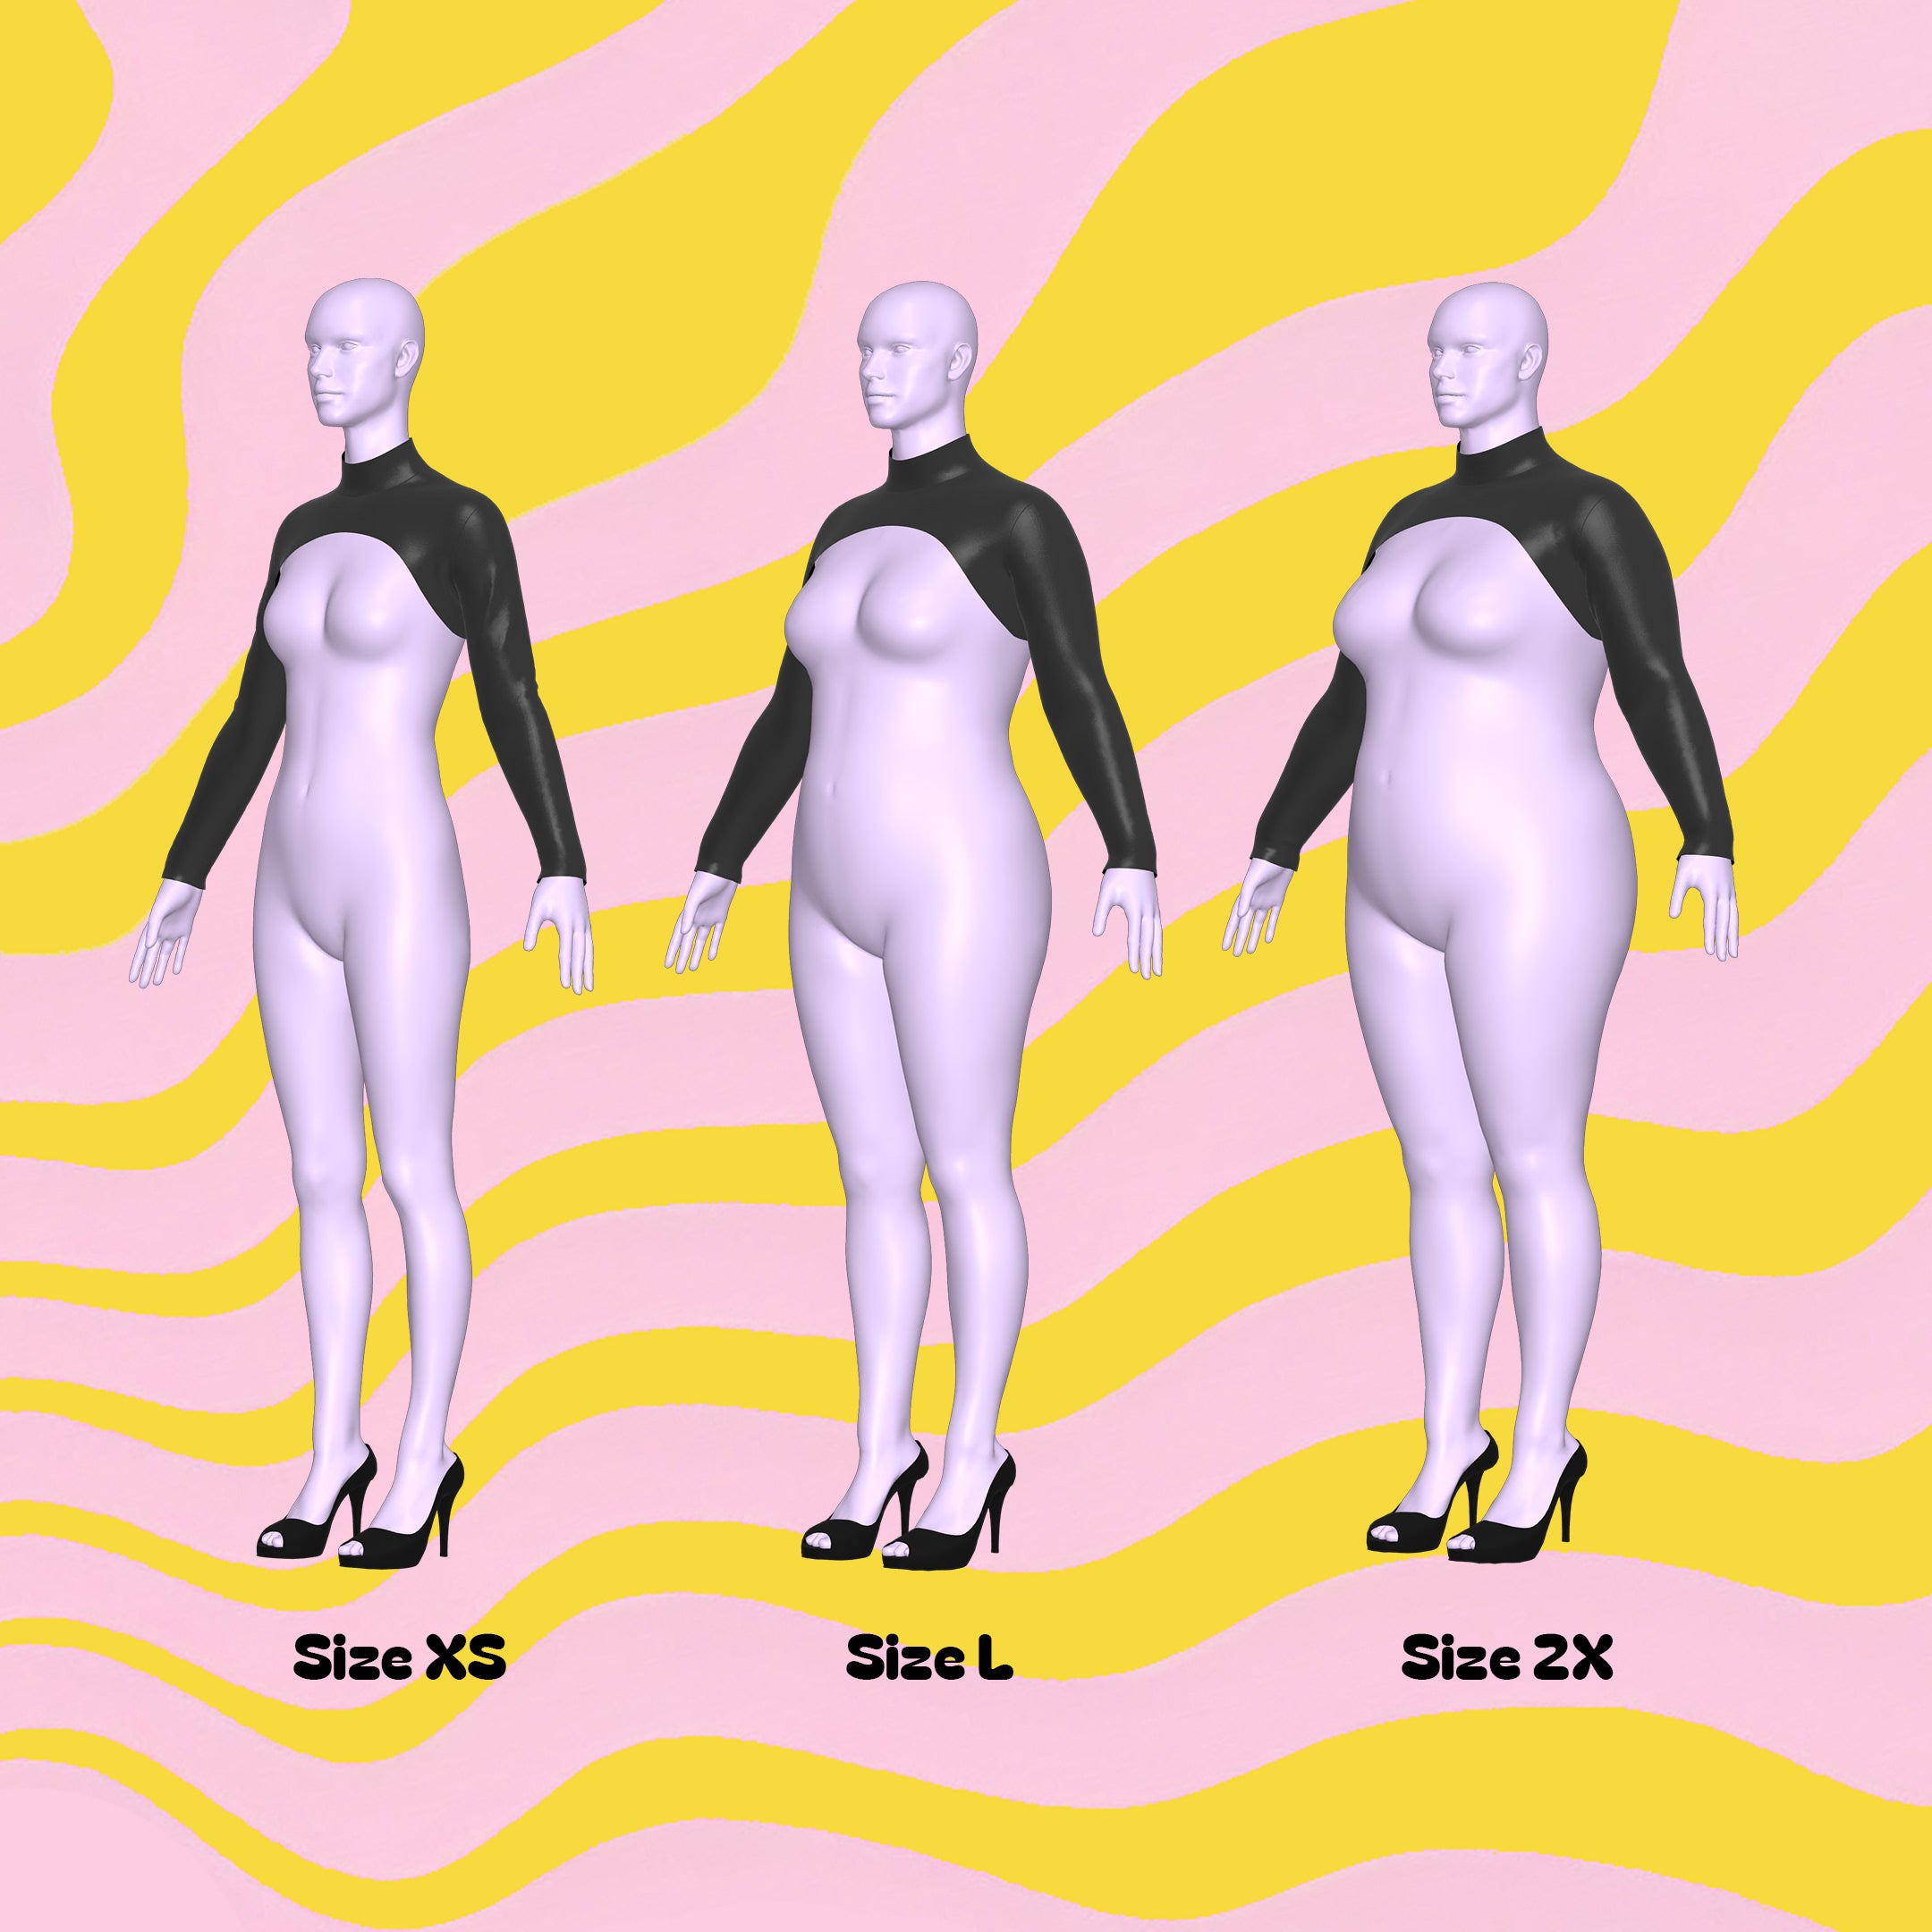
Detalles de tallas
Este patrón está disponible en nuestros exclusivos talles Drag Queen (XS-4X). Consulta nuestra guía de talles para obtener más información sobre nuestras medidas de talle.
Telas y artículos de mercería
Adecuado para tejidos elásticos:
- Miliskin
- Spandex
- Lentejuelas elásticas
- Licra
- Tejidos de punto elásticos
- Vinilo elástico
- No se requieren nociones para este patrón.
Yardas de tela
Este patrón requiere el uso de tela no elástica. A continuación, se indican las yardas necesarias para cada talla.
| Tamaño | Yardas Ancho de tela (58”) |
|---|---|
| XS | 0,75 yardas |
| S | 0,75 yardas |
| METRO | 0,75 yardas |
| yo | 0,75 yardas |
| SG | 1 yard |
| 2X | 1 yard |
| 3 veces | 1 yard |
| 4 veces | 1 yard |
Para obtener información sobre la conversión de pulgadas a metros, consulte nuestra guía de conversión.
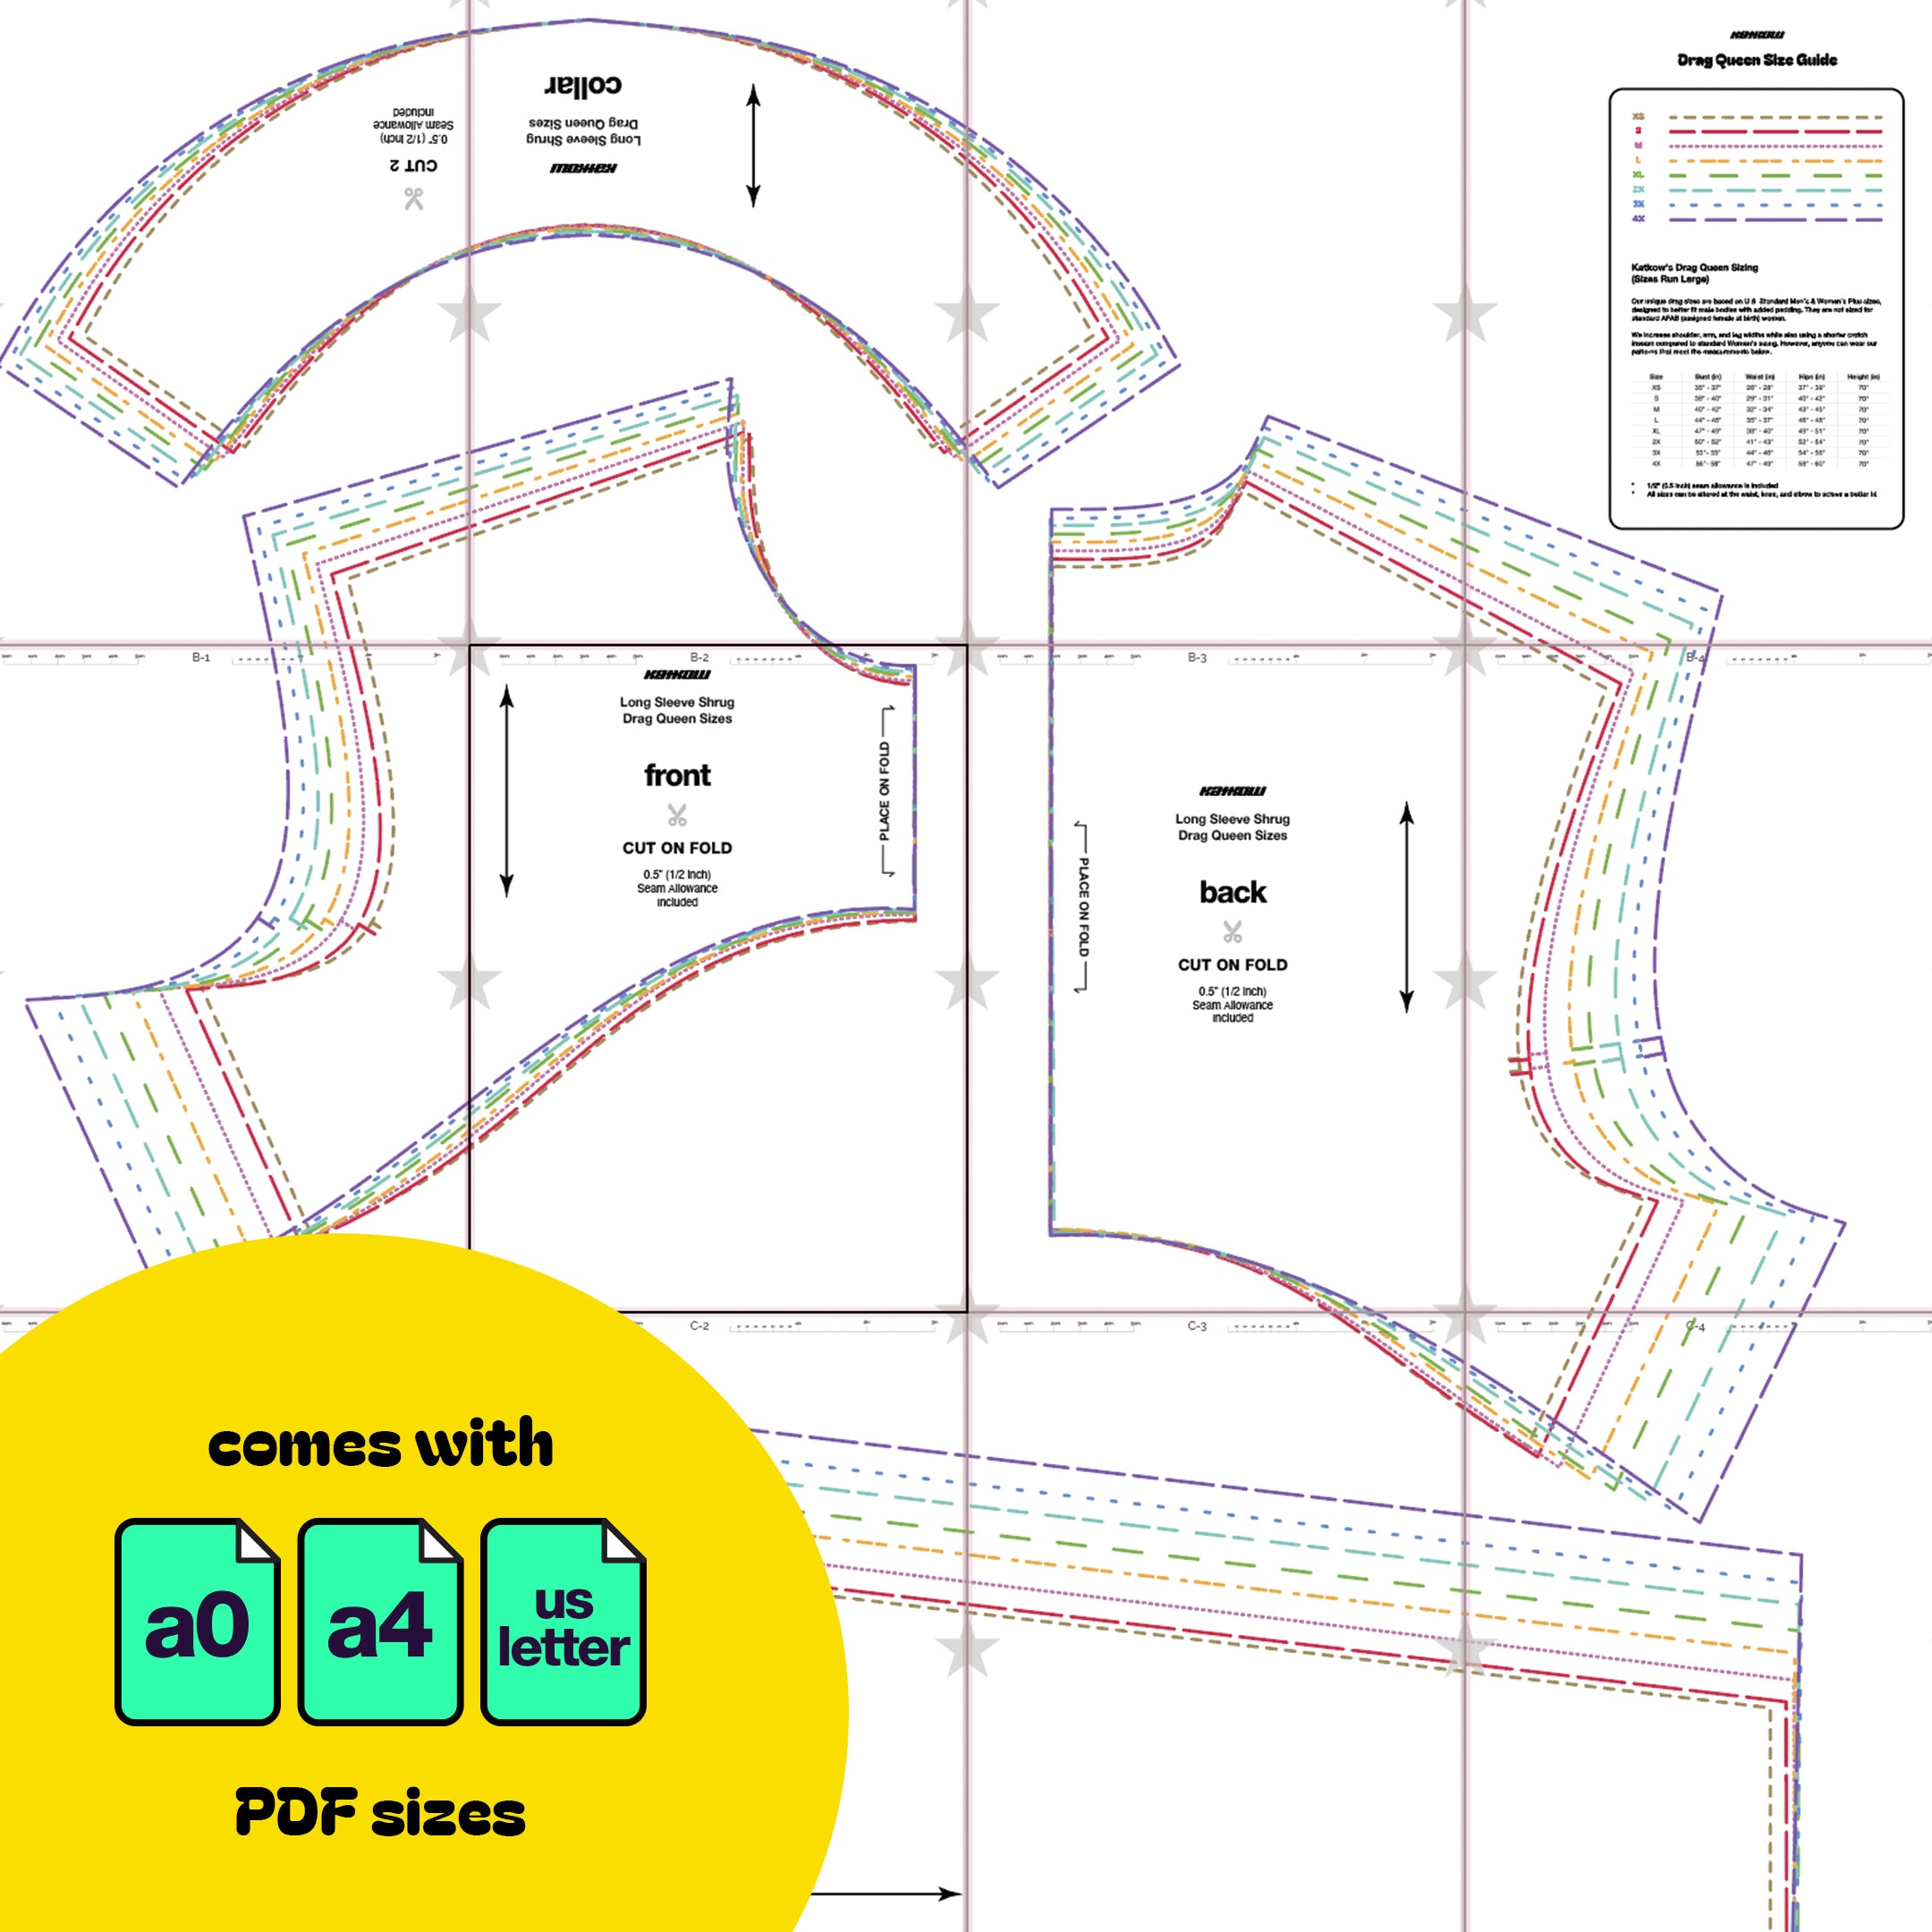
Instrucciones de costura


Fabric Pieces
After cutting your fabric, you should have following peices: one seamless front, one seamless back, 2 sleeves, and 2 collar peices.

Stitches
For this project, the recommended stitches are a serger overlock stitch, a stretch stitch, or a zigzag stitch. A straight stitch may cause the threads to snap and is not advisable.

STEP 1
Begin by gathering the front and back pieces. Sew them together along the shoulder seams with the right sides of the fabrics facing each other. Use a stretch stitch, zig-zag stitch, or serger for this step.

STEP 2
Lay the front, back, and sleeve pieces right side up.

STEP 3
Pin the sleeve around the armhole with the notches matching up right sides facing each other, then sew or serge in place.

STEP 4
With the garment wrong side out, sew the sleeves together and the front and back side seams together.

STEP 5
Take your two collar pieces, stack them with right sides facing each other, and sew along the top curved edge.

STEP 6
Flatten and lay out your collar, right side up, then flip horizontally in half. Sew the collar ends together. Then flip the collar right side out and place a pin in the center front of the collar.

STEP 7
Gather your collar and garment, right side out, with your collar upside down.

STEP 8
Attach the collar over the garment so it stretches around the neck hole. Aligning the center fronts and center backs. Then sew or serge the collar aroudn the neck hole.

STEP 9
Finally, hem the sleeves and the bottom of the garment using a zig zag stitch or fold over twice for a rolled hem effect with a stretch stitch.