Cómo coser un vestido elástico con capucha
Saltar a instrucciones
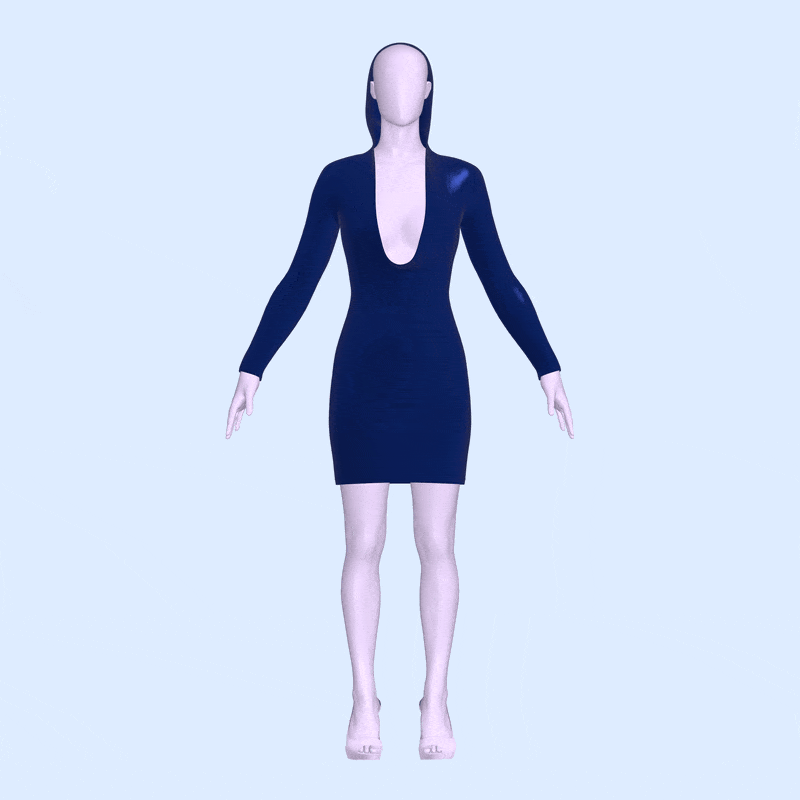
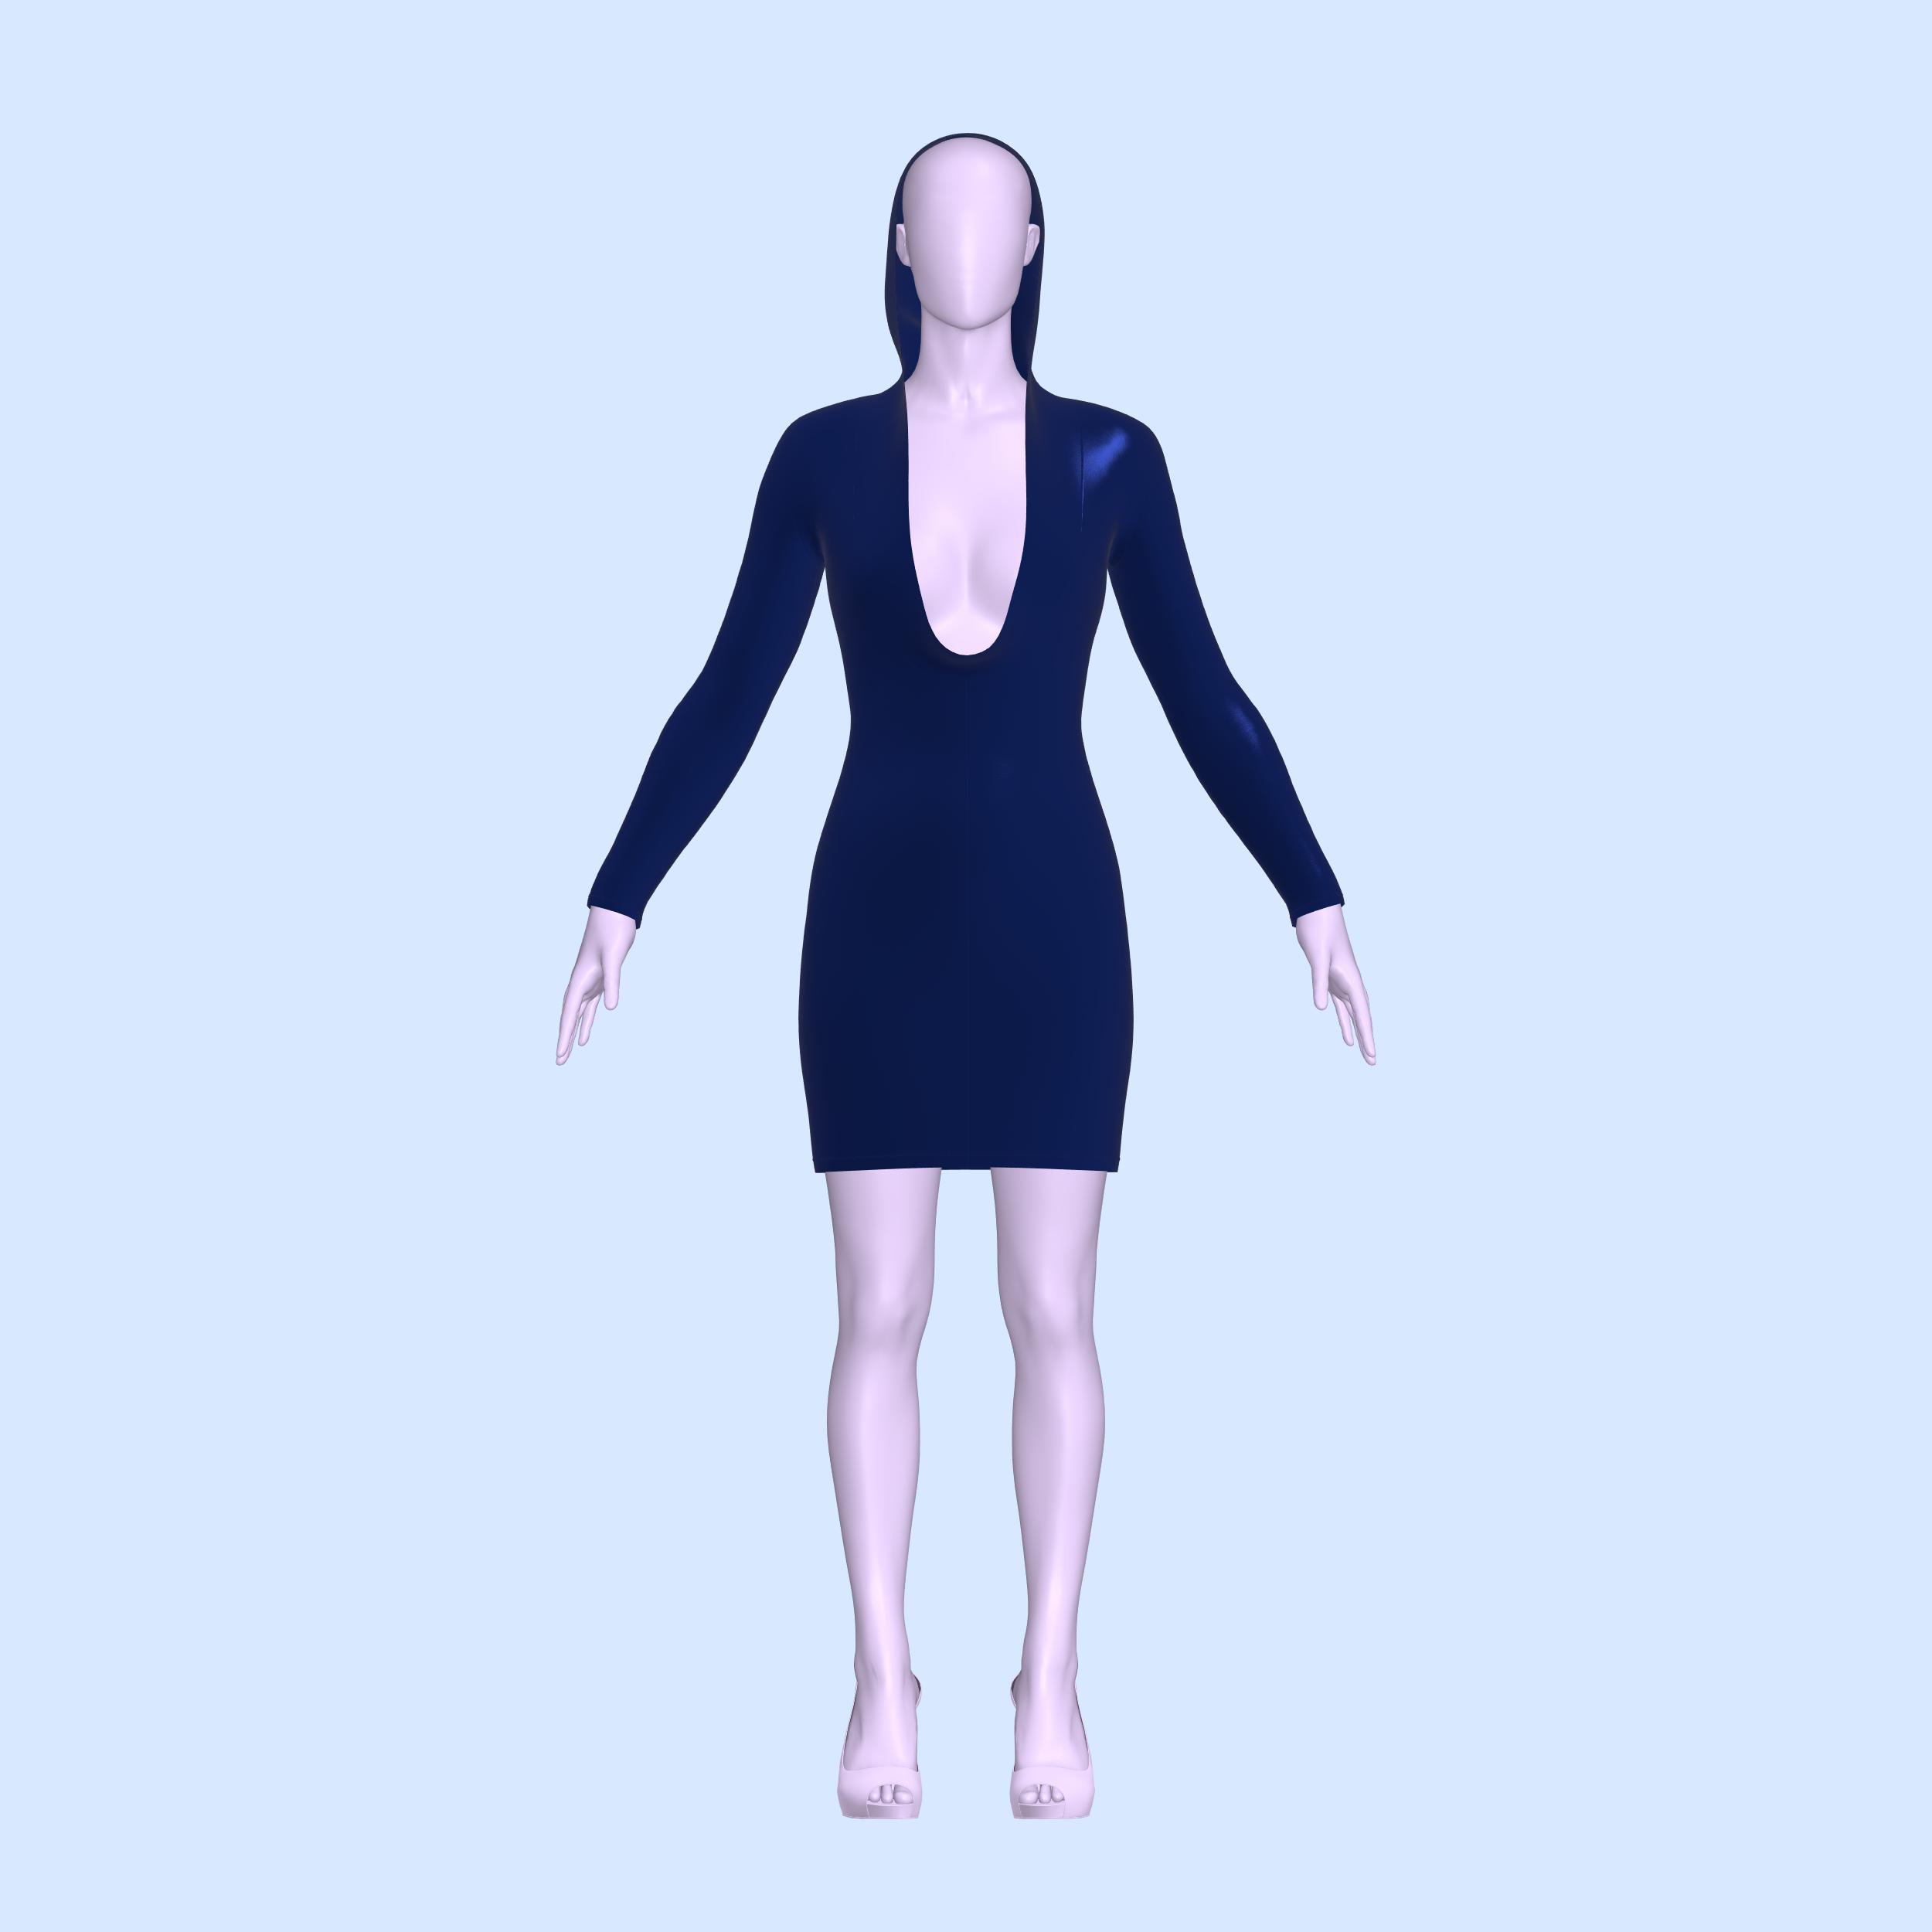
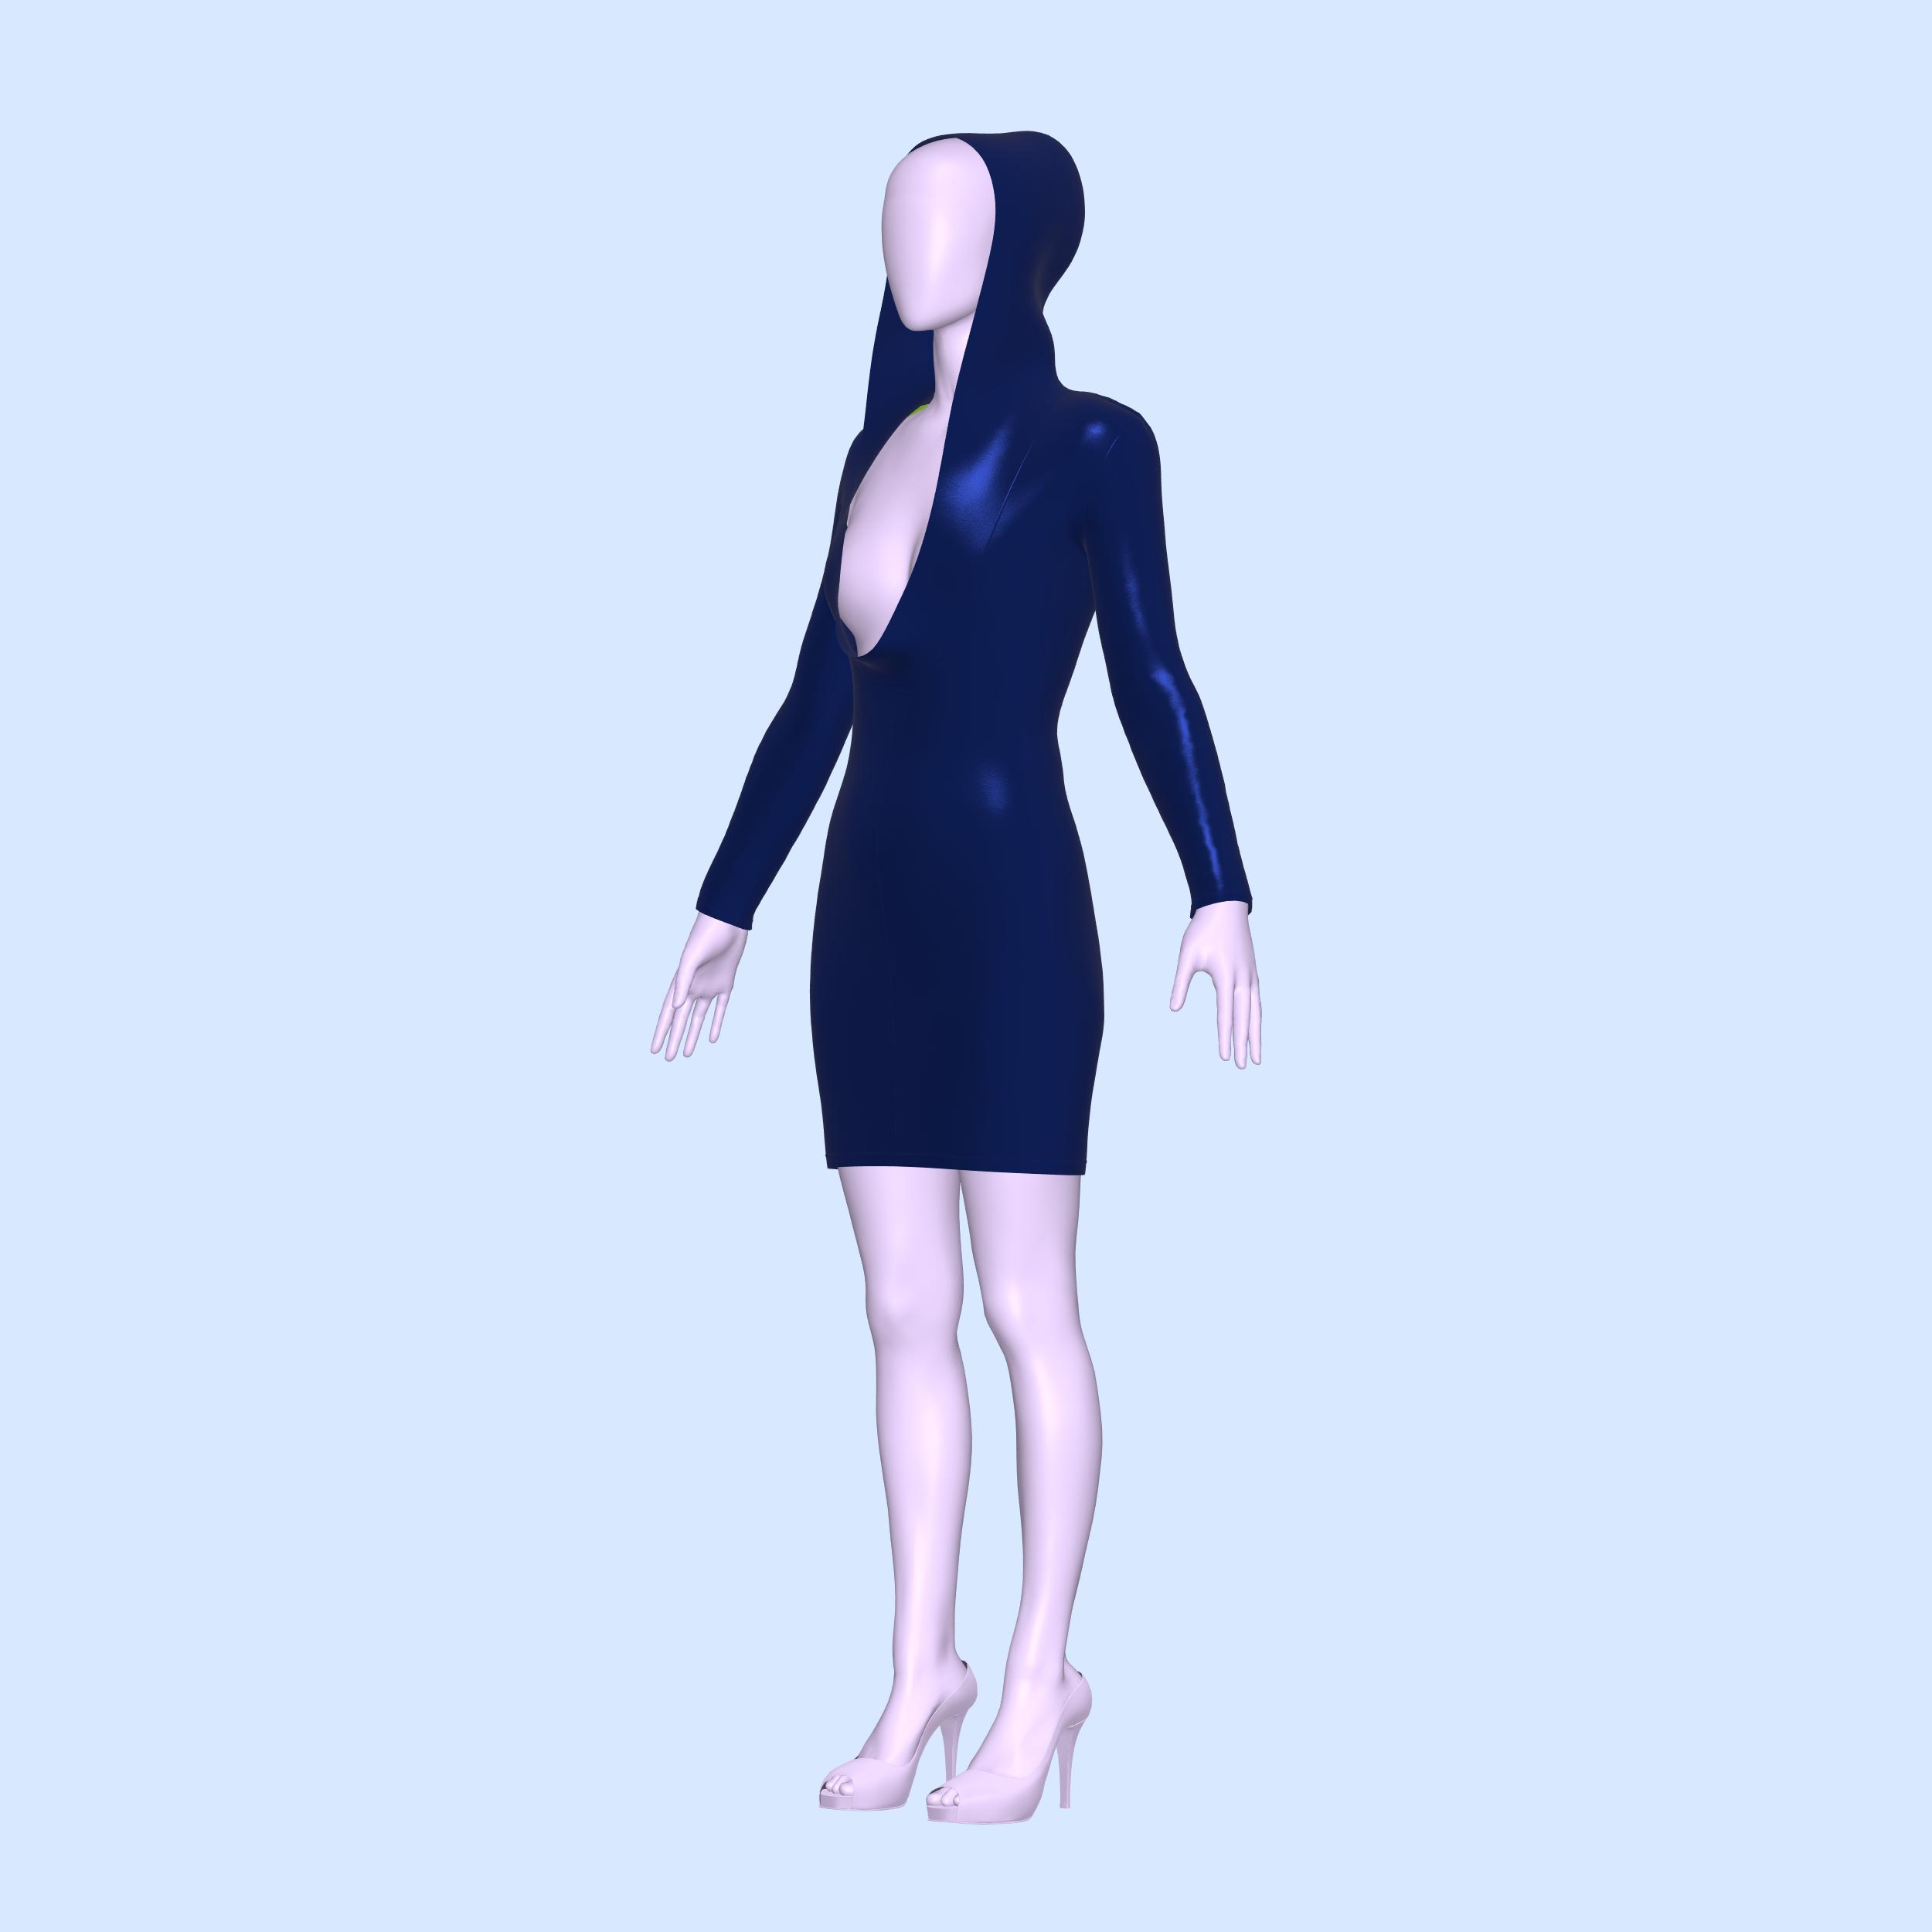
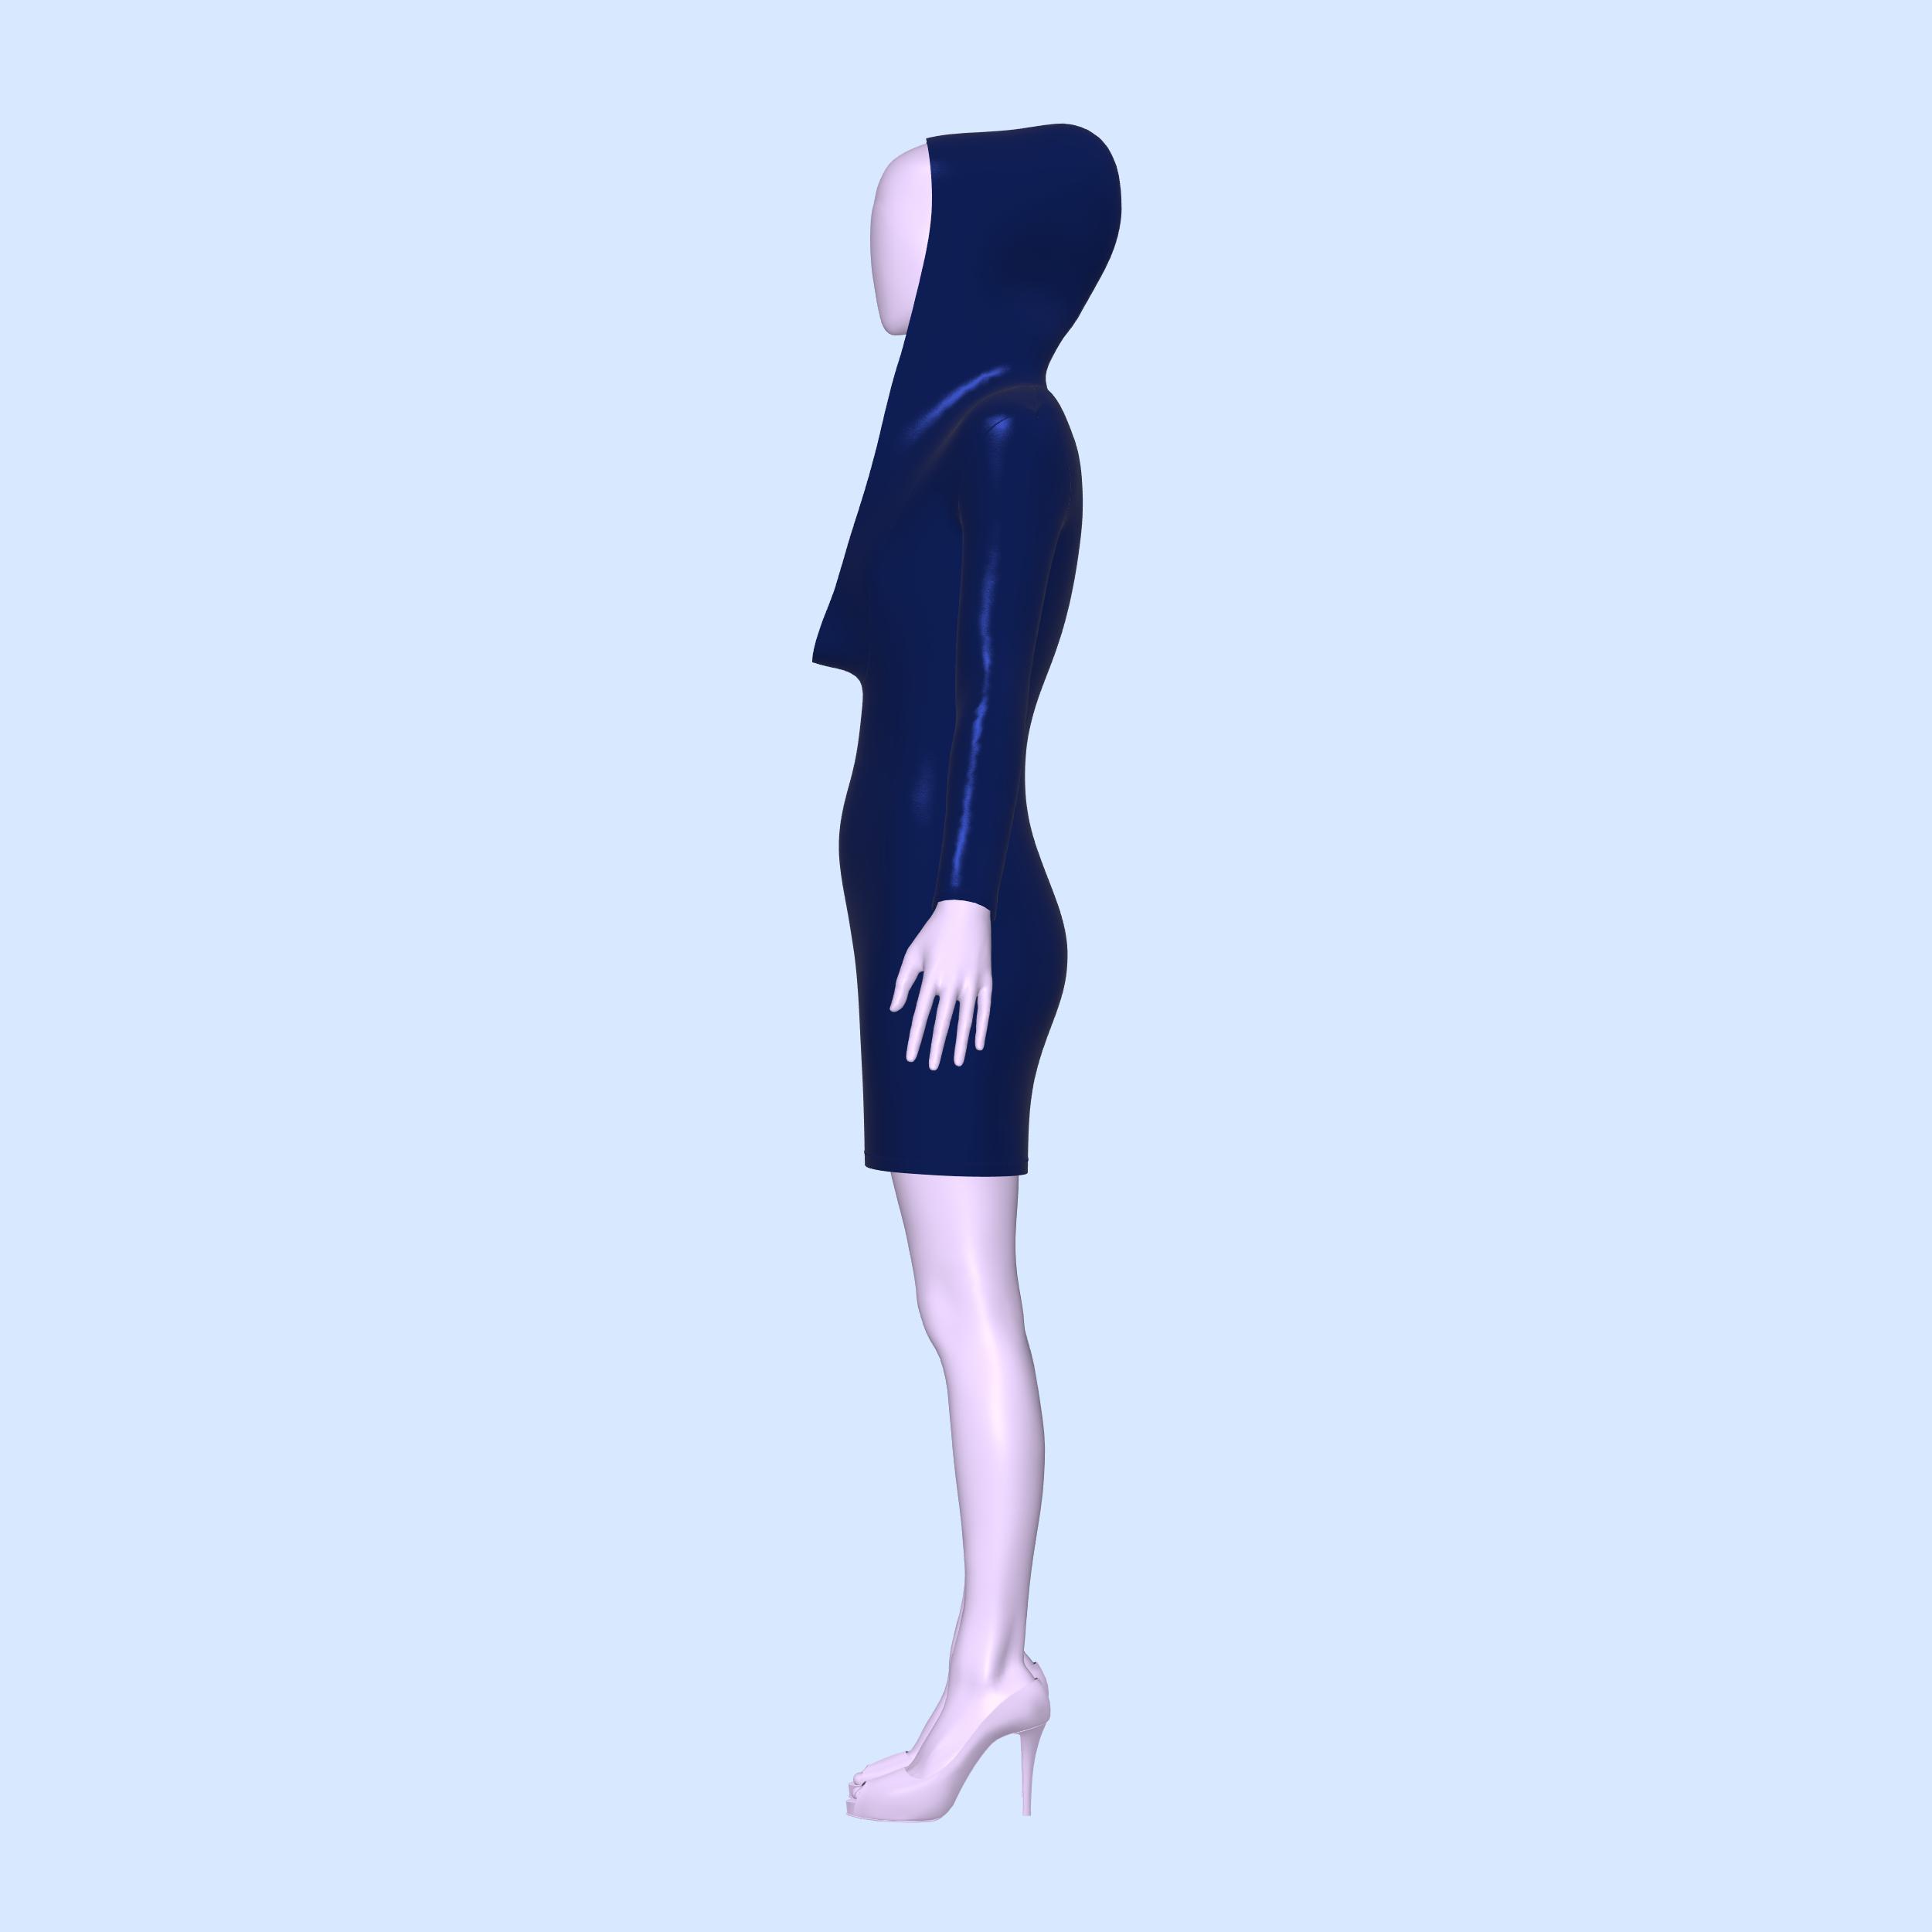
Descripción general
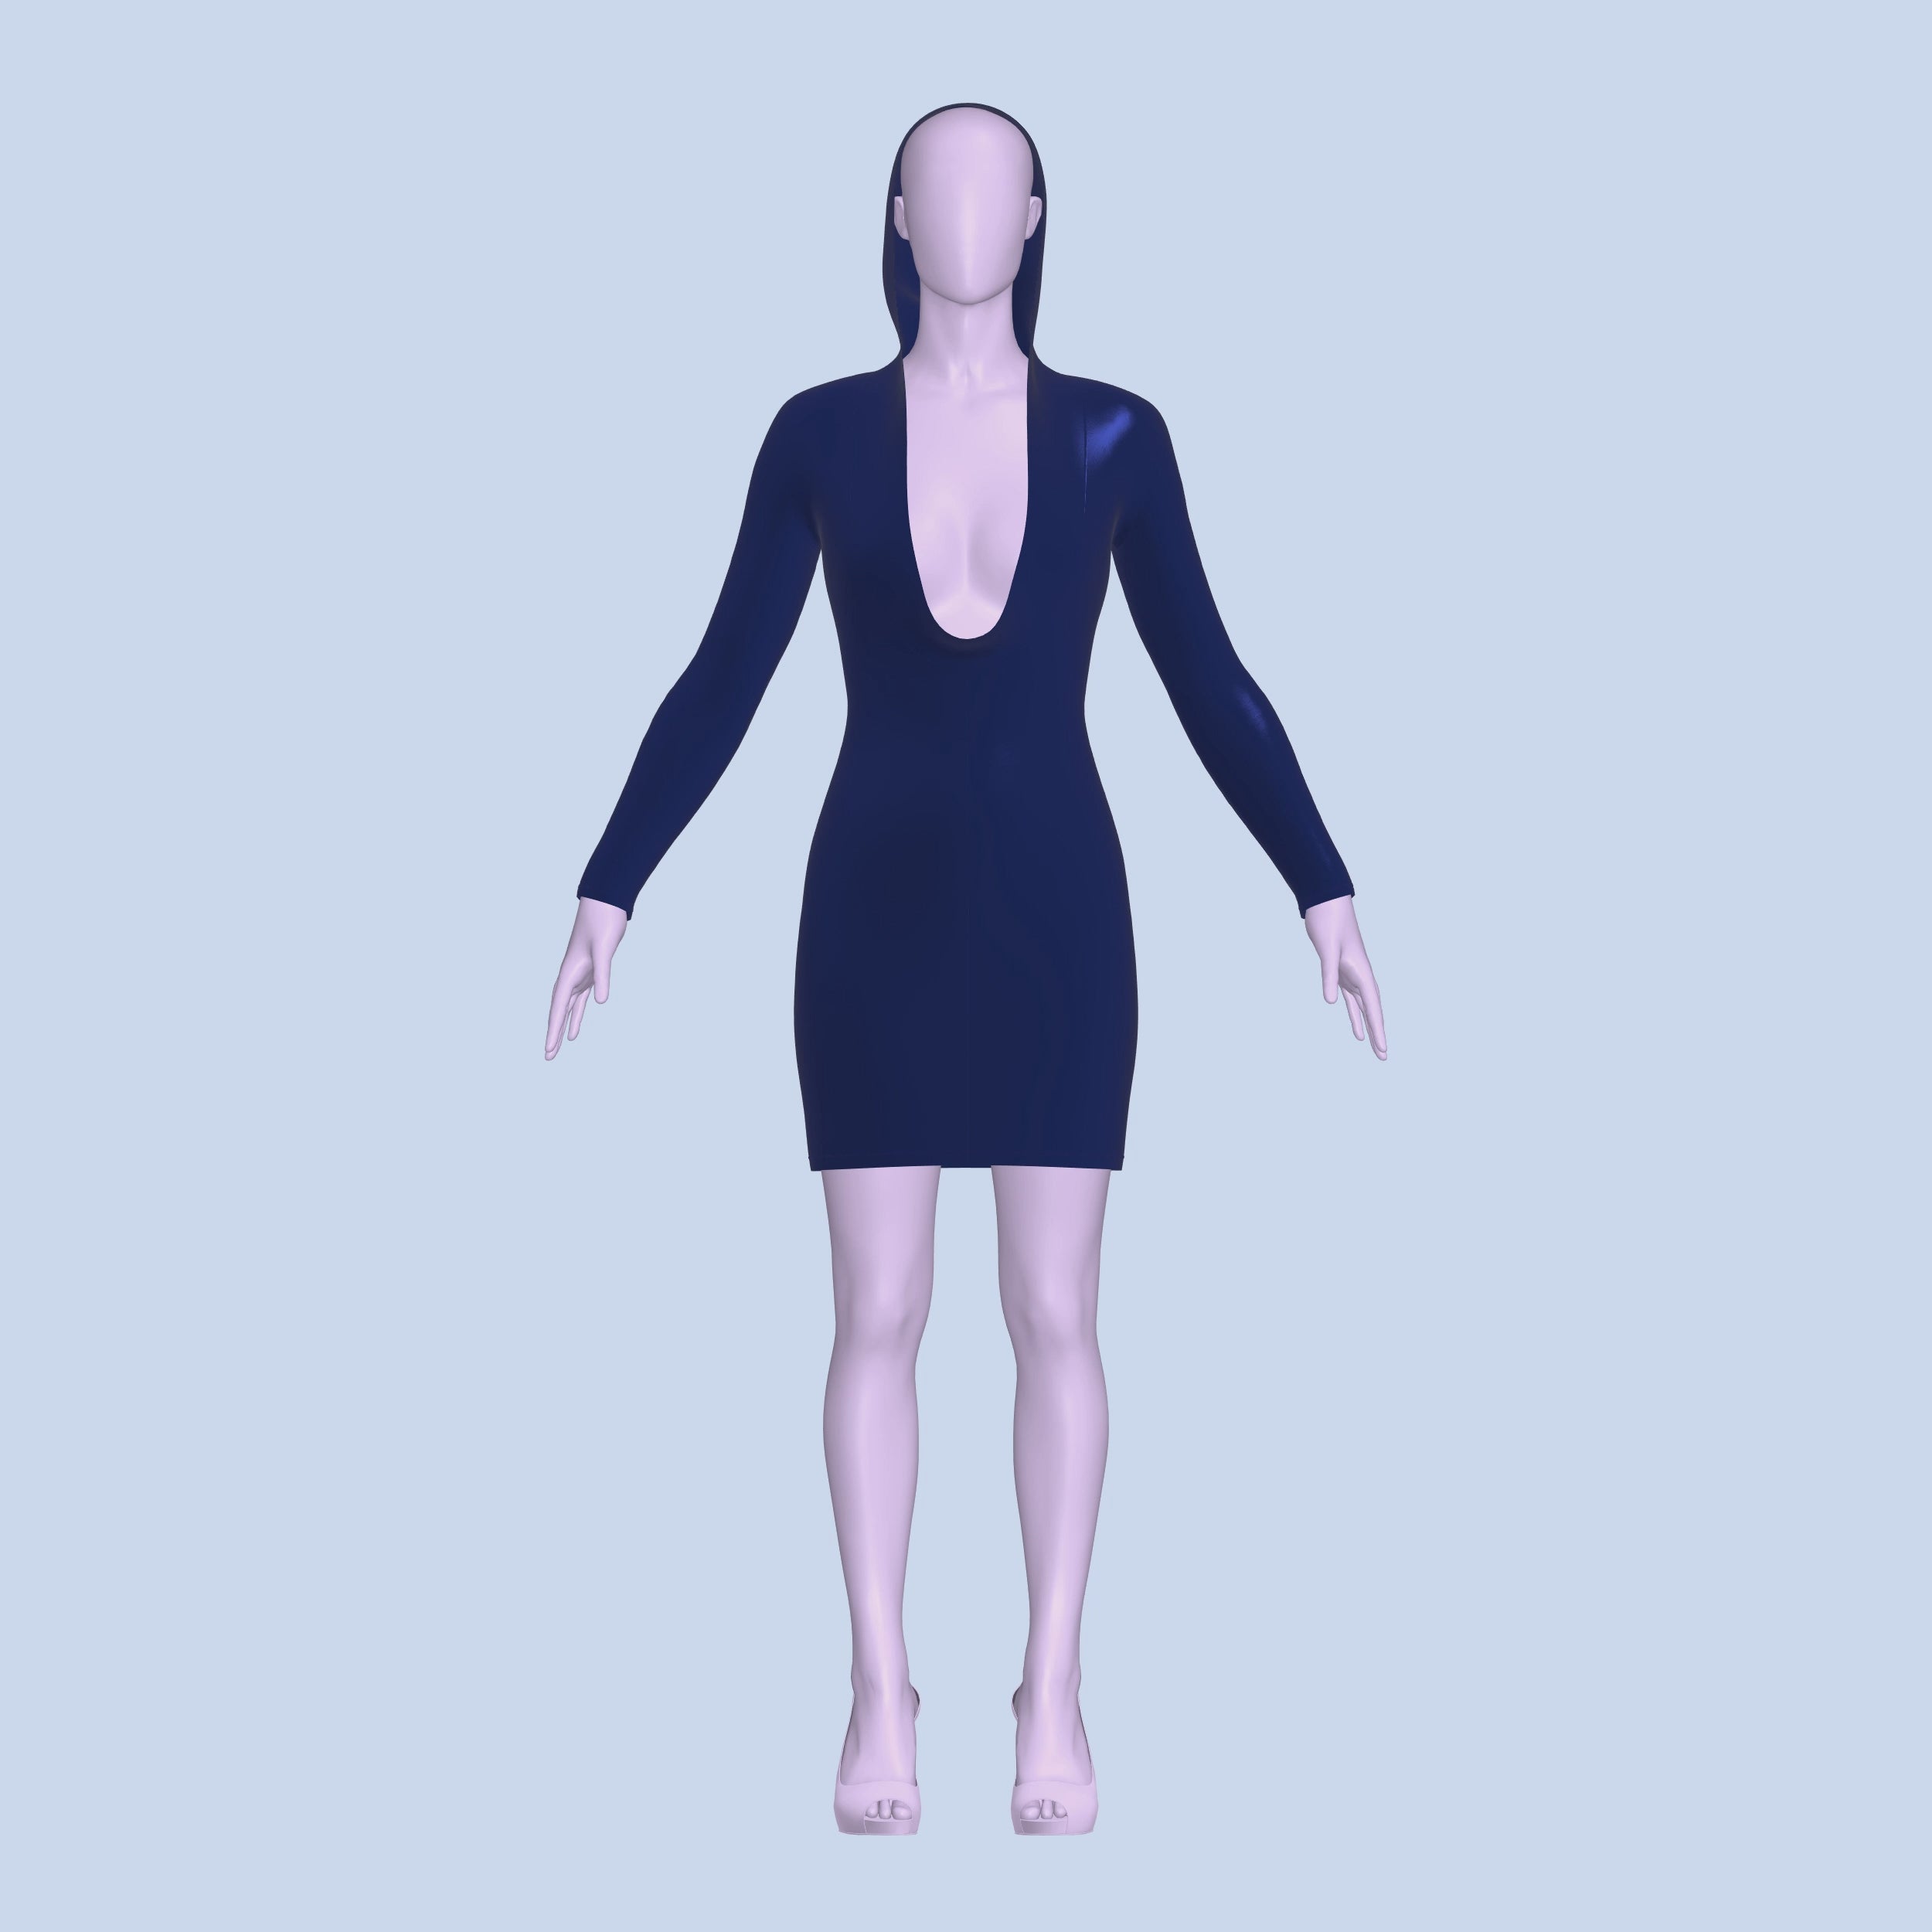
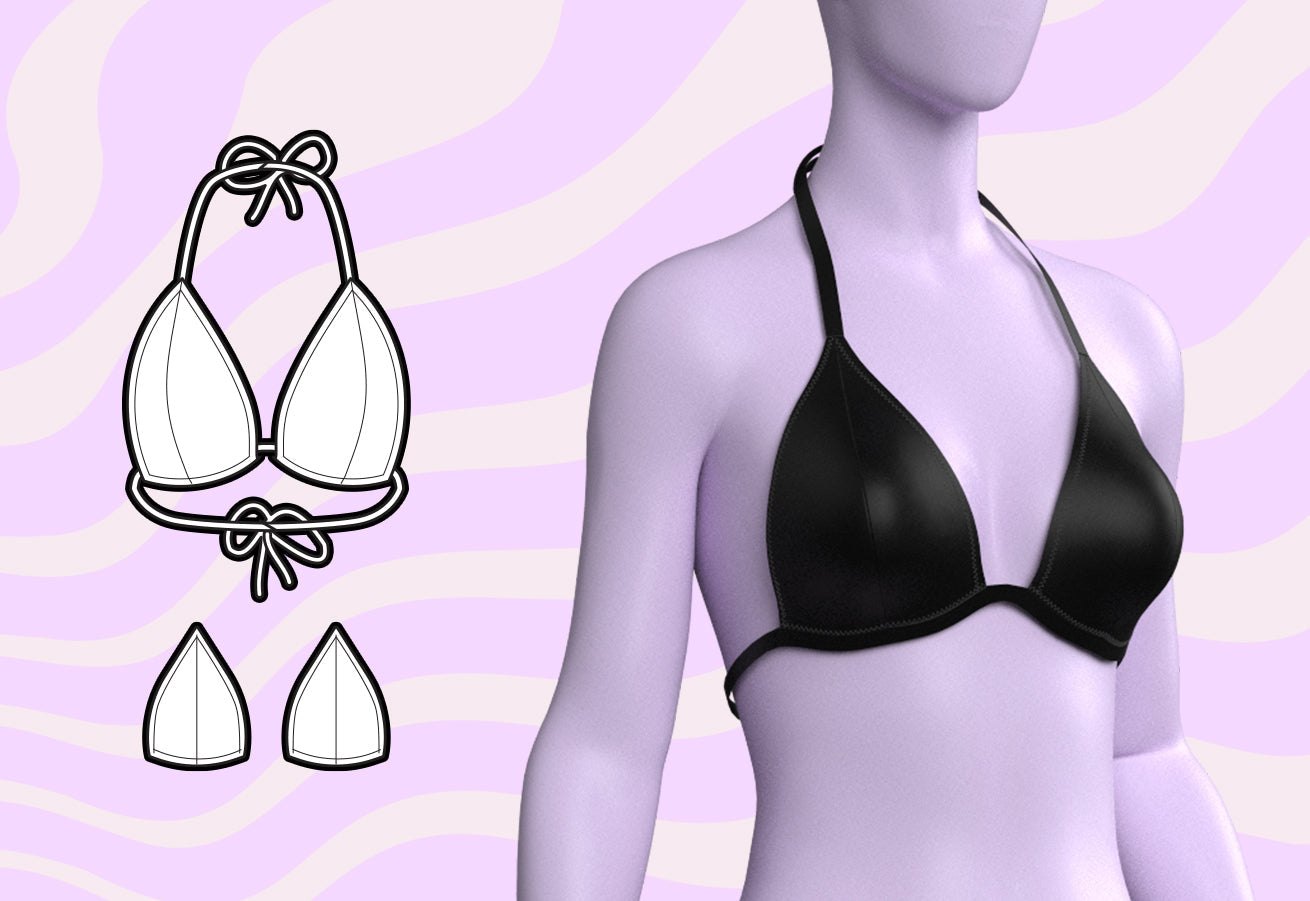
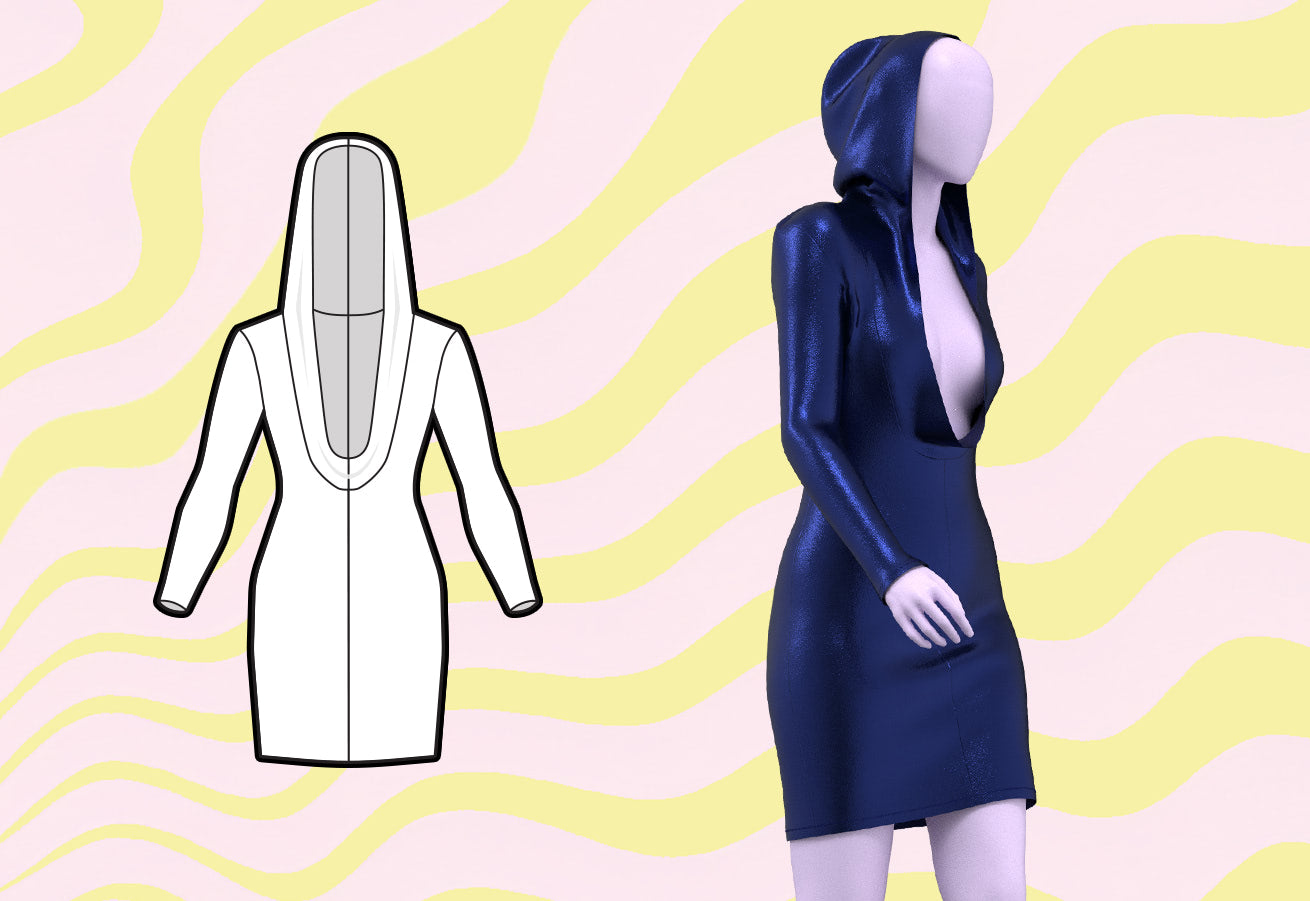
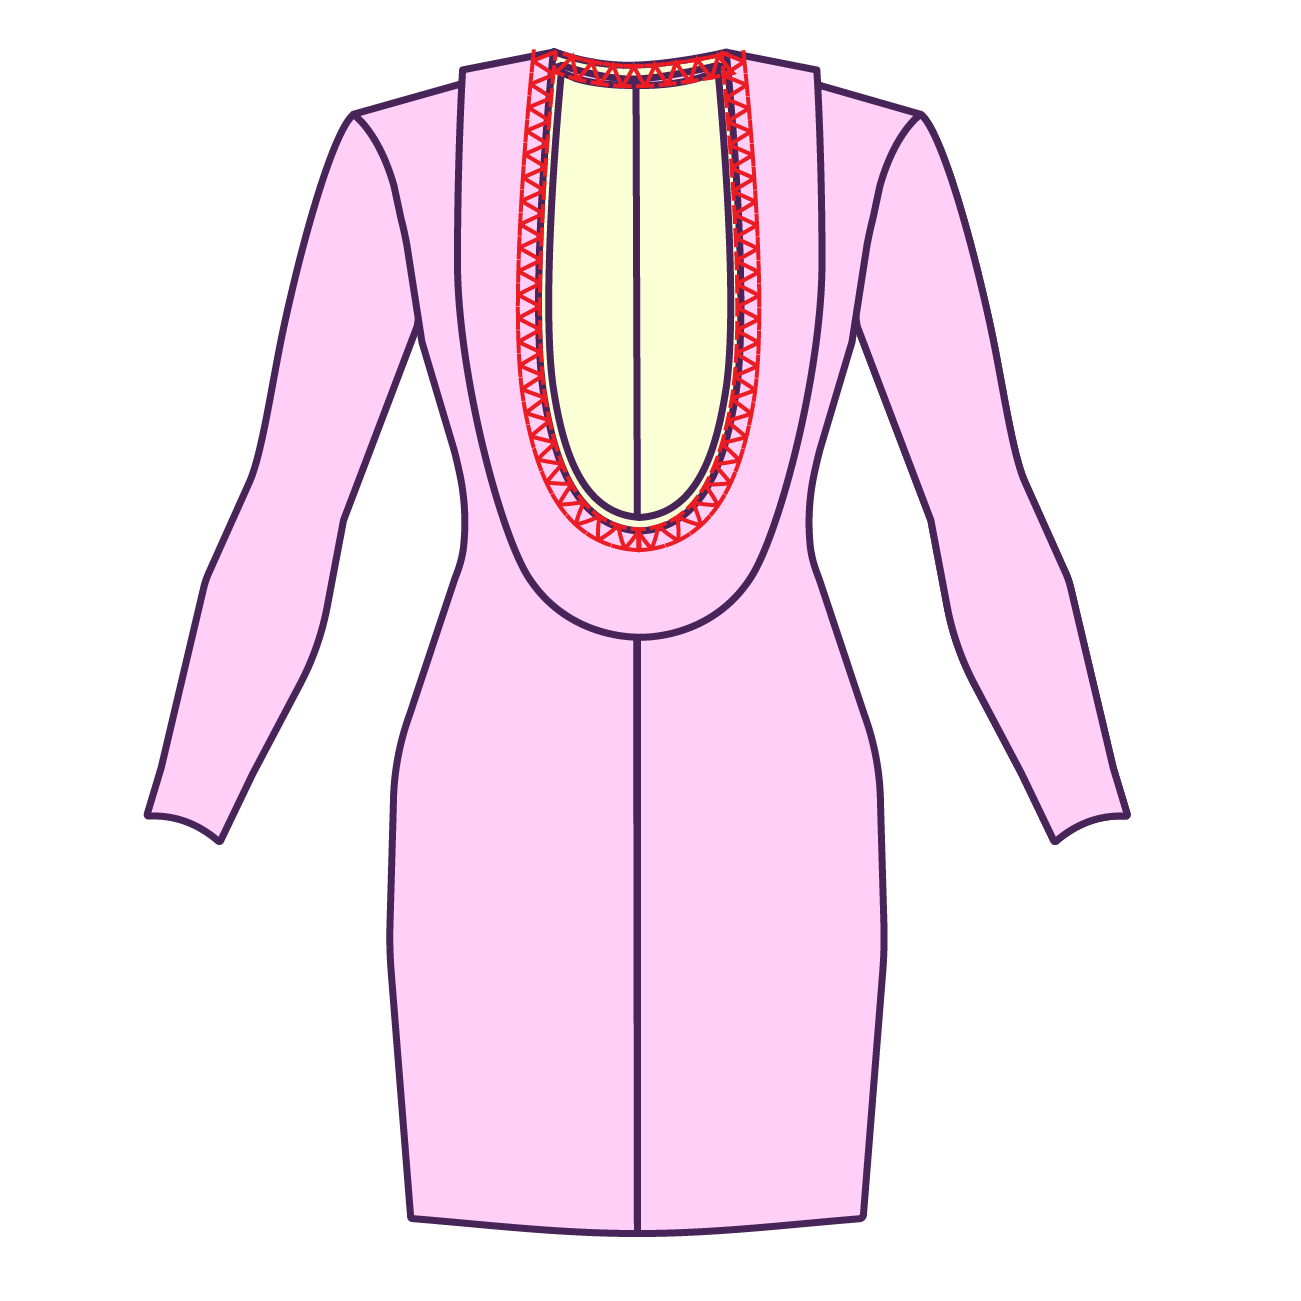
Prepárate para arrasar con nuestro patrón de costura de vestido elástico con capucha, diseñado para que cada drag queen se sienta como una superestrella. Con una sudadera con capucha que se conecta a un escote pronunciado y mangas largas, este vestido es el homenaje definitivo a la moda de los años 2000 y de la década de 2010, perfecto para canalizar tu estilo Lady Gaga interior. Para lograr el efecto completo, combínalo con un sexy sujetador con purpurina y prepárate para robarte el espectáculo.
Dificultad del patrón: Para principiantes
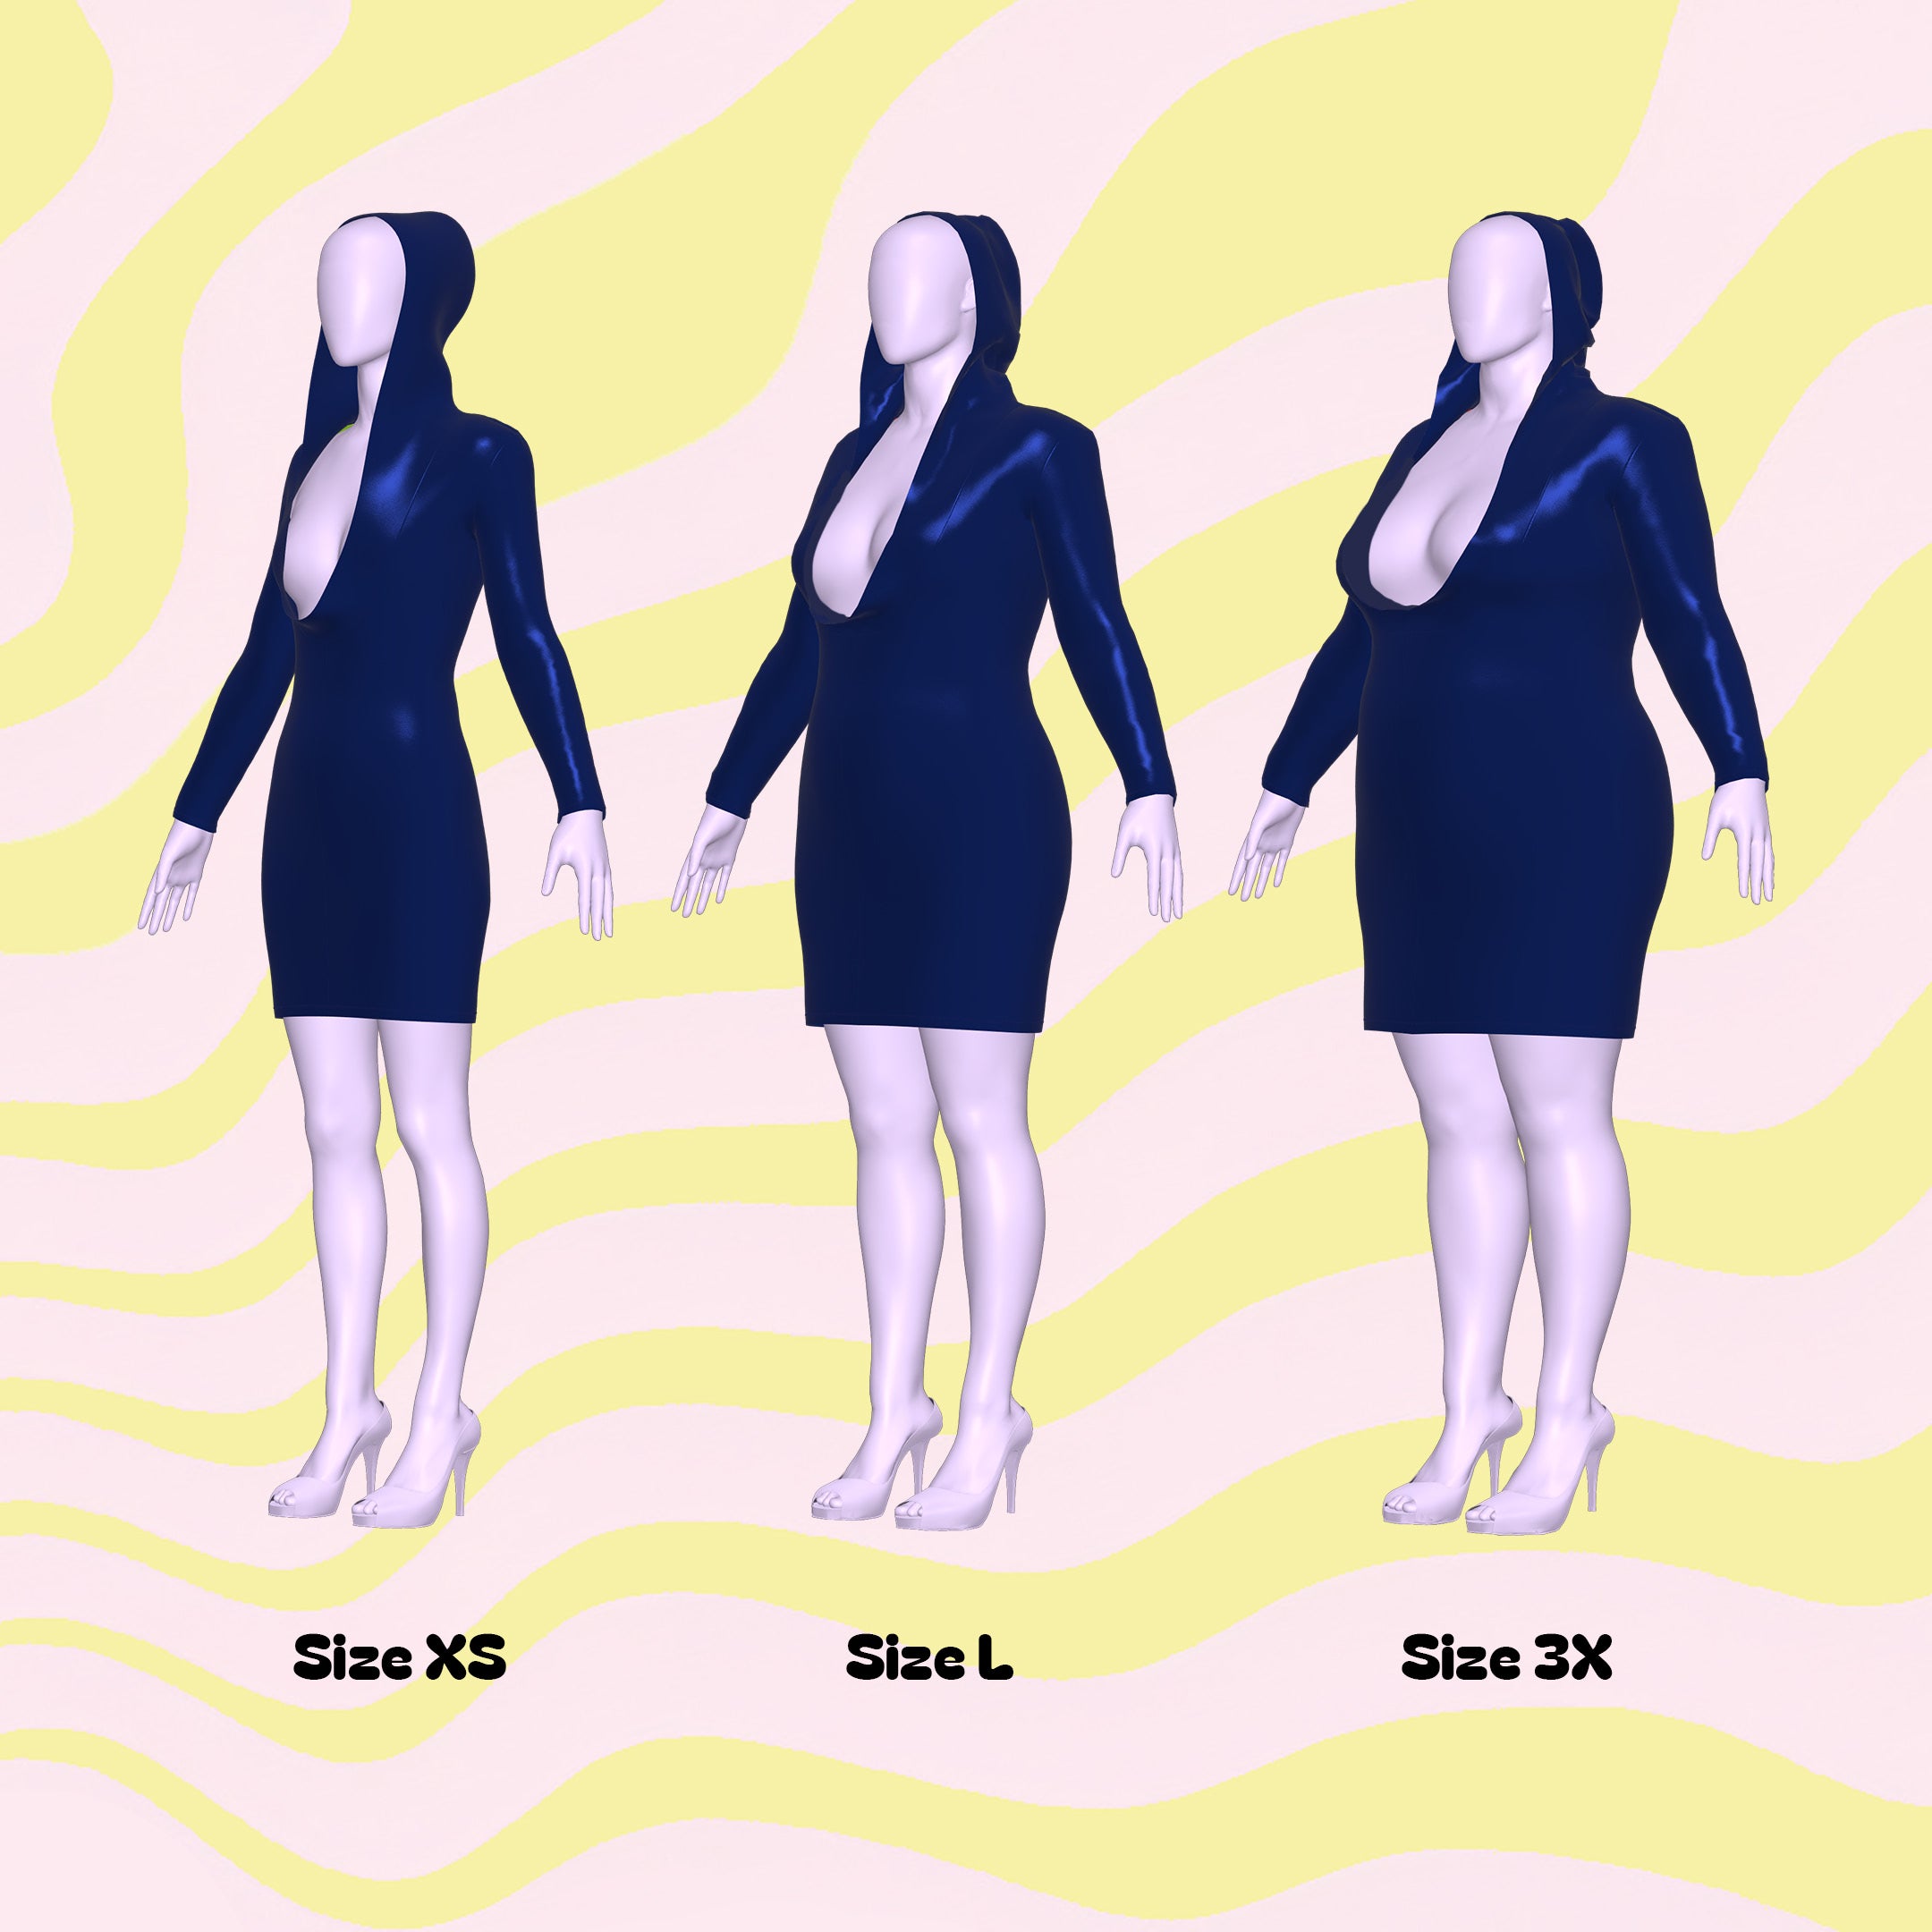
Detalles de tallas
Este patrón está disponible en nuestros exclusivos talles Drag Queen (XS-4X). Consulta nuestra guía de talles para obtener más información sobre nuestras medidas de talle.
Telas y artículos de mercería
Adecuado para tejidos elásticos en 4 direcciones:
- Spandex
- Miliskin
- Licra
- Vinilo elástico
- Tejidos de punto elásticos
- Hombreras o haz las tuyas propias con guata y entretela.
Yardas de tela
Este patrón requiere el uso de una tela exterior con una tela de forro y entretela. Es adecuado para telas ligeras que no sean elásticas. A continuación, encontrará la cantidad de yardas necesaria para cada talla.
| Tamaño | Yardas de tela (58” de ancho) | Guata (20” de ancho) |
|---|---|---|
| XS | 2 yardas | 0,5 yardas |
| S | 2,25 yardas | 0,5 yardas |
| METRO | 2,25 yardas | 0,5 yardas |
| yo | 2,5 yardas | 0,5 yardas |
| SG | 2,5 yardas | 0,5 yardas |
| 2X | 2,75 yardas | 0,5 yardas |
| 3 veces | 2,75 yardas | 0,5 yardas |
| 4X | 2,75 yardas | 0,5 yardas |
Para obtener información sobre la conversión de pulgadas a metros, consulte nuestra guía de conversión.
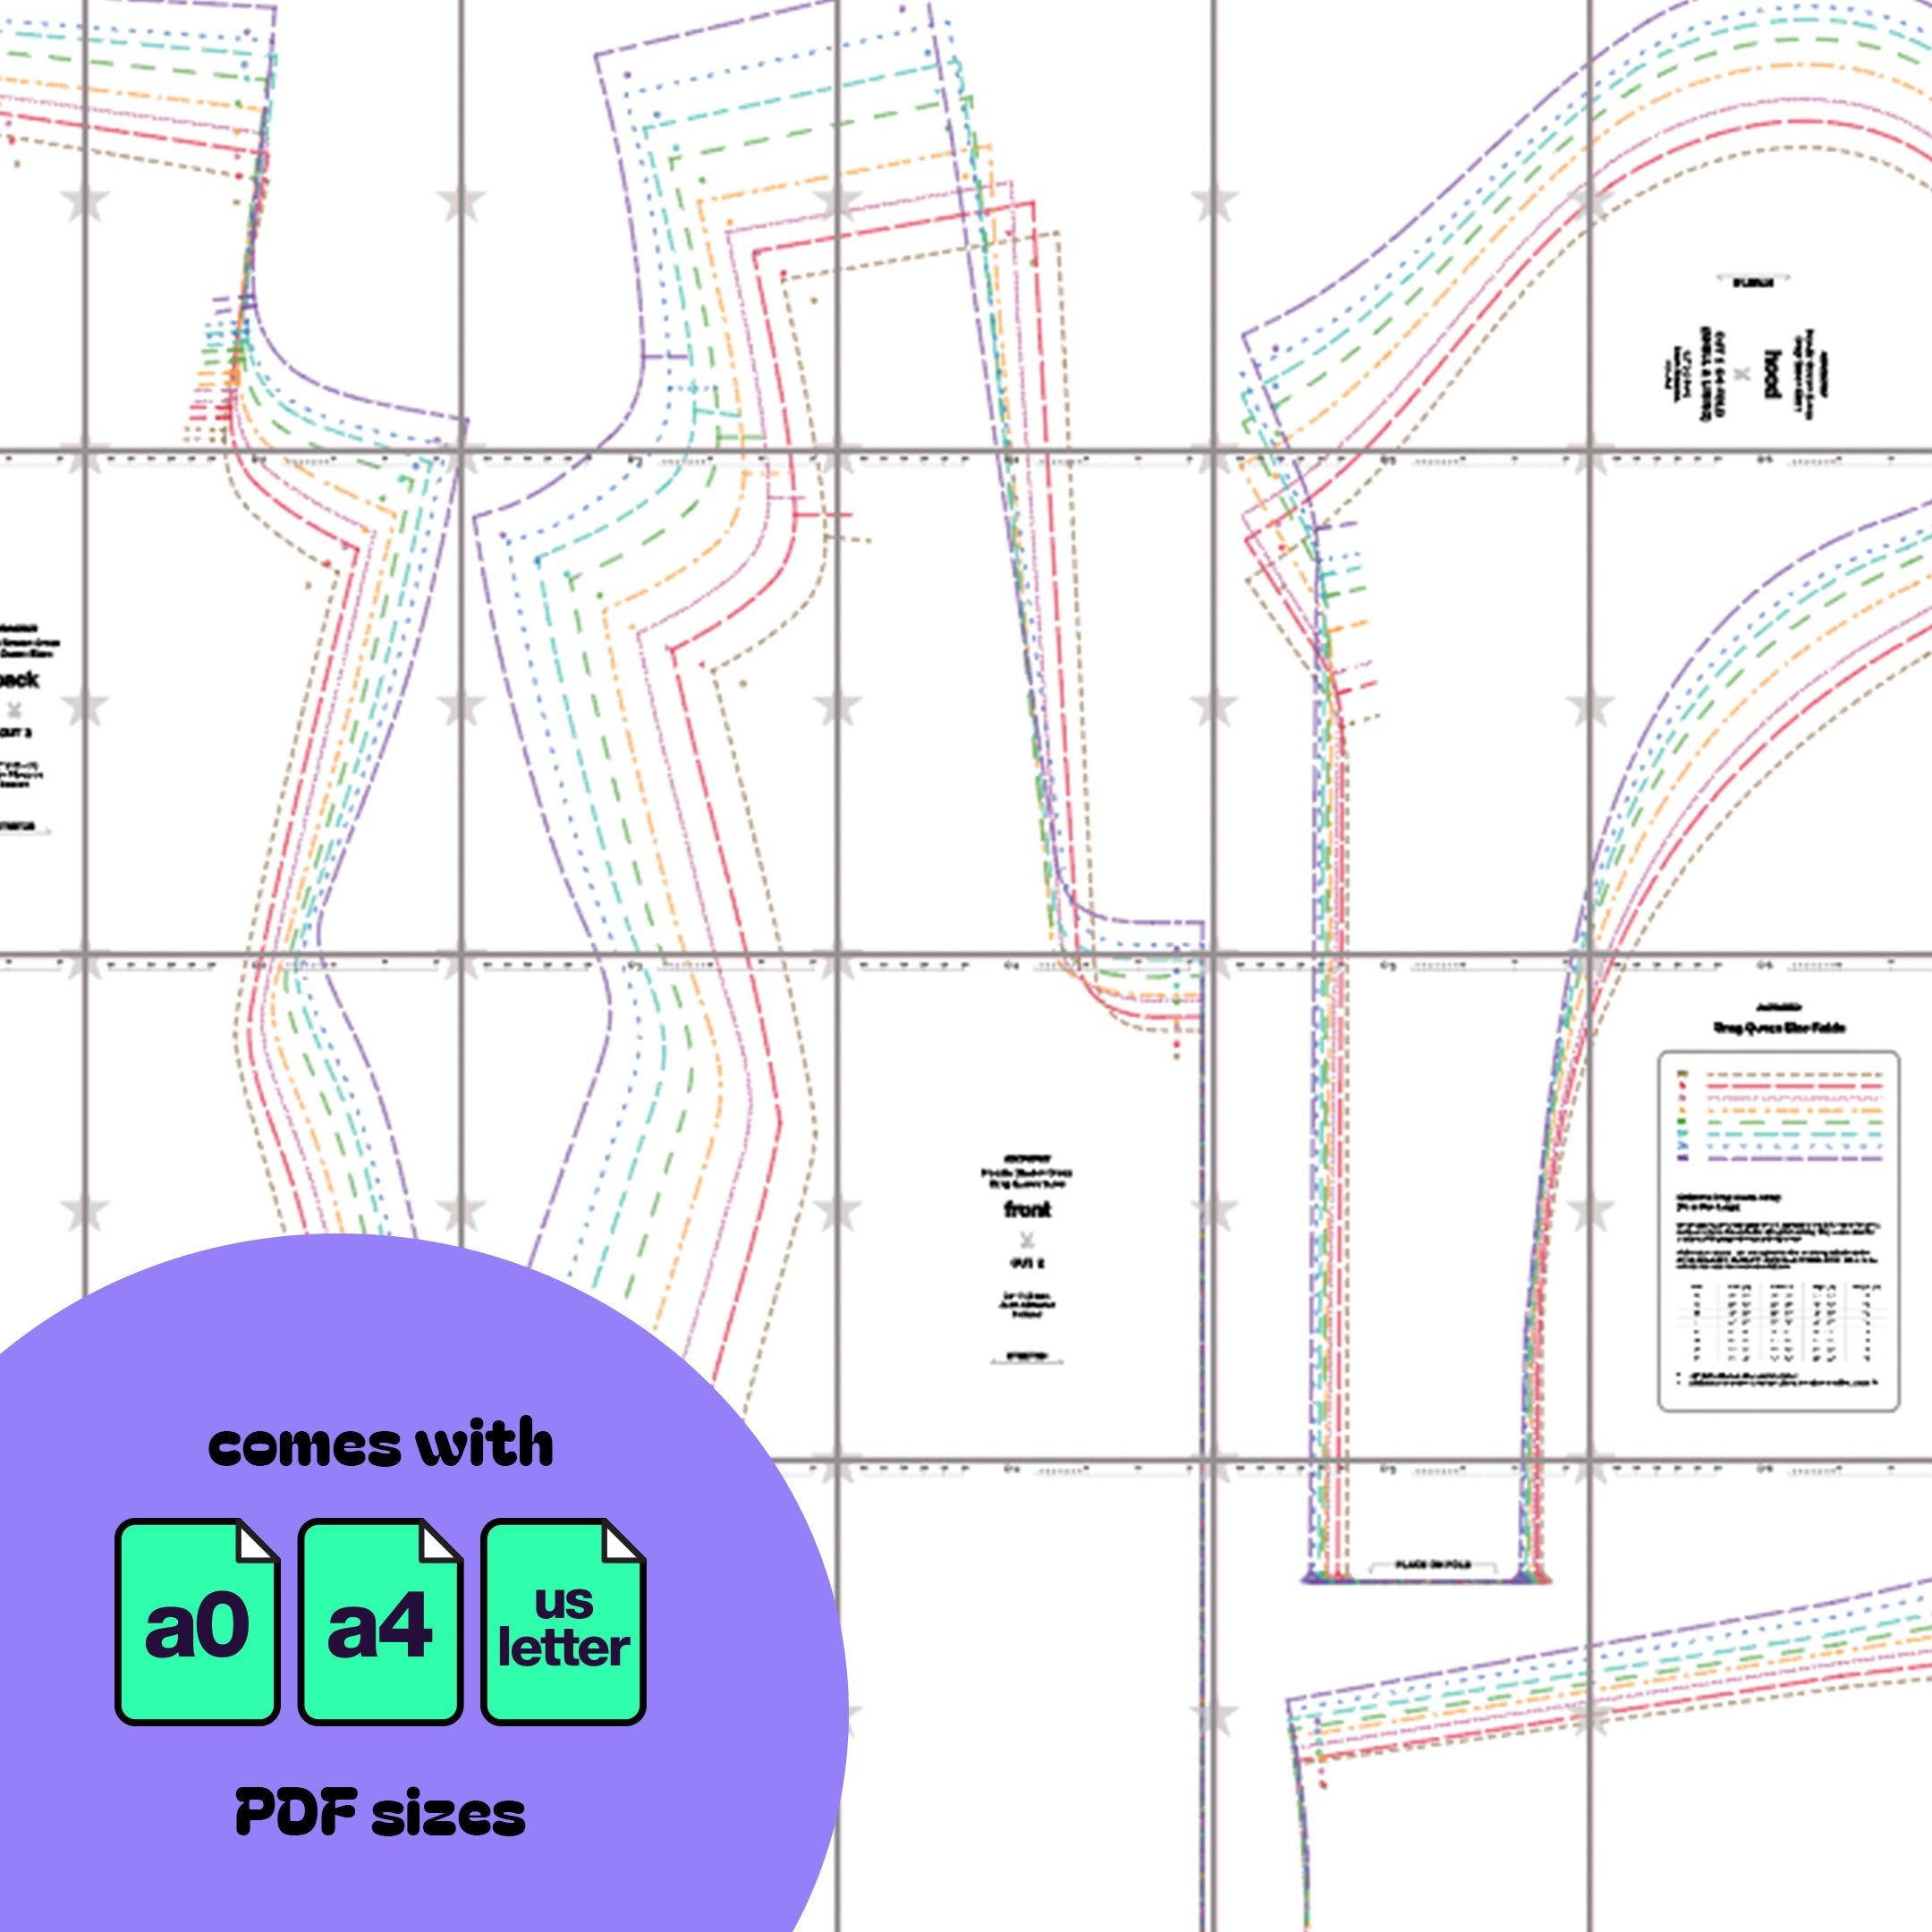
Instrucciones de costura
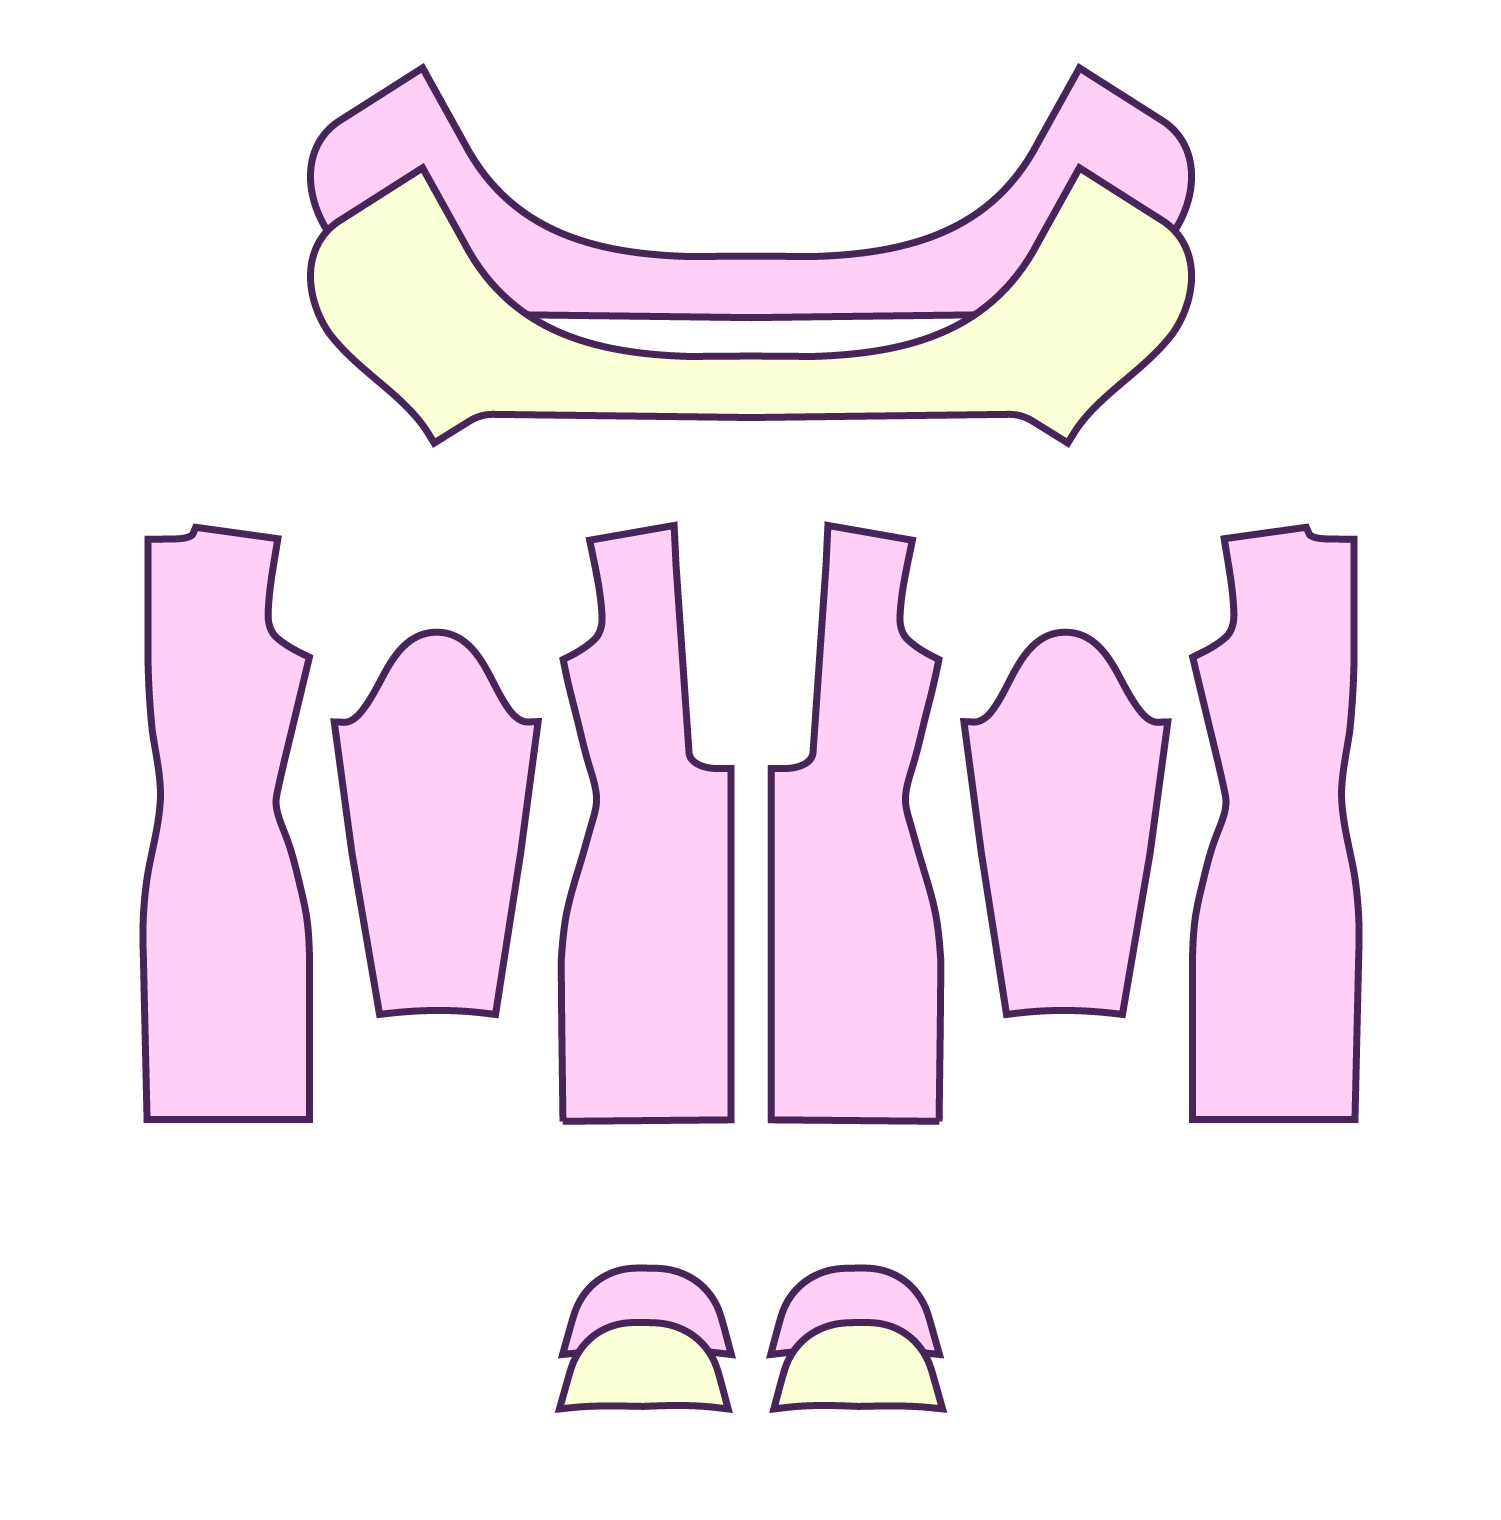
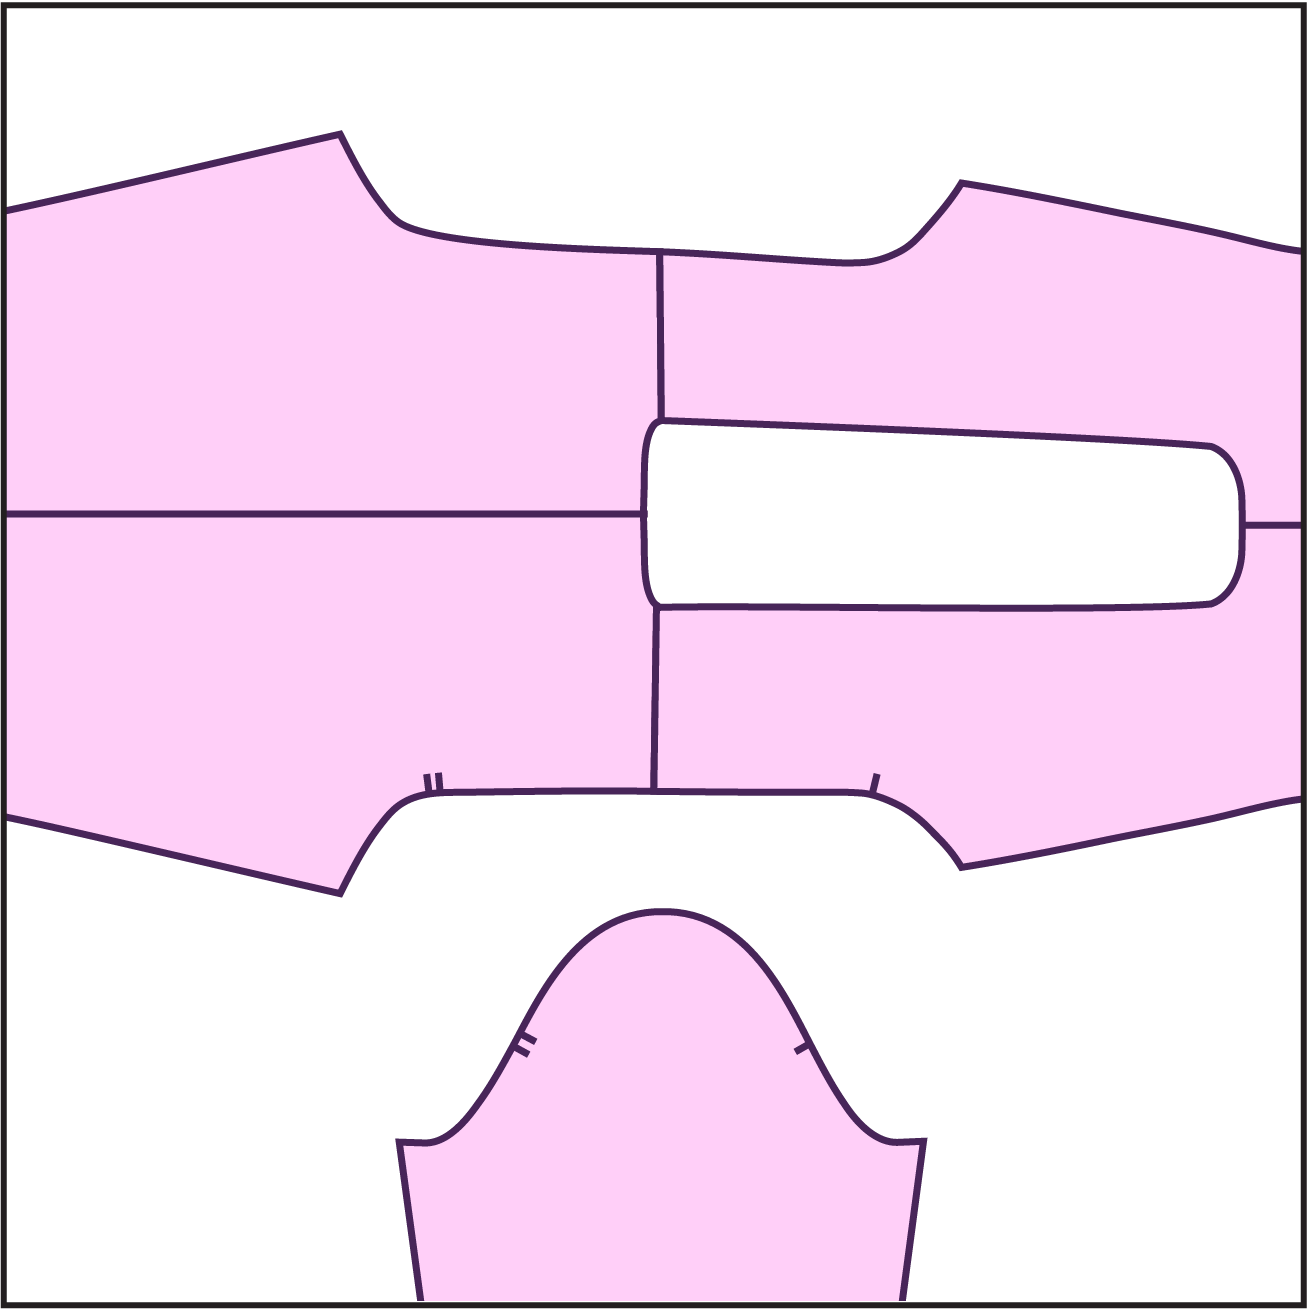
Fabric Pieces
Once your fabric is cut you should have two hood layers (shell and lining), two front pieces, two back pieces, two sleeves, and one set of shoulder pads.

Stitches
For this project, it's recommended to use a serger overlock stitch, a stretch stitch, or a zigzag stitch. Avoid using a straight stitch as it may cause the threads to snap.
STEP 1
Take the 2 front pieces, right sides facing each other, and sew them along the center seam.
STEP 2
Take the 2 back pieces, right sides facing each other, and sew them along the center seam.
STEP 3
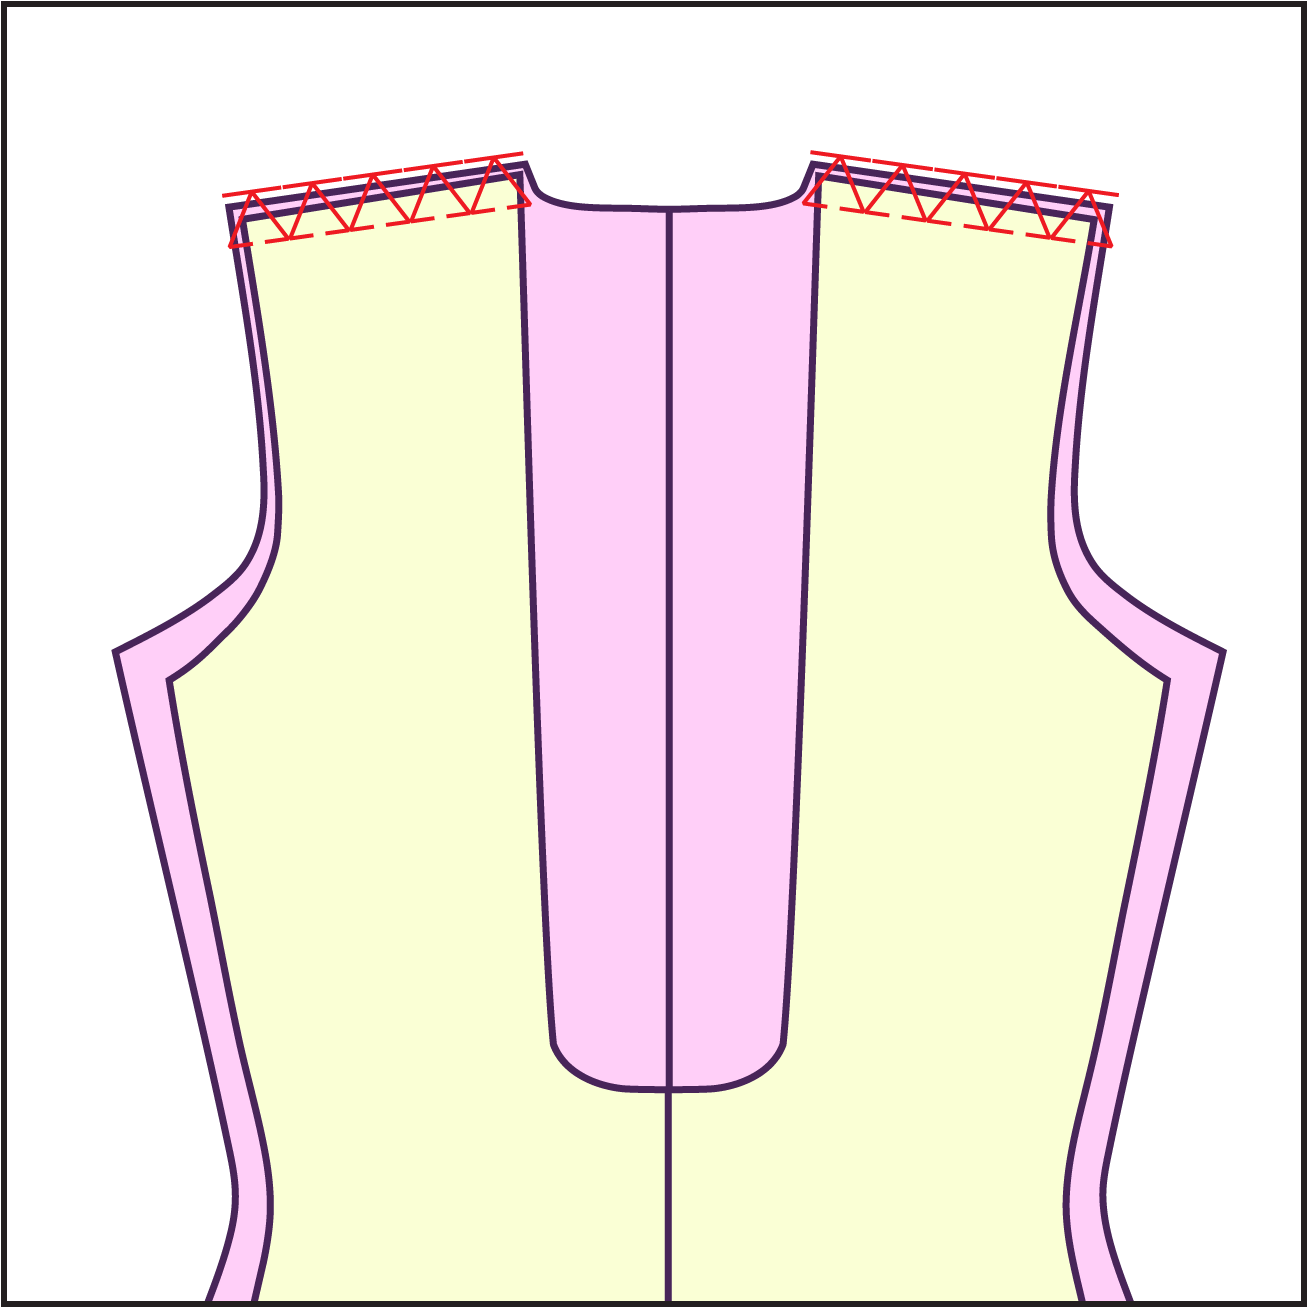
Stack the front and back pieces, right sides facing each other, and sew them along the shoulder seams.
STEP 4
Lay out the front and back right side up and gather your sleeves.
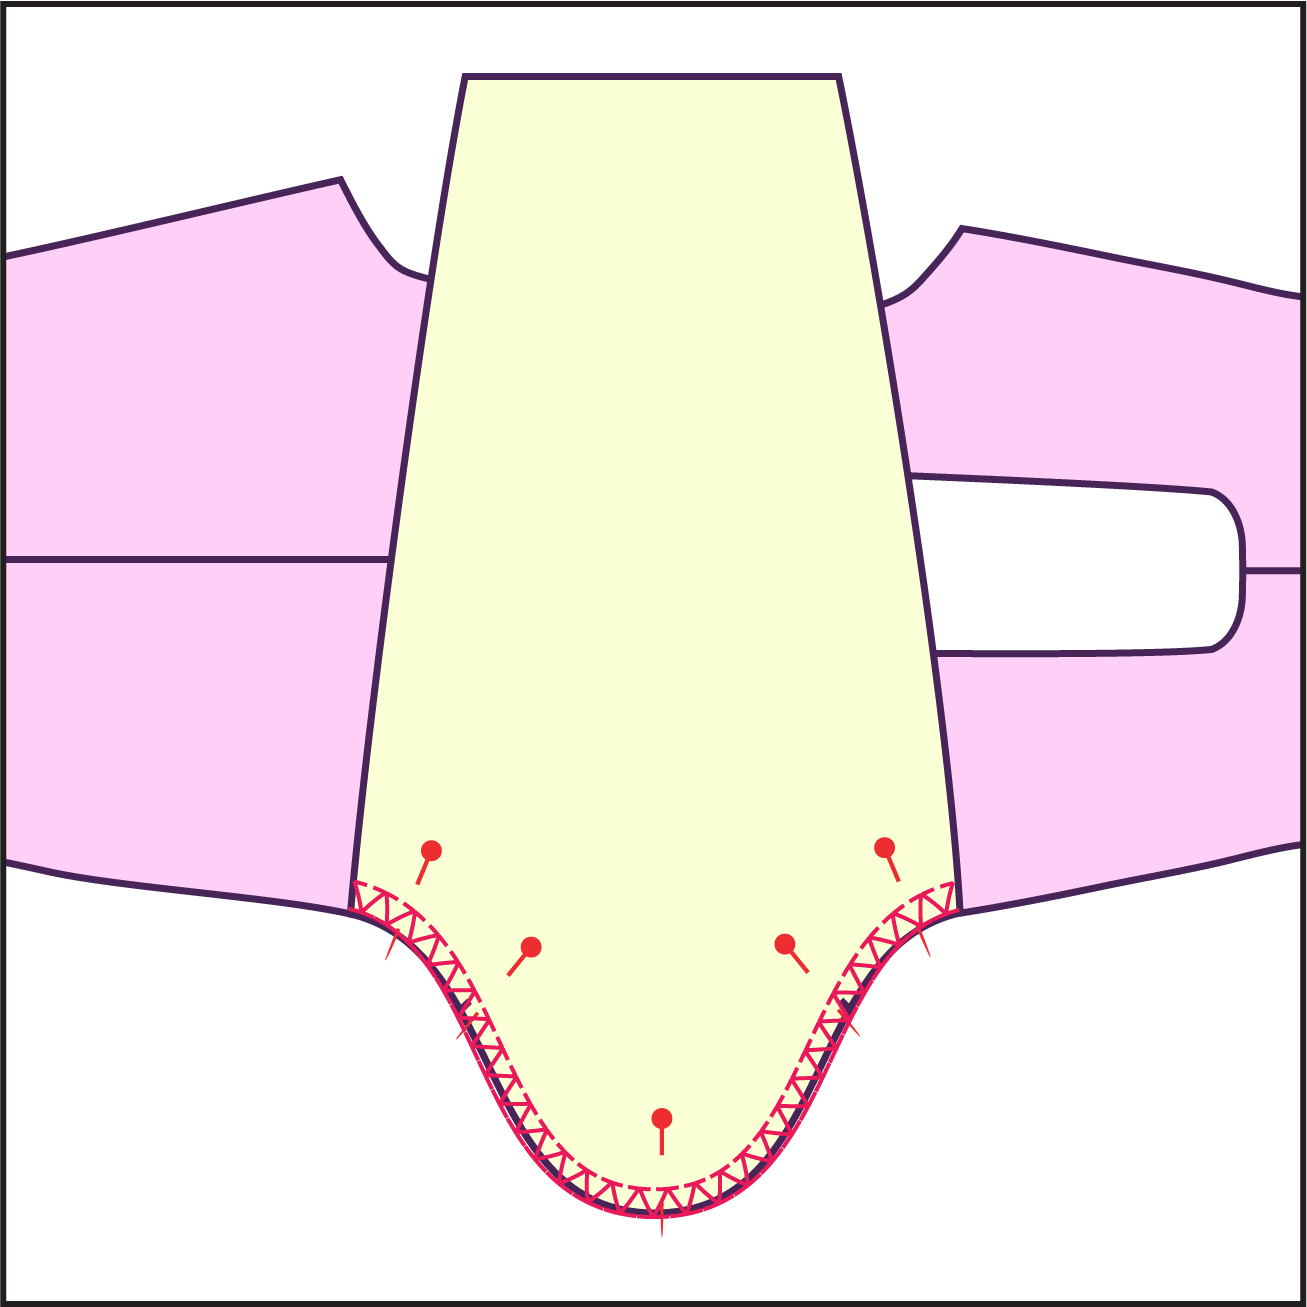
STEP 5
Align and pin the sleeves around the armholes, right side of the sleeve facing the right side of the garment, using notches as a guide. Serge or sew the sleeves in place and repeat for the other side.
STEP 6
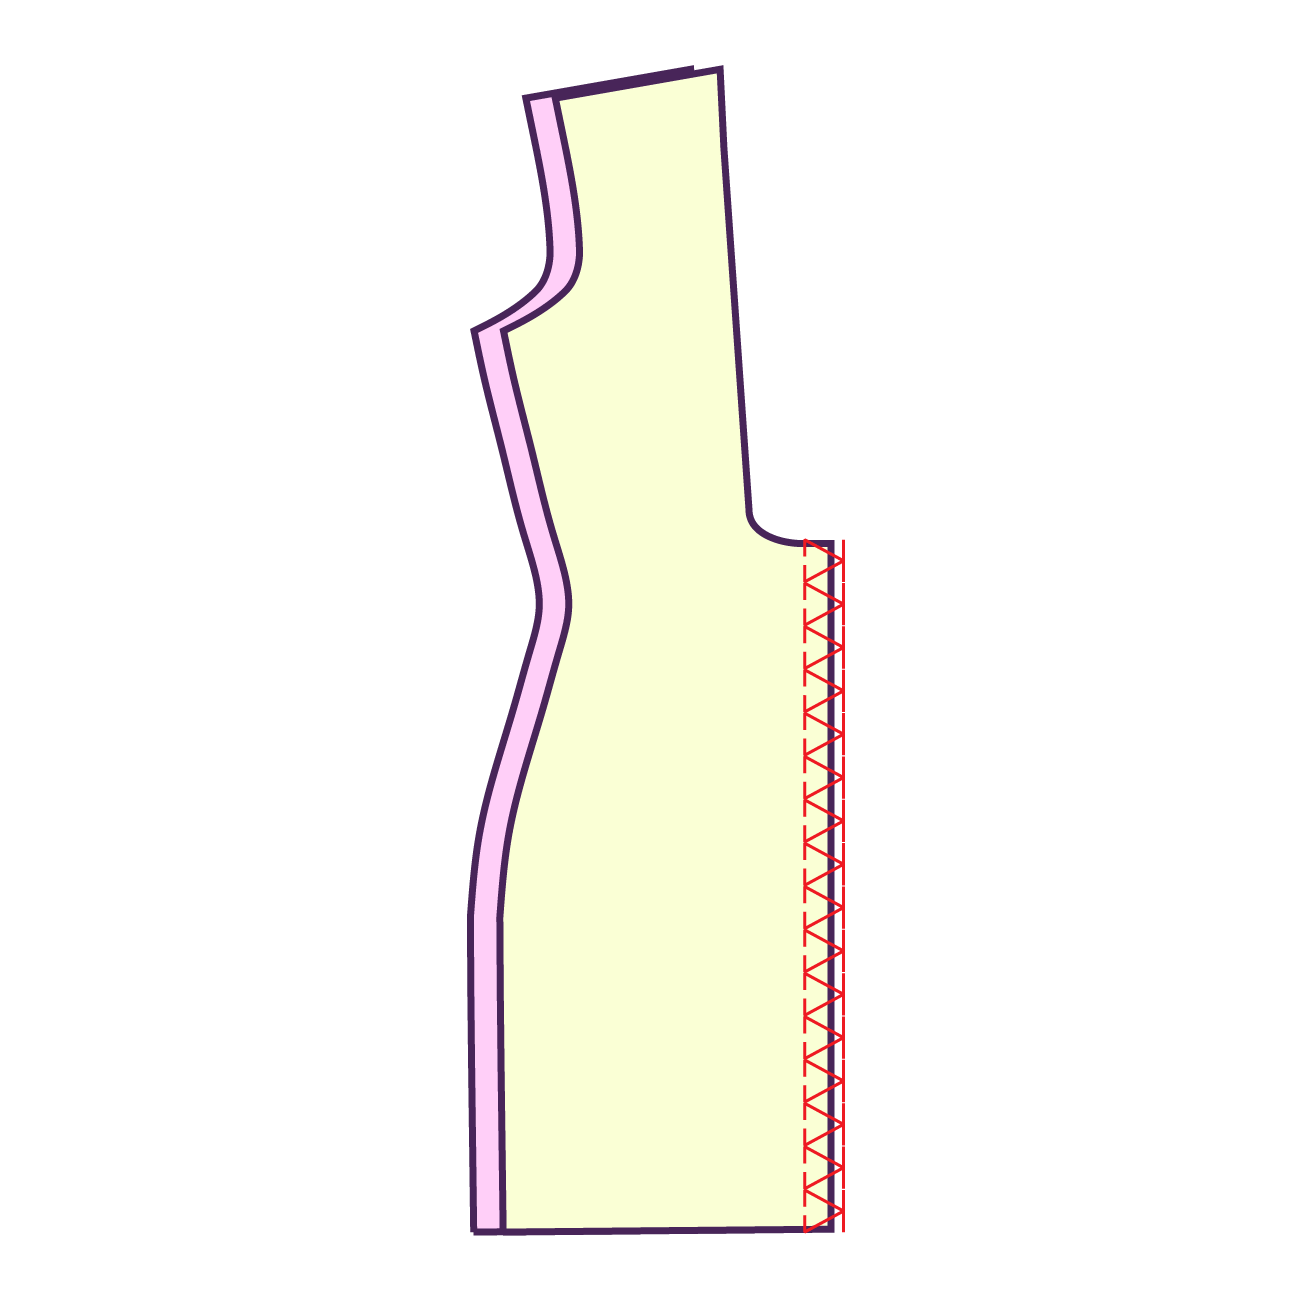
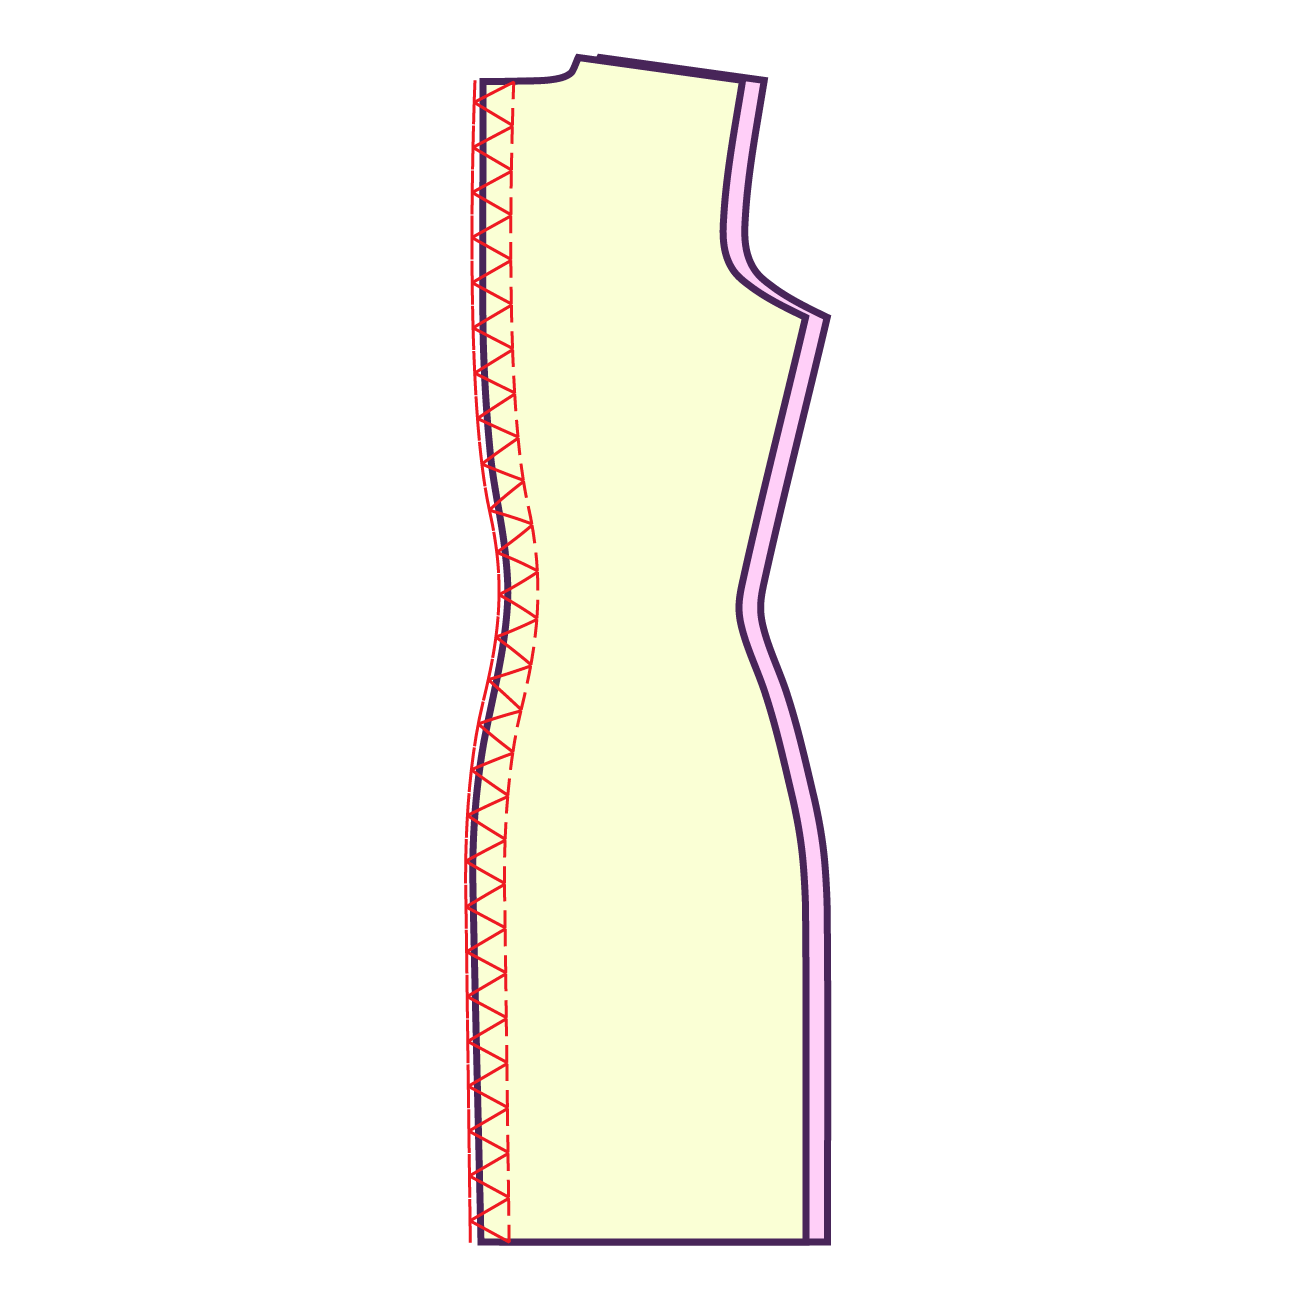
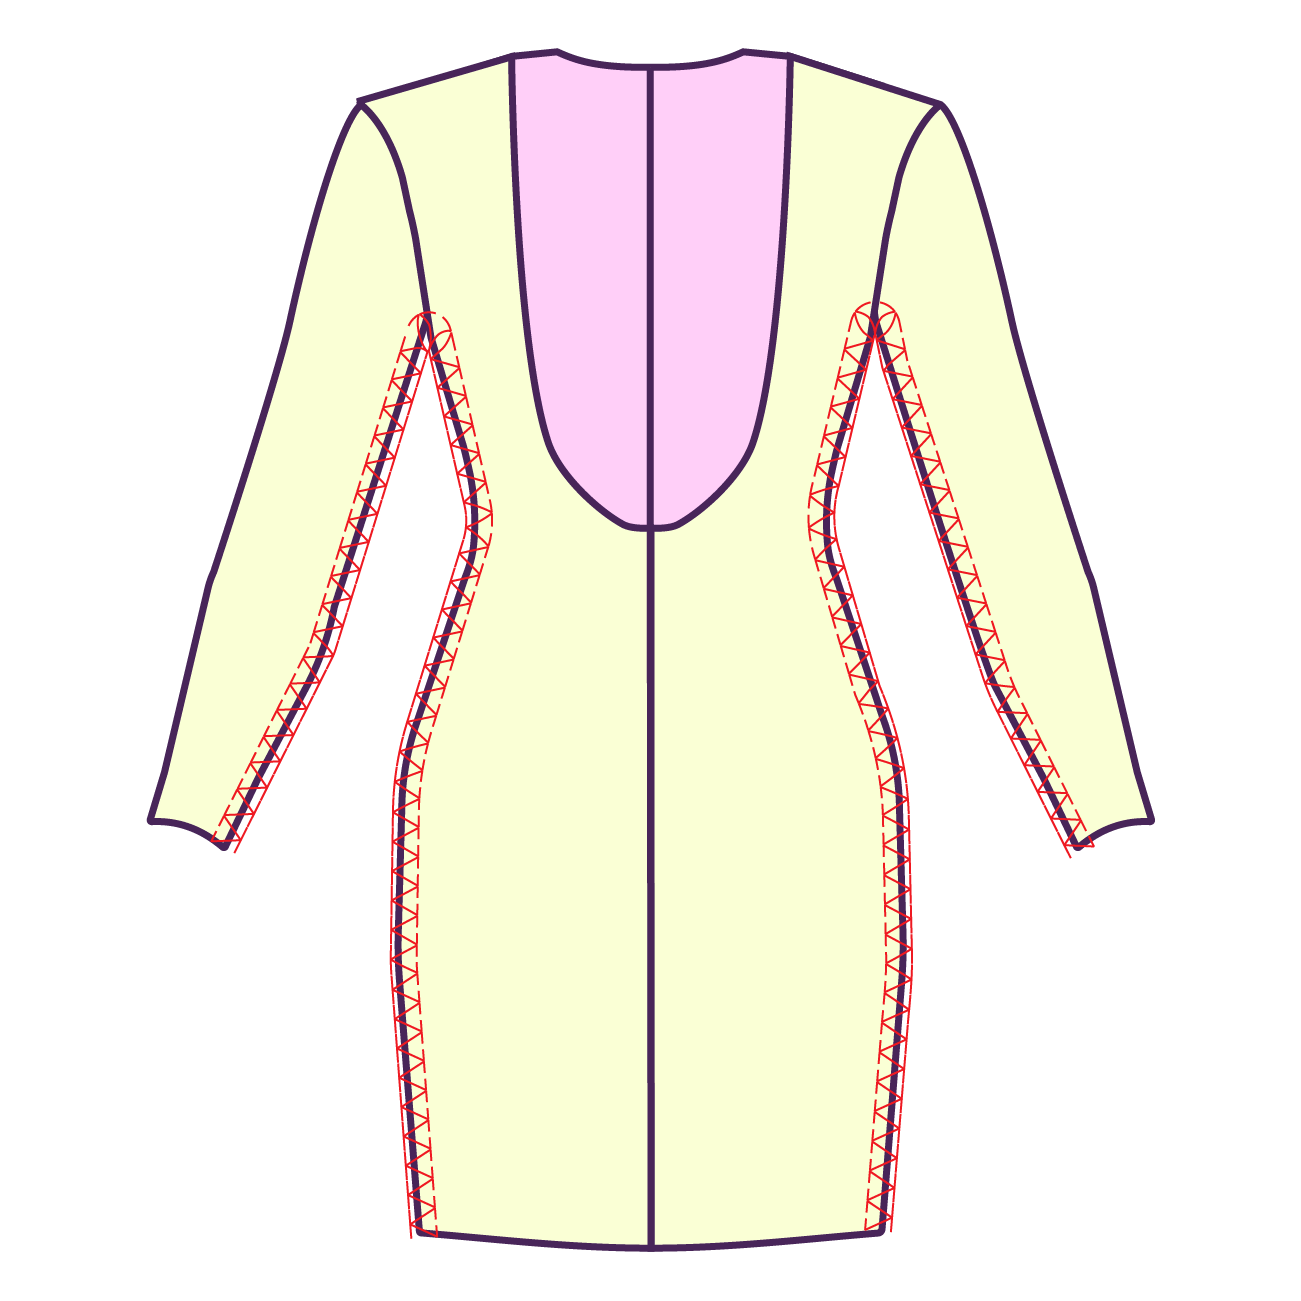
Turn the garment wrong side out and sew the inner sleeve seams closed, continuing down the sides of the garment.
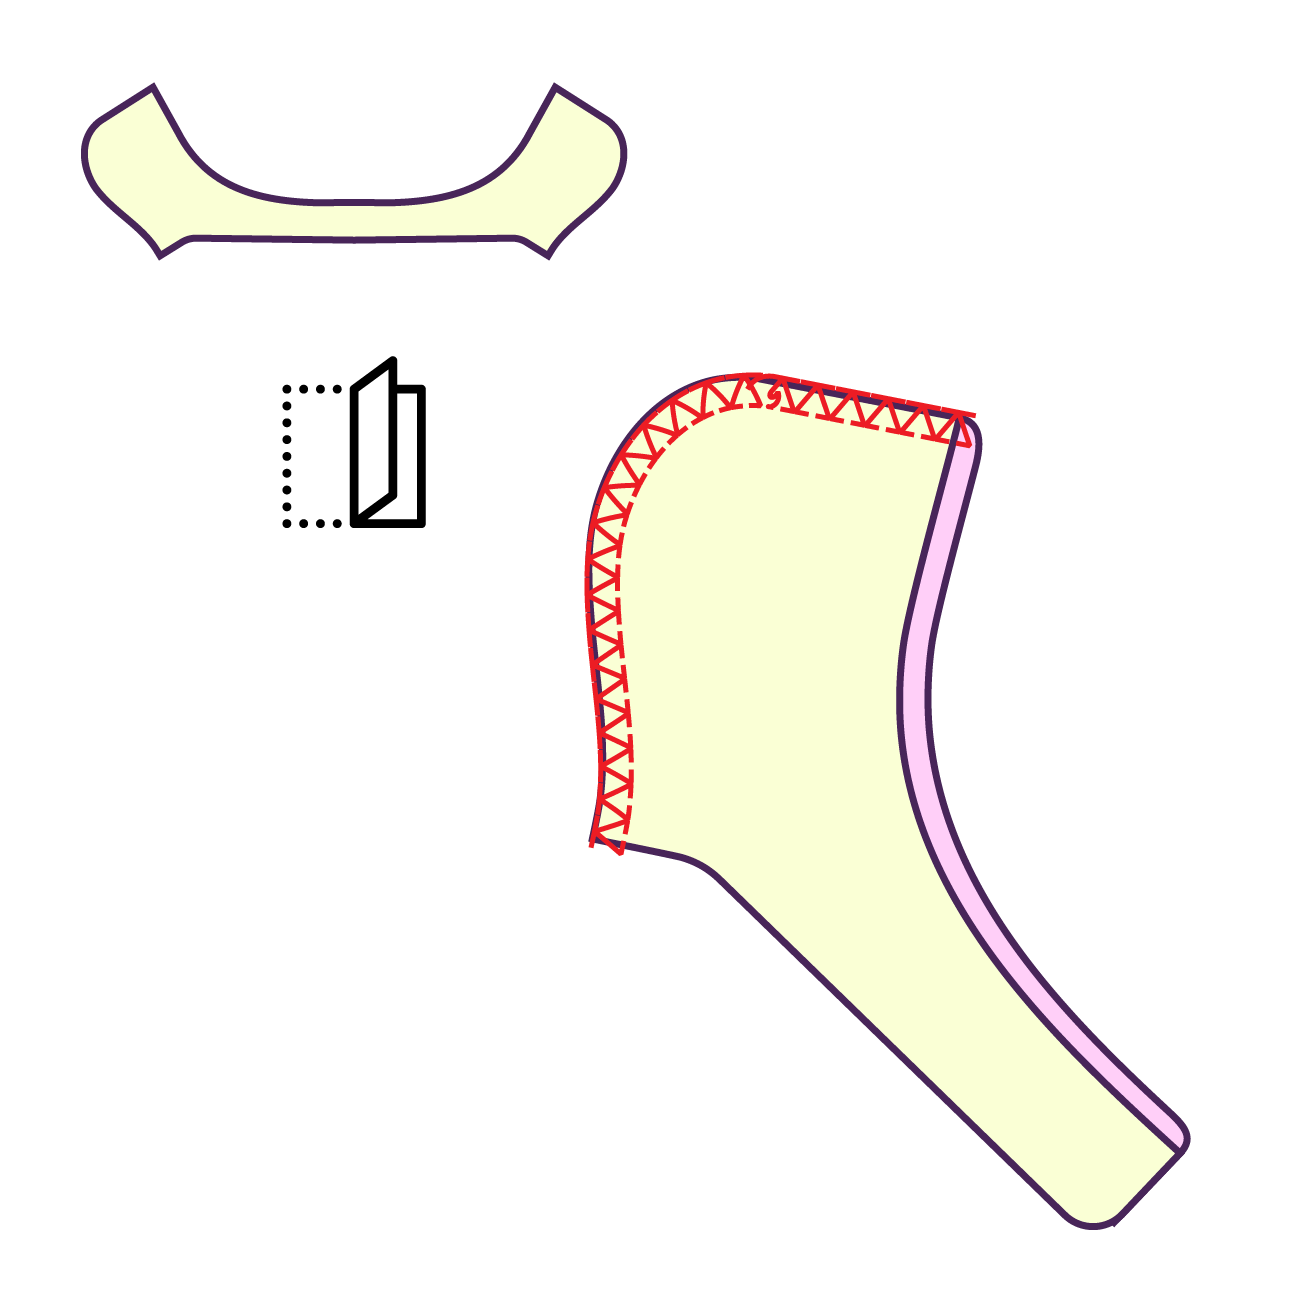
STEP 7
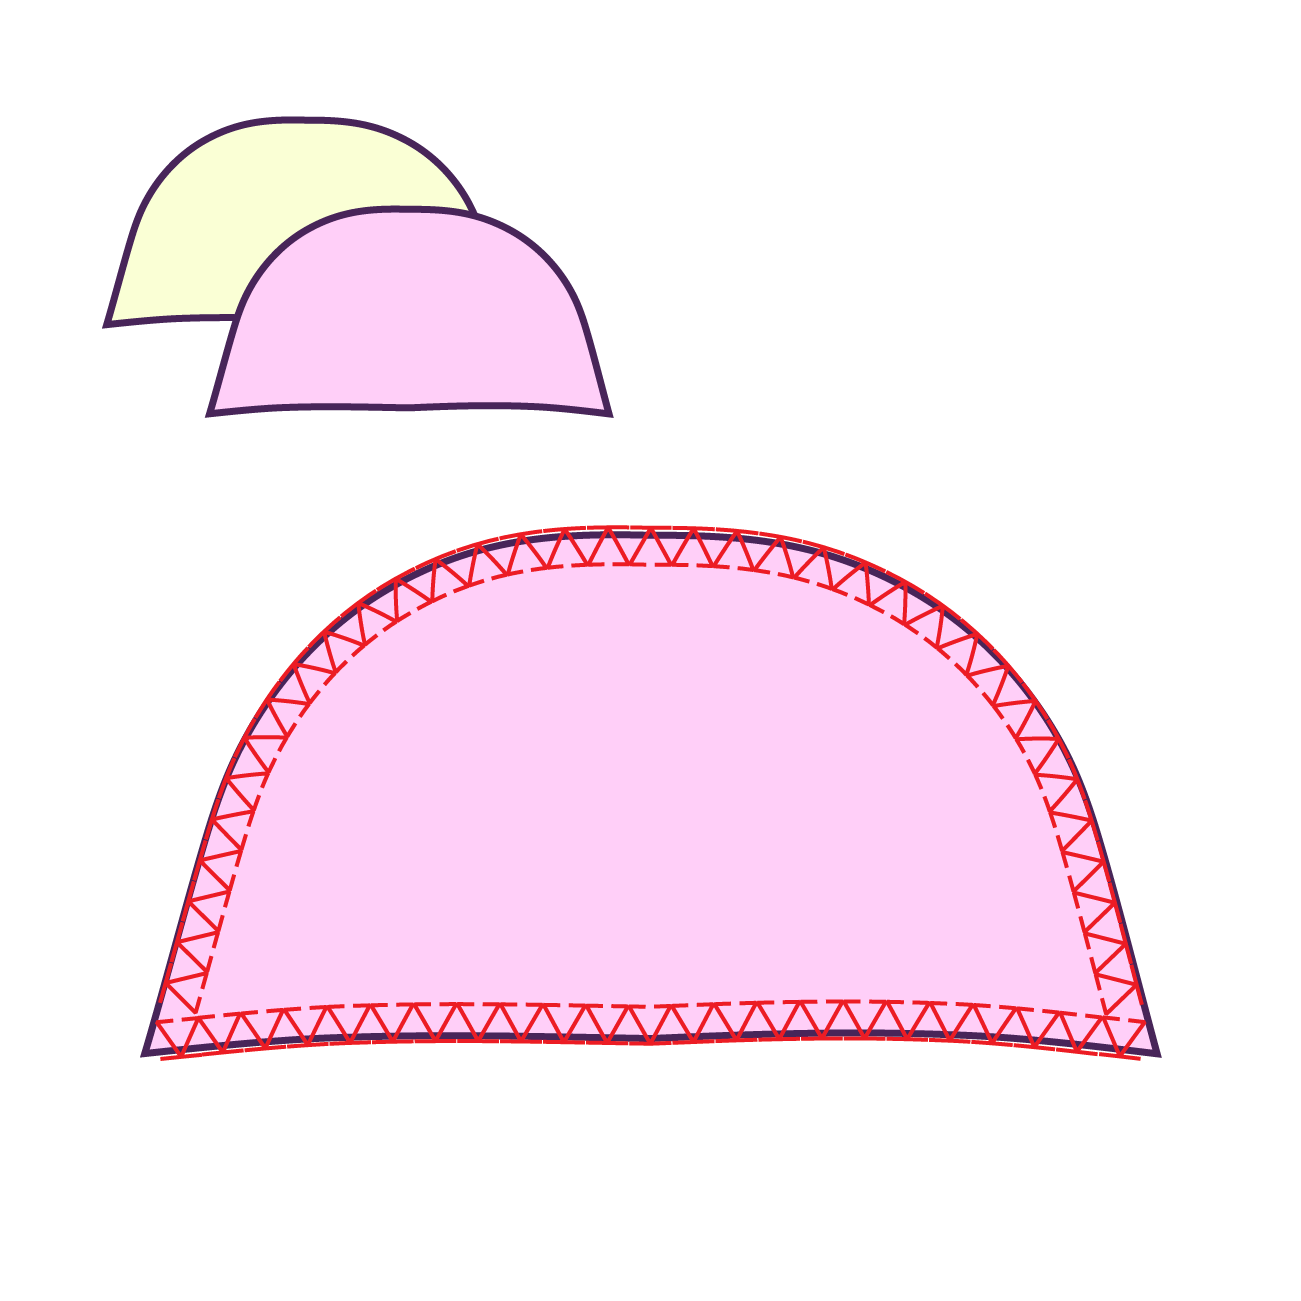
Purchase premade shoulder pads or create your own shoulder pads out of batting, bra foam or ultra firm interfacing.
If you choose to create your own, you need a minimum of 2 layers for a more pronounced shoulder. If you do add layers, the layers will need to be sewn together by sewing around all edges with a zig zag stitch.
STEP 8
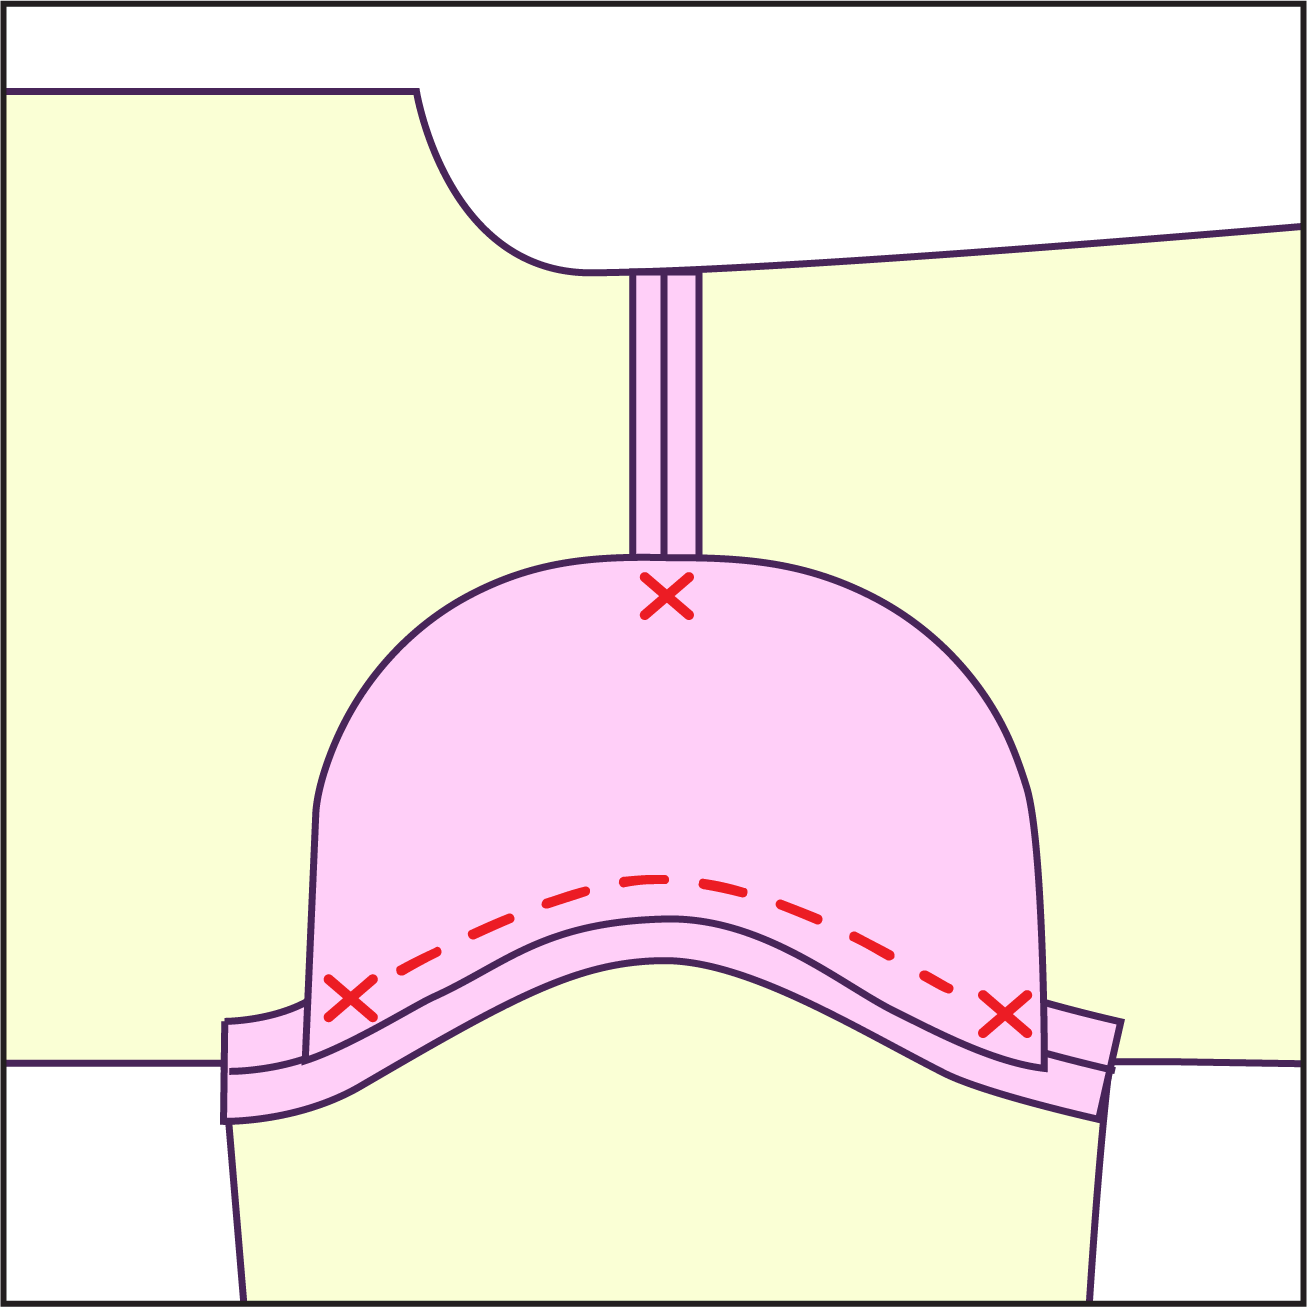
To attach the shoulder pads, flip the garment wrong side out. Press open the shoulder and sleeve seams. The shoulder pads should be hand sewn and only attached to the seam allowance fabric.
Line up your shoulder pad to the edge of the armhole. Sew an X along the center front curve of the shoulder pad on the shoulder seam.
Then sew a running stitch along the flat edge around the sleeve seam and secure the ends closed. Repeat for the other shoulder.
STEP 9
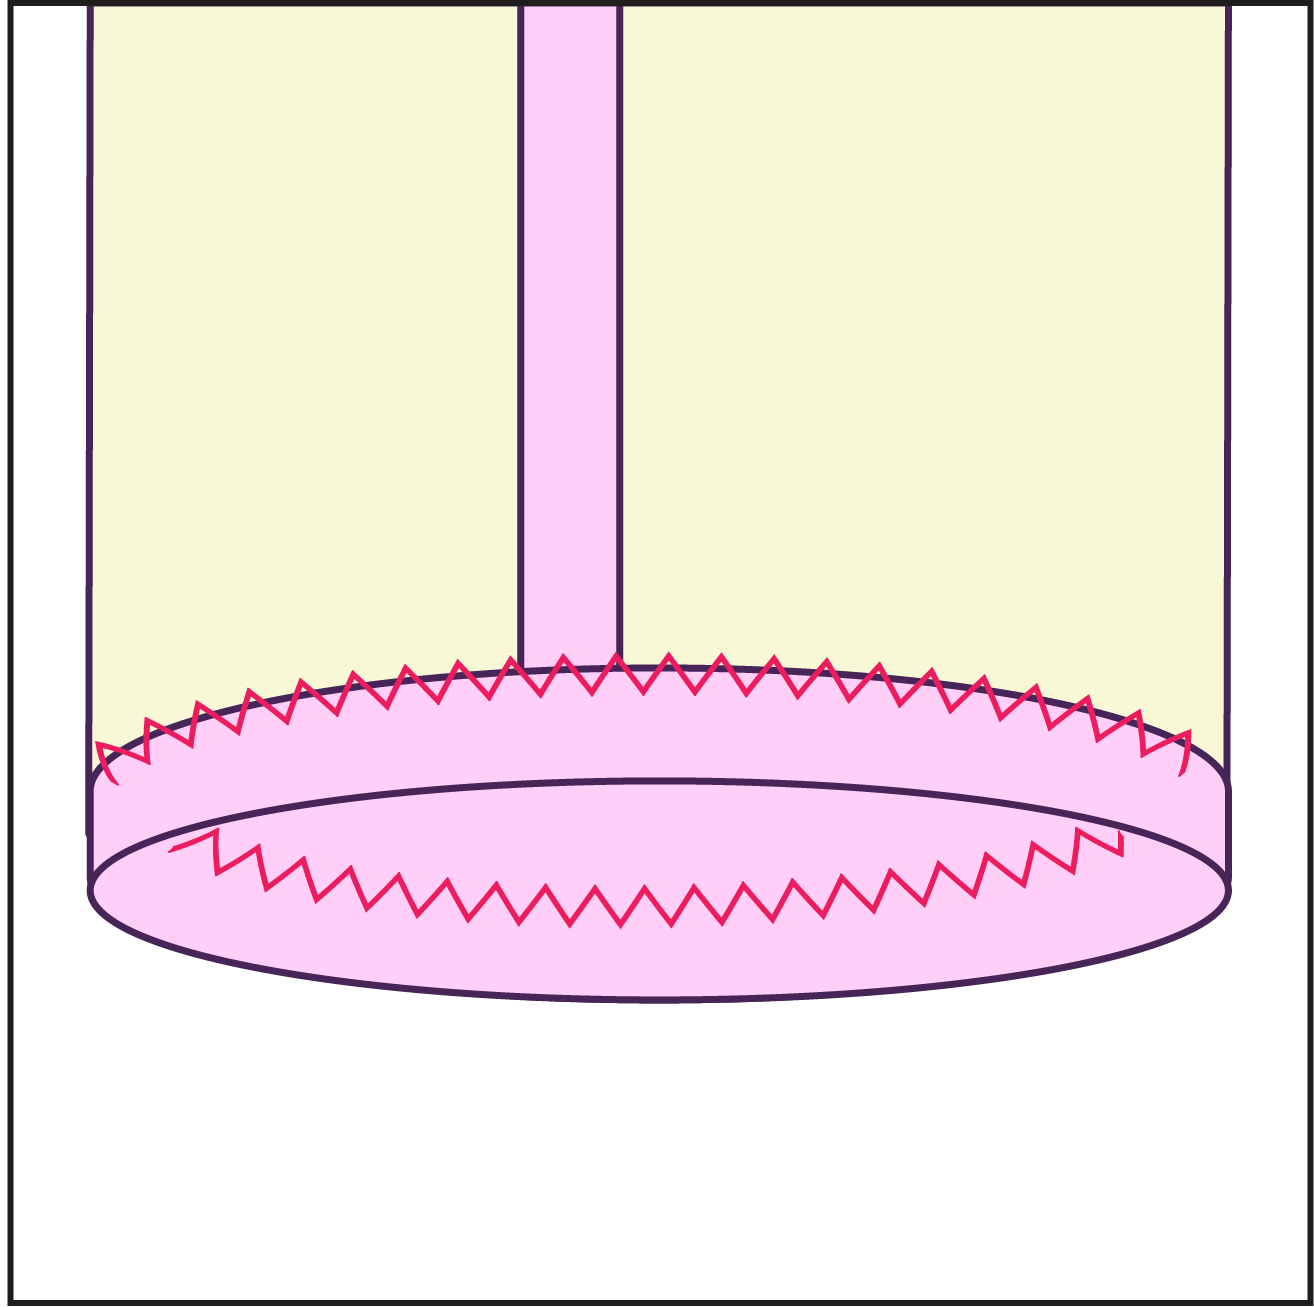
Gather the hood shell piece. Fold horizontally along the center front, right sides facing each other. Then sew together along the curve for the back of head. Repeat for lining.
STEP 10
Repeat Step 9 for your lining hood piece. Gather your shell and lining hoods.
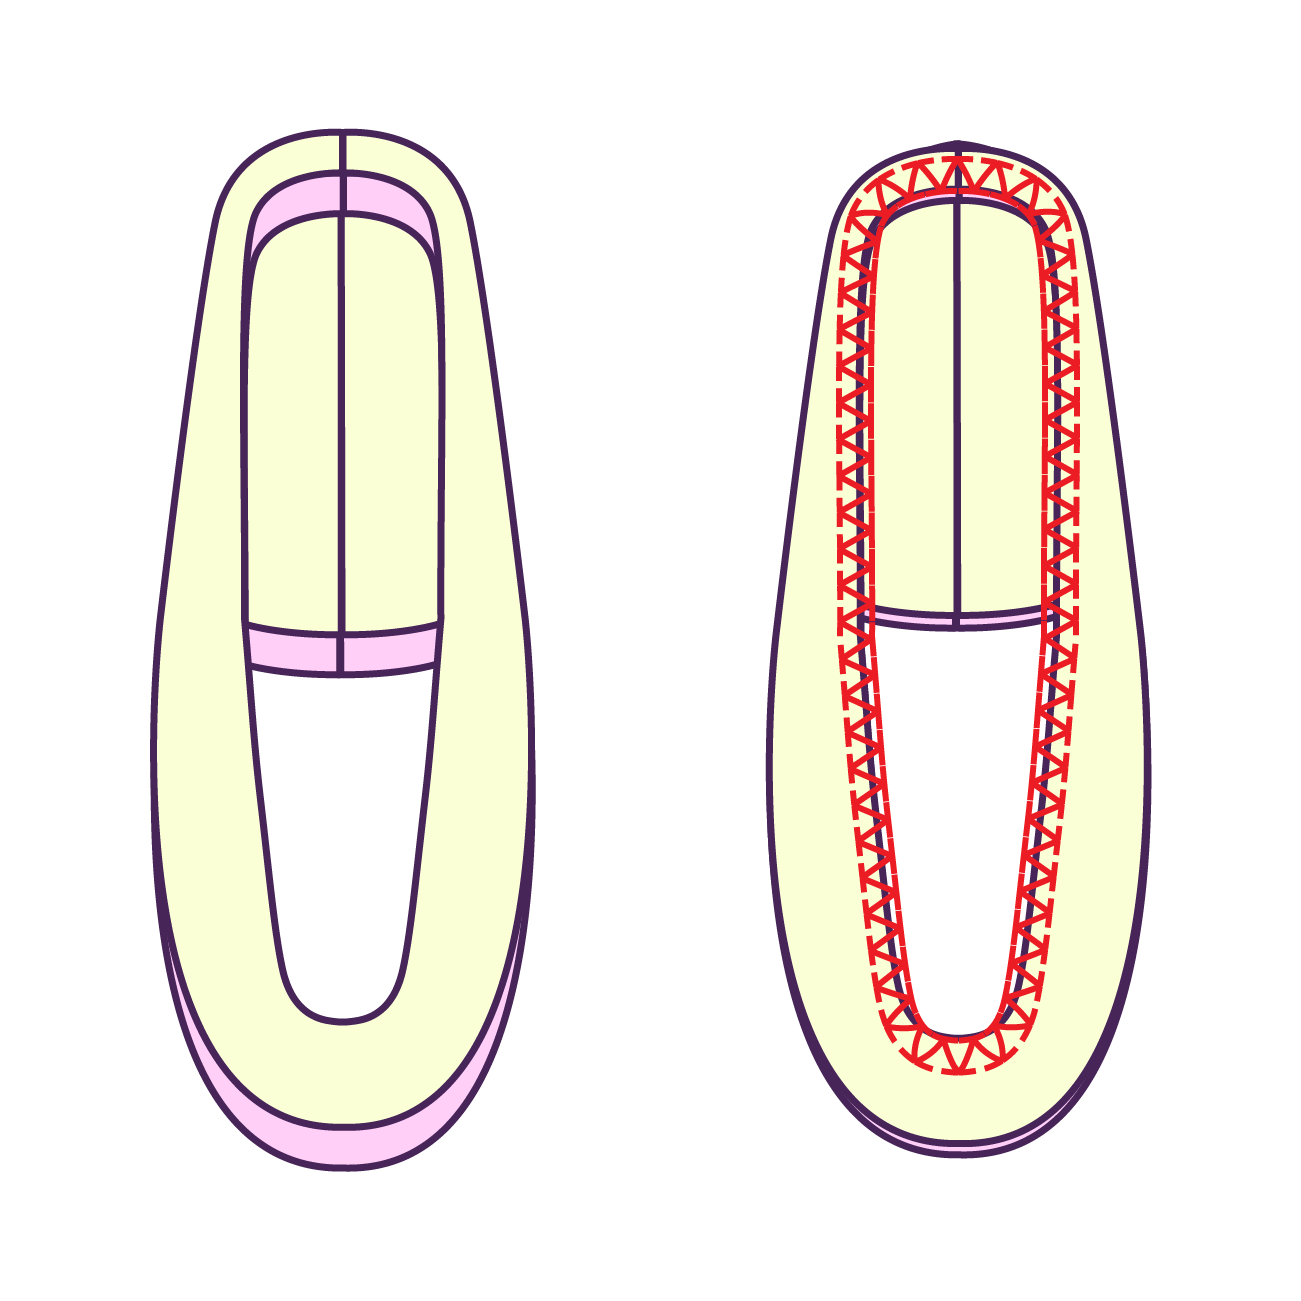
STEP 11
Stack the hood shell and lining together right sides facing each other, and sew around the face and neckline curve.
STEP 12
Flip the hood layers right side out. You can add pins along the un-sewn edge to keep layers aligned. Pin the hood around the neck line of the garment, right sides facing each other, with the back seam of the hood lined up with the center back seam of the collar. Then sew all around the front and back of the neckline. Lastly, flip the hood over, hiding the seams.
STEP 13
Hem the sleeves and the bottom of the dress using a zig zag stitch or fold over twice for a rolled hem effect with a stretch stitch.