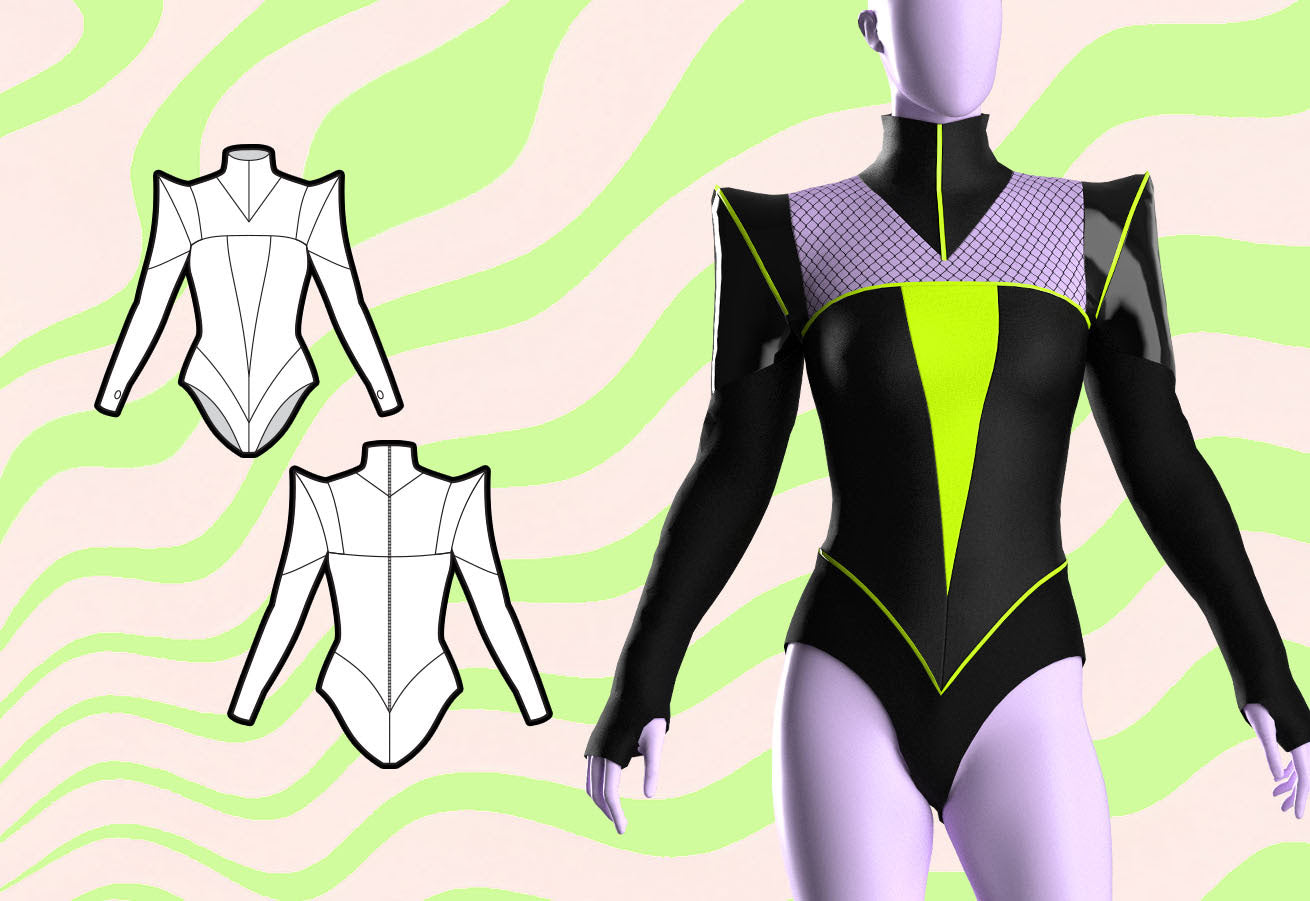
Cómo coser un maillot con corte cibernético
Saltar a instrucciones
Descripción general
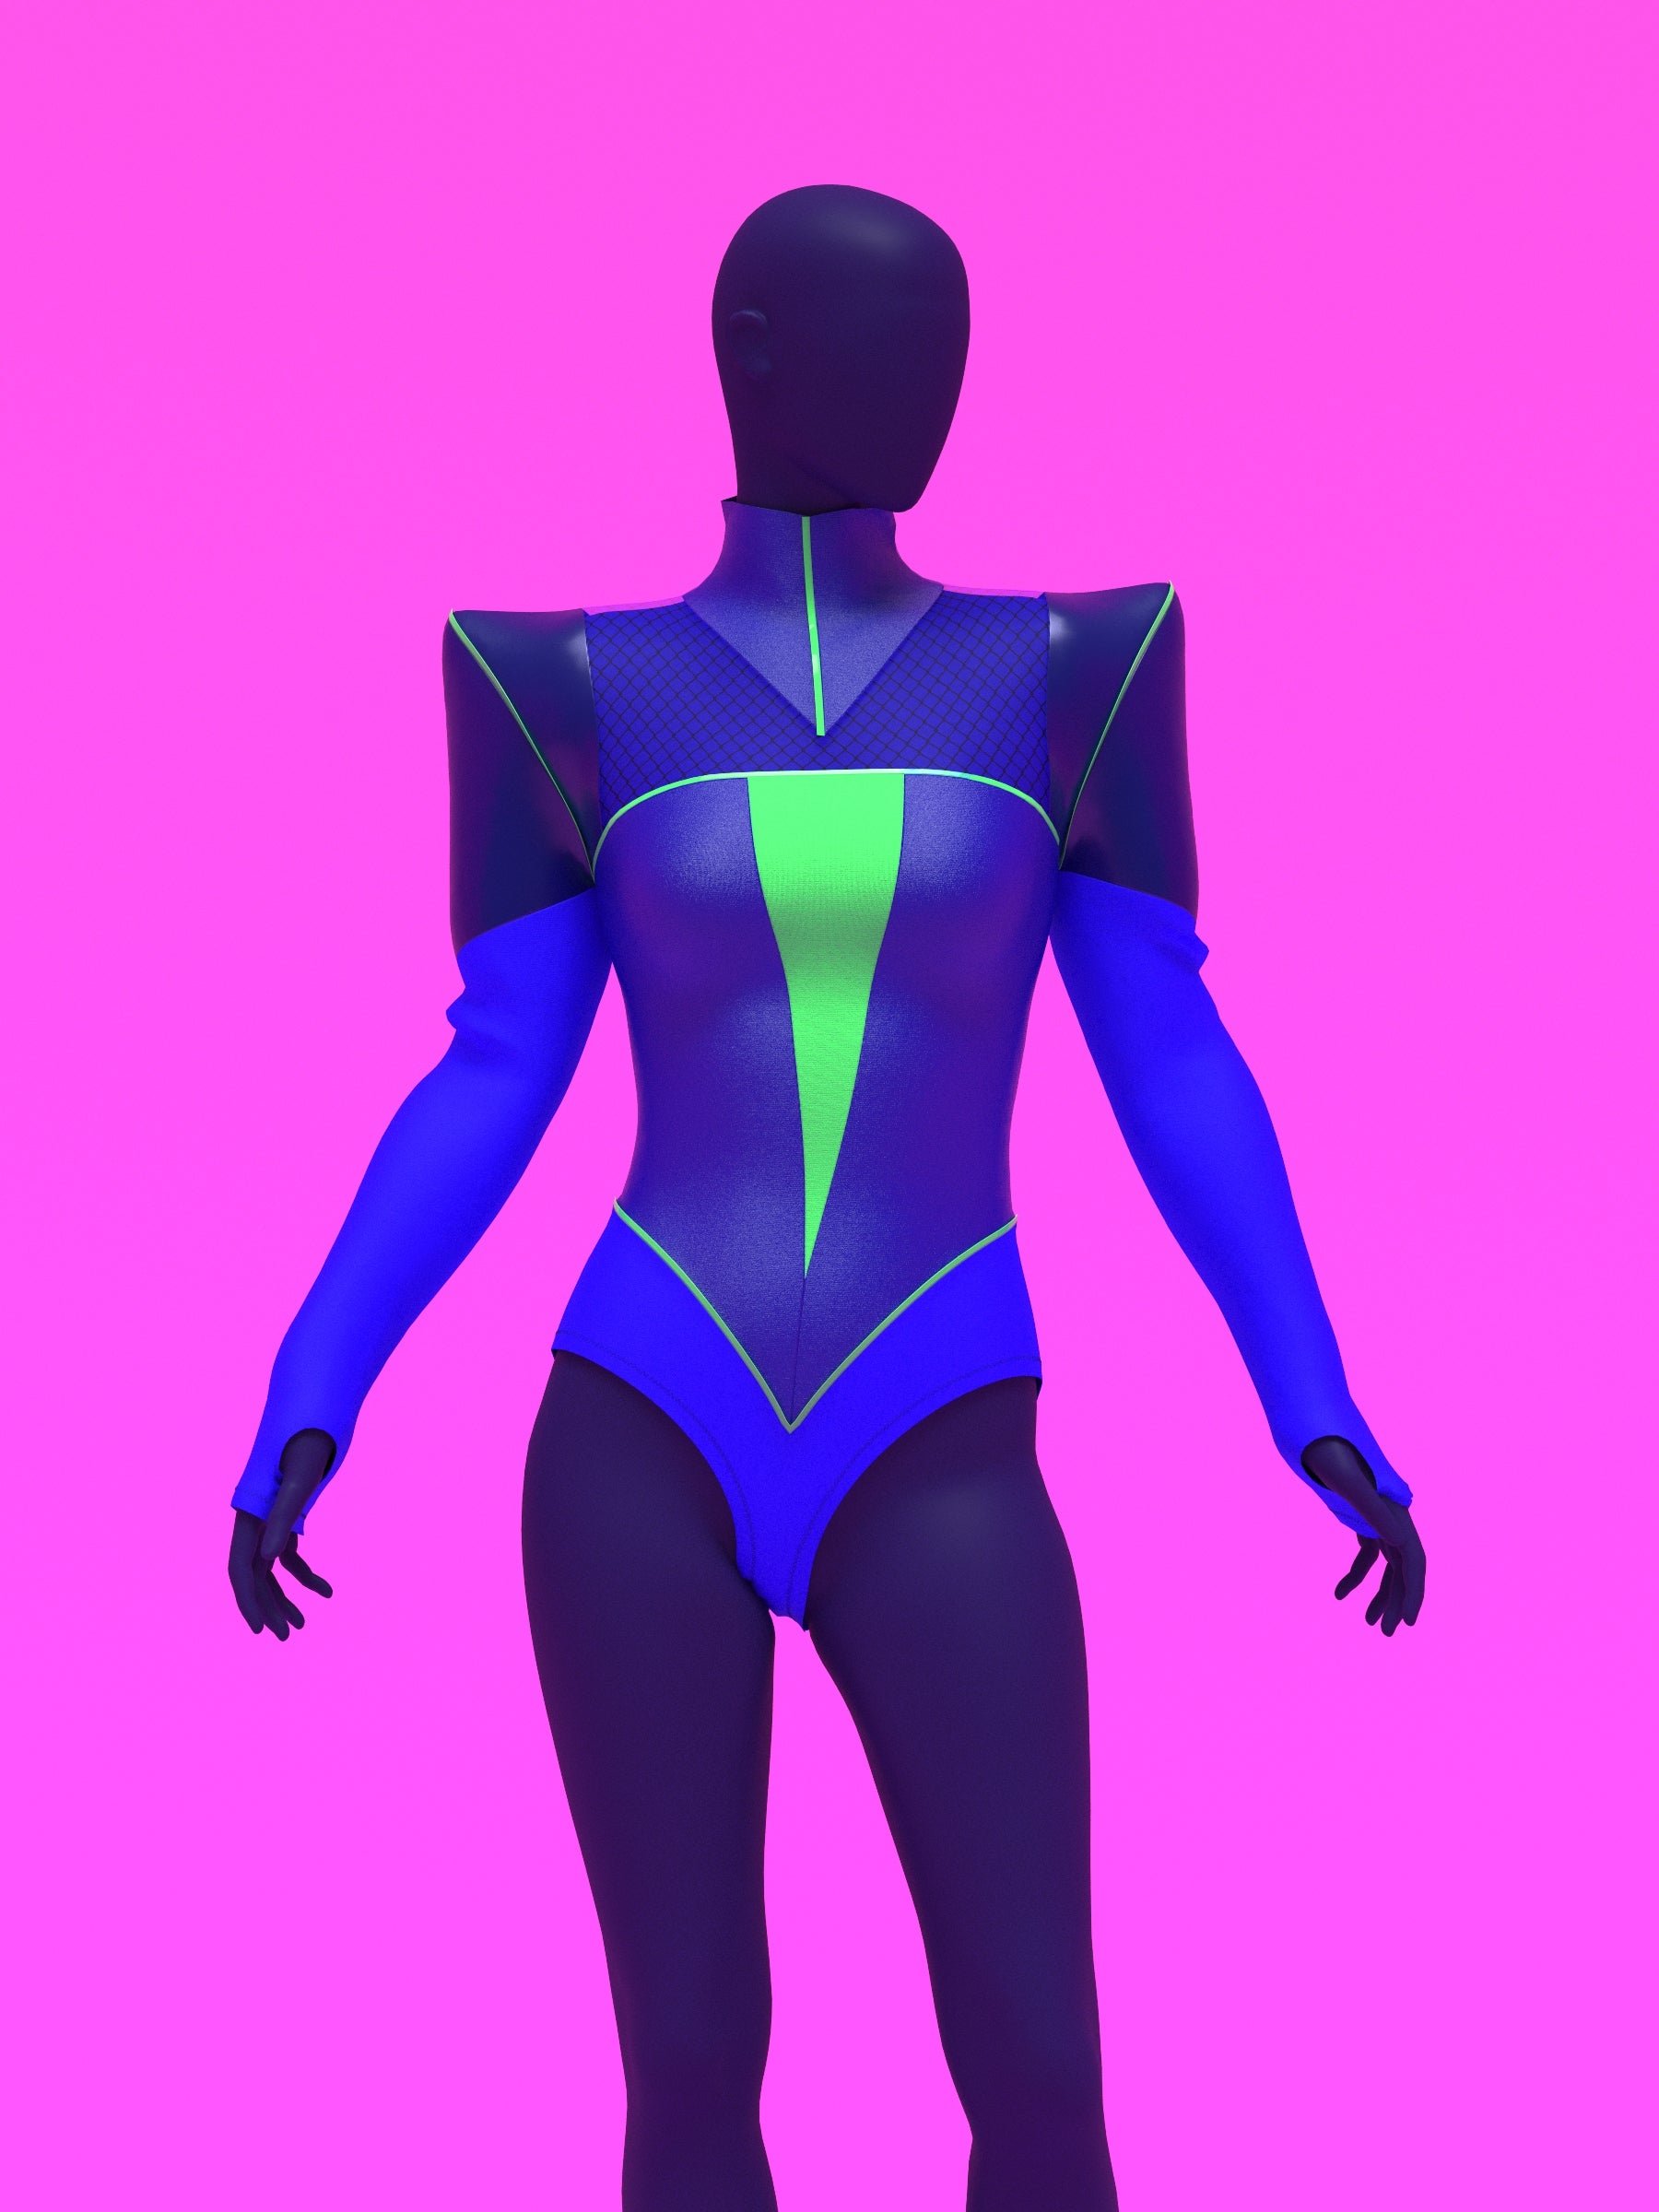
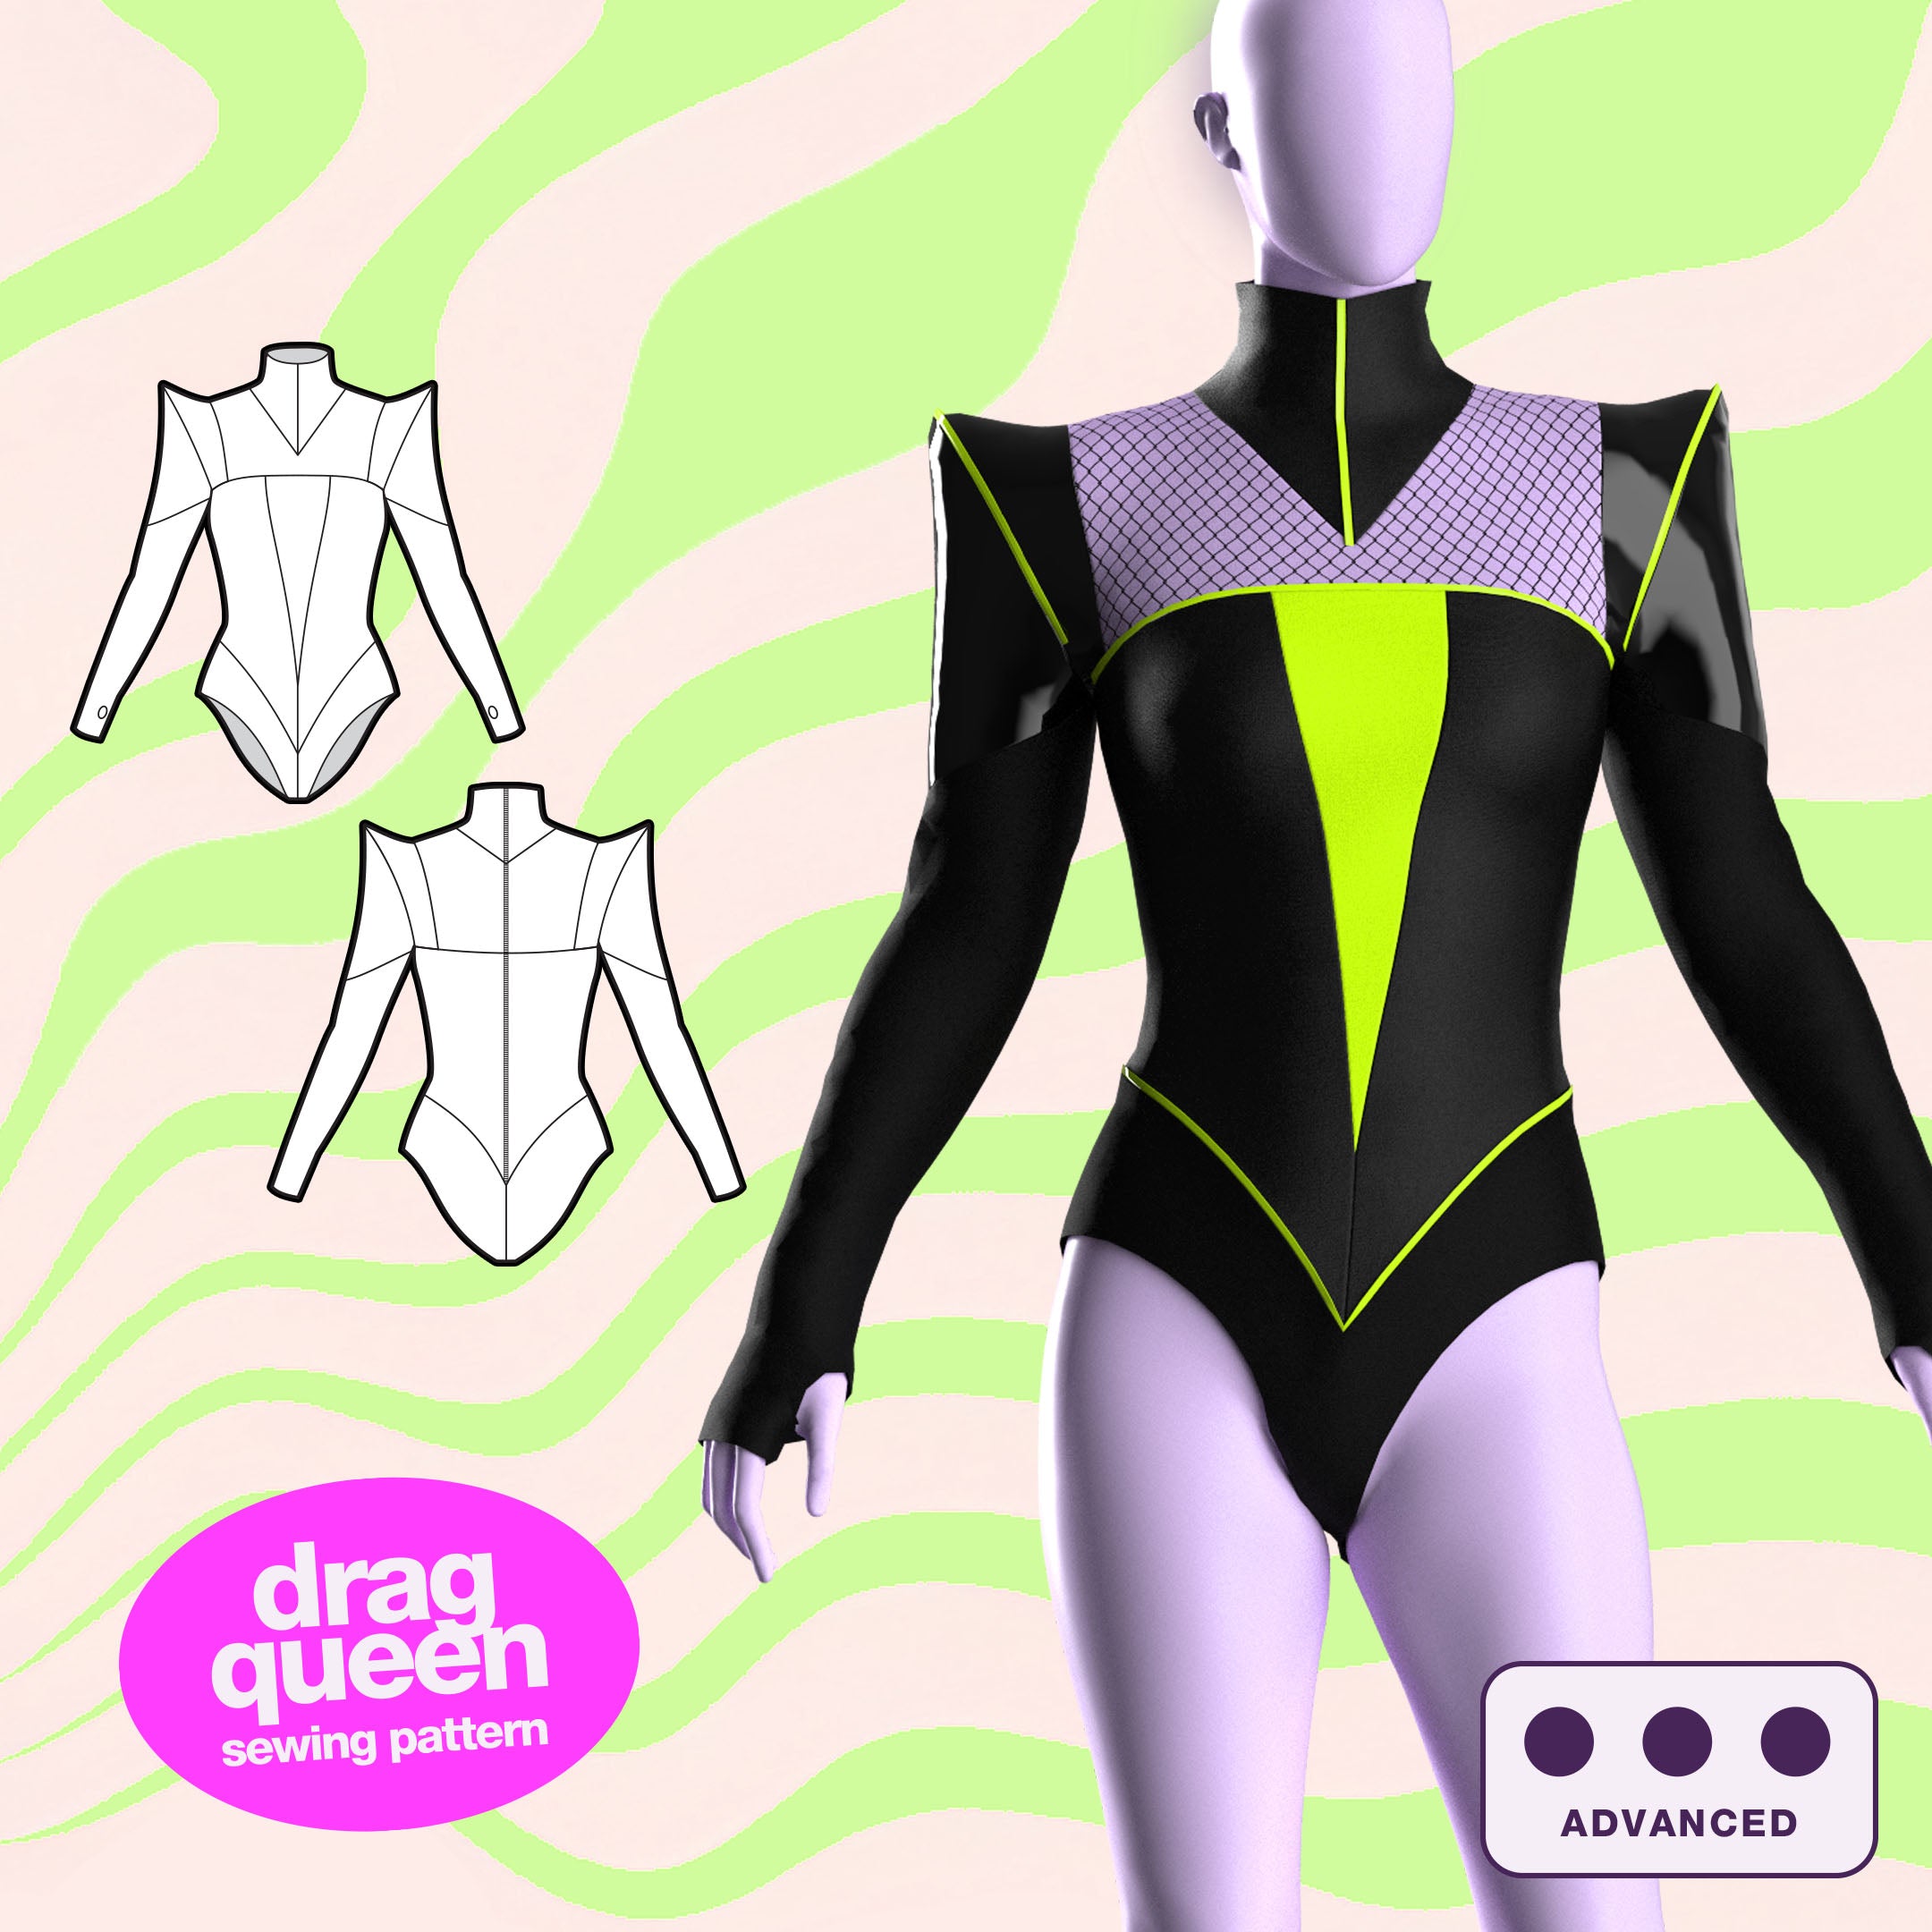
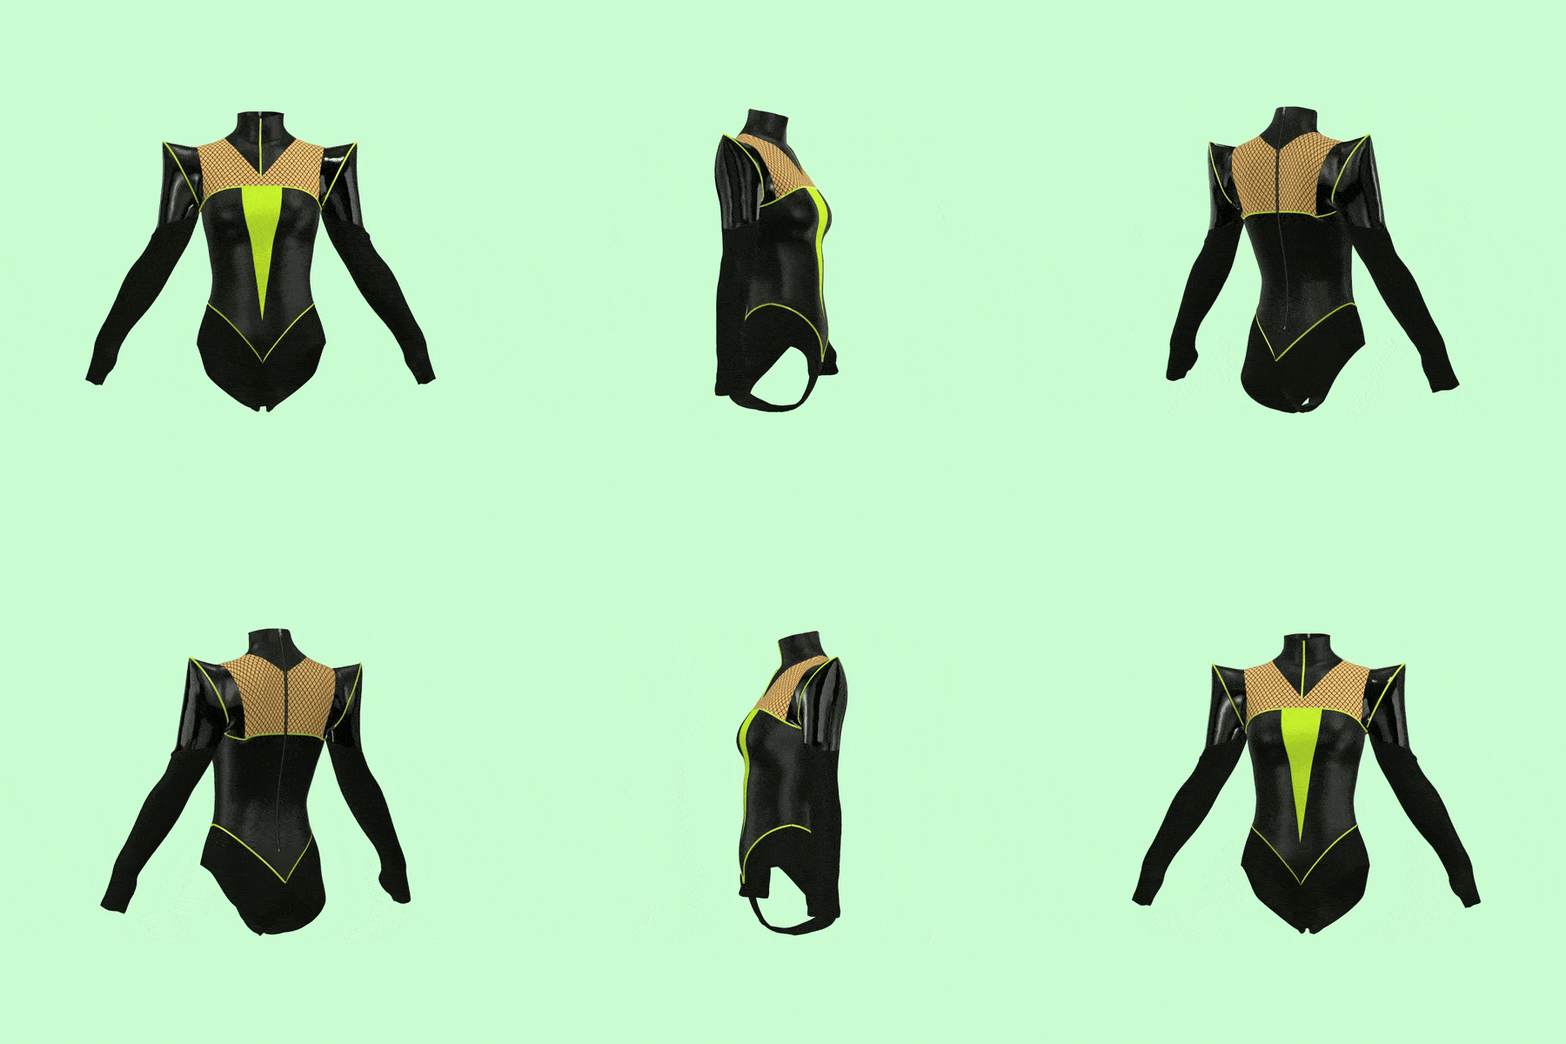
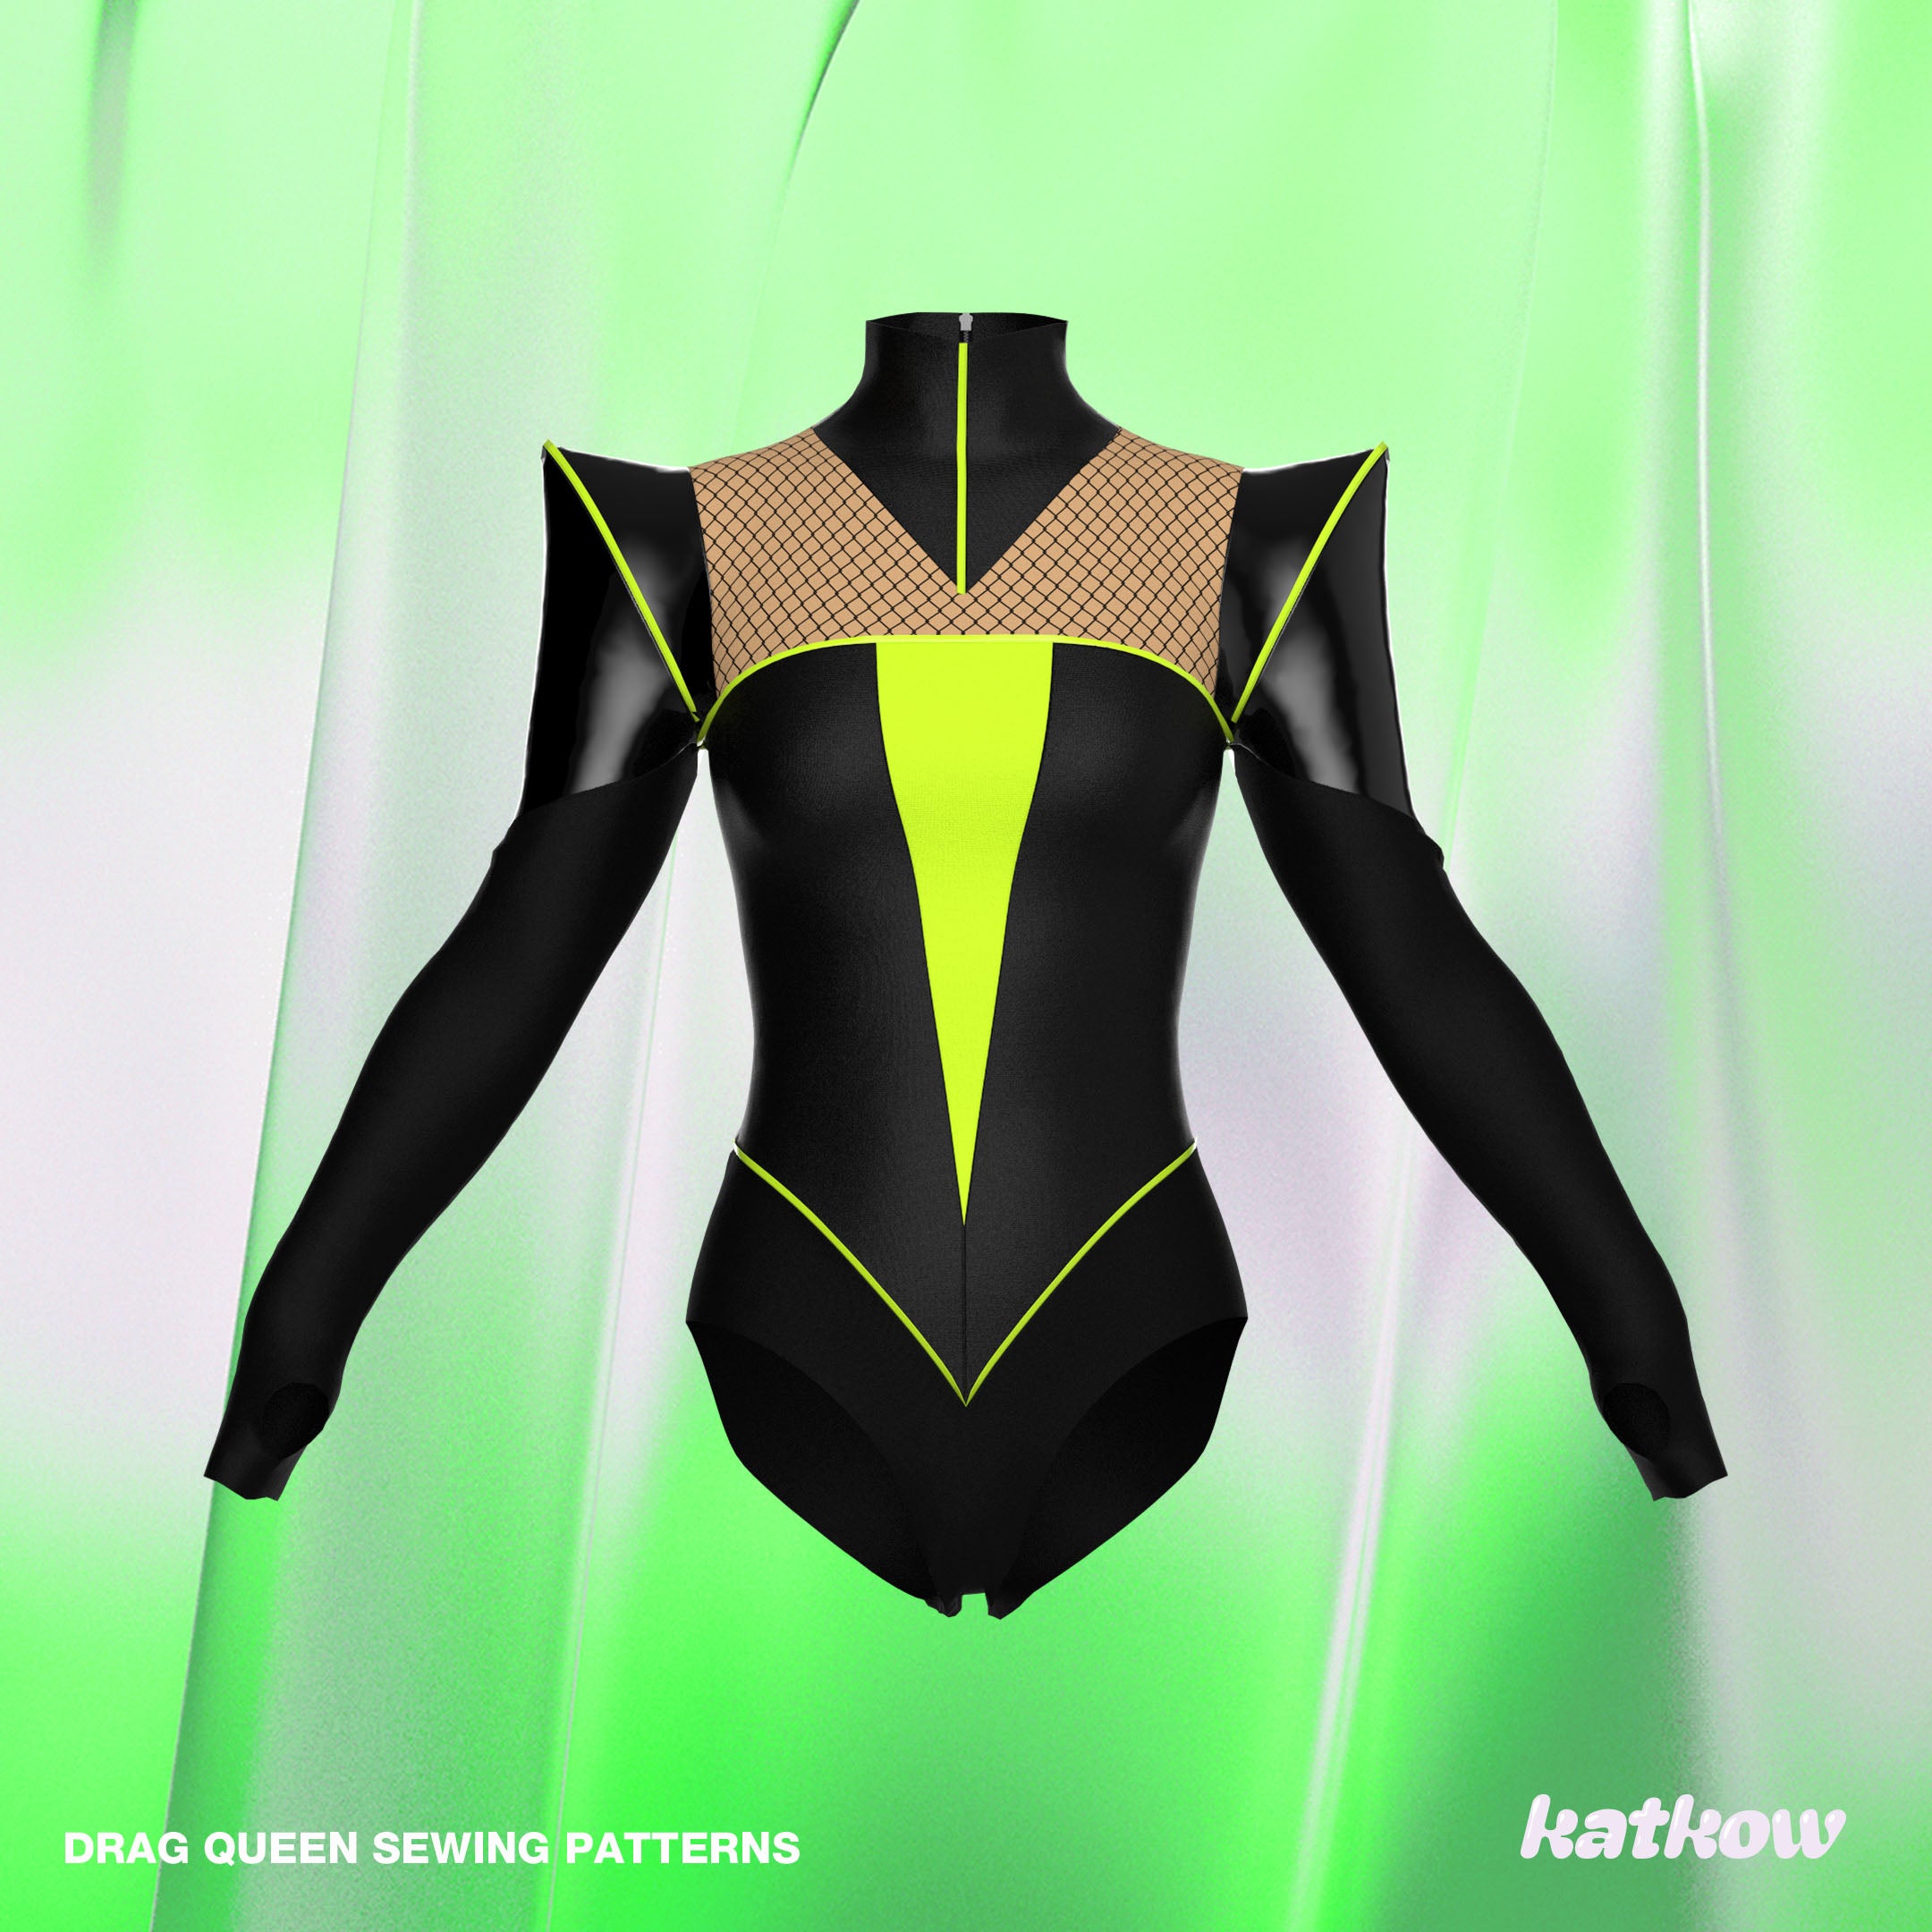
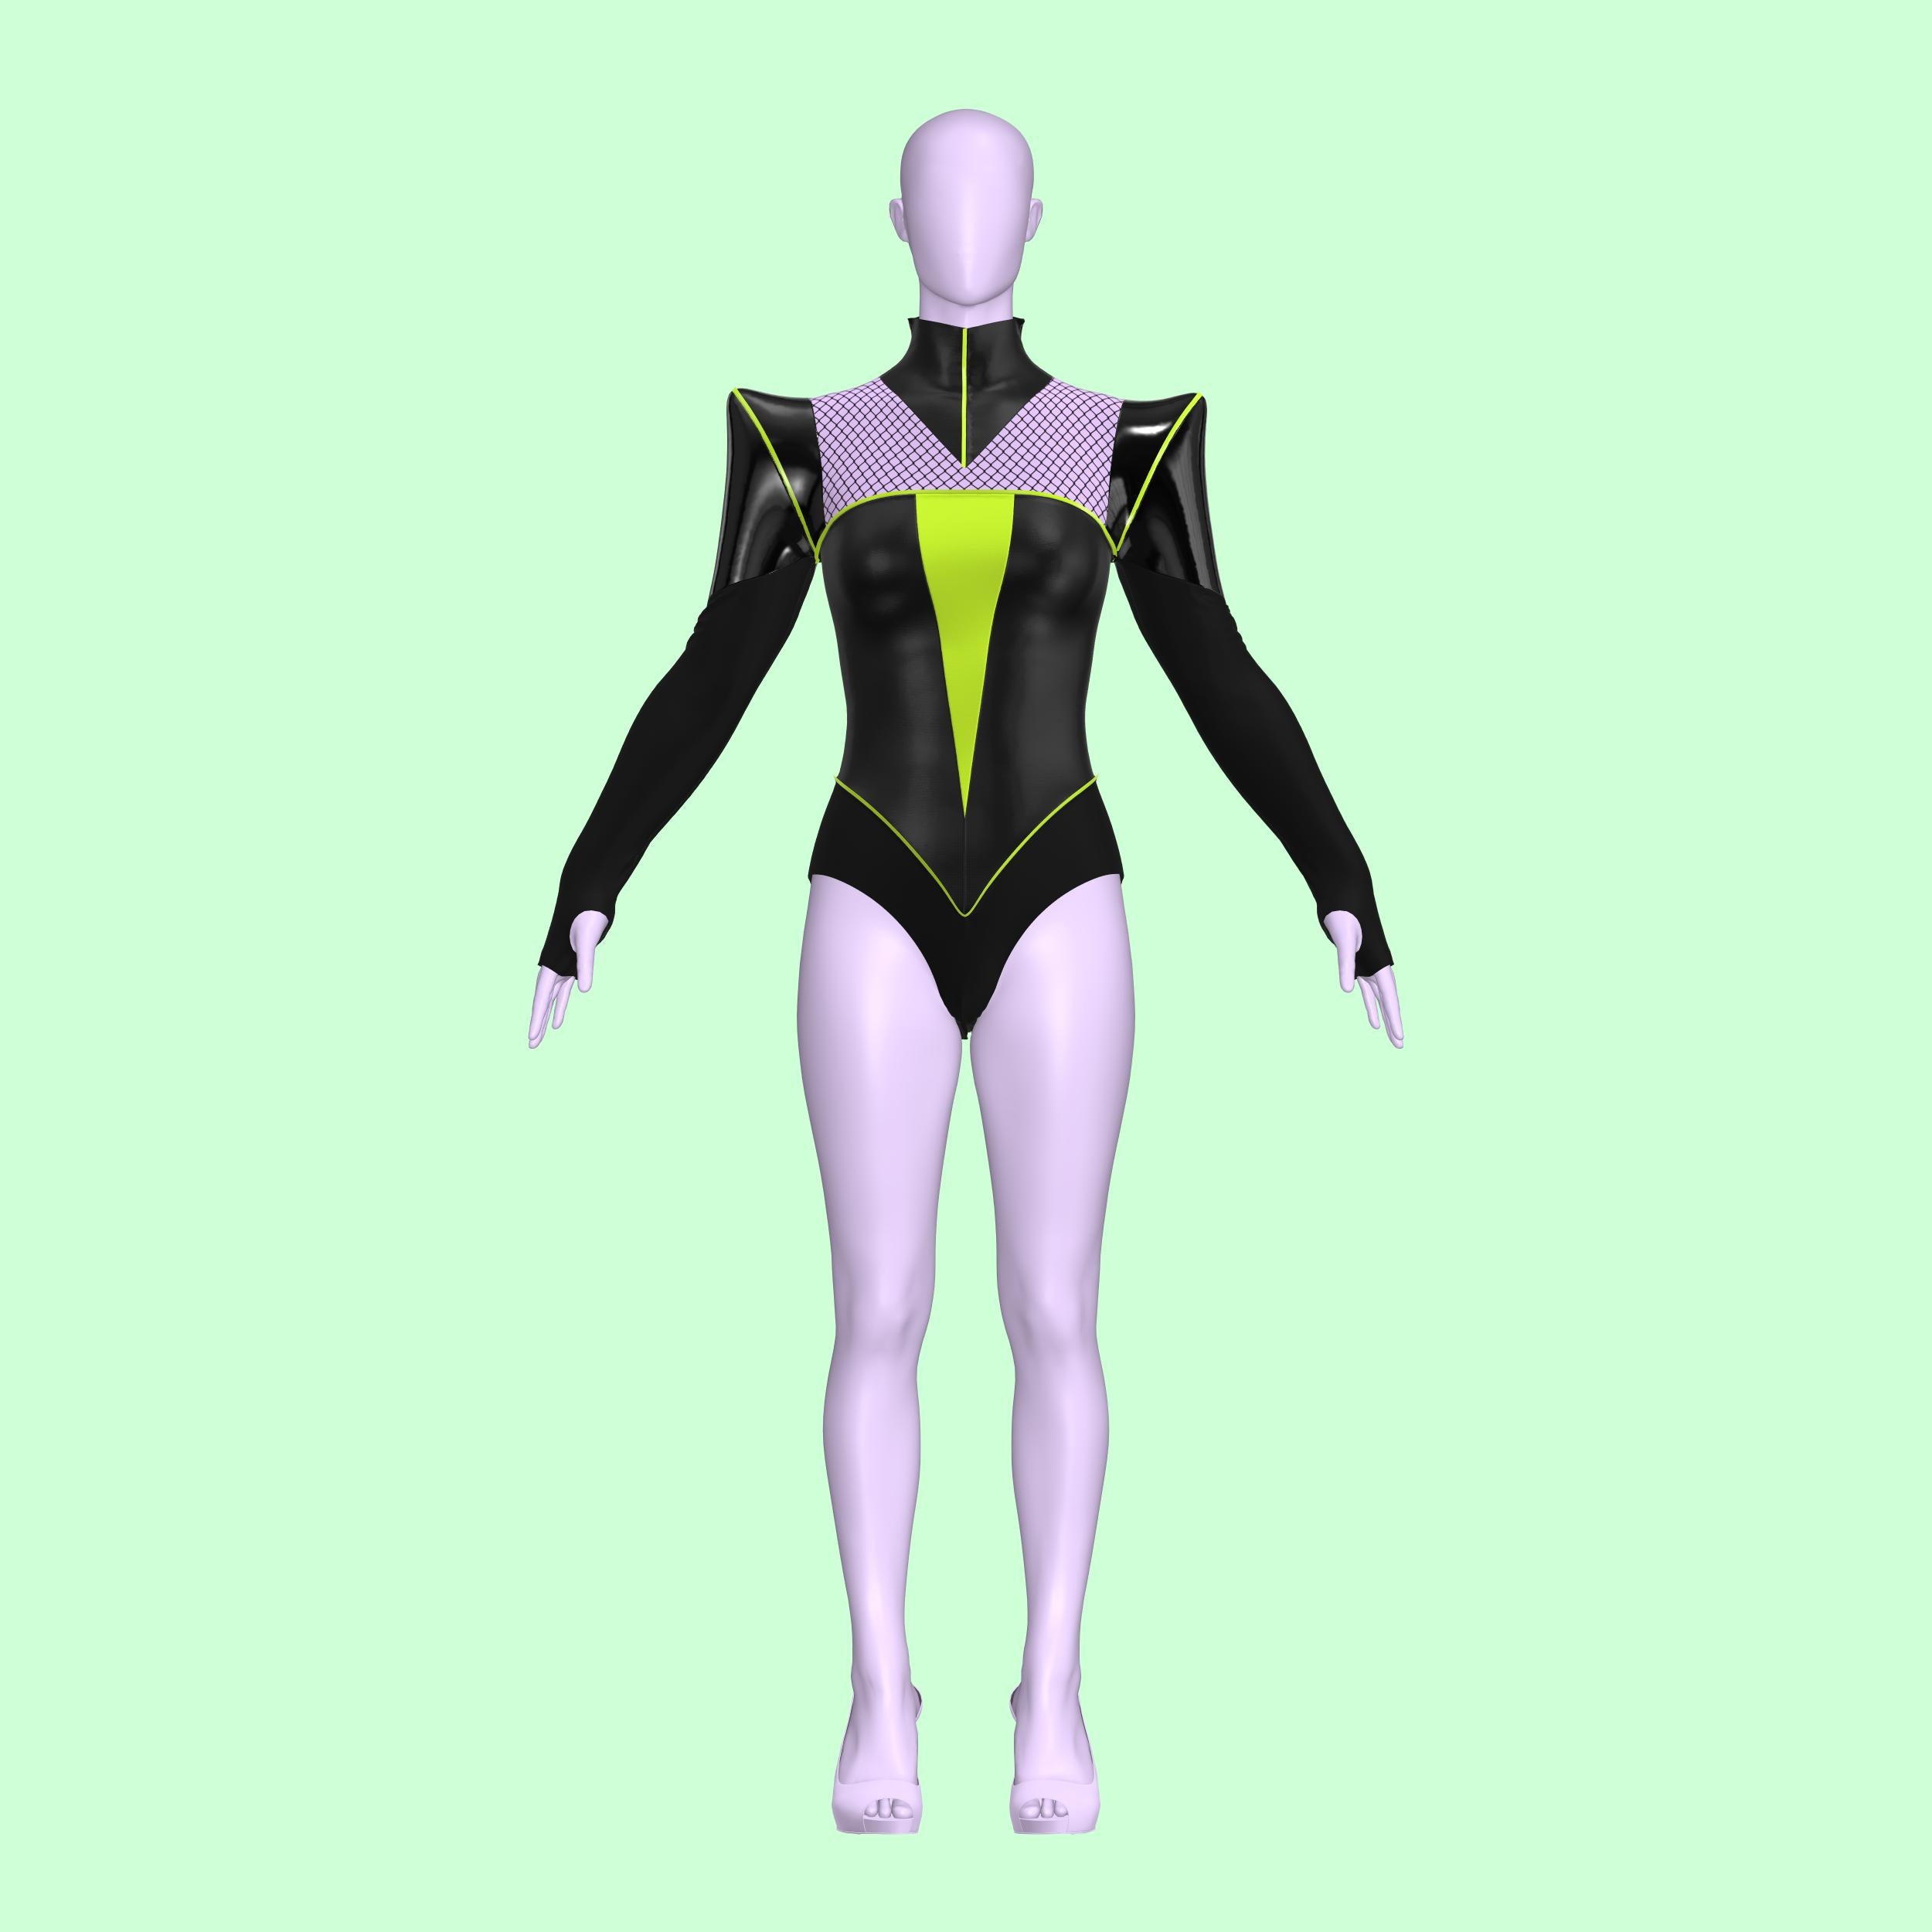
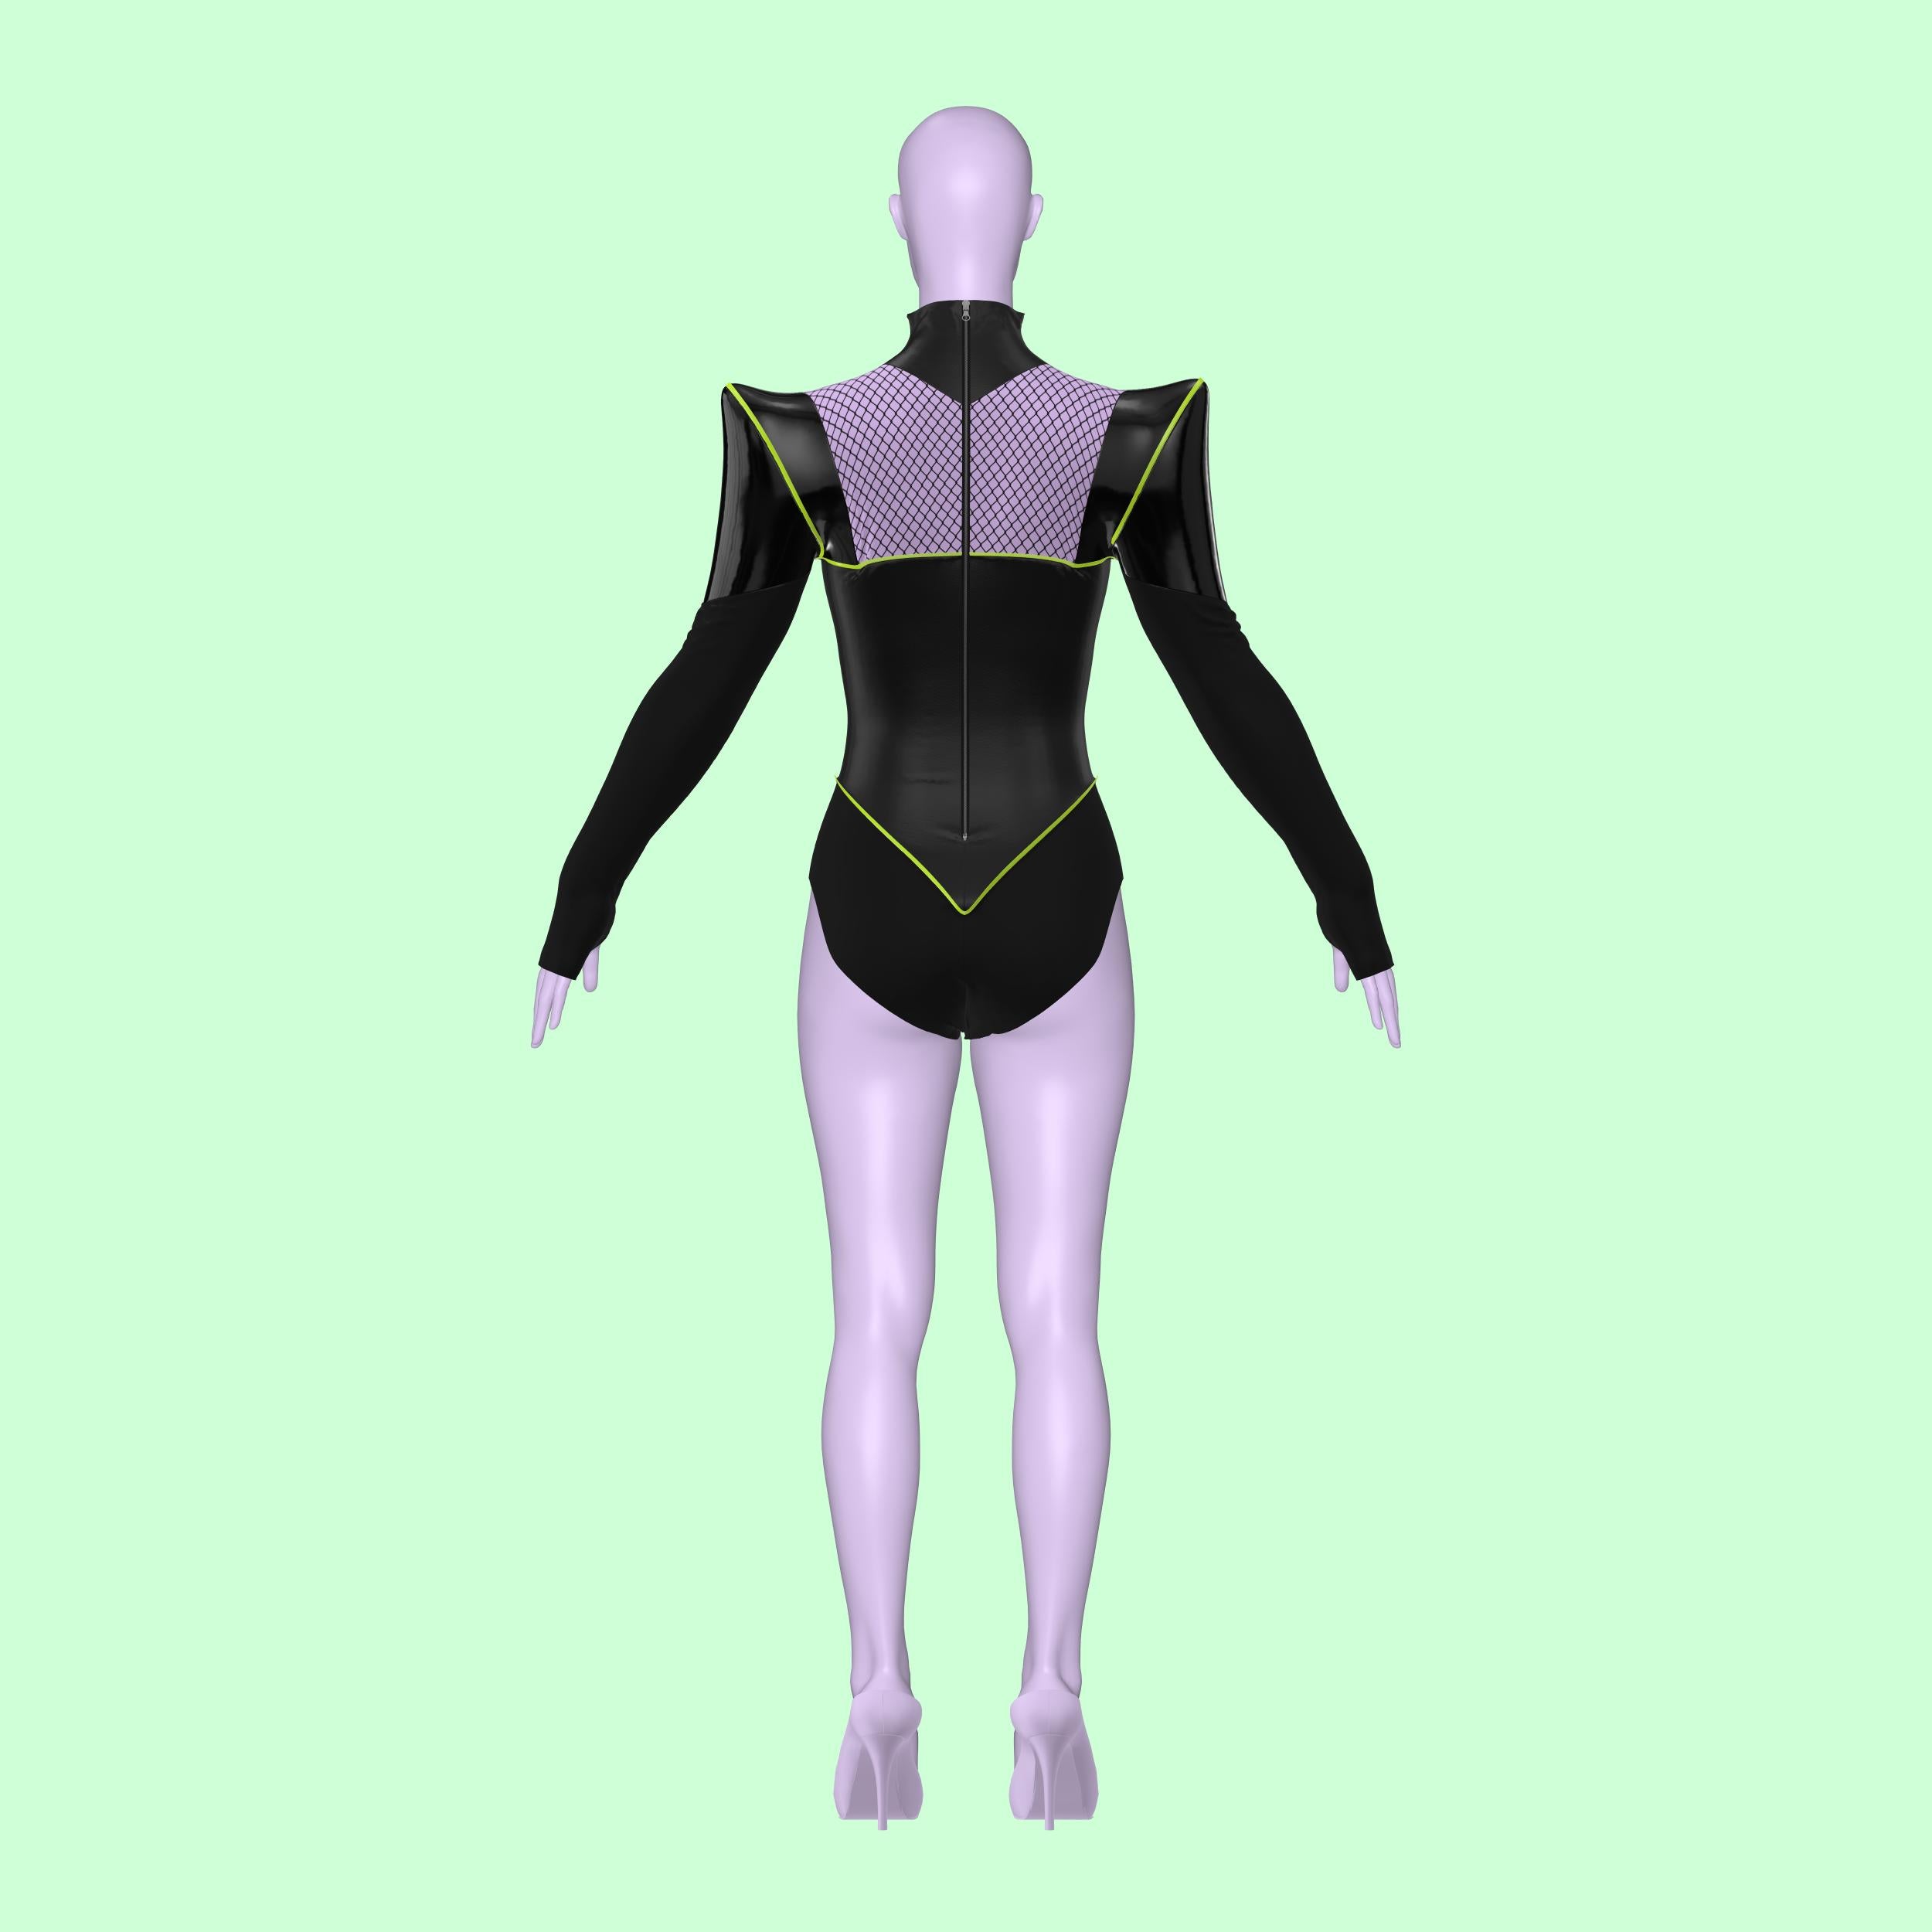
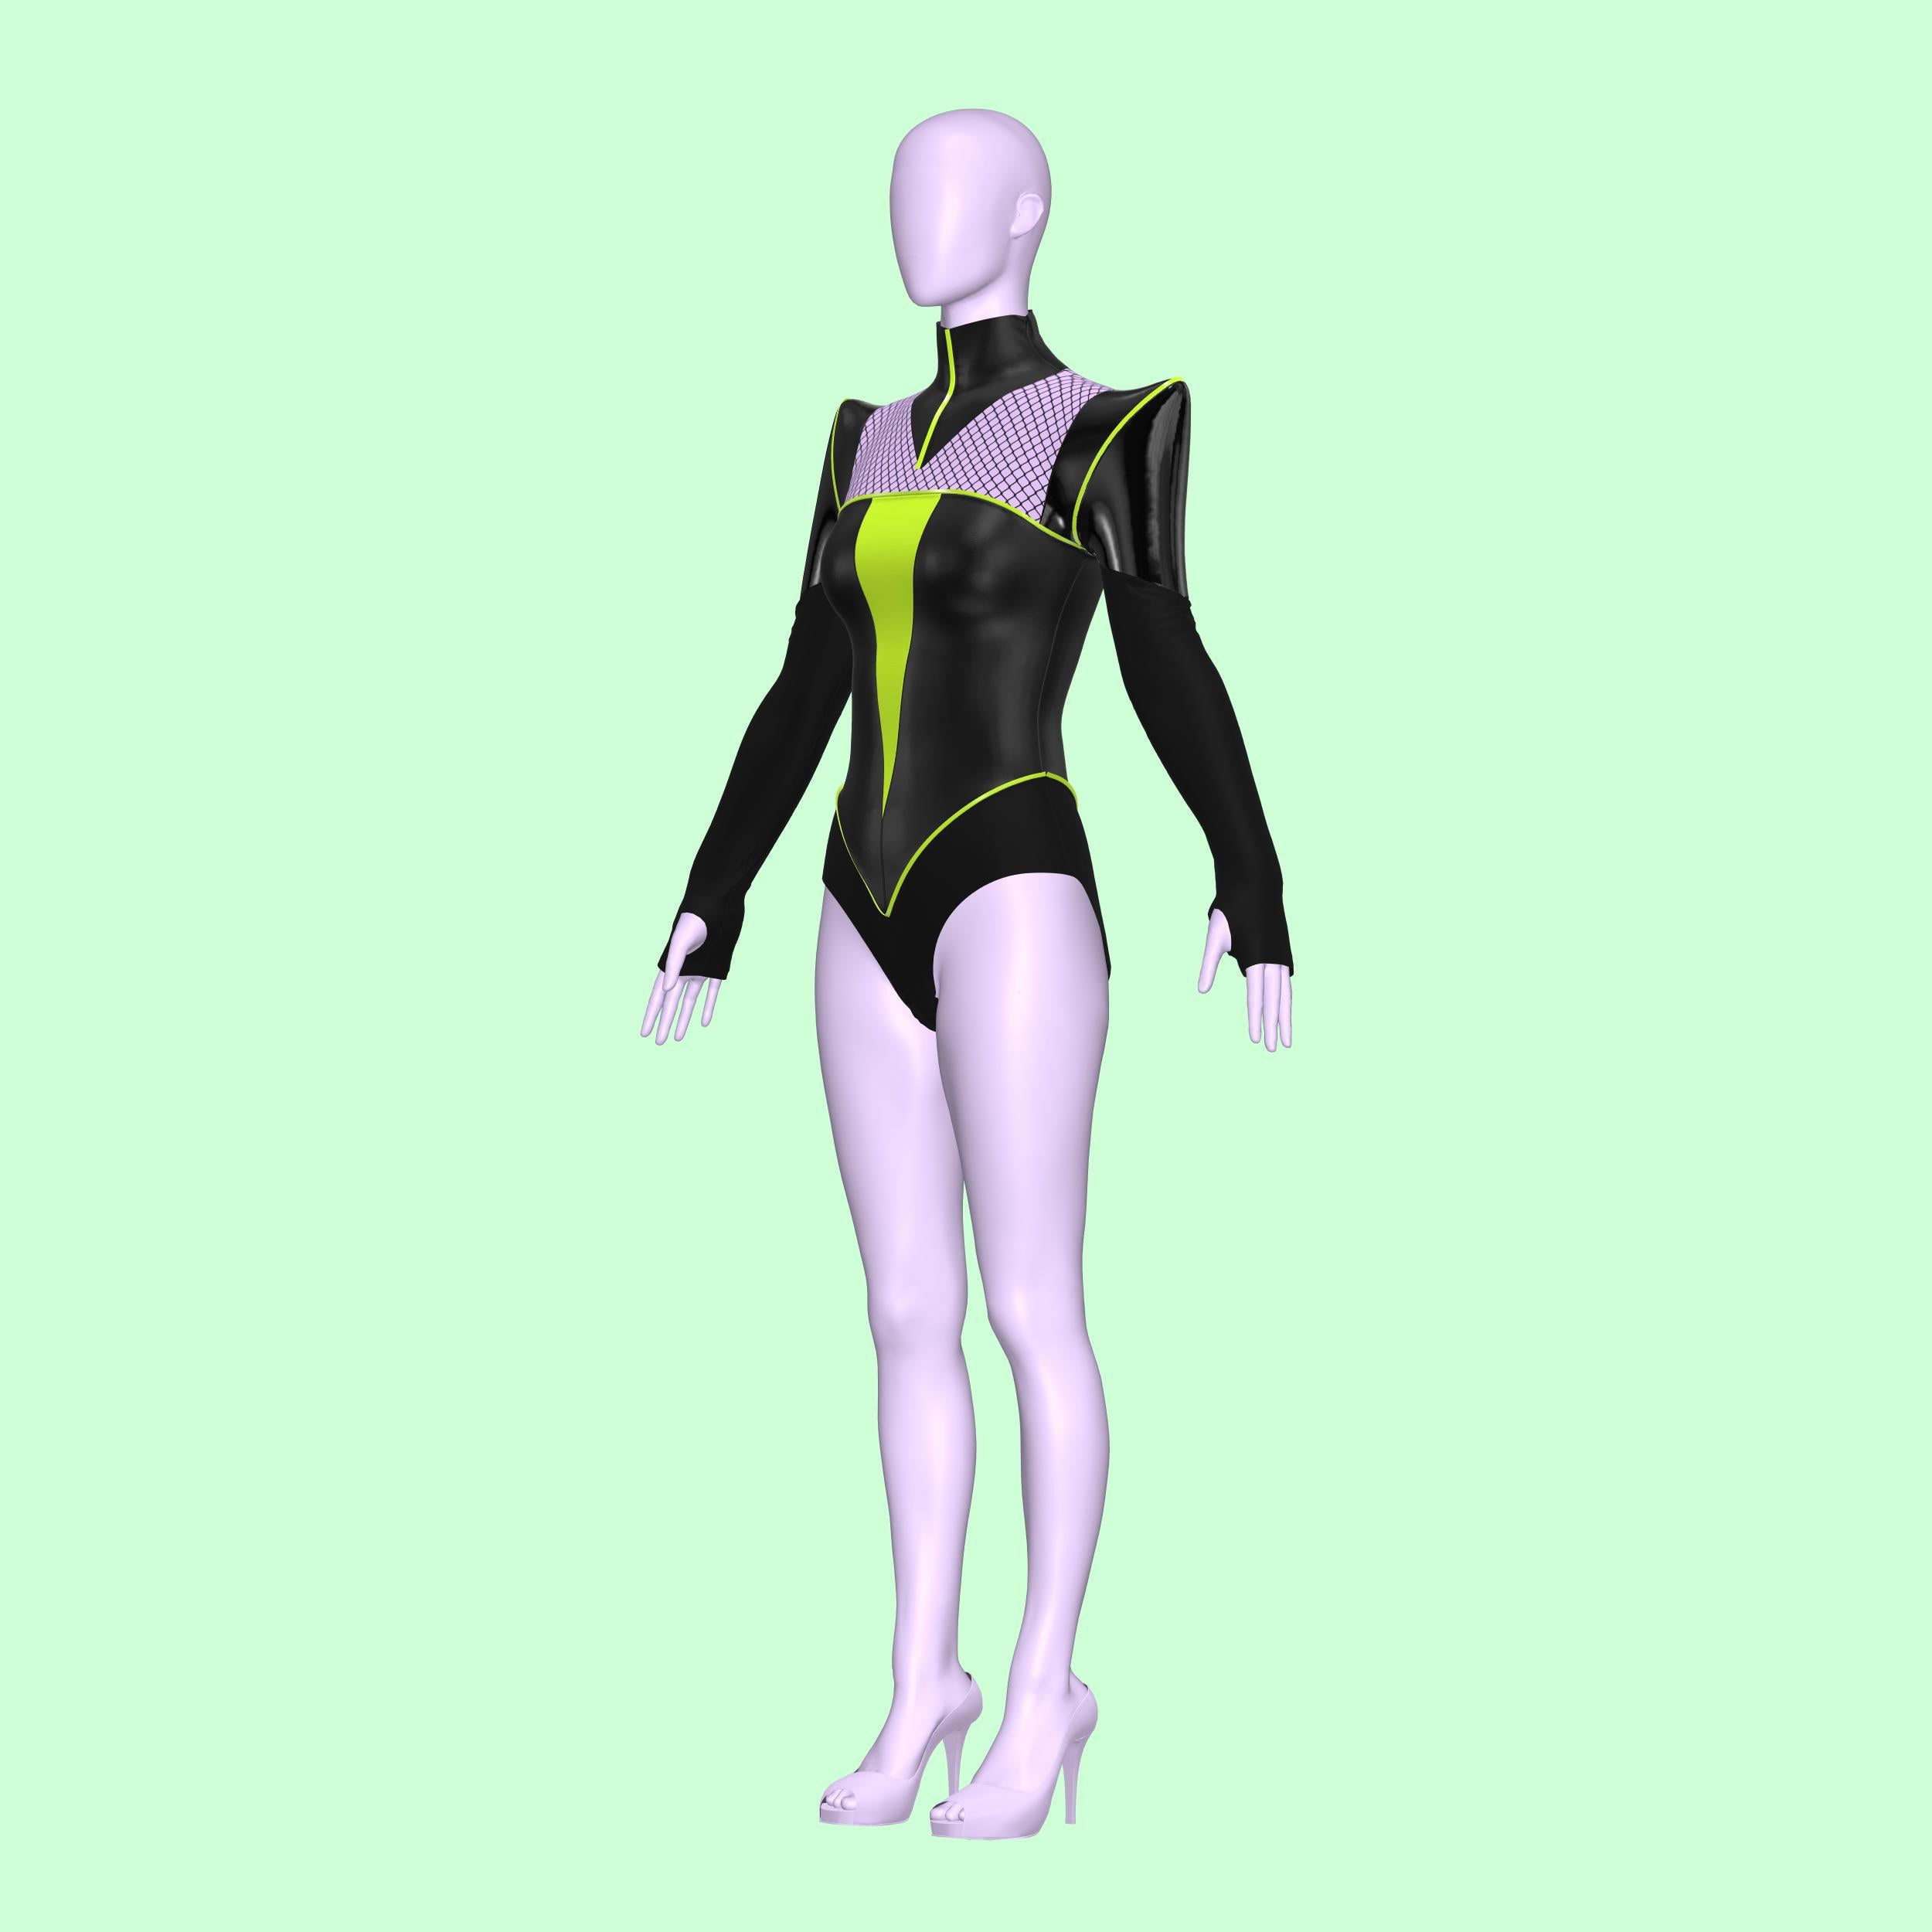
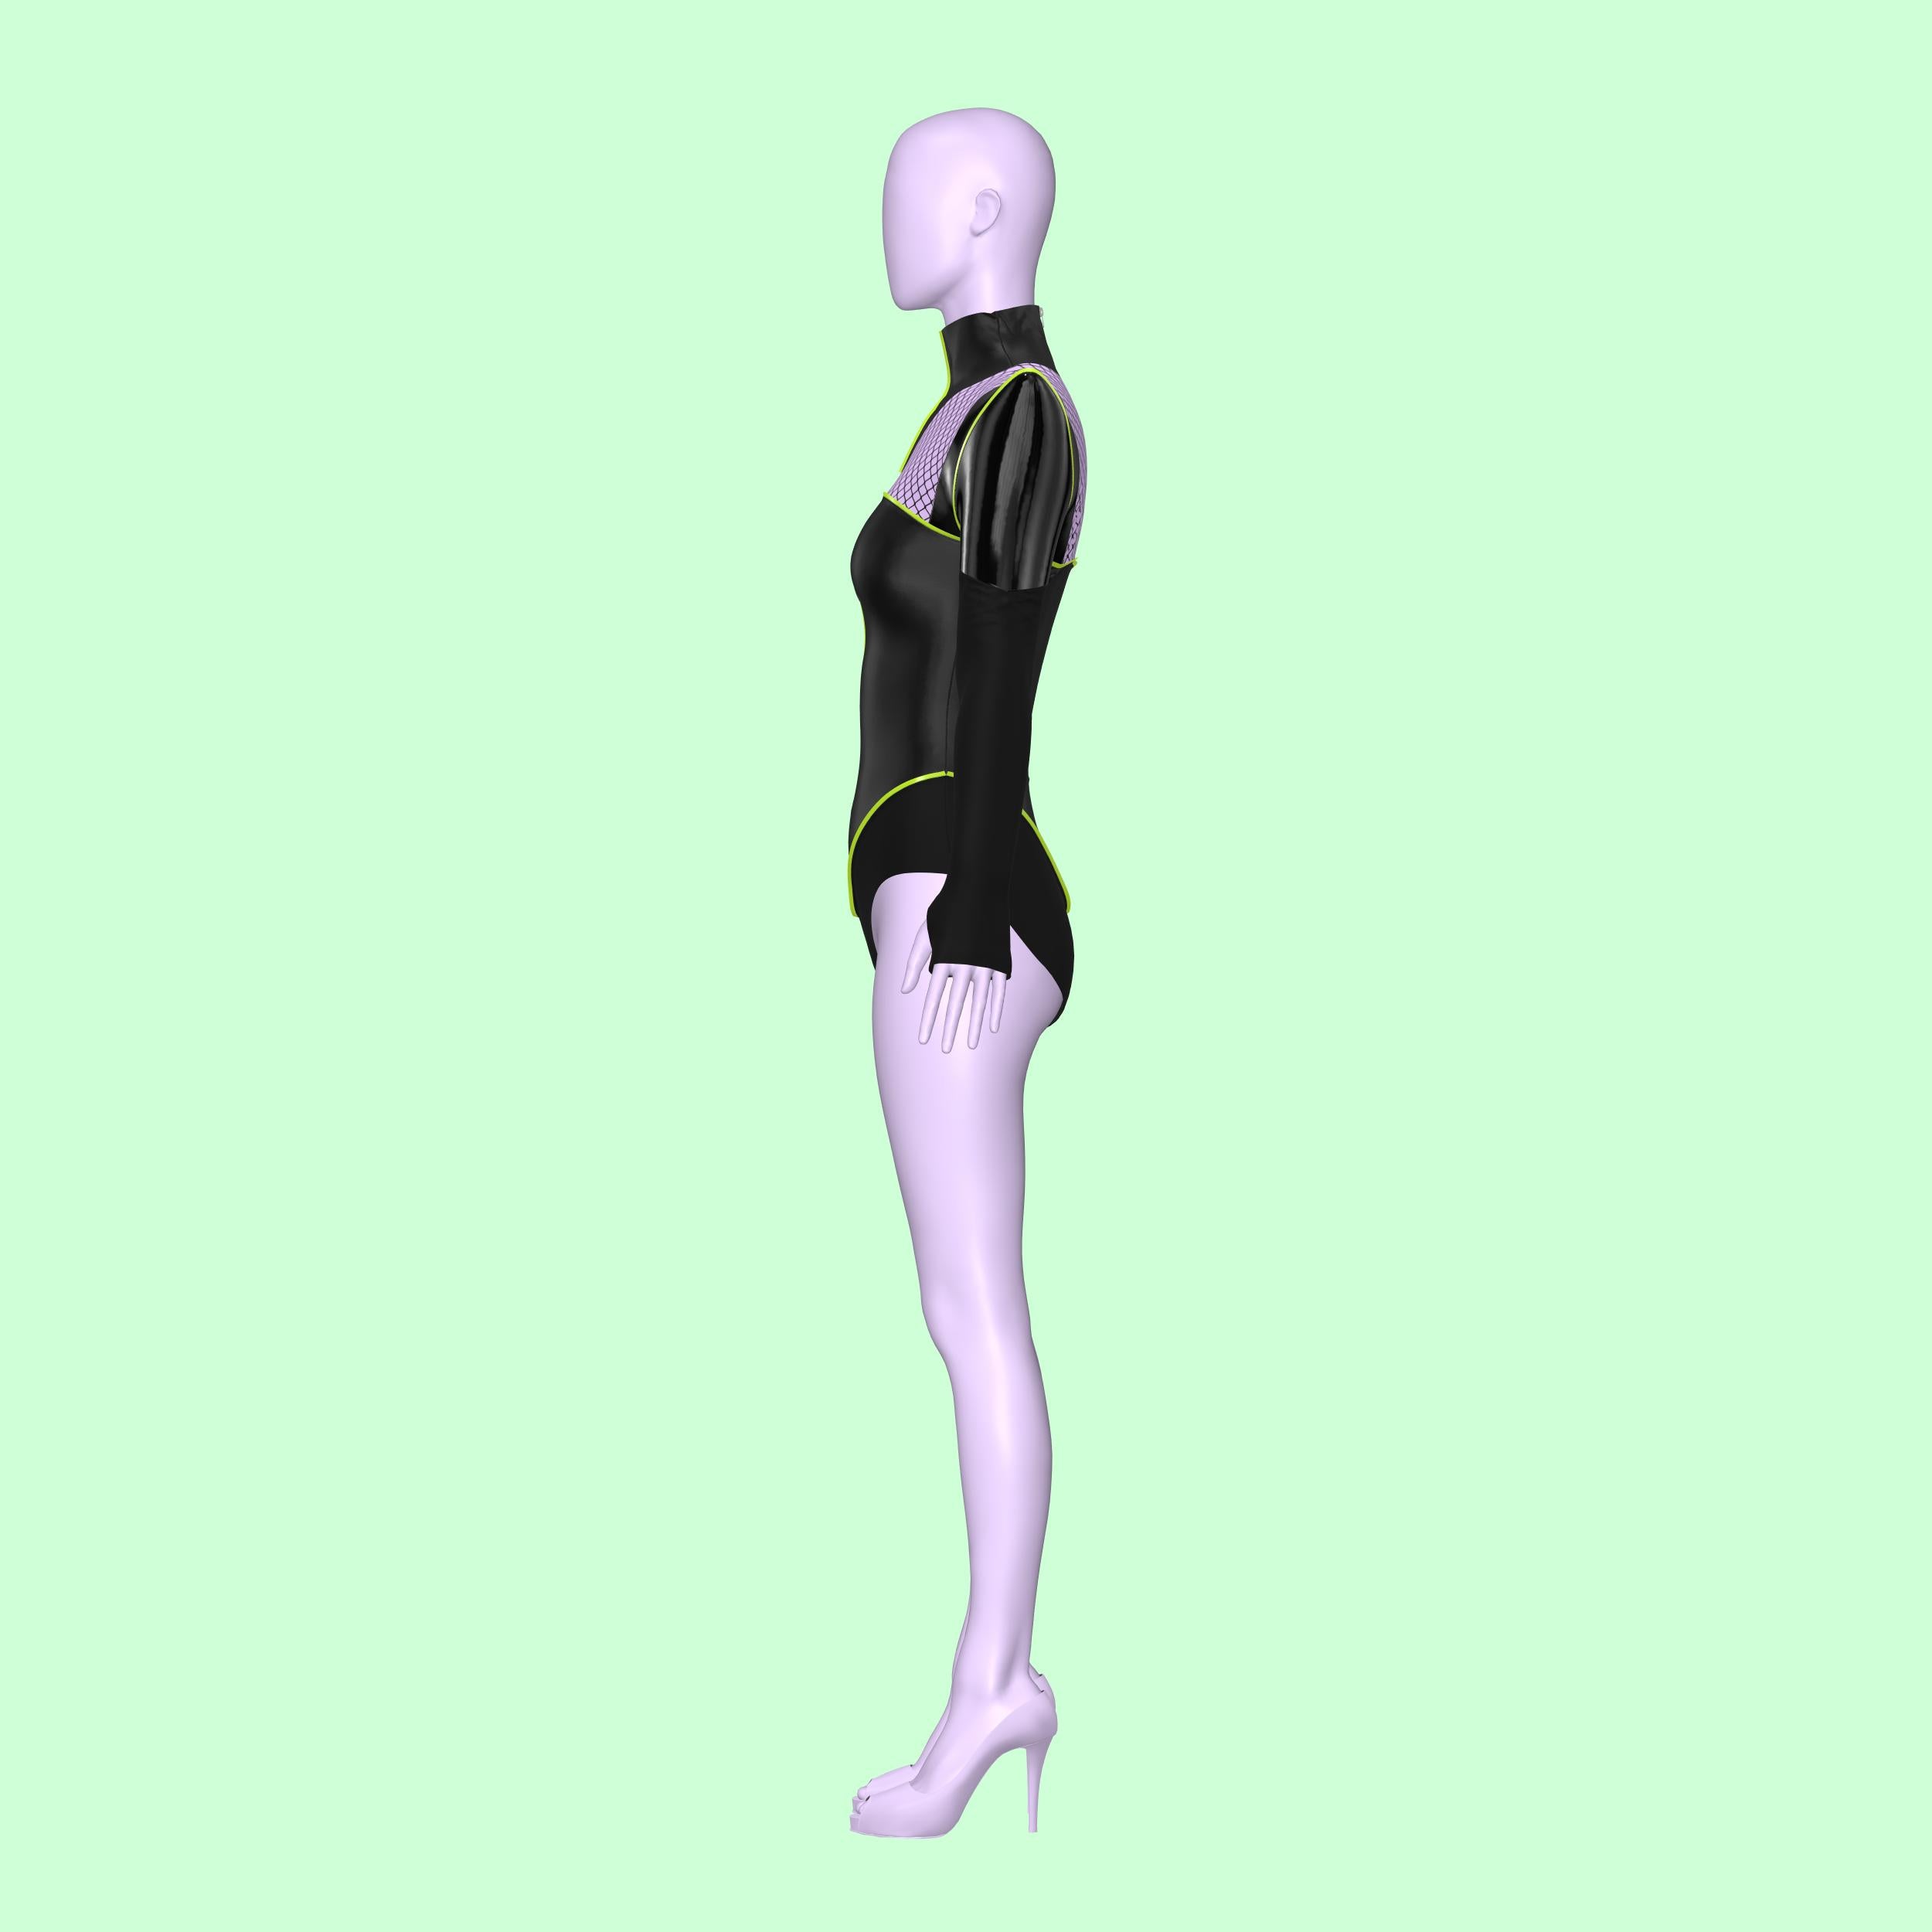
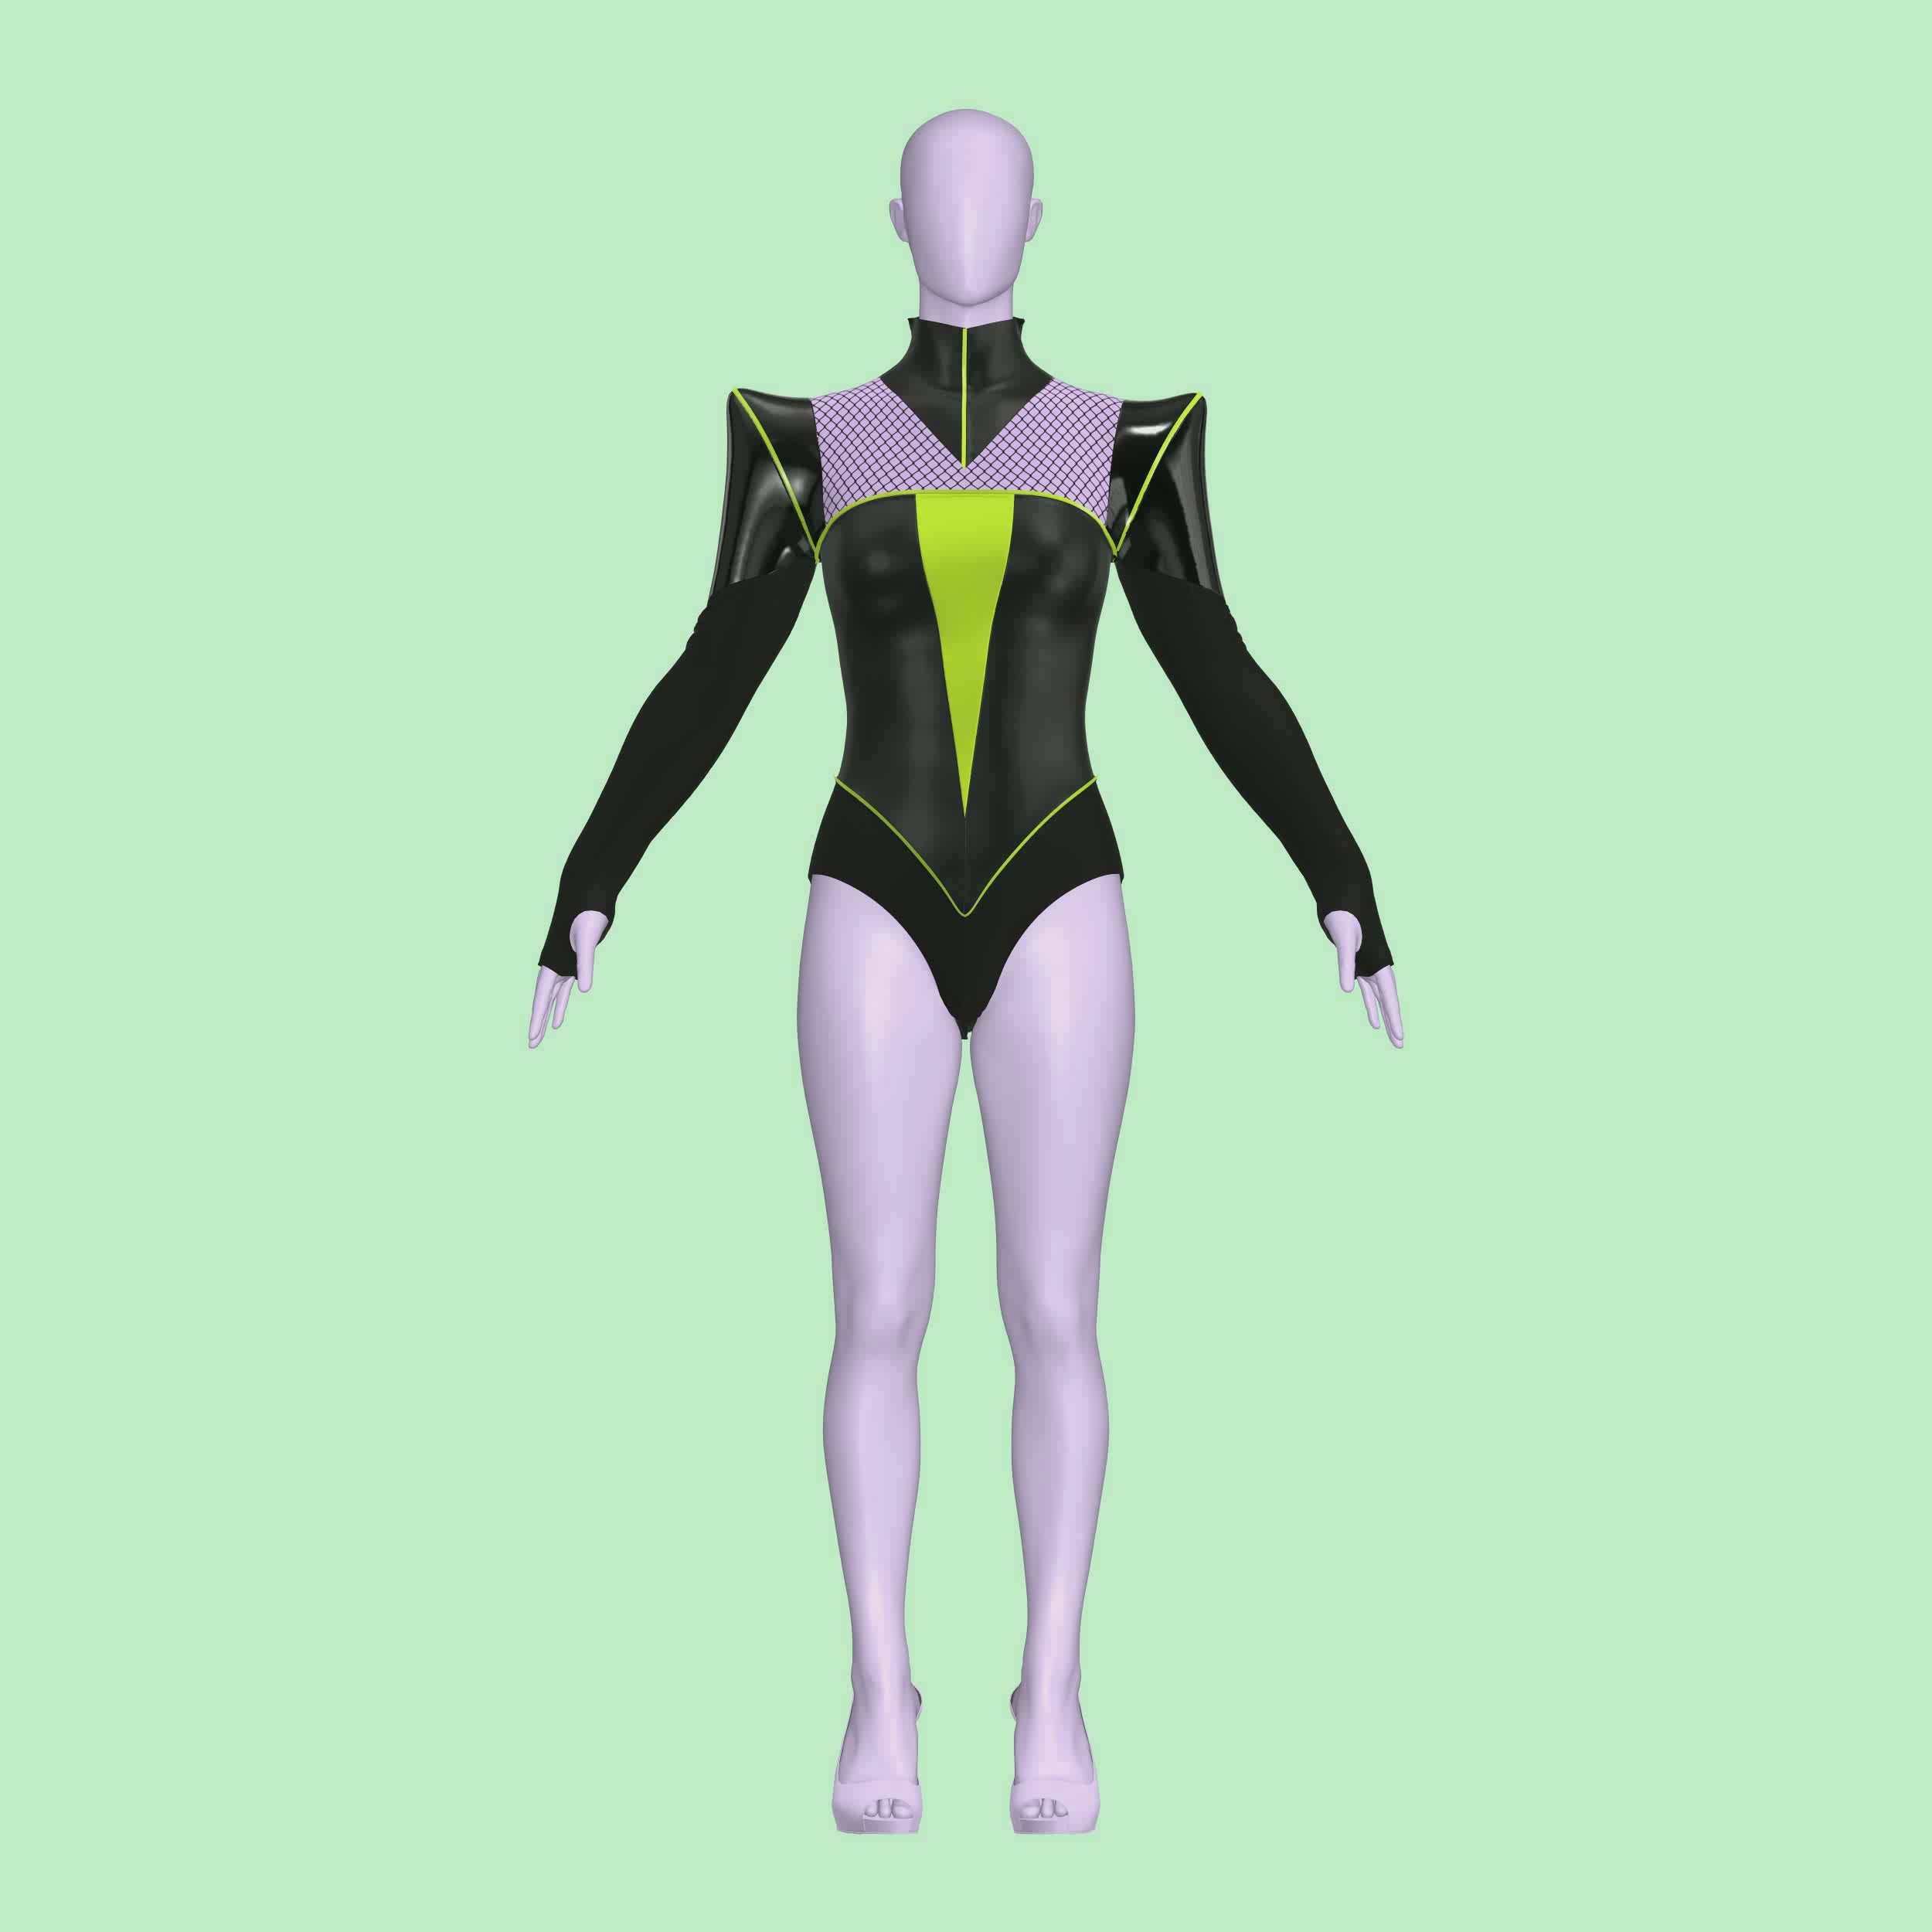
¡Aprende a coser nuestro Cyber Leotard, diseñado específicamente para drag queens! Este llamativo leotardo presenta hombros puntiagudos y cortes triangulares, lo que te permite mezclar y combinar diferentes telas elásticas para crear contrastes impresionantes. Ya sea que estés en el escenario o bajo los focos, este leotardo ofrece una silueta única y feroz que es perfecta para las presentaciones. Con nuestras instrucciones fáciles de seguir, dominarás este estilo atrevido y llevarás tus habilidades de costura al siguiente nivel. ¡Deja que tu creatividad brille y haz una declaración con este diseño único!
Patrón Difícil: Avanzado
Detalles de tallas
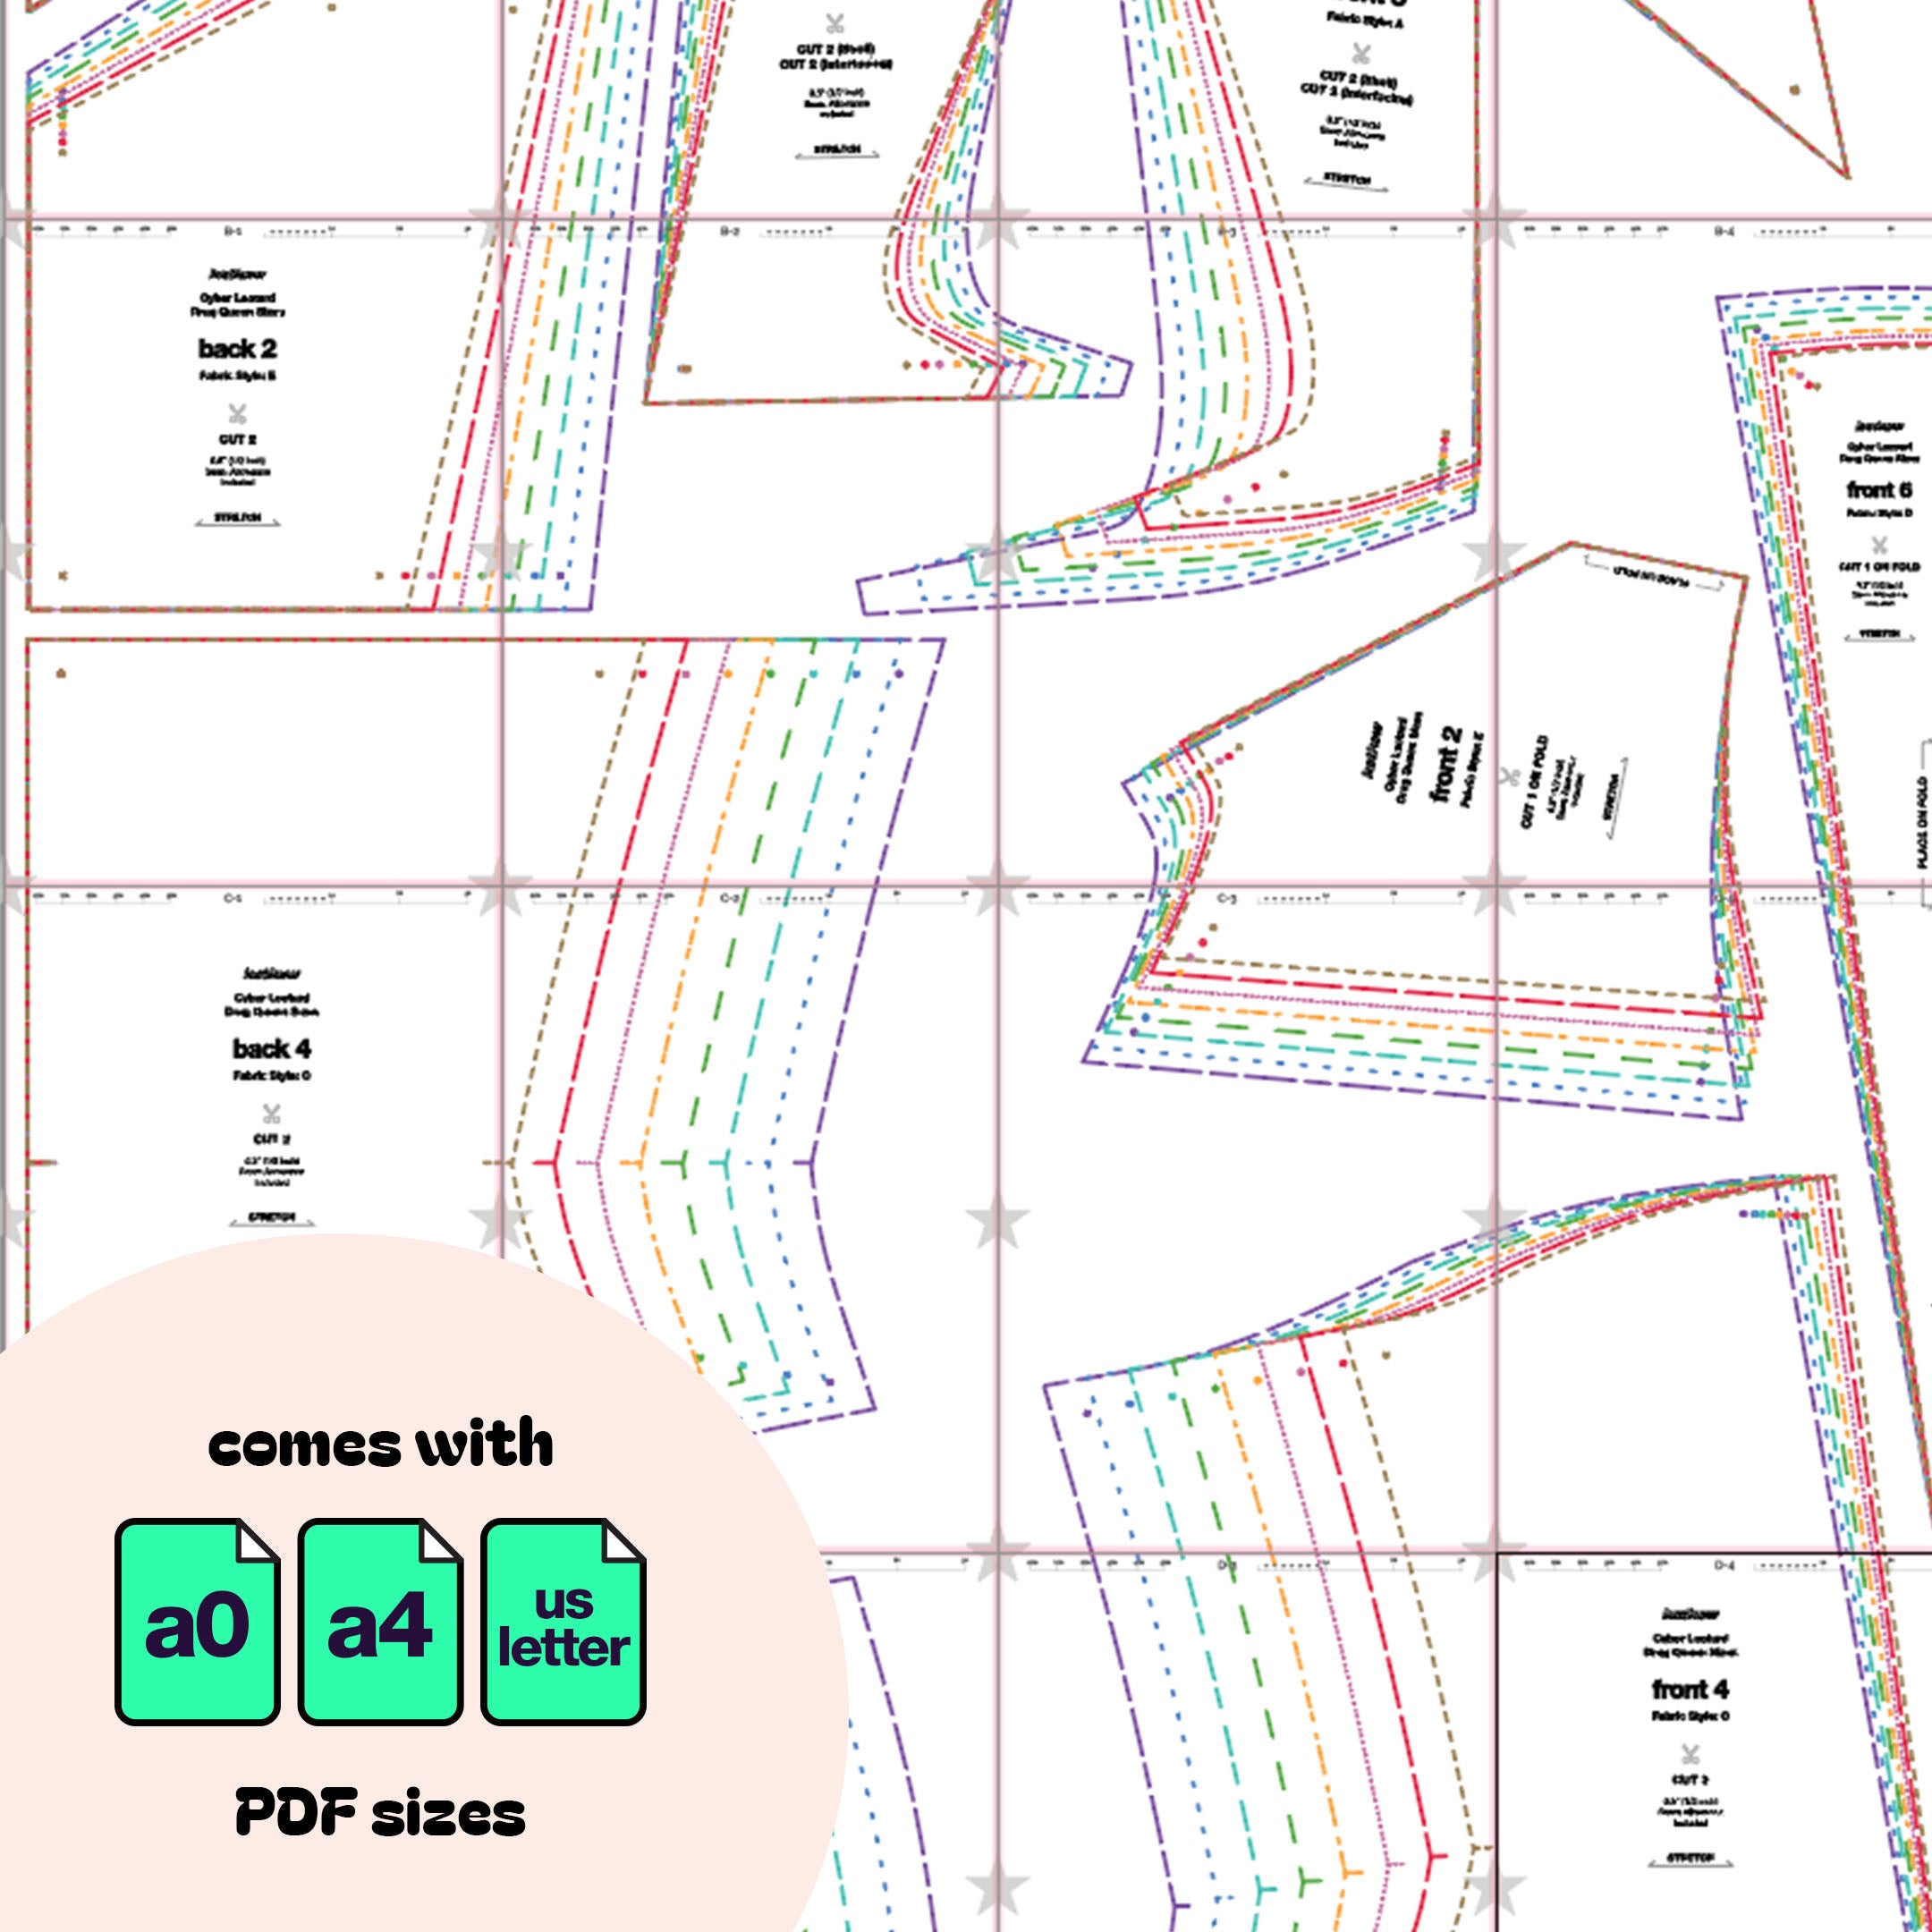
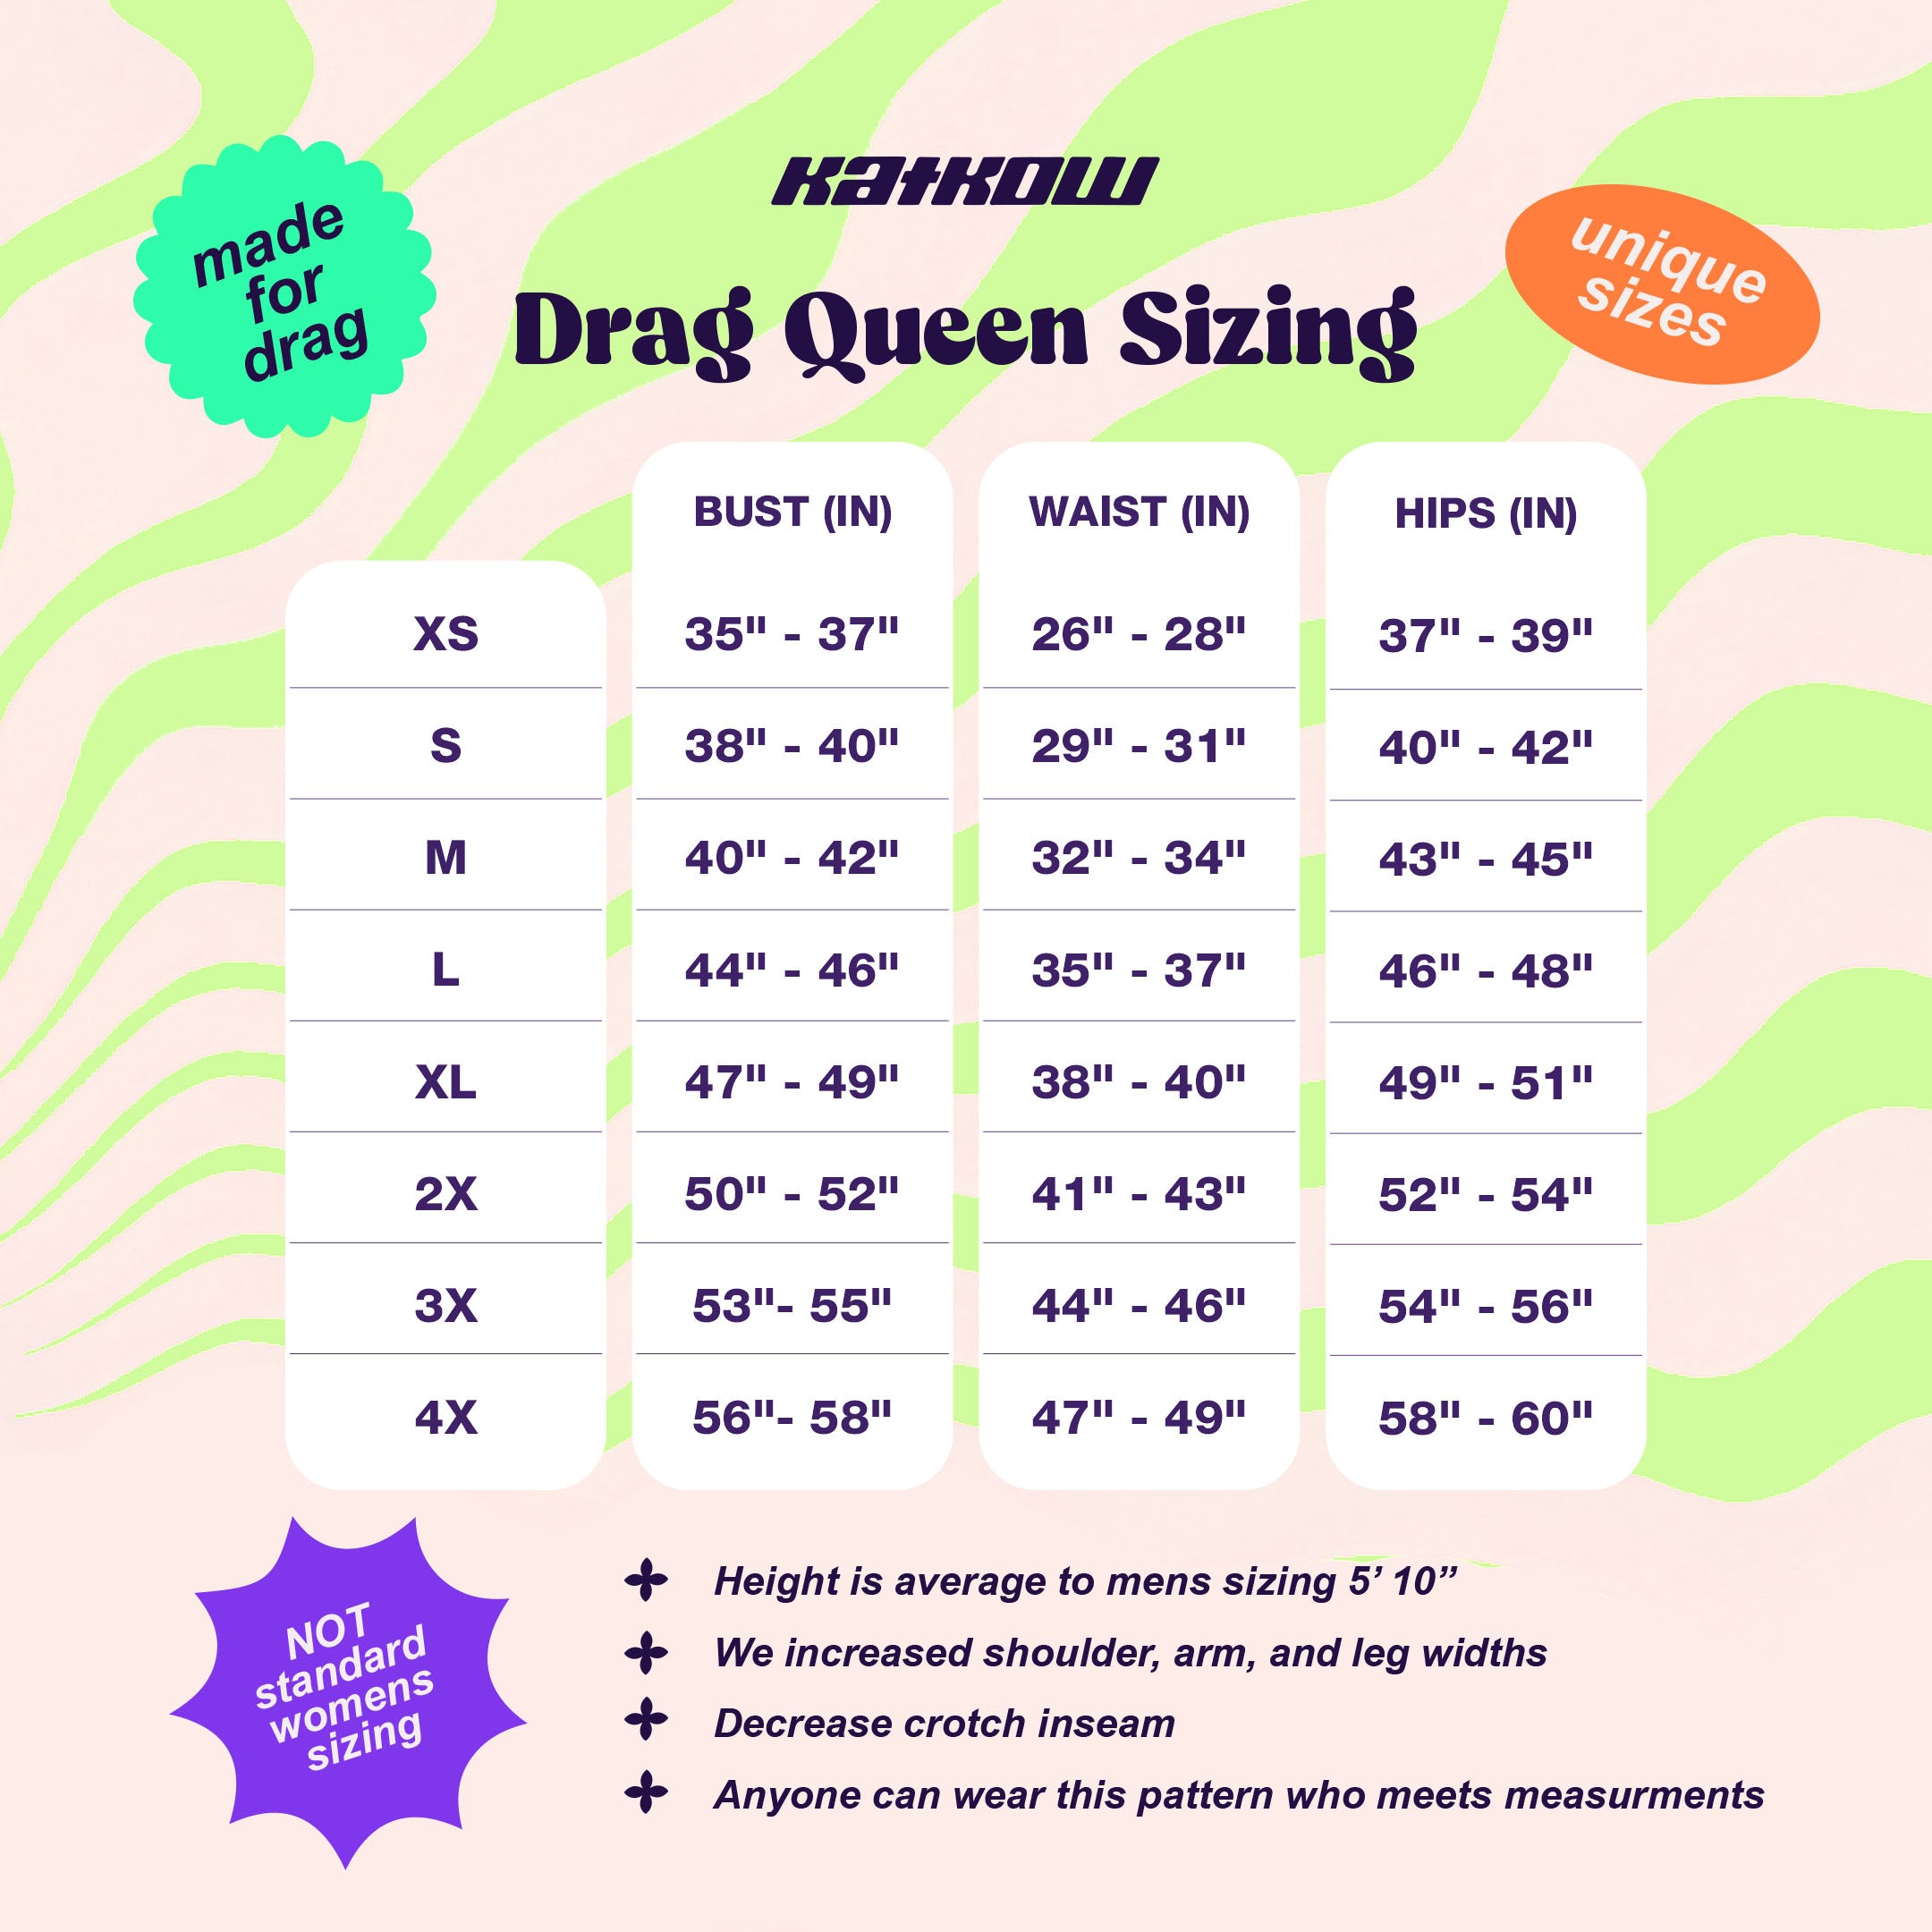
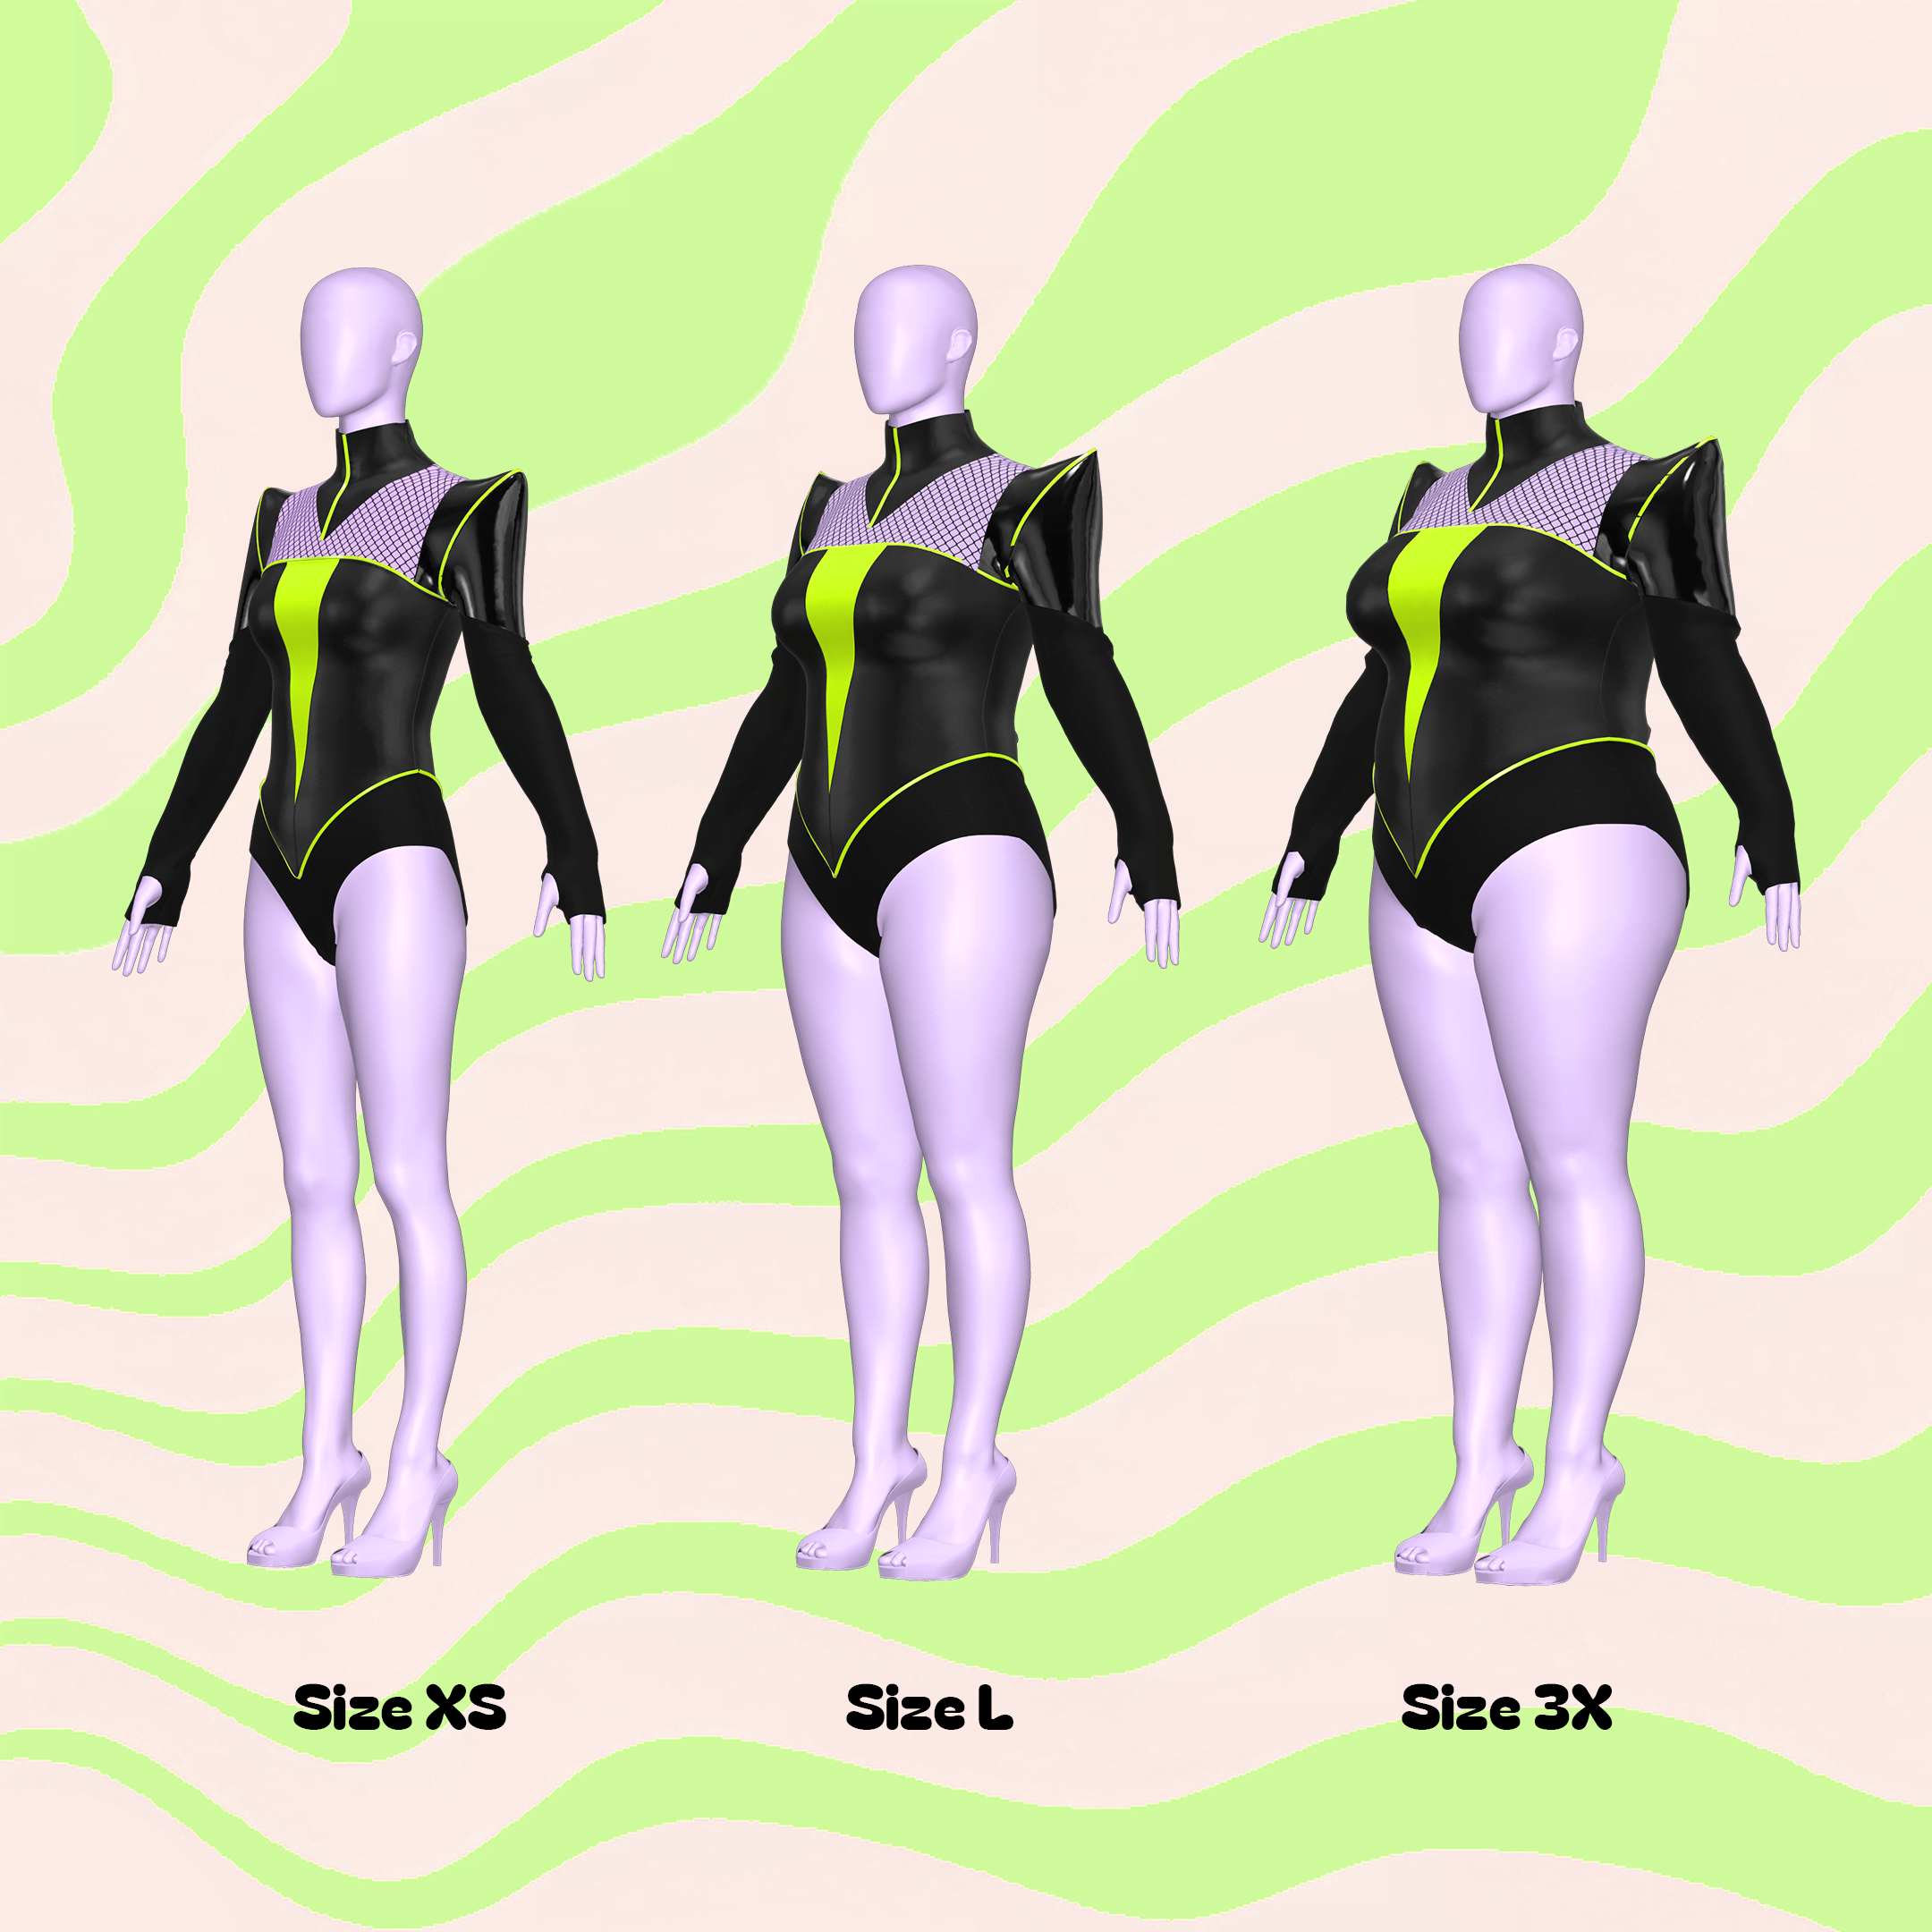
Este patrón está disponible en nuestros exclusivos talles Drag Queen (XS-4X). Consulta nuestra guía de talles para obtener más información sobre nuestras medidas de talle.
Telas y artículos de mercería
Este patrón es ideal para una combinación de telas elásticas en 4 direcciones y telas no elásticas.
Las telas elásticas se recomiendan para el cuerpo, mientras que las telas no elásticas se pueden utilizar para los hombros puntiagudos y las hombreras para agregar estructura y contraste.
- Spandex brillante
- Spandex mate
- Malla de potencia
- Vinilo elástico
- Licra
- Terciopelo elástico
- Spandex metalizado
- Cuero o polipiel para los hombros
- Cremallera invisible de 20 a 22 pulgadas
- Entretela fusible de peso medio
- Cinta al bies doblada dos veces
- Cuerda para detalle de tubería opcional
Yardas de tela

The yardage below is based on fabric widths of 58 inches.
| Fabric A | Fabric B | Fabric C | Fabric D | Fabric E | |
|---|---|---|---|---|---|
| XS | 0.5y | 0.75y | 0.75y | 0.5y | 0.5y |
| S | 0.5y | 0.75y | 0.75y | 0.5y | 0.5y |
| M | 0.5y | 0.75y | 0.75y | 0.5y | 0.5y |
| L | 0.5y | 0.75y | 0.75y | 0.5y | 0.5y |
| XL | 0.5y | 0.75y | 0.75y | 0.5y | 0.5y |
| 2X | 0.5y | 0.75y | 0.75y | 0.5y | 0.5y |
| 3X | 0.5y | 0.75y | 0.75y | 0.5y | 0.5y |
| 4X | 0.5y | 1y | 0.75y | 0.5y | 0.5y |
For information on converting inches to meters, please check out our conversion guide.
Instrucciones de costura


Stitches
Preferred stitches: Stretch stitch, zigzag stitch, or serger overlock stitch. You can use a straight stitch only on non-stretch areas like the zipper.

Fabric Pieces
After cutting your fabric, you should have the following pieces:
Front:
- Two "Front 1" pieces (collar)
- One seamless "Front 2" piece
- Two "Front 3" pieces
- Two "Front 3" interfacing pieces
- Two "Front 4" pieces
- Two "Front 5" pieces
- One seamless "Front 6" piece
Back:
- Two "Back 1" pieces (collar)
- Two "Back 2" pieces
- Two "Back 3" pieces
- Two "Back 3" interfacing pieces
- Two "Back 4" pieces
- Two "Back 5" pieces
Sleeves:
- Two "Sleeve 1" pieces
- Two "Sleeve 1" interfacing pieces
- Two "Sleeve 2" pieces

STEP 1
Gather the shoulder cap pieces (Front 3, Sleeve 1, and Back 3). Depending on your fabric, you may want to add fusible interfacing to give these pieces more structure.
If you use interfacing, fuse it to the wrong side of the fabric, making sure the sticky side of the interfacing faces the wrong side of the fabric.
If you're using thicker fabrics like pleather, you might not need interfacing.

STEP 2
Decide if you want to add piping. To create piping, cut a 1.5-inch wide strip of stretch fabric (no need for bias). Fold it in half around a rope insert and sew close to the rope using a small zigzag stitch, being careful not to stitch through the rope. You can remove the rope afterward to allow the trim to stretch.

STEP 3
Take the Front 1 collar pieces and layer them with the right sides facing each other. If using piping, insert it between the layers, aligning the raw edges. Sew with a 0.5-inch seam allowance using a stretch stitch, zigzag stitch, or serger.

STEP 4
Align the sewn Front 1 collar piece with the seamless Front 2 piece, right sides facing each other. Pin at the points where they meet at the 0.5-inch seam allowance dot.
Watch this video for more info on how to sew points: https://youtu.be/6VHGS5ybLic?si=Xz2d5wf6VQRq-3_m

STEP 5
Carefully position the angled edges of Front 2 to match the angles of the Front collar. Move the edges back slowly, keeping the center point pin in place. Sew one side at a time to create a sharp point, using a stretch stitch, zigzag, or serger.

STEP 6
Attach the Front 3 shoulder pieces to the sides of Front 2 with the right sides facing each other. Sew using a stretch stitch, zigzag, or serger.

STEP 7
Gather the Front 4 and Front 5 pieces. If using piping, place it between the layers and sew the pieces together with right sides facing each other, just as you did in Step 3. Repeat for the opposite side.

STEP 8
Sew the two front pieces together by stacking them with the right sides facing each other. Sew along the bottom center front seam below the triangular cutout. Use the seam dot guides to know where to start and stop. Use a stretch stitch, zigzag, or serger.

STEP 9
With the front open, take the Front 6 piece and sew it to the center front triangular cutout area. Use the same technique as Step 4.

STEP 10
Attach the Front collar and shoulders to the bottom front pieces along the chest. Sew the top and bottom pieces, along with the piping if using it, with the right sides facing each other using a stretch stitch, zigzag, or serger.

STEP 11
Follow similar steps to assemble the two back pieces by sewing Back 1, 2, 3, 4, and 5, and adding piping if desired.

STEP 12
Install an invisible zipper down the center back. Start by placing the zipper right side facing the right side of one back piece.

STEP 13
Flip the zipper ends toward the wrong side of the fabric and topstitch the zipper sides down using a straight stitch.

STEP 14
Sew the two back pieces together below the zipper to close the center back seam. Use a stretch stitch, zigzag, or serger.

STEP 15
With the front and back pieces aligned right sides together, sew them along the shoulder and collar seams. Use a stretch stitch, zigzag, or serger.

STEP 16
Take the Sleeve 1 pieces, cut out the finger hole, and sew a double-fold bias tape or trim around the hole.

STEP 17
Align the Sleeve 1 and Sleeve 2 pieces with right sides facing each other. Sew along the point where they meet, using a stretch stitch, zigzag, or serger.

STEP 18
Pin the sleeve caps to the front and back of the leotard, aligning the right sides of the fabric. Sew the sleeve caps to the shoulder points, one side at a time.
If using piping, add the pipe trim between teh fabric layers.

STEP 19
Sew the sleeves closed, then continue sewing along the sides of the leotard and the crotch seams. Use a stretch stitch, zigzag, or serger.

STEP 20
Hem the sleeves, leg holes, and collar using a zigzag stitch or a rolled hem to finish.
