Cómo coser un vestido ajustado y elástico
Saltar a instruccionesDescripción general
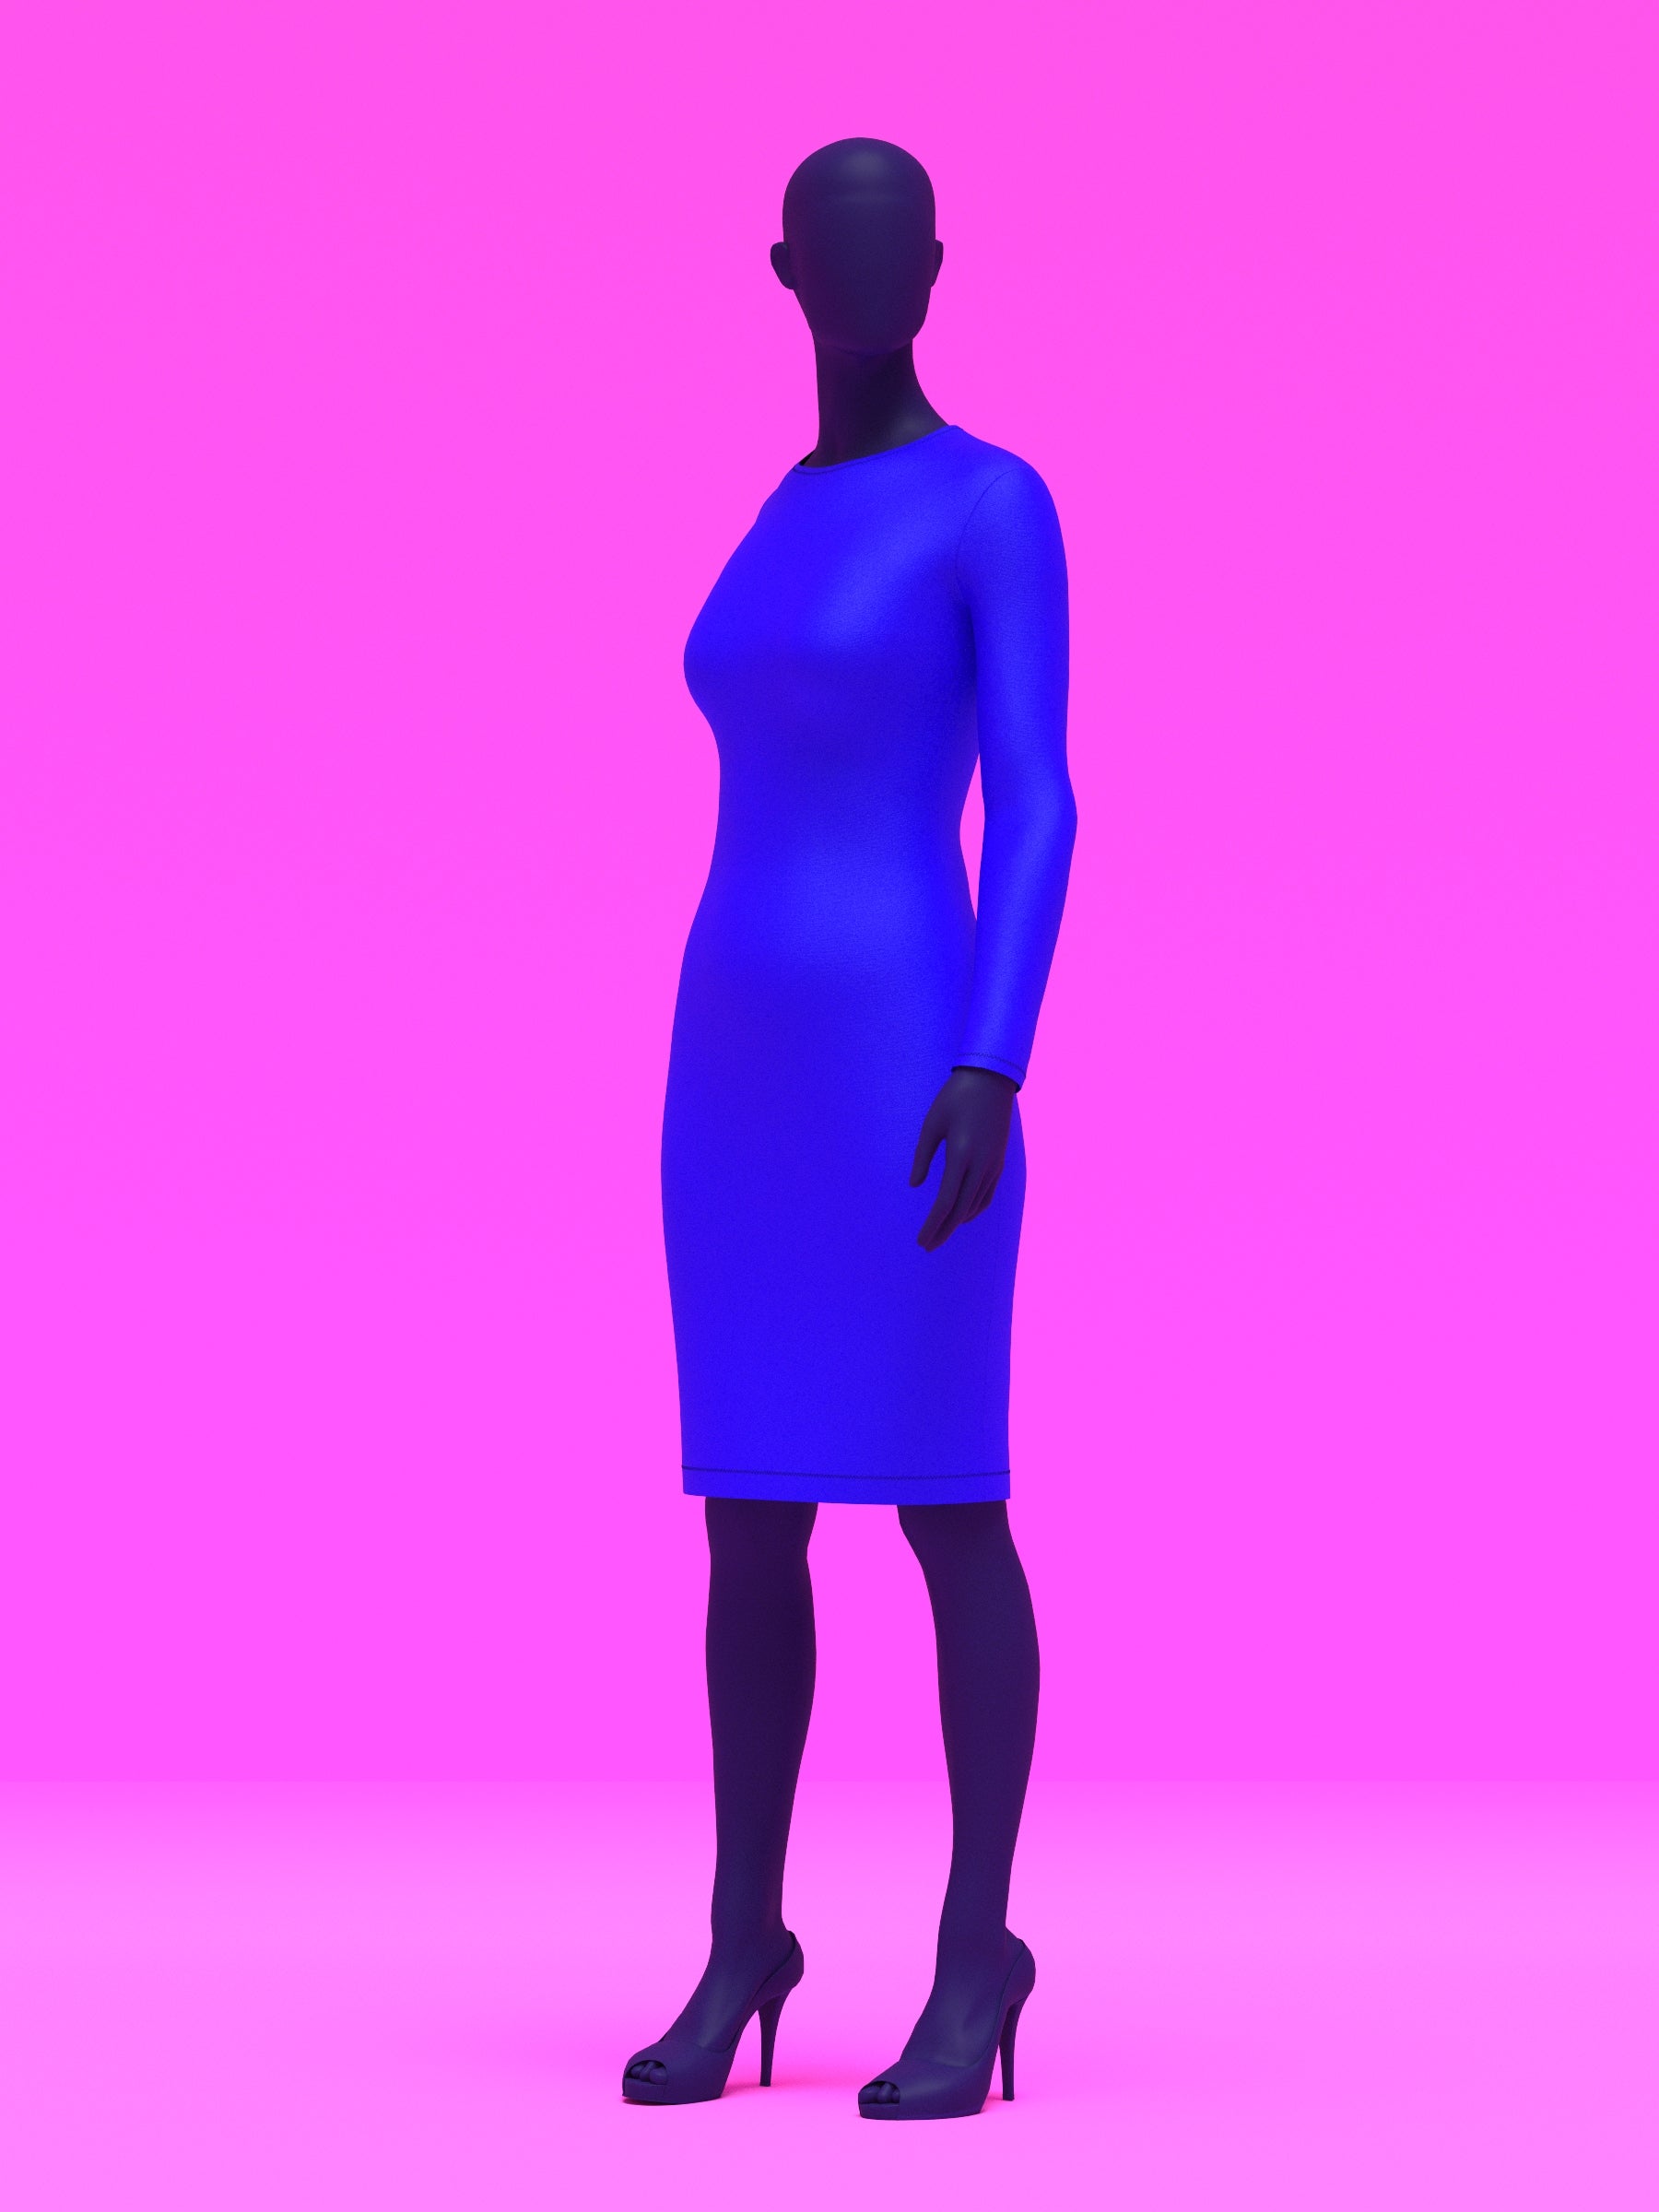
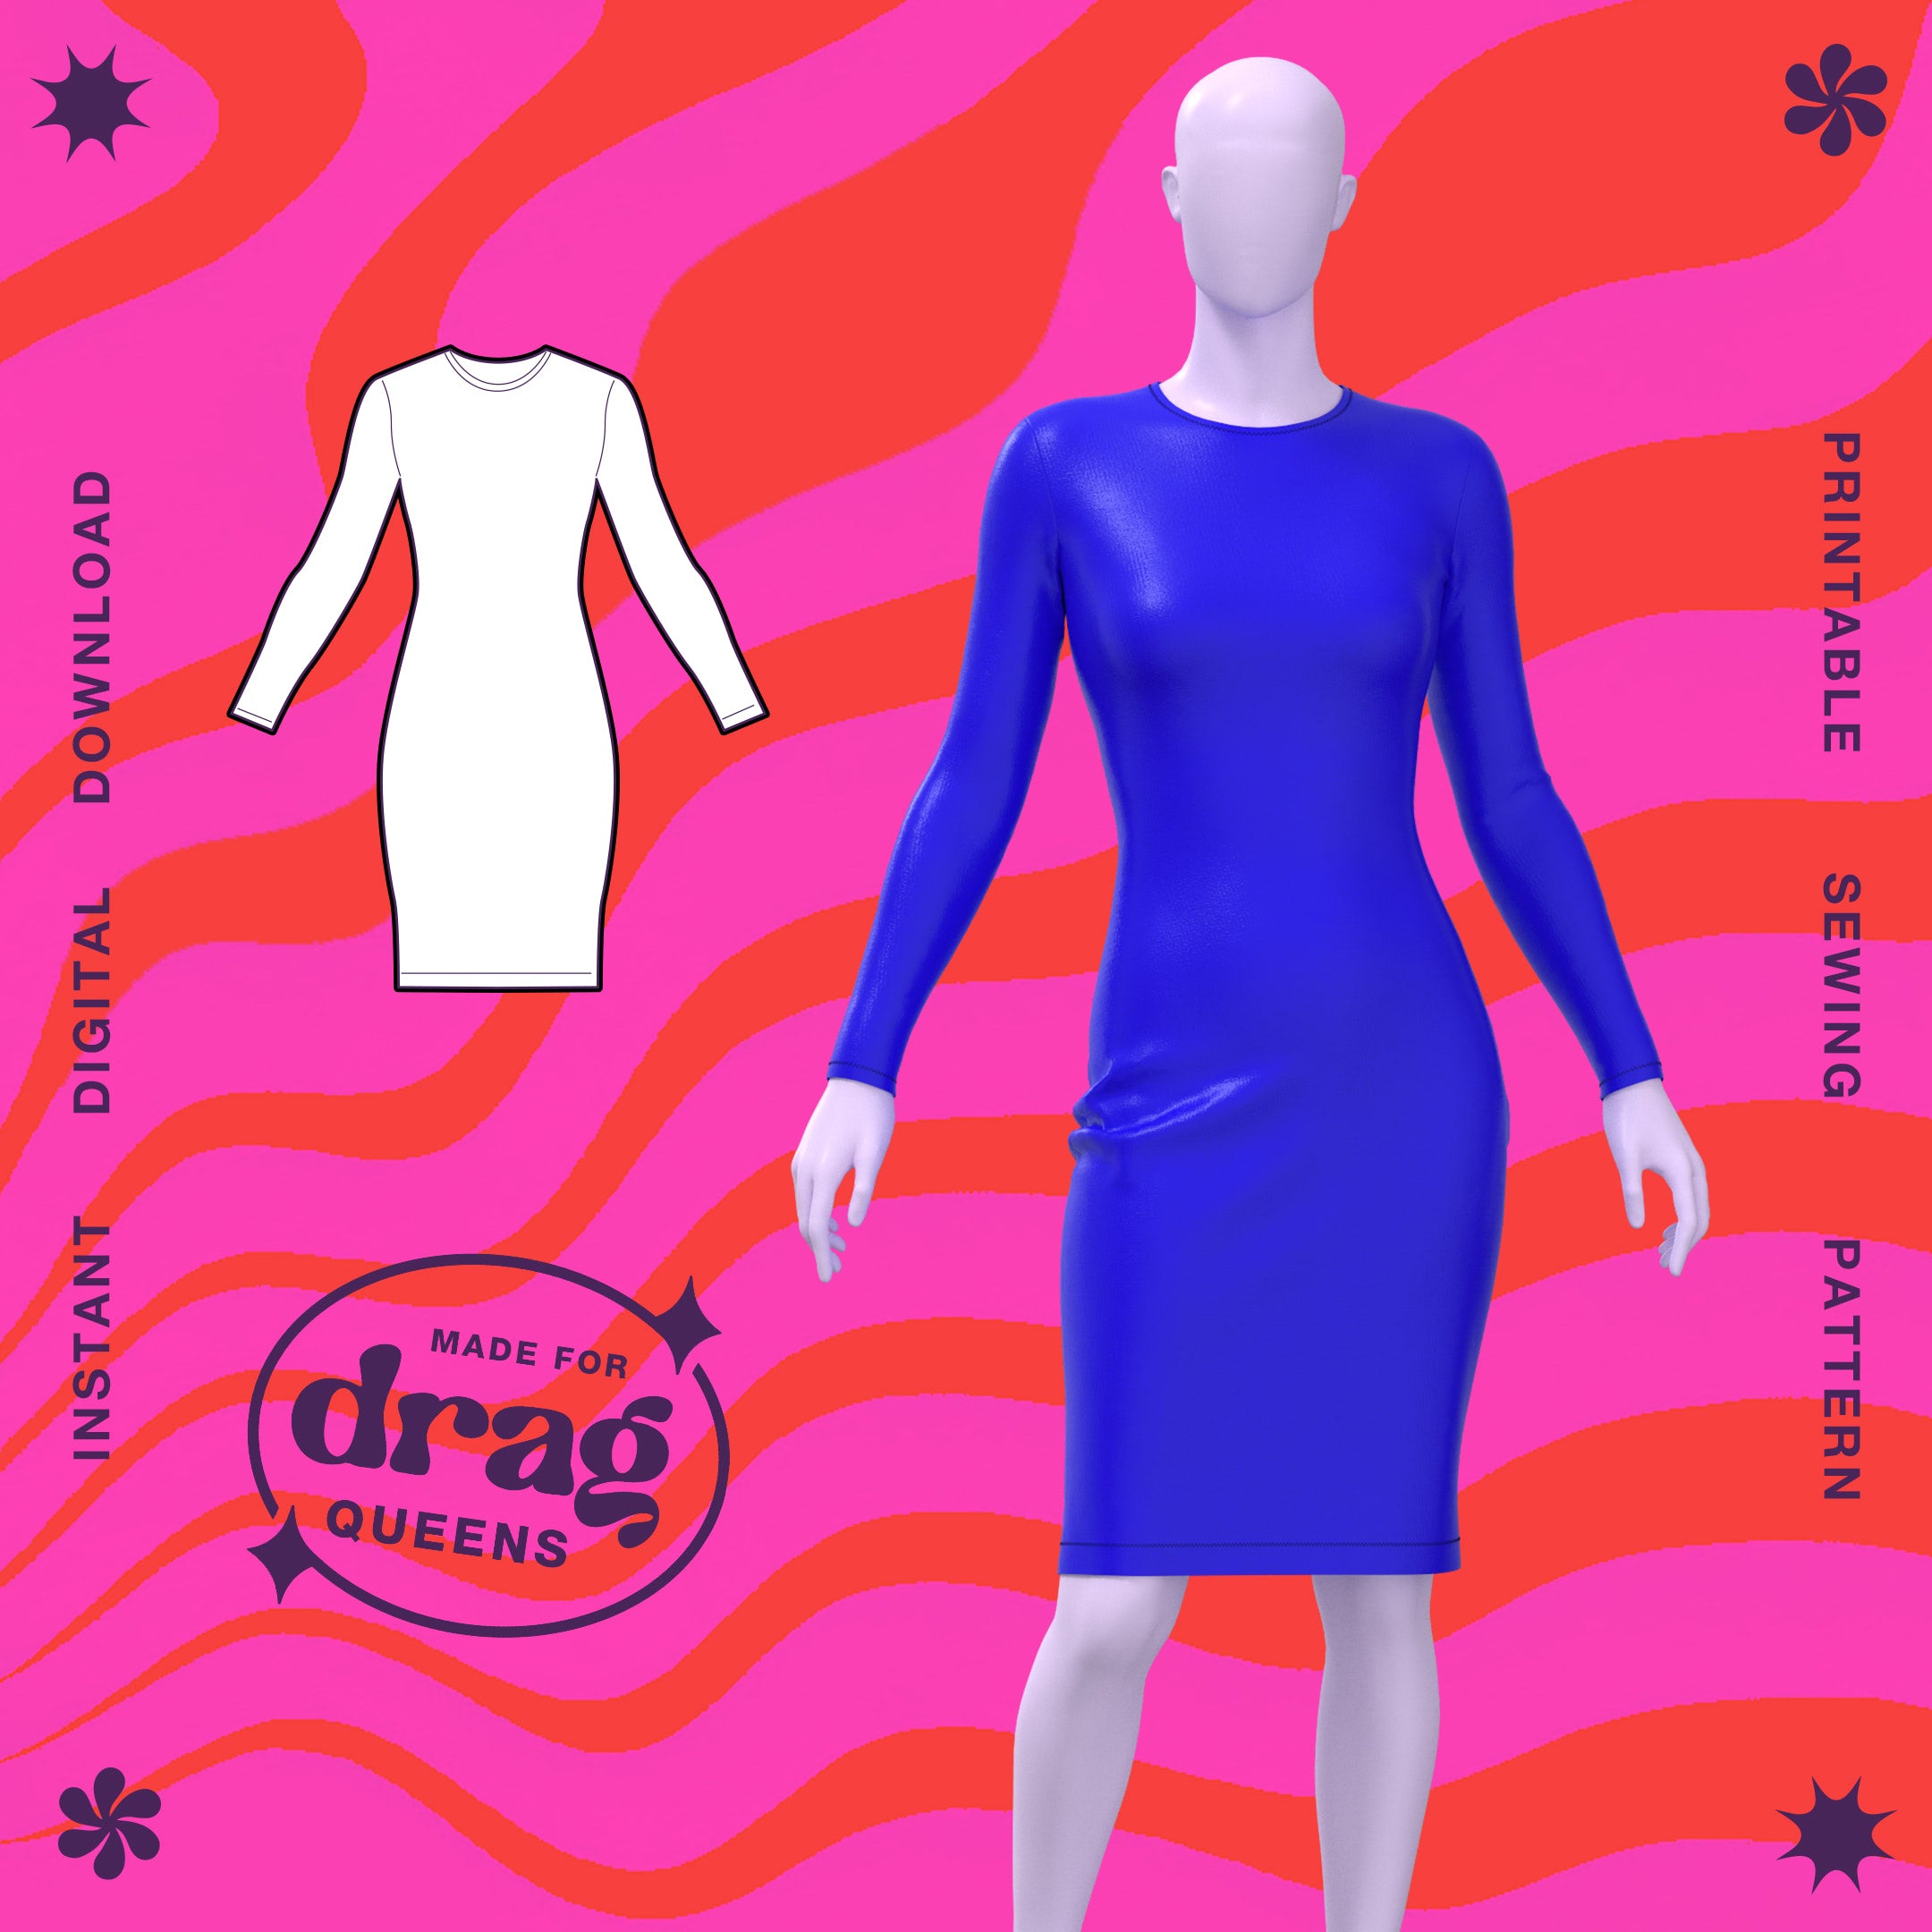
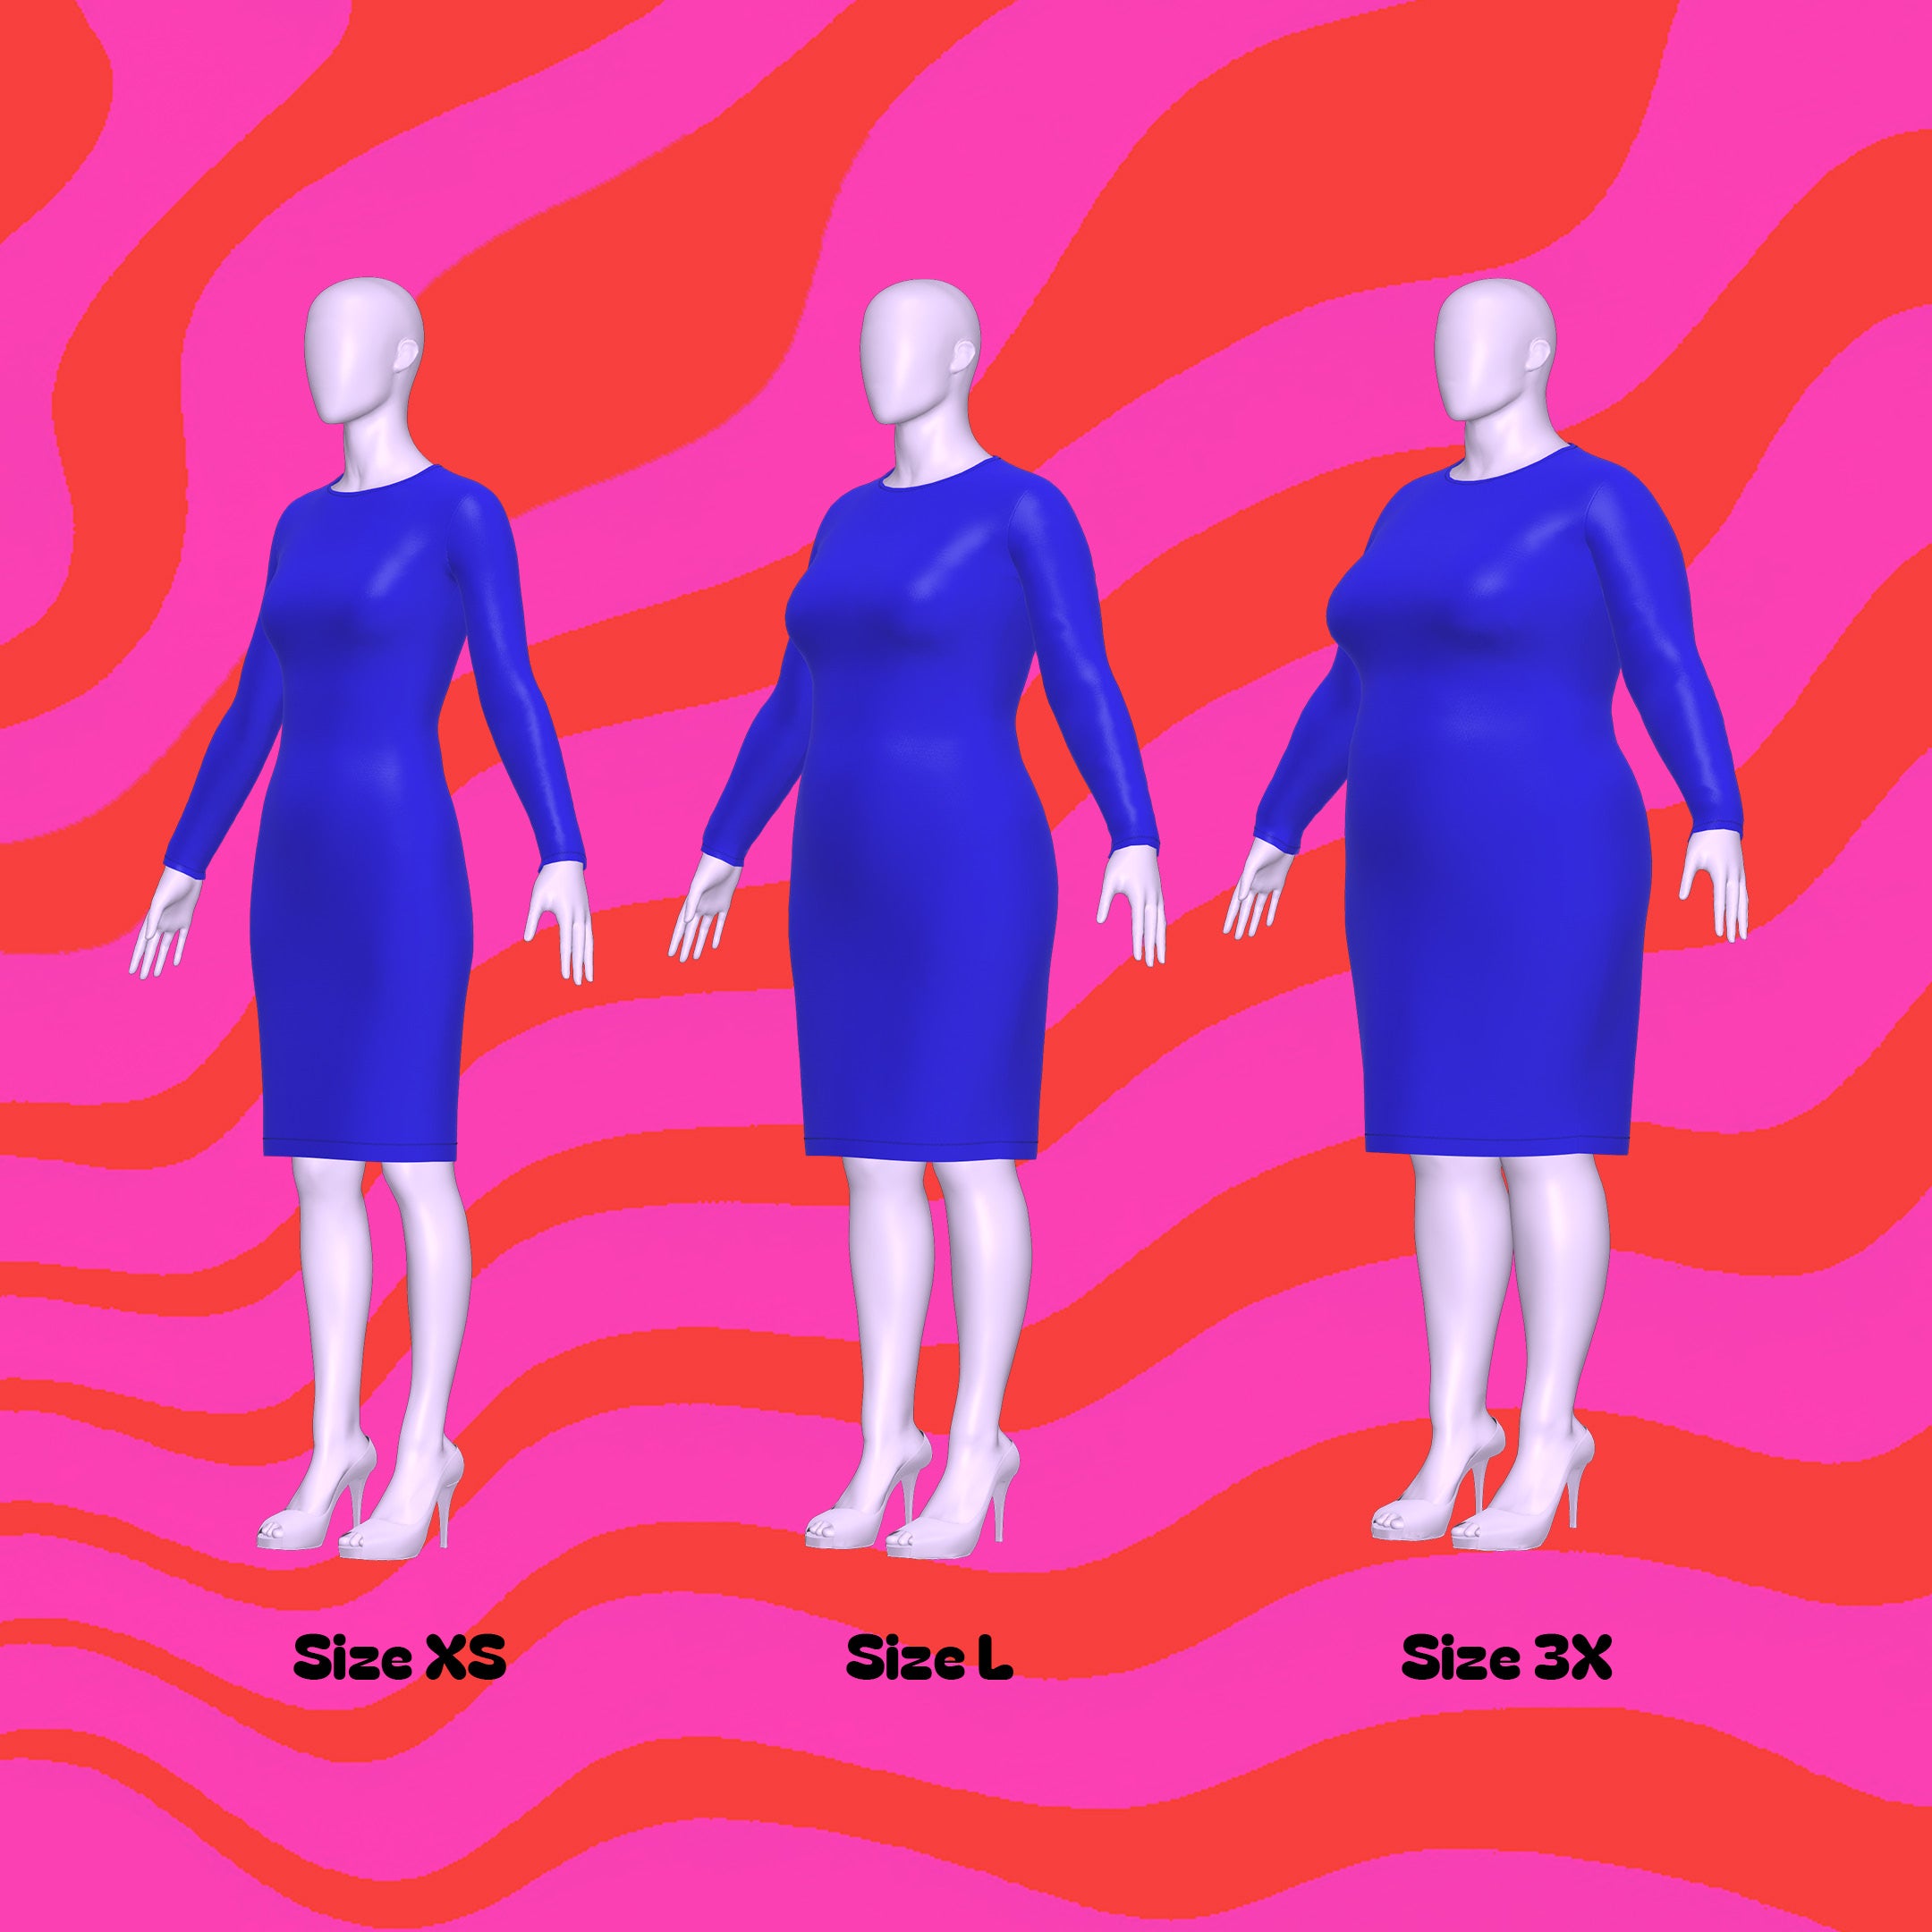
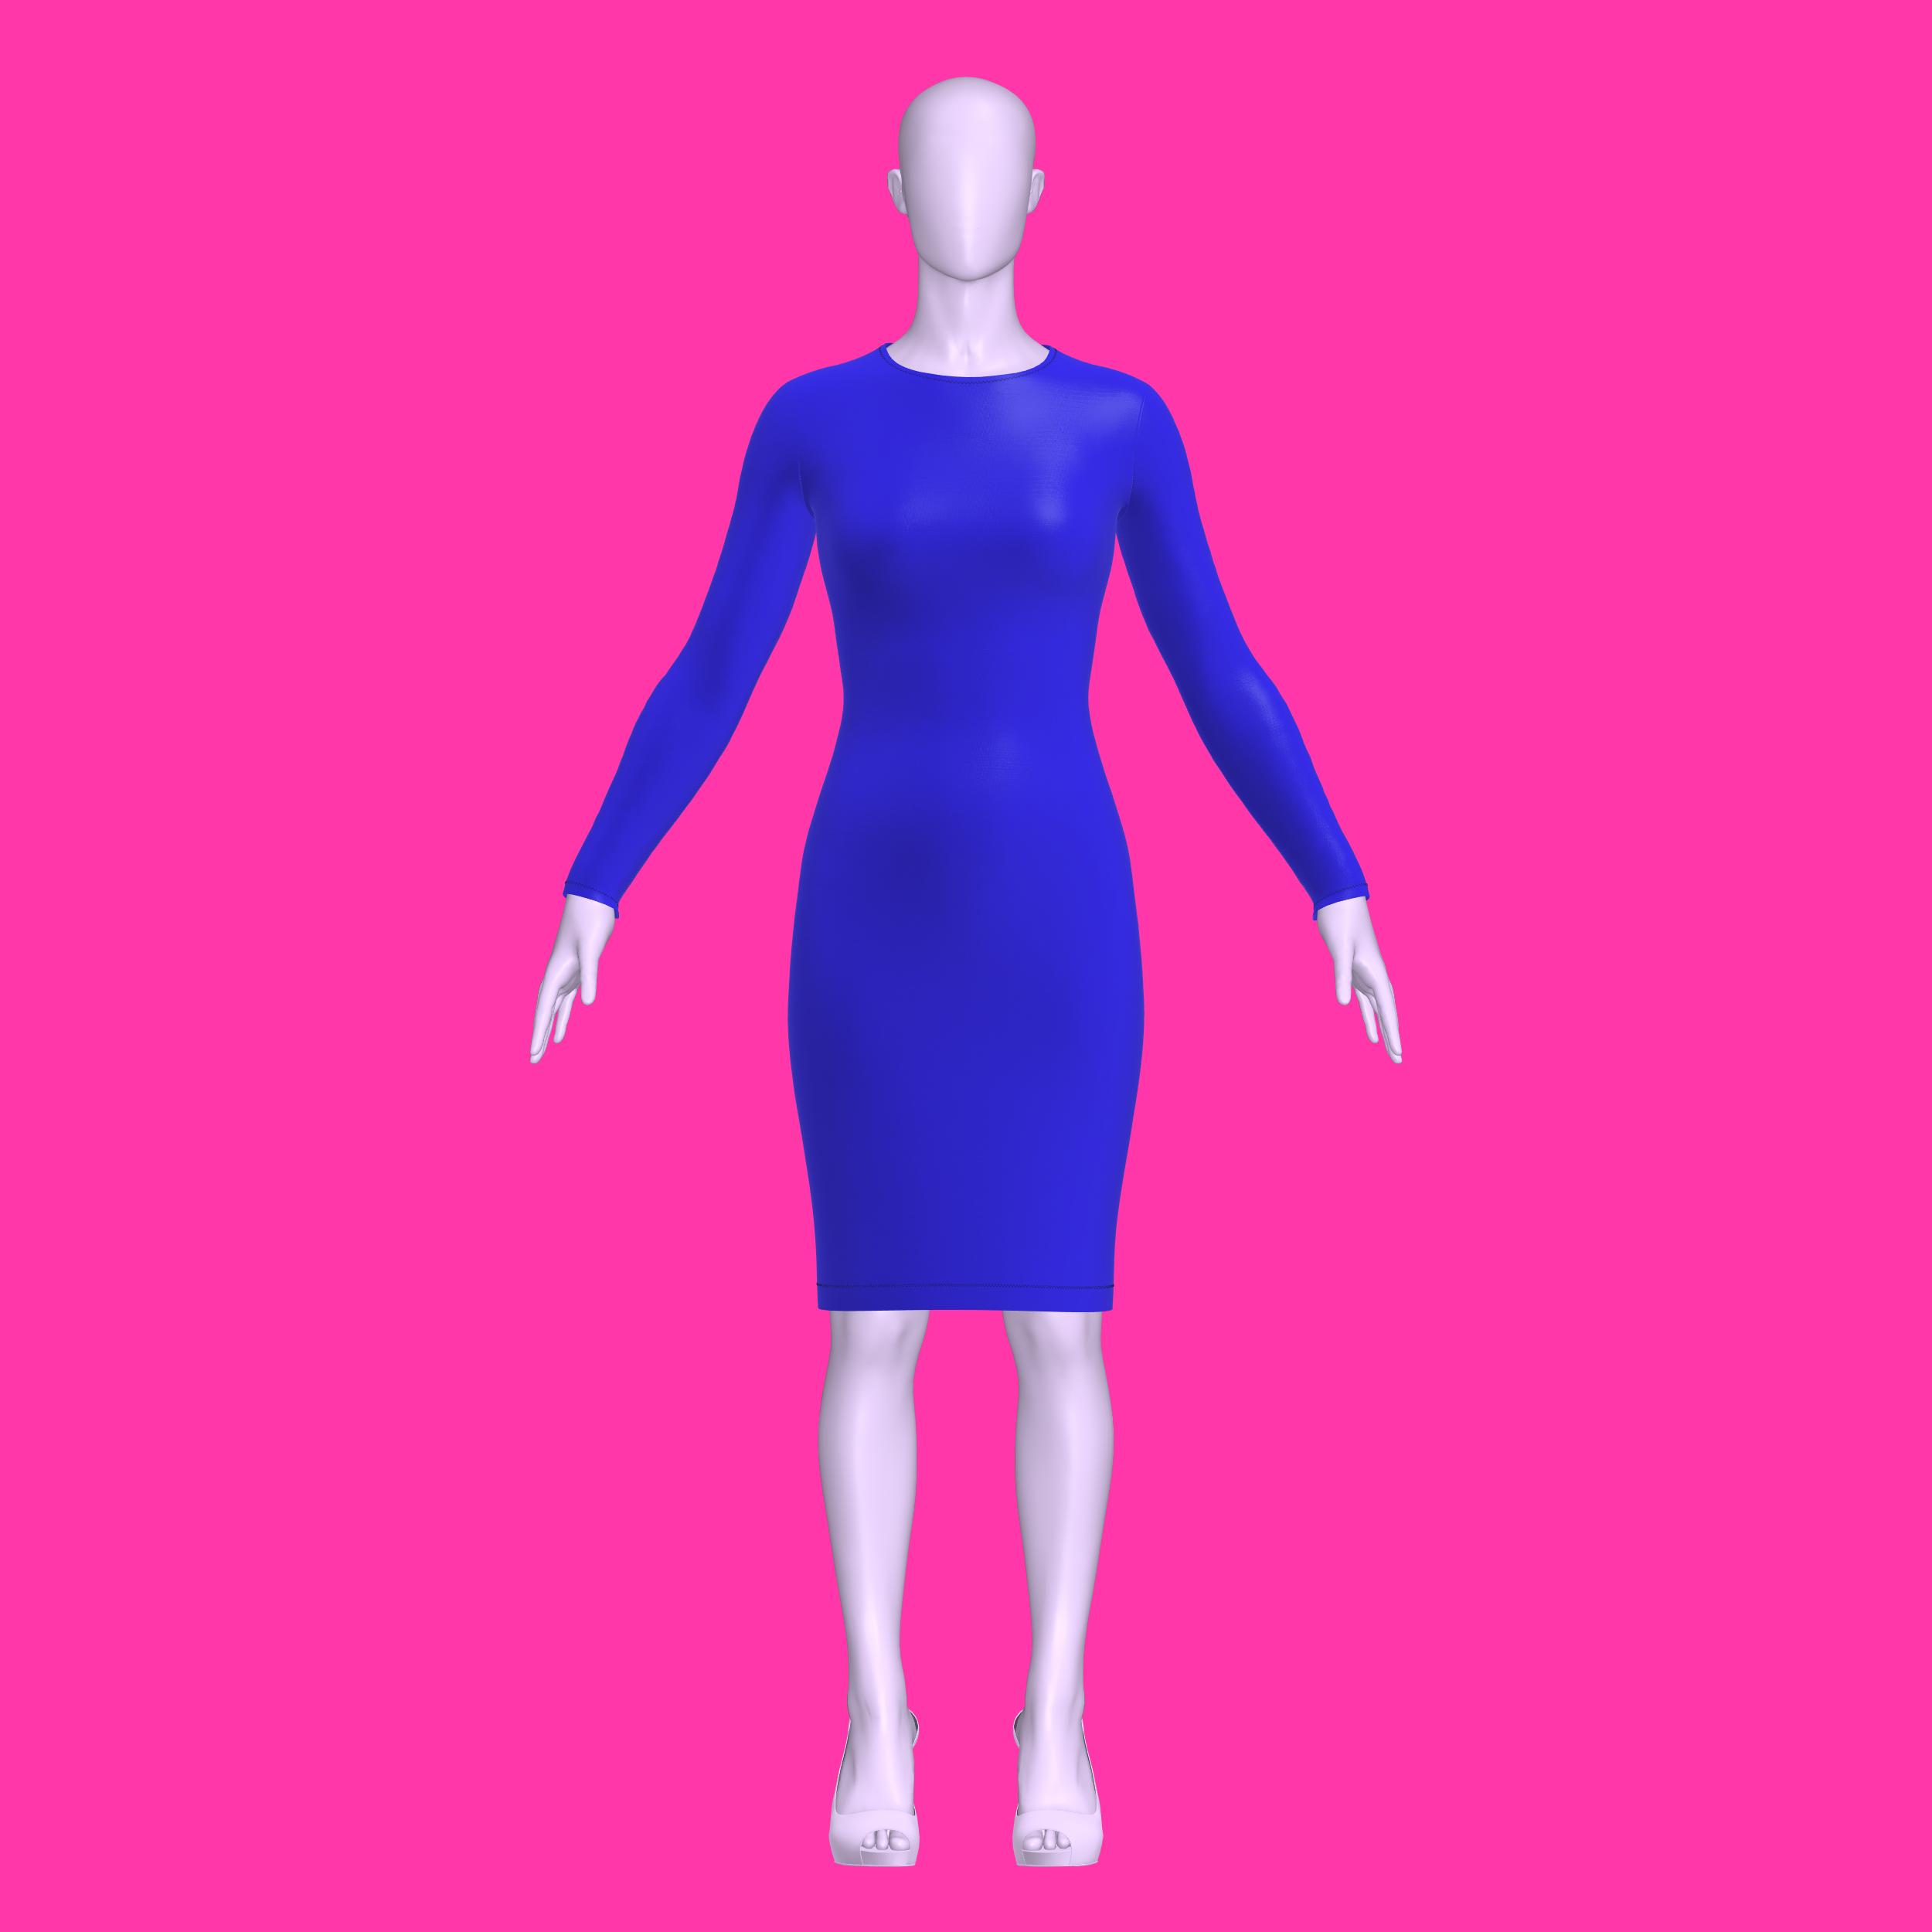
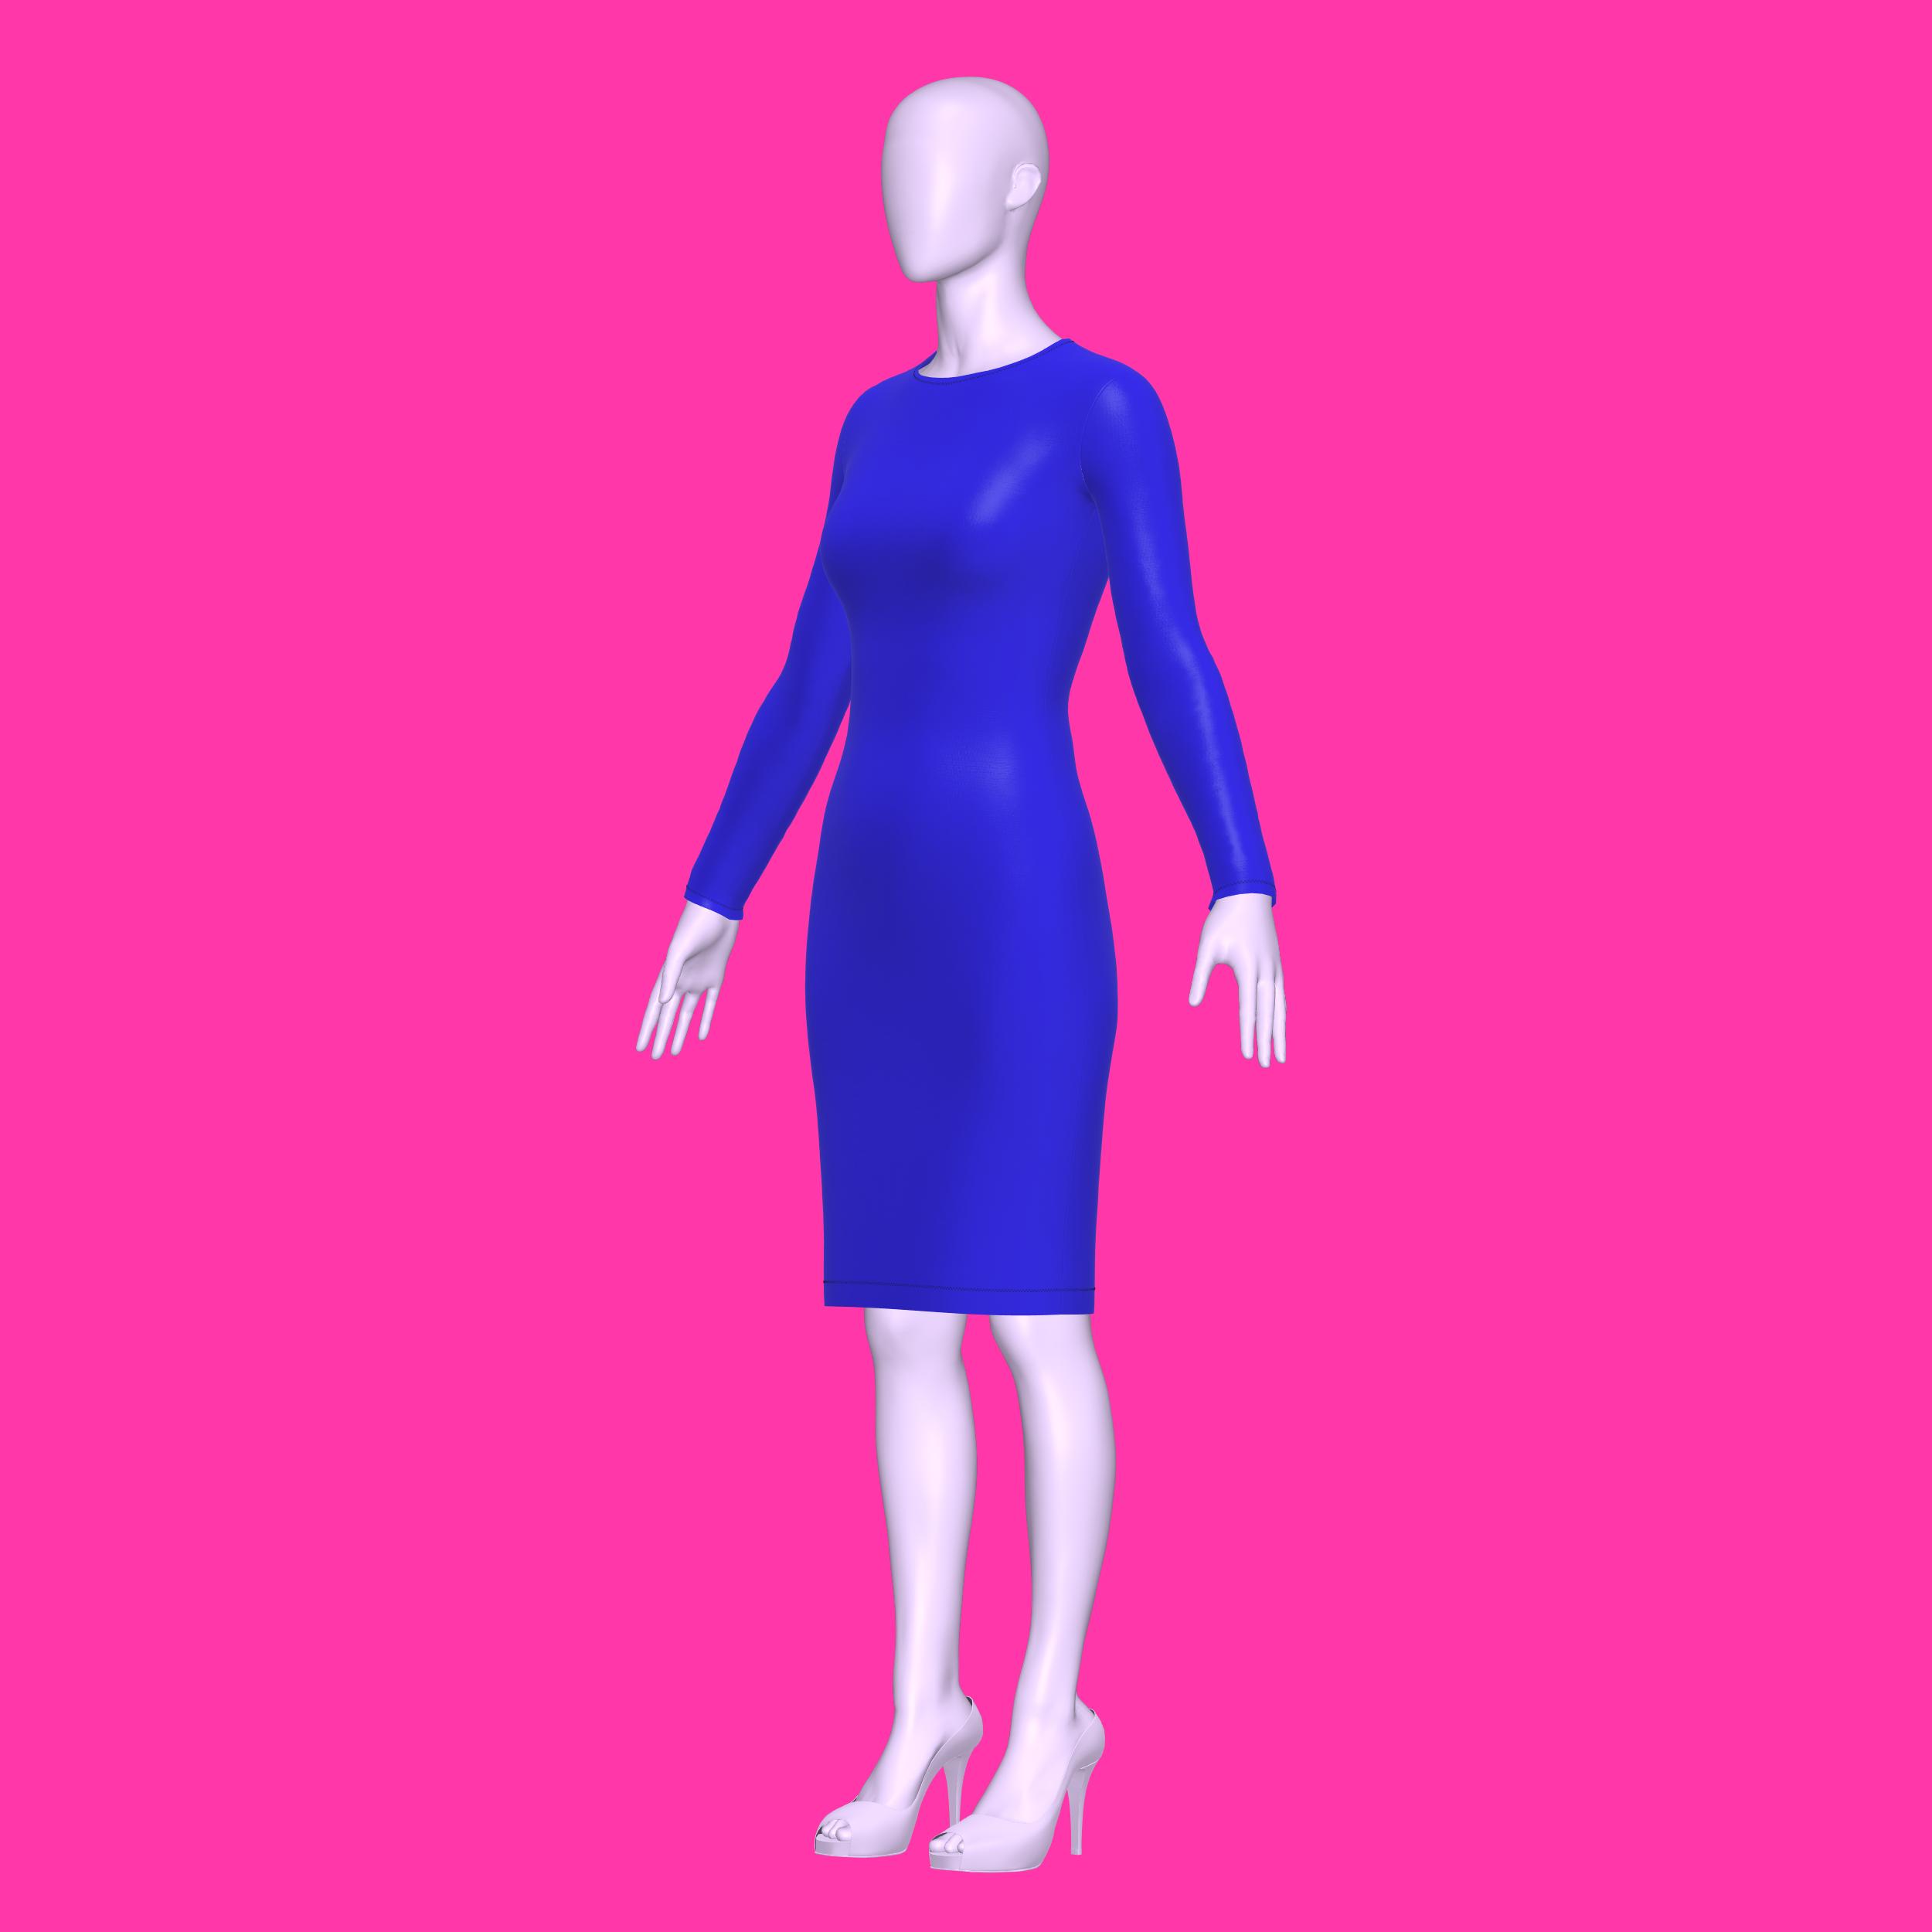
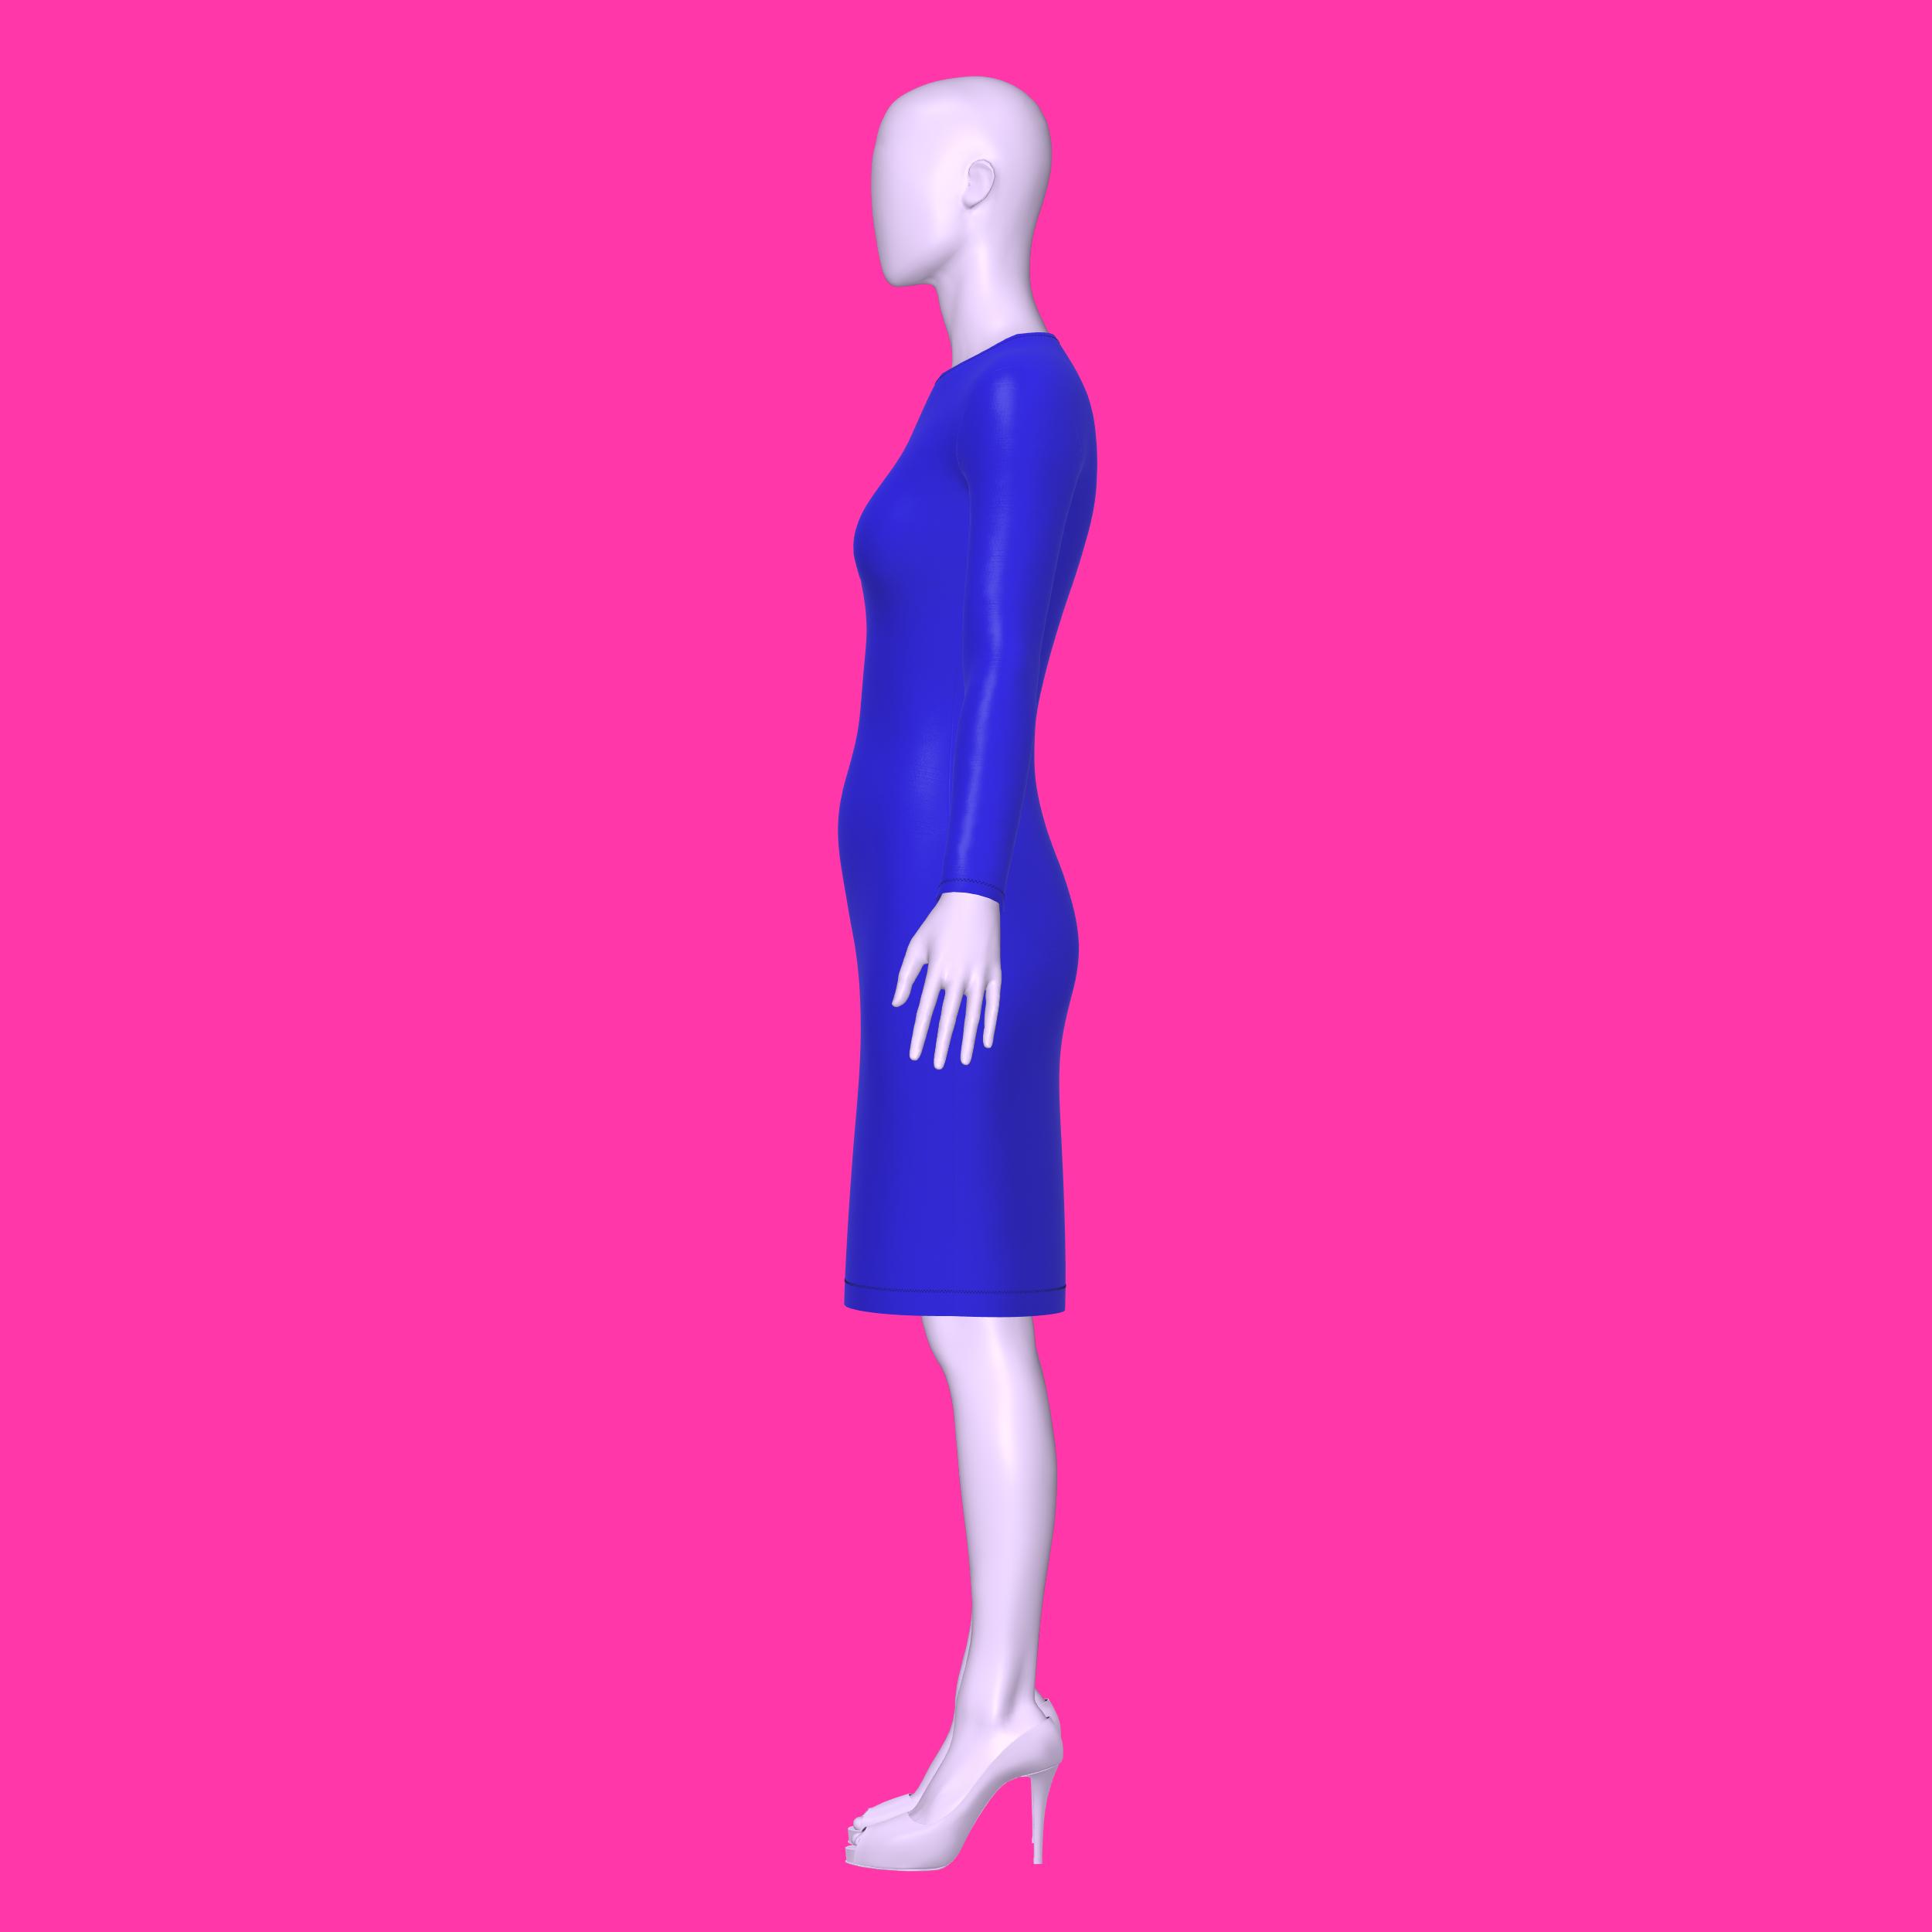
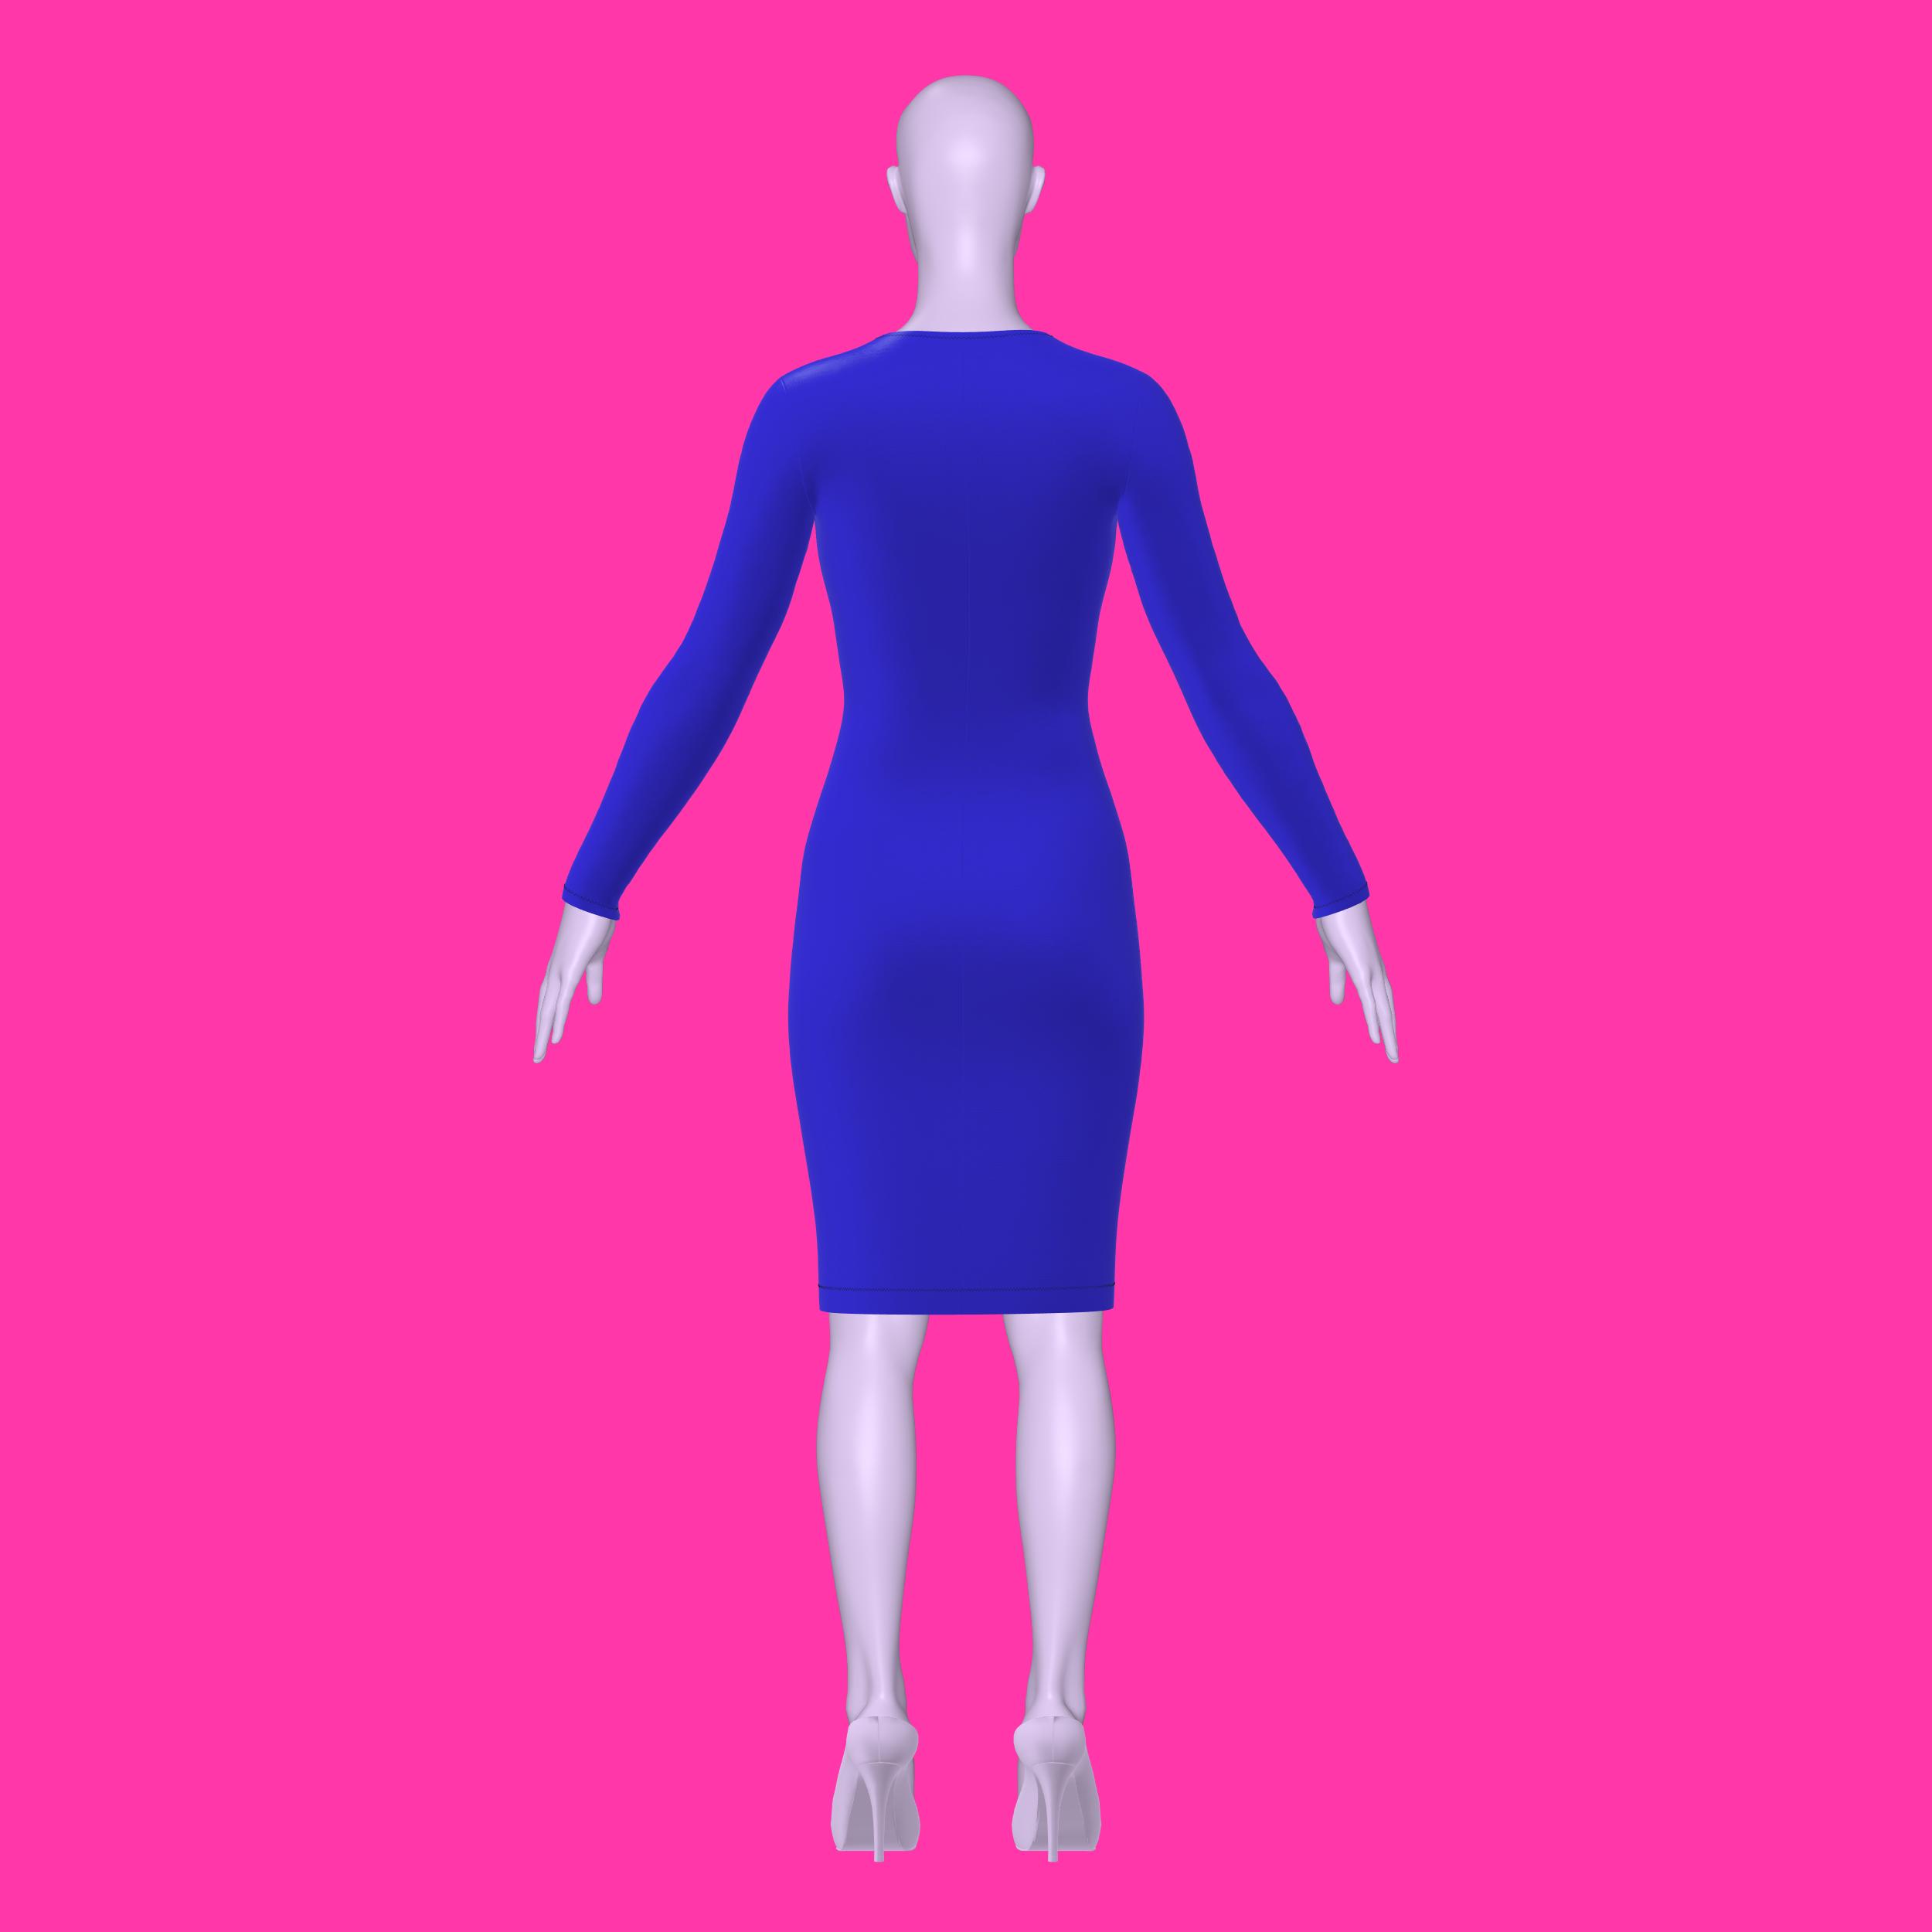
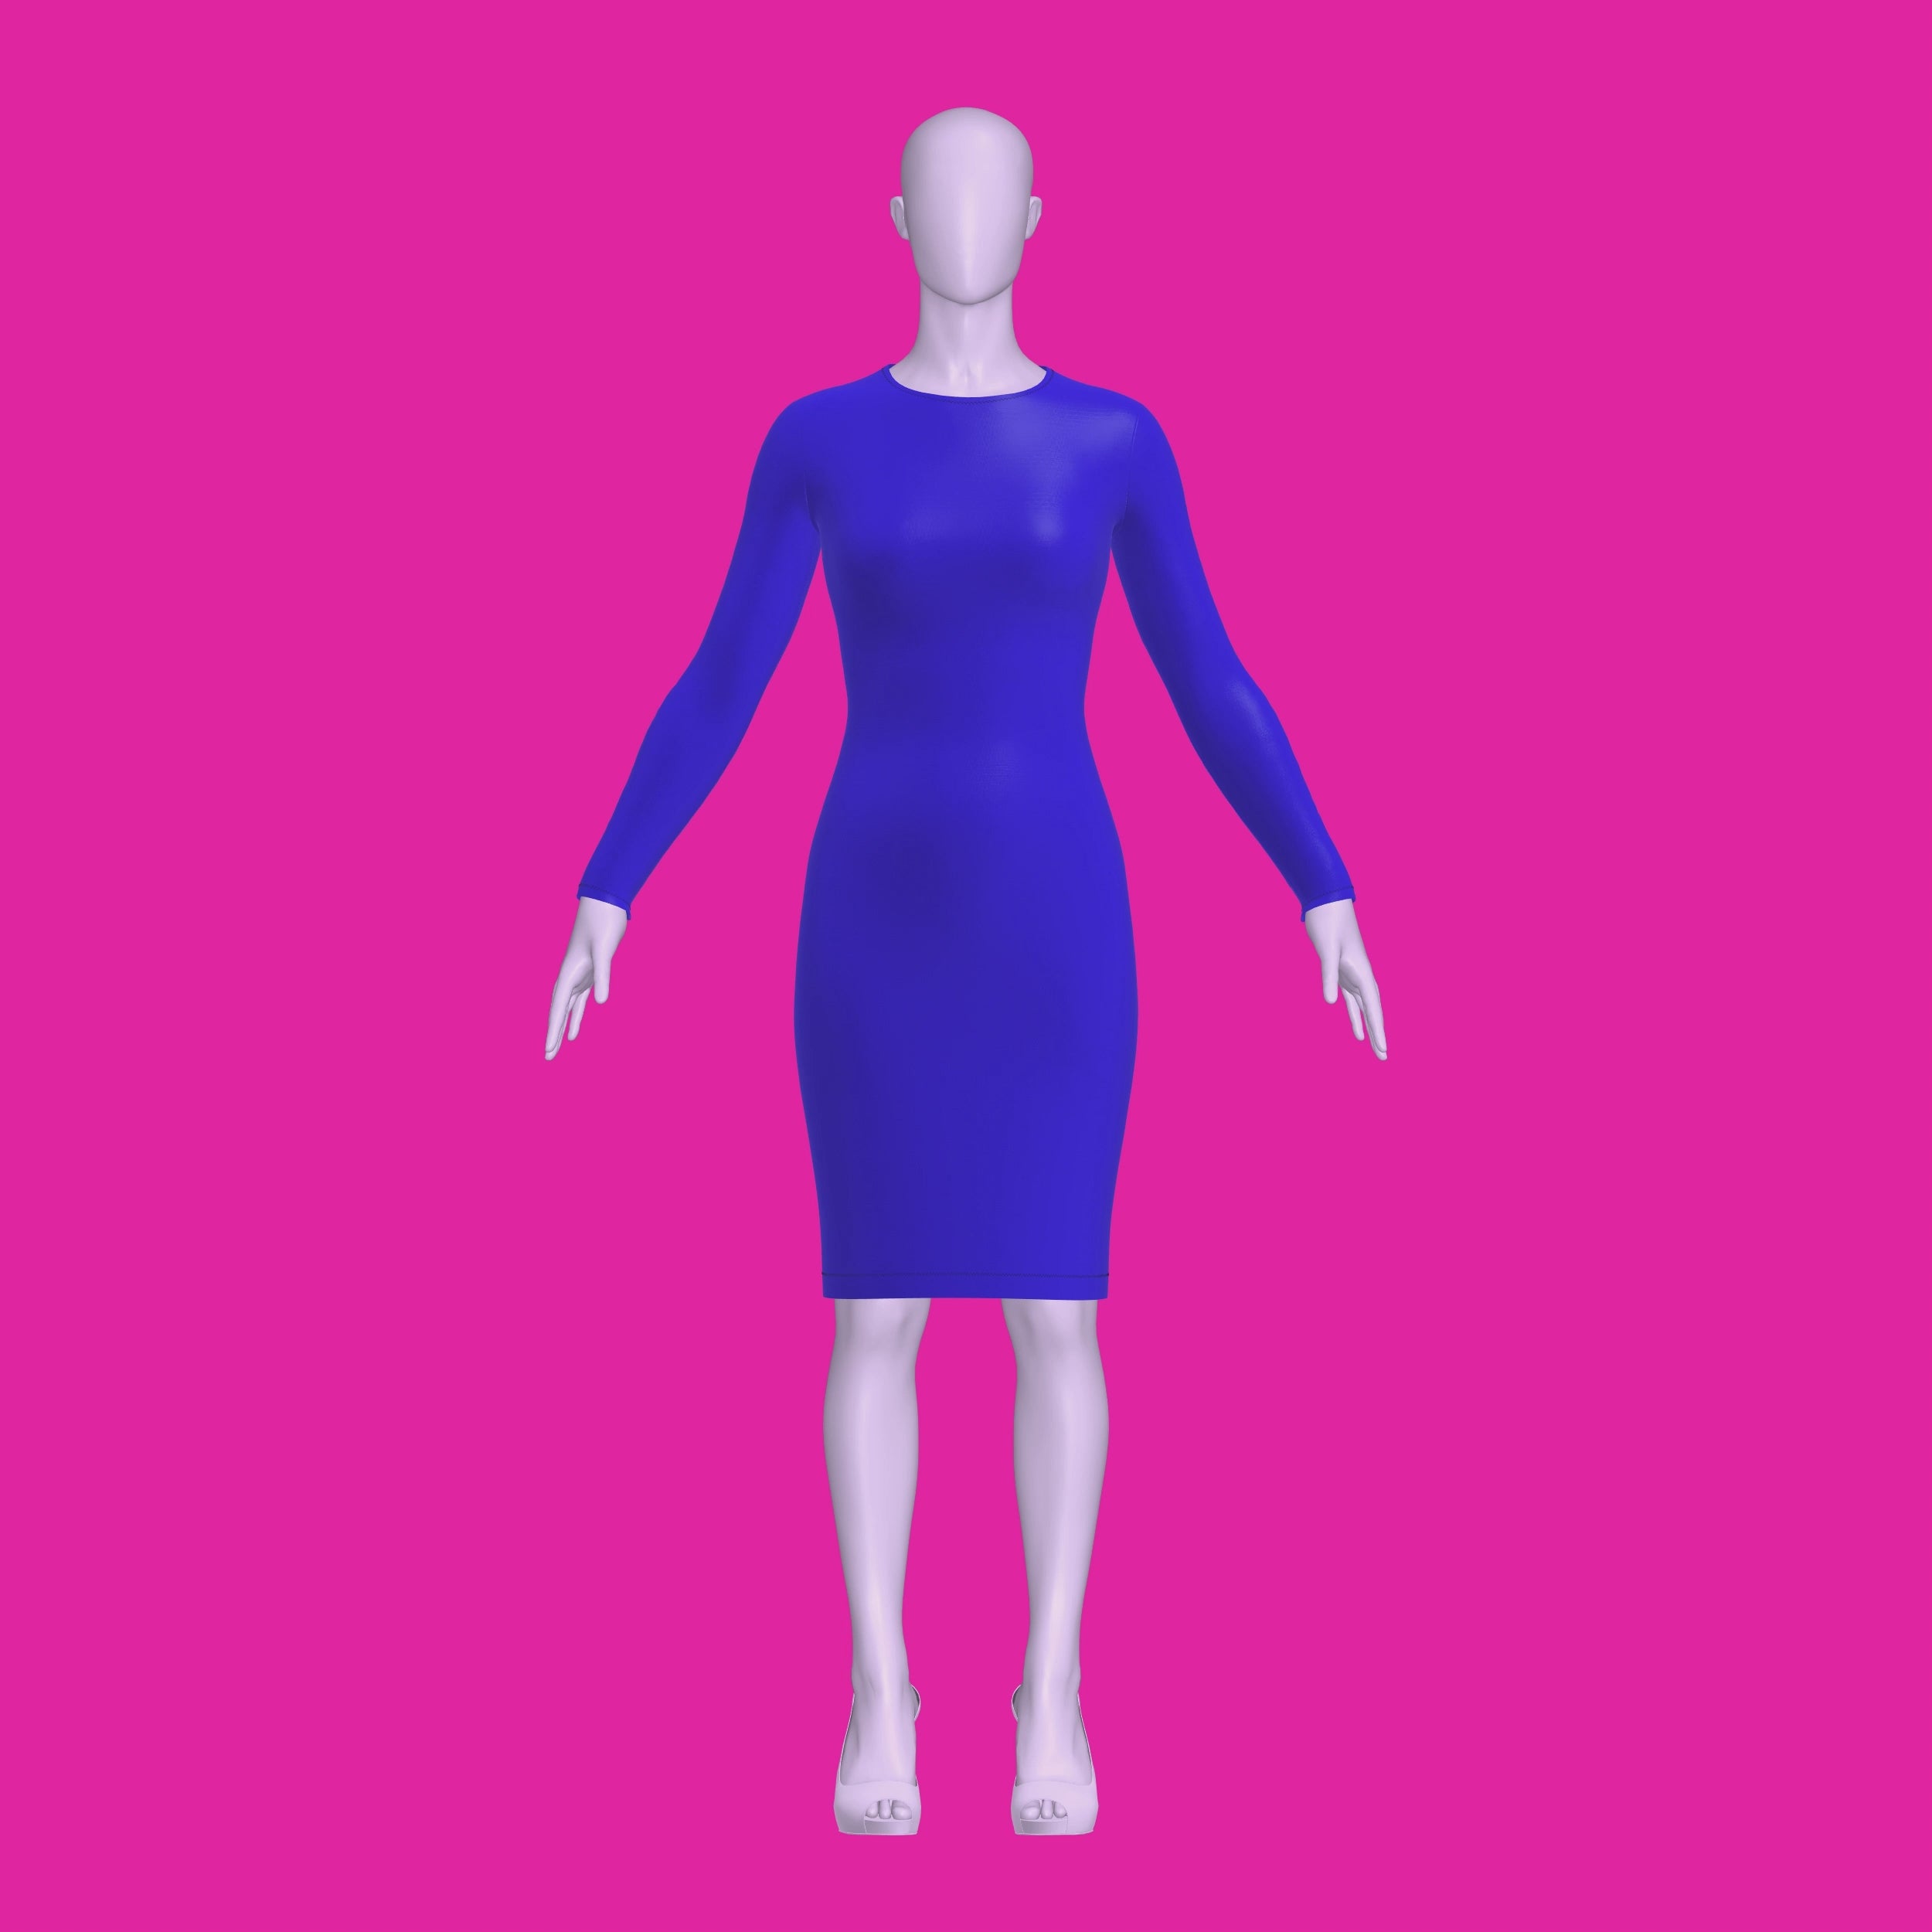
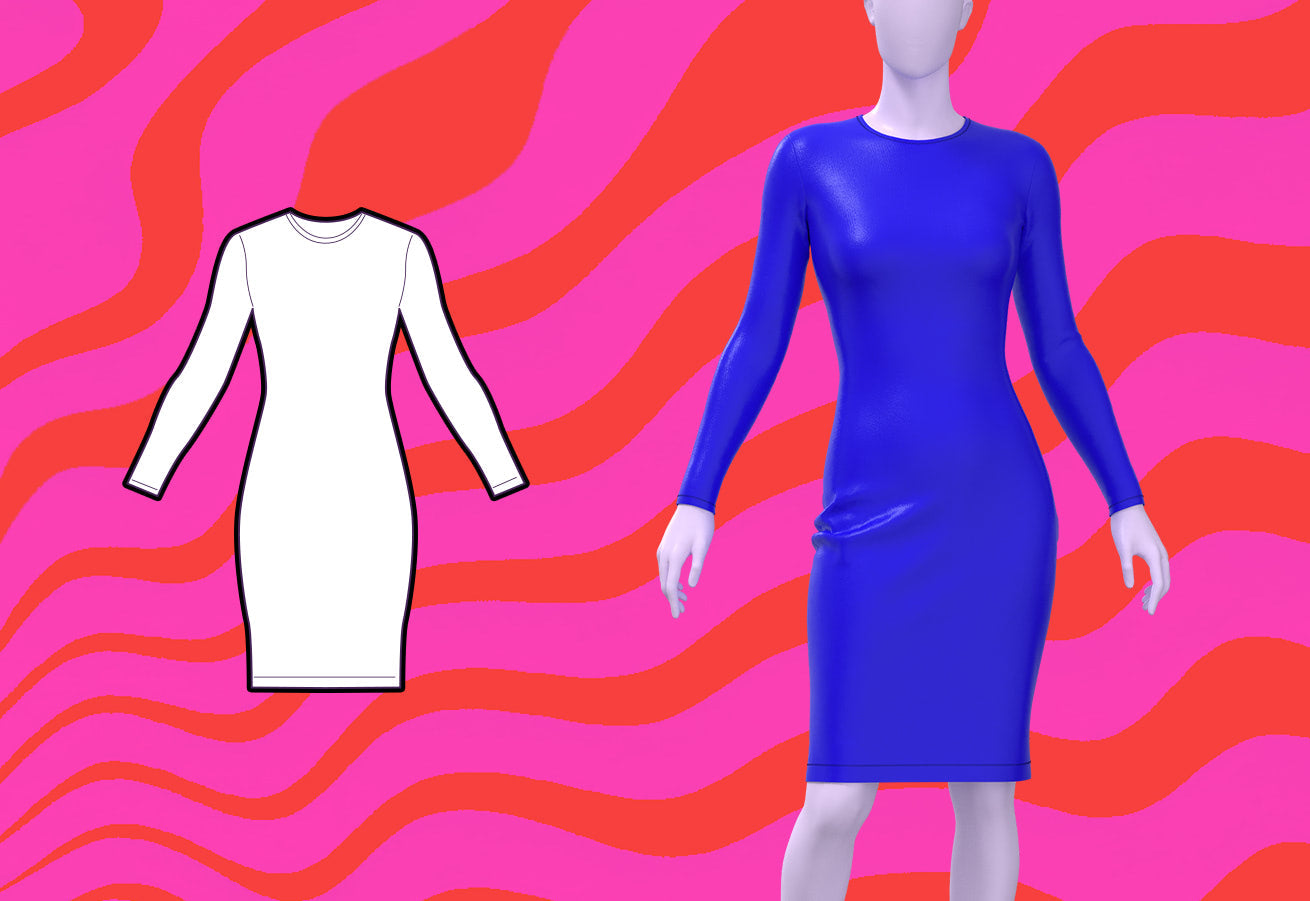
Presentamos nuestro último patrón de costura diseñado para drag queens: el vestido ajustado elástico de manga larga. Diseñado para acentuar las curvas y exudar confianza, esta prenda hasta la rodilla es perfecta para dominar el escenario en presentaciones de drag, hacer una declaración en raves, explorar reinos de fantasía o encarnar personajes en eventos de cosplay. Versátil y personalizable, sirve como un bloque de patrón ideal para crear tus propios diseños únicos. Opta por una mayor comodidad y estilo instalando una cremallera en la espalda, lo que garantiza un uso fácil y un ajuste perfecto. Fabricado exclusivamente con telas elásticas en 4 direcciones, este vestido promete una silueta cómoda y favorecedora que se mueve con tu cuerpo, lo que te permite bailar, actuar y expresarte con libertad sin restricciones. Realza tu estilo drag moderno con el patrón de costura del vestido ajustado elástico de manga larga y libera a tu diva interior con confianza y estilo.
Dificultad del patrón: Para principiantes
Yardas de tela
Este patrón requiere el uso de tela elástica en 4 direcciones. A continuación, encontrará las yardas necesarias para cada tamaño. Las yardas que se indican a continuación corresponden a telas de 58 pulgadas de ancho.
| Tamaño | Yardas de tela (ancho de 58”) |
|---|---|
| XS | 1.25 |
| S | 1.5 |
| METRO | 1,75 |
| yo | 1,75 |
| SG | 2 |
| 2X | 2 |
| 3 veces | 2.25 |
| 4 veces | 2.25 |
Para obtener información sobre la conversión de pulgadas a metros, consulte nuestra guía de conversión.
Telas y artículos de mercería
Adecuado únicamente para tejidos elásticos en 4 direcciones:
- Spandex
- Miliskin
- Licra
- Vinilo elástico
- Opcional: Cremallera invisible de 16" a 20"
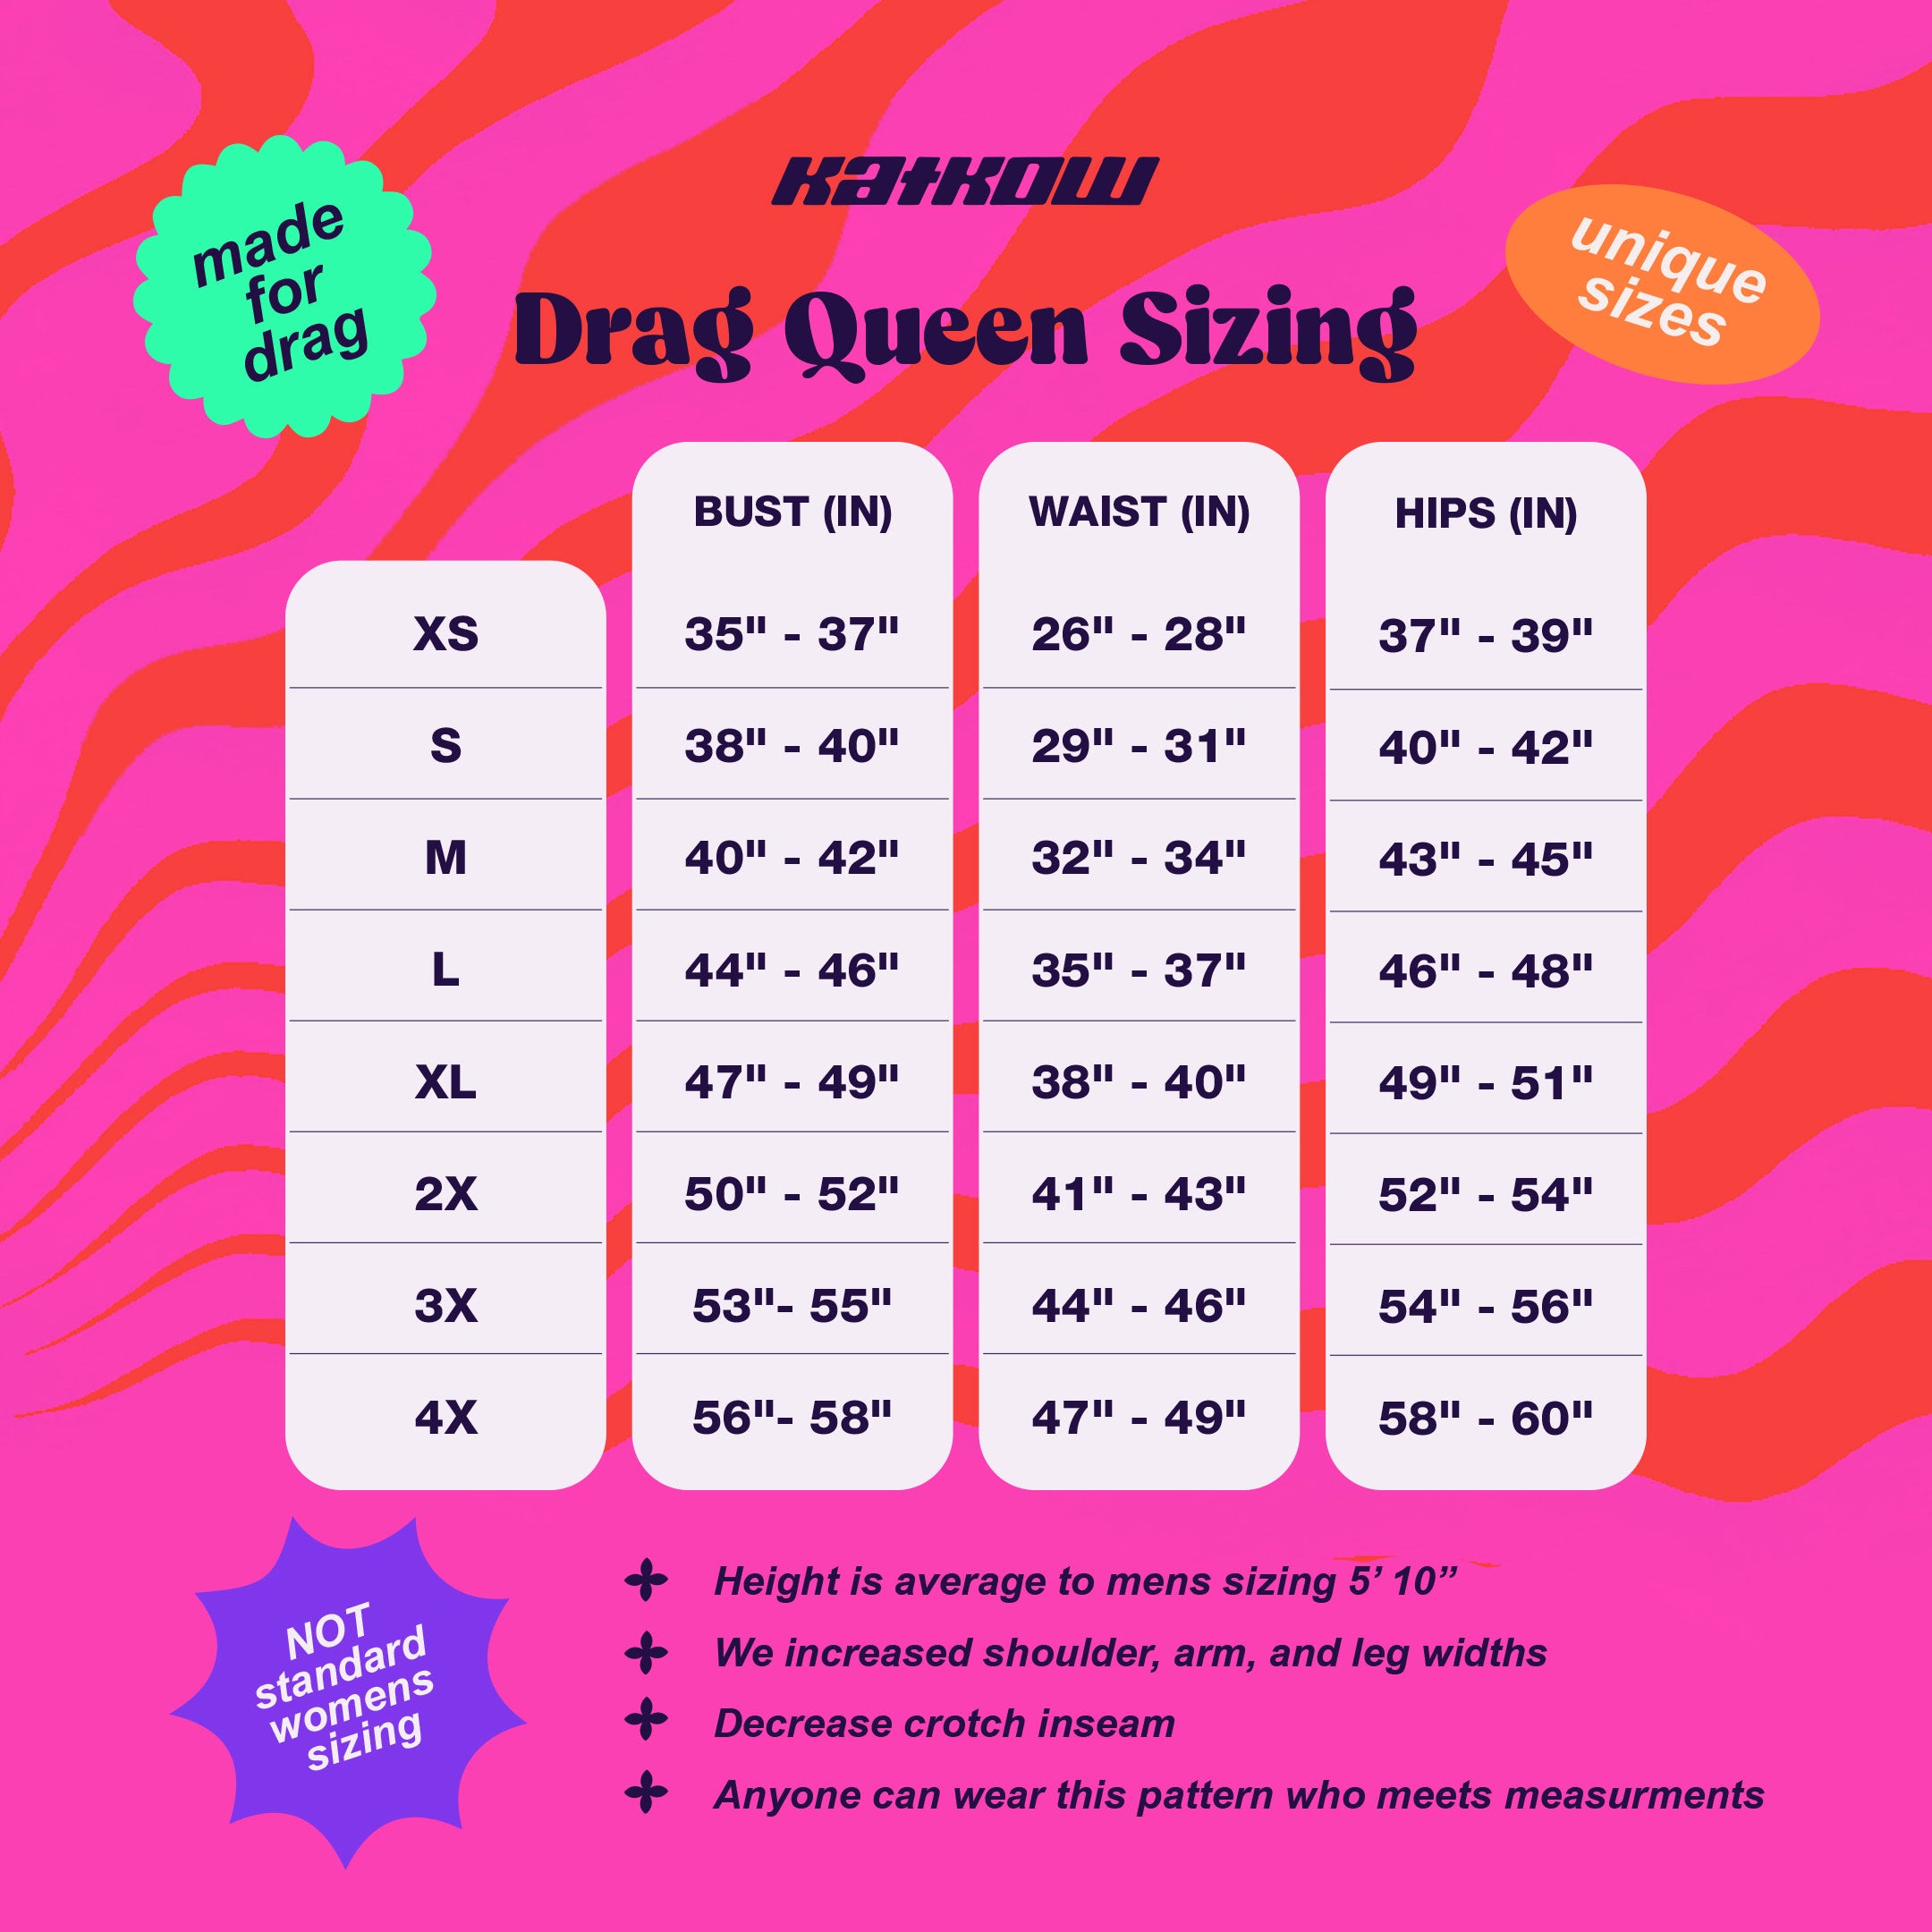
Detalles de tallas
Este patrón está disponible en nuestros exclusivos talles Drag Queen (XS-4X). Consulta nuestra guía de talles para obtener más información sobre nuestras medidas de talle.
Instrucciones de costura
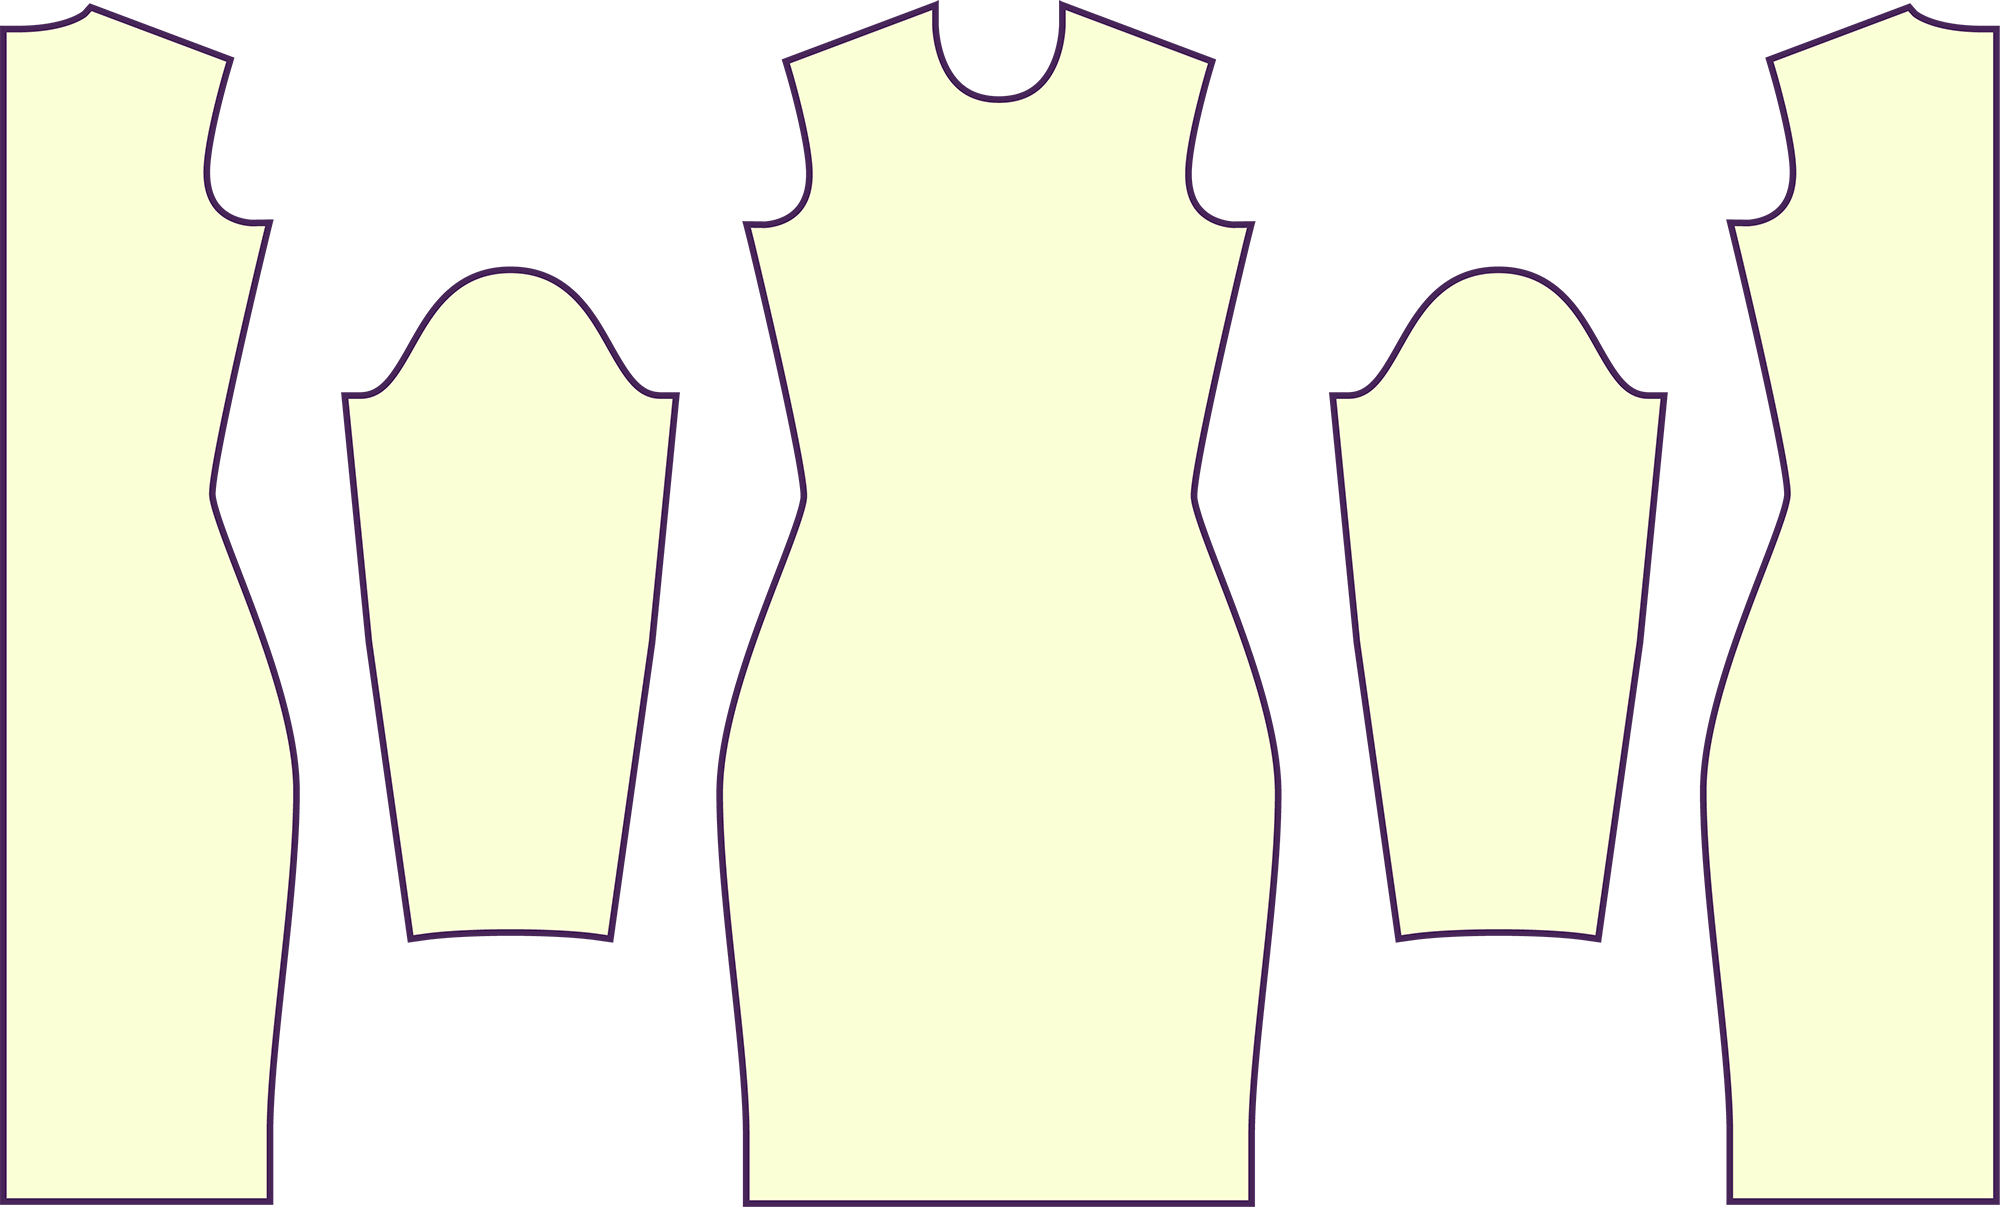
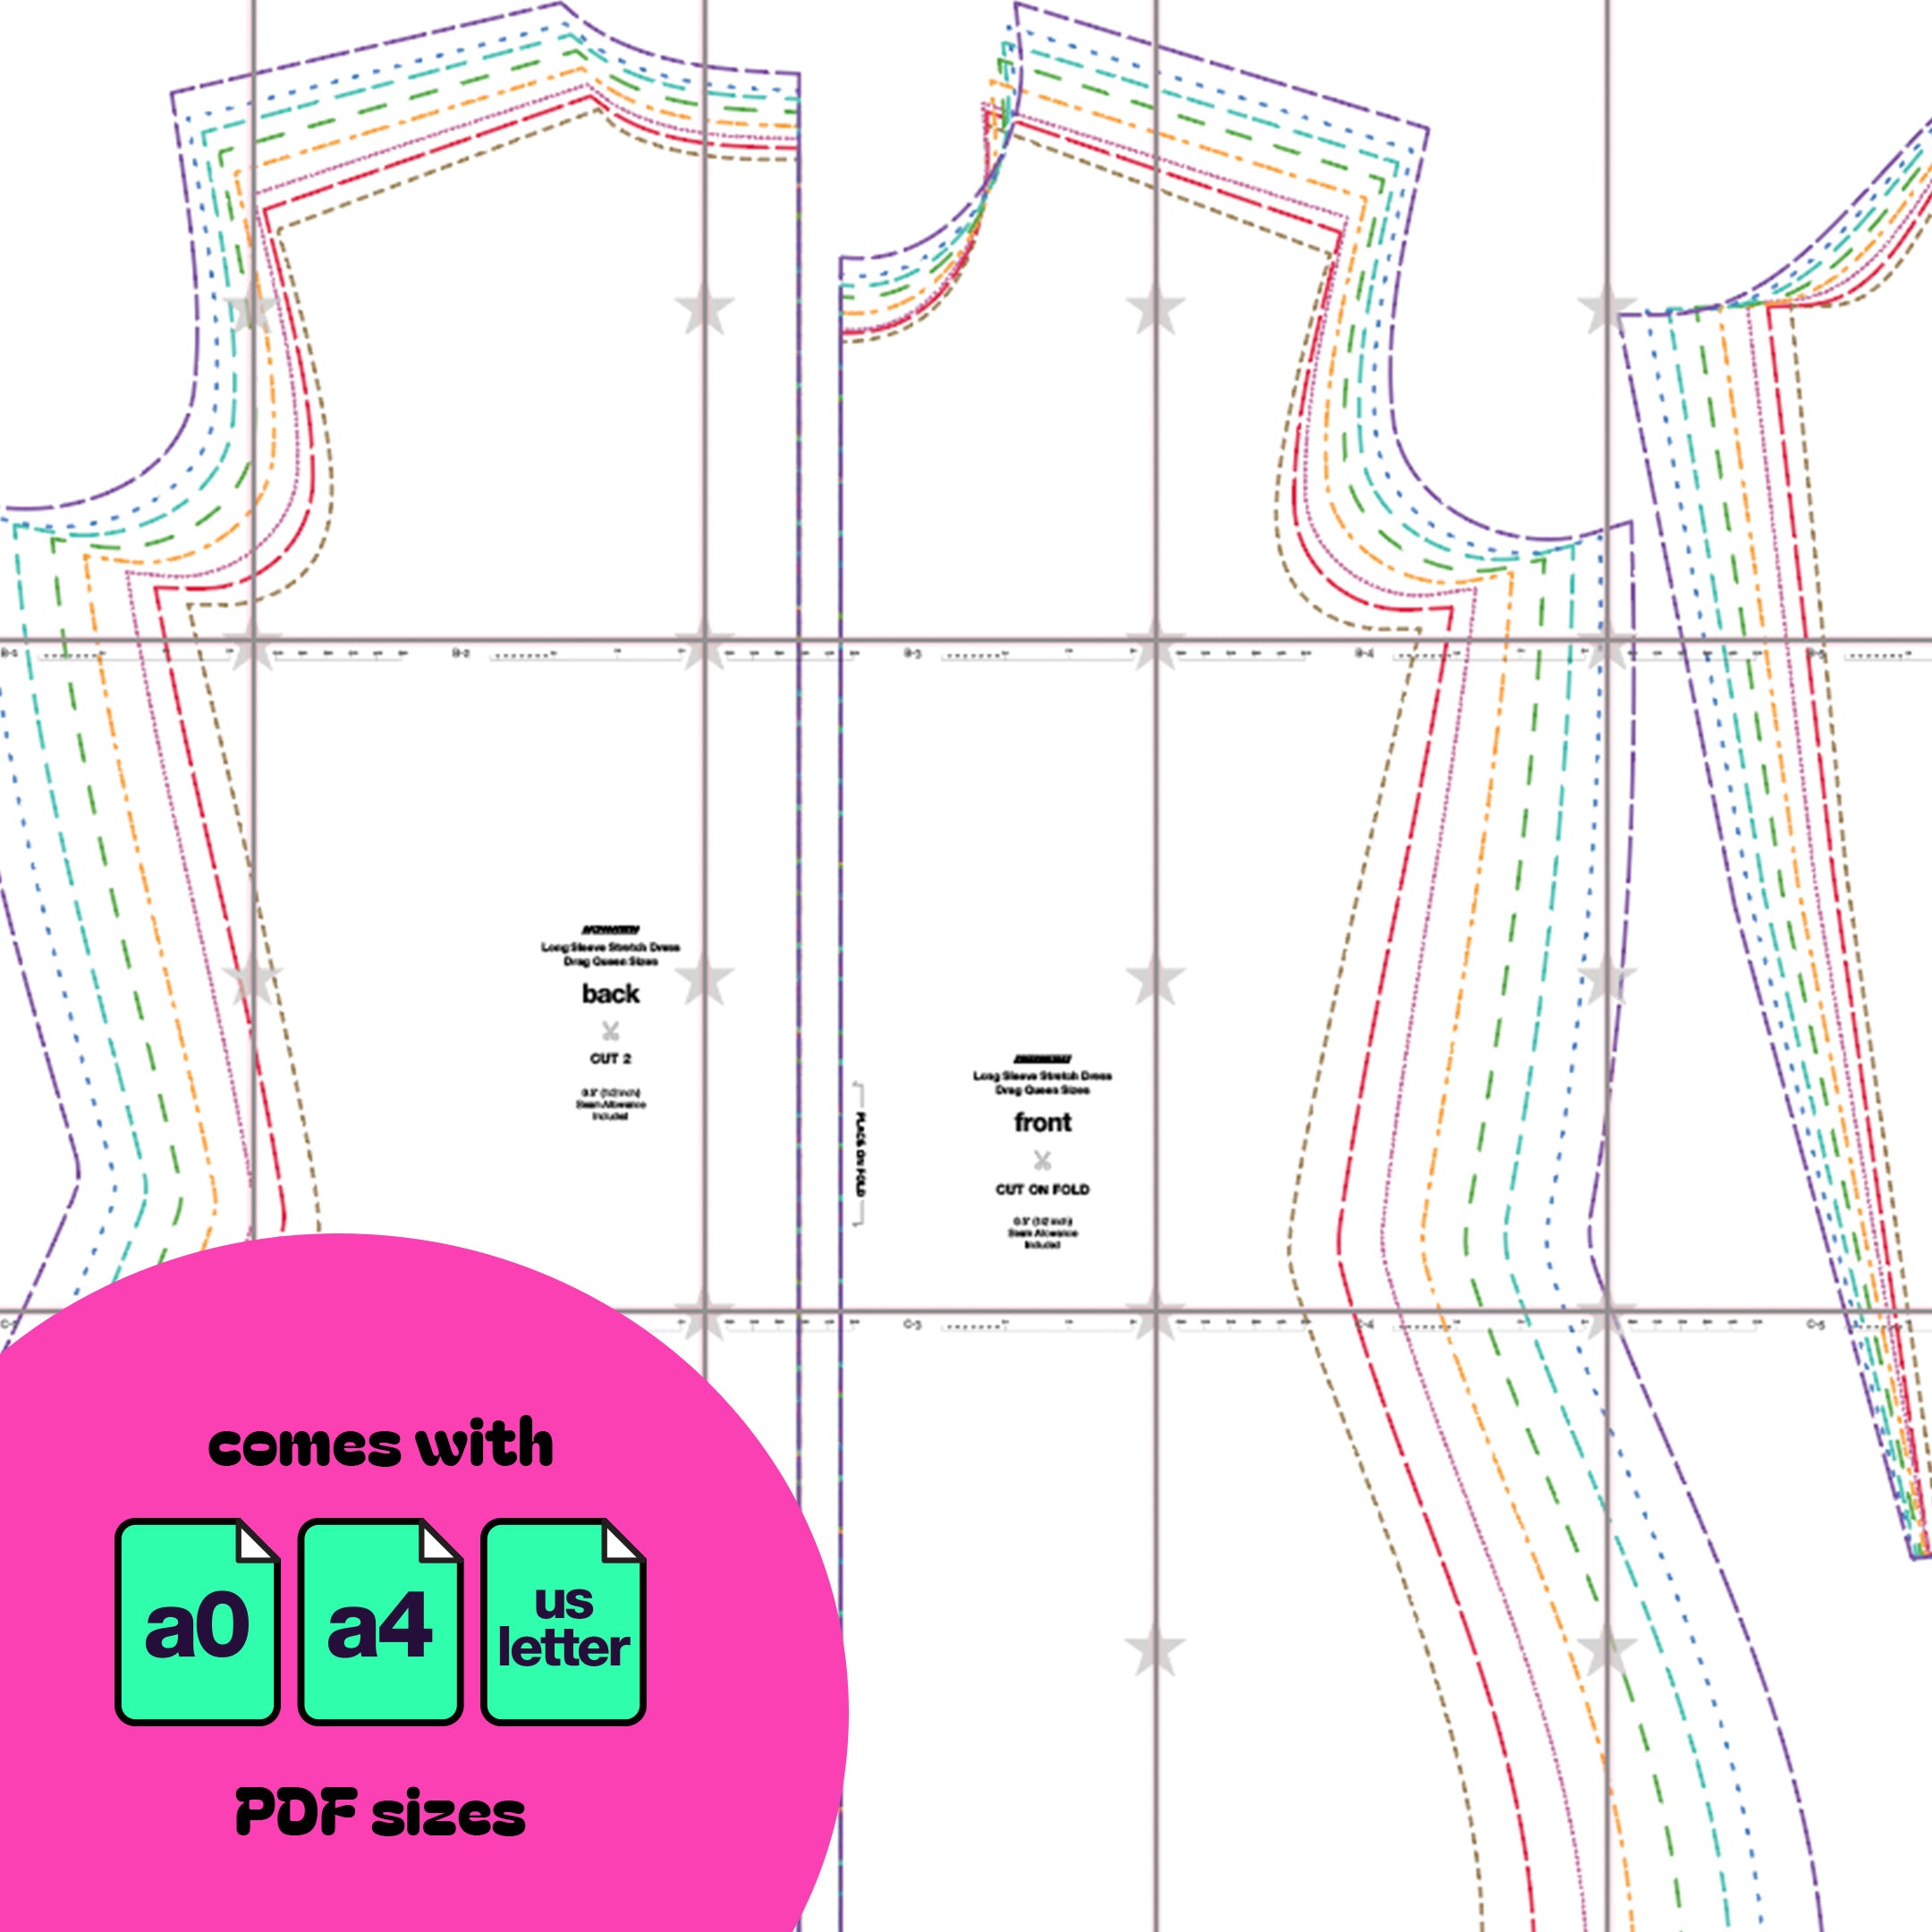
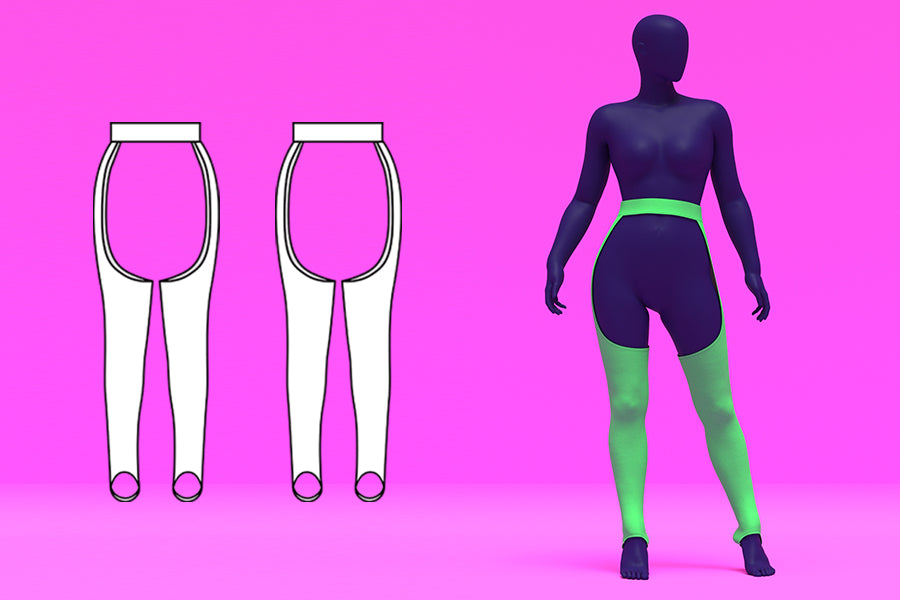
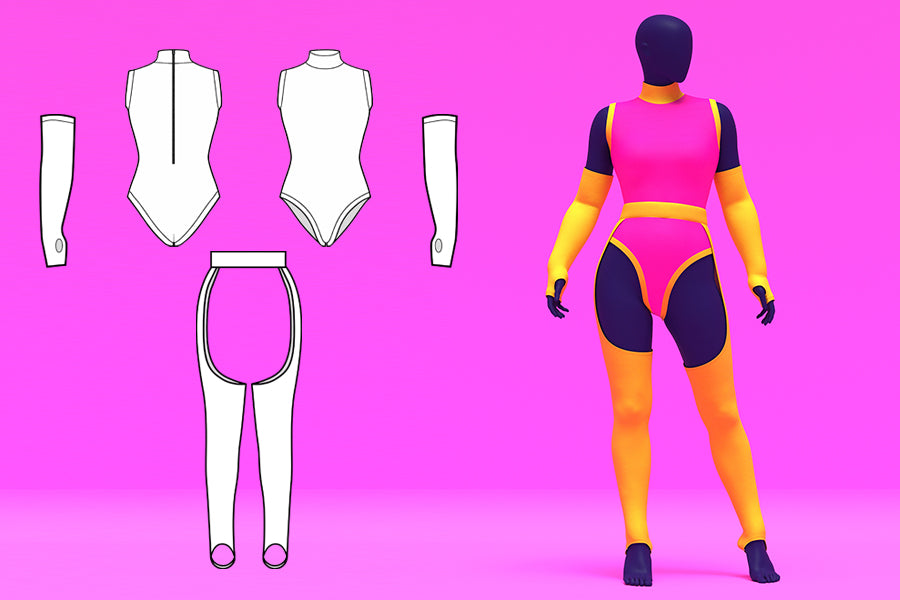
Fabric Pieces
After cutting your fabric, you should have the following pieces: one seamless front, two sleeves, and two back pieces.

Stitches
For this project, the recommended stitches are a serger overlock stitch, a stretch stitch, or a zigzag stitch. A straight stitch may cause the threads to snap and is not advisable.

STEP 1
Stack the two back pieces, right sides facing each other, and sew them together along the center back seam.
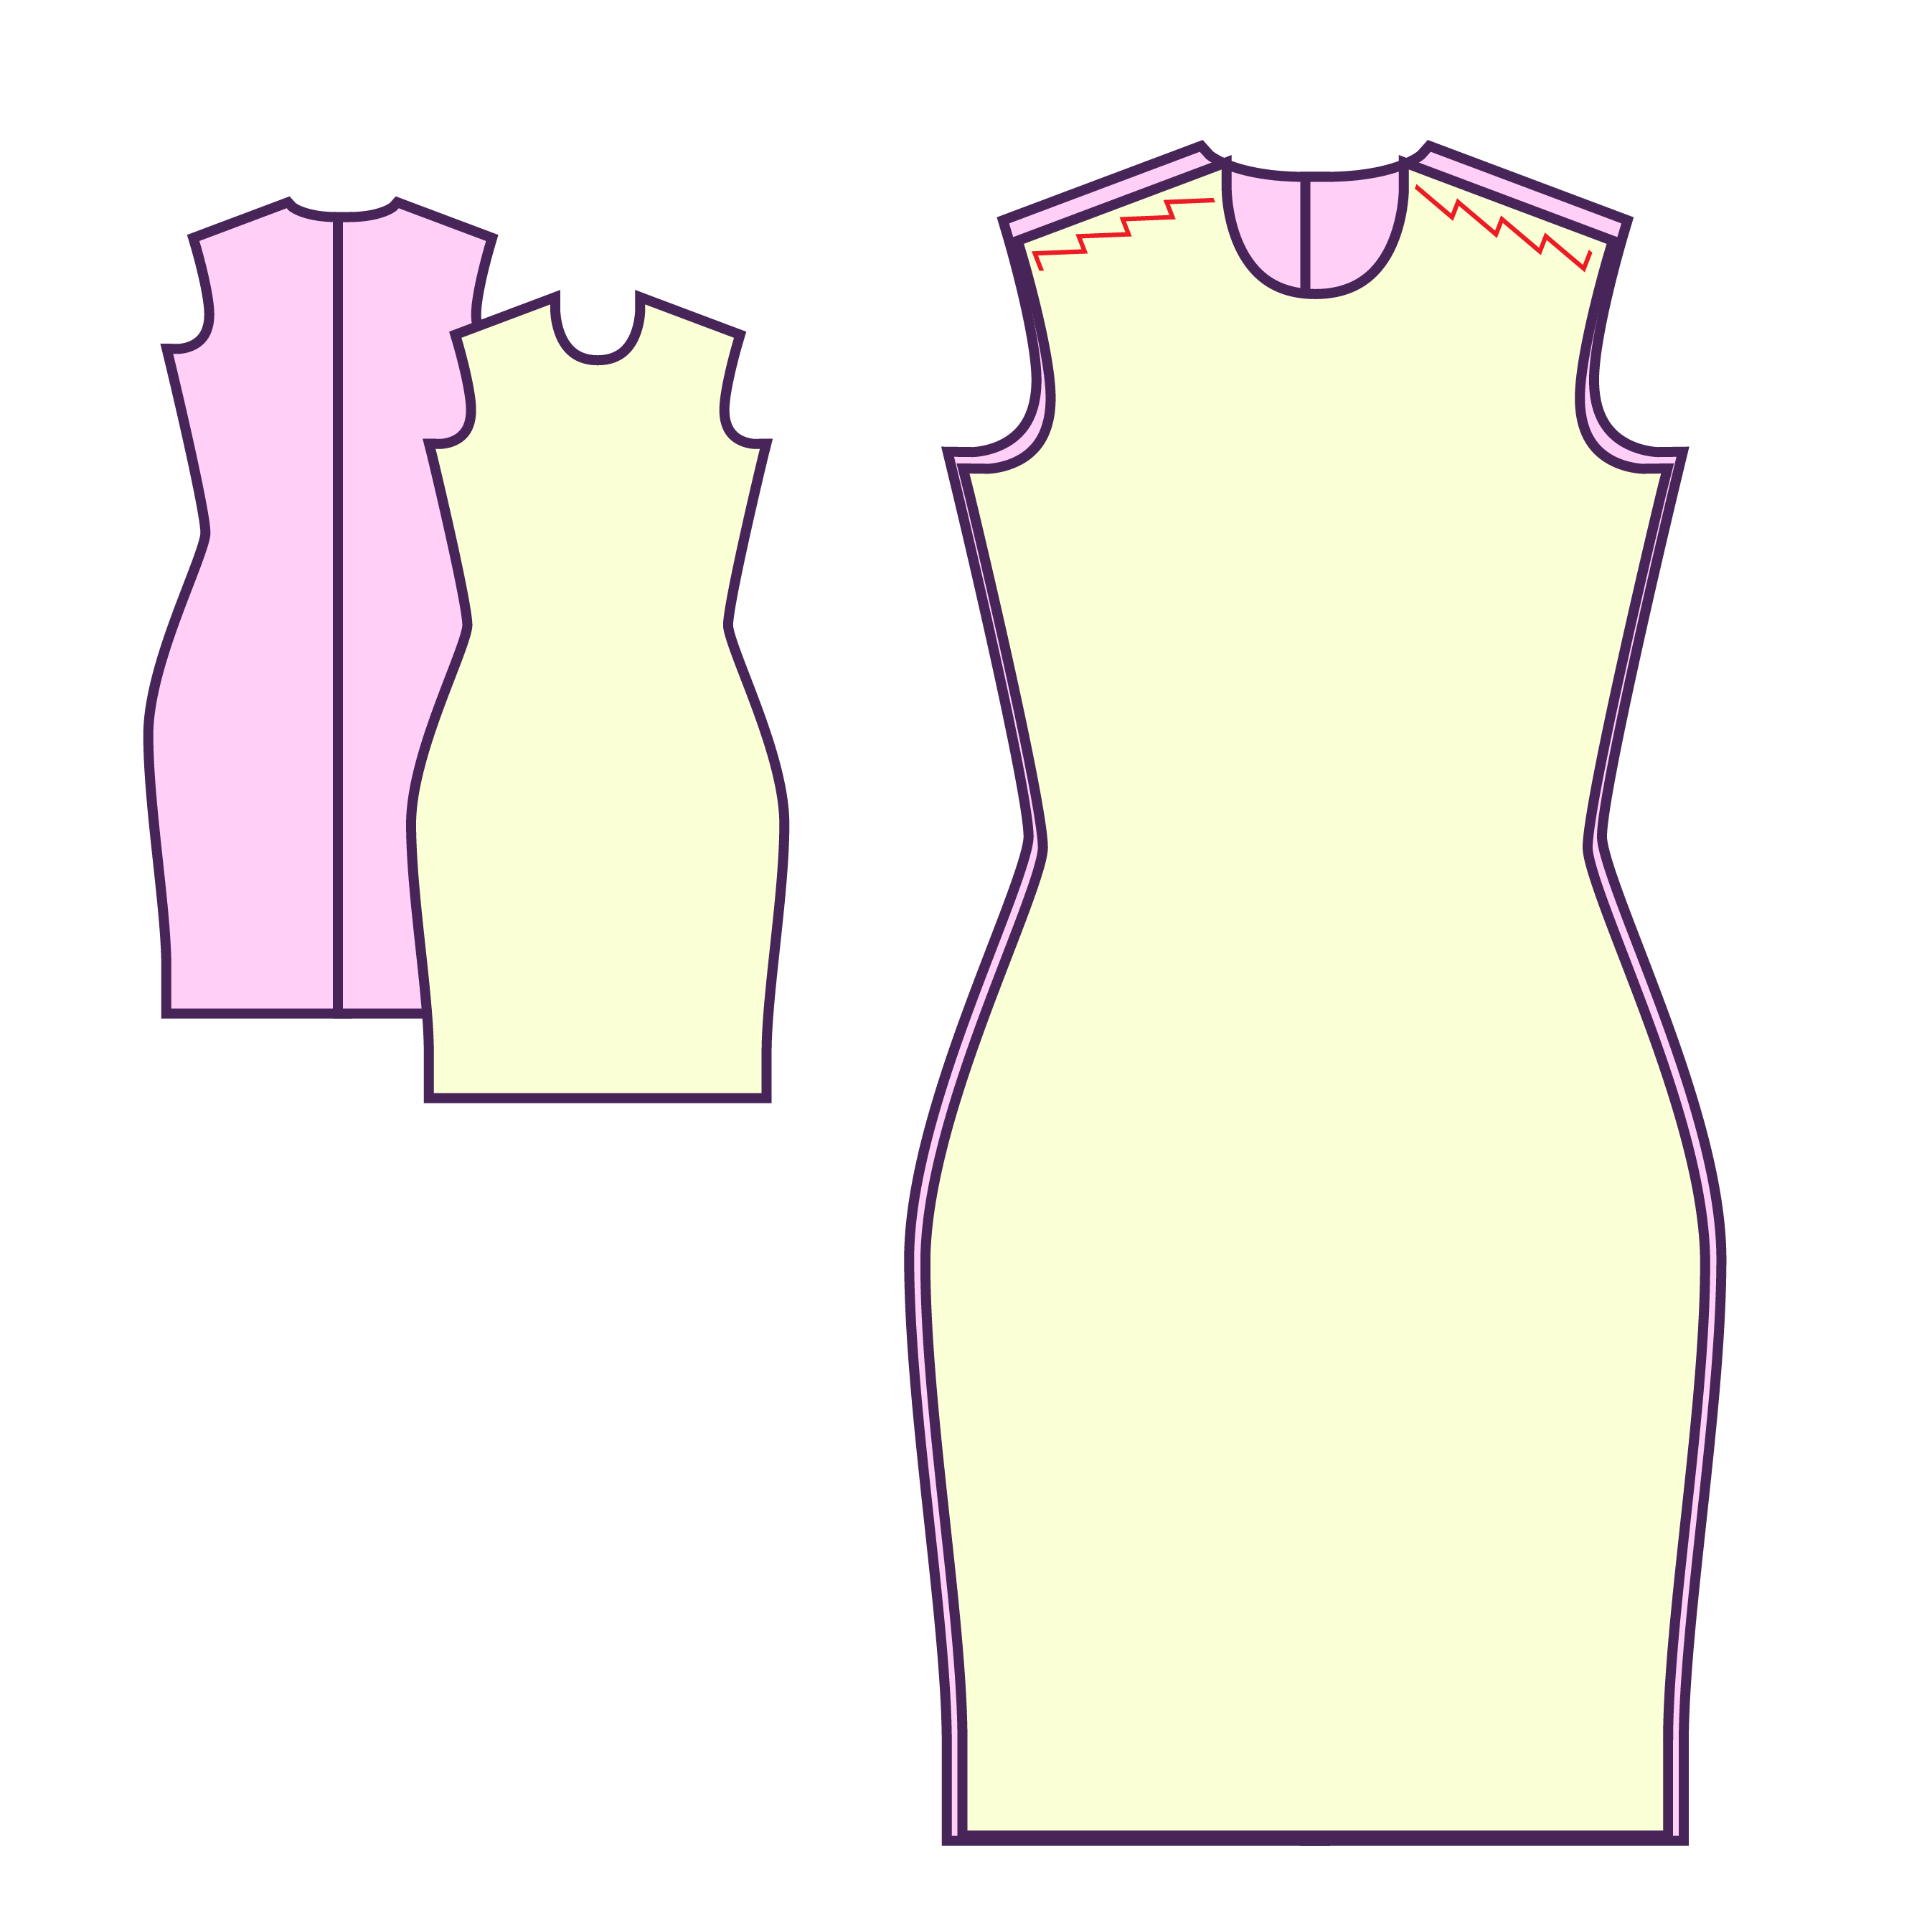
STEP 2
Stack the front and back pieces, right sides facing each other, and sew them together along the shoulder seams.
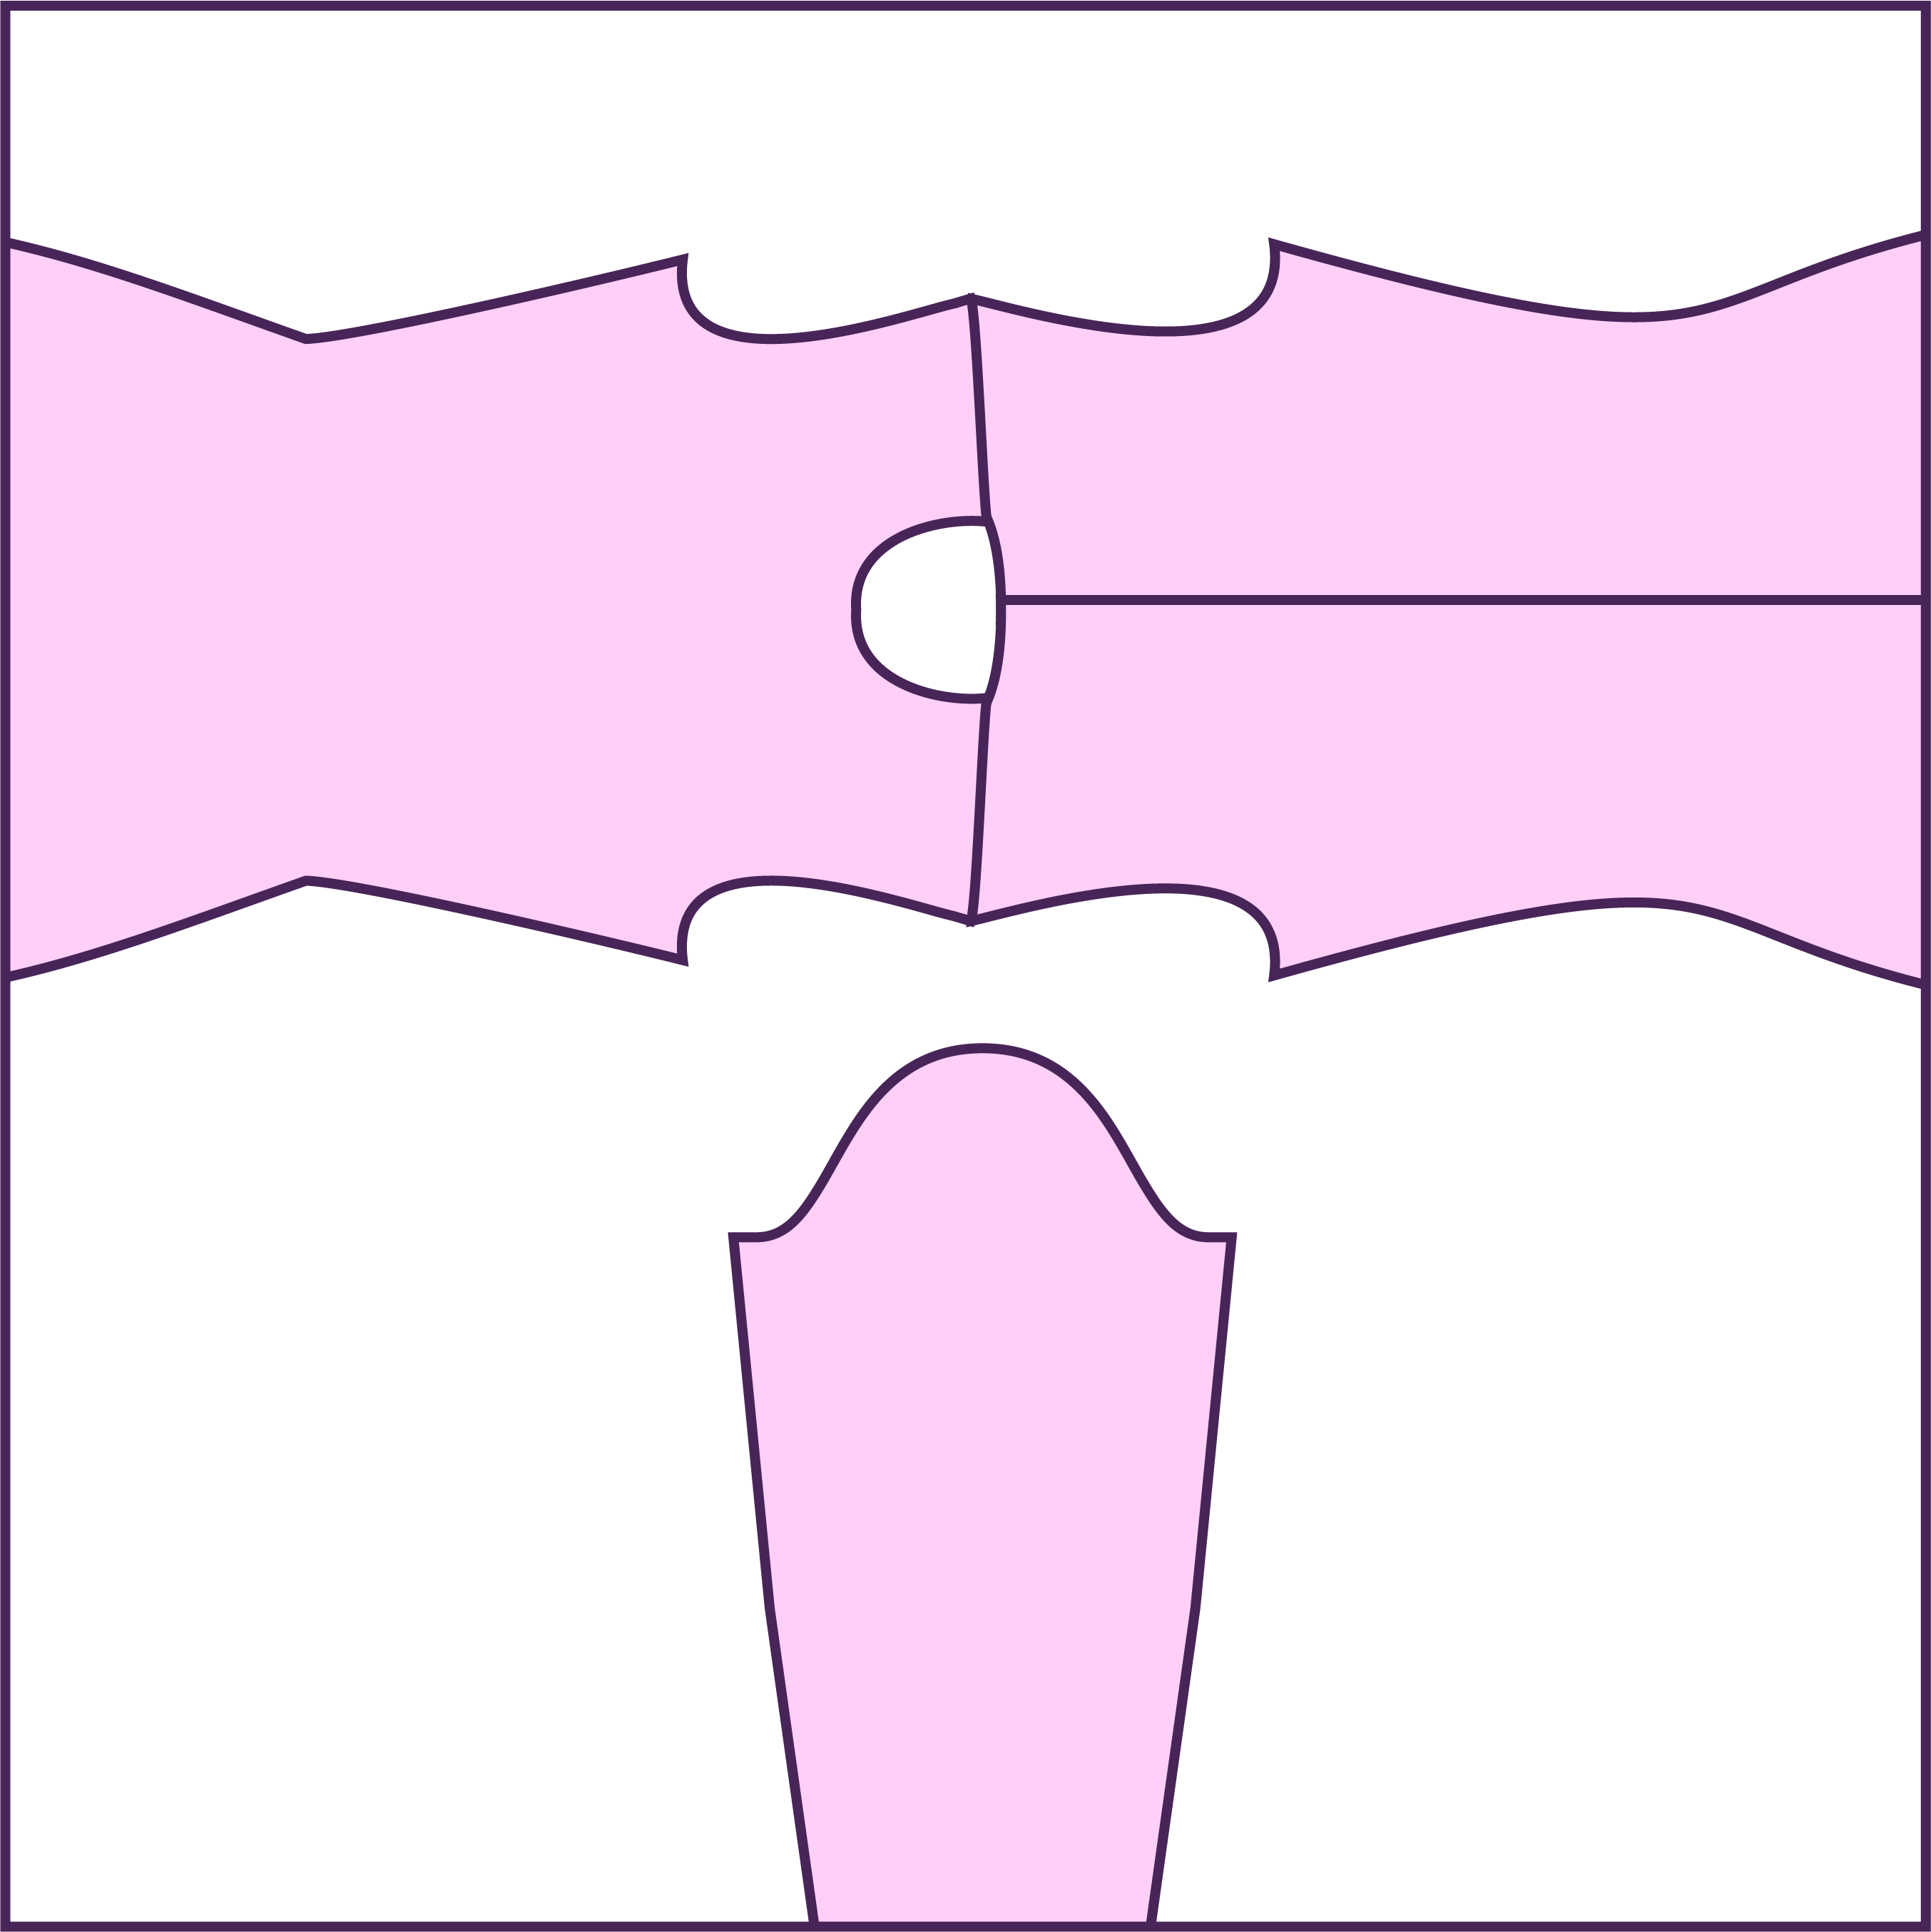
STEP 3
Layout the front and back facing right side up and gather your sleeves.
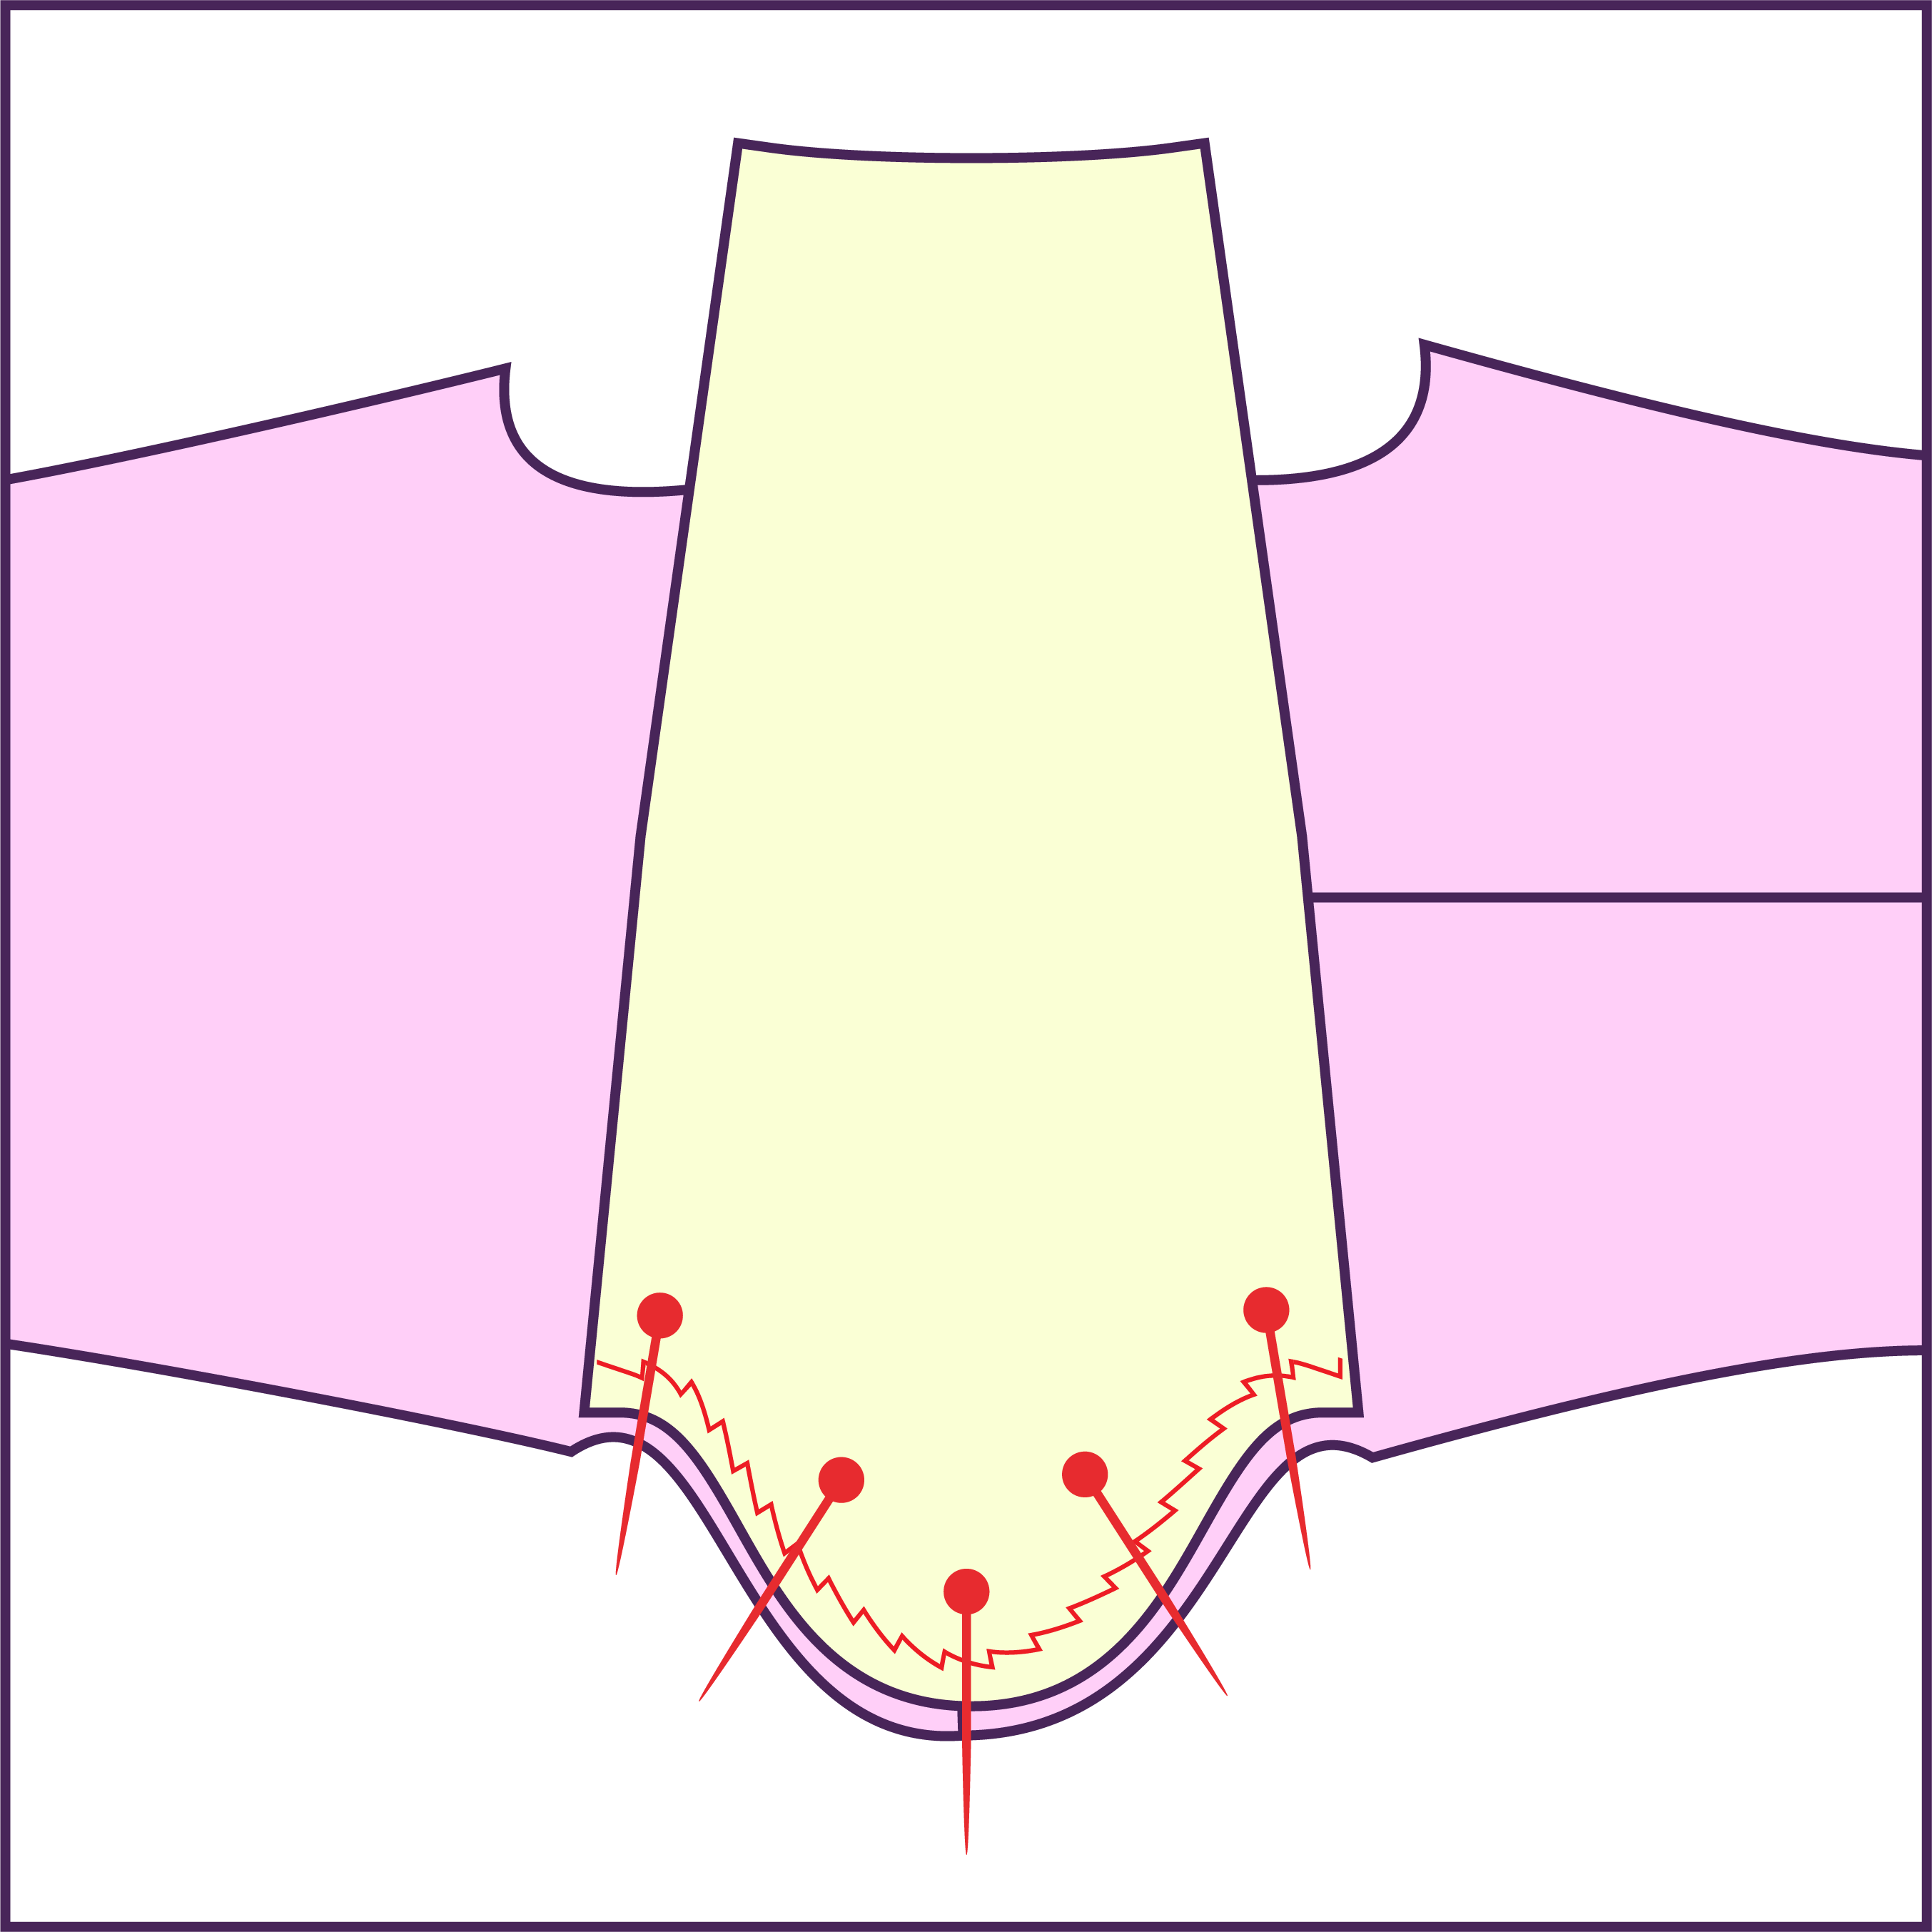
STEP 4
Align and pin the sleeves around the armholes, right side of the sleeve facing the right side of the front and back, using notches as a guide. Each sleeve curve is symmetrical, so there's no designated front or back. Serge or sew the sleeves in place and repeat for the other side.
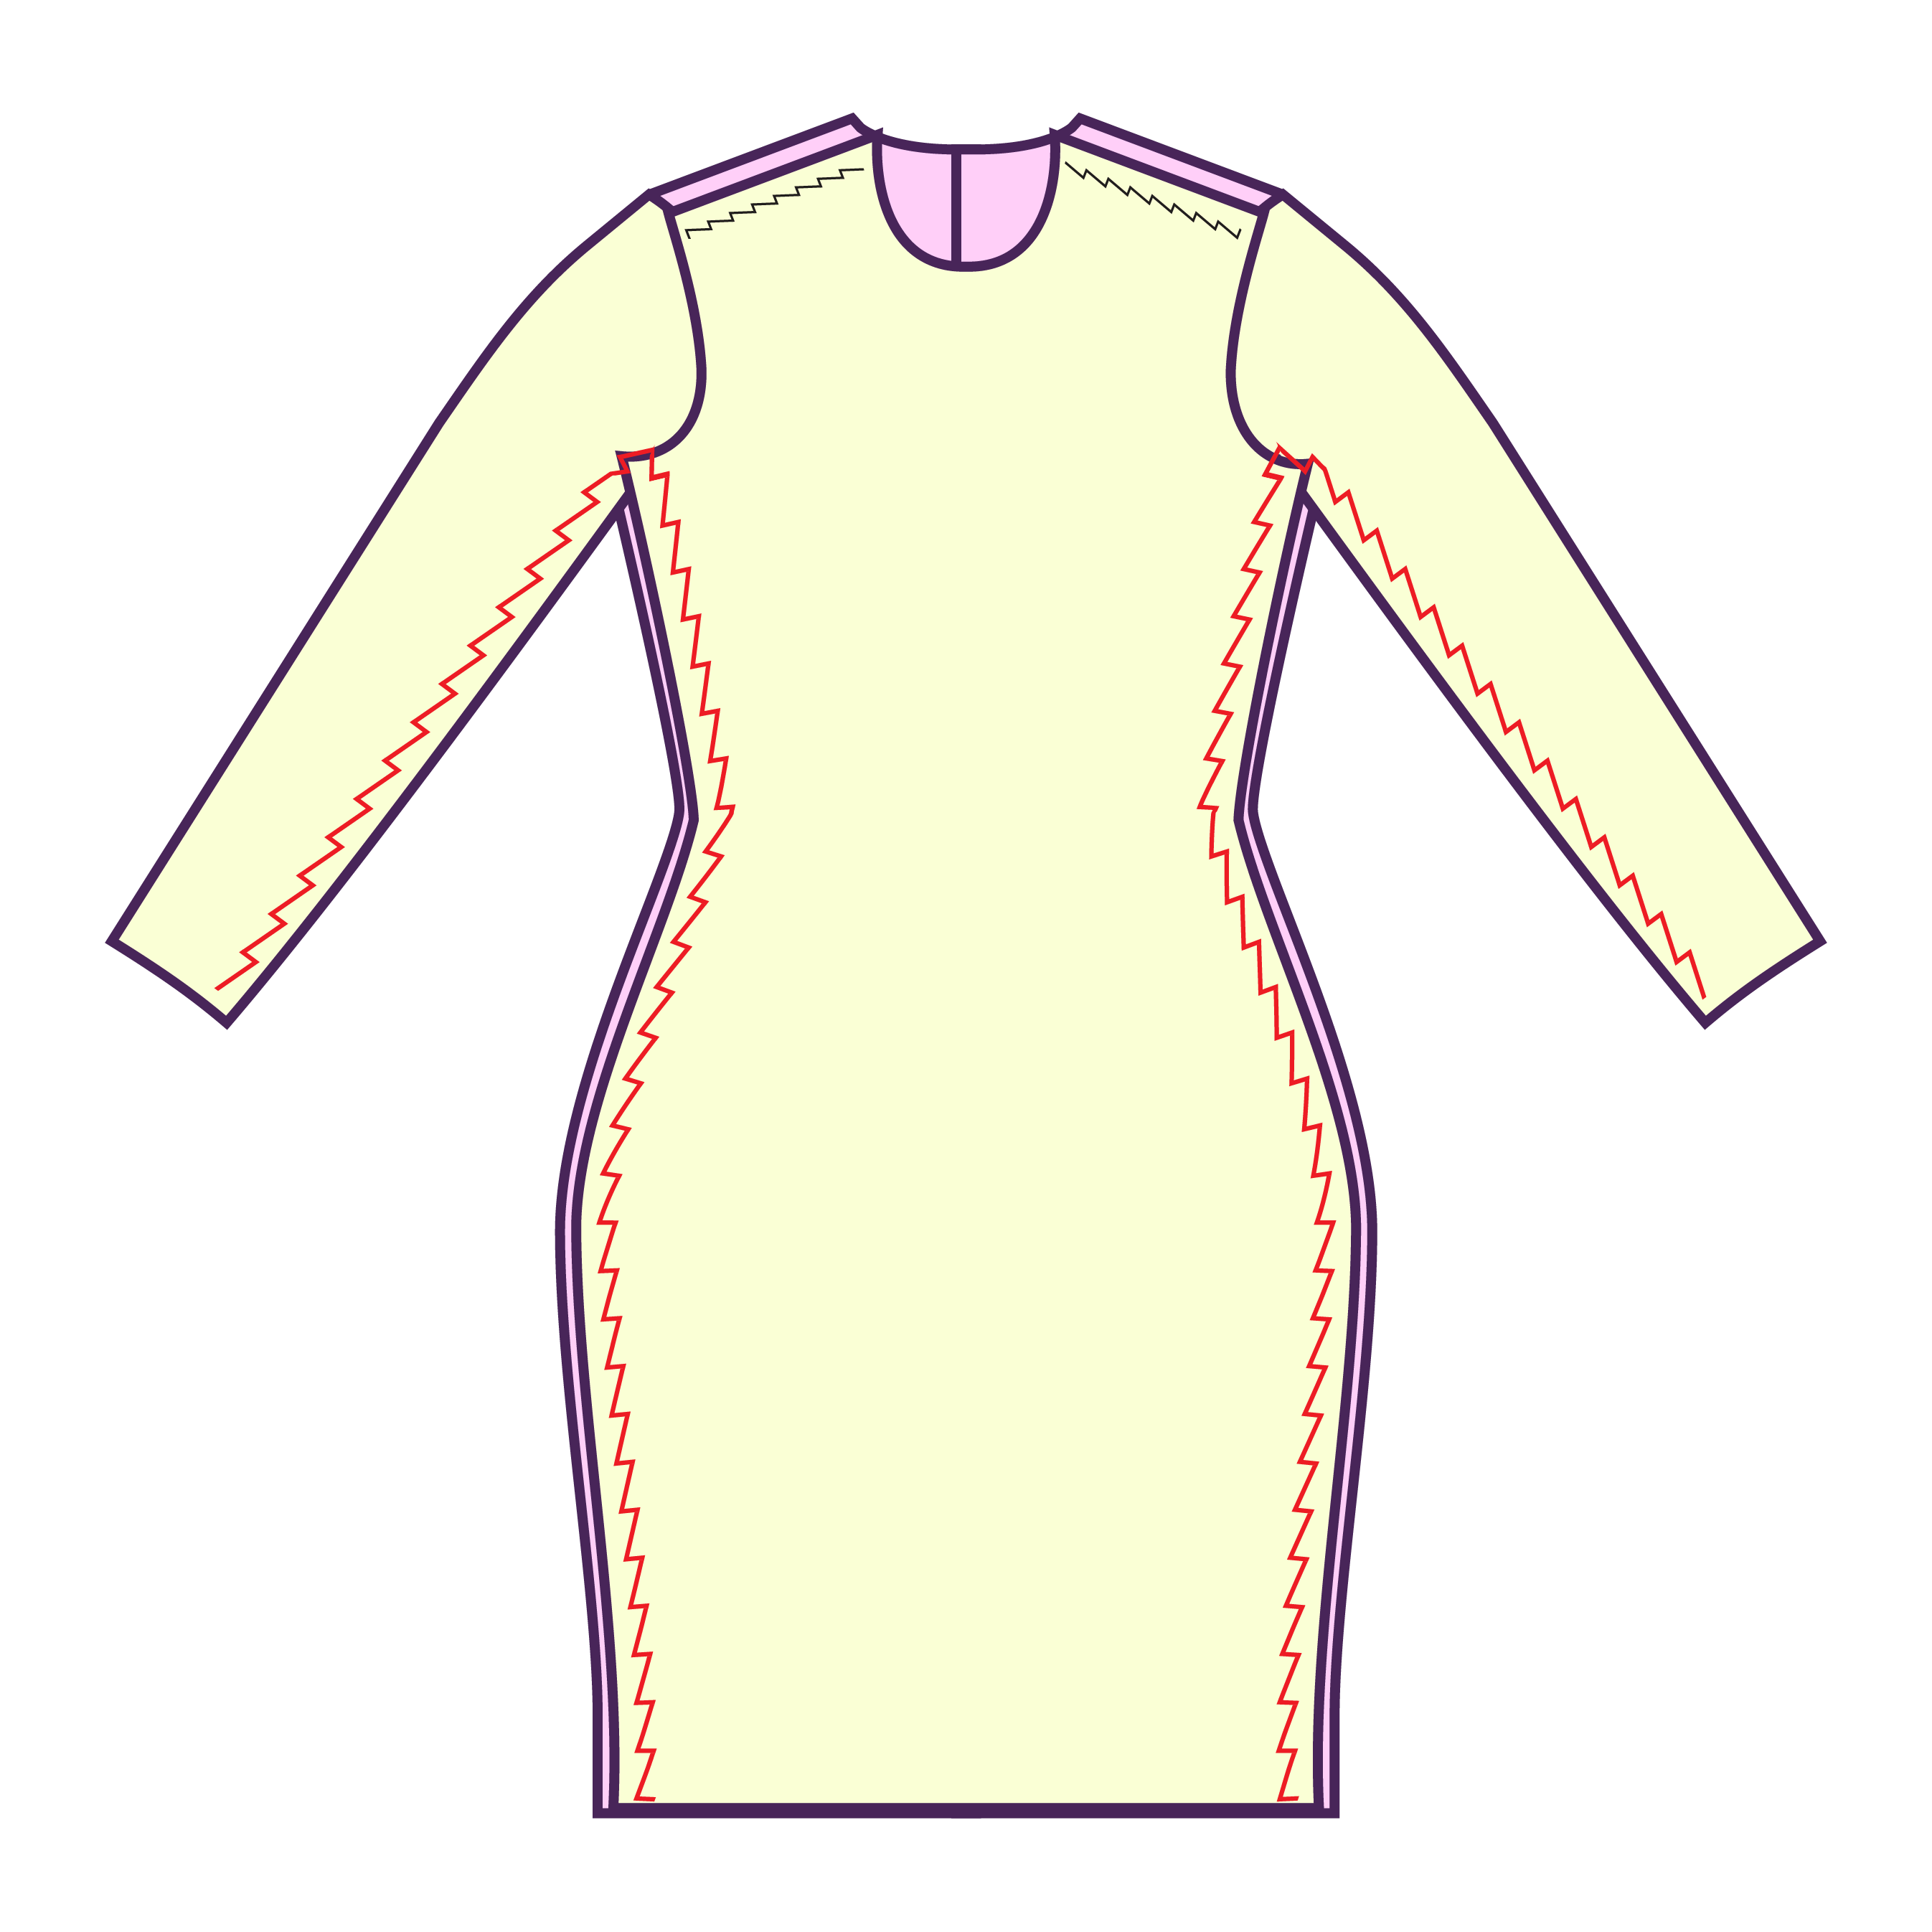
STEP 5
Turn the garment wrong side out and sew the inner sleeve seams closed, continuing down the sides of the dress.

STEP 6
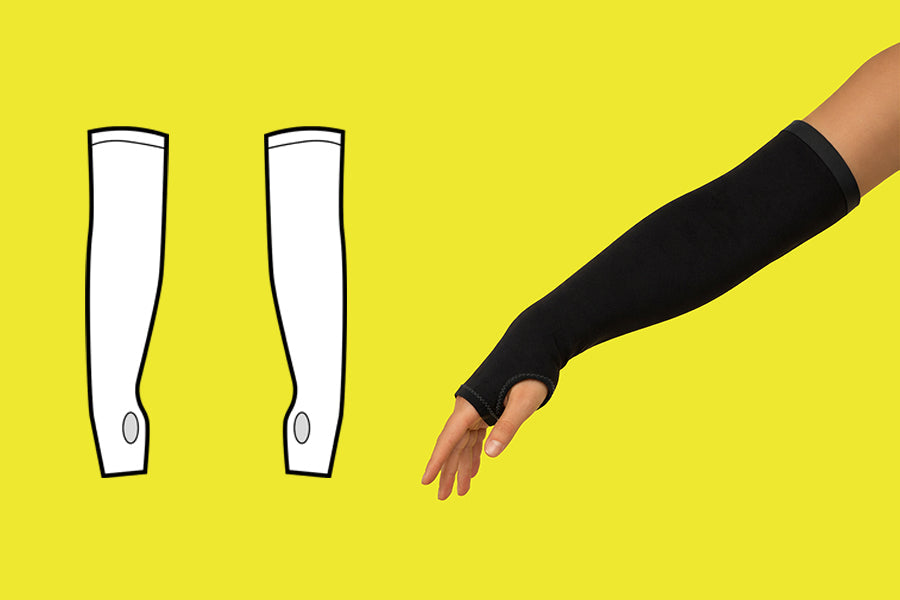
Lastly, hem the ends of the sleeves, the collar, and the bottom of the dress with a rolled hem, stretch stitch, or zigzag stitch.
Obtén el patrón