How to Sew Chaps – Step-by-Step Sewing Tutorial
Jump to Instructions
Overview
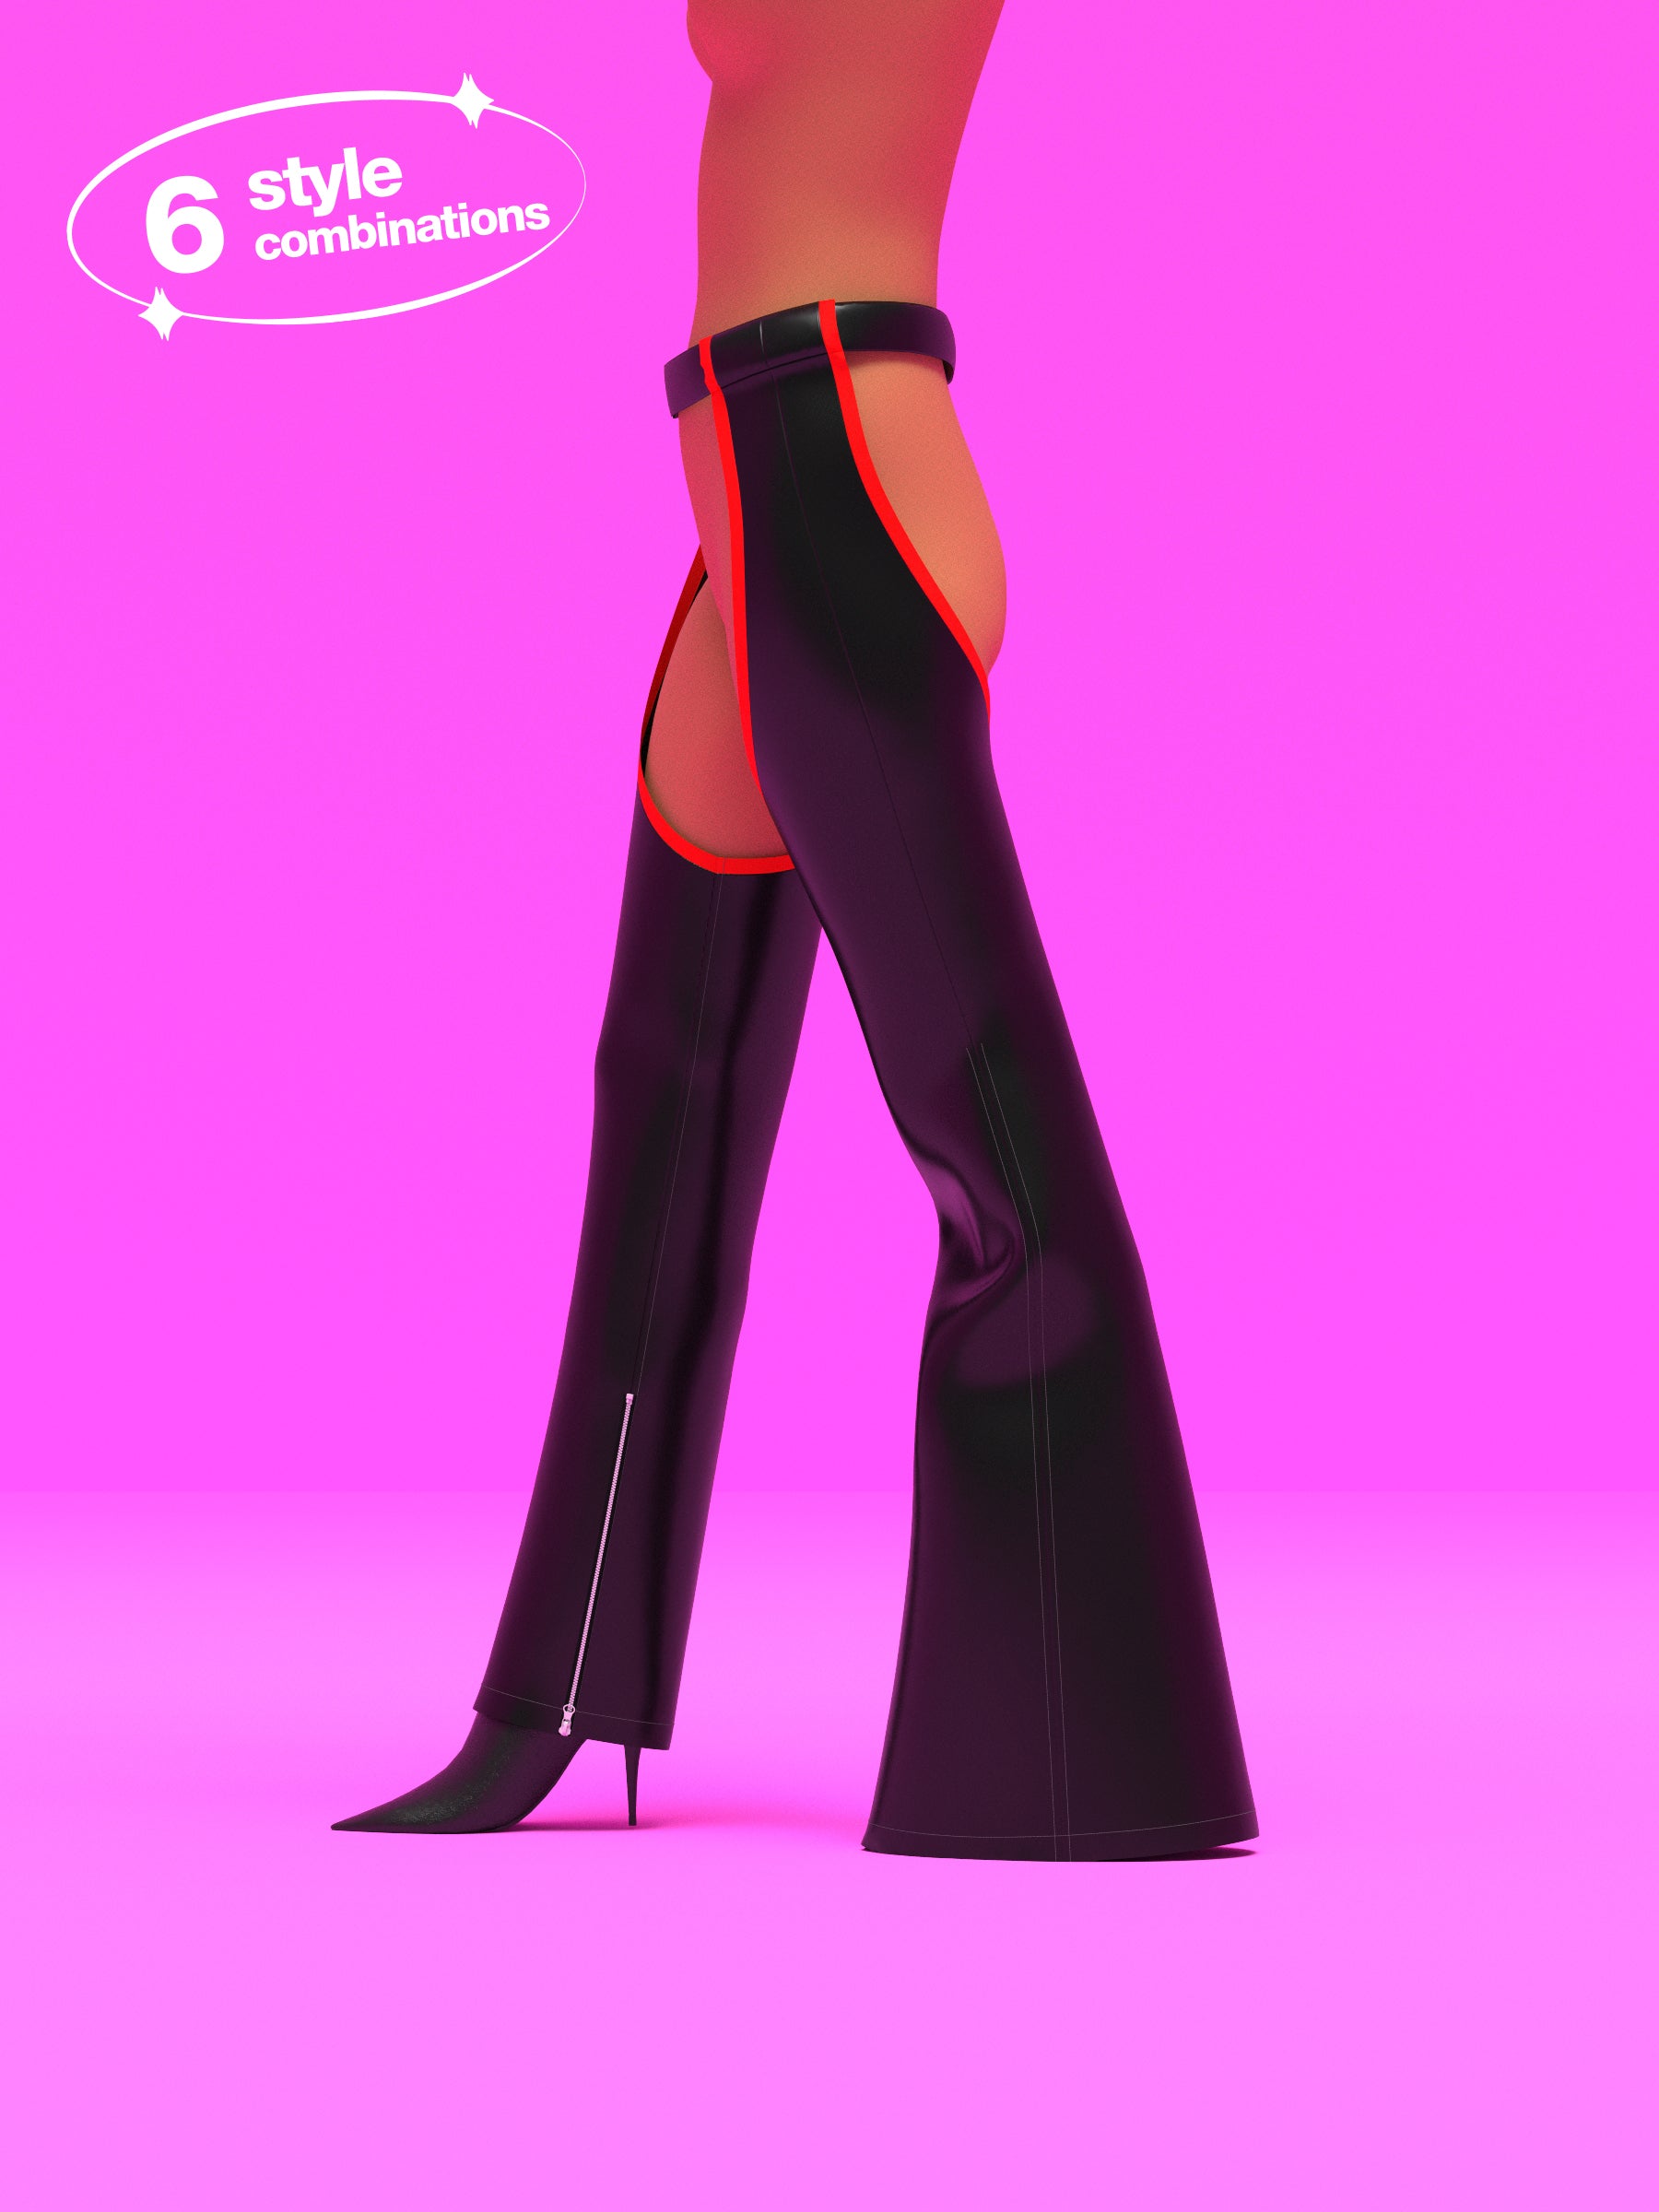
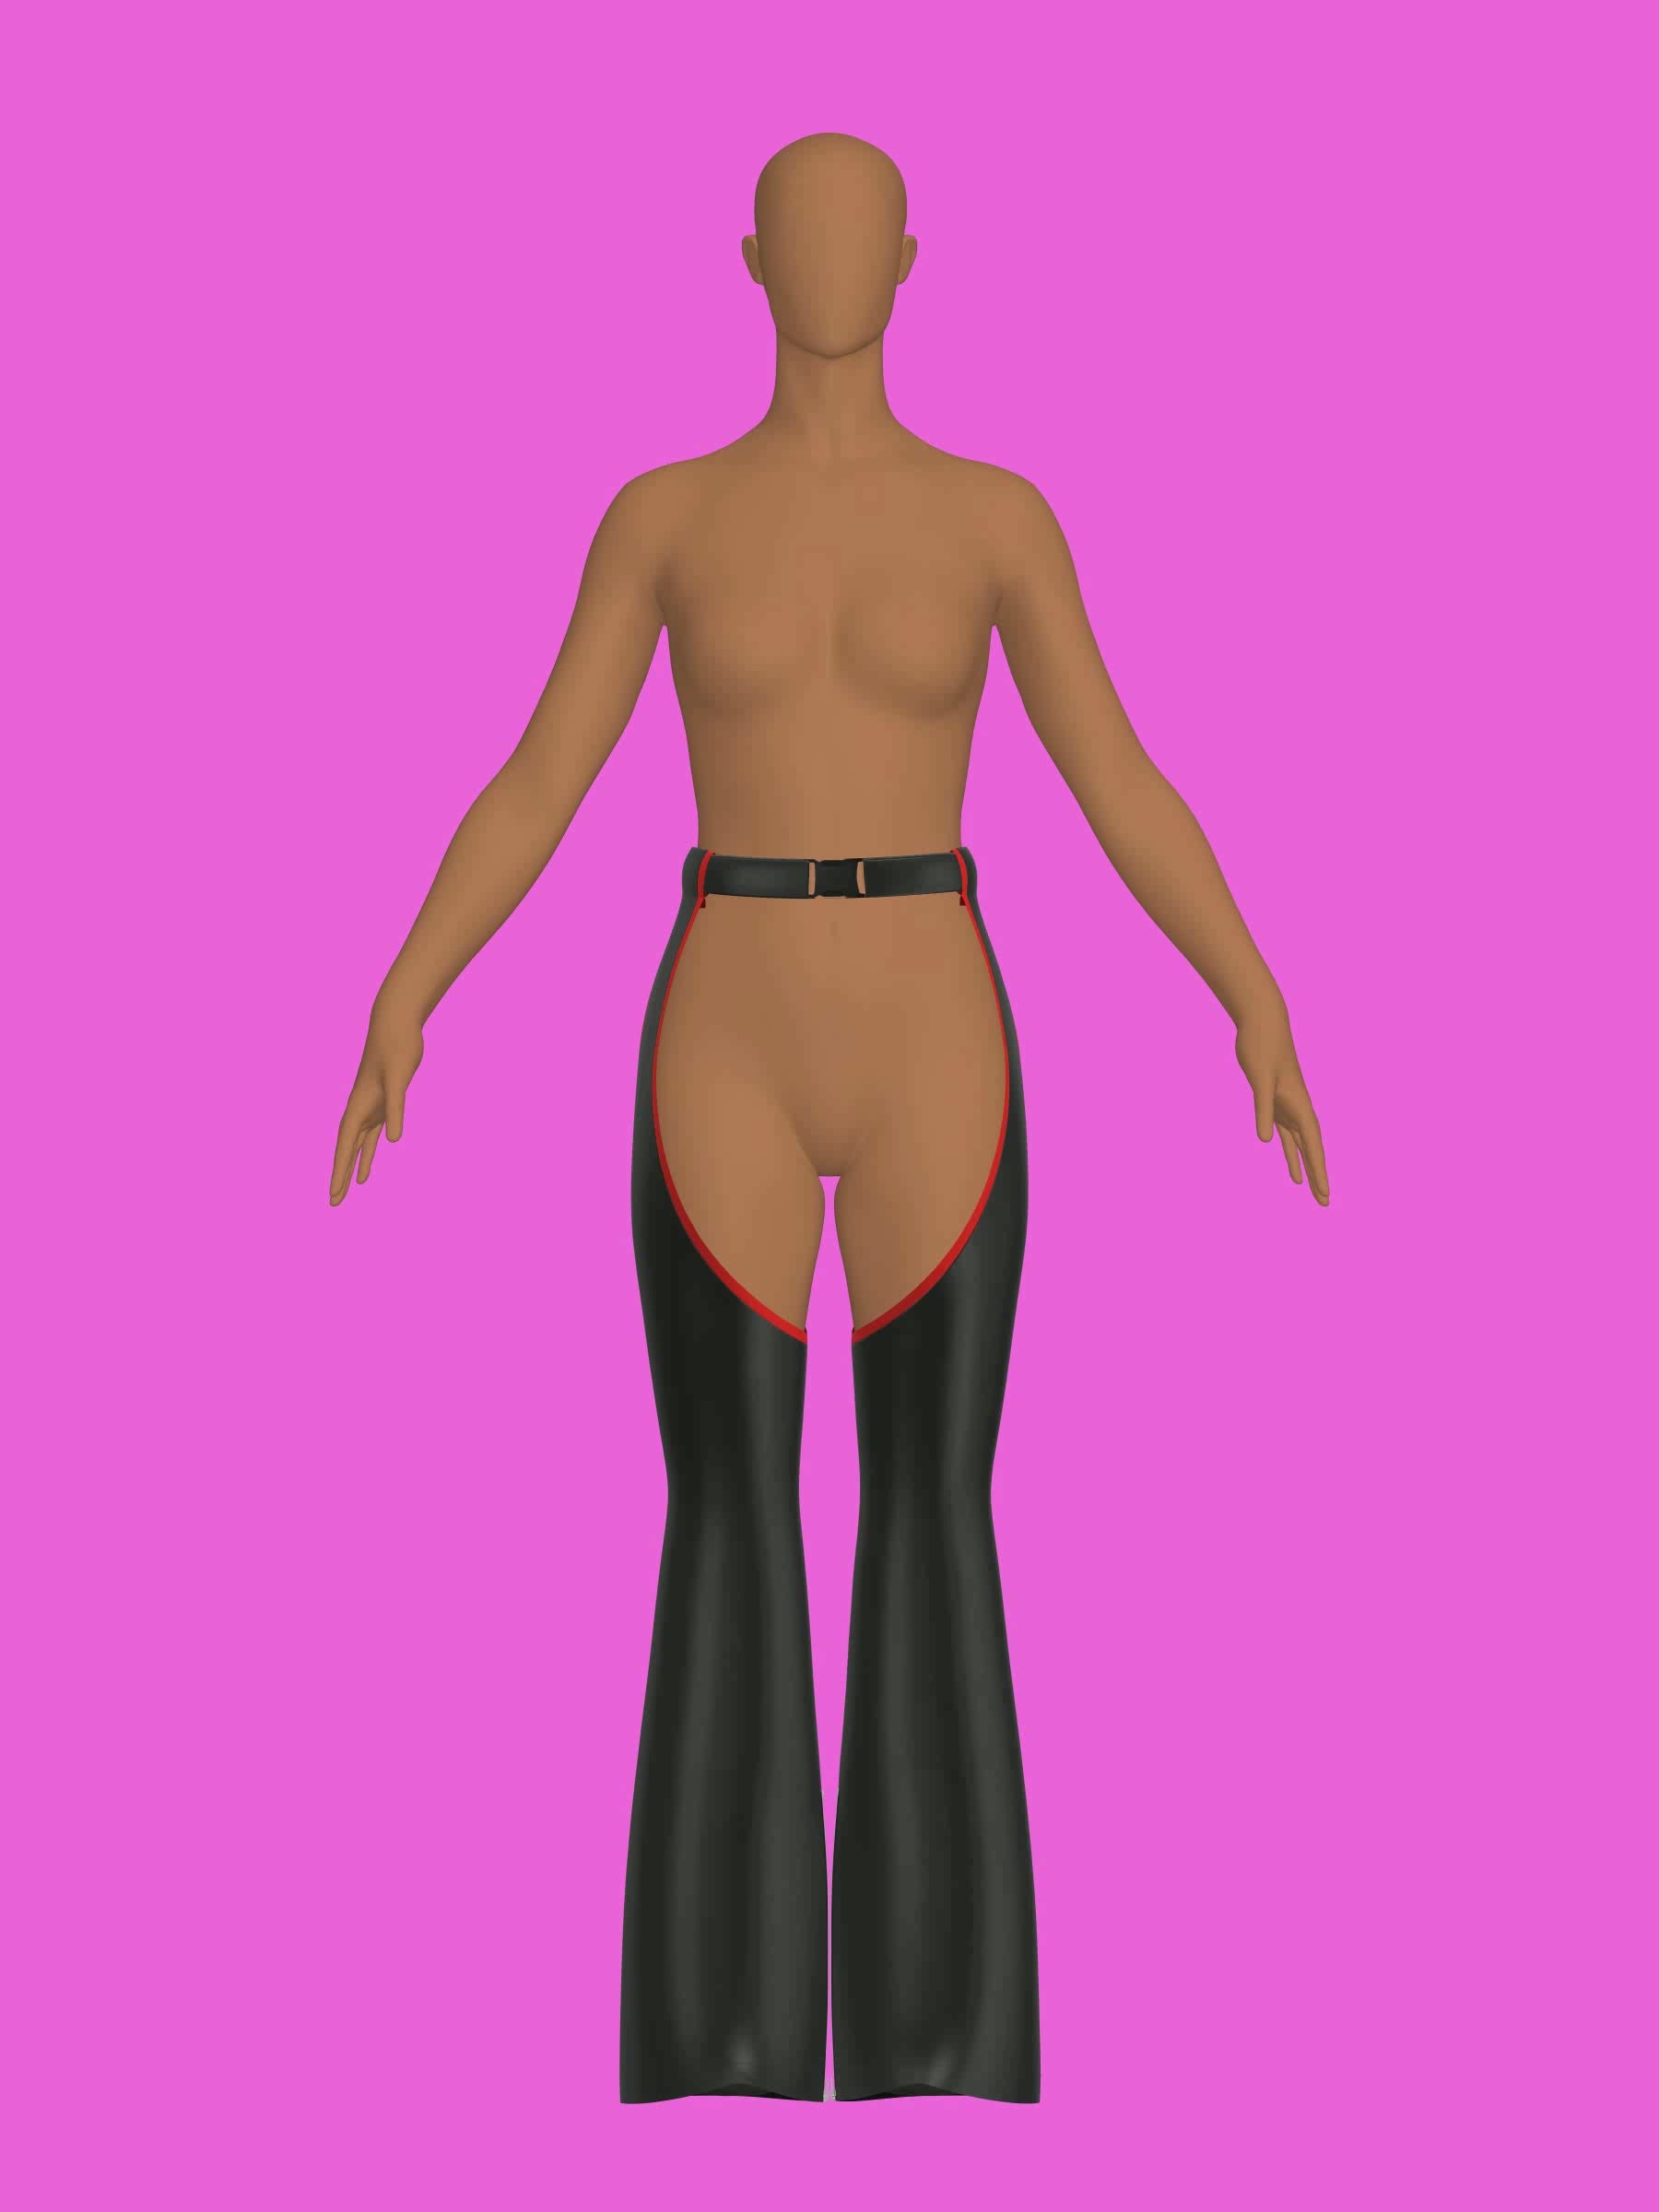
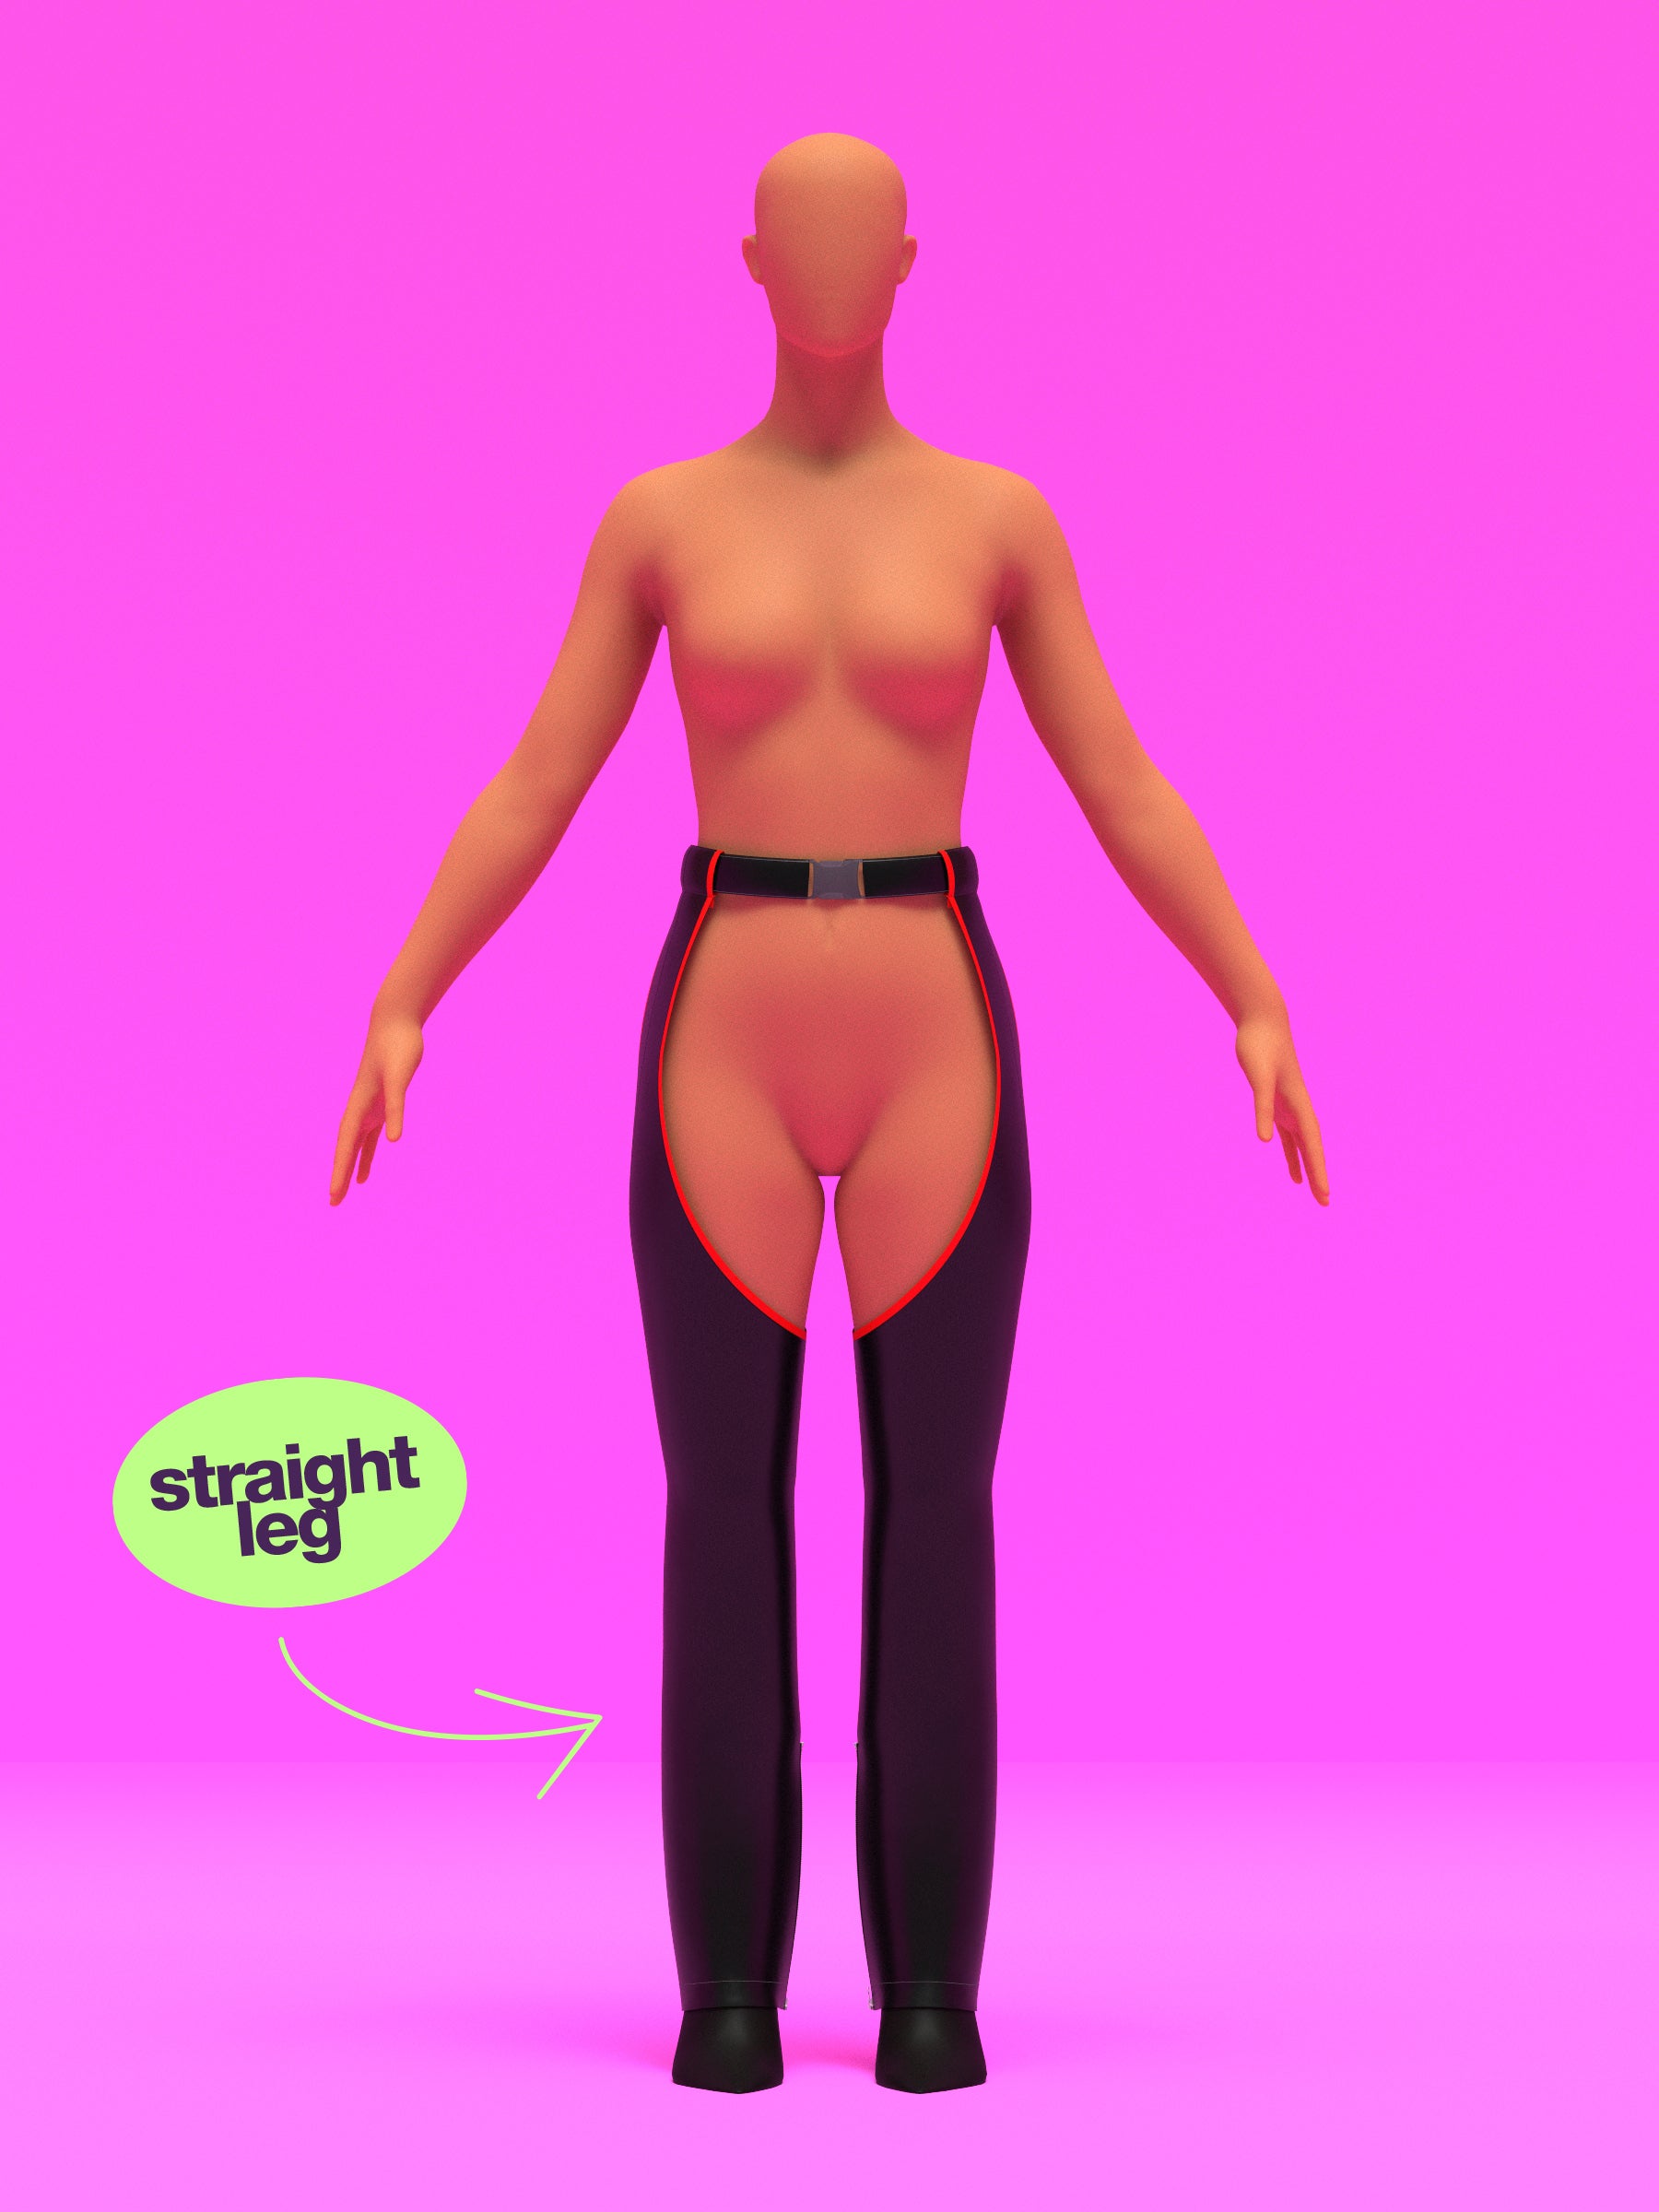
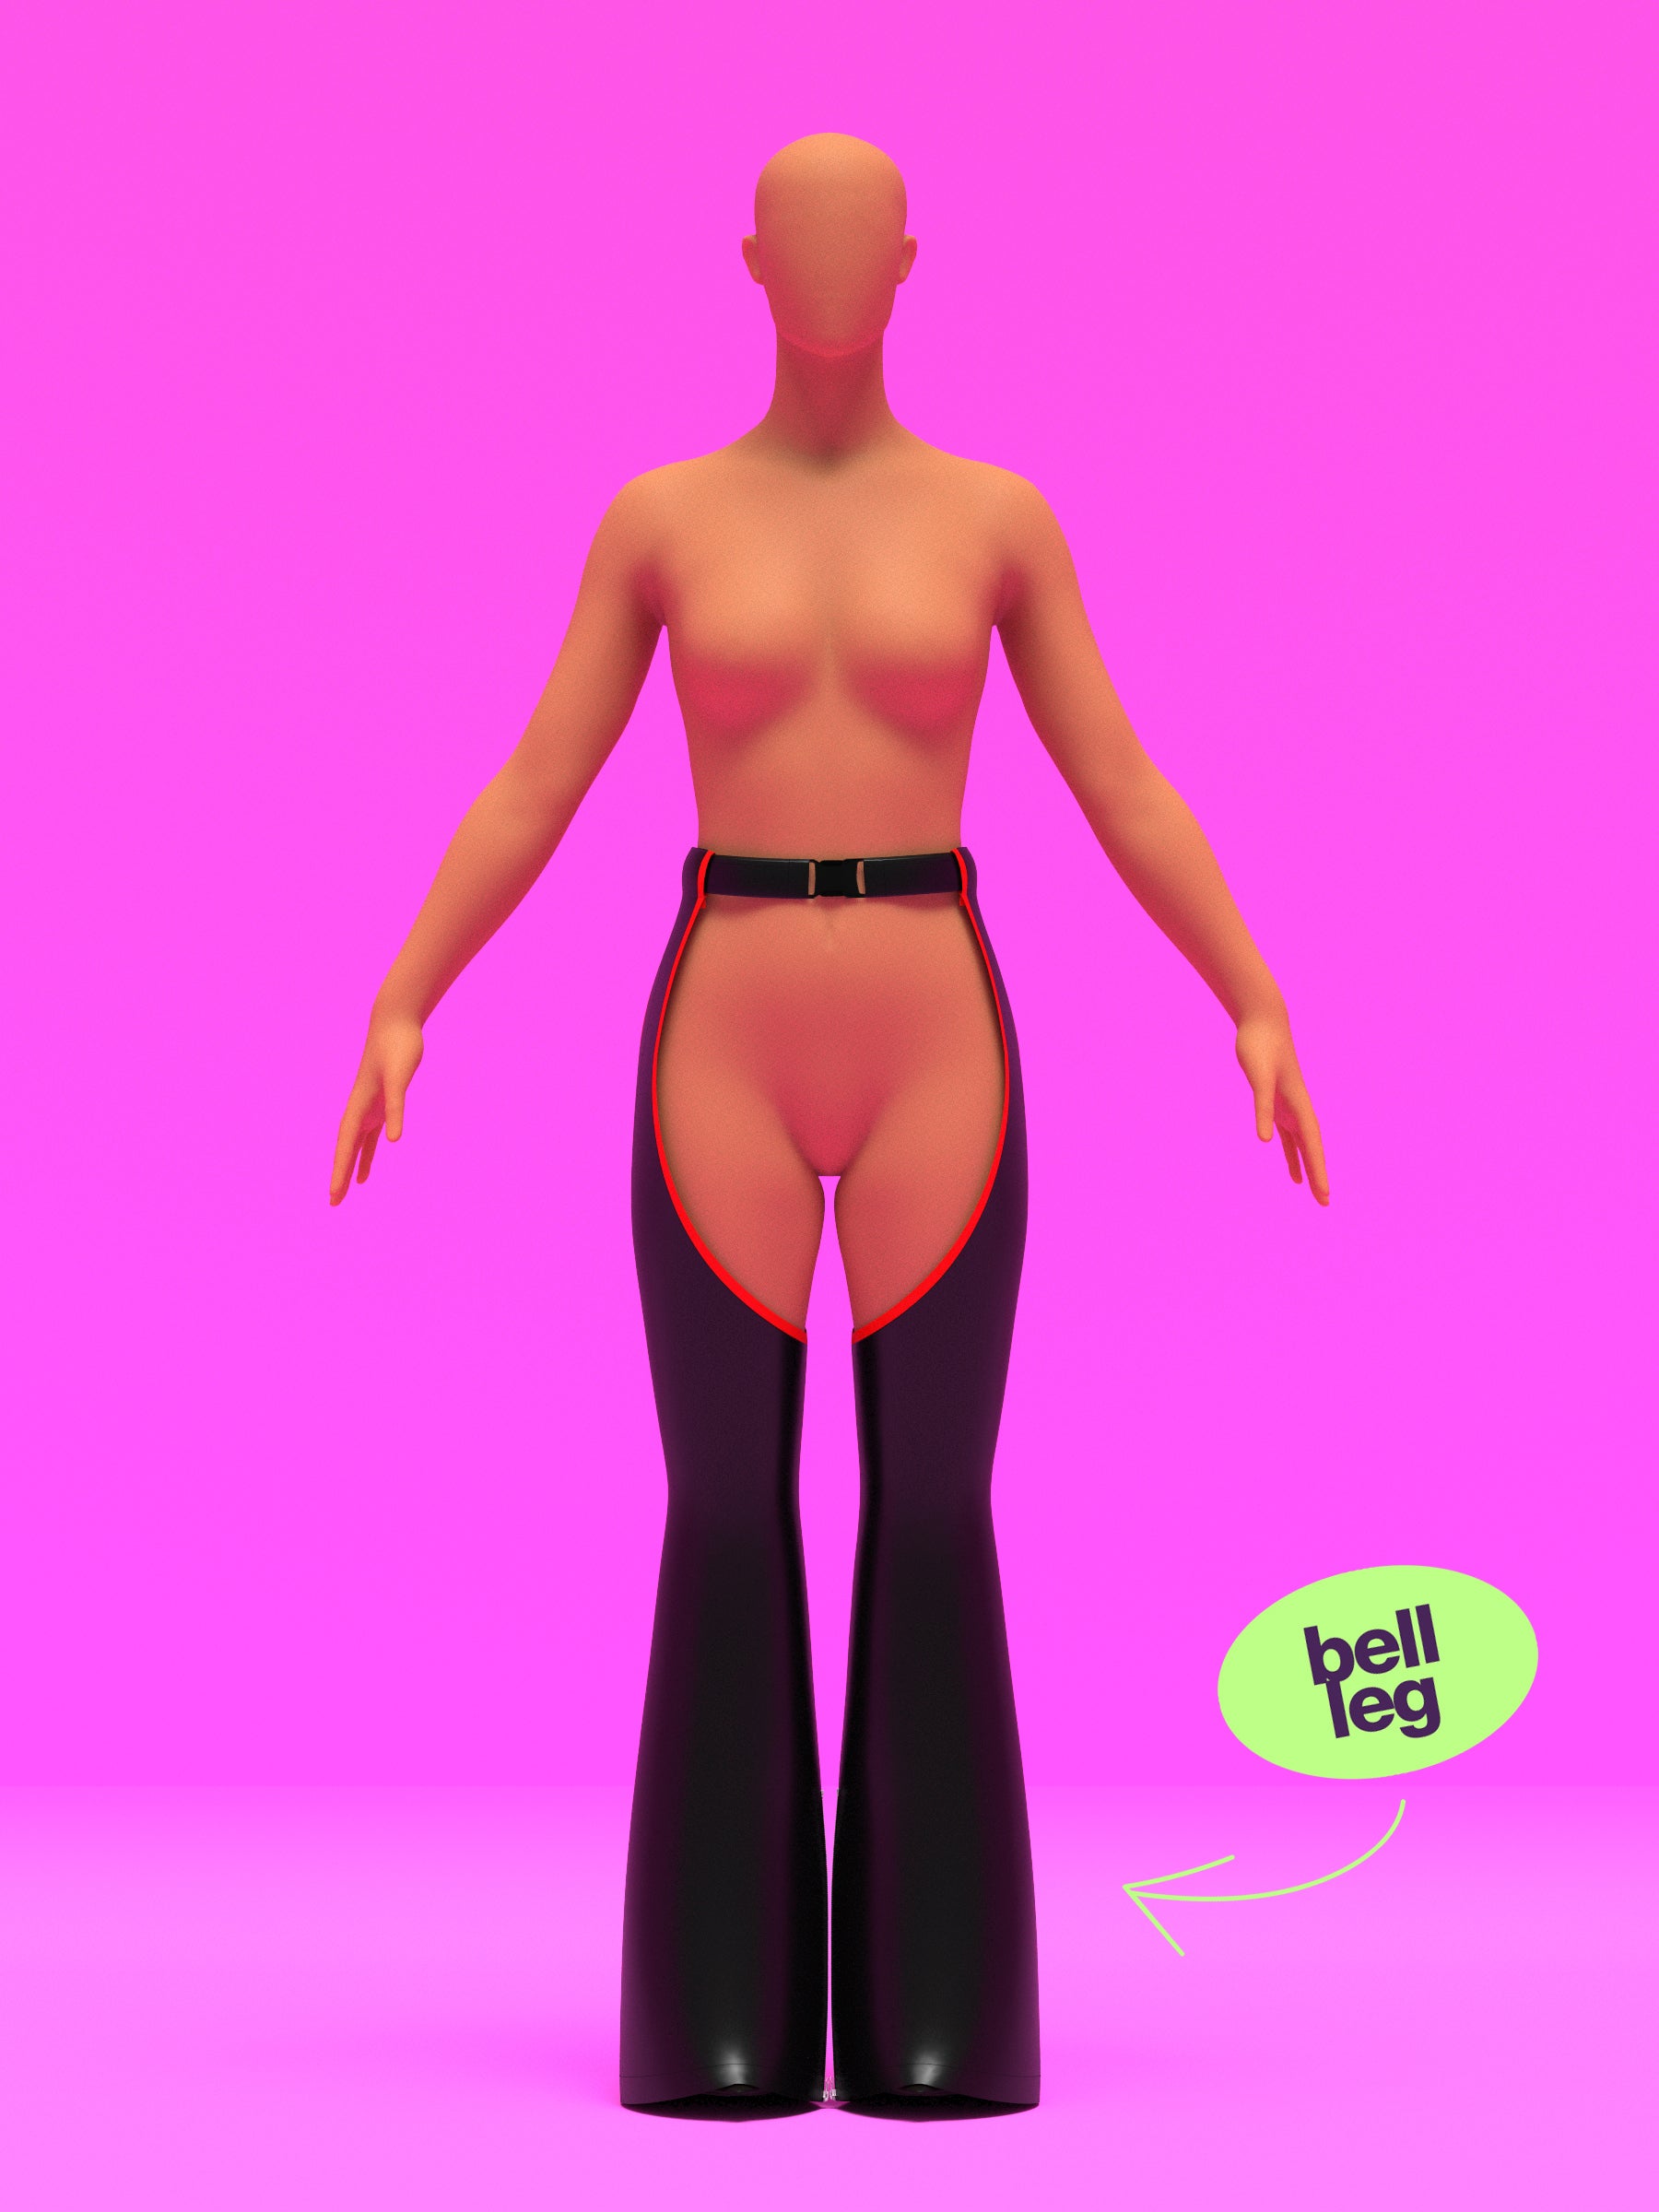
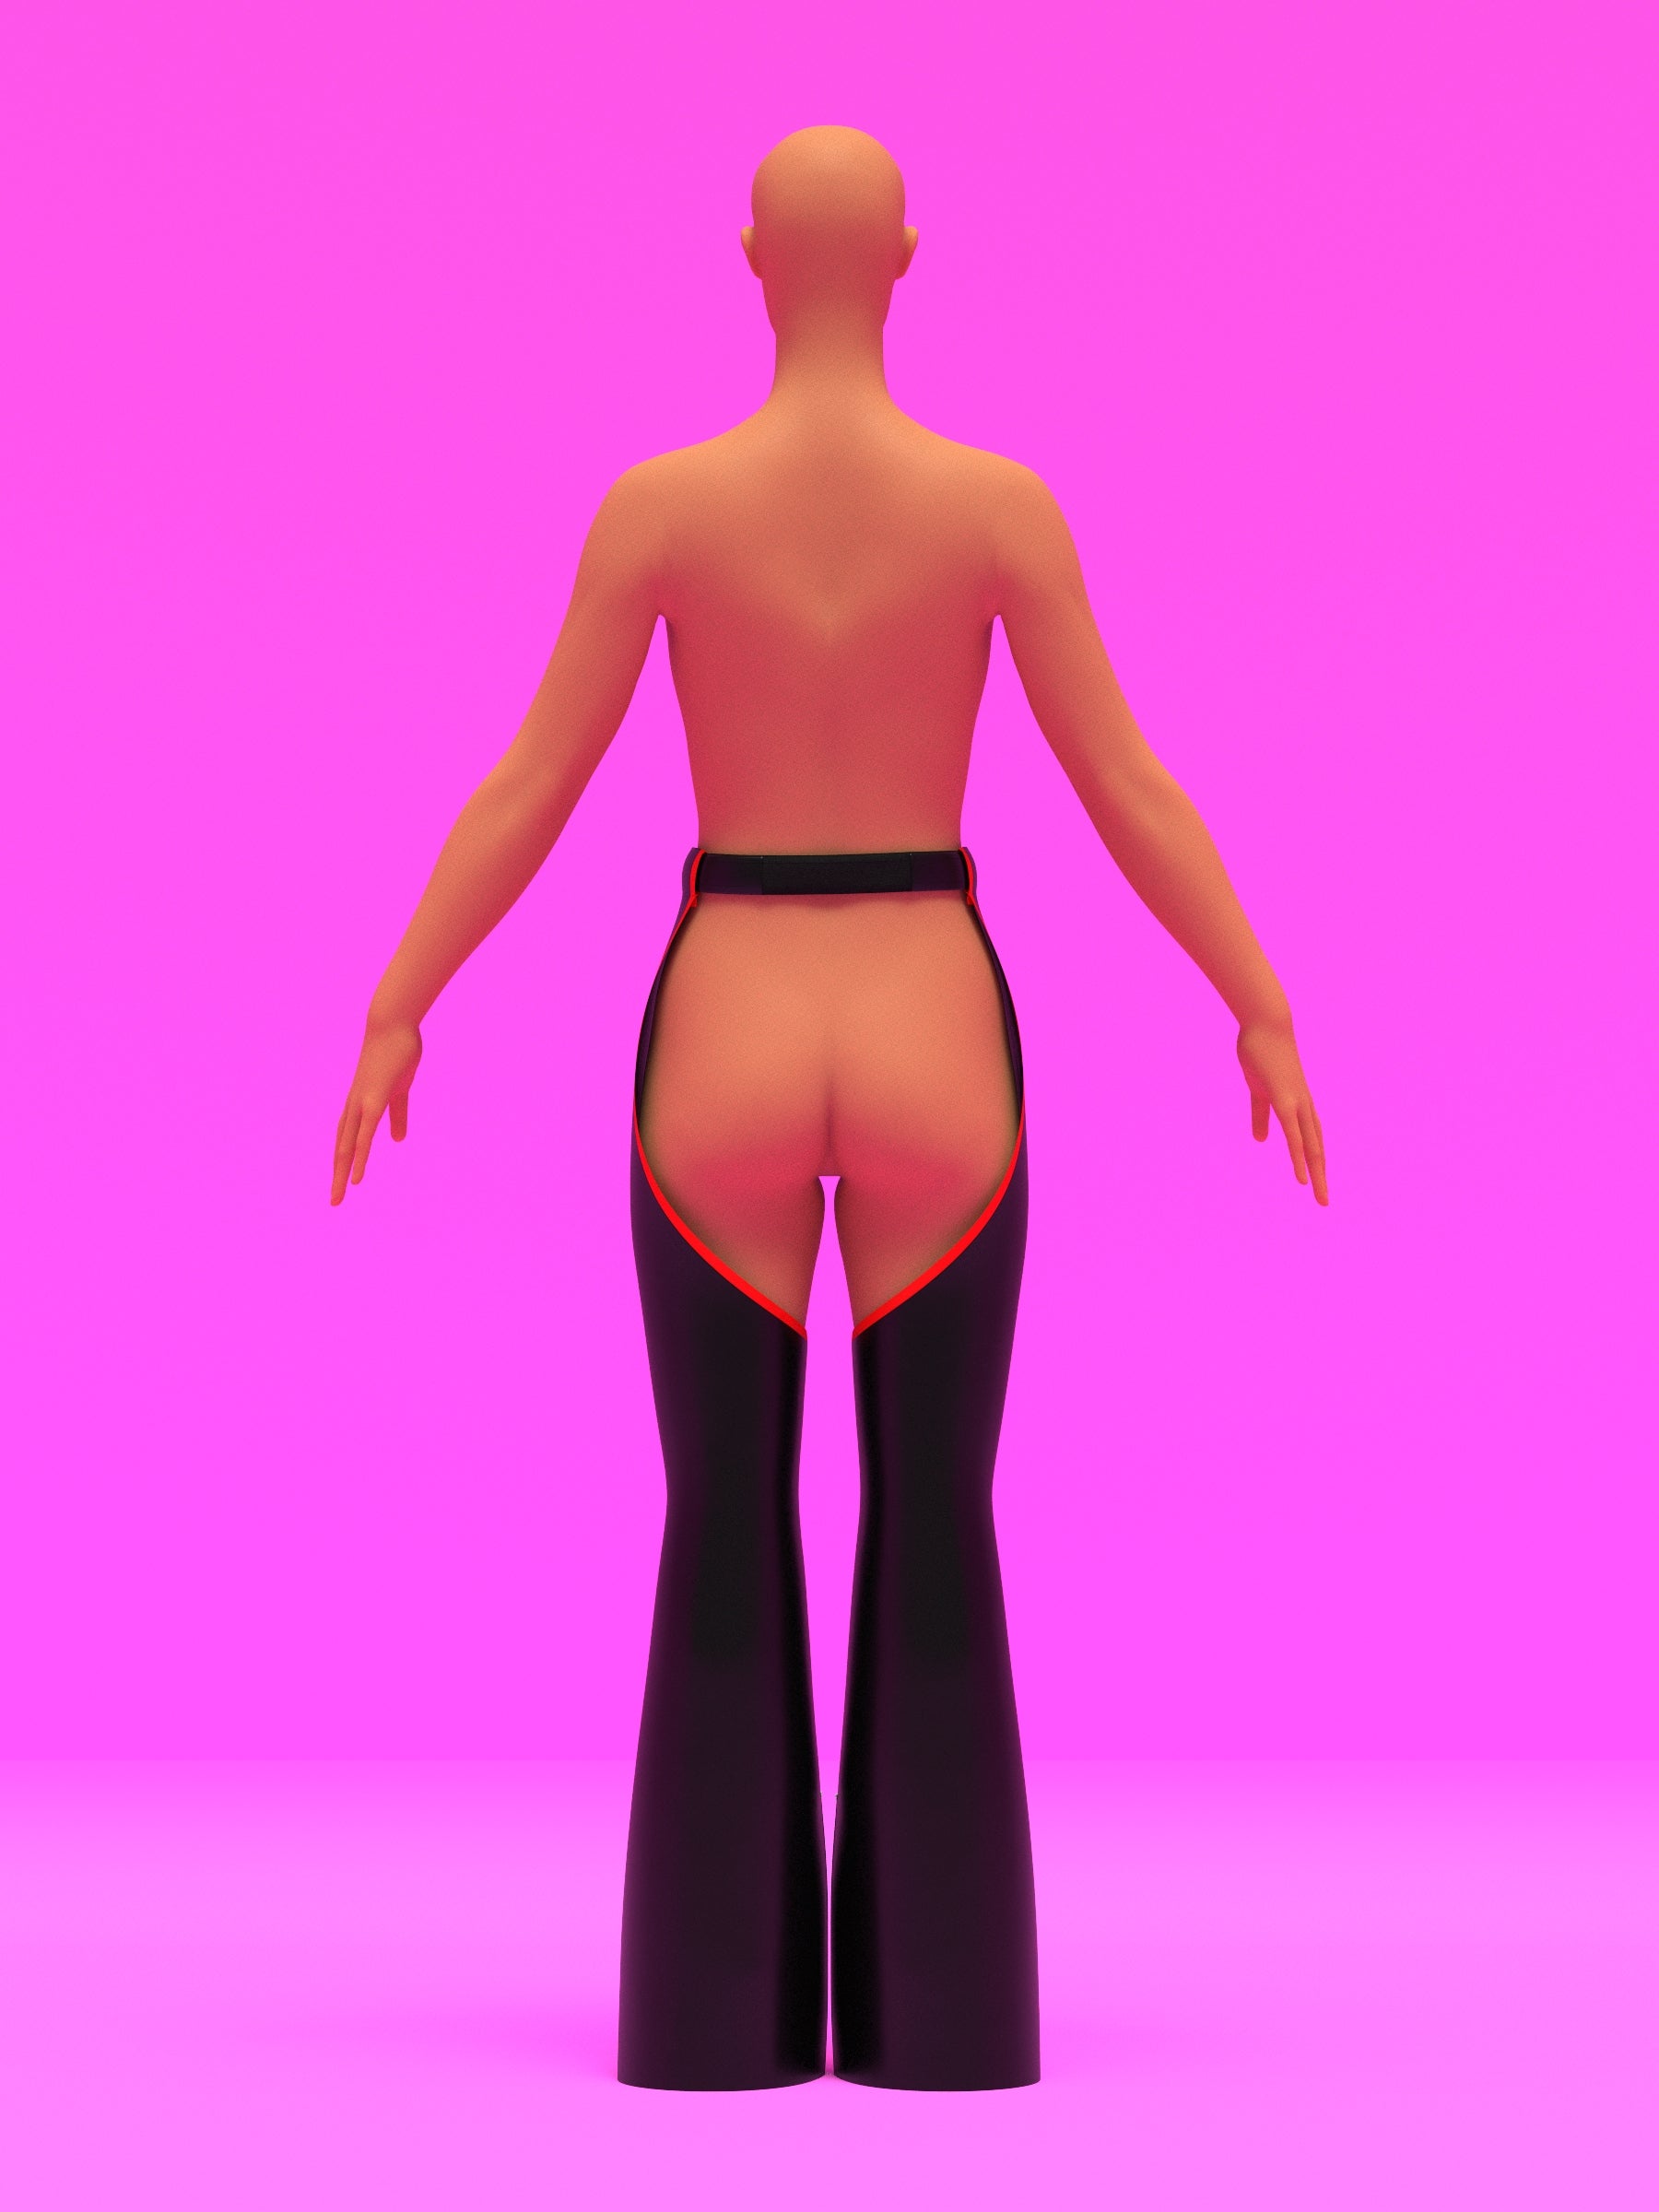
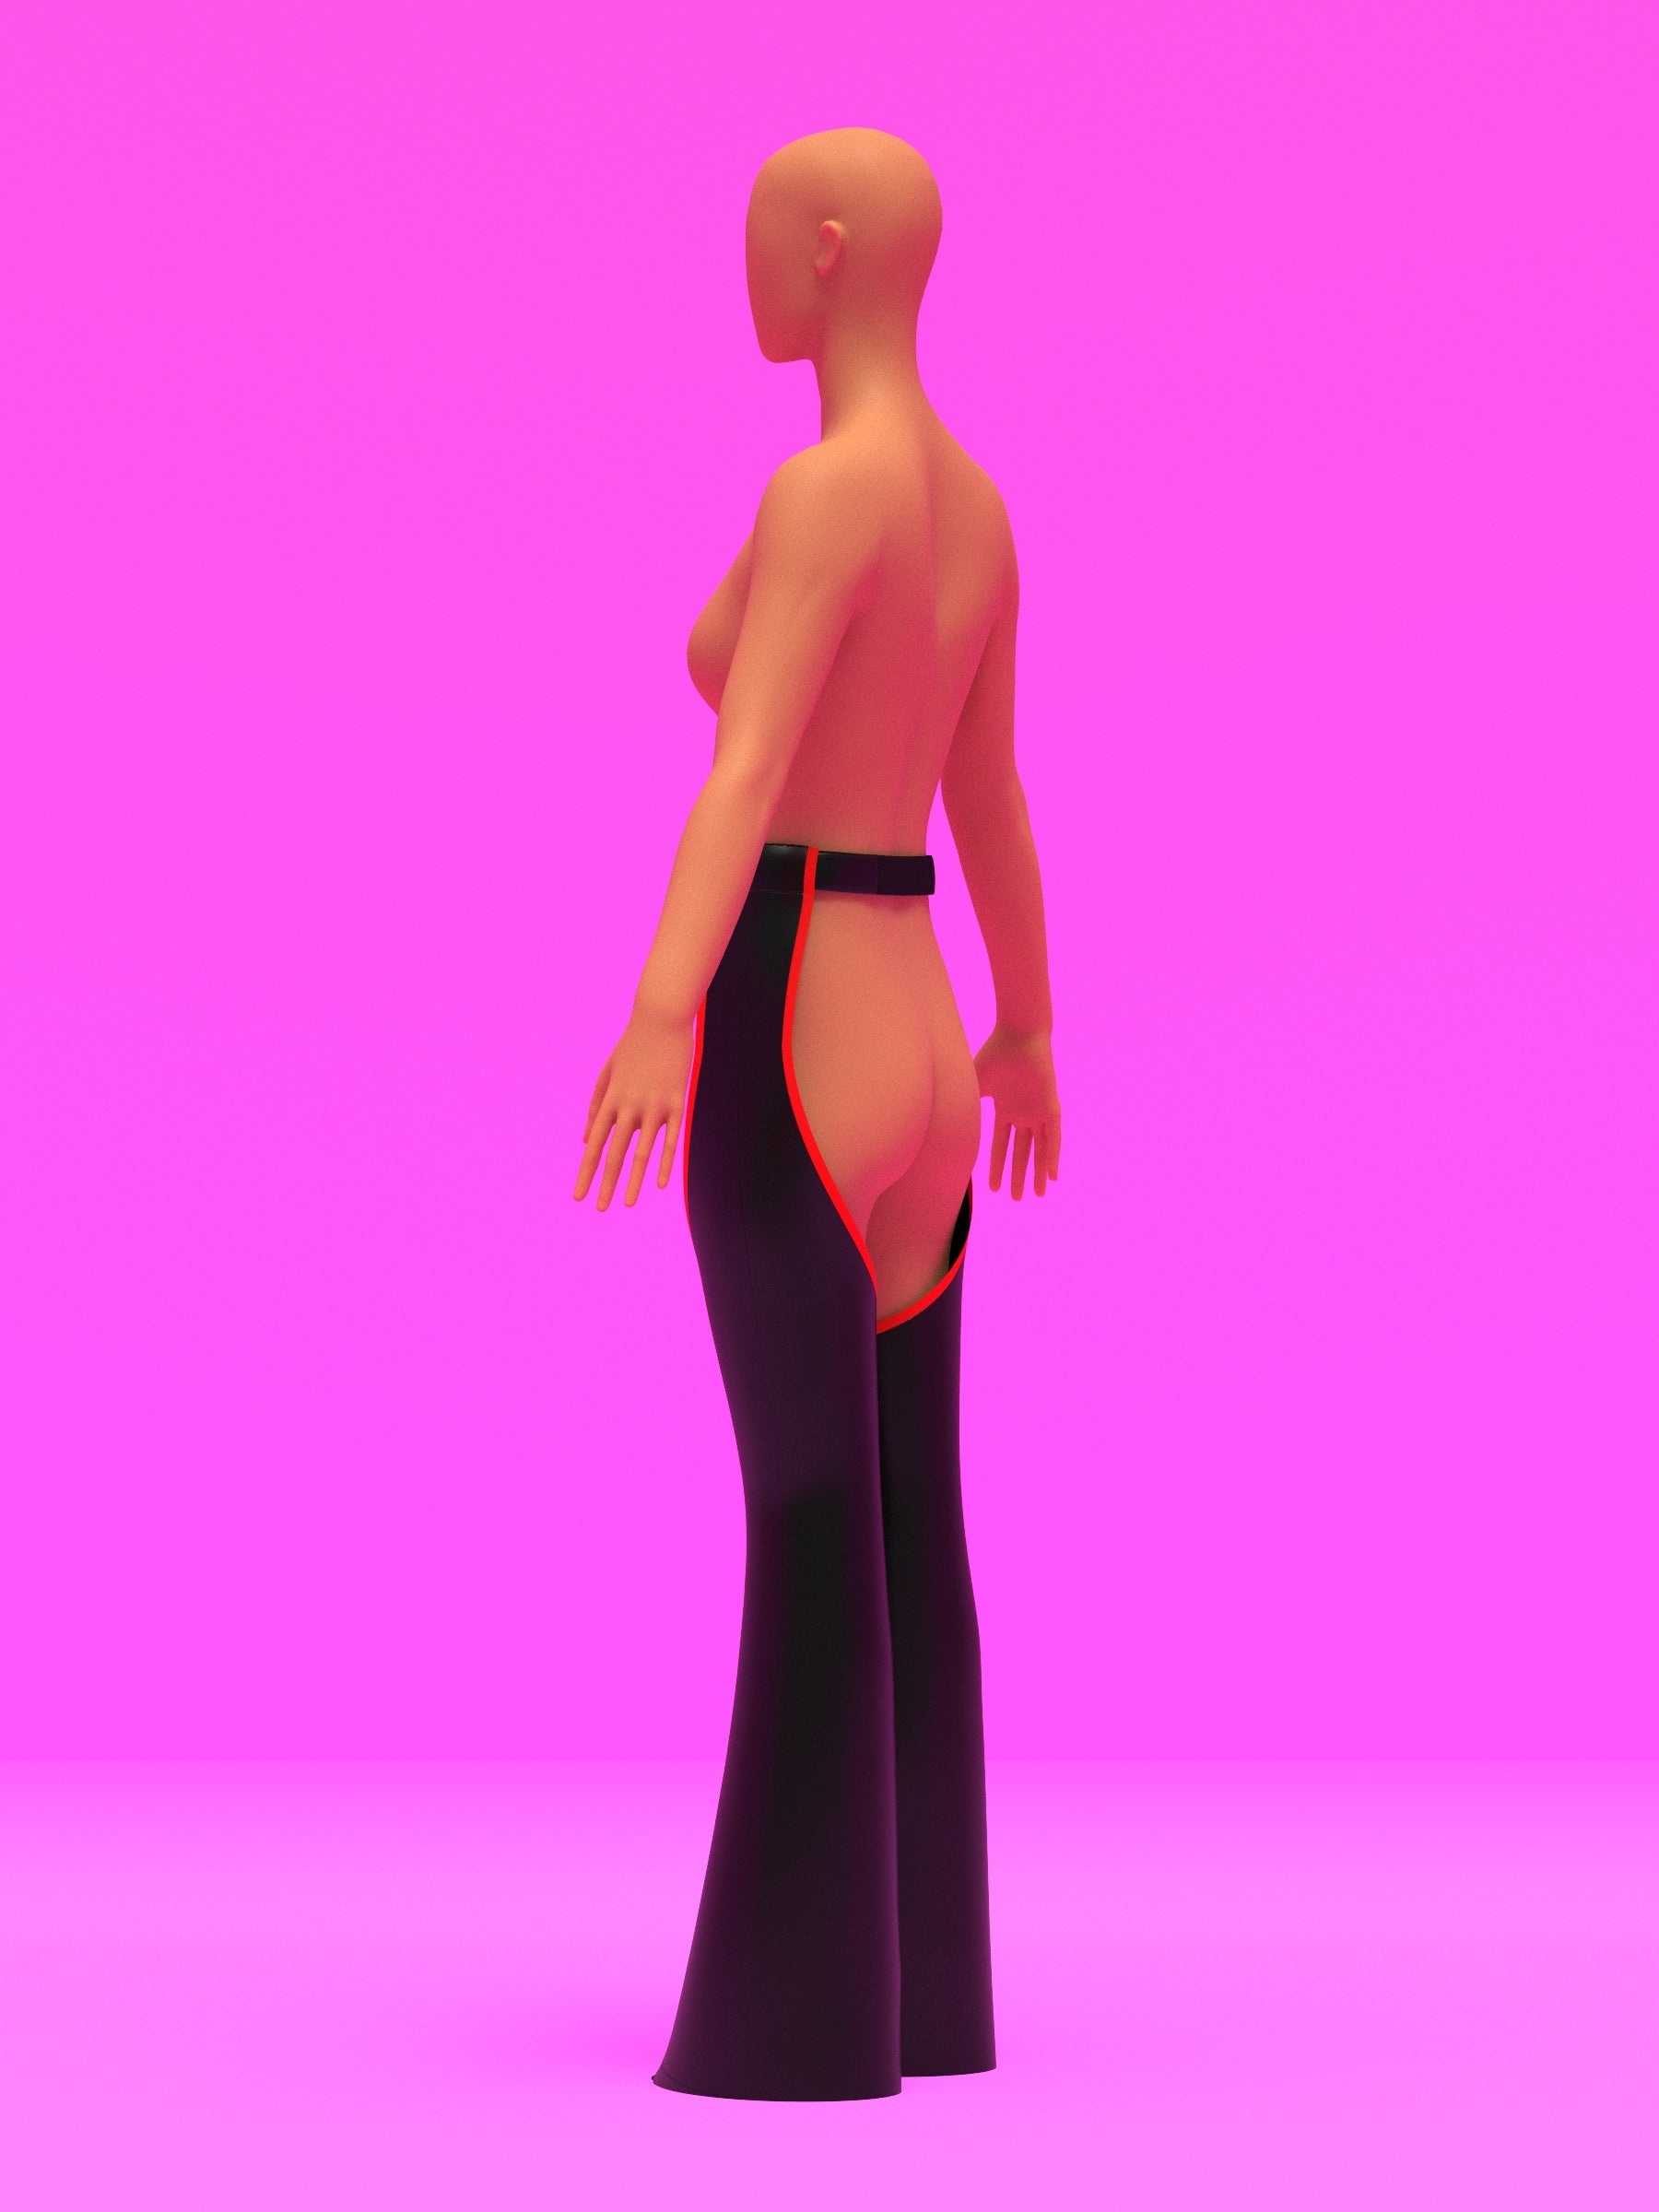
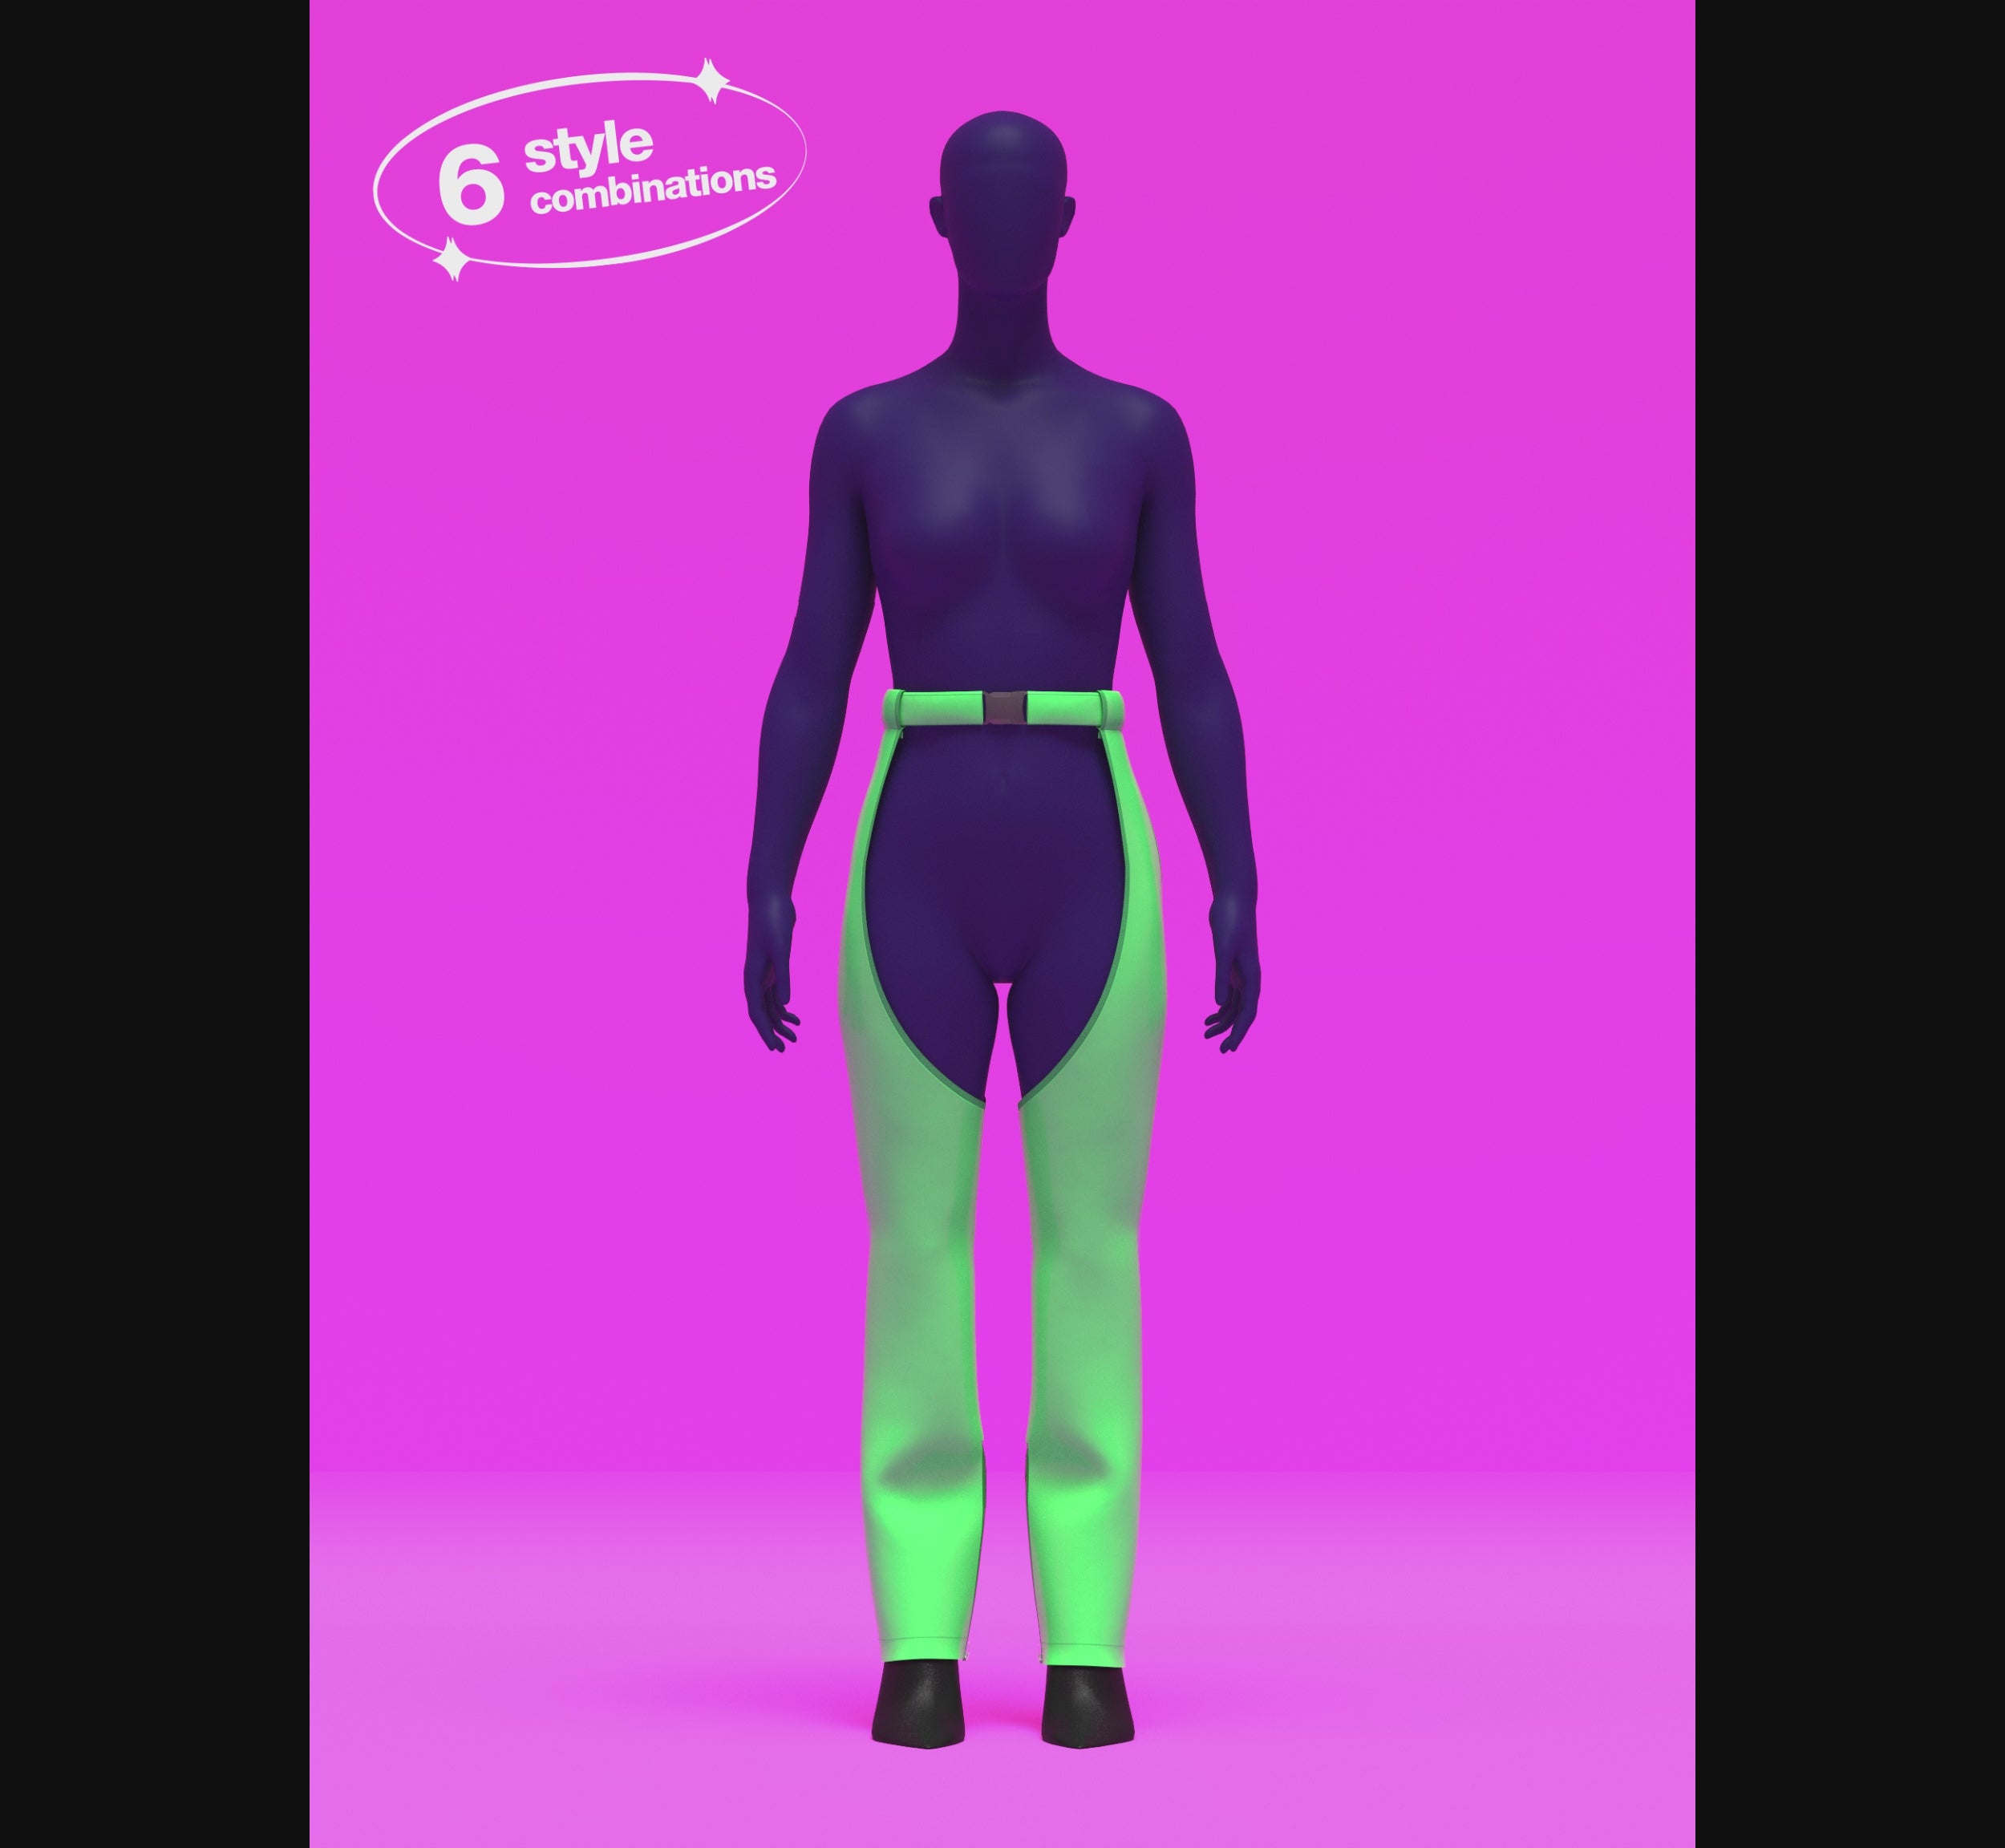
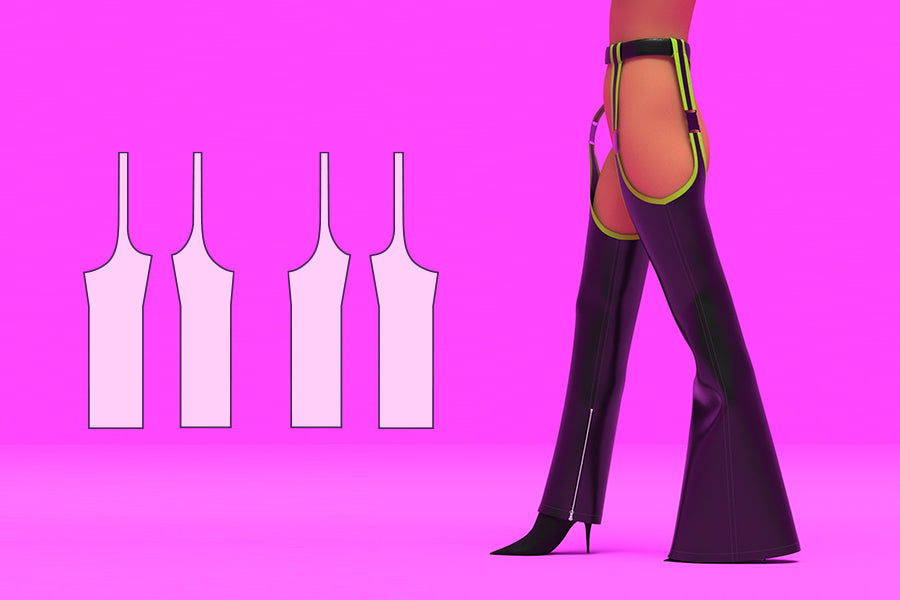
Ready to strut your stuff? This sewing tutorial walks you through how to sew your own fierce pair of chaps using our Chaps Sewing Pattern, made especially for drag queens, performers, and anyone who loves a bold fashion moment. With 6 unique combinations to choose from—including straight or bell-bottom legs, three belt options, and multiple length variations—this tutorial covers everything you need to know to get the perfect fit and finish.
Let’s turn fabric into fantasy—step into your power and let your chaps steal the spotlight.
Sizing Details
The Chaps are available in our exclusive drag queen sizes XS–4X and standard women's sizes 2–18, ensuring a stunning fit for various body types.
Drag Queen Sizes
| Sizes | XS | S | M | L | XL | 2X | 3X | 4X | |||
|---|---|---|---|---|---|---|---|---|---|---|---|
| Inches | |||||||||||
| Bust | 35”-37” | 38”-40” | 40”-42” | 44”-46” | 47”-49” | 50”-52” | 53”-55” | 56”-58” | |||
| Waist | 26”-28” | 29”-31” | 32”-34” | 35”-37” | 38”-40” | 41”-43” | 44”-46” | 47”-49” | |||
| Hips | 37”-39” | 40”-42” | 43”-45” | 46”-48” | 49”-51” | 52”-54” | 54”-56” | 58”-60” | |||
| Height | 70" | 70" | 70" | 70" | 70" | 70" | 70" | 70" | |||
| Centimeters | |||||||||||
| Bust | 89-94 | 96-102 | 102-107 | 112-117 | 119-124 | 127-132 | 135-140 | 142-147 | |||
| Waist | 66-71 | 74-79 | 81-86 | 89-94 | 96-102 | 104-109 | 112-117 | 119-124 | |||
| Hips | 94-99 | 102-107 | 109-114 | 117-122 | 124-130 | 132-137 | 137-142 | 147-152 | |||
| Height | 178 | 178 | 178 | 178 | 178 | 178 | 178 | 178 | |||
Our unique drag sizes are based on U.S. Standard Men’s and Women’s Plus sizes, designed to fit male bodies with padding with an average height of 70 inches. They feature longer torsos, wider shoulders, arms, and legs, and a shorter crotch inseam compared to standard women’s sizing, making them inclusive for anyone matching the provided measurements.
Standard Women's Sizes
| Sizes | 0-2 | 4-6 | 8-10 | 12-14 | 16-18 | ||||
|---|---|---|---|---|---|---|---|---|---|
| Inches | |||||||||
| Bust | 32"-33" | 34"-35" | 36"-37" | 39"-40" | 42"-44" | ||||
| Waist | 24"-25" | 26"-27" | 28"-29" | 31"-32.5" | 34.5"-37" | ||||
| Hips | 33"-35" | 37"-38" | 39"-40" | 42"-43" | 45"-47" | ||||
| Height | 65" | 65" | 65" | 65" | 65" | Centimeters | |||
| Bust | 83.8 | 86.4-88.9 | 91.4-94.0 | 99.1-101.6 | 106.7-111.8 | ||||
| Waist | 63.5 | 66.0-68.6 | 71.1-73.7 | 78.7-82.6 | 87.6-94.0 | ||||
| Hips | 88.9 | 94.0-96.5 | 99.1-101.6 | 106.7-109.2 | 114.3-119.4 | ||||
| Height | 165 | 165 | 165 | 165 | 165 | ||||
Fabric & Notions
Designed for non-stretch fabrics like faux leather, vinyl, or denim.
Notions:- One 1.5" Buckle
- 0.5" Double folded bias tape or trim
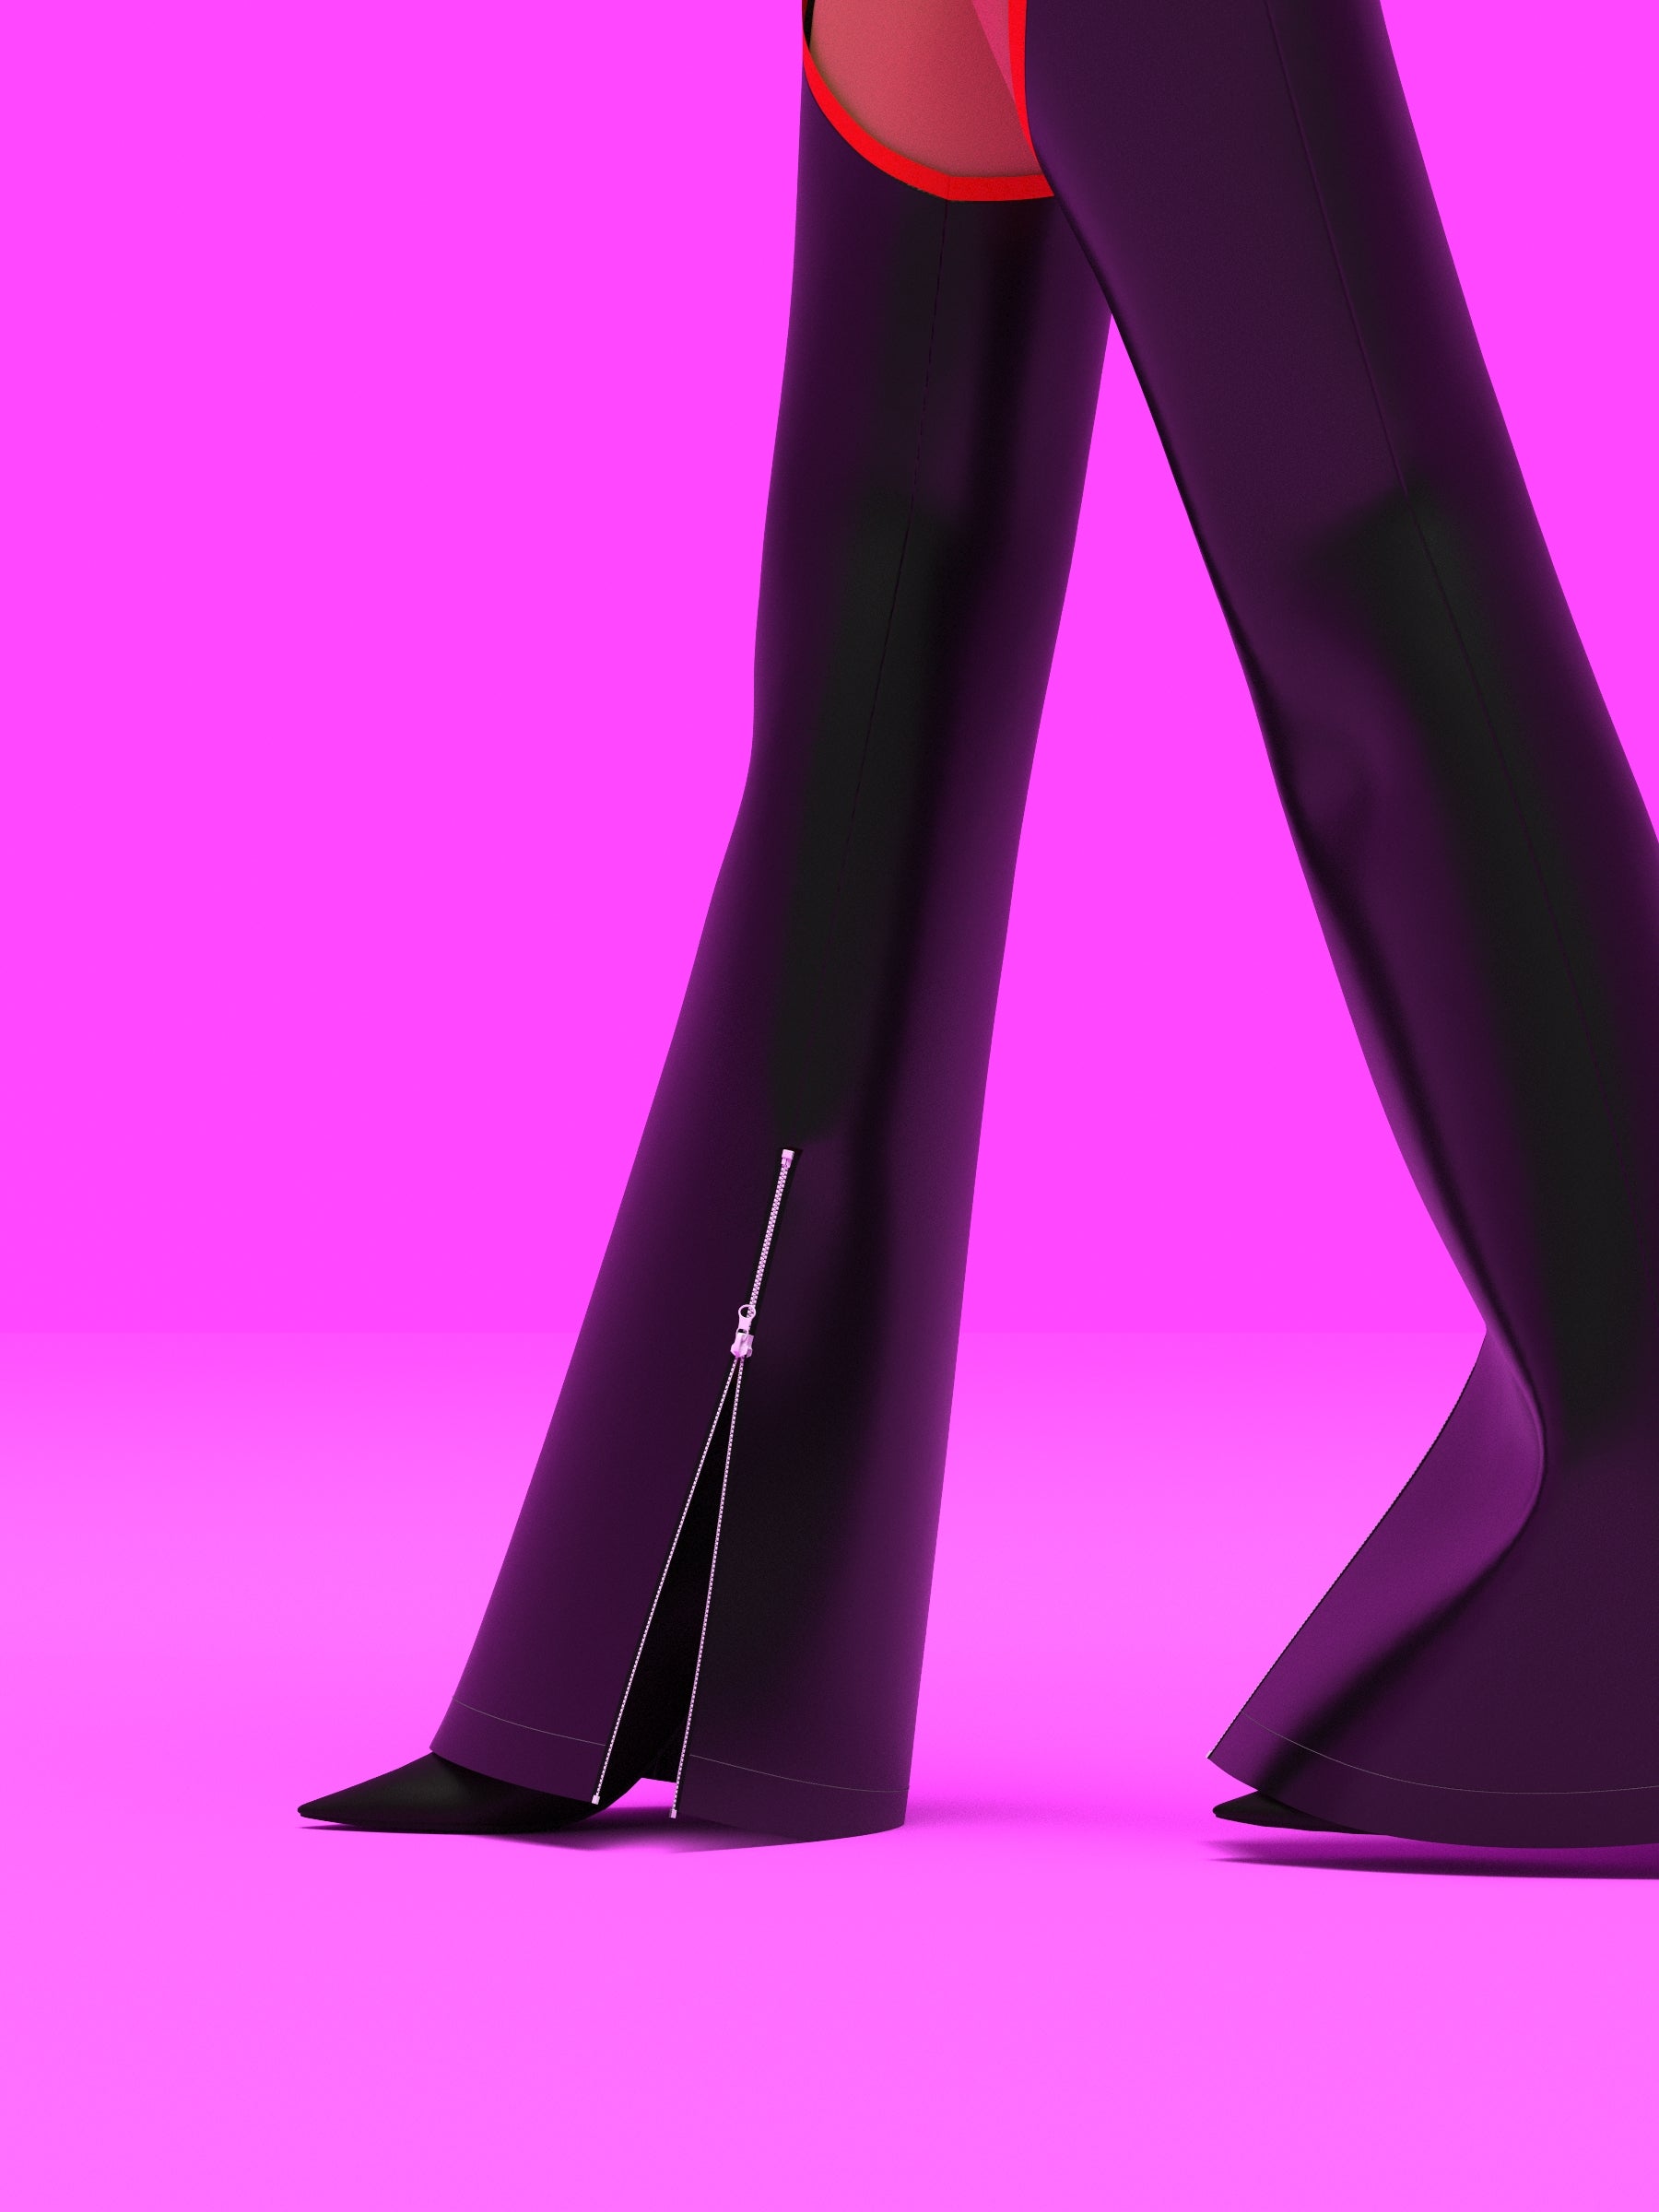
- Two 12"-14" Zippers
Fabric Yardage
These chaps are designed for faux leather or vinyl fabrics, which typically come in 54" to 58" wide bolts. Below, you’ll find yardage charts for both our Drag Queen Sizes and Standard Women’s Sizes to help you determine how much fabric you’ll need.
Drag Queens Sizes
| Size | Straight Leg (yds) | Bell Leg (yds) | Belts (yds) | Belt Elastic Cover (yds) |
|---|---|---|---|---|
| XS | 1.25 | 1.5 | 0.5 | 0.25 |
| S | 1.5 | 1.75 | 0.5 | 0.25 |
| M | 1.75 | 2 | 0.5 | 0.25 |
| L | 1.75 | 2 | 0.5 | 0.25 |
| XL | 2 | 2 | 0.75 | 0.25 |
| 2X | 2 | 2 | 0.75 | 0.25 |
| 3X | 2 | 2.25 | 1 | 0.25 |
| 4X | 2 | 2.25 | 1 | 0.25 |
Women's Sizes
| Size | Straight Leg (yds) | Bell Leg (yds) | Belts (yds) | Belt Elastic Cover (yds) |
|---|---|---|---|---|
| 0–2 | 1.25 | 1.5 | 0.5 | 0.25 |
| 4–6 | 1.25 | 1.5 | 0.5 | 0.25 |
| 8–10 | 1.25 | 1.5 | 0.5 | 0.25 |
| 12–14 | 1.25 | 1.5 | 0.5 | 0.25 |
| 16–18 | 1.25 | 1.5 | 0.5 | 0.25 |
Sewing Instructions
Paper Pattern: Folders
READ FIRST: The paper pattern comes in separate parts and folders that need to be taped together before cutting your fabric.
📁 1. Belt-Patterns
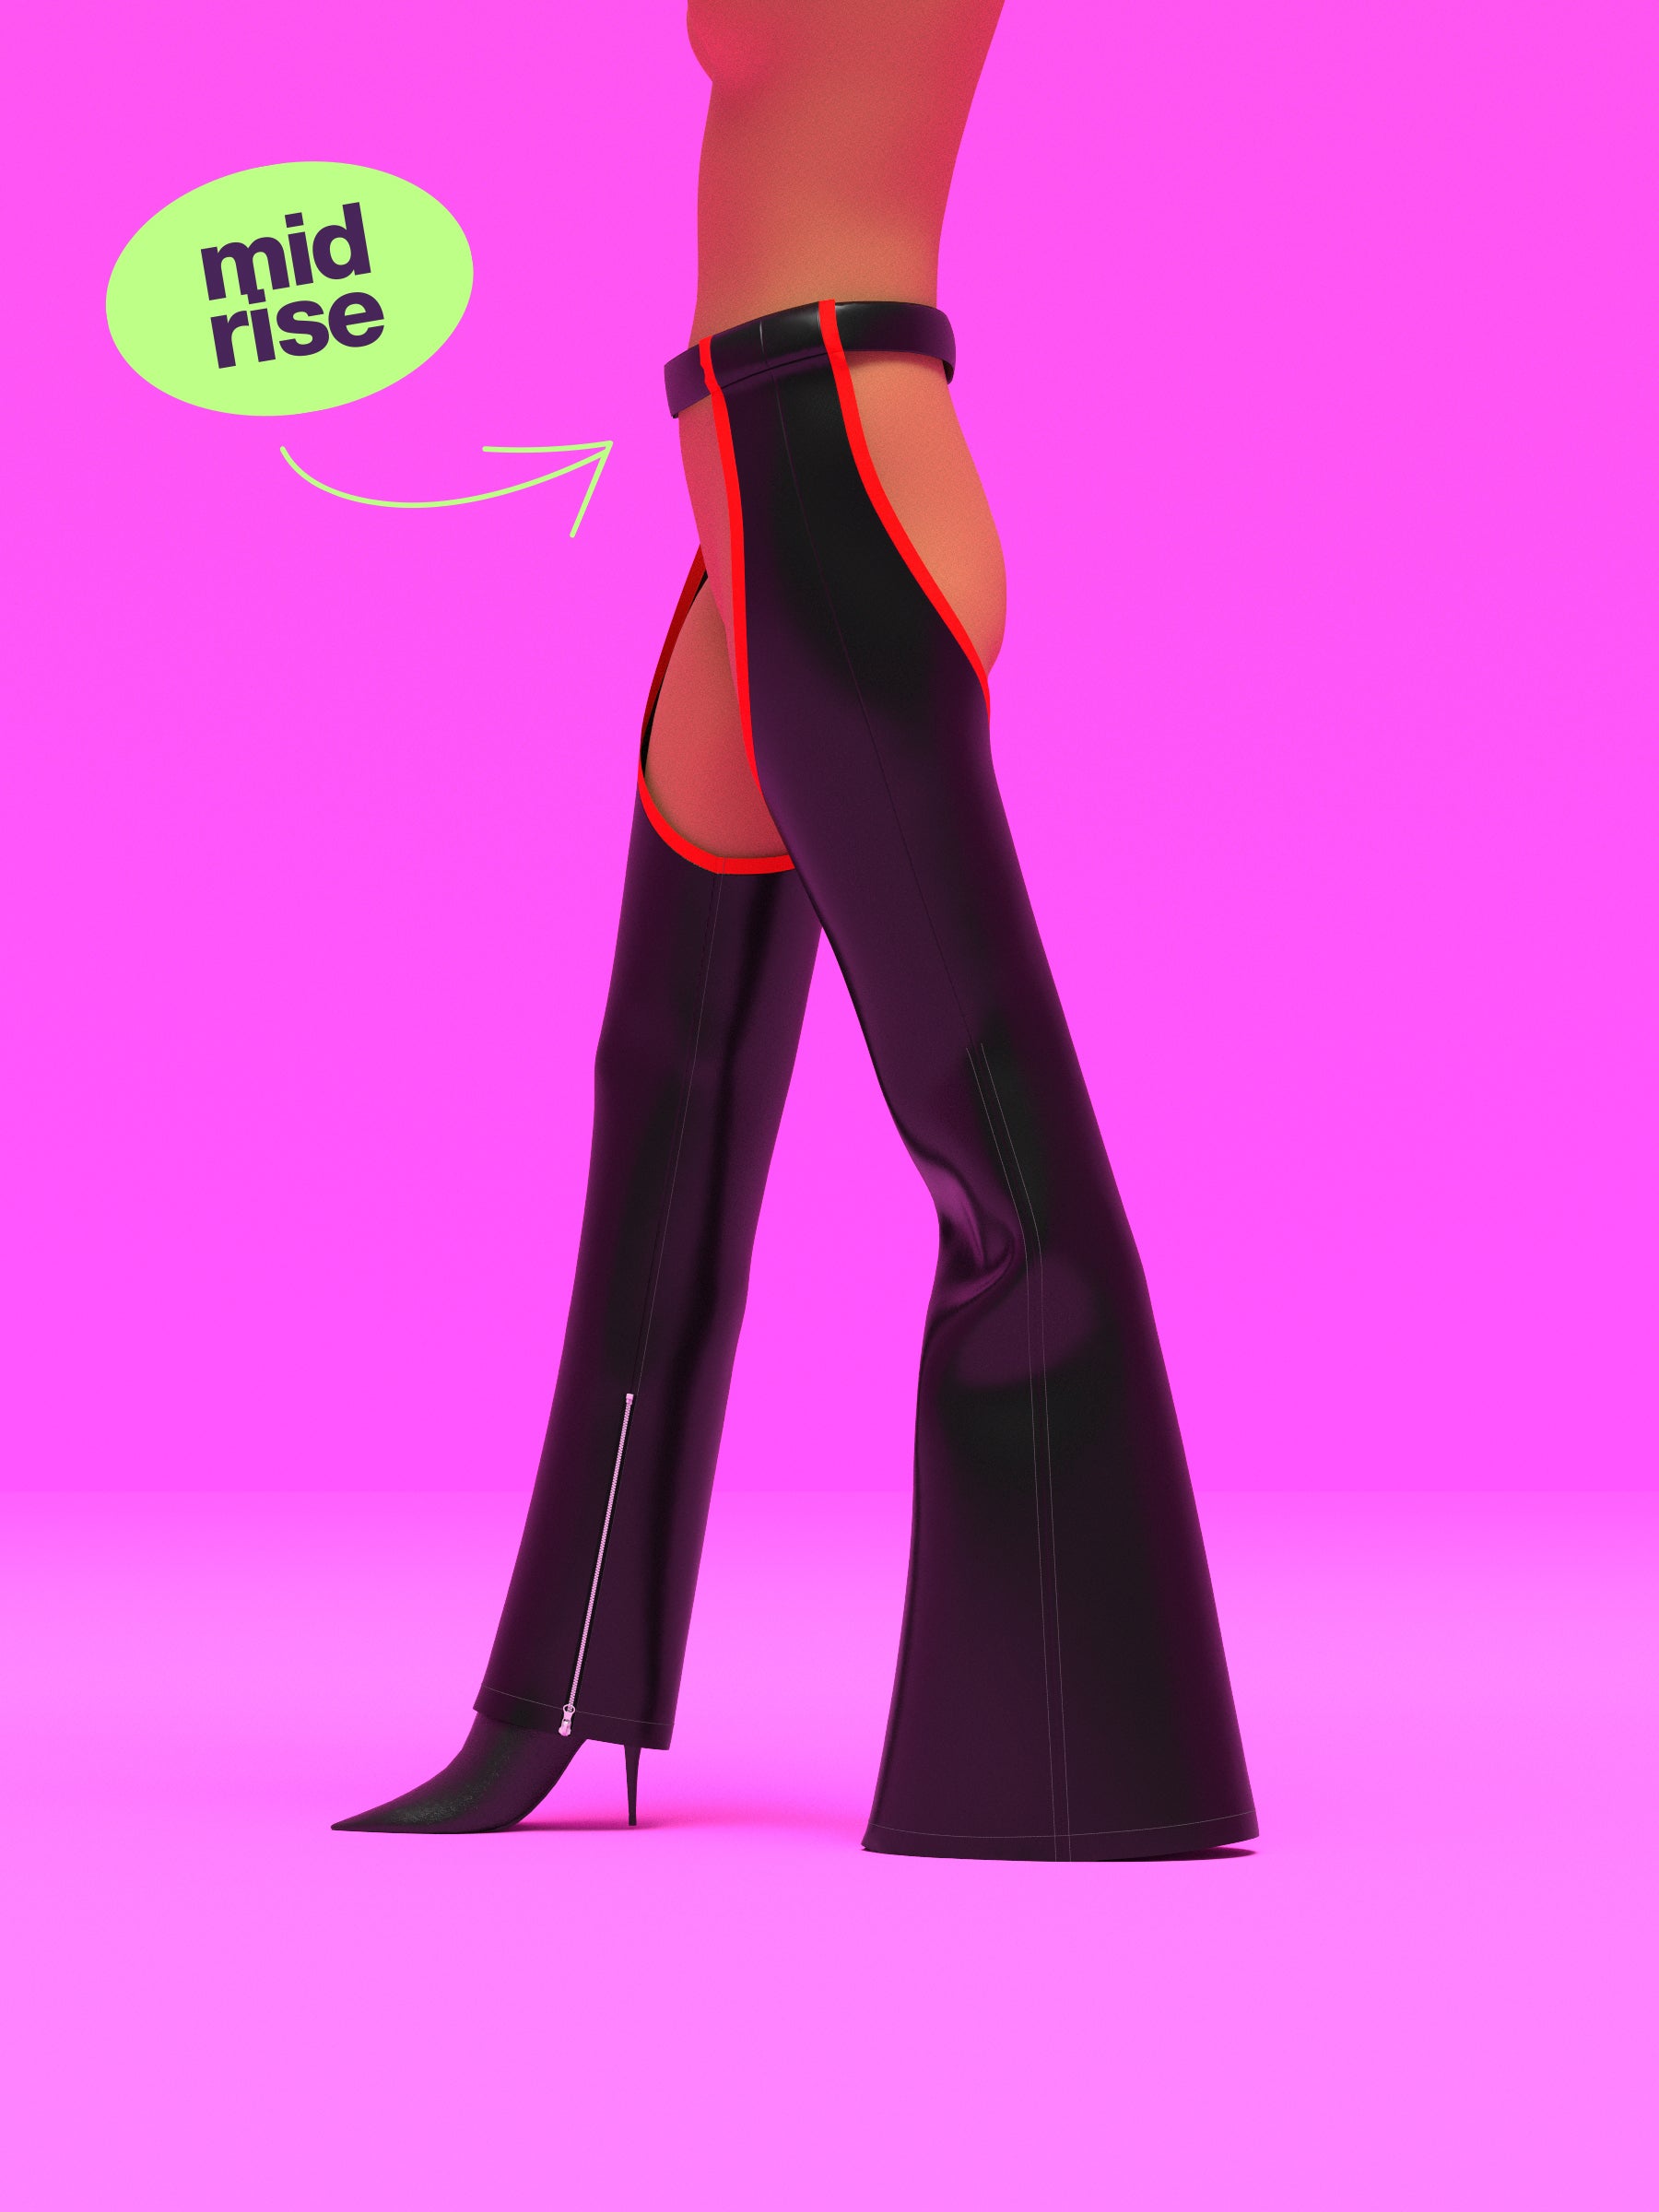
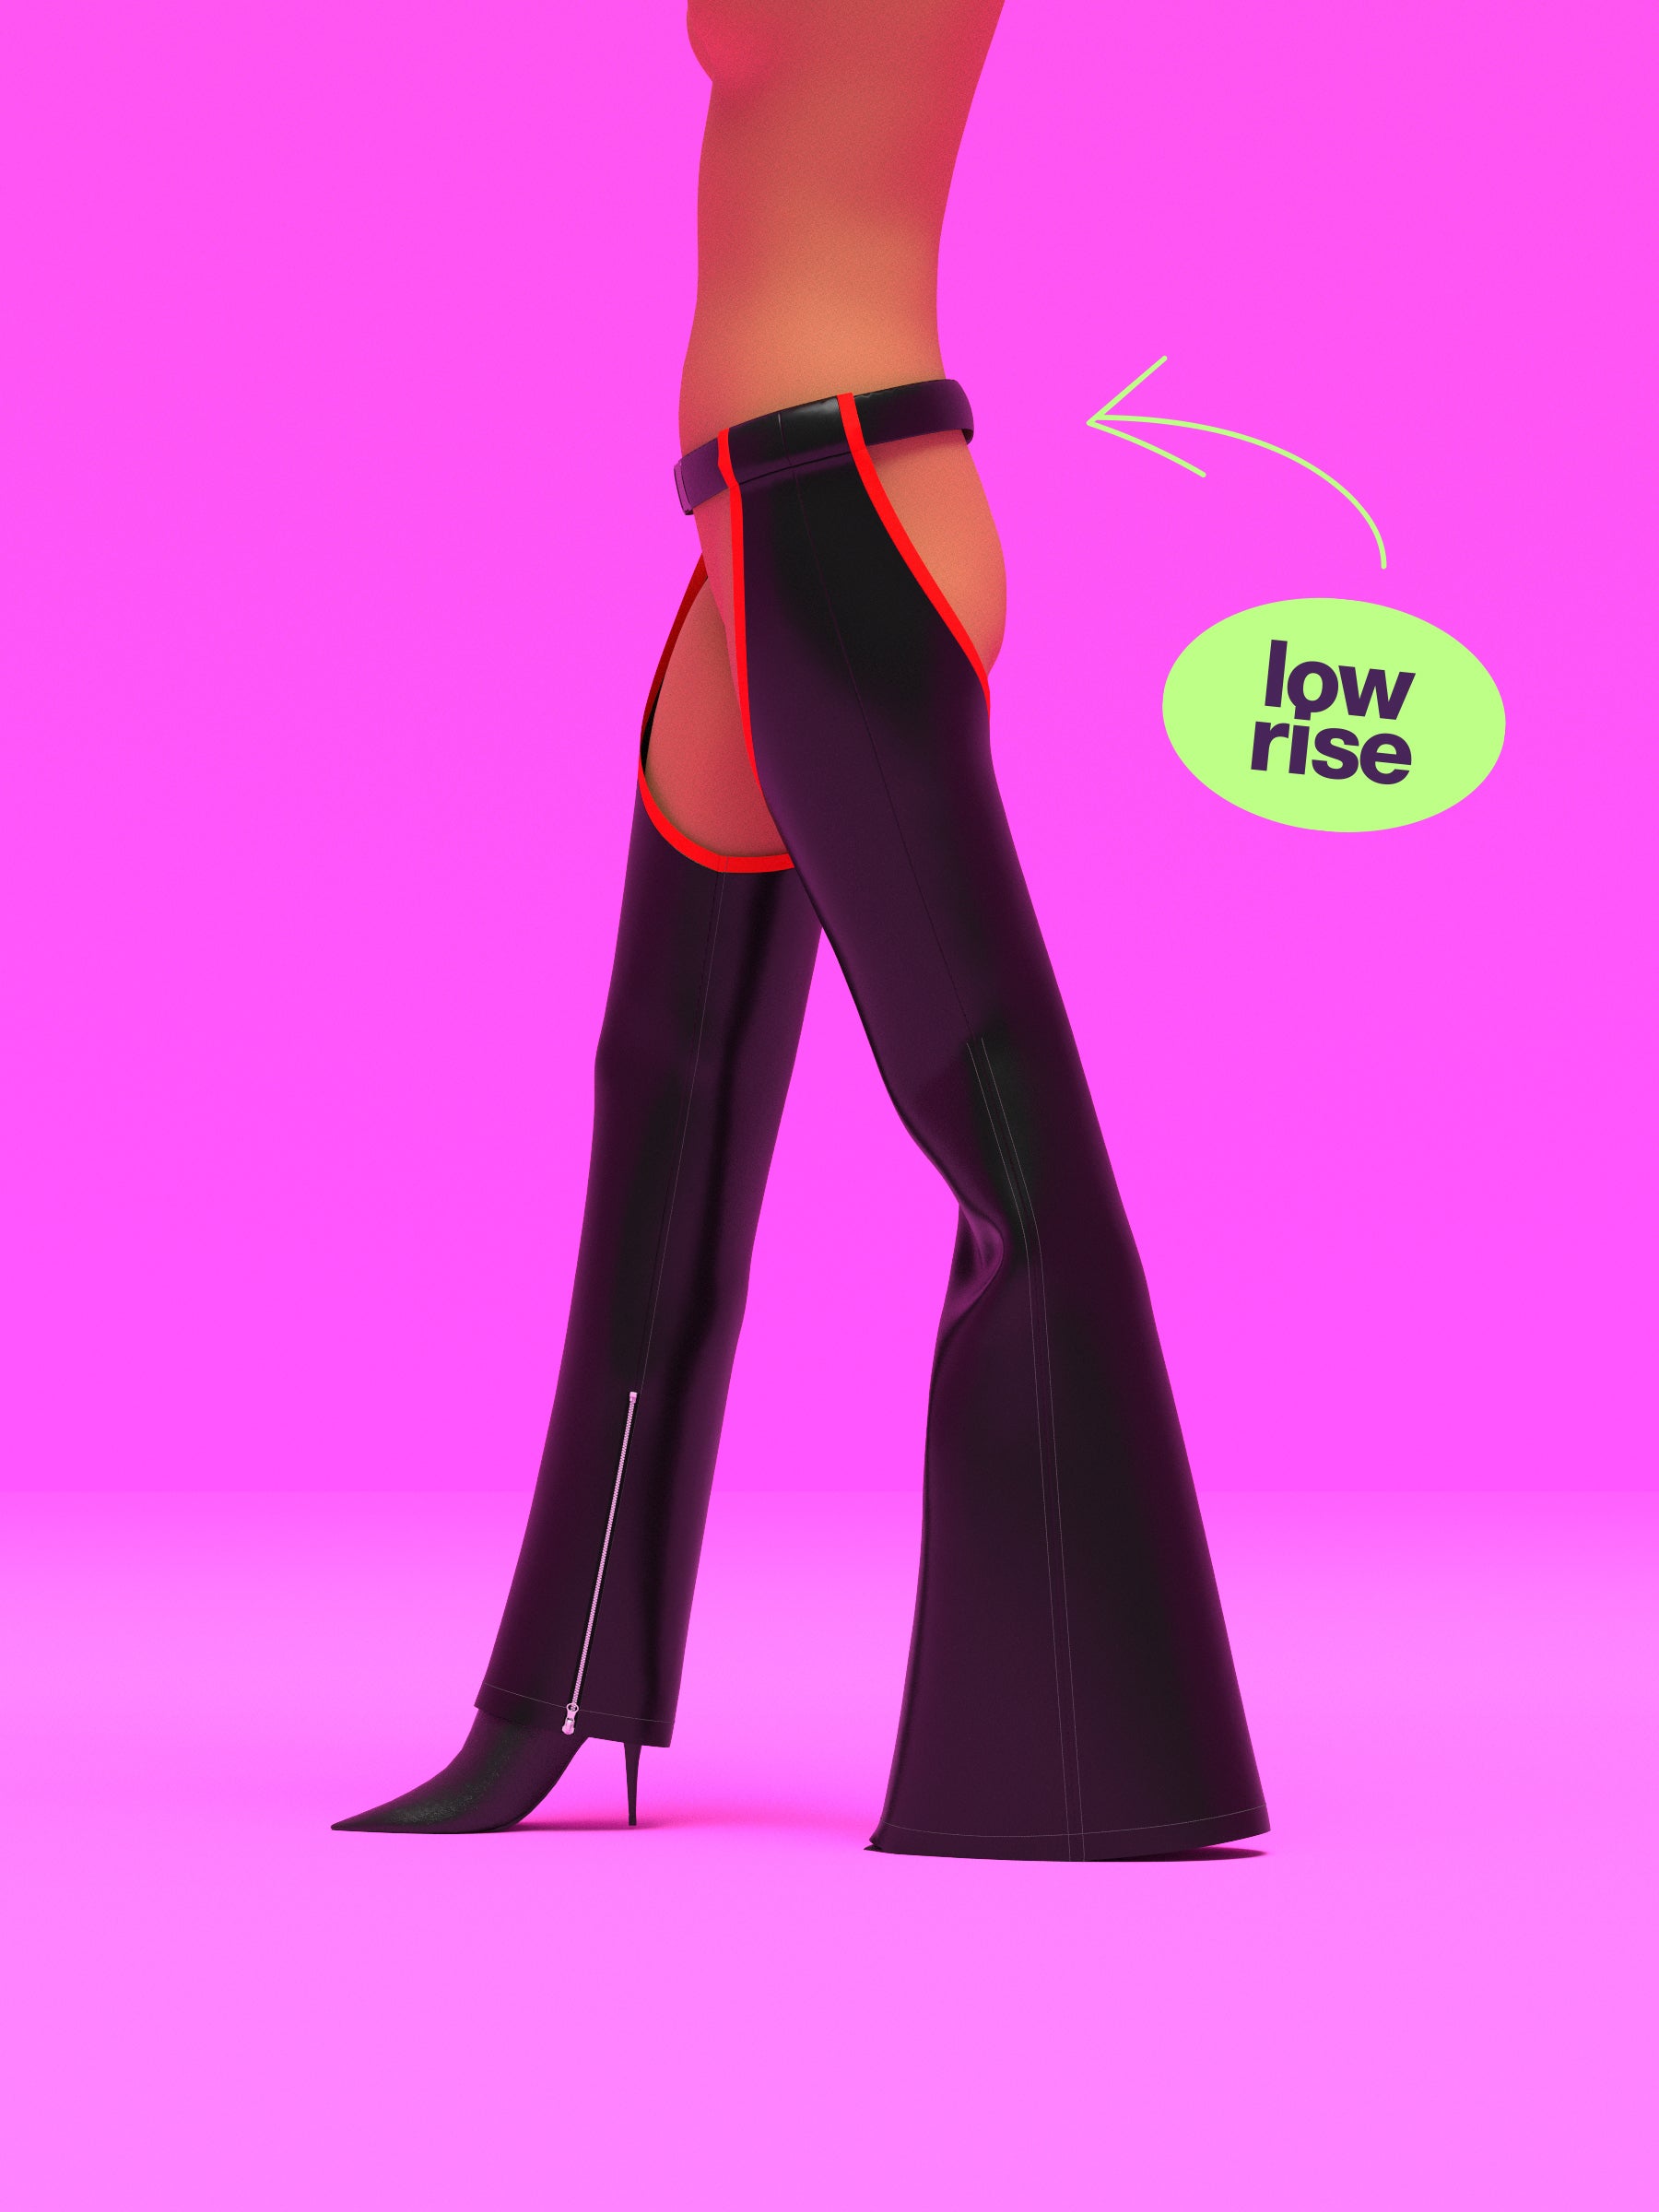
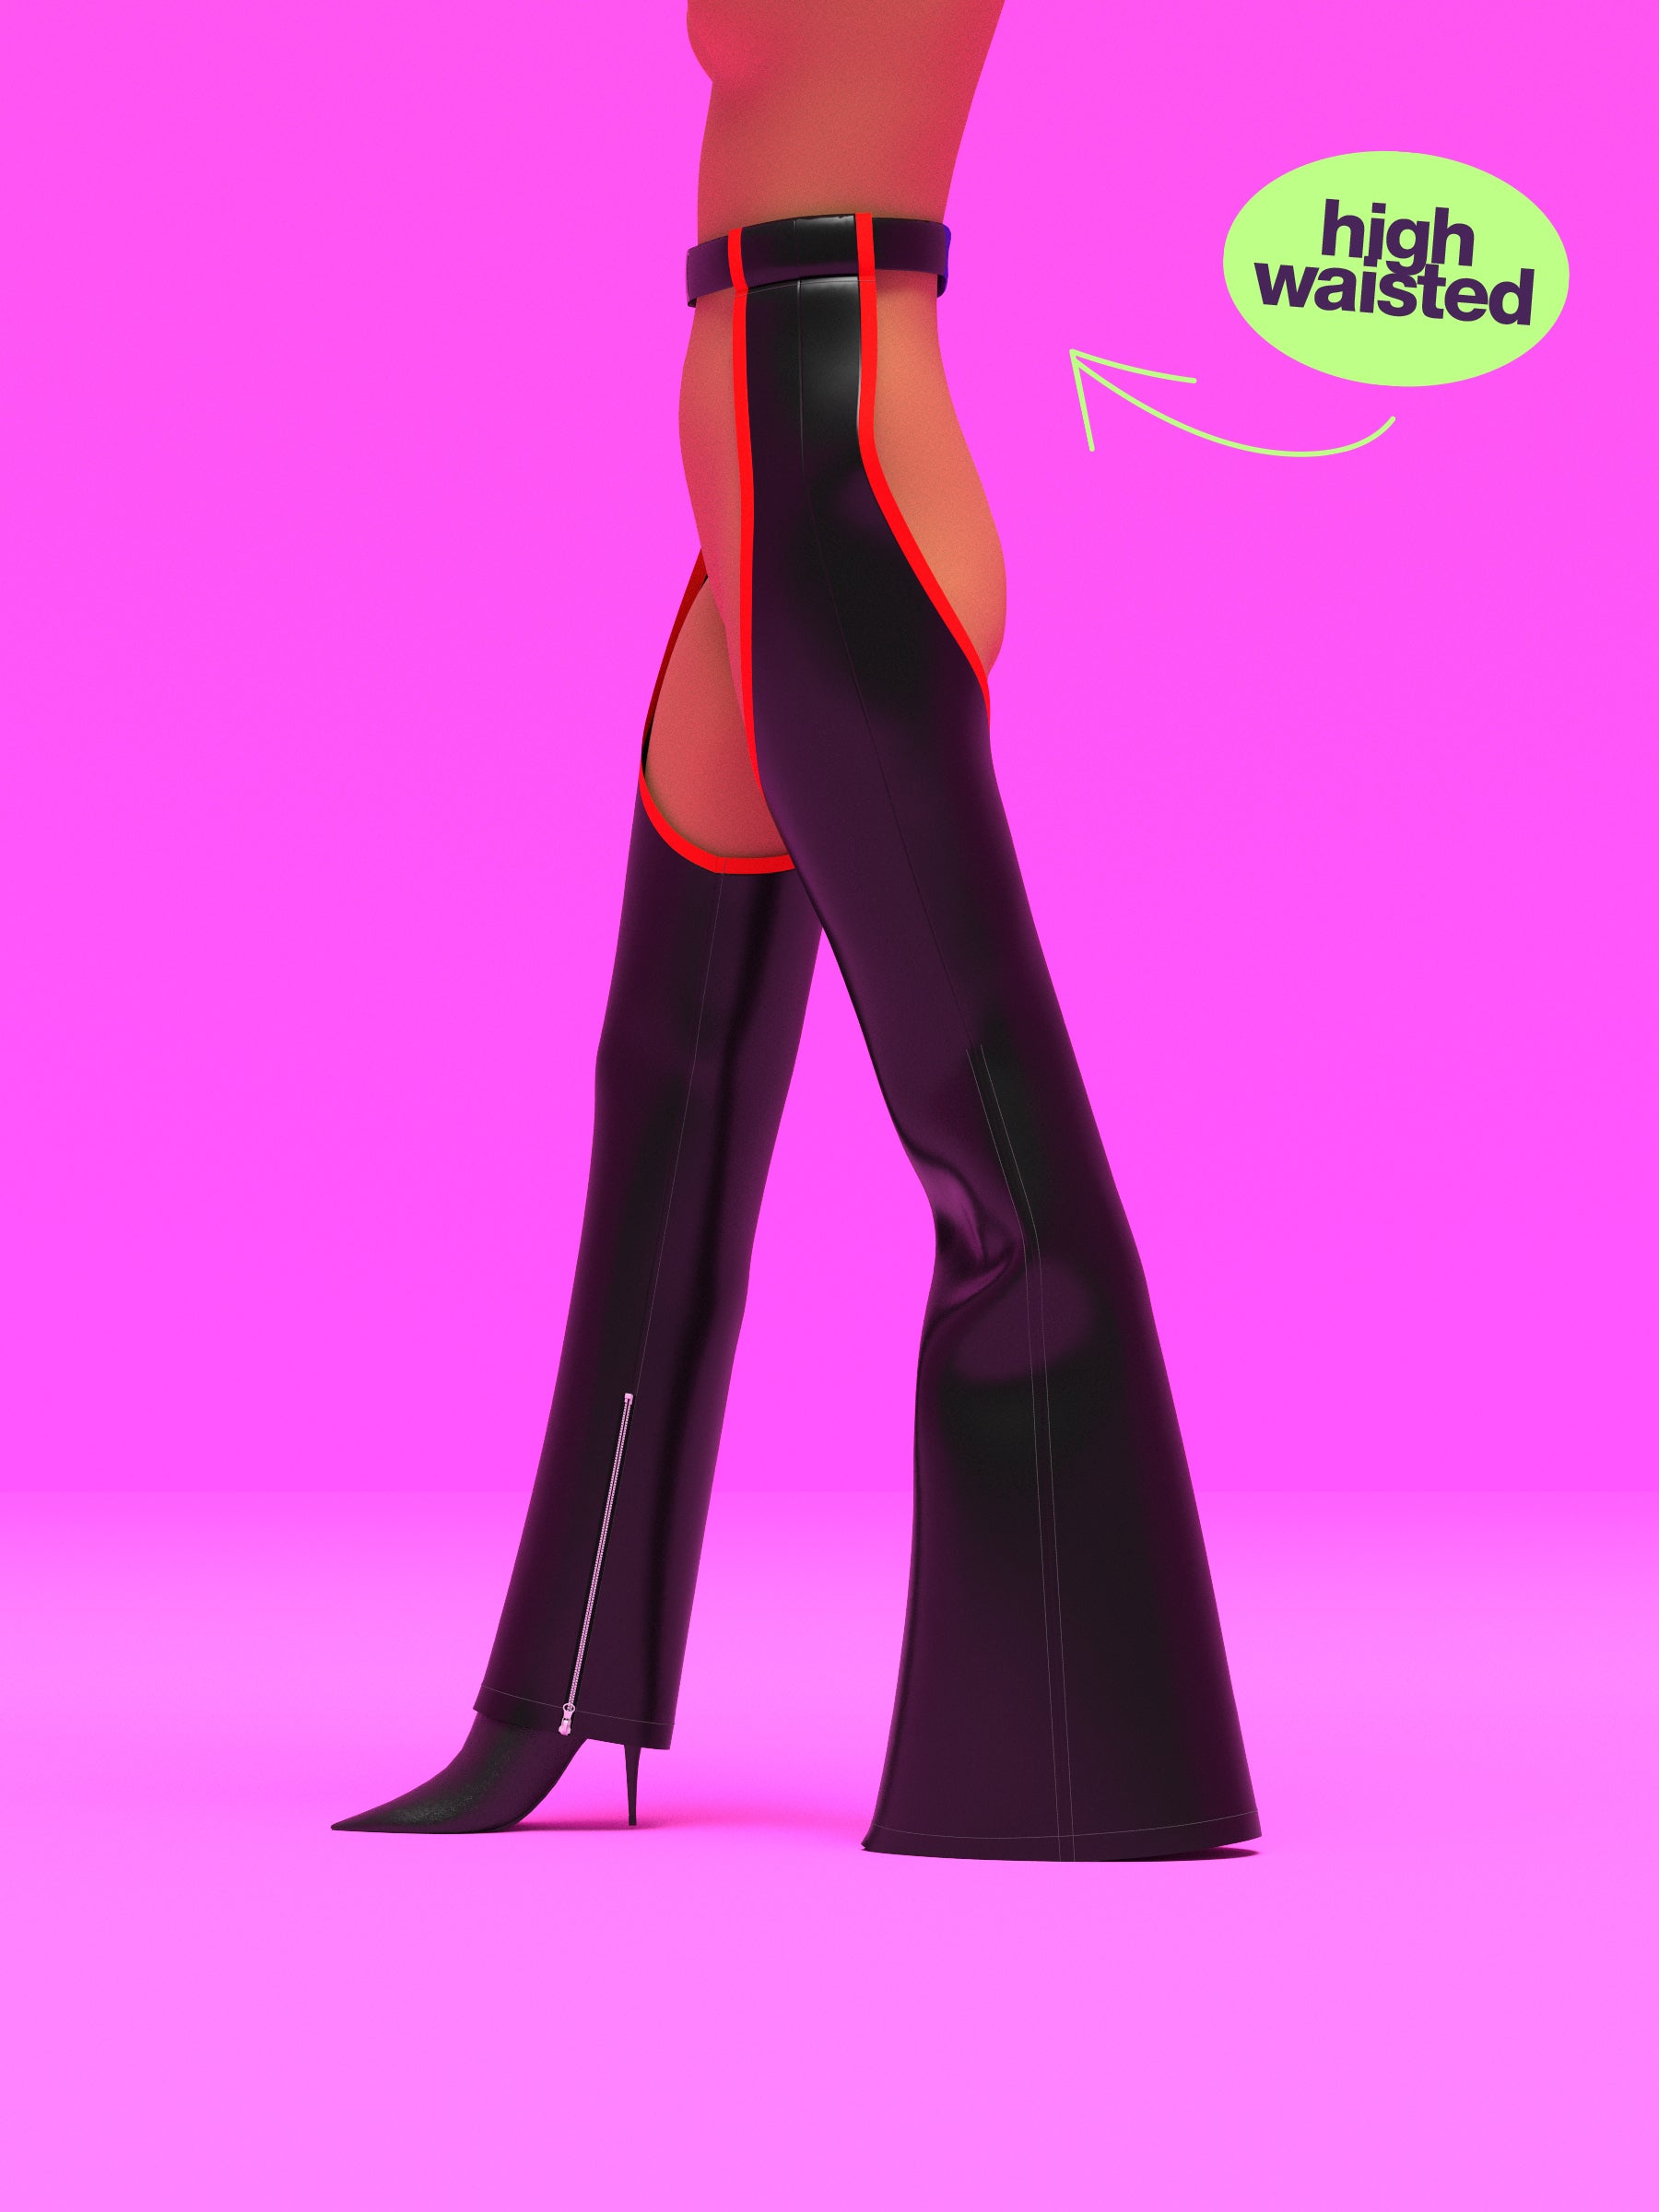
In this folder, you’ll find belt patterns for the high-waisted, mid-rise, and low-rise options.
You can choose to print these and make your own belt, or use a belt you already have.
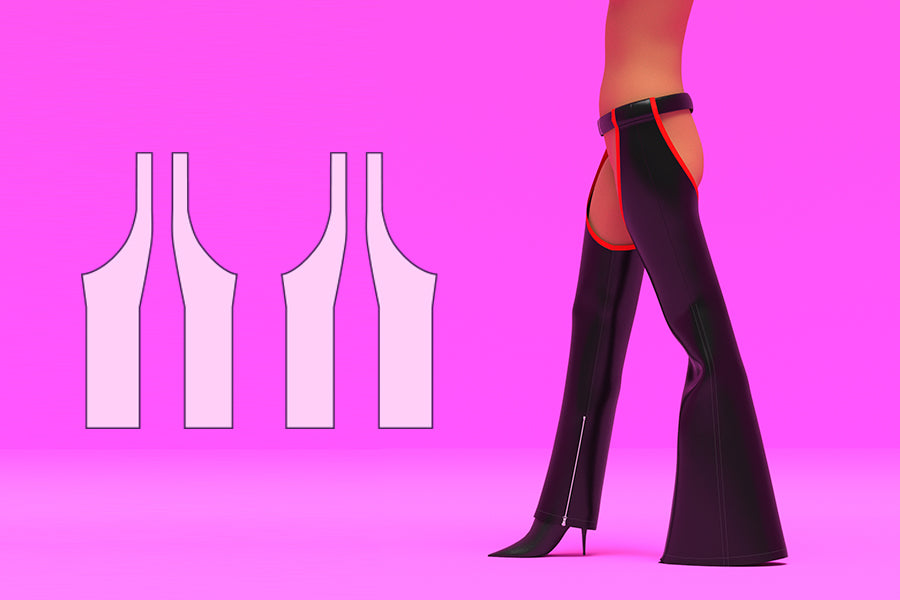
📁 2. Full-Straight-Leg-Pattern
This folder contains all the pieces needed to complete the straight leg chaps. The pattern pieces are broken into sections: belt loops, above the knee, and below the knee. These need to be taped together to form one full leg pattern for cutting your fabric.
Pick your waist height (high, mid, or low rise), then tape the belt loop pieces to the matching rise guides on the pattern.
📁 3. Bell-Leg-Add-On
The bell bottom pieces are add-ons and can be printed separately. These are used to replace the straight leg below-the-knee pieces if you’re making the bell bottom version.
Once everything is taped together for your chosen style, you’re ready to cut your fabric!

Color Guide

Leg Assembly
Once you've chosen your chap style and assembled the printed pattern pieces, you're ready to cut your fabric.
You should cut 2 front leg pieces and 2 back leg pieces out of a faux leather or vinyl fabric.
These instructions will be shown using the straight leg pattern, but the same steps apply when sewing the bell leg style.

Sewing One Leg
Step 1: Gather a front leg piece and one back leg piece for one side.
Step 2: Stack them right sides of the fabrics facing each together, aligining at the inner leg seam.
Step 3: Sew the inner leg seam from the top down stopping at the zipper notch. Use a straight stitch and a half inch (0.5") seam allowance.
Note: If wish to not add an inner zipper, sew all the way down the seam.

Install the Zipper
Step 4: At the zipper notch, make a small snip to open up the seam.
Step 5: Pin and sew the zipper below the notch, leaving 1–2 inches free at the bottom for hemming later. Do not attach the zipper all the way to the hem.
Step 6: Flip the leg right side up and topstitch the seam toward the back leg. Then topstitch both sides of the zipper fabric to hold it in place.

Assemble the Outer Leg
Step 7: With the zipper installed, turn the panel wrong side out and sew the outer leg seam, right sides facing.
Step 8: Flip the leg panel right side out. Topstitch the outer seam as far as possible from both the top and bottom. Repeat steps 1–8 for the opposite leg.
Step 9: Hem both legs: Straight leg chaps stop at the ankle. Bell-bottom chaps can go to the floor for heels.
👠 Pro tip: Test your preferred hem length before installing the zipper so everything aligns cleanly.

Make the Belt (High-Waisted Version)
This version includes an elastic back for added comfort and movement.
Step 10: You’ll need: 2 faux leather belt strips, 1 elastic cover piece (non-stretch cotton/polyester), and 1 piece of elastic.
Step 11: Measure your elastic (should be shorter than the cover). Pin it to the wrong side of the elastic cover, stretching it as you pin. Leave a ½" seam allowance around all edges.

Step 12: Sew the elastic to the cover. Then place the cover right sides together with one leather strip and sew along one edge.
Step 13: Repeat with the second strip on the other side of the cover.
Step 14: Flip the belt right side up and topstitch both seams where the elastic meets the faux leather.

Step 15: Fold in the top and bottom edges of the belt by ½". Clip in place.
Step 16: Fold the belt vertically in half. Topstitch all layers together: Use a straight stitch on the faux leather and use a zigzag stitch over the elastic panel for stretch.
💡 If you’re using a mid-rise or low-rise belt, skip the elastic. Just fold and topstitch as shown in steps 15–16. You can also use any belt you already own.

Bais Trim
Step 17: Where the front and back legs are sewn together, finish the raw edges using ½" double-fold bias tape.
Step 18: Unfold your bias tape or trim.
Step 19: With right sides together, sew the bias tape to the raw edges all around the outer side of each leg.
Step 20: Fold the bias tape over the edge to the wrong side. Topstitch to secure.

Step 21: Once the bias tape is in place, you can close the belt loops.
Step 22: Fold the top edges of the leg panels along the fold lines. This should create a wide enough loop for the belt. Fold in the raw edges and topstitch to secure the loop.
Step 23: Slide the belt through each loop.

Buckle
Step 24: Try on your chaps and adjust the belt fit. Trim off any extra if needed before attaching the buckle. You have two buckle options: A: Sew the end of the belt around the buckle to secure it completely. B: Fold in the end and stitch it down, leaving excess belt for adjustment.

Related Video Tutorial
Watch our striped garter chaps video tutorial—it follows a similar construction process to our standard chaps and makes a great reference.