How to Sew an Asymmetric Sleeve Mini Dress
Jump to Instructions
Overview
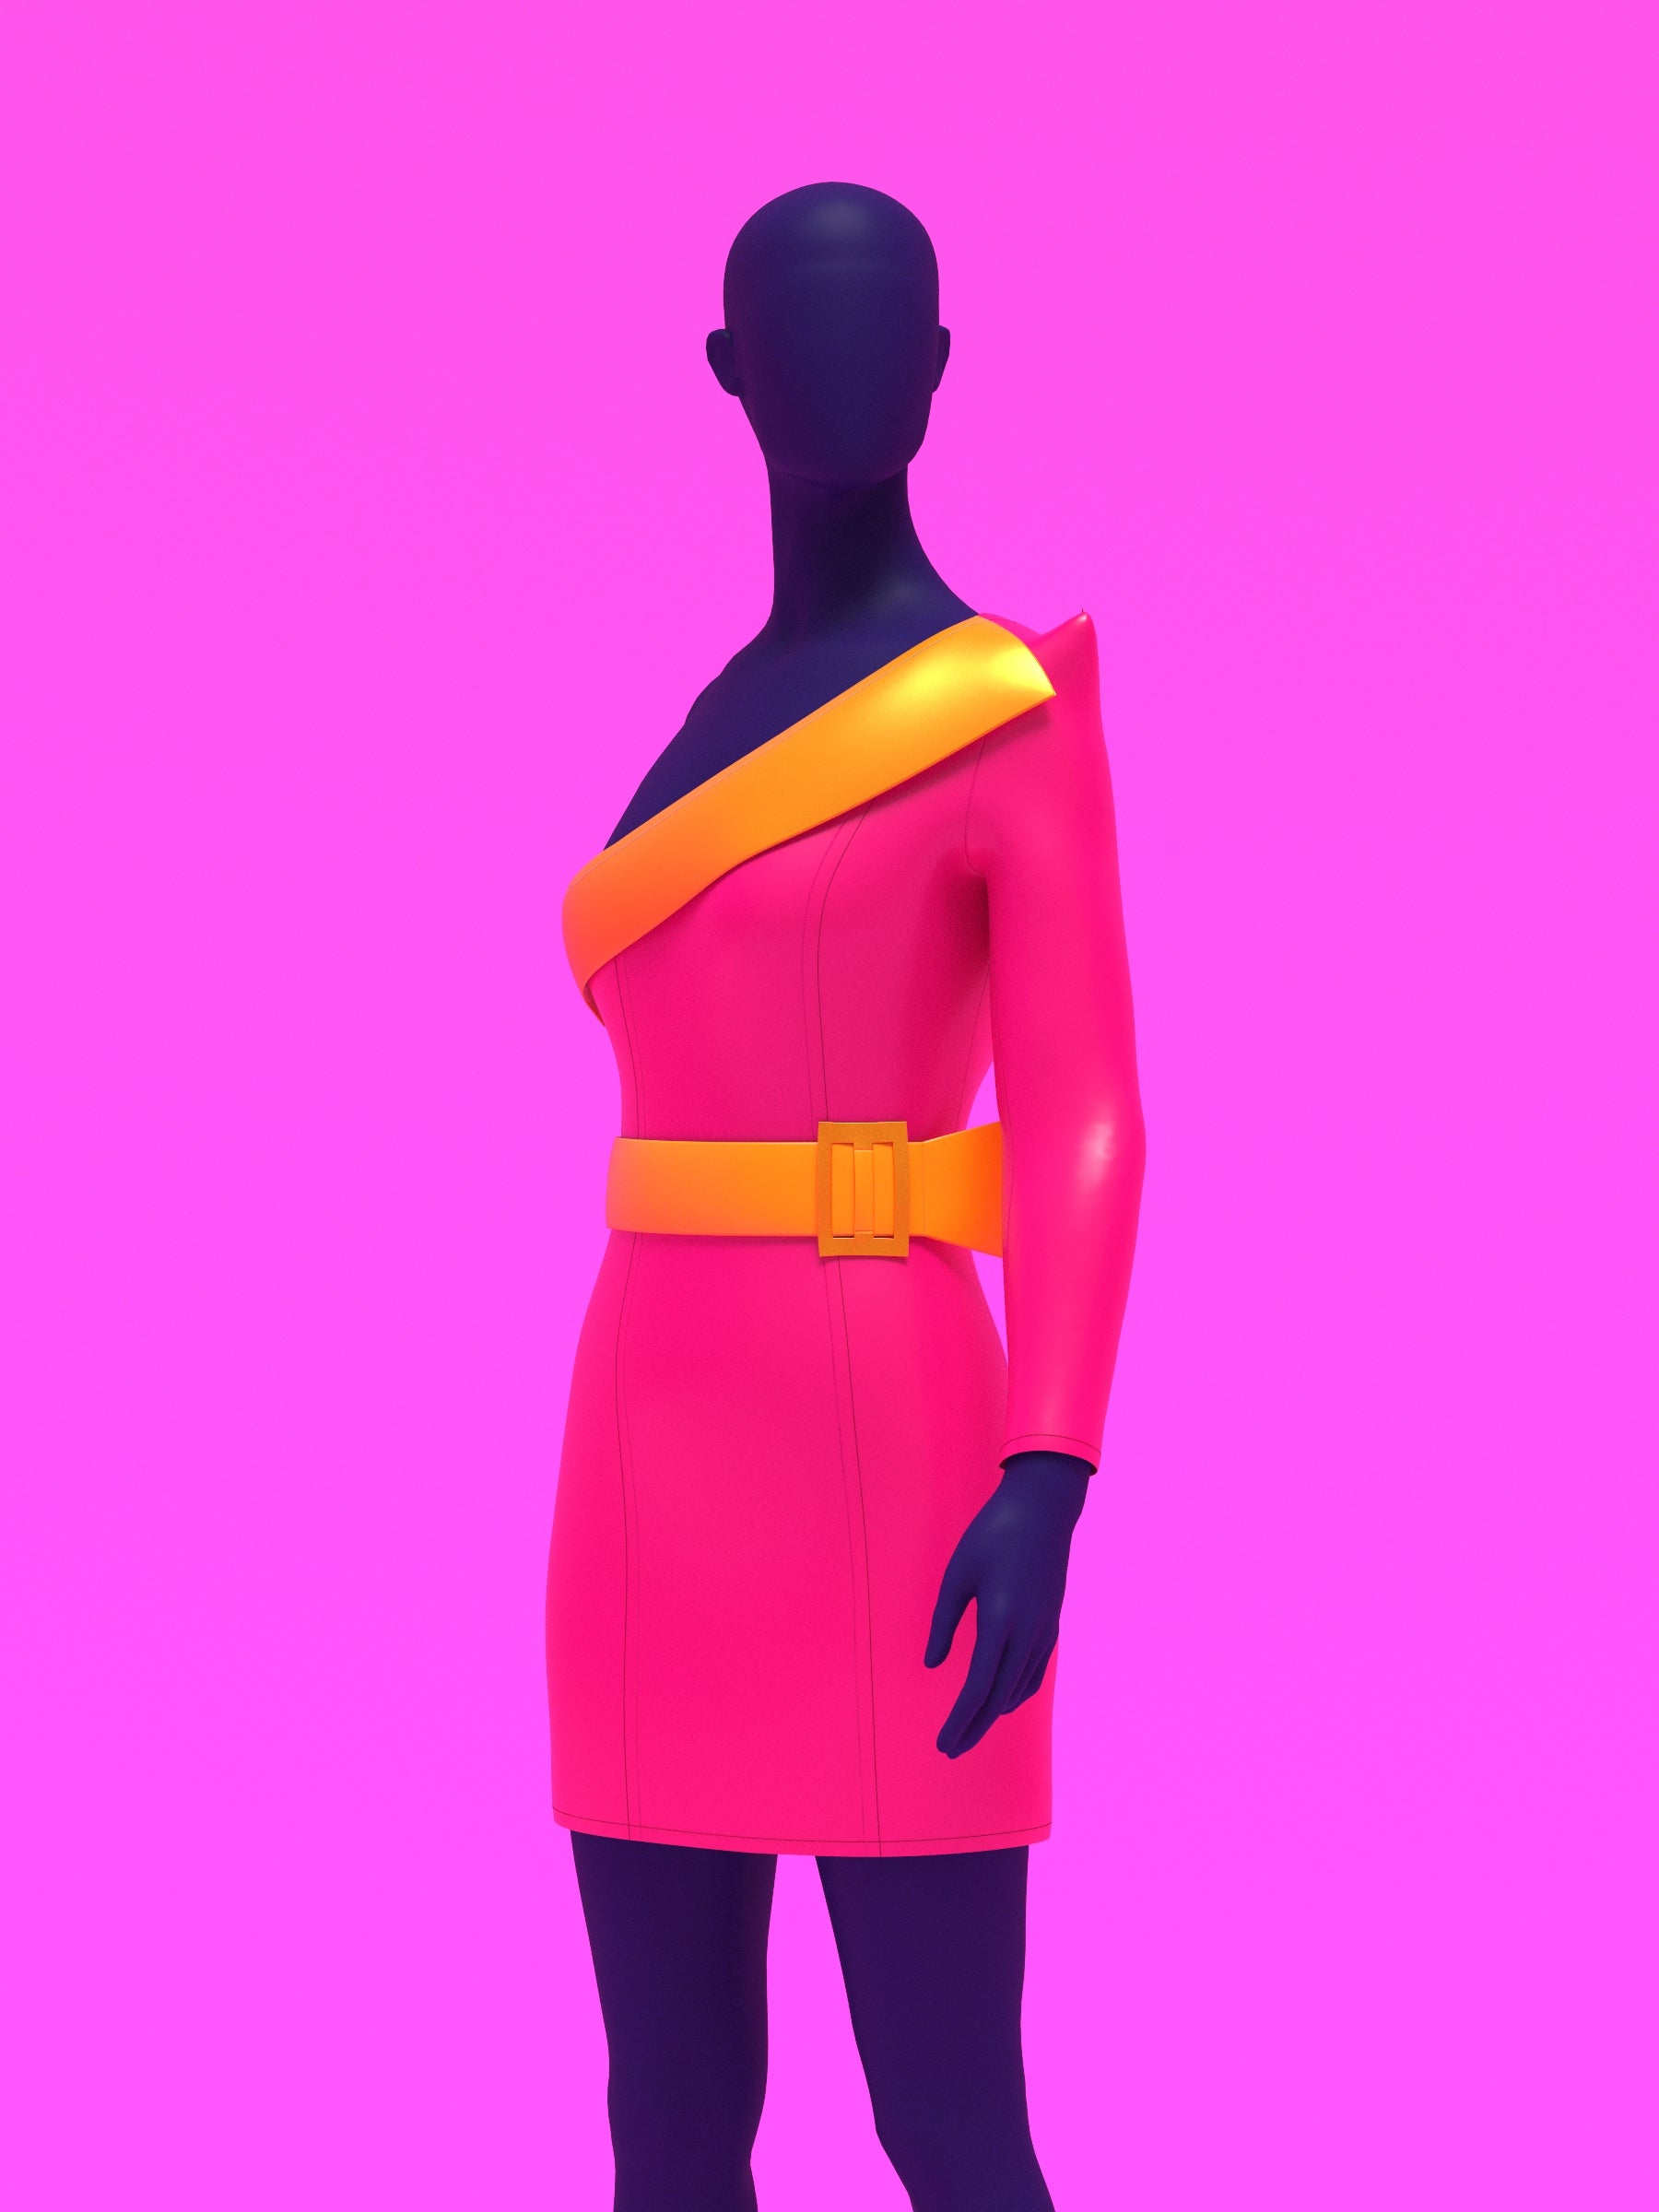
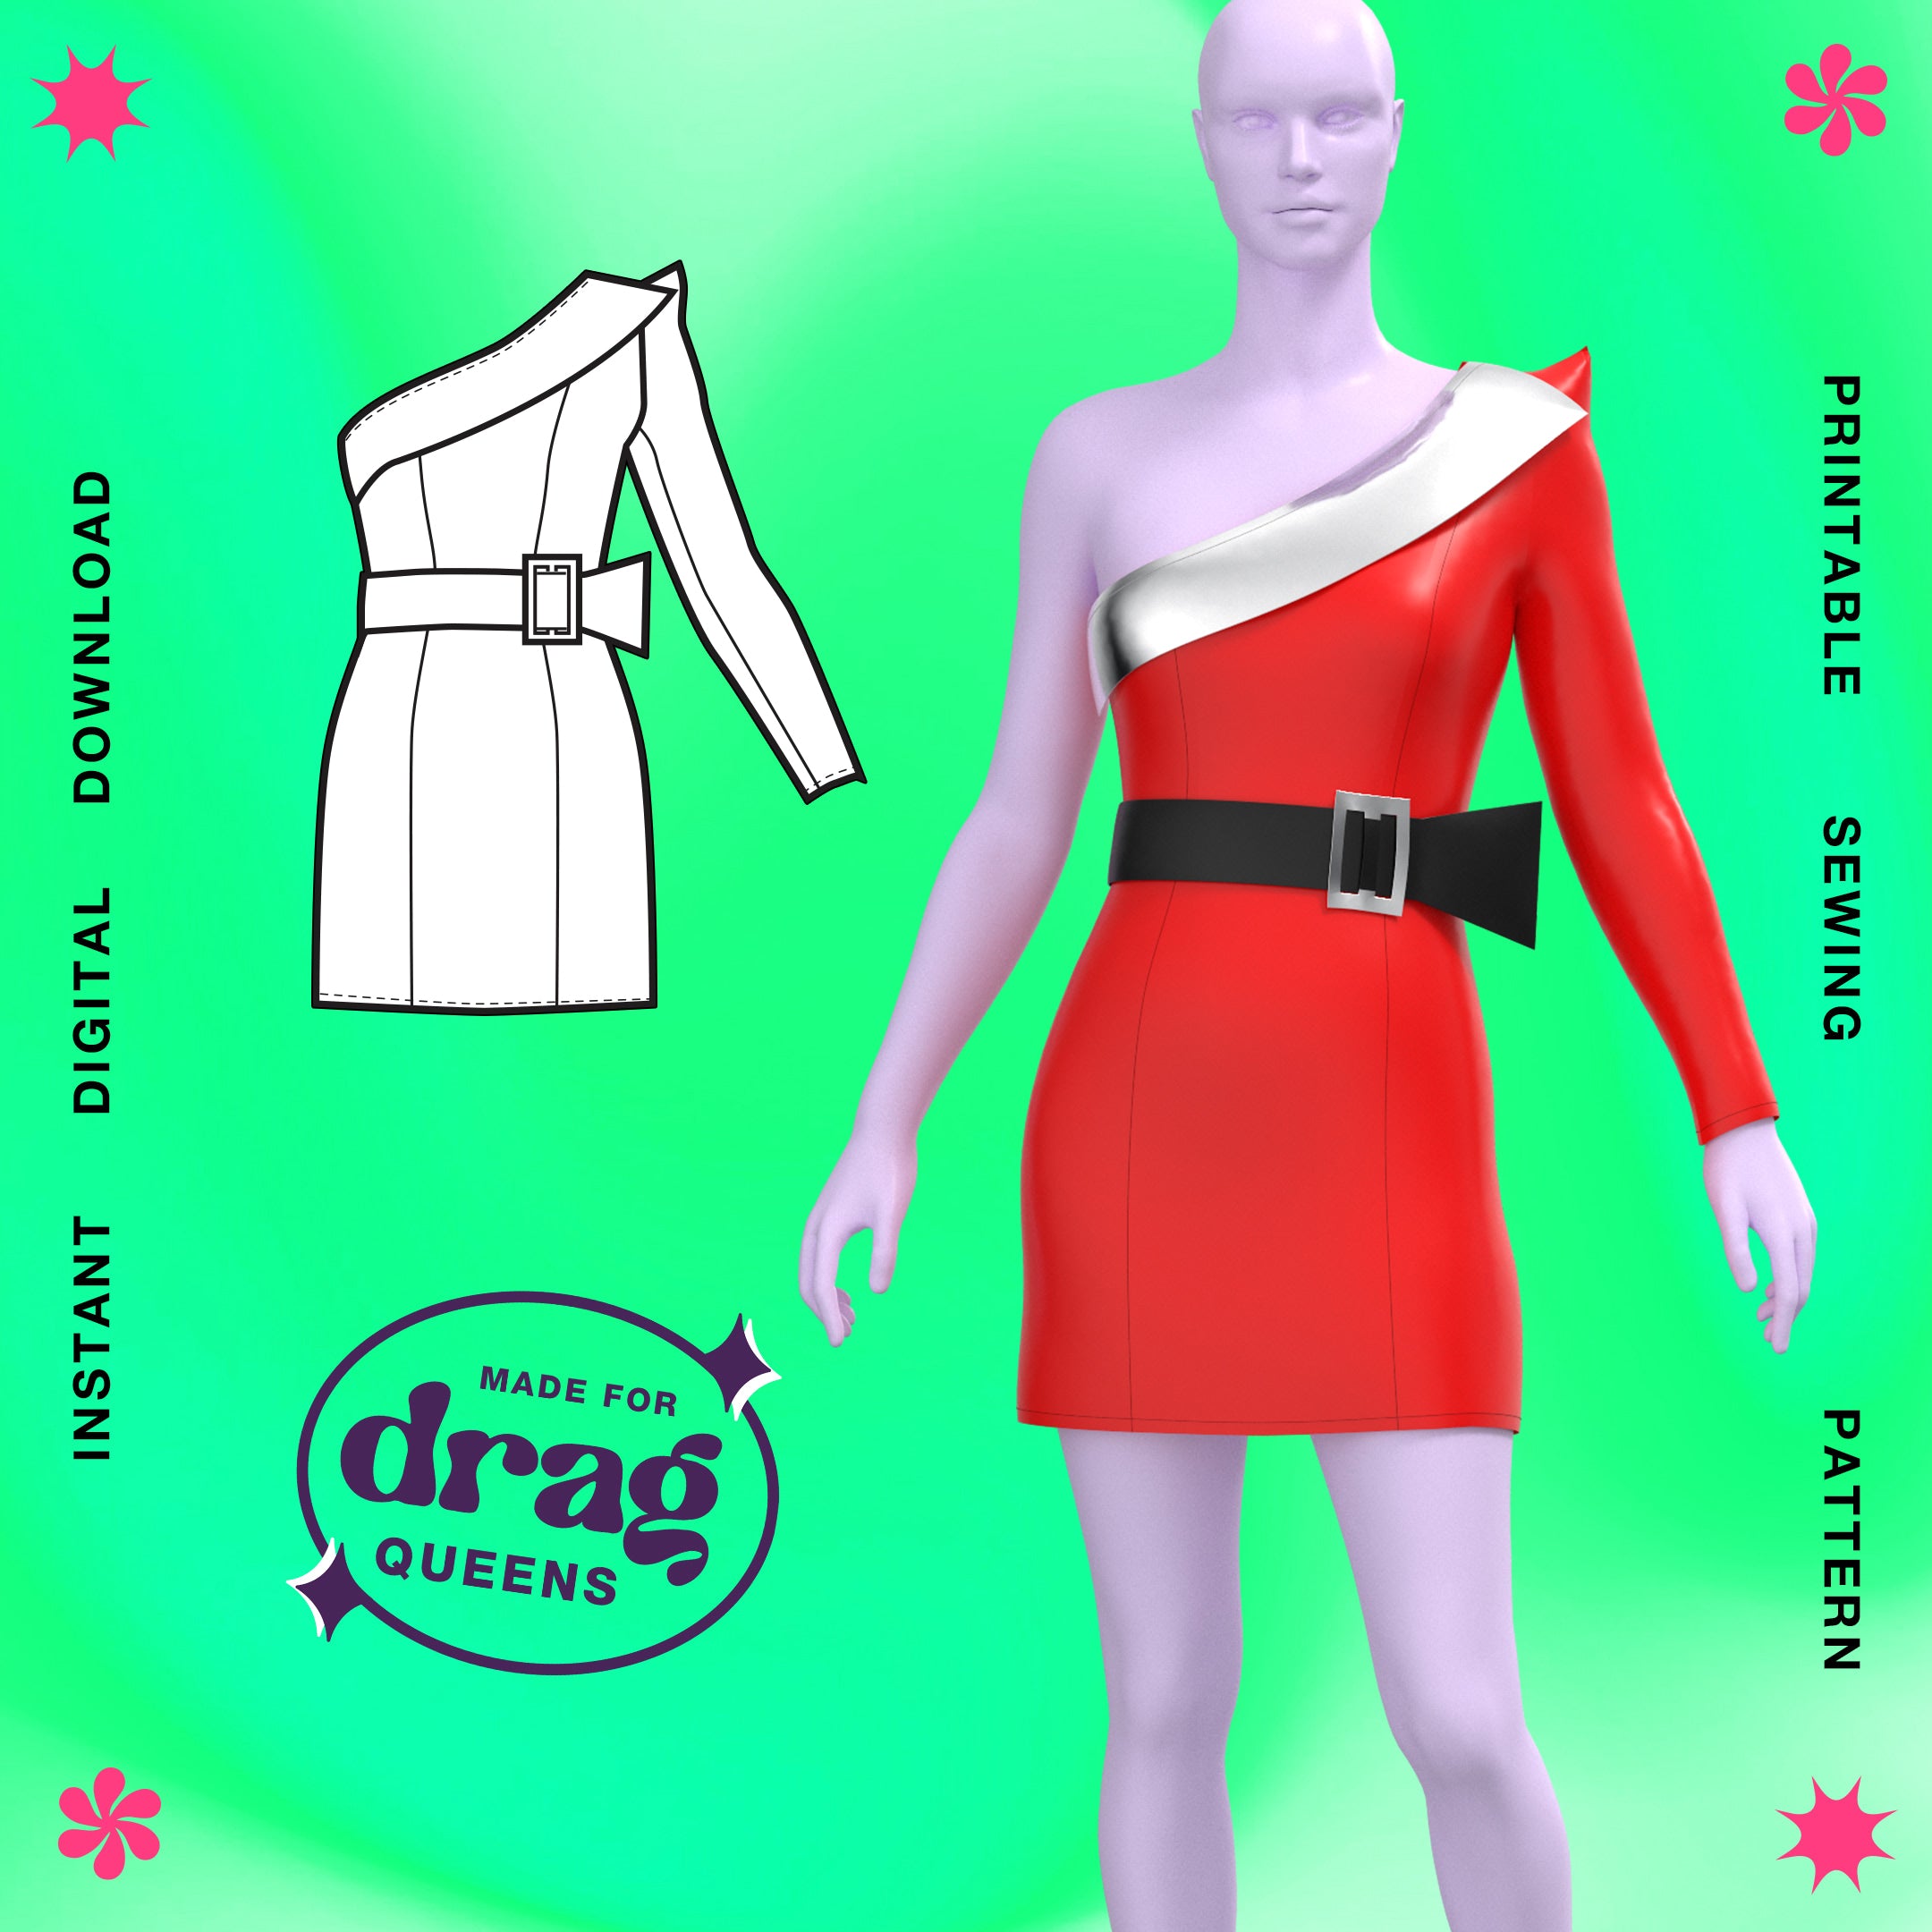
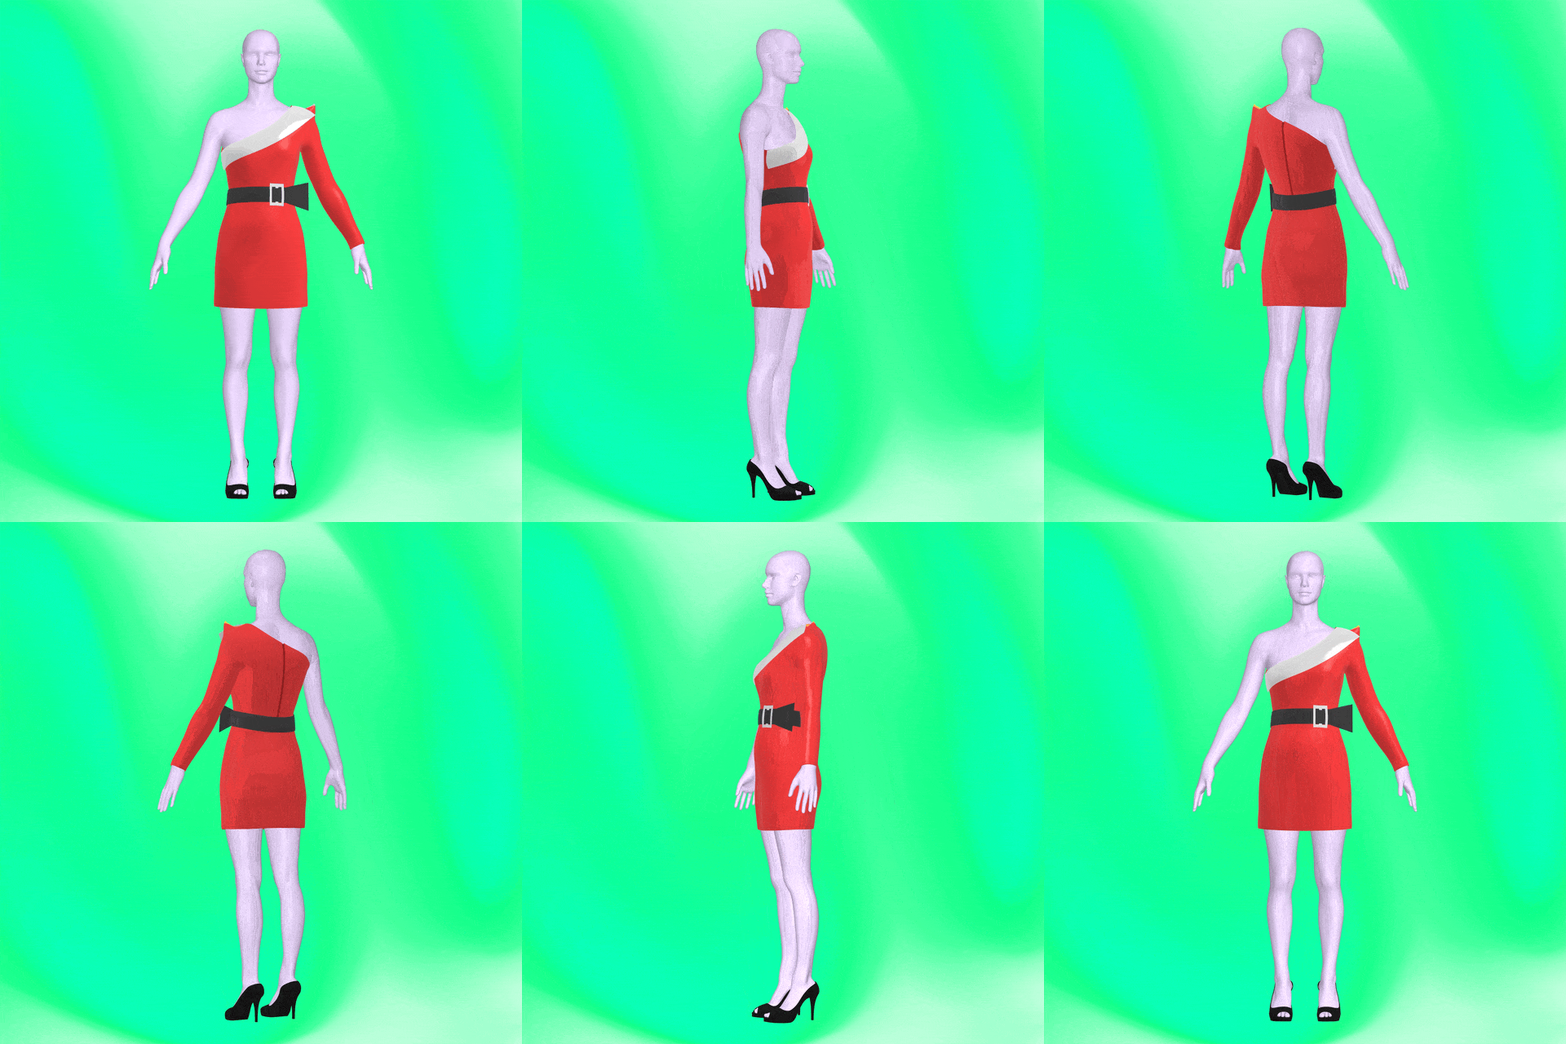
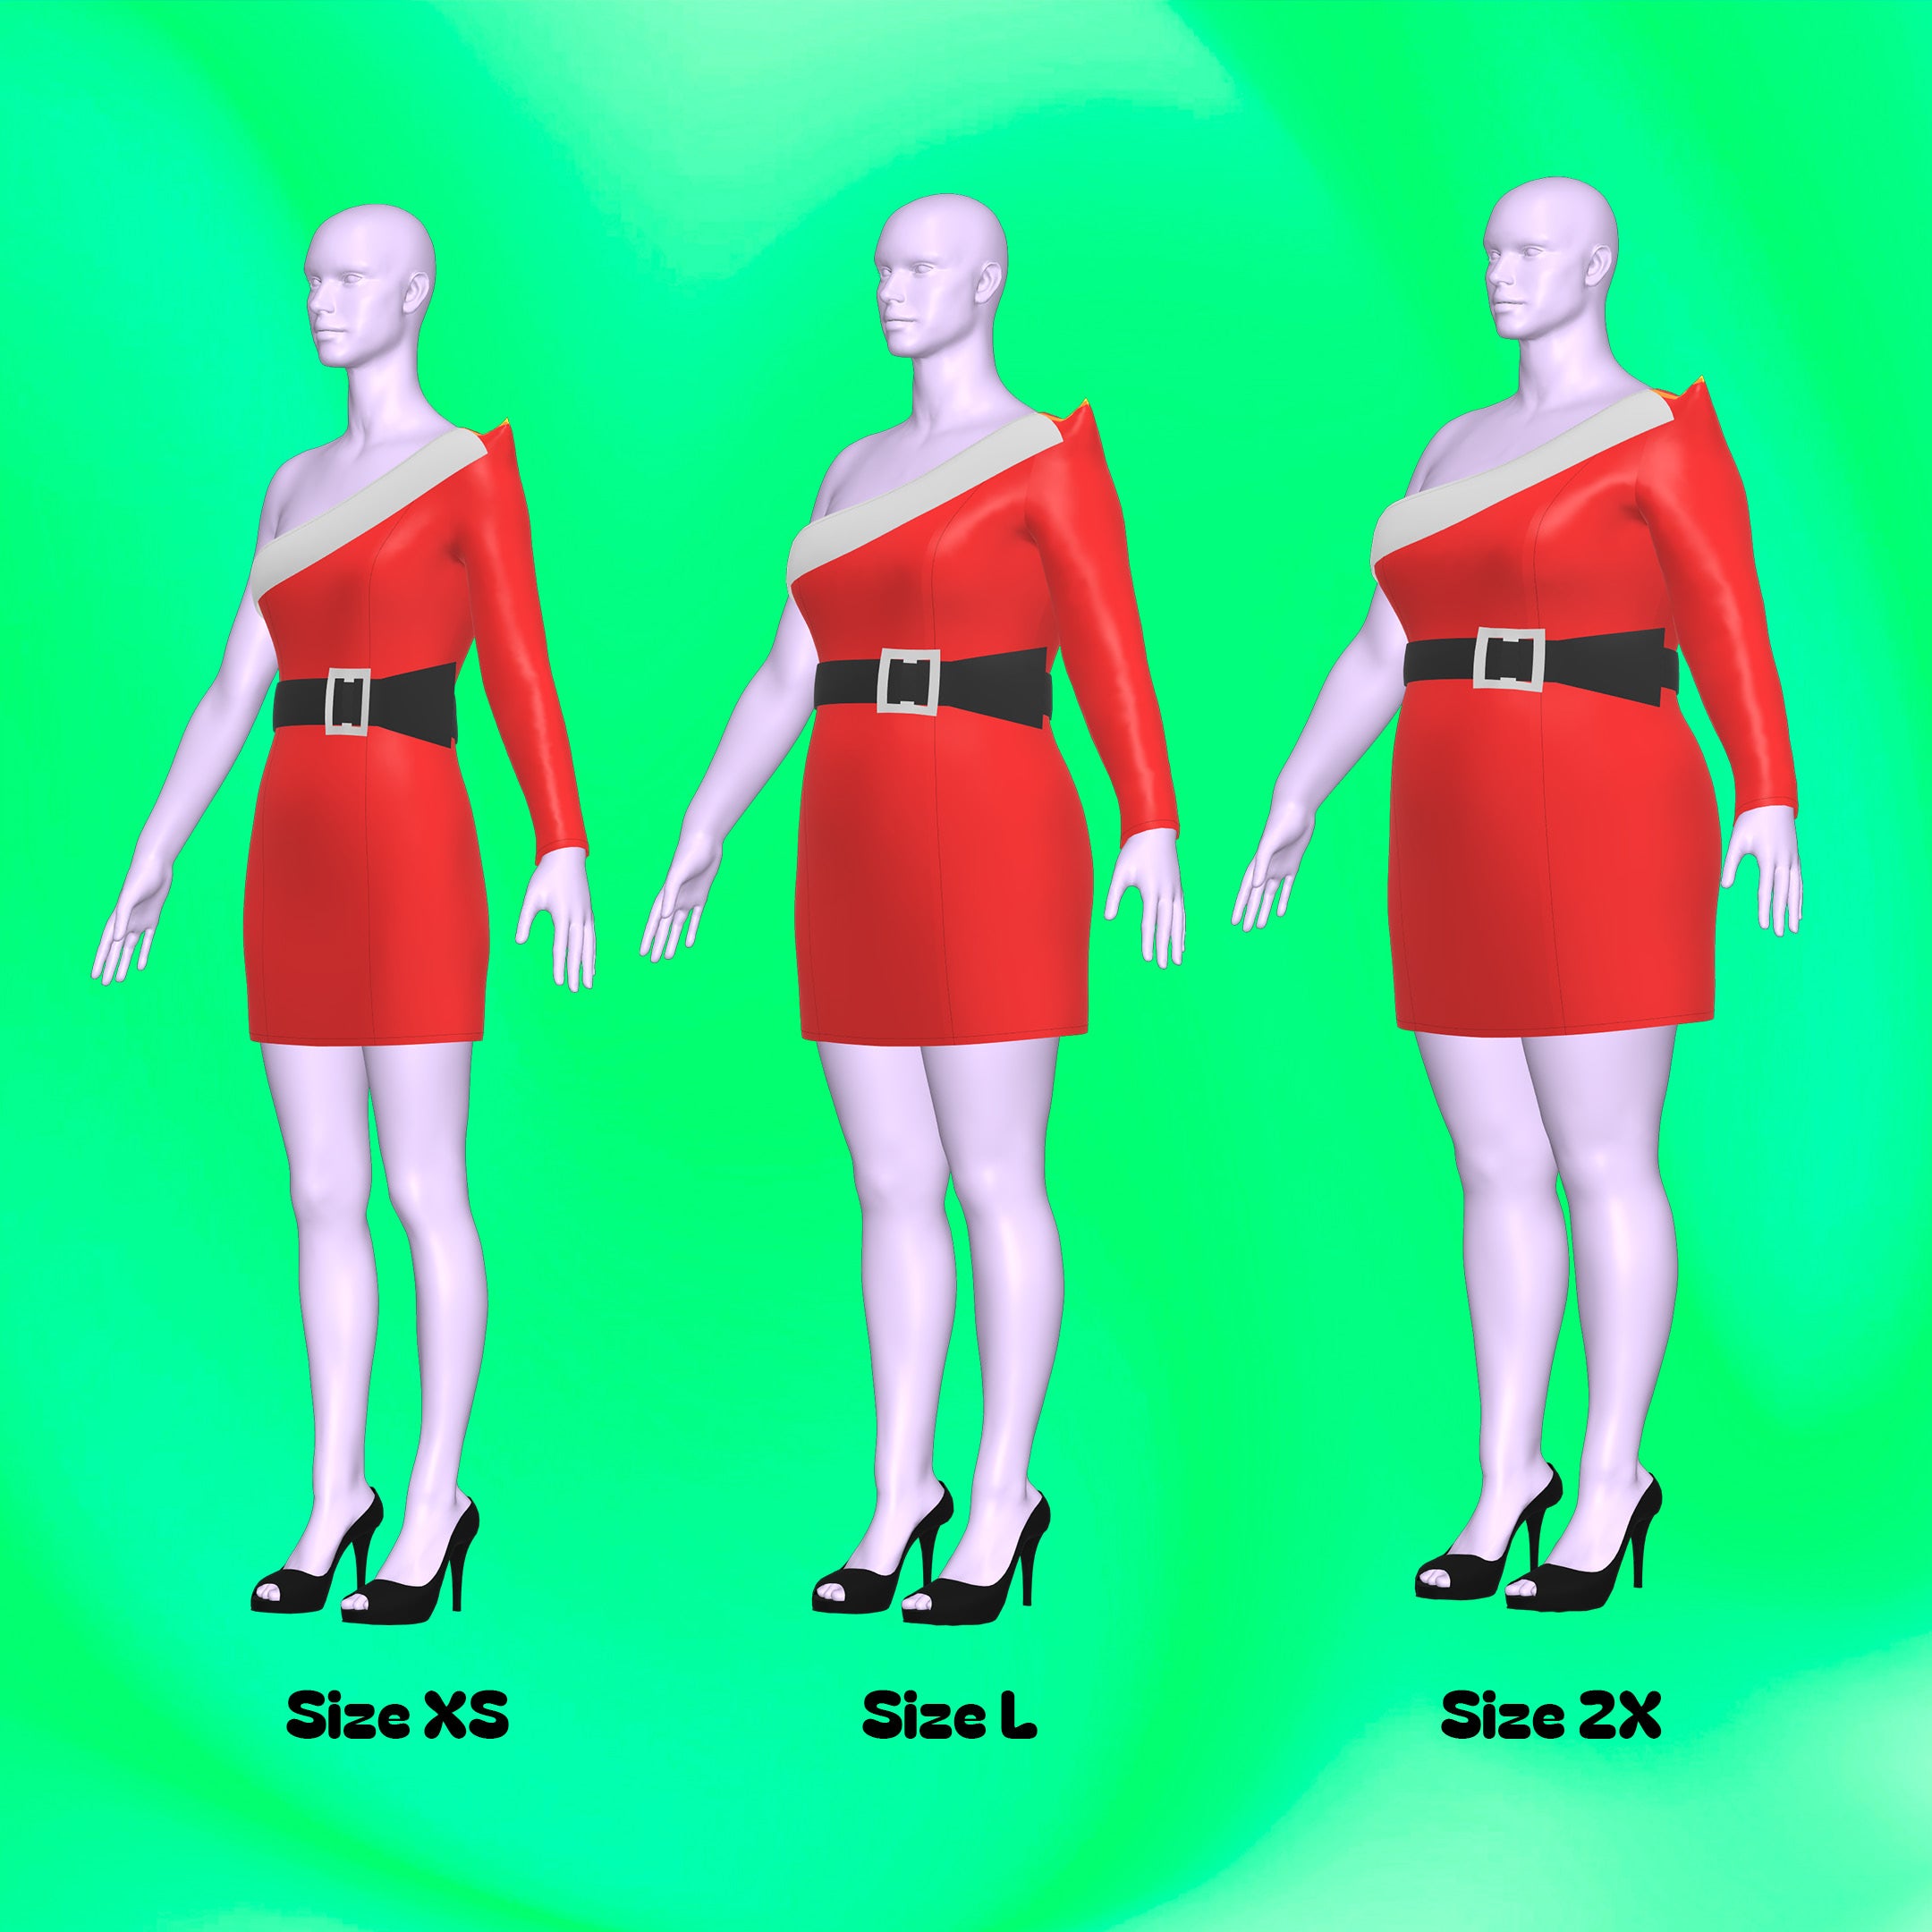
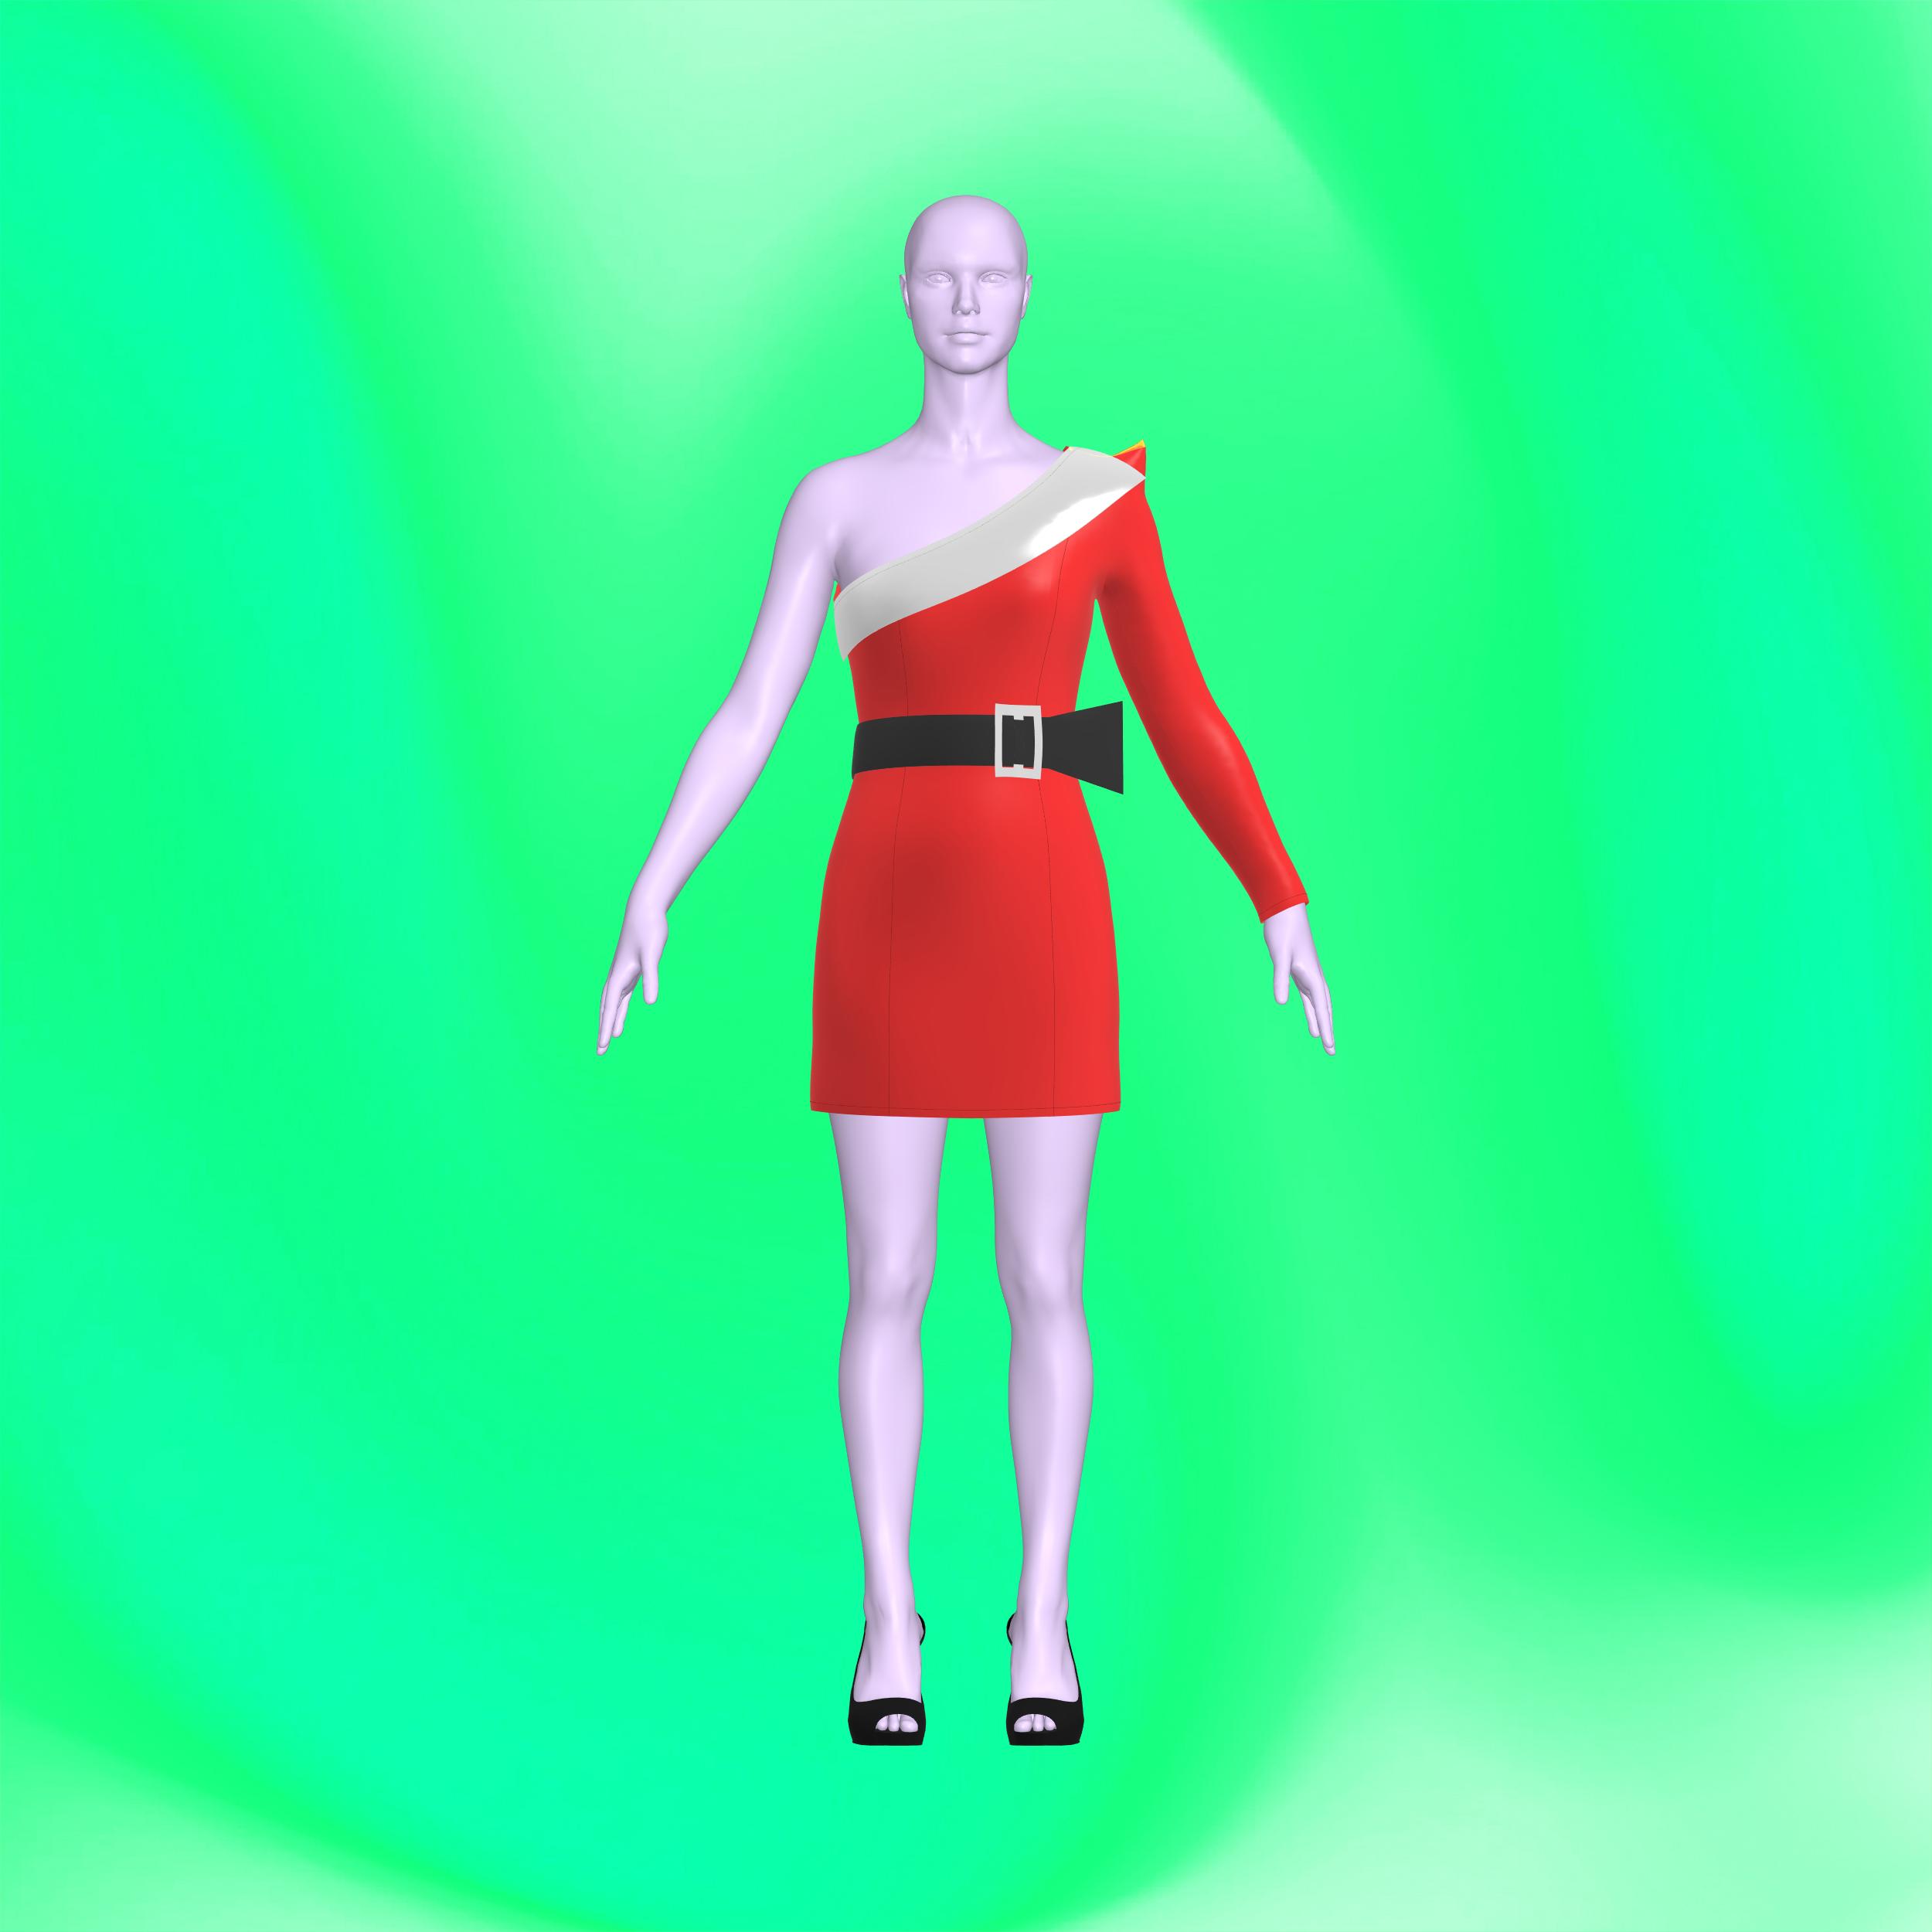
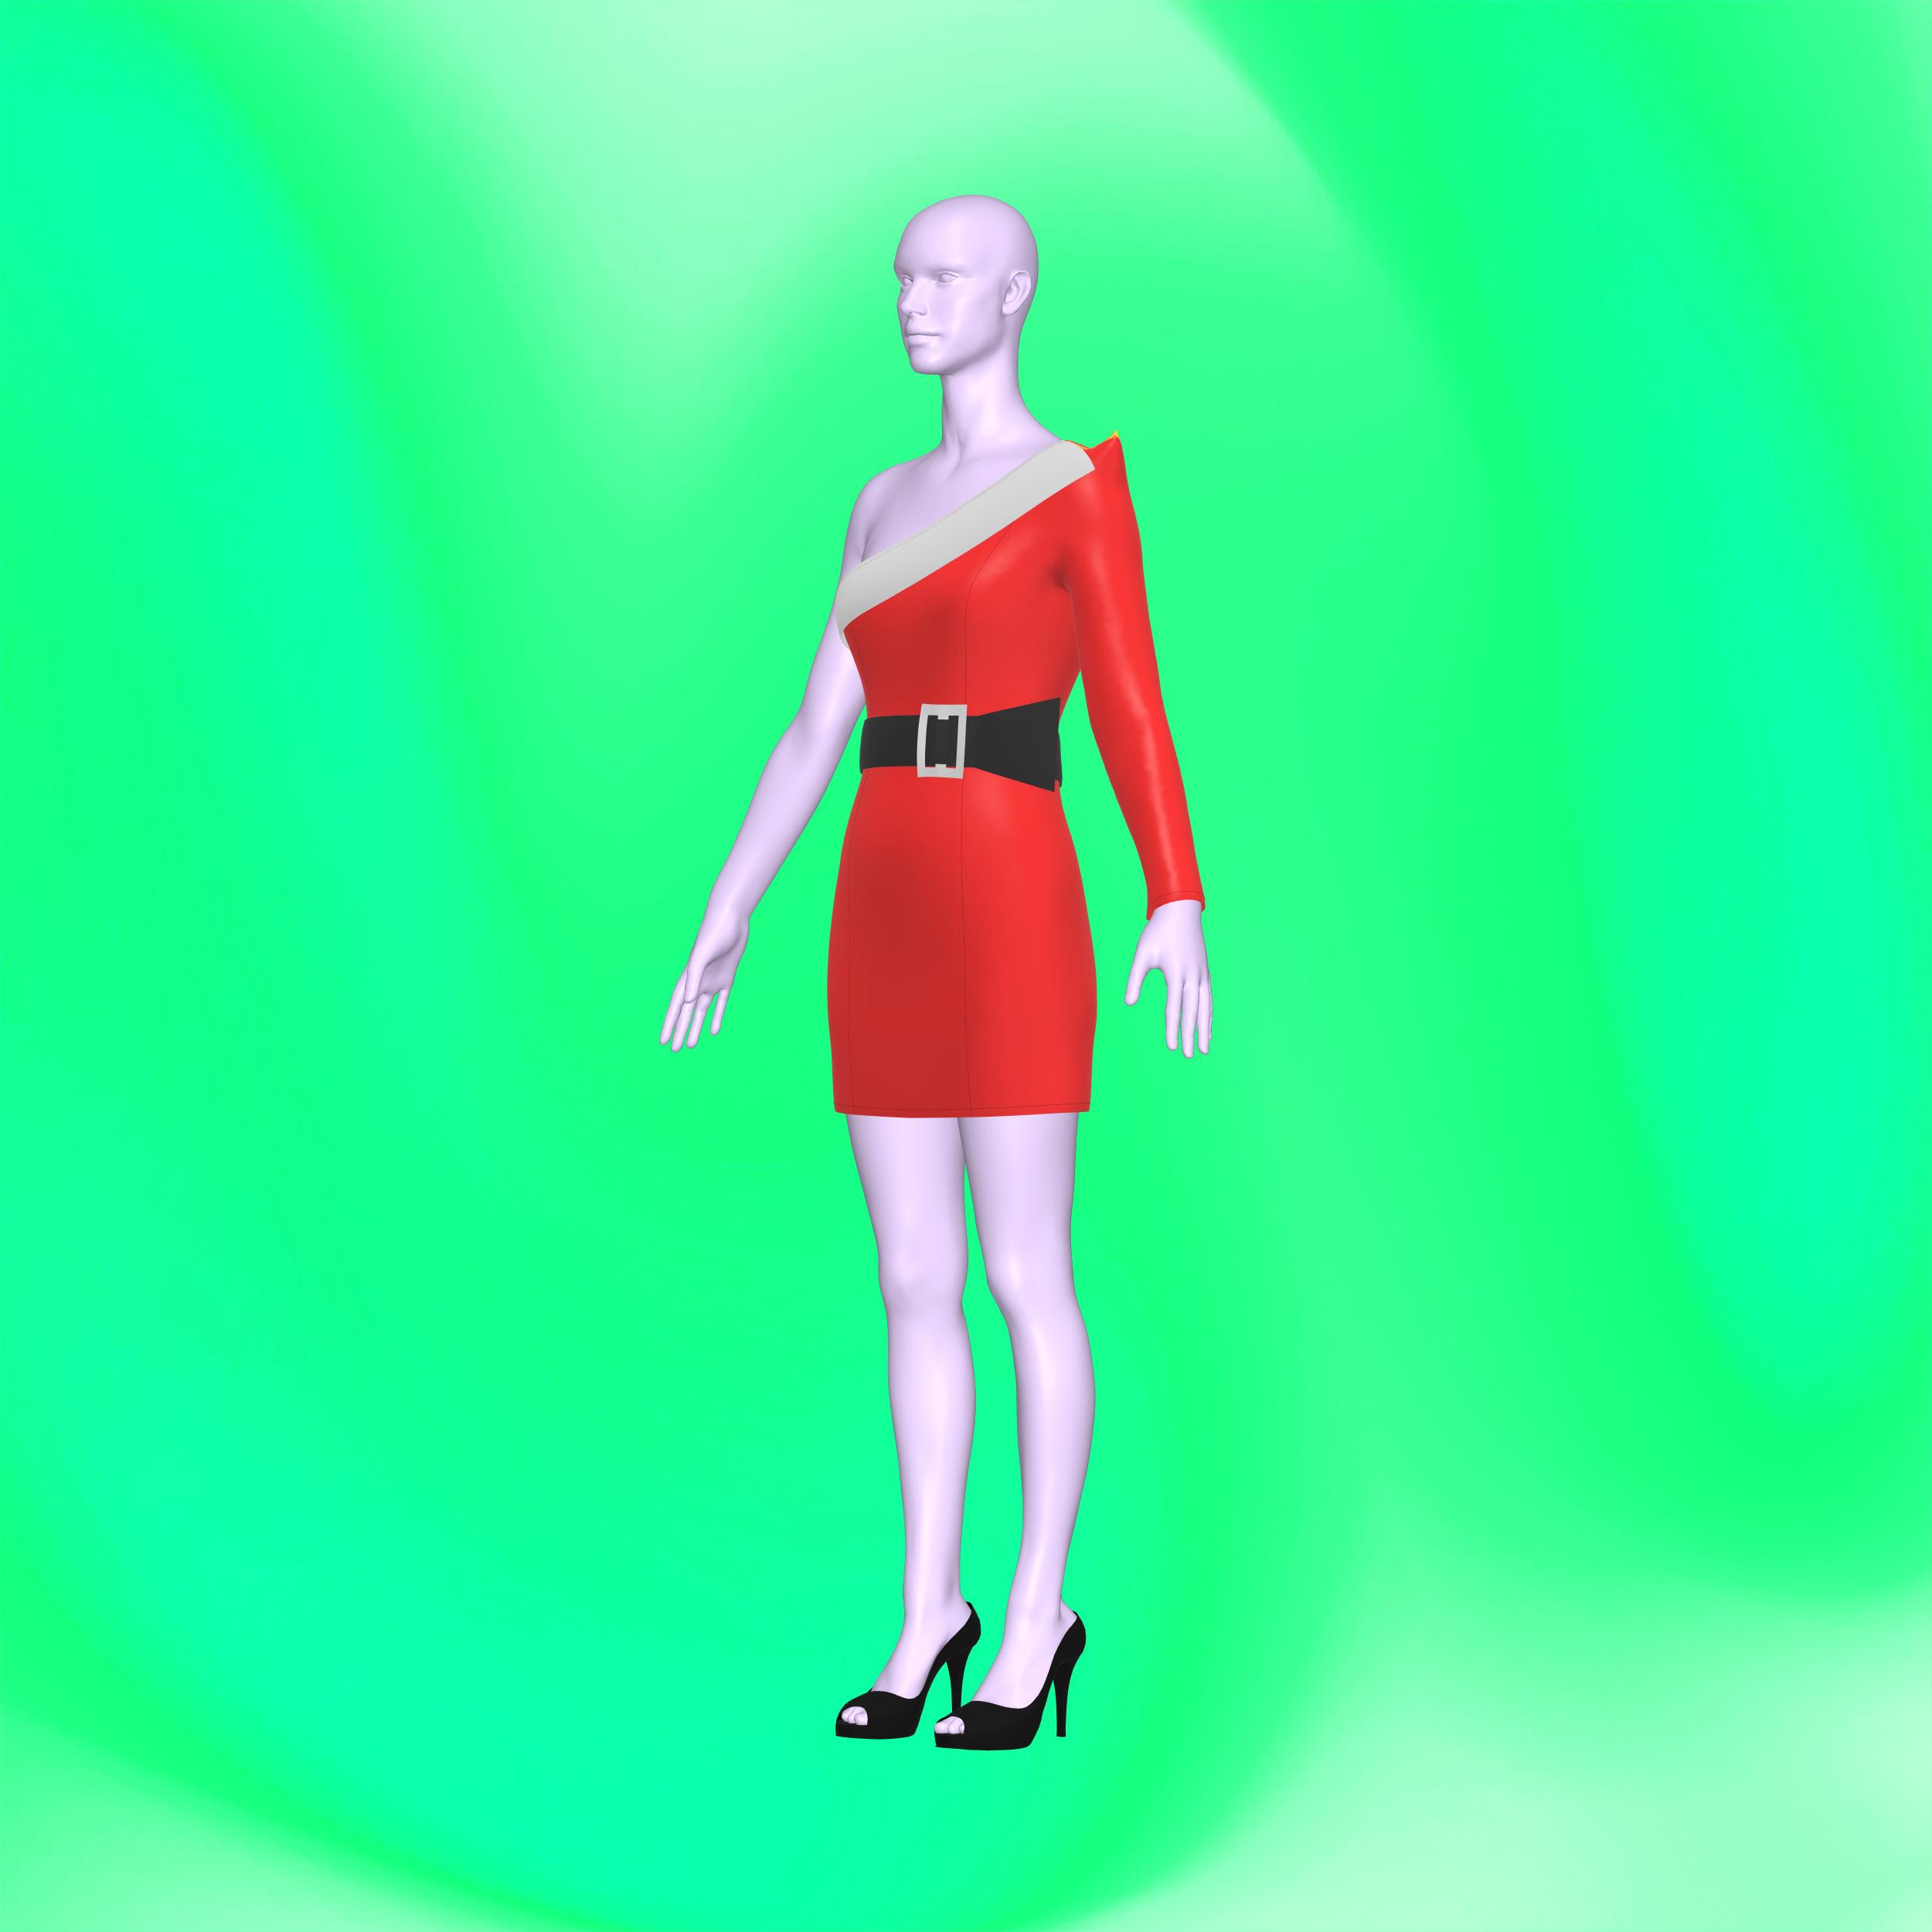
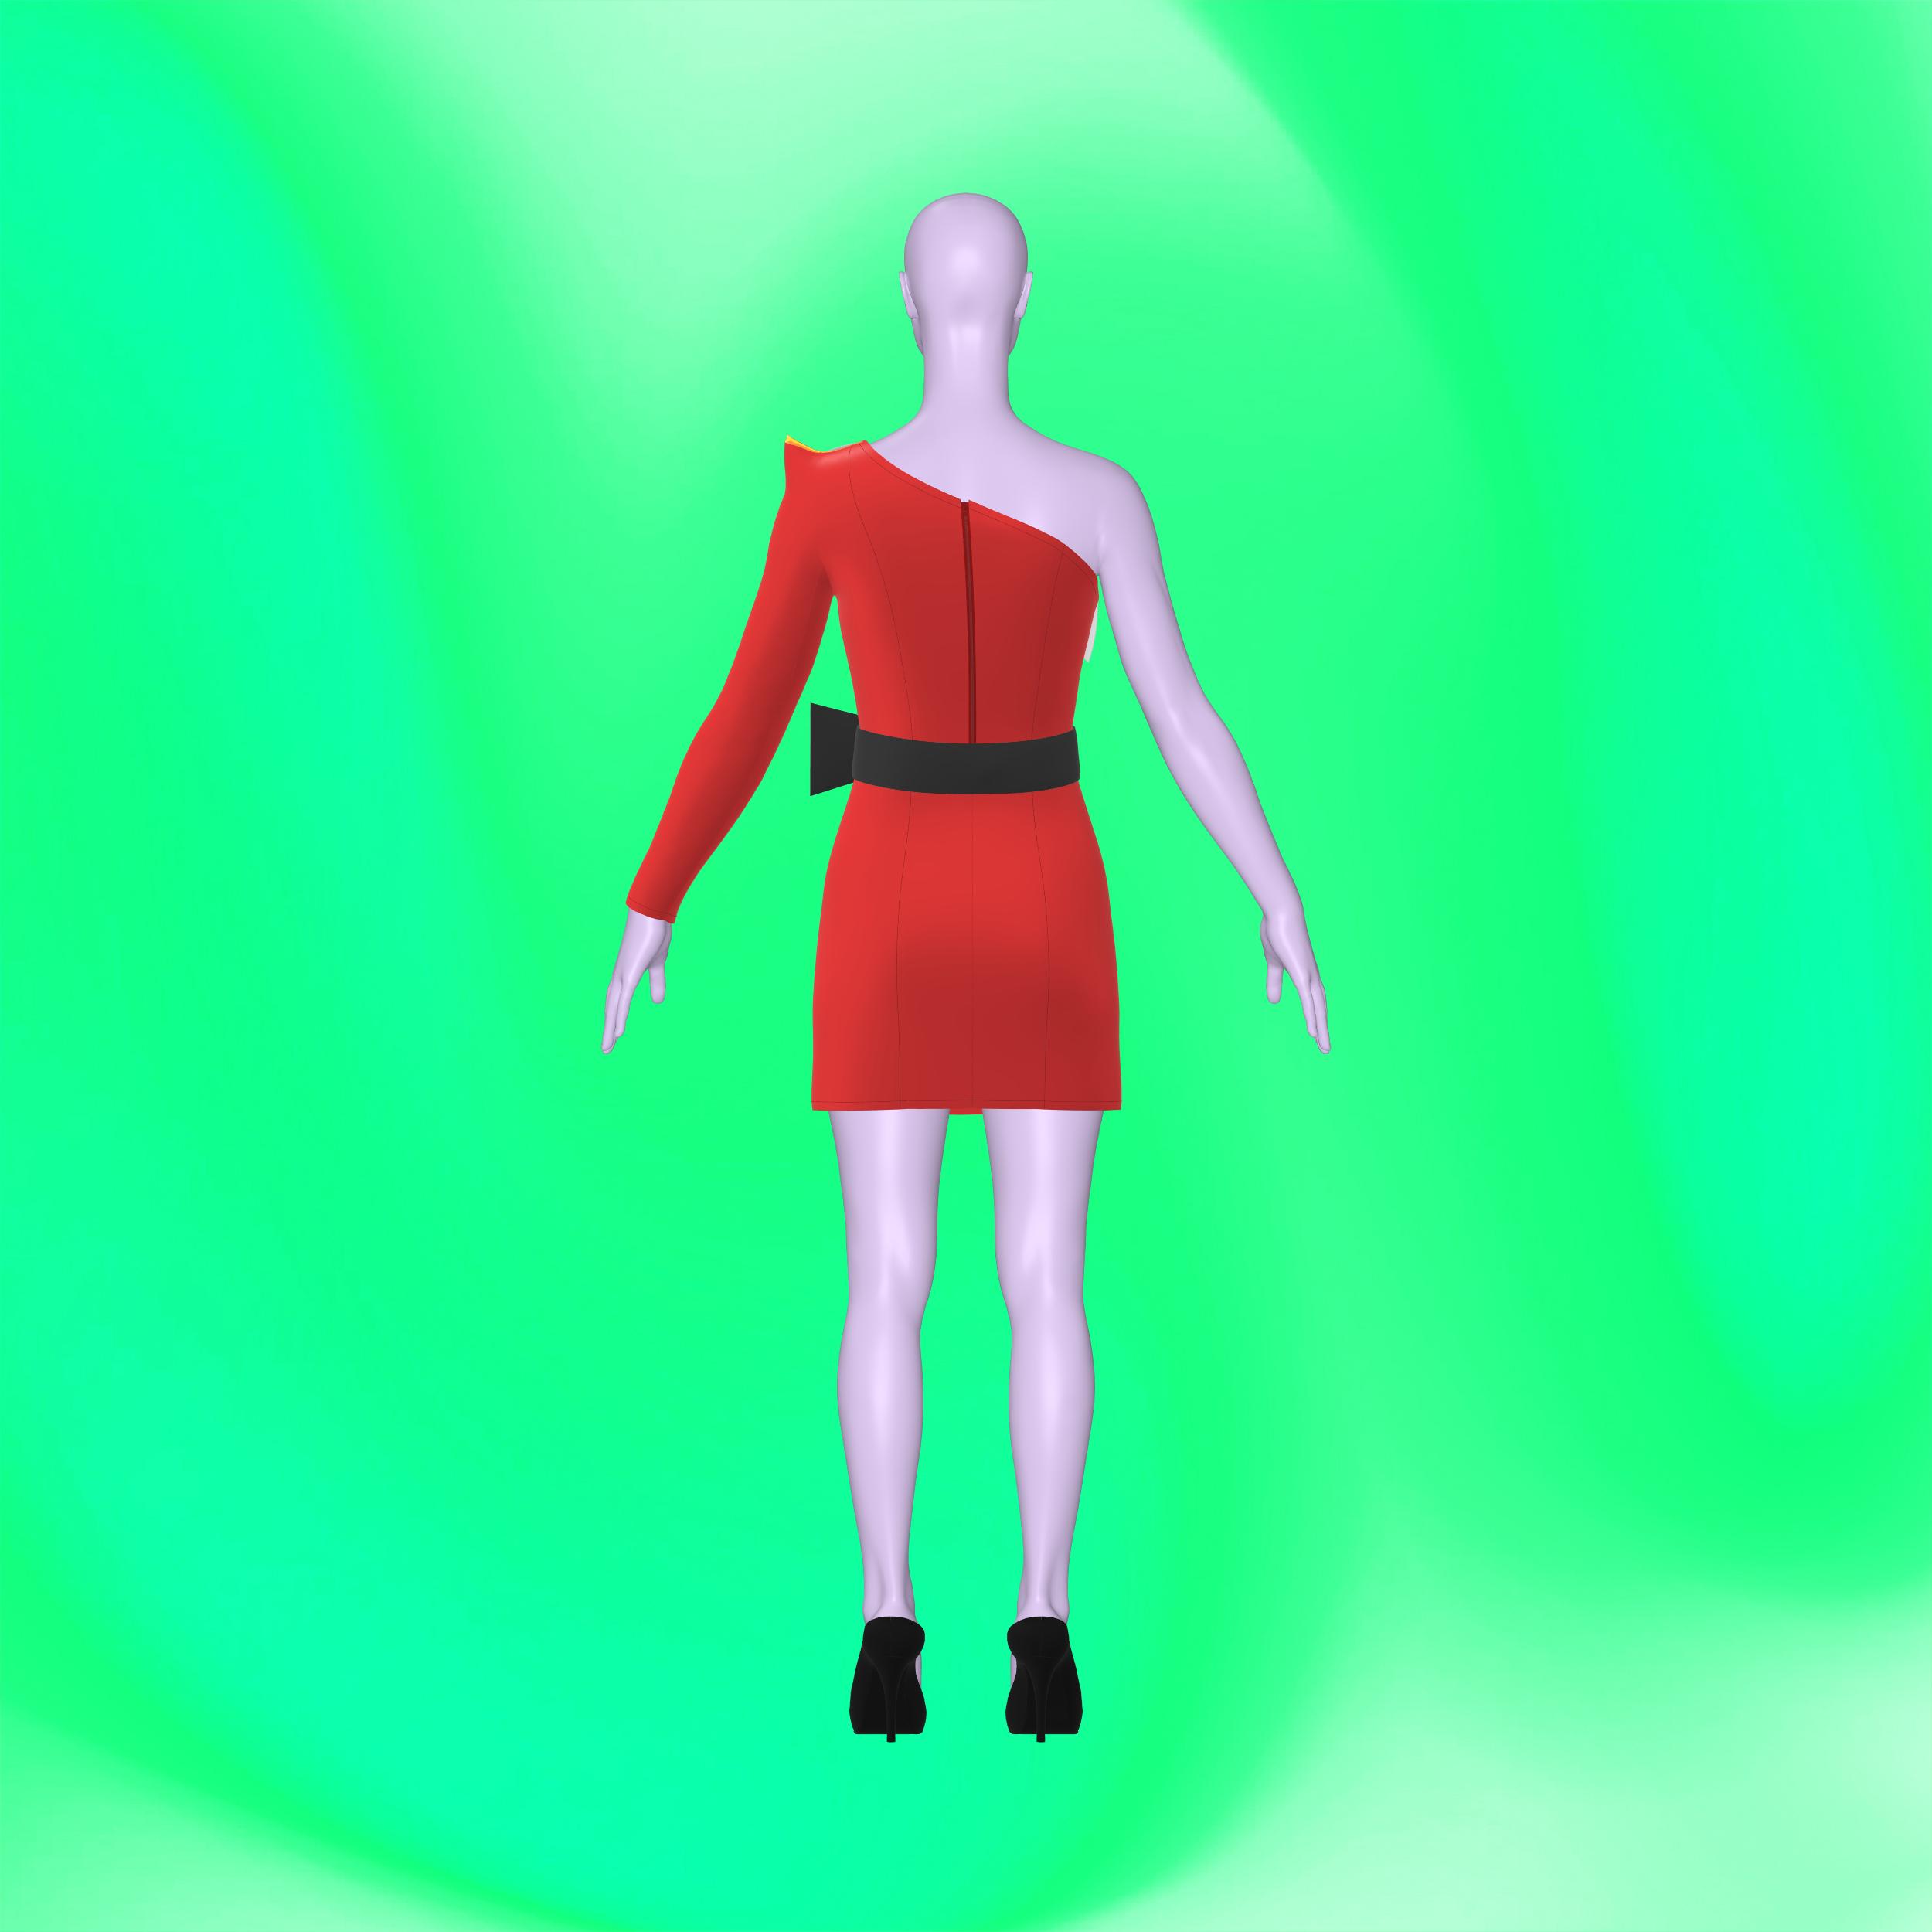
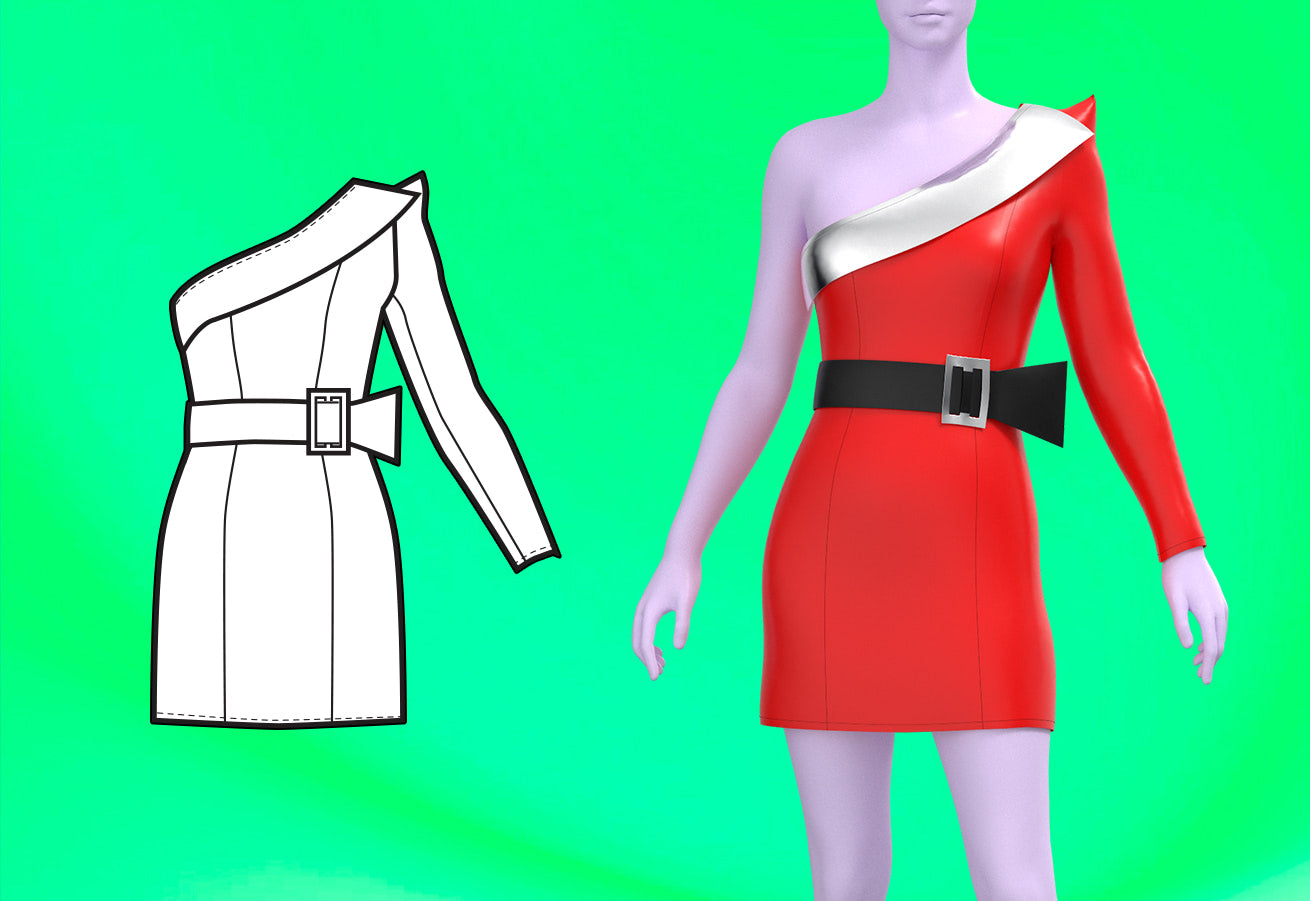
Introducing our fabulous sewing pattern designed especially for drag queens – the Princess Cut Asymmetric Pointed Sleeve Mini Dress with Wrap Belt! Elevate your holiday-inspired drag looks with this sensational creation. Whether you're dazzling on the stage or at a festive event, this pattern has you covered. Crafted for both non-stretch and stretch fabrics, it offers versatility and style. Get ready to slay the season with your unique and unforgettable ensemble. This pattern is a must-have for every drag queen looking to make a grand entrance and leave a lasting impression.
Pattern Difficulty: Intermediate
Sizing Details
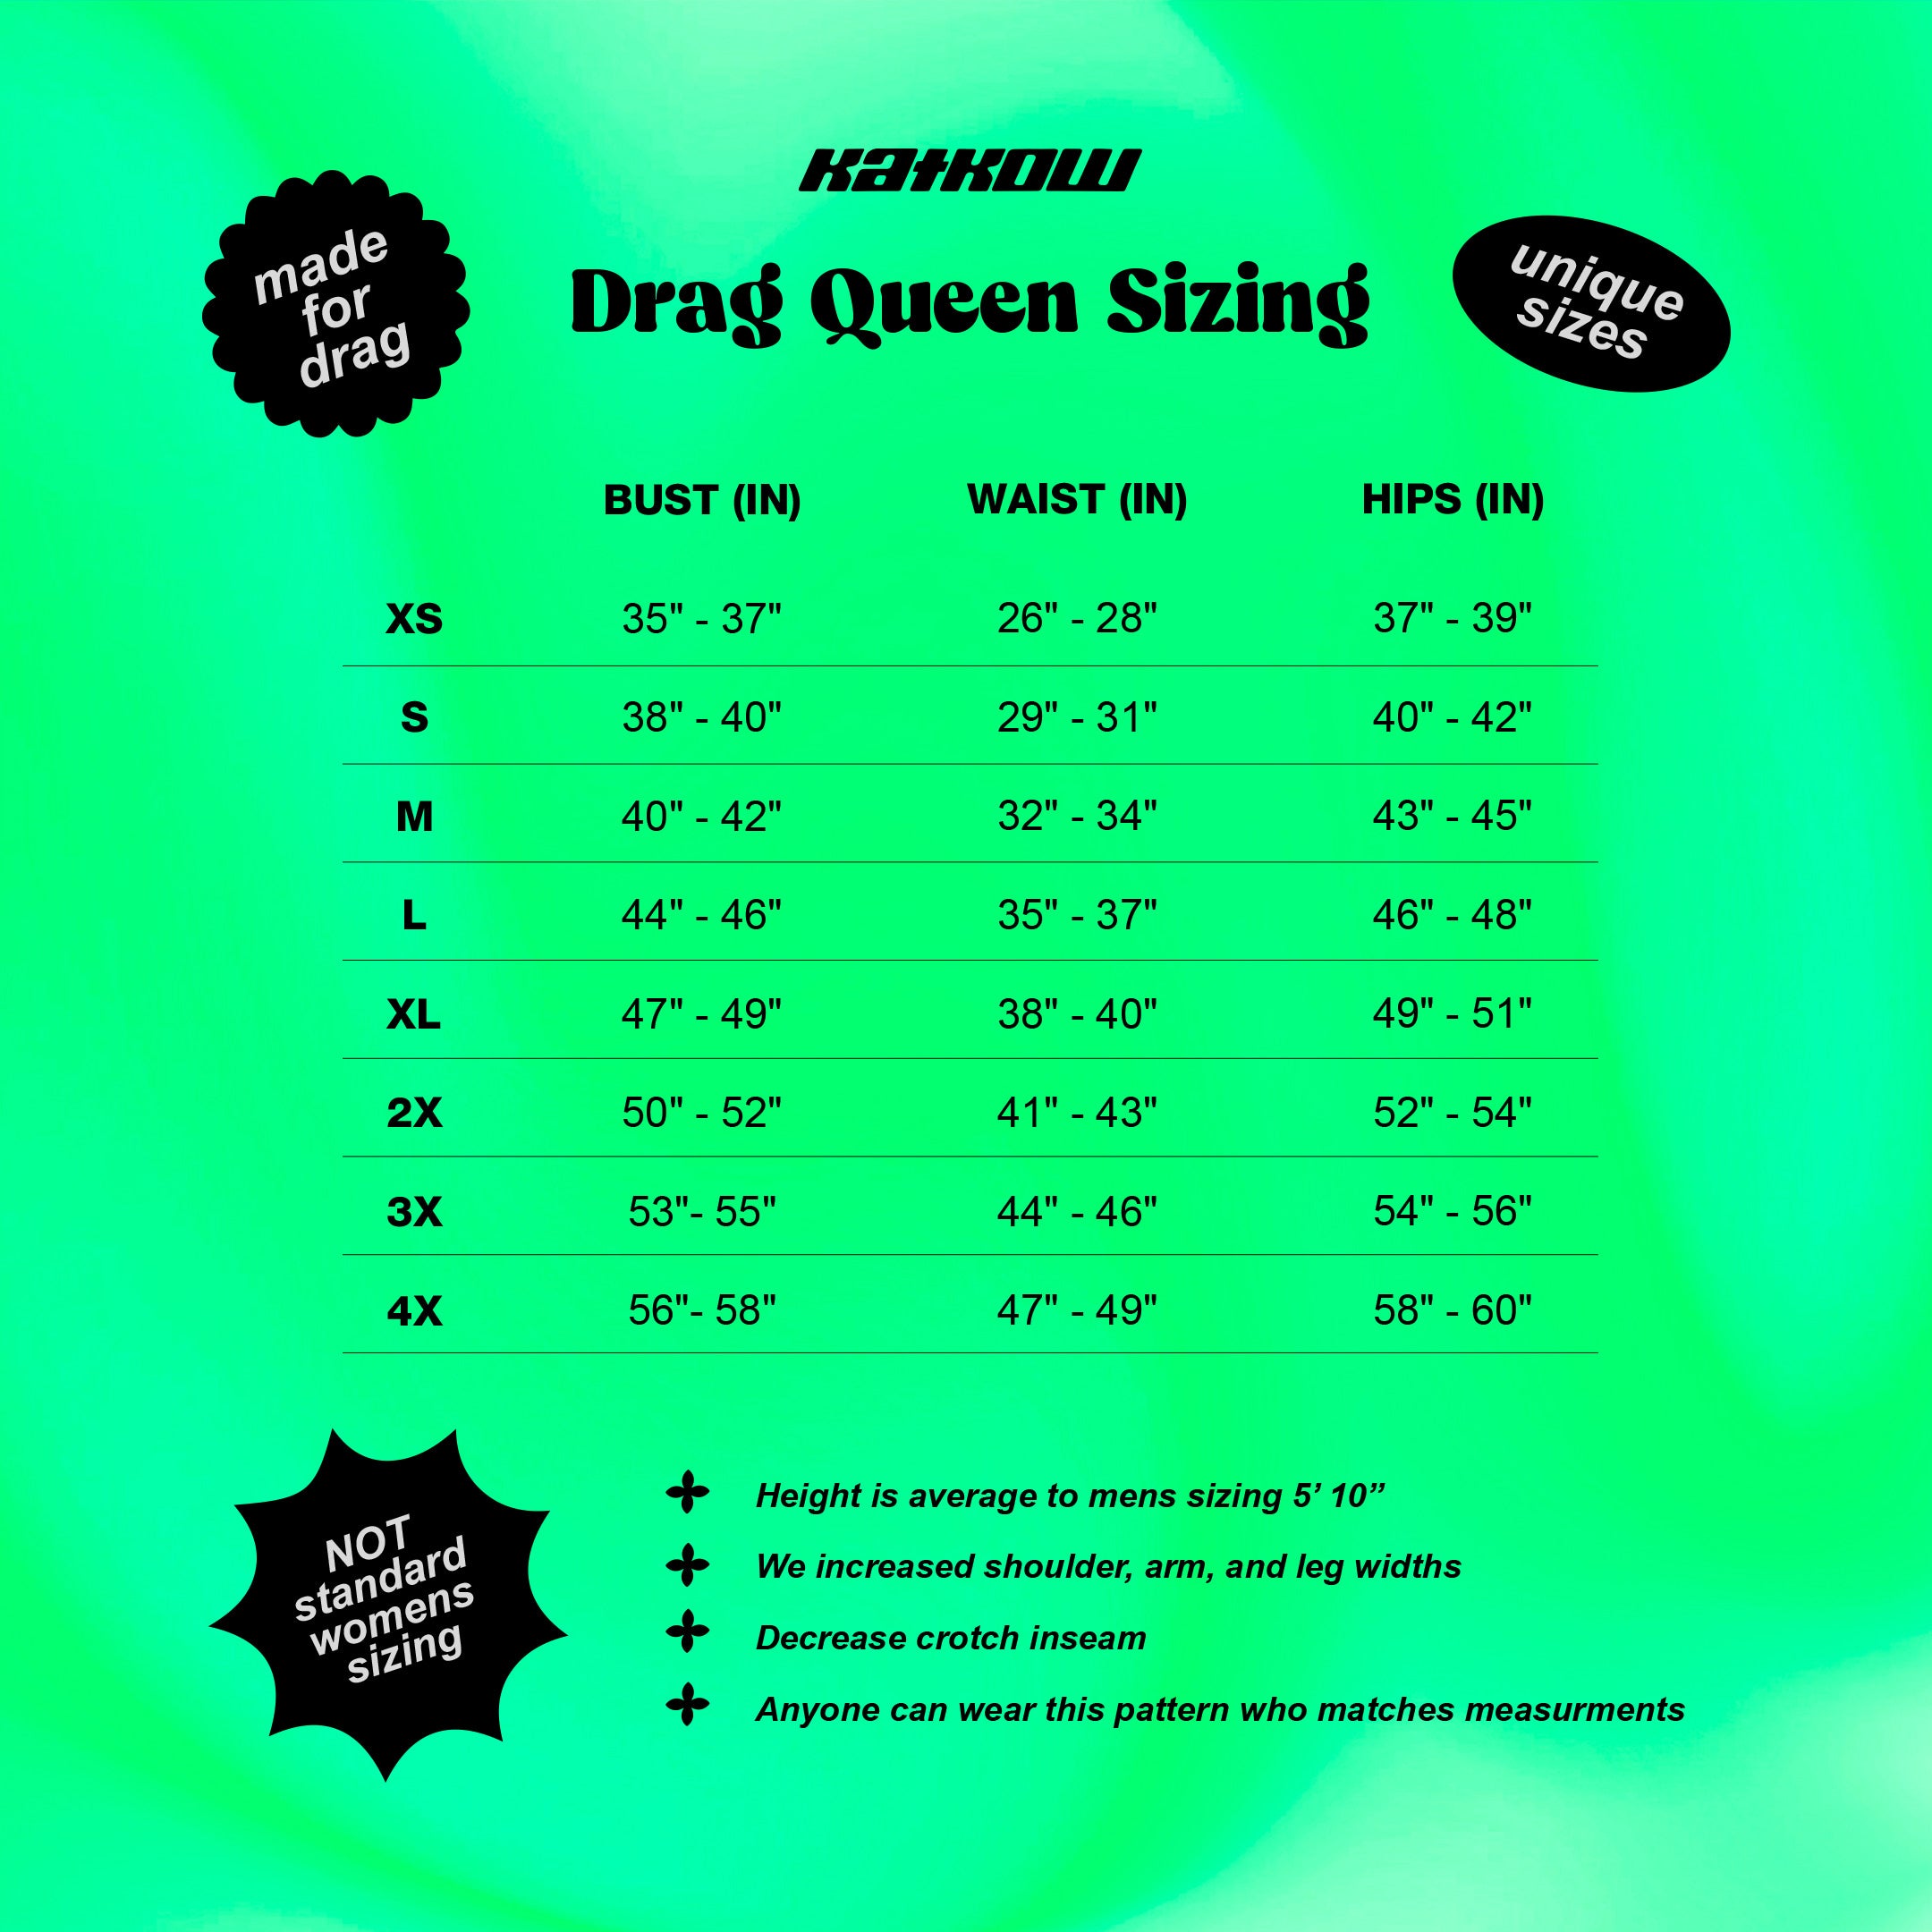
This pattern is available in our unique drag queen sizes (XS-4X). Please review our sizing guide for more information on our size measurements.
Fabric & Notions
Suitable for non-stretch and stretch fabrics:
- Leather or Pleather
- Stretch Vinyl
- Cotton
- Denim
- 14-16" Zipper
- 3" Buckle
Fabric Yardage
Please find the yardage needed for each size below. Fabric width listed below is for 58-60" wide fabric.
| Size | Dress (yards) | Flap (yards) | Belt (yards) |
|---|---|---|---|
| XS | 1.25 | 0.25 | 0.5 |
| S | 1.25 | 0.25 | 0.5 |
| M | 1.25 | 0.25 | 0.5 |
| L | 1.5 | 0.25 | 0.5 |
| XL | 1.5 | 0.25 | 0.5 |
| 2X | 1.75 | 0.25 | 0.5 |
| 3X | 1.75 | 0.25 | 0.5 |
| 4X | 1.75 | 0.25 | 0.5 |
For information on converting inches to meters, please check out our conversion guide.
Sewing Instructions


Fabric Peices
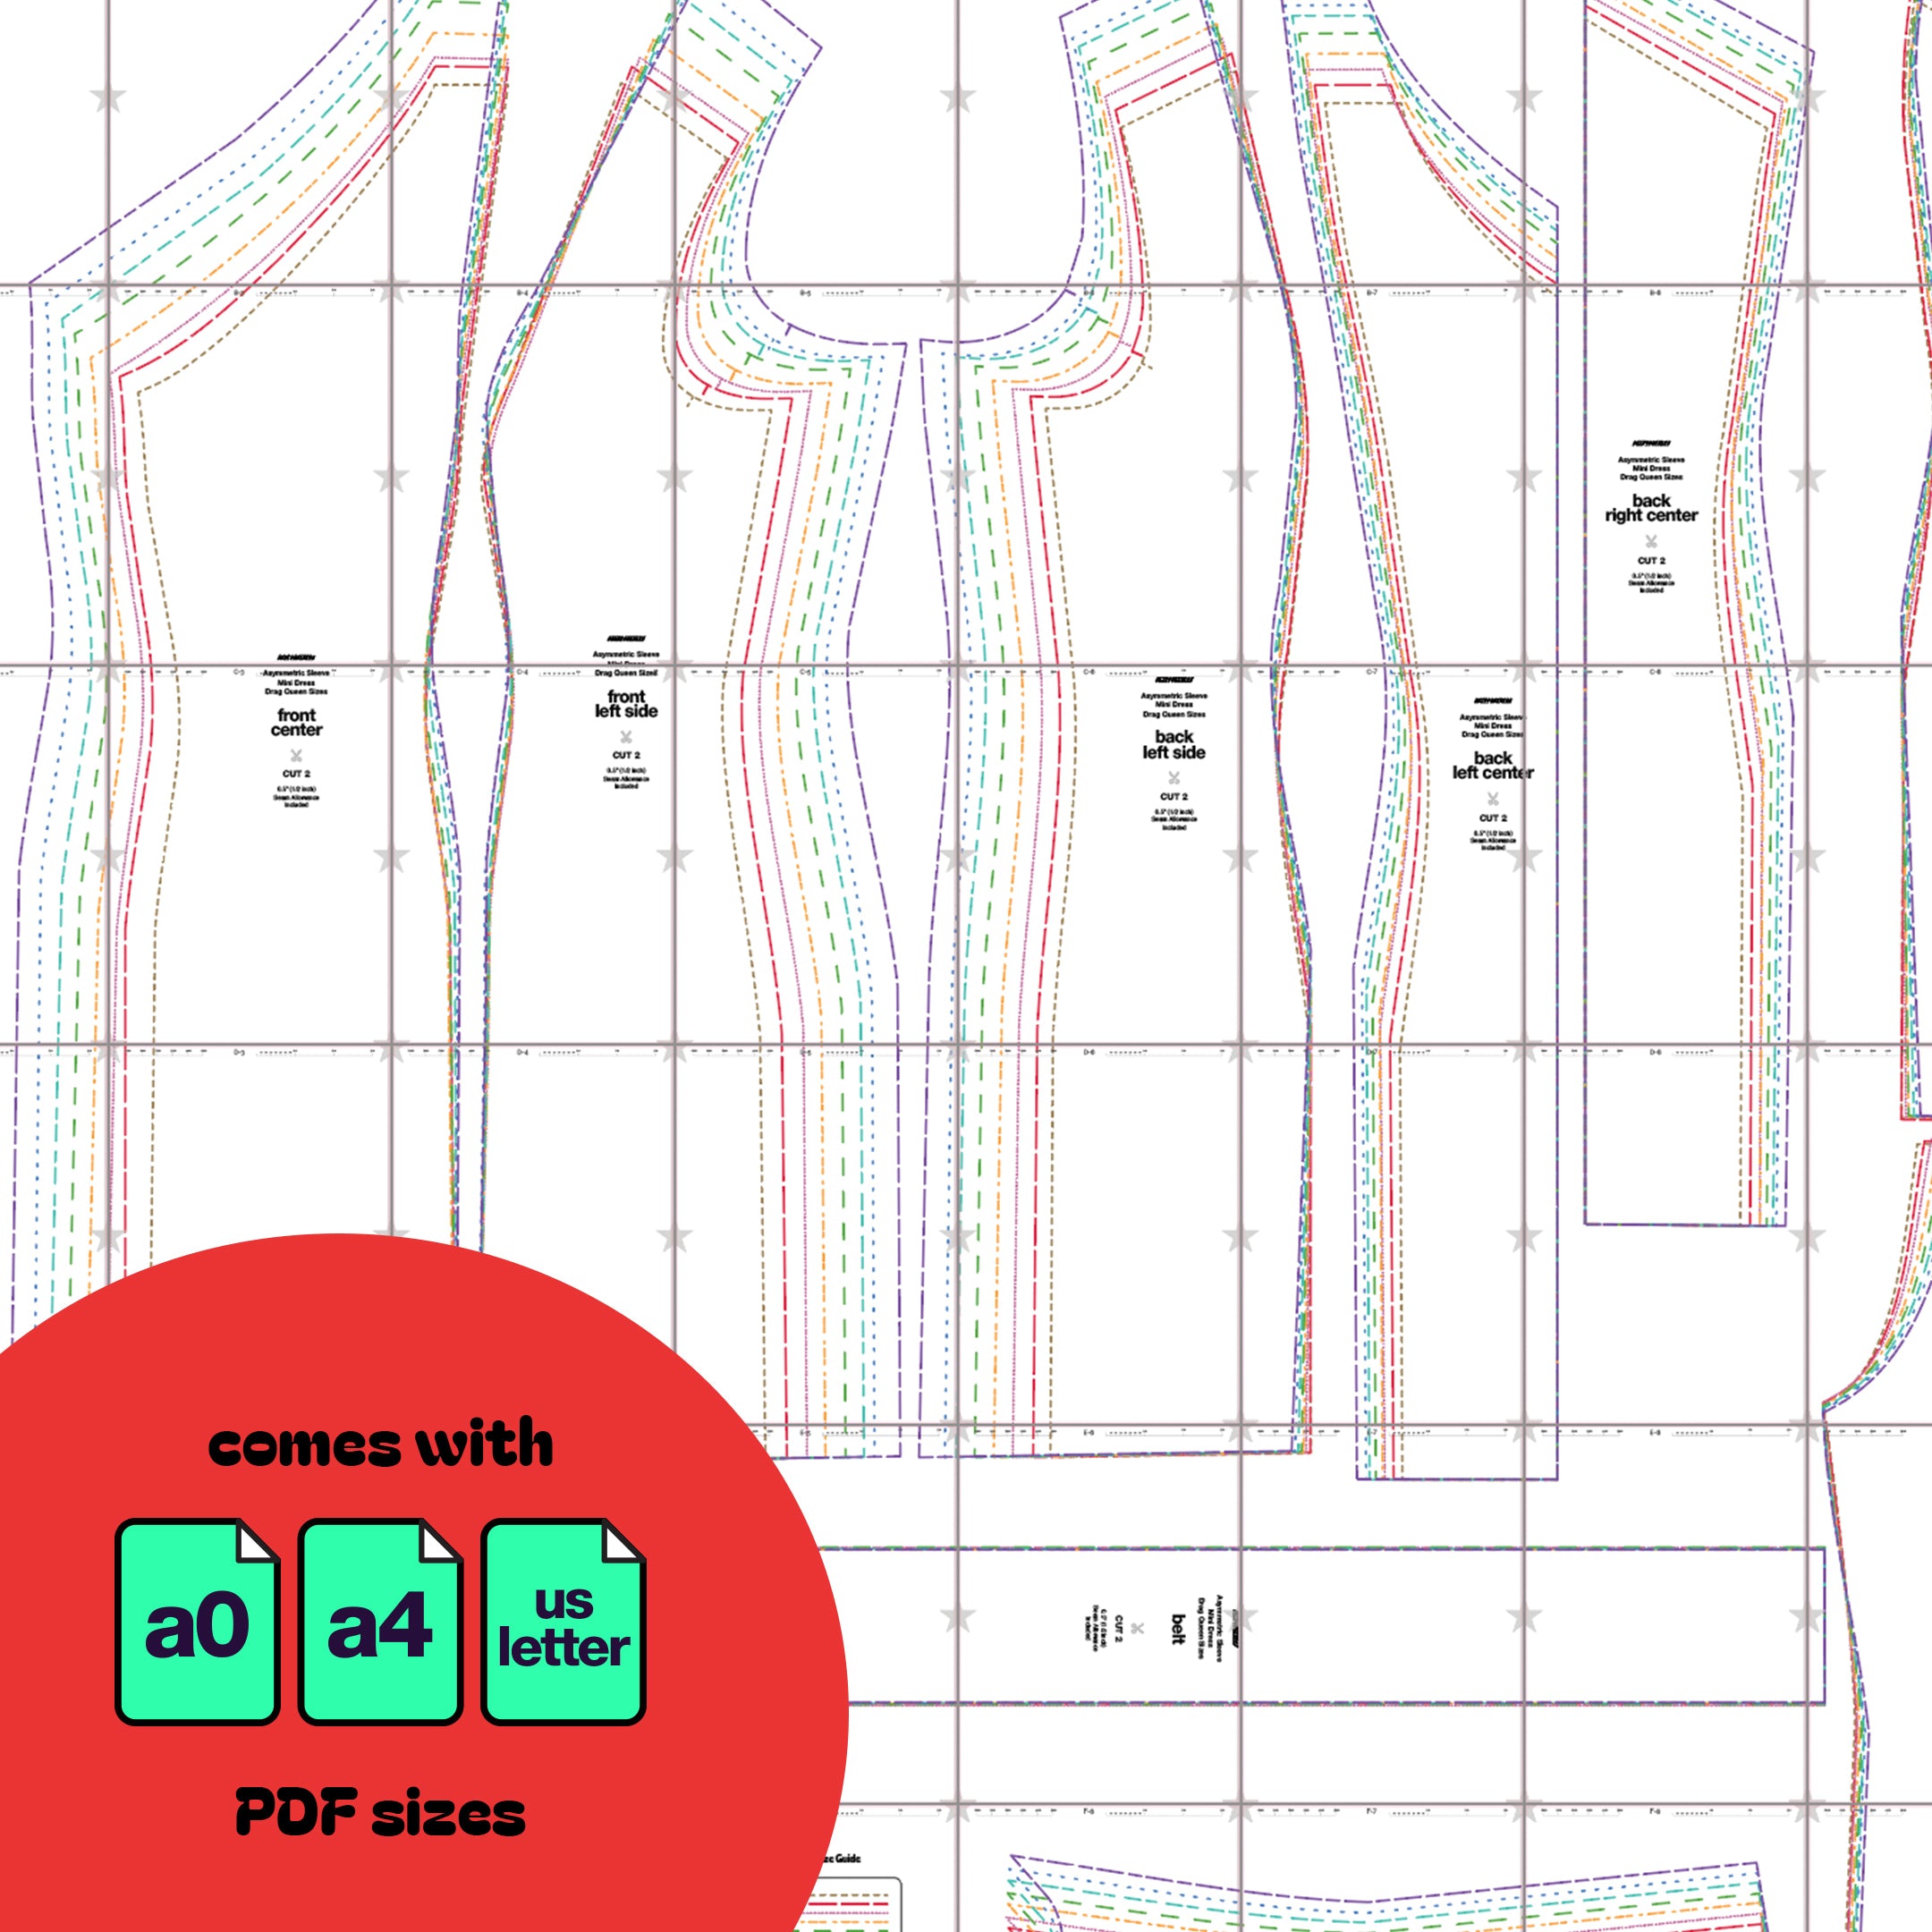
Once you've cut your fabric, you should have 3 front pieces, 4 back pieces, 2 sleeve pieces for one sleeve, an unfolded chest flap, and 2 belt fabric pieces.

STEP 1
Begin with the front center and front right side fabric pieces. Align them with the right sides facing each other and sew along the princess seam. Use an iron to press and flatten the seams. For a polished finish, consider topstitching the seams on the right side of the fabric.
If you're using non-stretch fabric, opt for a straight stitch. If you're working with stretch fabric, use a stretch stitch or zigzag stitch, without topstitching.

STEP 2
Repeat the previous step to attach the front left side pieces to the front panels.

STEP 3
Follow the same process to attach the back side pieces to the back center pieces. However, do not sew the two back center pieces together, as you will be installing a zipper along the center back.

STEP 4
Install a 14-16 inch zipper down the center back, ensuring the right side of the zipper faces the right side of the fabric.

STEP 5
Sew the remaining gap below the zipper to close the center back seam.

STEP 6
With the right sides facing each other, stack the front and back pieces and sew them together along the sides and shoulder seams.

STEP 7
Take your sleeve pieces. Stack them with right sides facing each other and sew Sleeve B to the right curve of Sleeve A.

STEP 8
Now, sew Sleeve B to the left side of Sleeve A. Then, sew the tip of the sleeve cap, folding in half, creating a pointed shoulder.

STEP 9
Flip the sleeve right side out. With the garment wrong out, insert the sleeve into the armhole, aligning and pinning it to the notches. Sew the sleeve to the armhole with right sides facing each other.

STEP 10
Prepare your unfolded chest flap, folding it vertically in half with right sides facing each other, and sew along the side curves. Flip the flap right side out and press the seams with an iron to flatten them.

STEP 11
Gather your chest flap and turn the garment right side out.

STEP 12
Attach the flap to the neckline of the front of the garment. You have two options:
Sew the flap behind the front facing garment, then flip the flap over and topstitch it down.
Sandwich the neckline fabric between the open gap of the flap and sew it between the flap layers.
You may need to snip seam allowance fabric on the sides of the flap to hem the back neckline of the garment.

STEP 13
Hem the back neckline, bottom of the dress, and sleeve armholes.

STEP 14
Take your 2 belt pieces, stack them with right sides facing each other, and sew around the belt, leaving the smaller straight edge unsewn. Turn the fabric right side out and press the seams with an iron. Attach a belt buckle to the unsewn side of the belt.
