How to Sew a Waist Cover Undergarment
Jump to Instructions
Overview
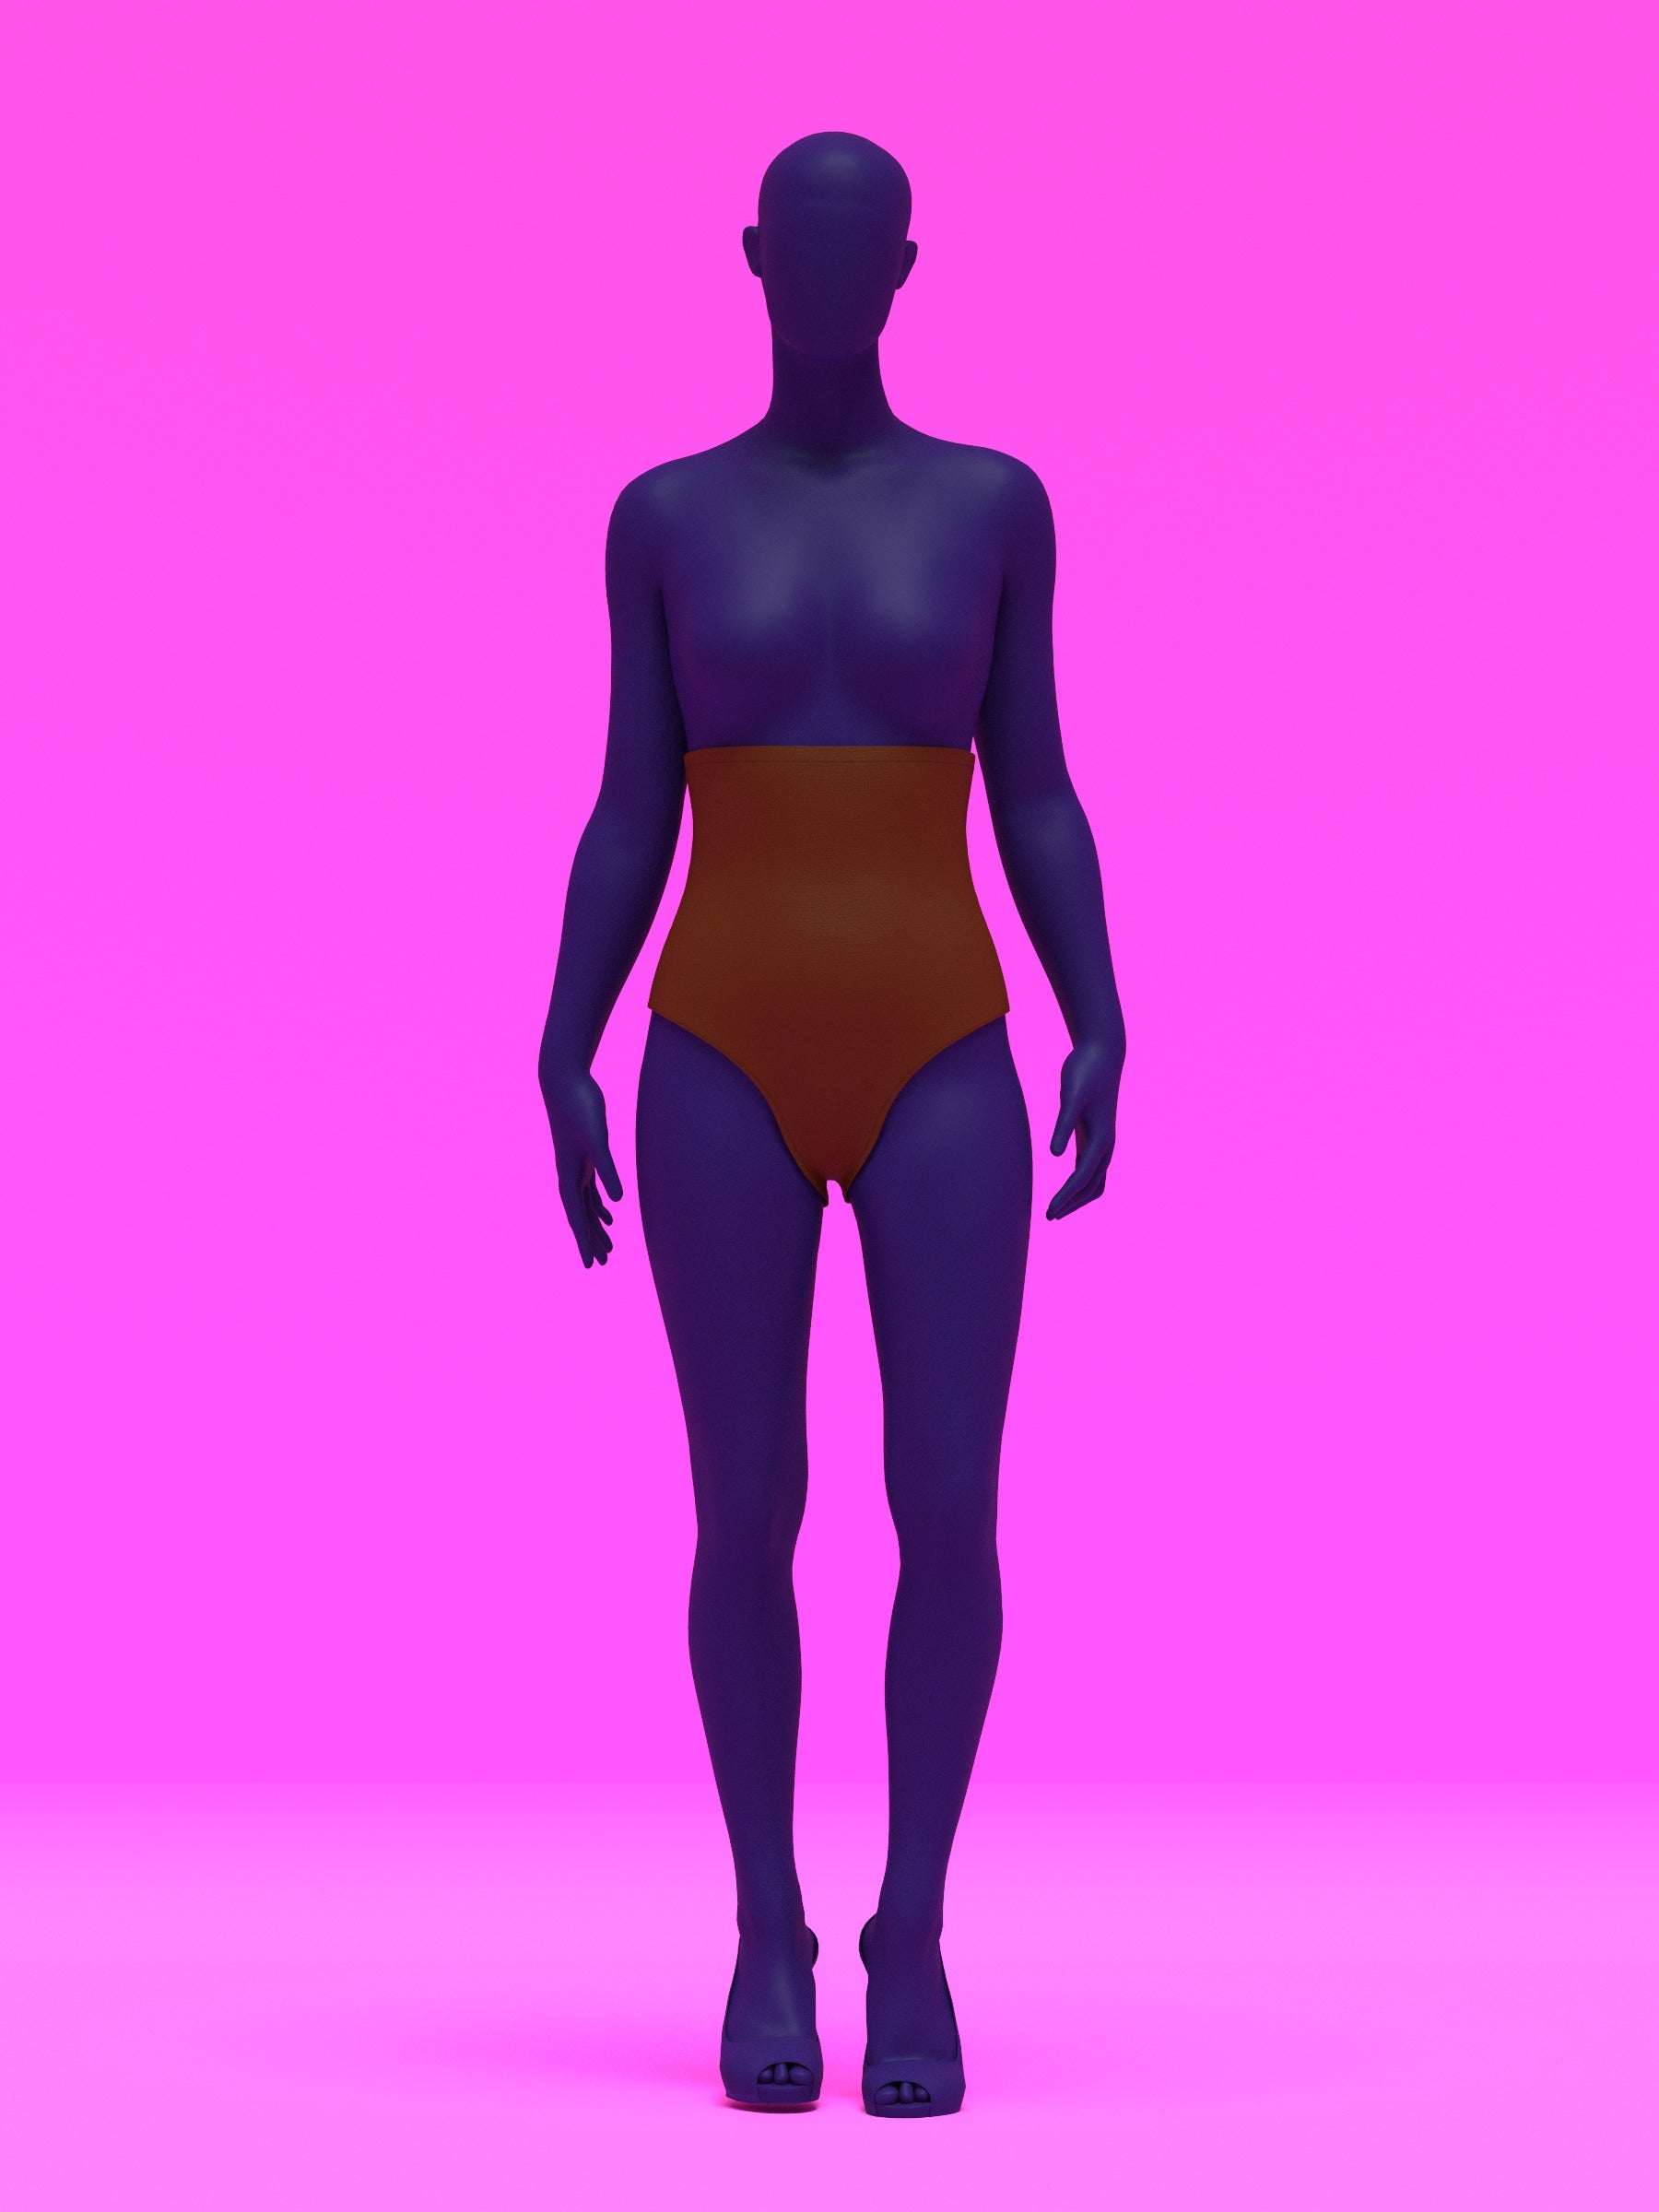
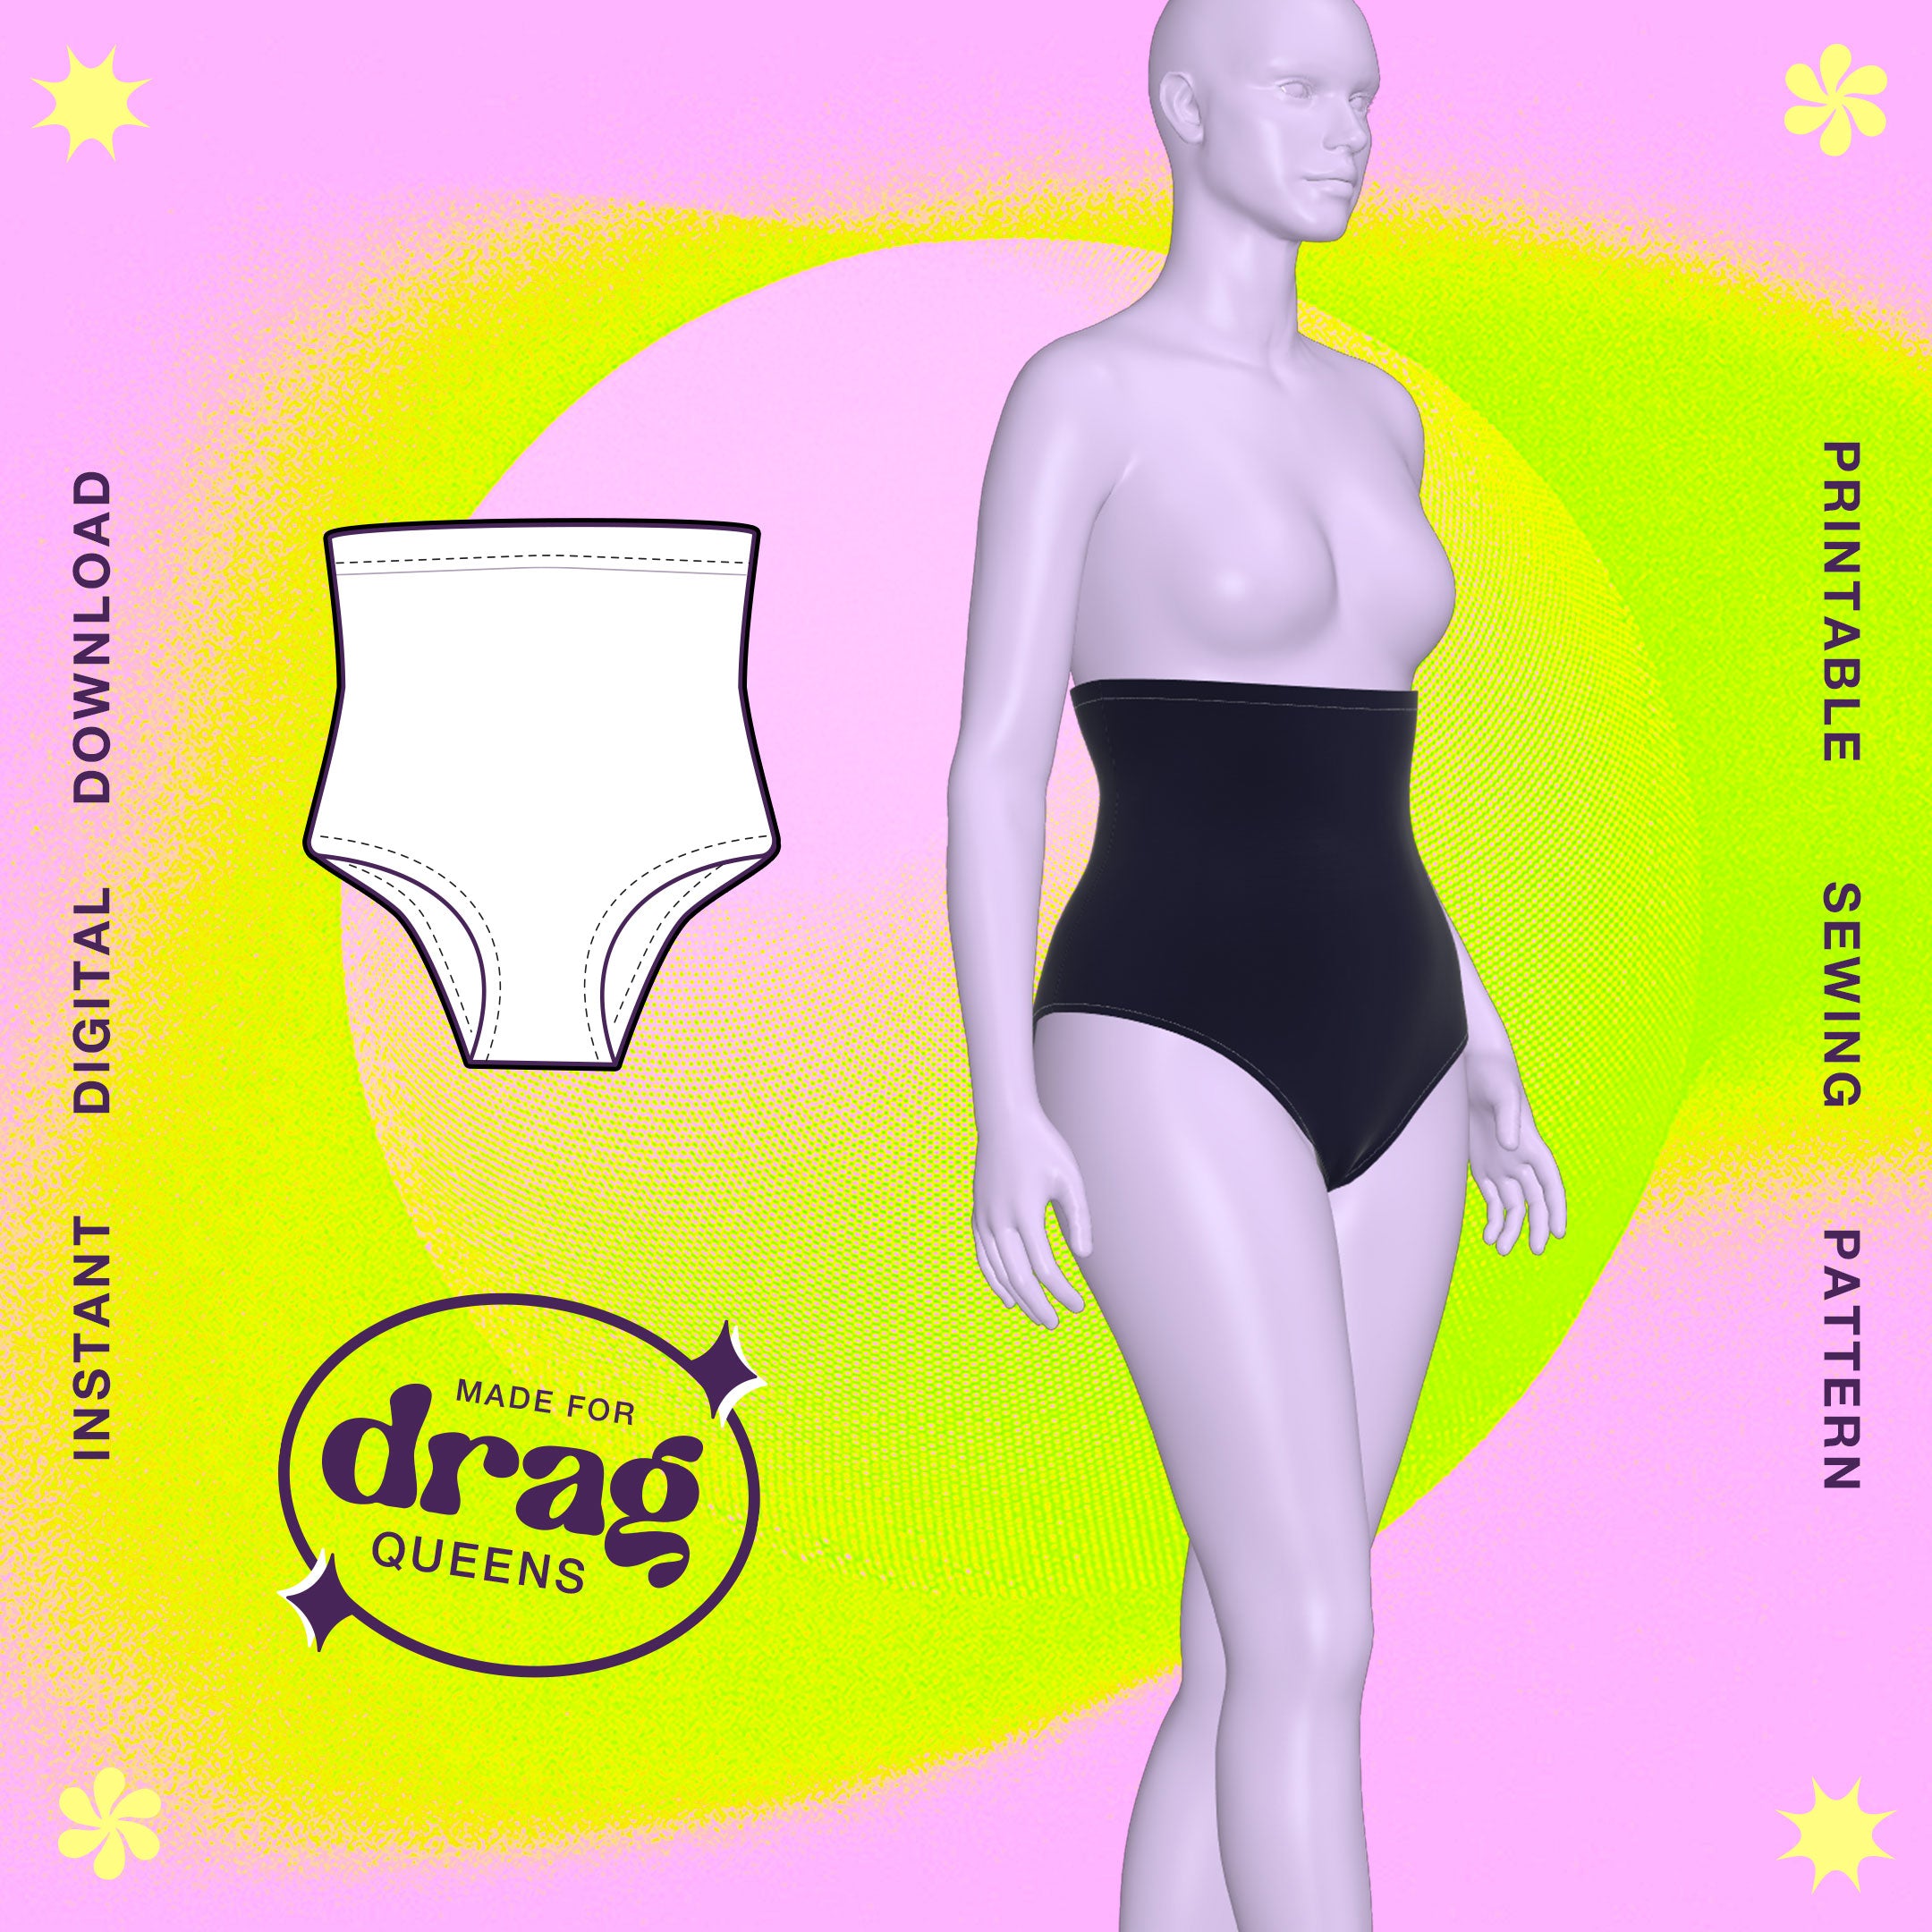
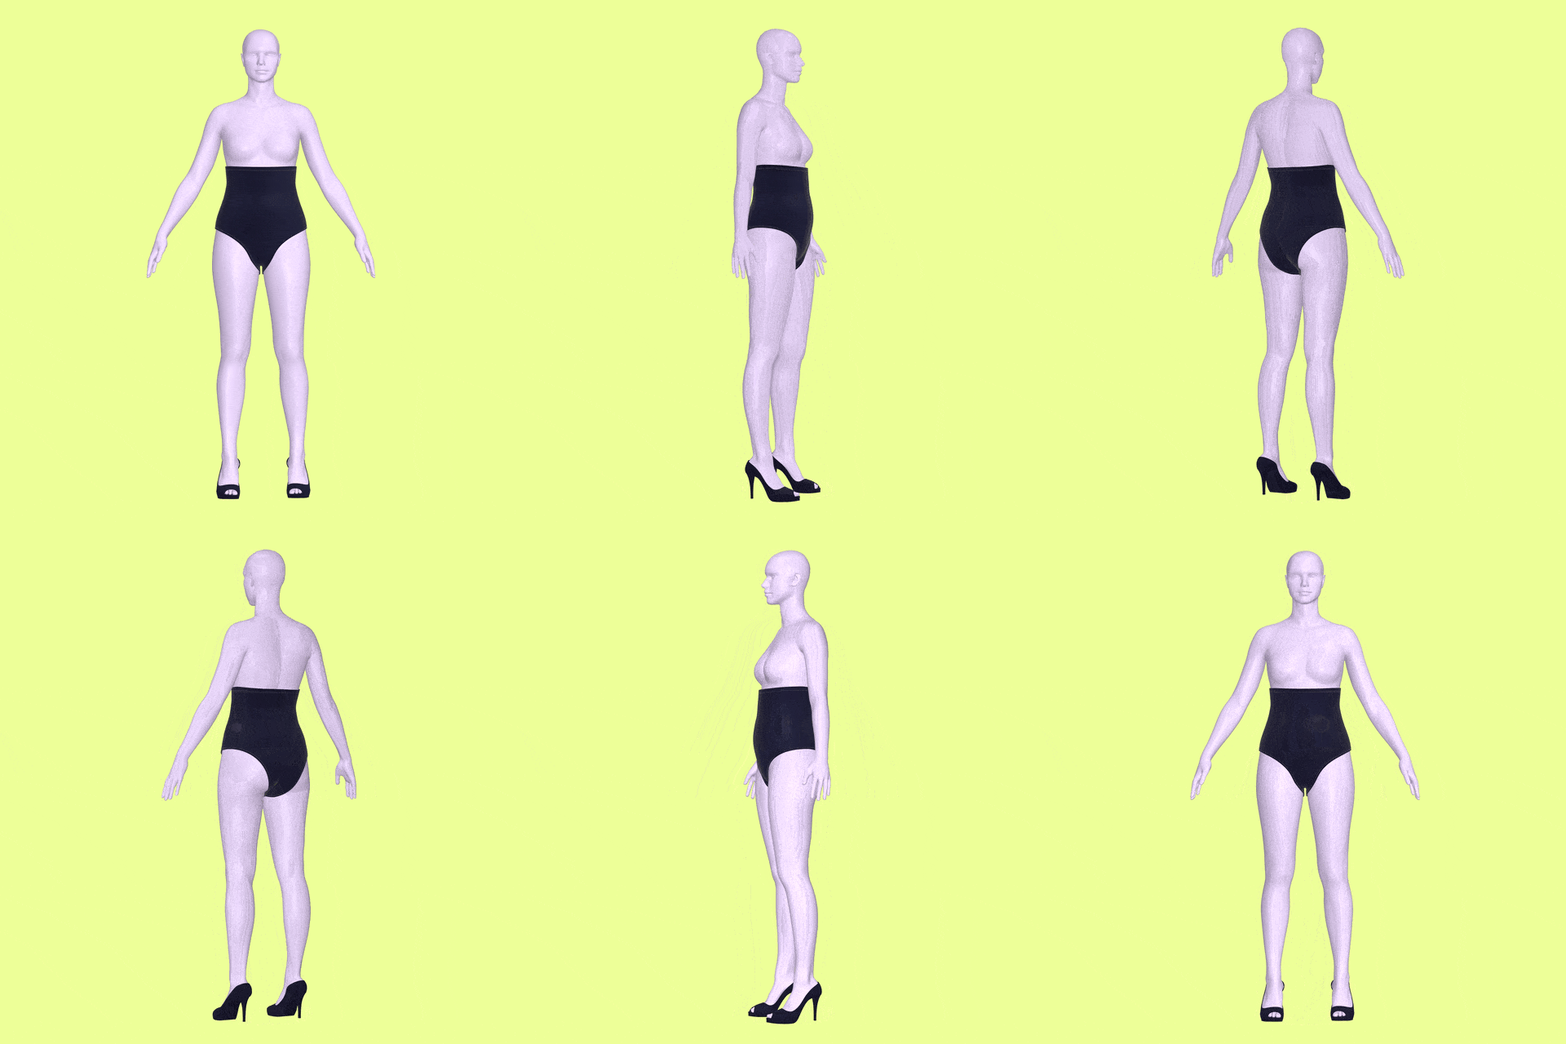
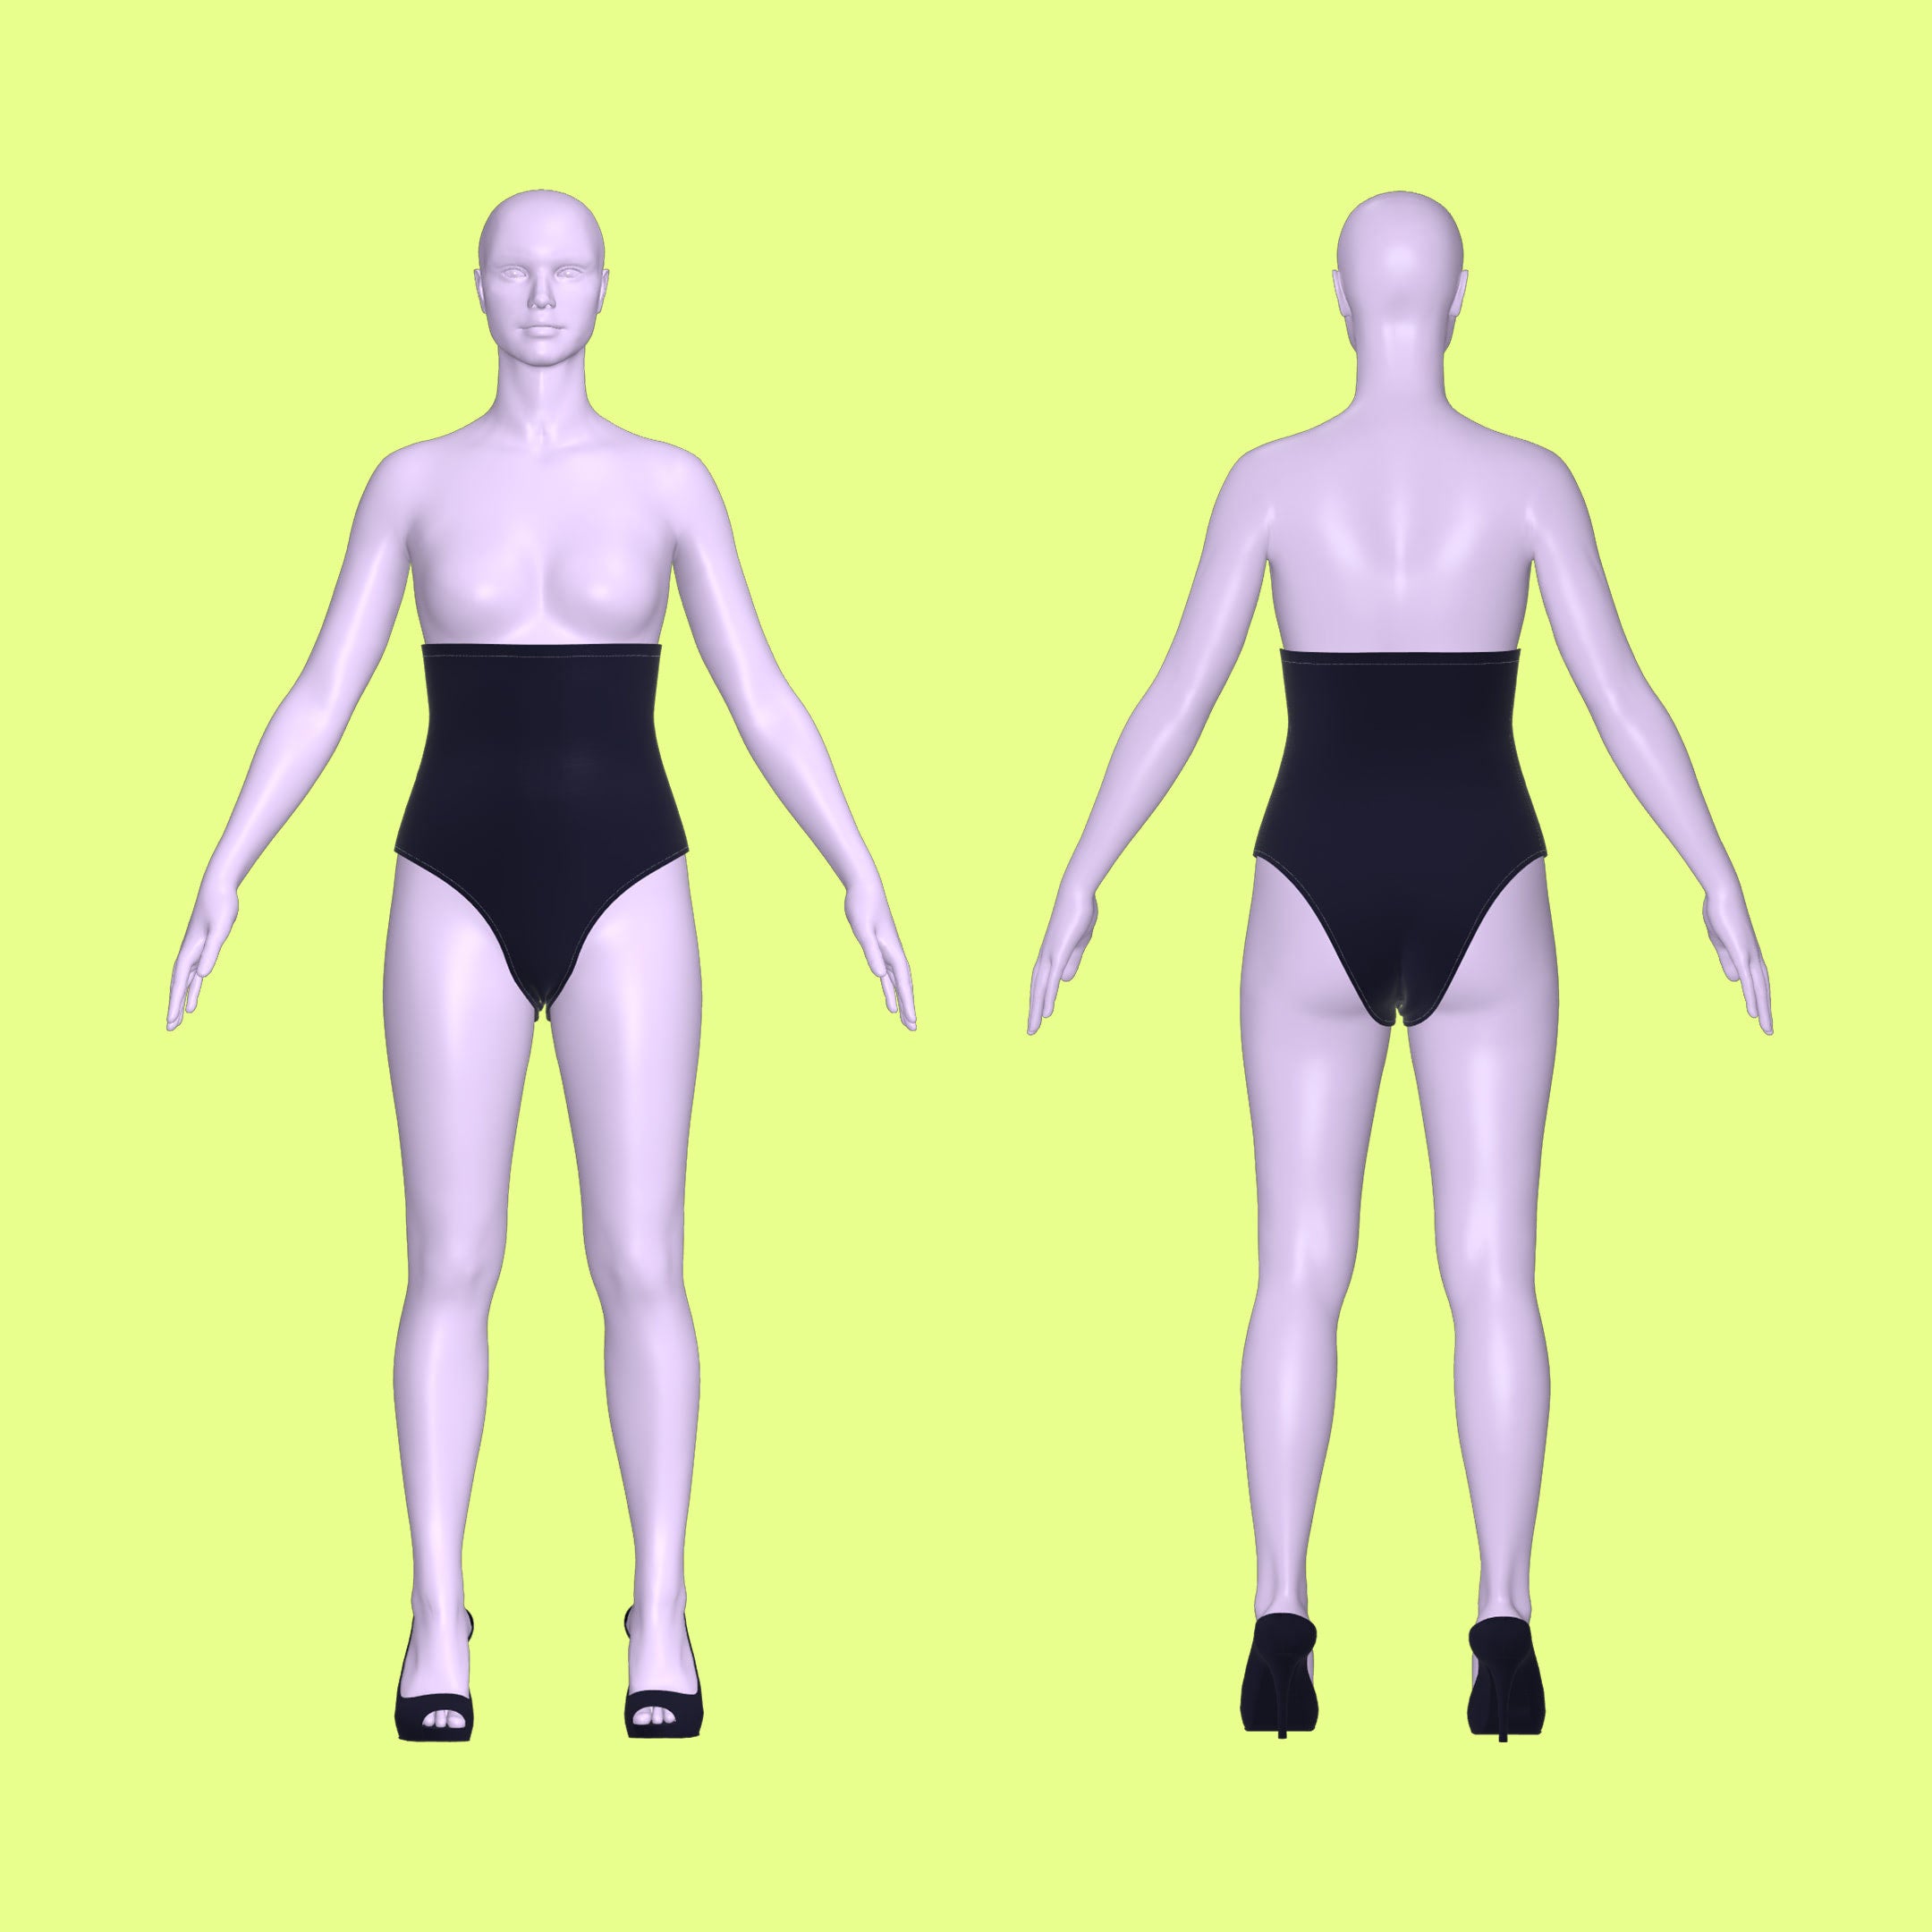
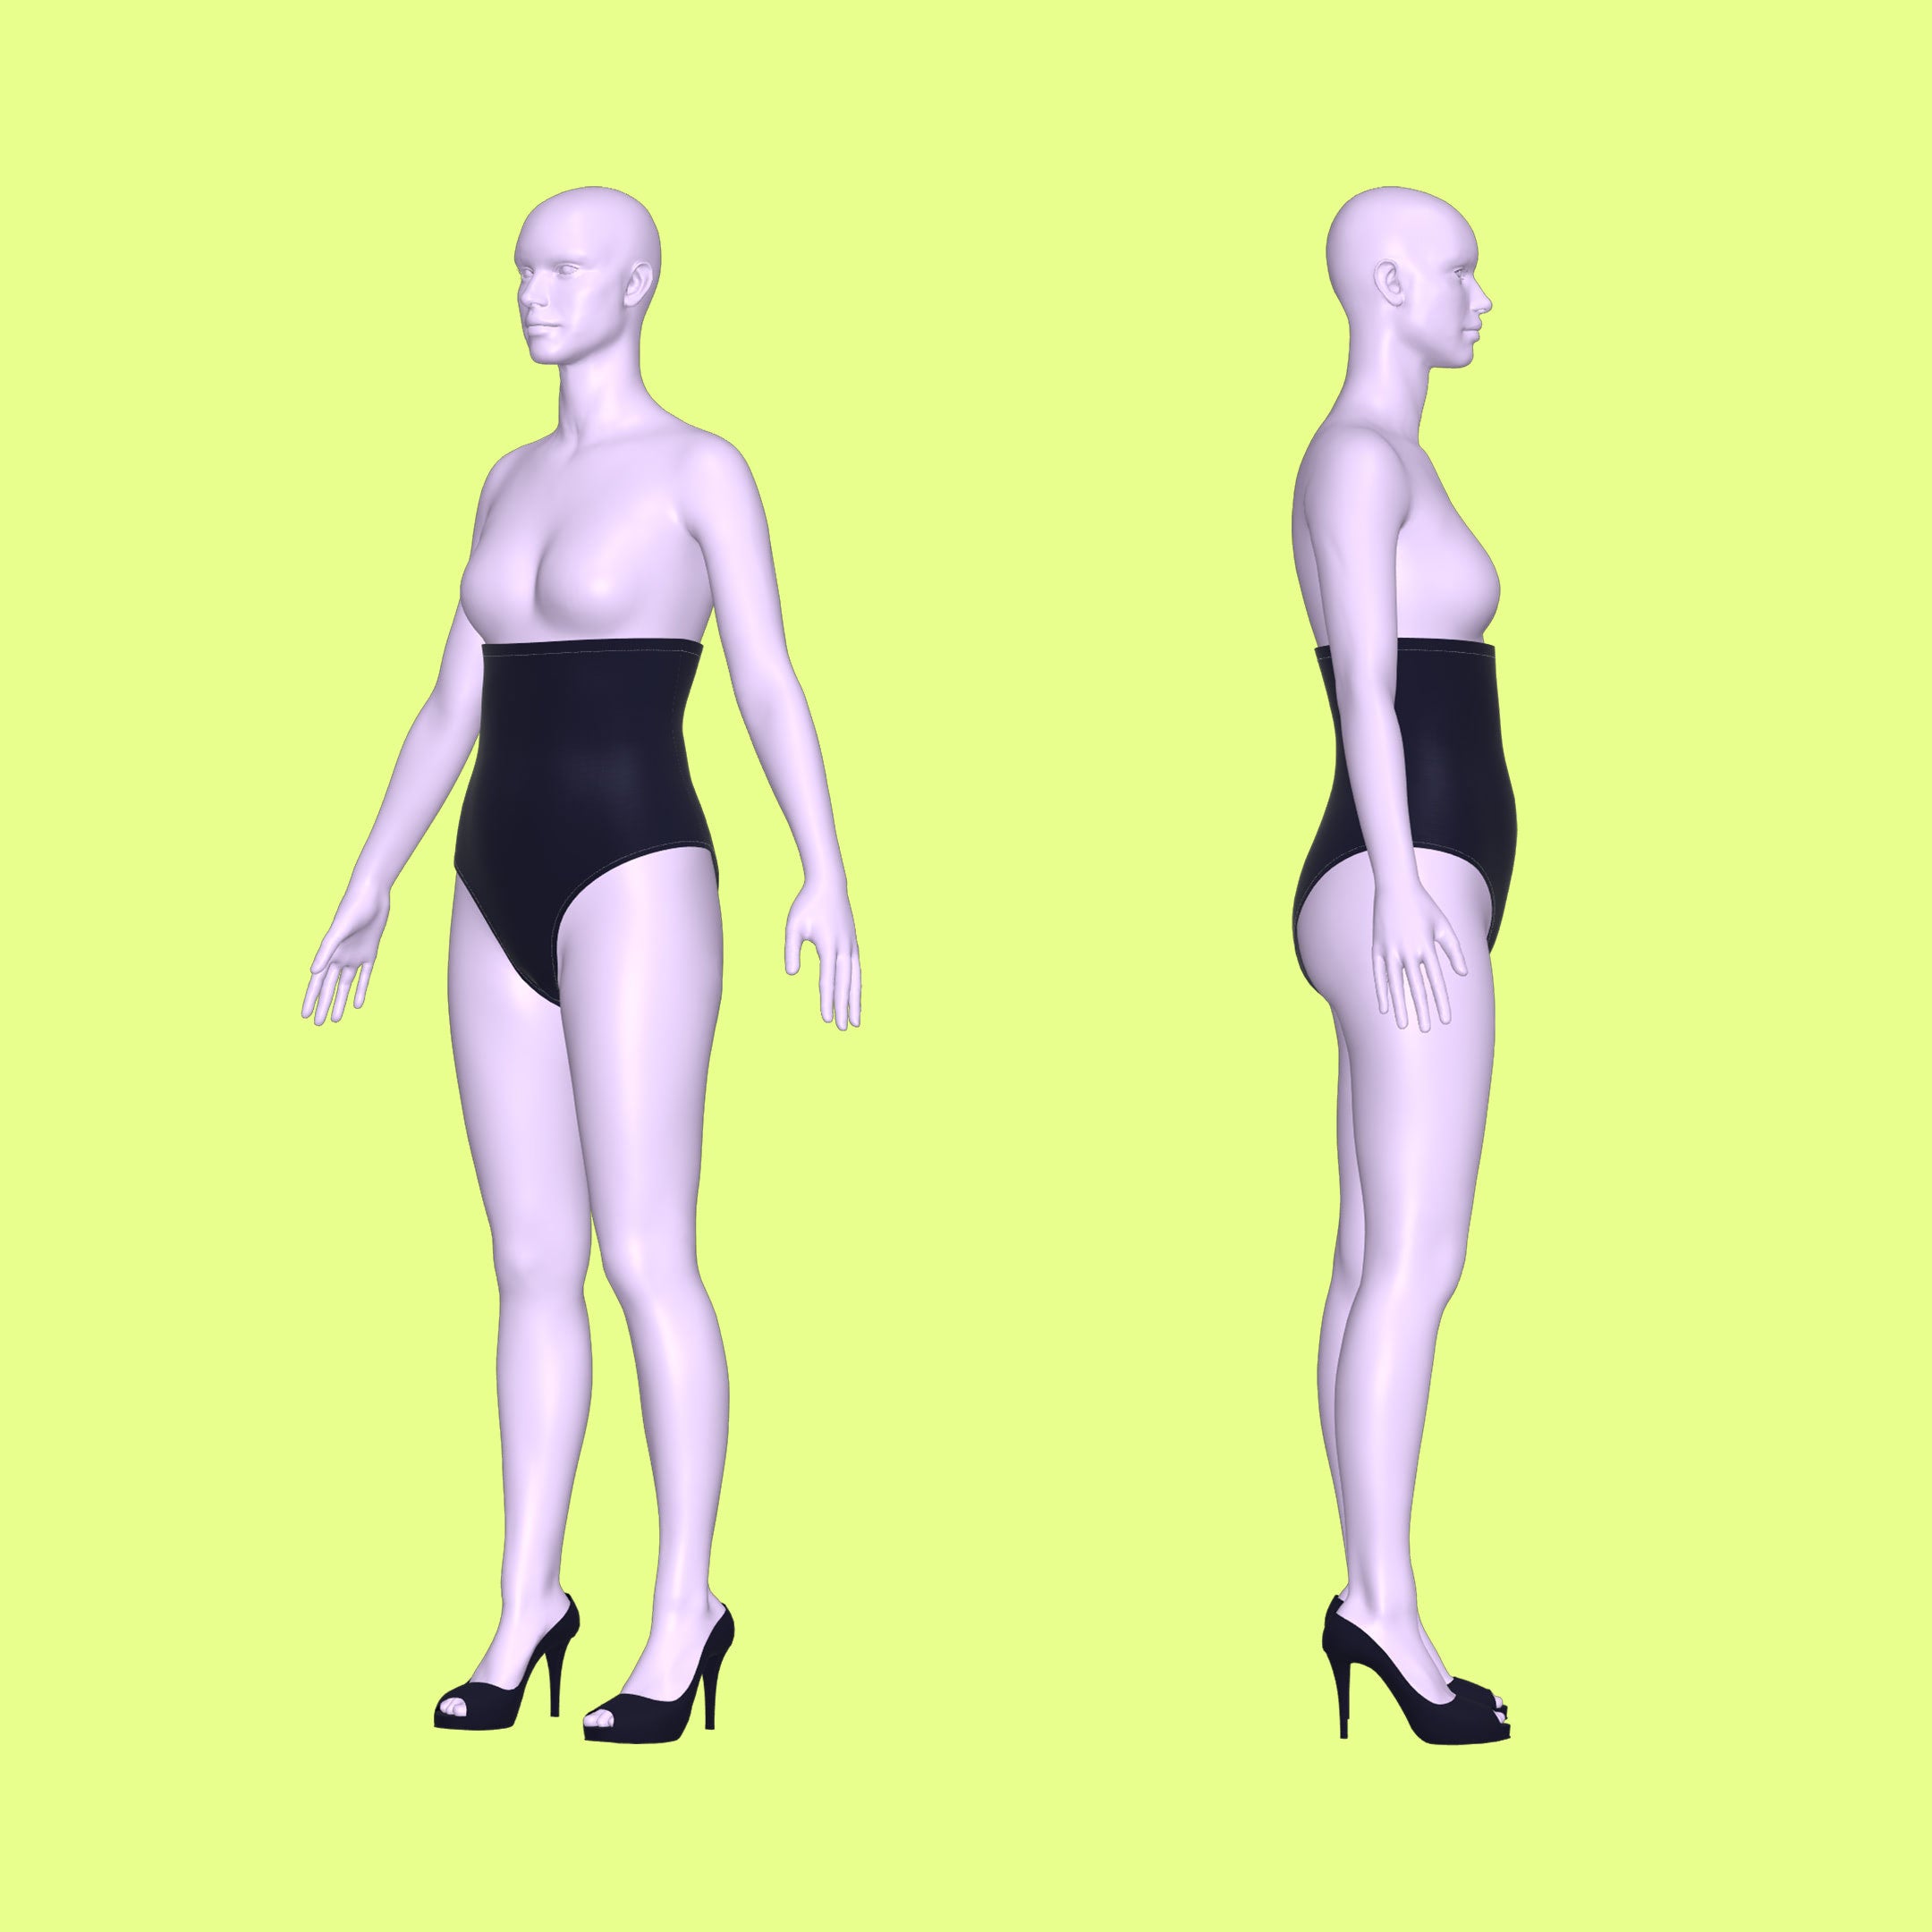
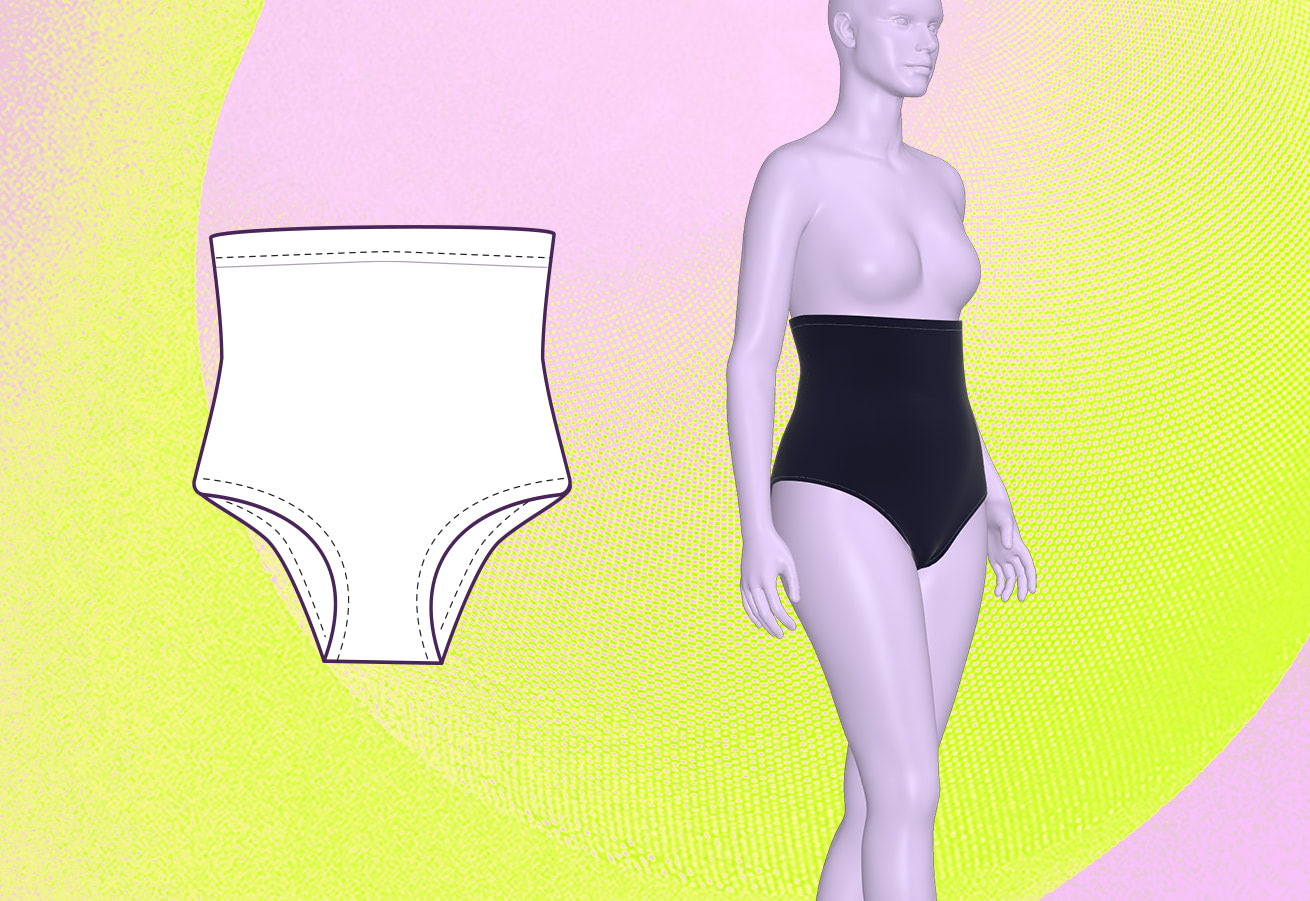
Introducing a versatile undergarment pattern designed explicitly for drag queens: the "Waist Cover Undergarment". Crafted to flawlessly cover the waist area, it's the perfect solution for concealing skin, corsets, or multiple layers of tights. Designed to sit snugly right under the bust, think of it as a reversible bikini bottom with extended coverage. This undergarment offers a dual-purpose; not only is it great for outfits with waist cutouts, but it can also be confidently worn on its own, paired with a stylish bra and your favorite heels. Tailored for the comfort and glamour of drag, this pattern is a must-have in every queen's sewing arsenal.
Pattern Difficulty: Intermediate
Sizing Details
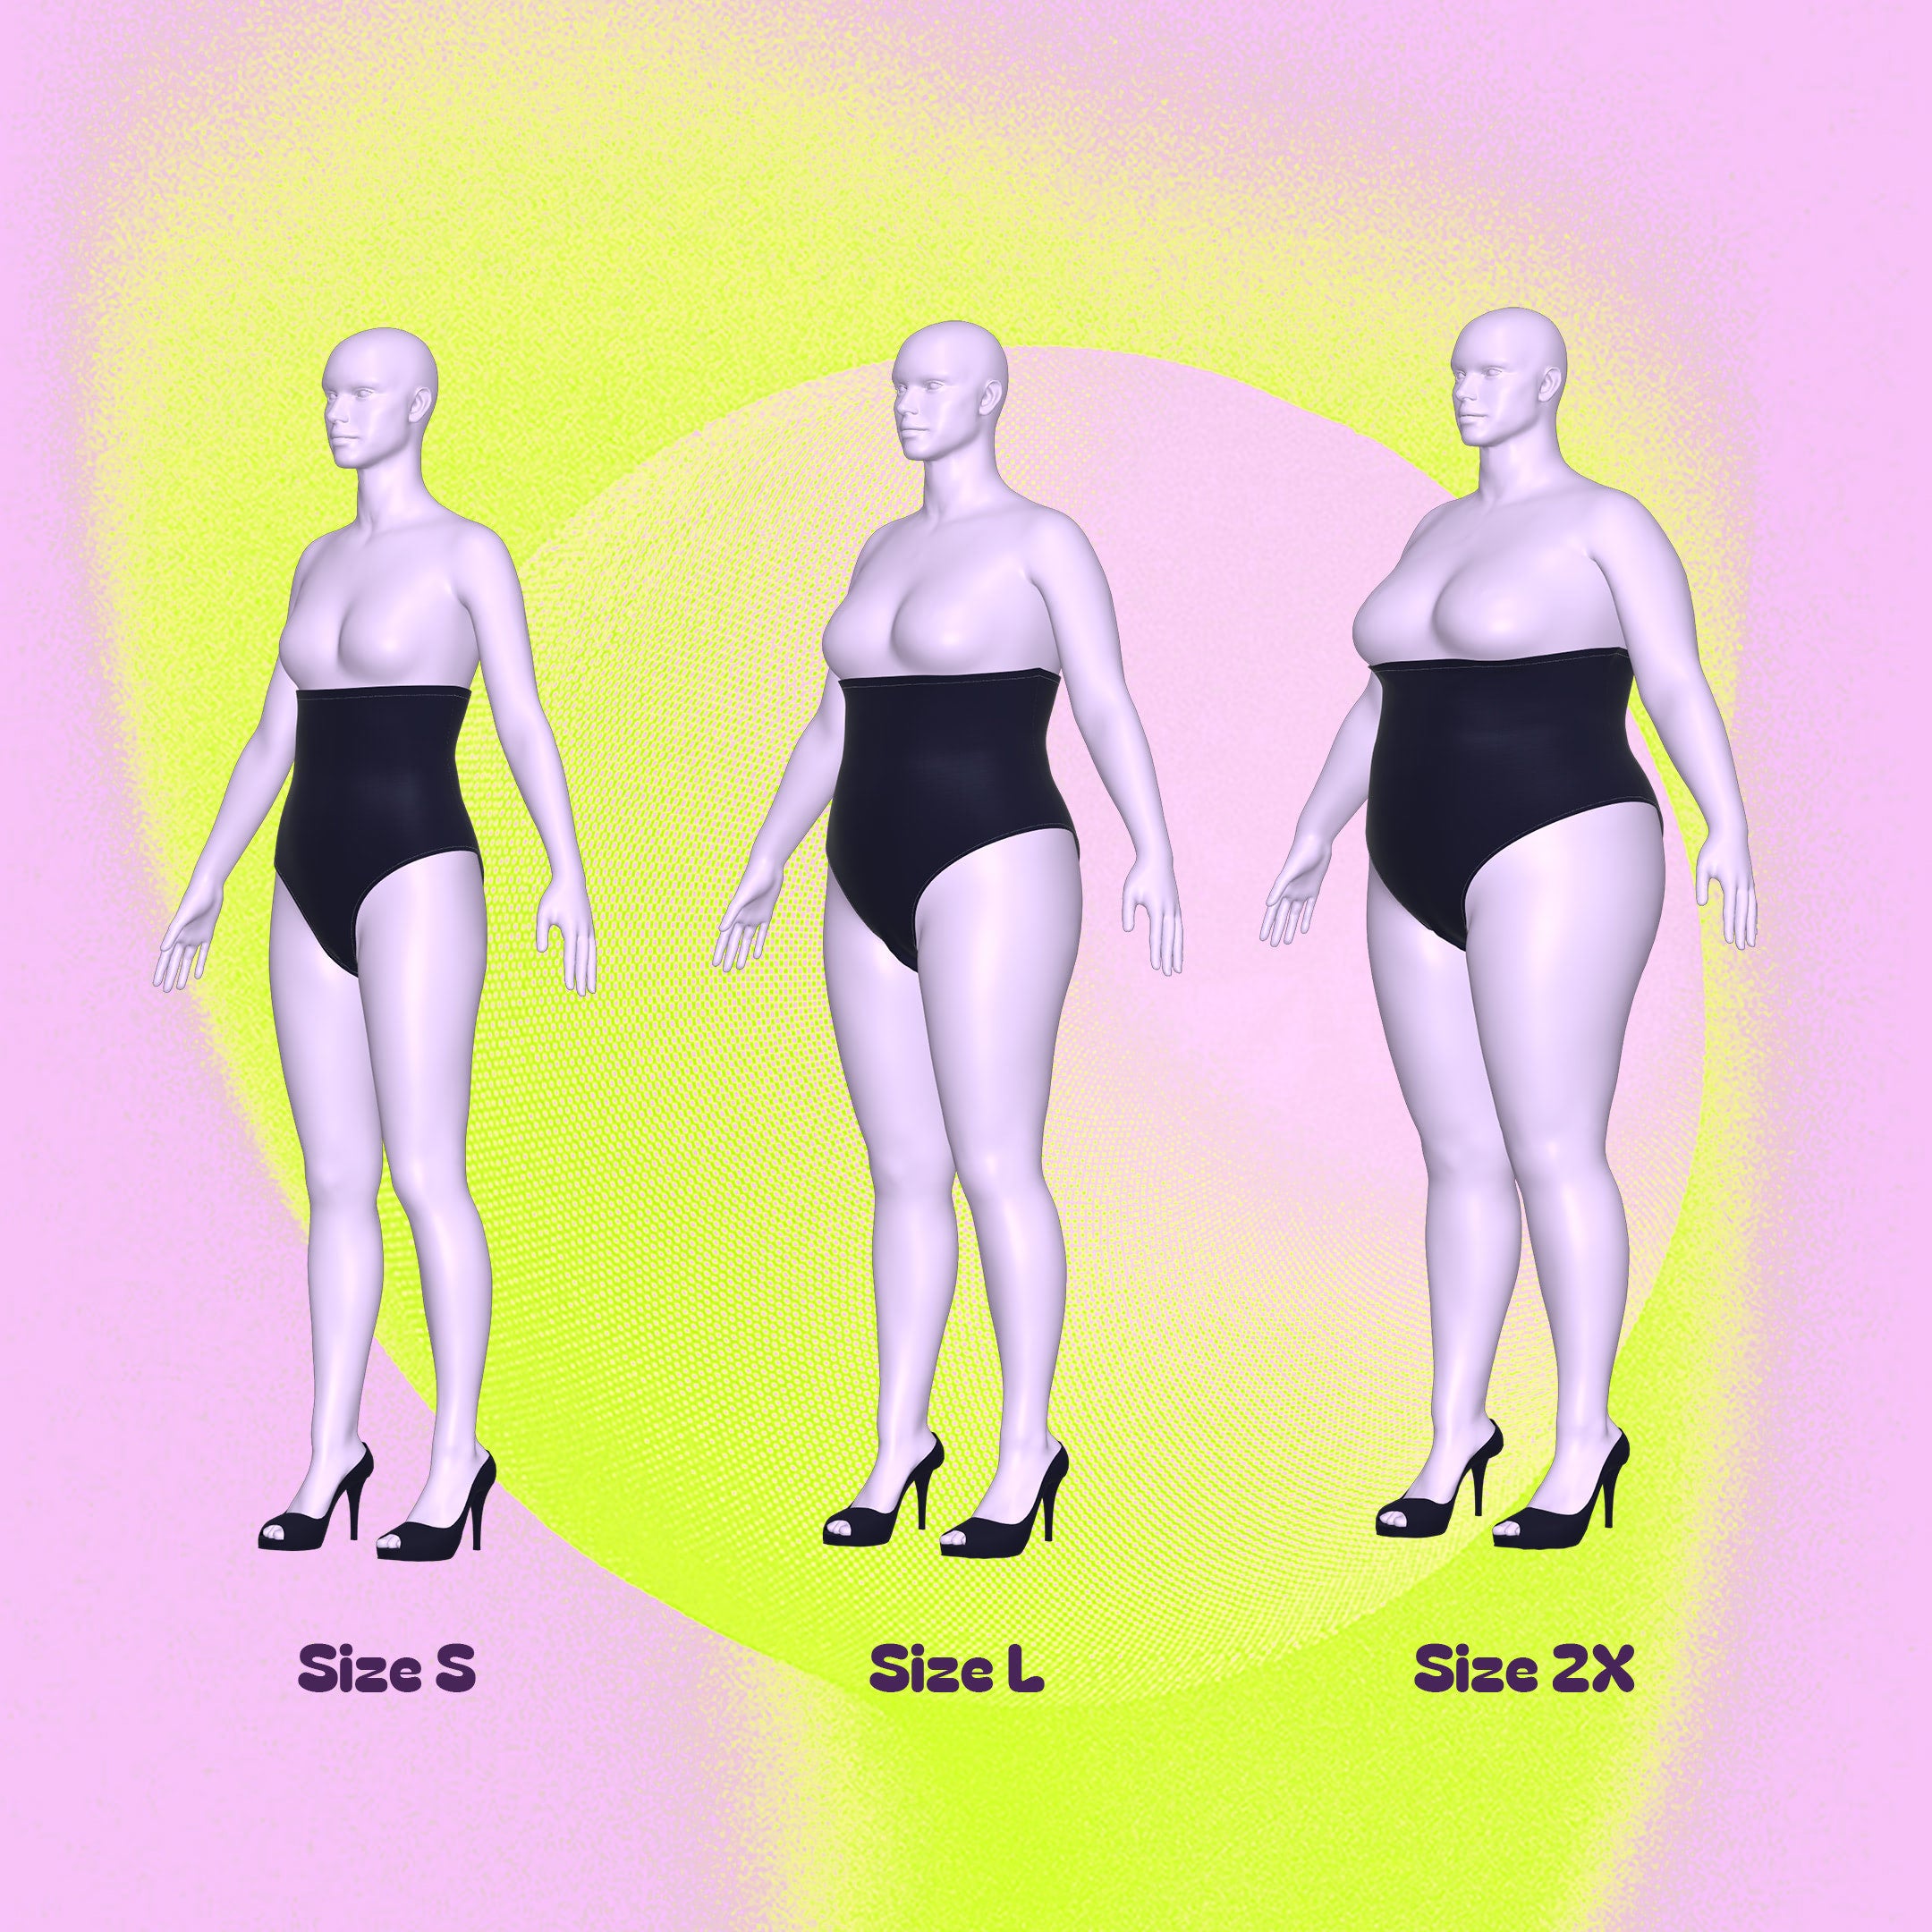
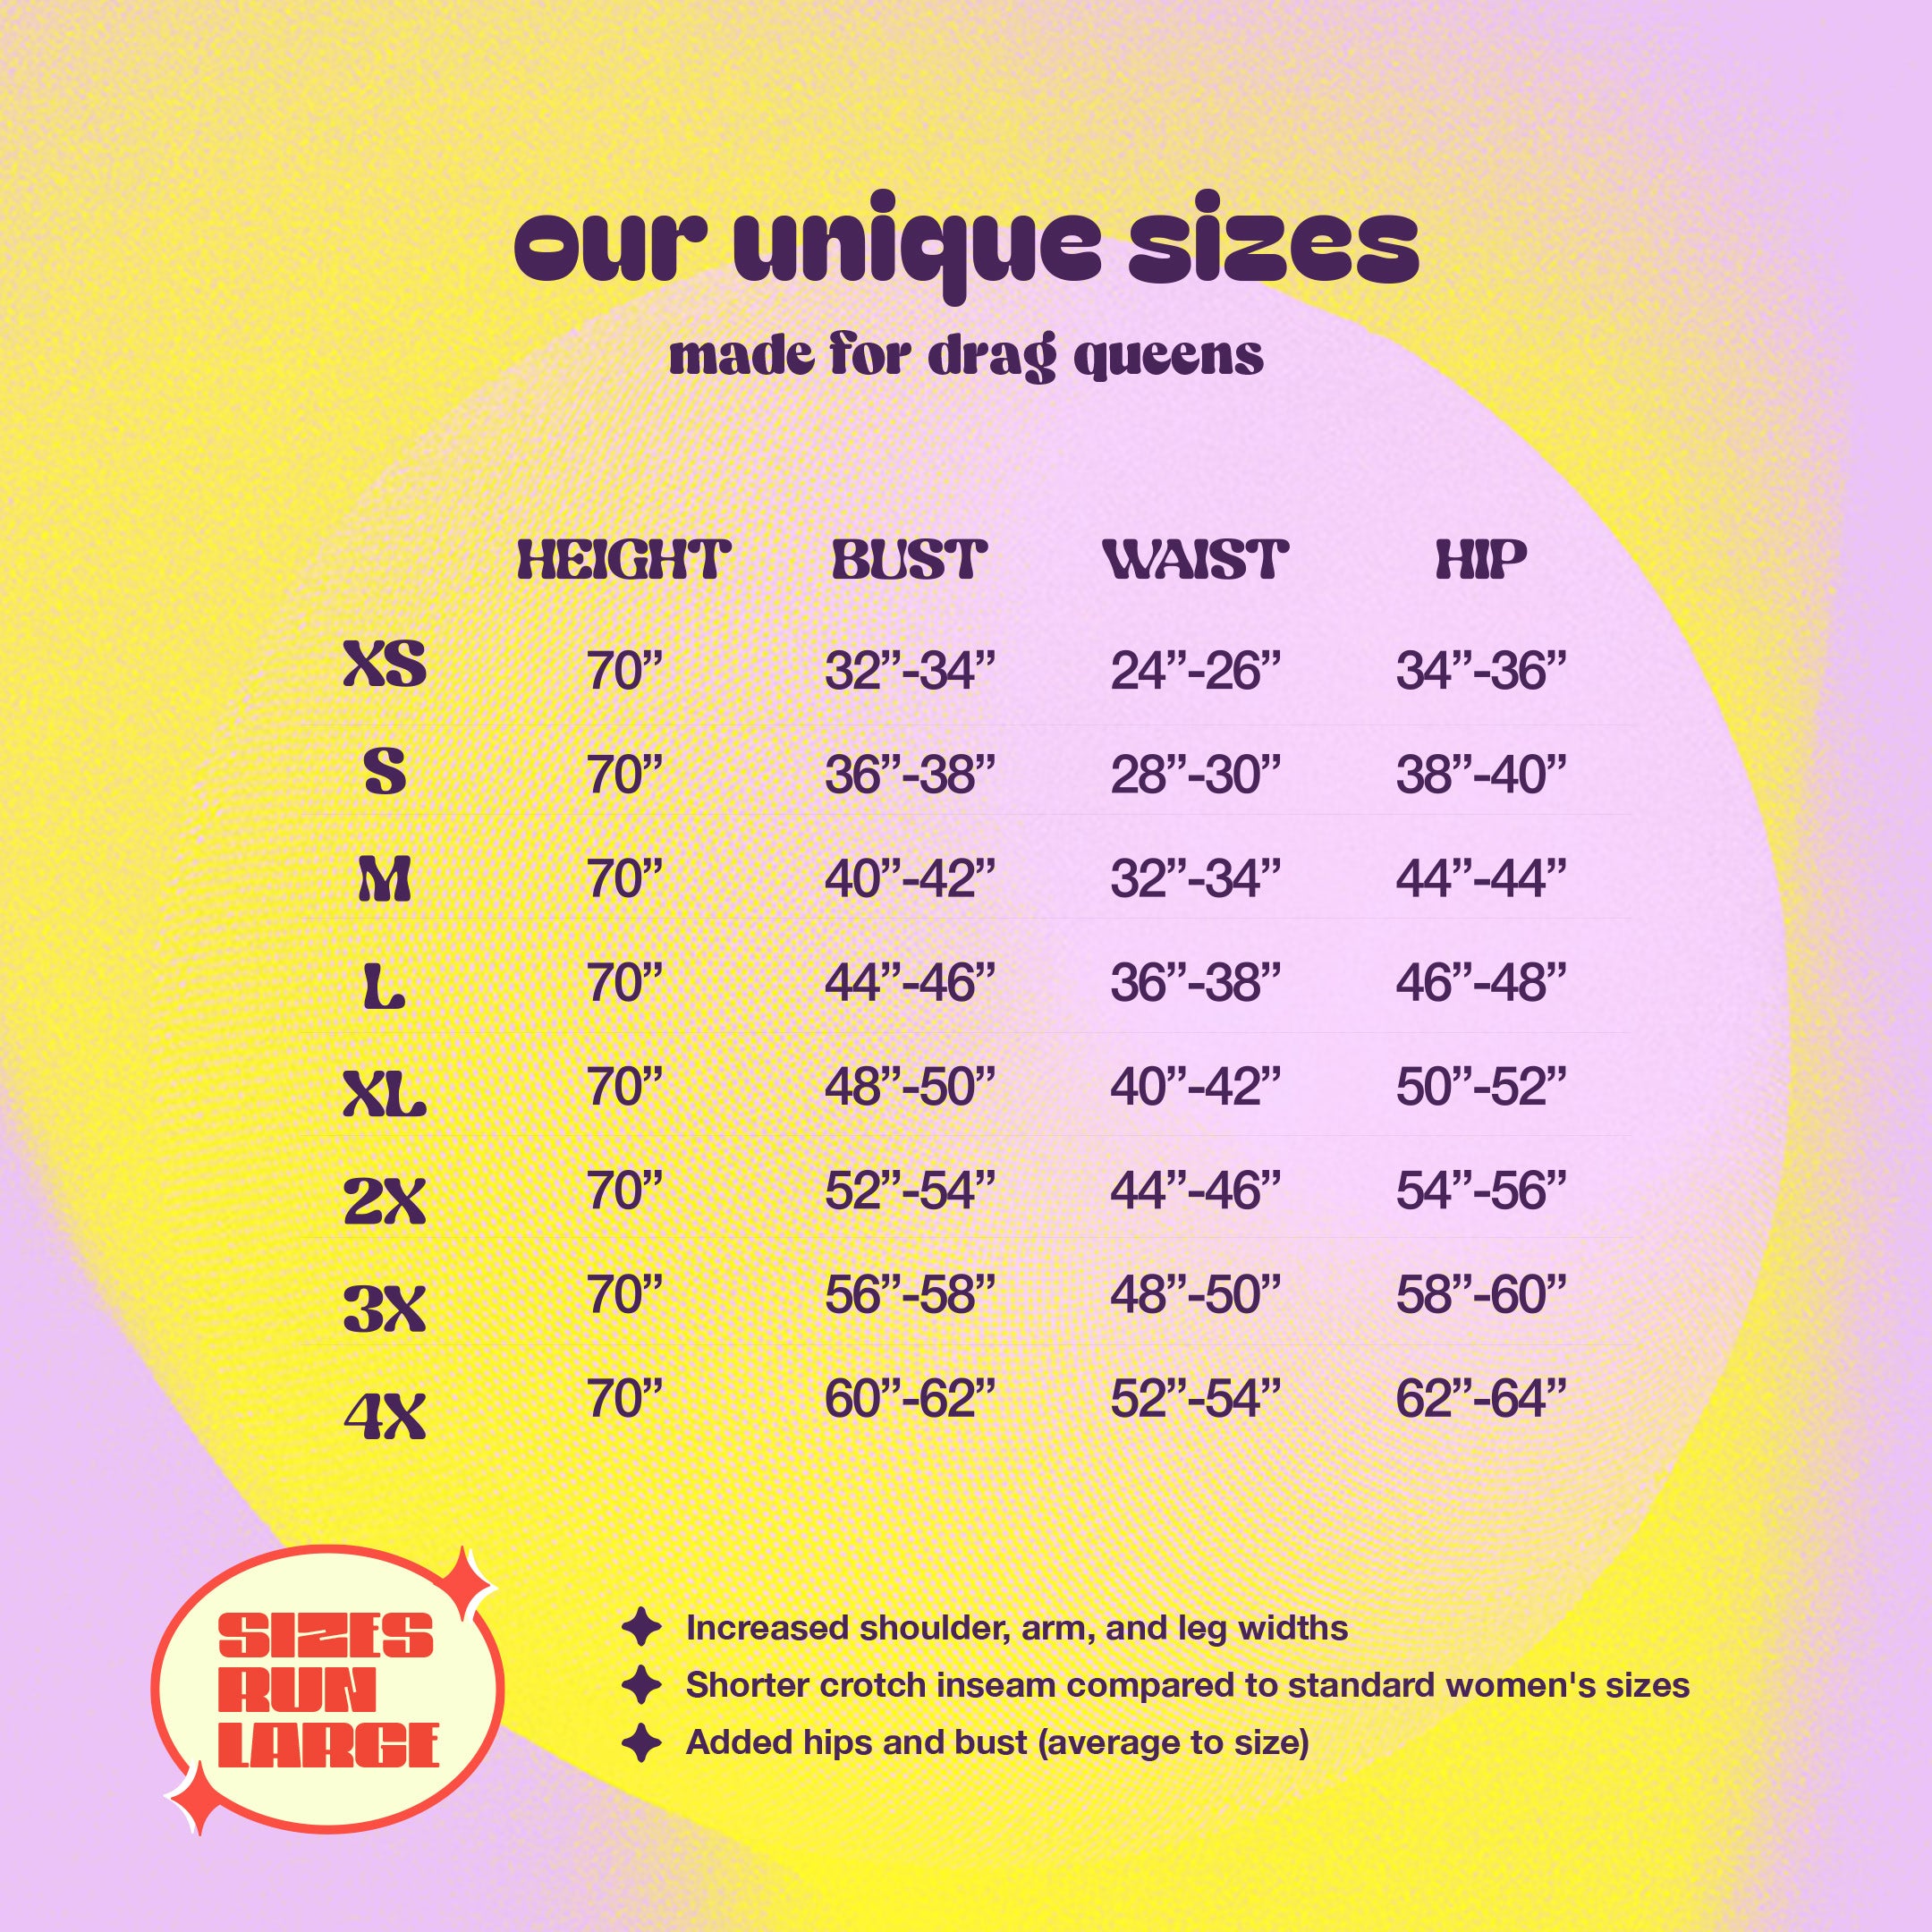
This pattern comes with sizes XS - 4X. Our sizes are unique and made for drag queens so please review our for measurement guide for more information on our size measurements.
Fabric & Notions
Suitable for stretch fabrics:
- Spandex/Lycra
- Milliskin
- Stretch Knit
- Stretch Vinyl
- Stretch Satin
- 1.5 - 2 inch elastic for waistband
Fabric Yardage
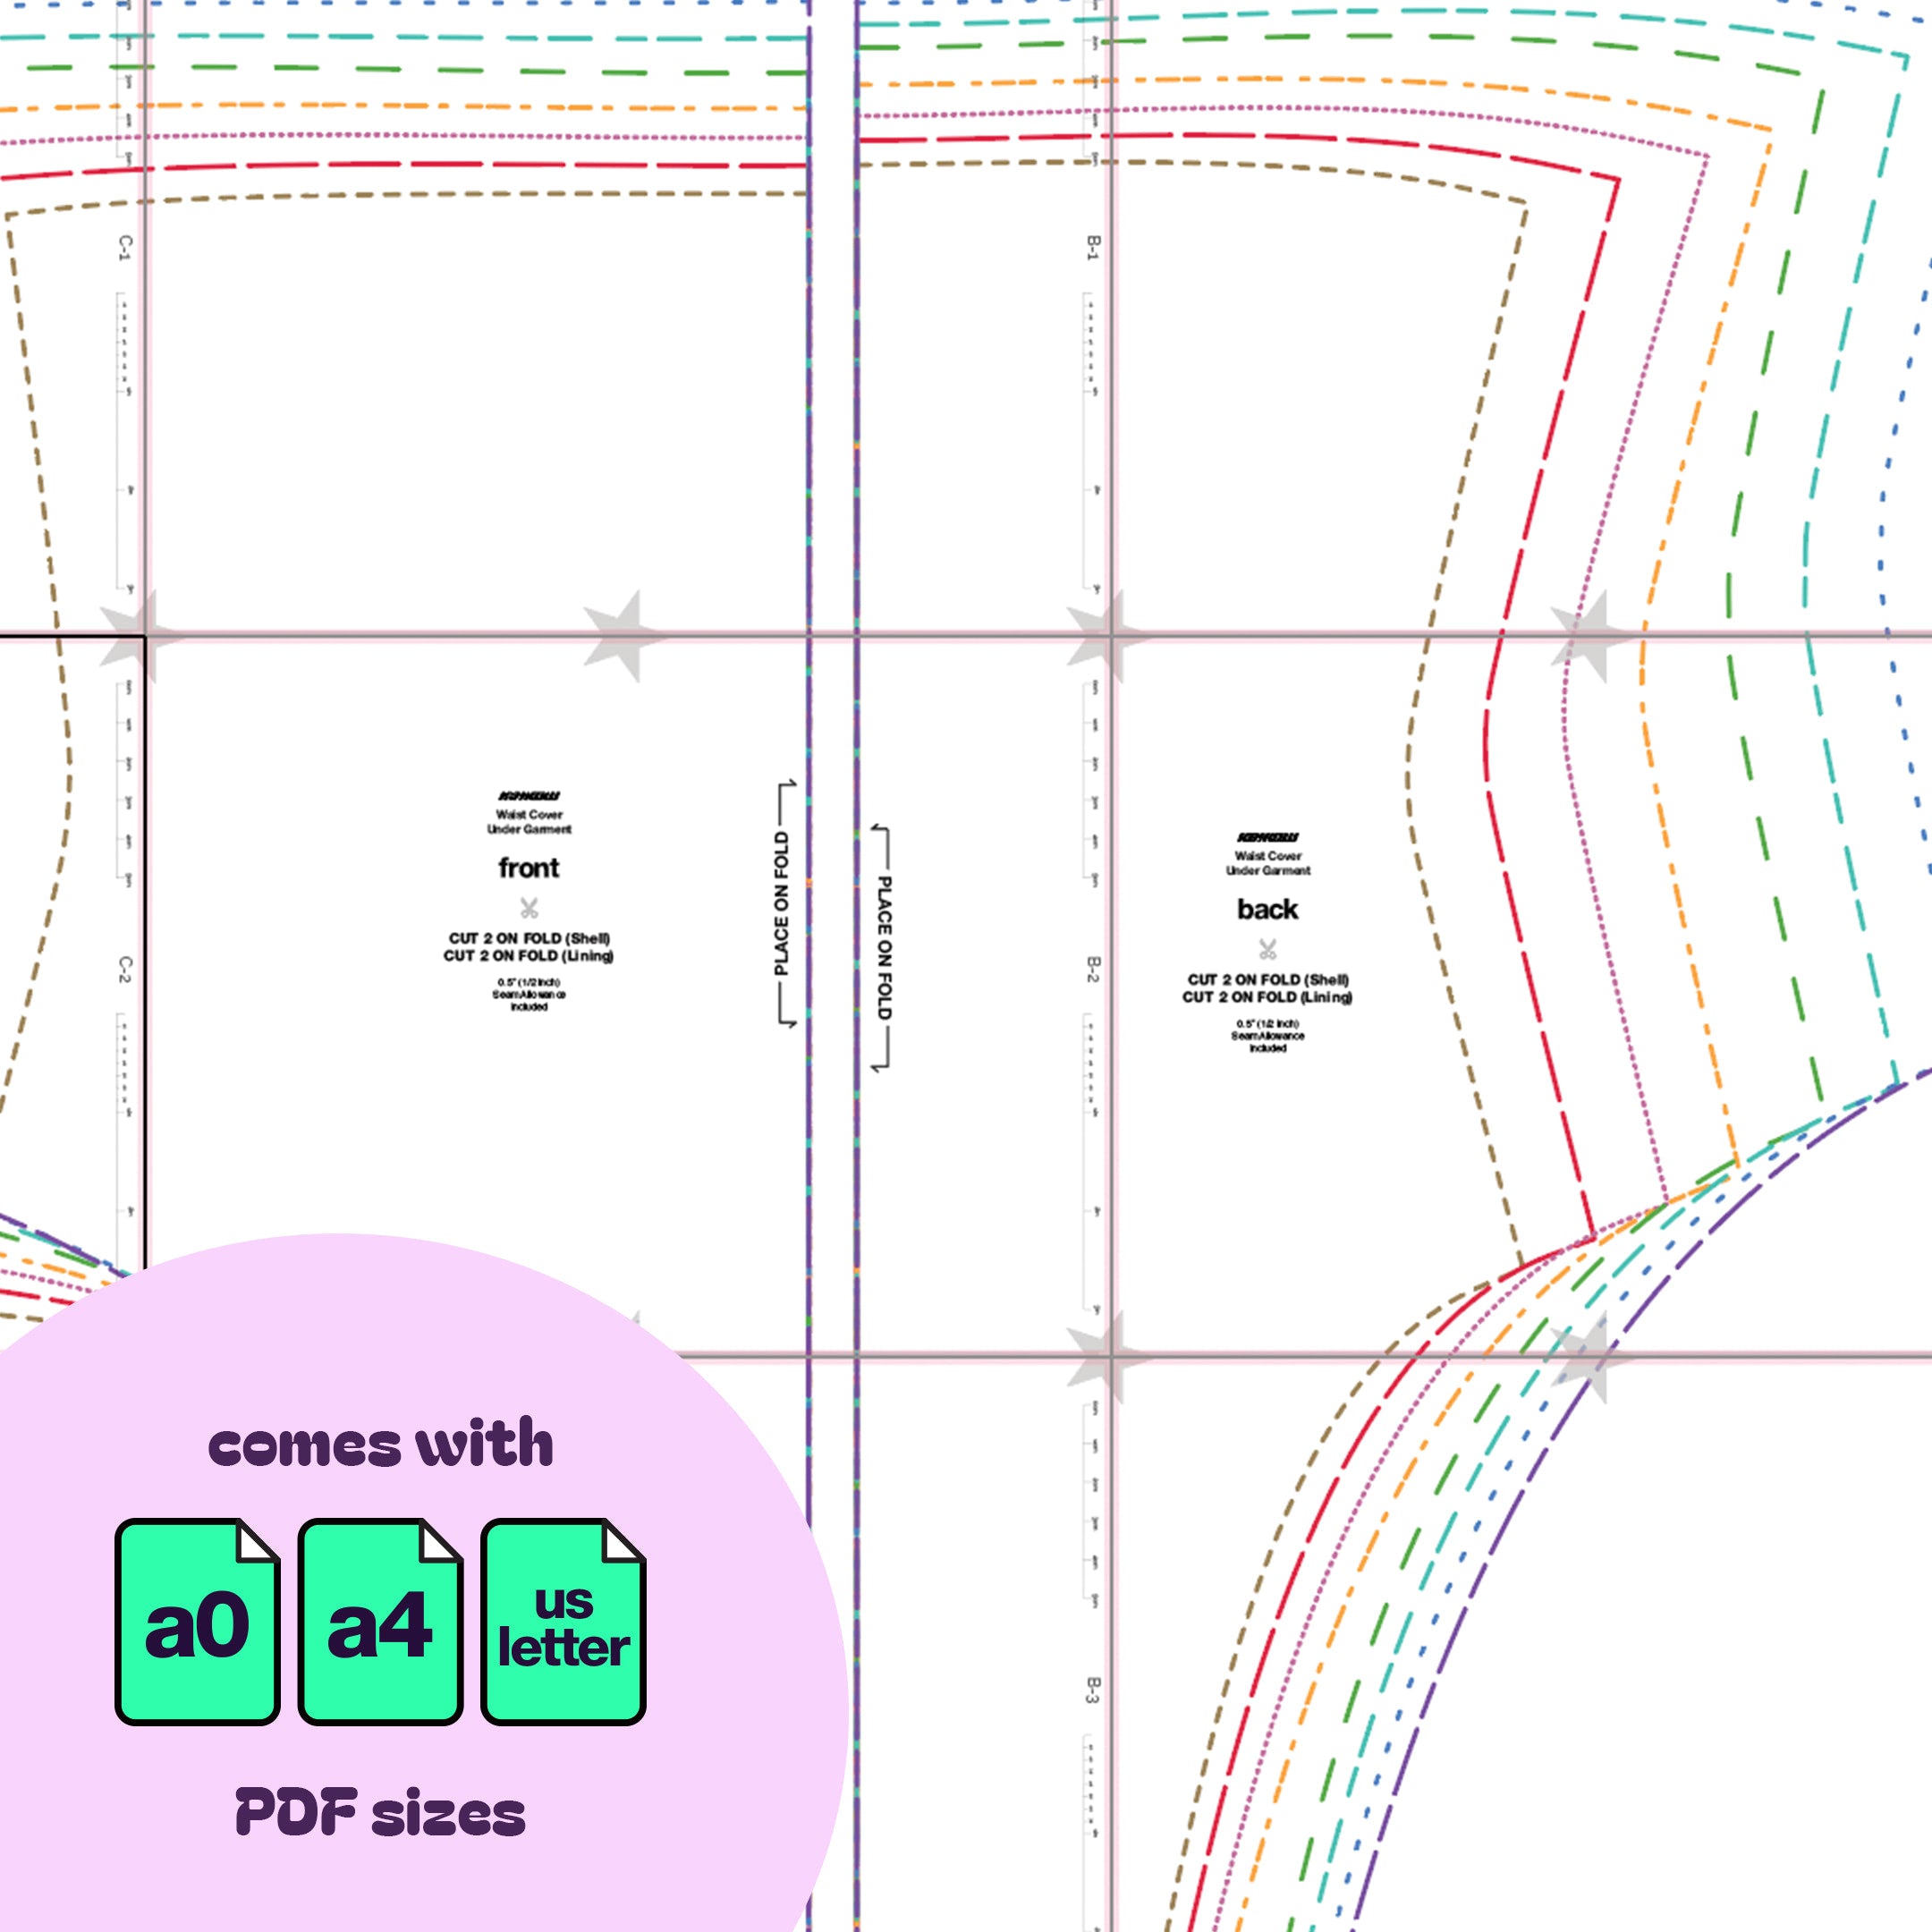
This pattern requires a shell and lining fabric. The yardage will be equal for both. Please find the yardage needed for each size below.
| Size | Fabric Yardage (44” width) | |
|---|---|---|
| Shell | Lining | |
| XS | 0.5 yards | 0.5 yards |
| S | 0.75 yards | 0.75 yards |
| M | 0.75 yards | 0.75 yards |
| L | 0.75 yards | 0.75 yards |
| XL | 1 yard | 1 yard |
| 2X | 1 yard | 1 yard |
| 3X | 1 yard | 1 yard |
| 4X | 1 yard | 1 yard |
For information on converting inches to meters, please check out our conversion guide.
Sewing Instructions


STEP 1
Begin by gathering the shell's front and back fabric pieces. Place them right sides together and stitch along the crotch seam using a stretch stitch, zig-zag stitch, or a serger. Repeat the same for the lining fabric.

STEP 2
Align your shell and lining with the right sides facing each other. Proceed to sew along the leg openings.

STEP 3
Turn the undergarment right side out. At the sides, the fabric should naturally fold over, revealing the wrong side.

STEP 4
Pin the front and back sides at the seam of the leg holes together. Layout the sides fabric so they overlap.

STEP 5
Stitch the front and back sides of both the shell and lining, with their right sides facing each other.

STEP 6
Gently roll the fabric over to flip the garment right side out. At this point, both the undergarment's lining and shell should be connected, leaving the top waist unsewn.

STEP 7
For the elastic, measure it to match the undergarment's waist circumference. For a snugger fit, reduce the elastic's length by 1-2 inches. Once cut, fold the elastic in half and sew its ends to form a loop.

STEP 8
Position the elastic onto the garment, stretching it uniformly around the waist's top. Align the elastic's seam with one of the undergarment's side seams.

STEP 9
Stitch the top of the elastic to the undergarment's upper edge.

STEP 10
Fold the elastic over once or twice and sew along its bottom edge, anchoring it to the waist. This forms the waistband.

STEP 11
Finish by topstitching around the leg openings for a polished look.
