How To Sew A Stretch Dress With Straps
Jump to Instructions
Overview
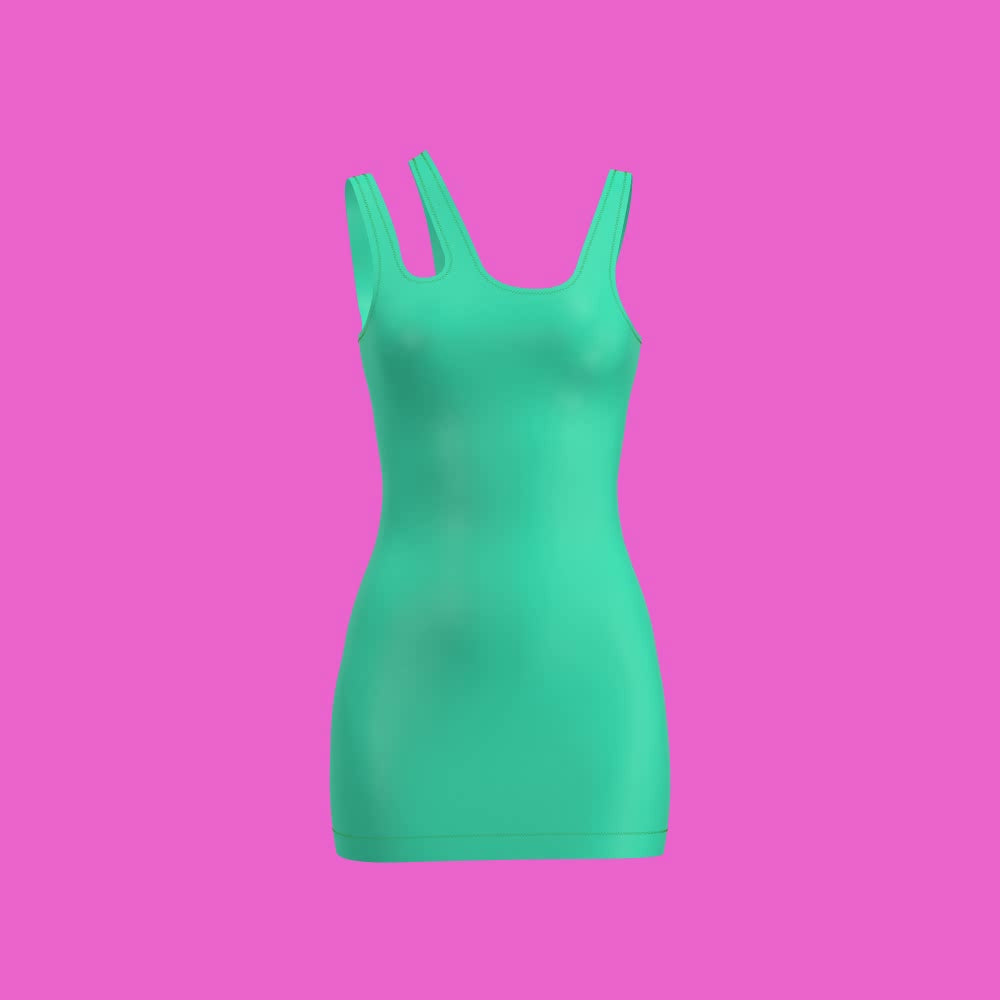
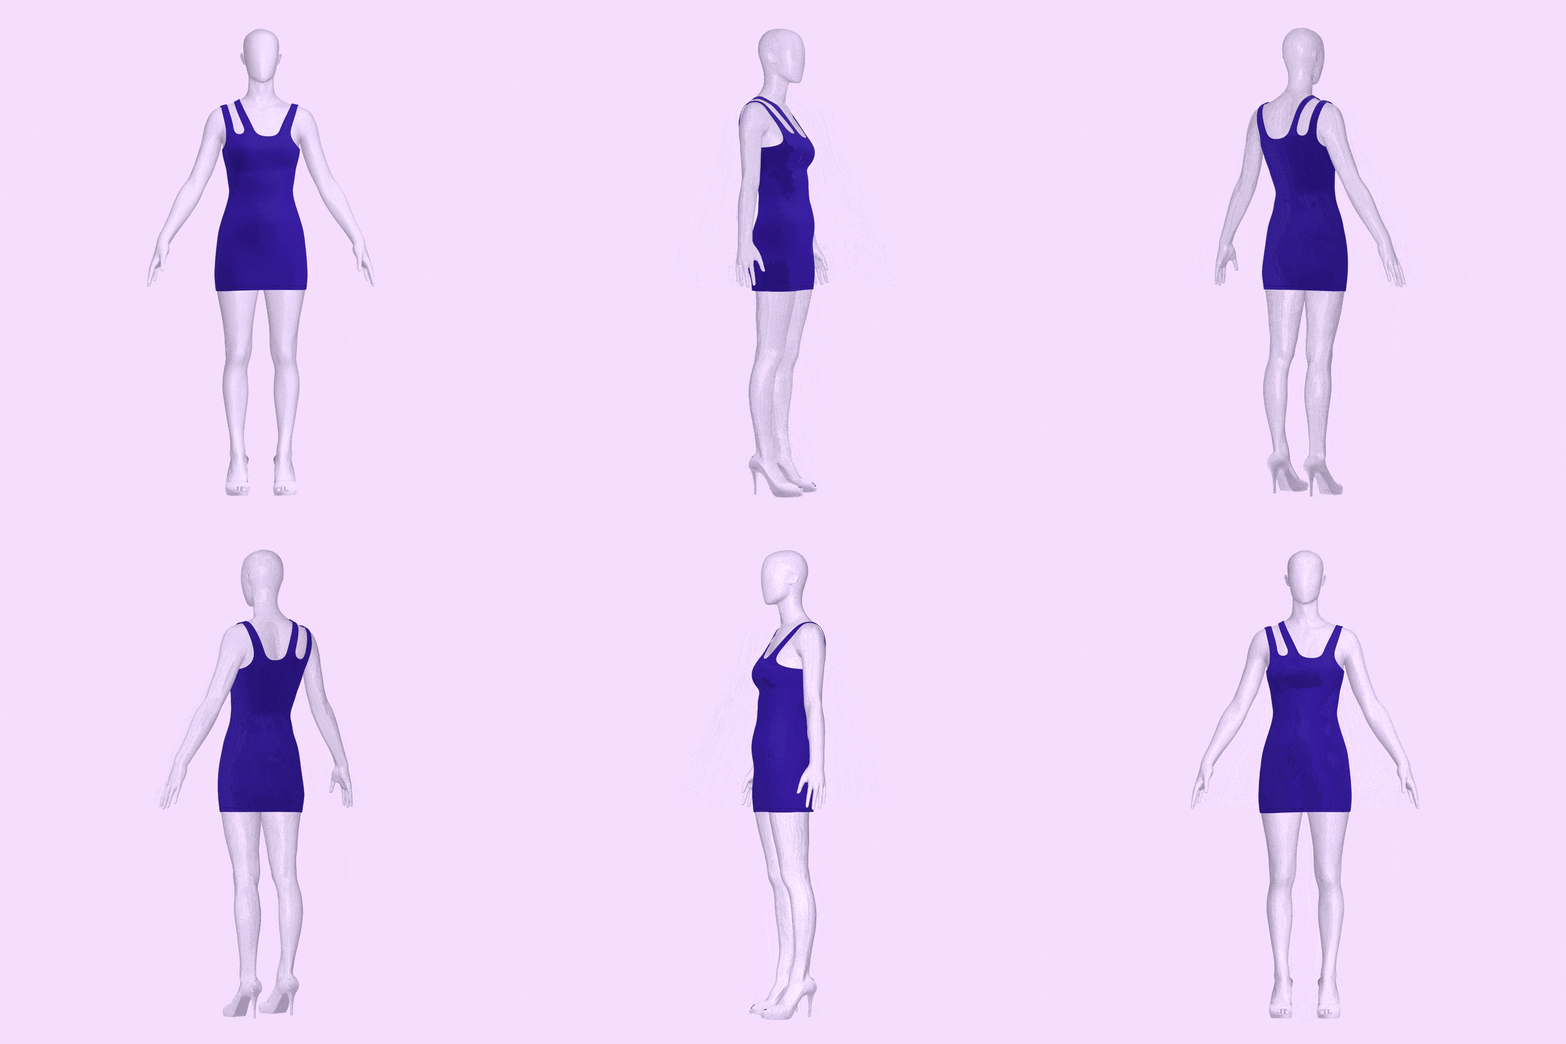
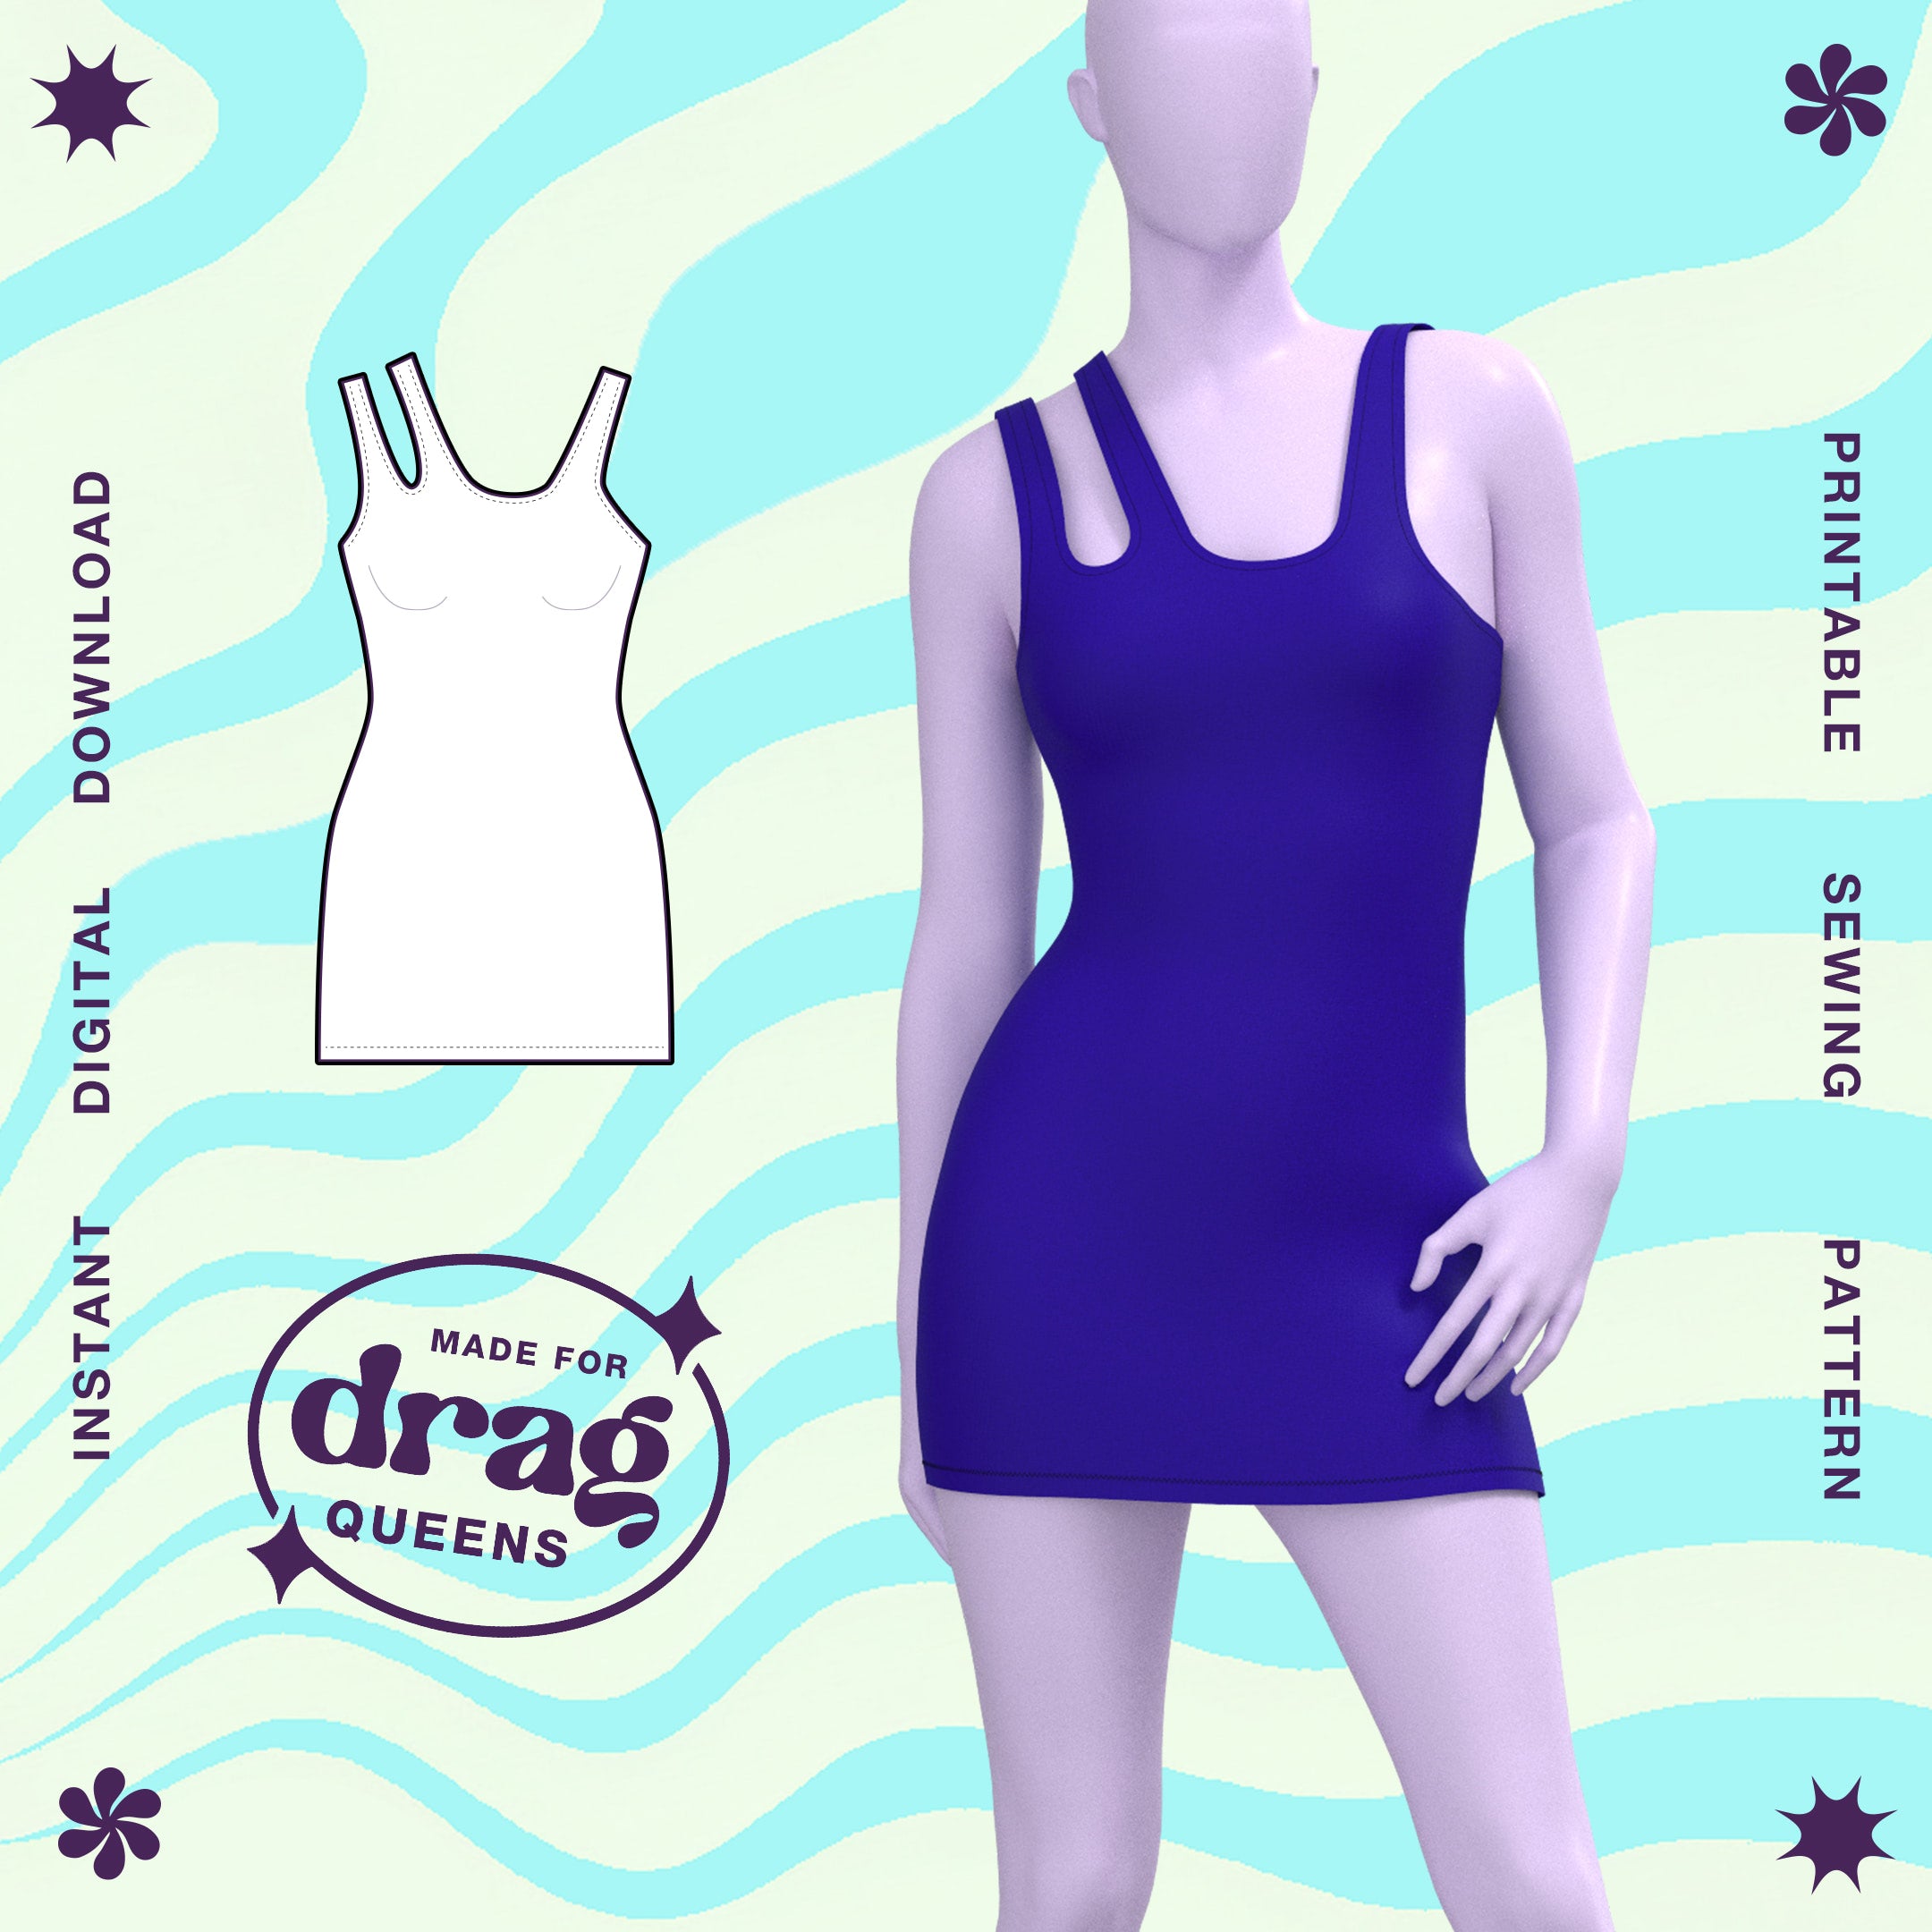
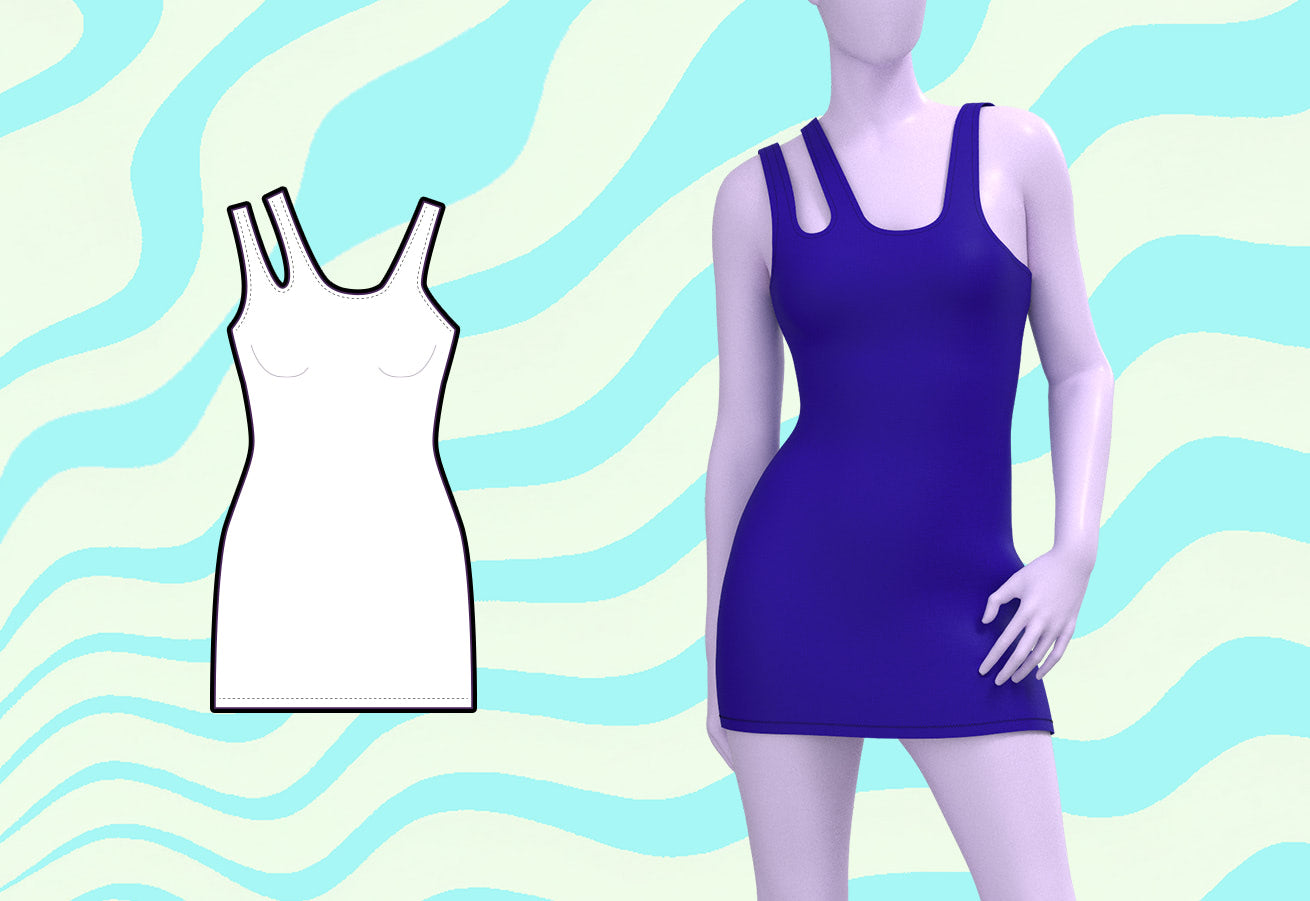
Introducing our Mini Stretch Dress sewing pattern, specially designed for drag queens looking to stun on stage or at any event. This sleek garment features shoulder straps, with two on the right and one on the left, adding an asymmetrical flair to your look.
A great first time sewing project for drag queens. Perfect for both seasoned performers and first-time sewers, this pattern is one of the easiest to sew, making it ideal for those new to sewing. Whether you're embracing a modern drag aesthetic, captivating audiences at performances, exploring fantasy realms, or bringing characters to life at cosplay events, this versatile dress is your go-to choice.
Pattern Difficulty: For Beginners
Sizing Details
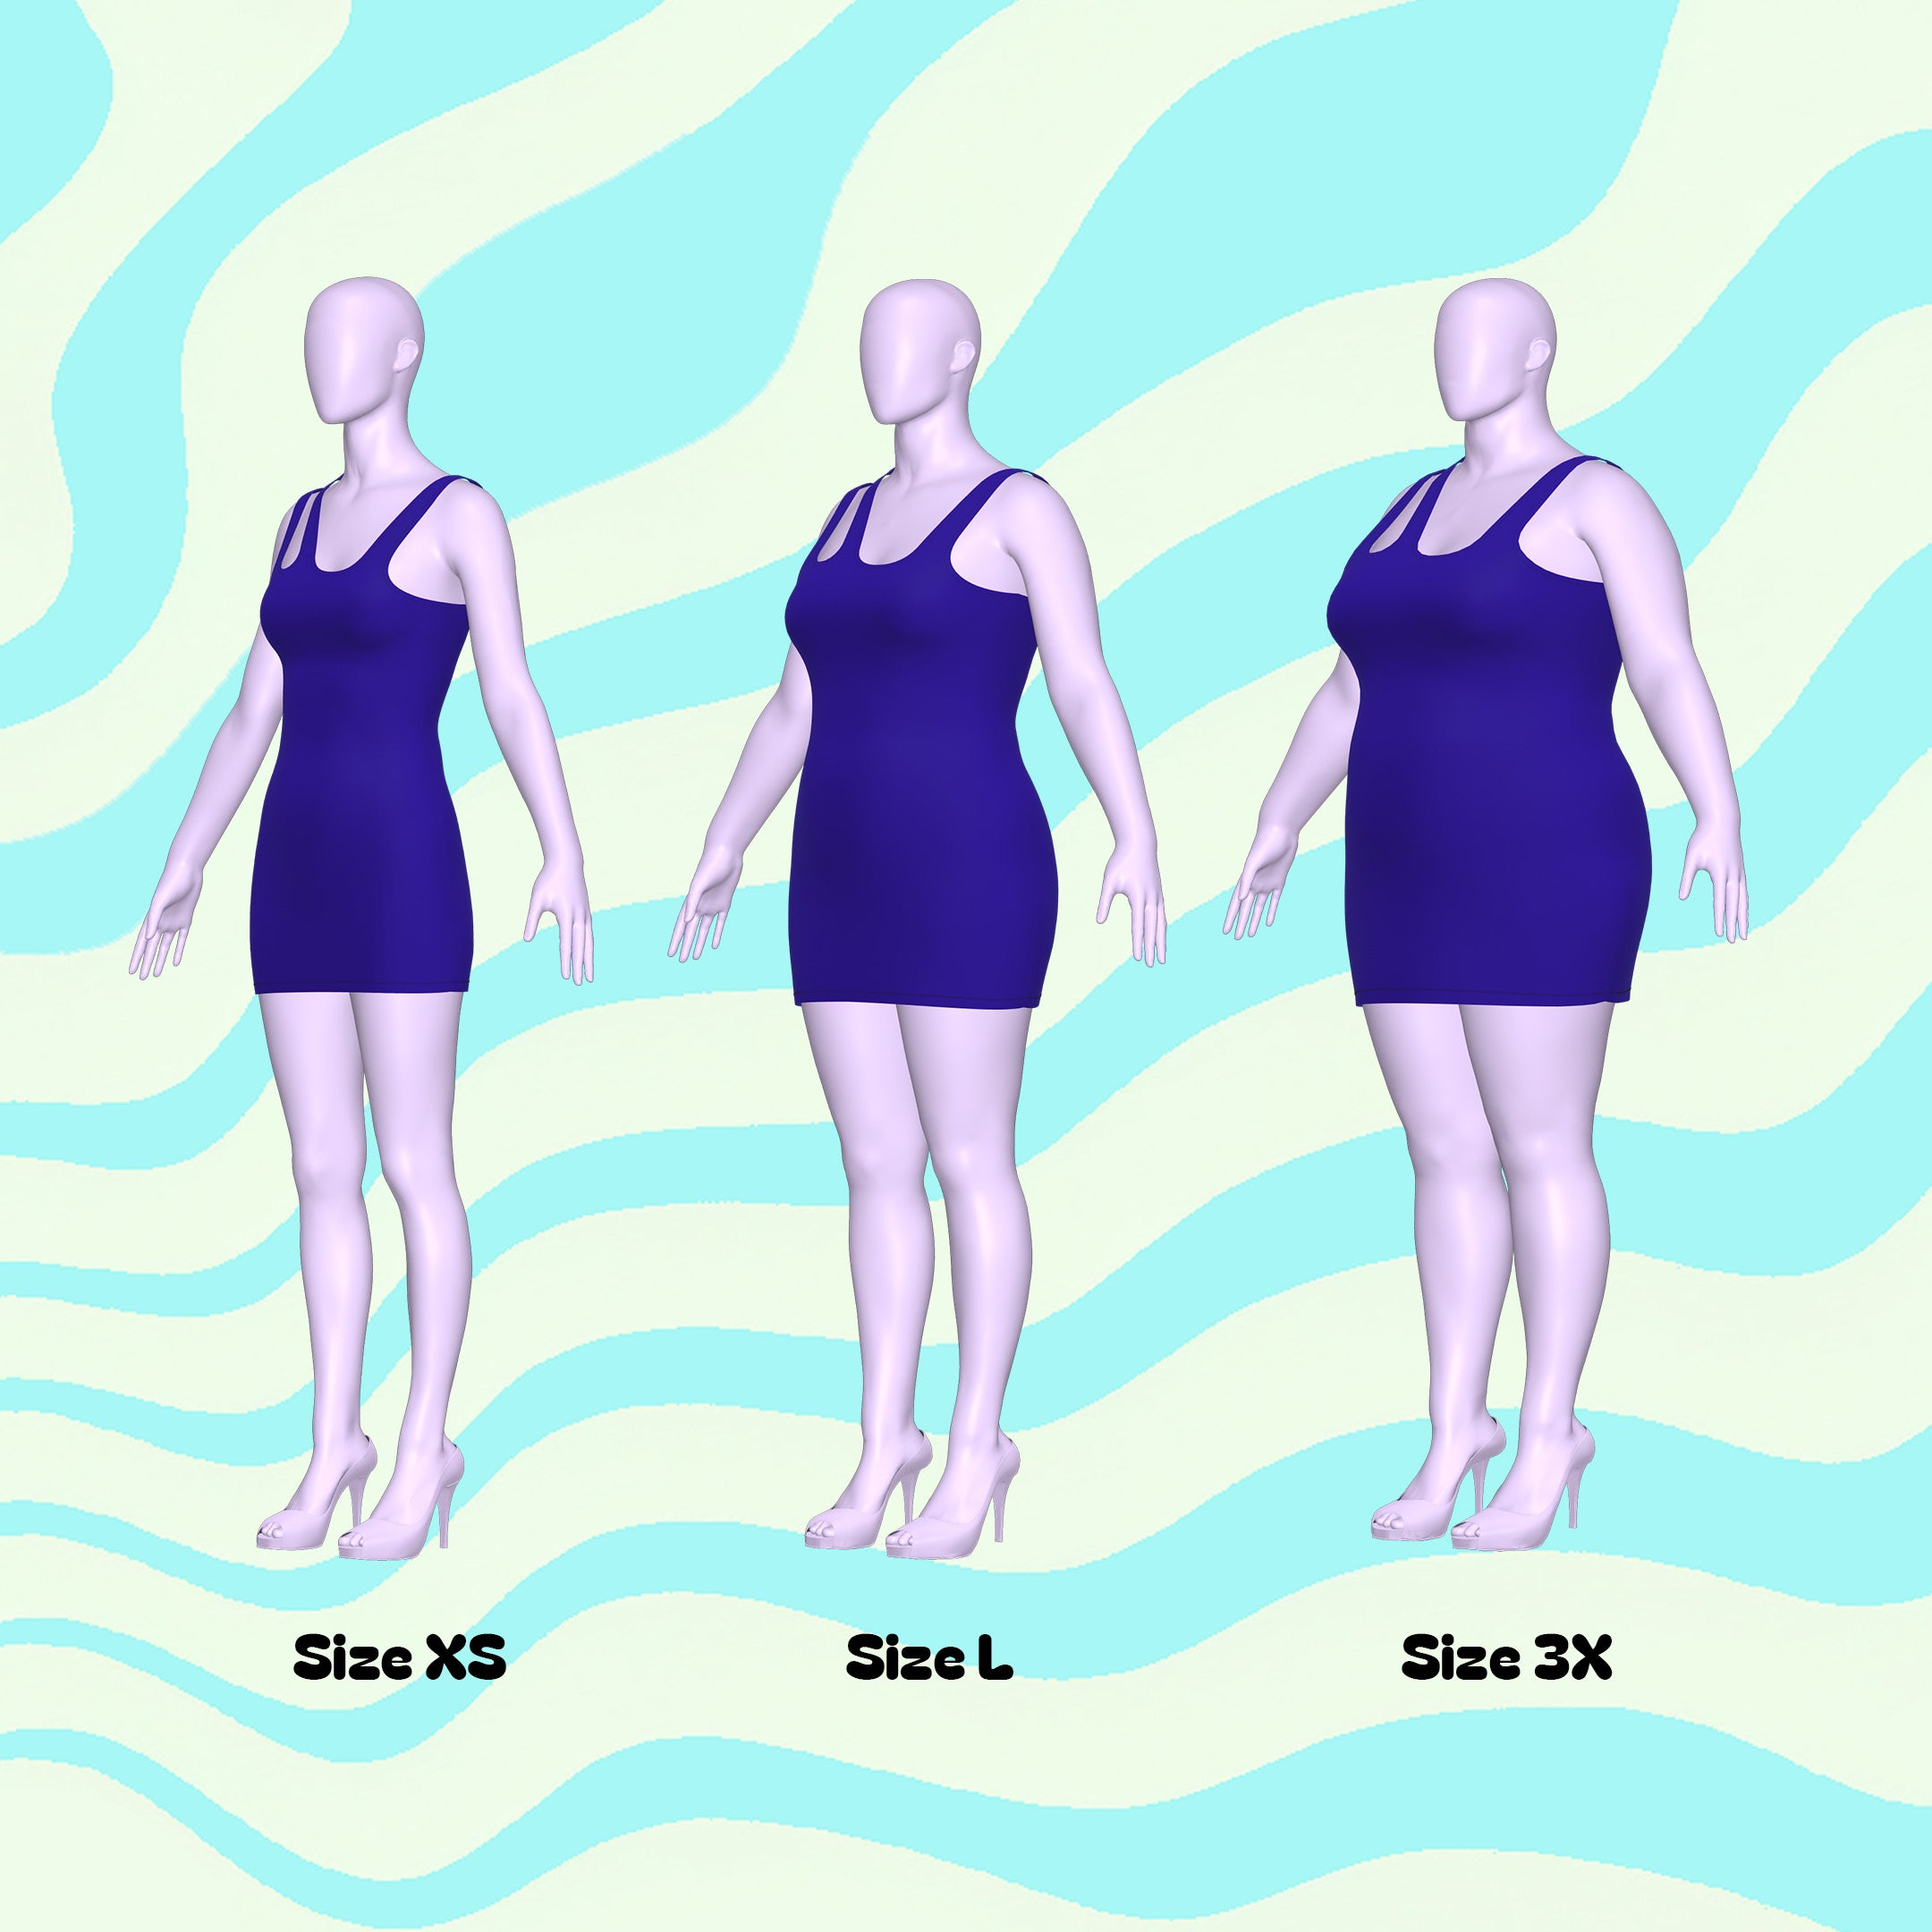
This pattern is available in our unqiue drag queen sizes (XS-4X). Please review our sizing guide for more information on our size measurements.
Fabric & Notions
Suitable for 4-way stretch fabrics only:
- Spandex
- Milliskin
- Lycra
- Stretch Vinyl
- Stretch Knits
- None
Fabric Yardage
This pattern requires the use of 4-way stretch fabric. Please find the yardage needed for each size below.
| Size | Yards (58” Width) |
|---|---|
| XS | 1 yard |
| S | 1 yard |
| M | 1 yard |
| L | 1 yard |
| XL | 1.25 yards |
| 2X | 1.5 yards |
| 3X | 1.5 yards |
| 4X | 1.5 yards |
For information on converting inches to meters, please check out our conversion guide.
Sewing Instructions

Fabric Pieces
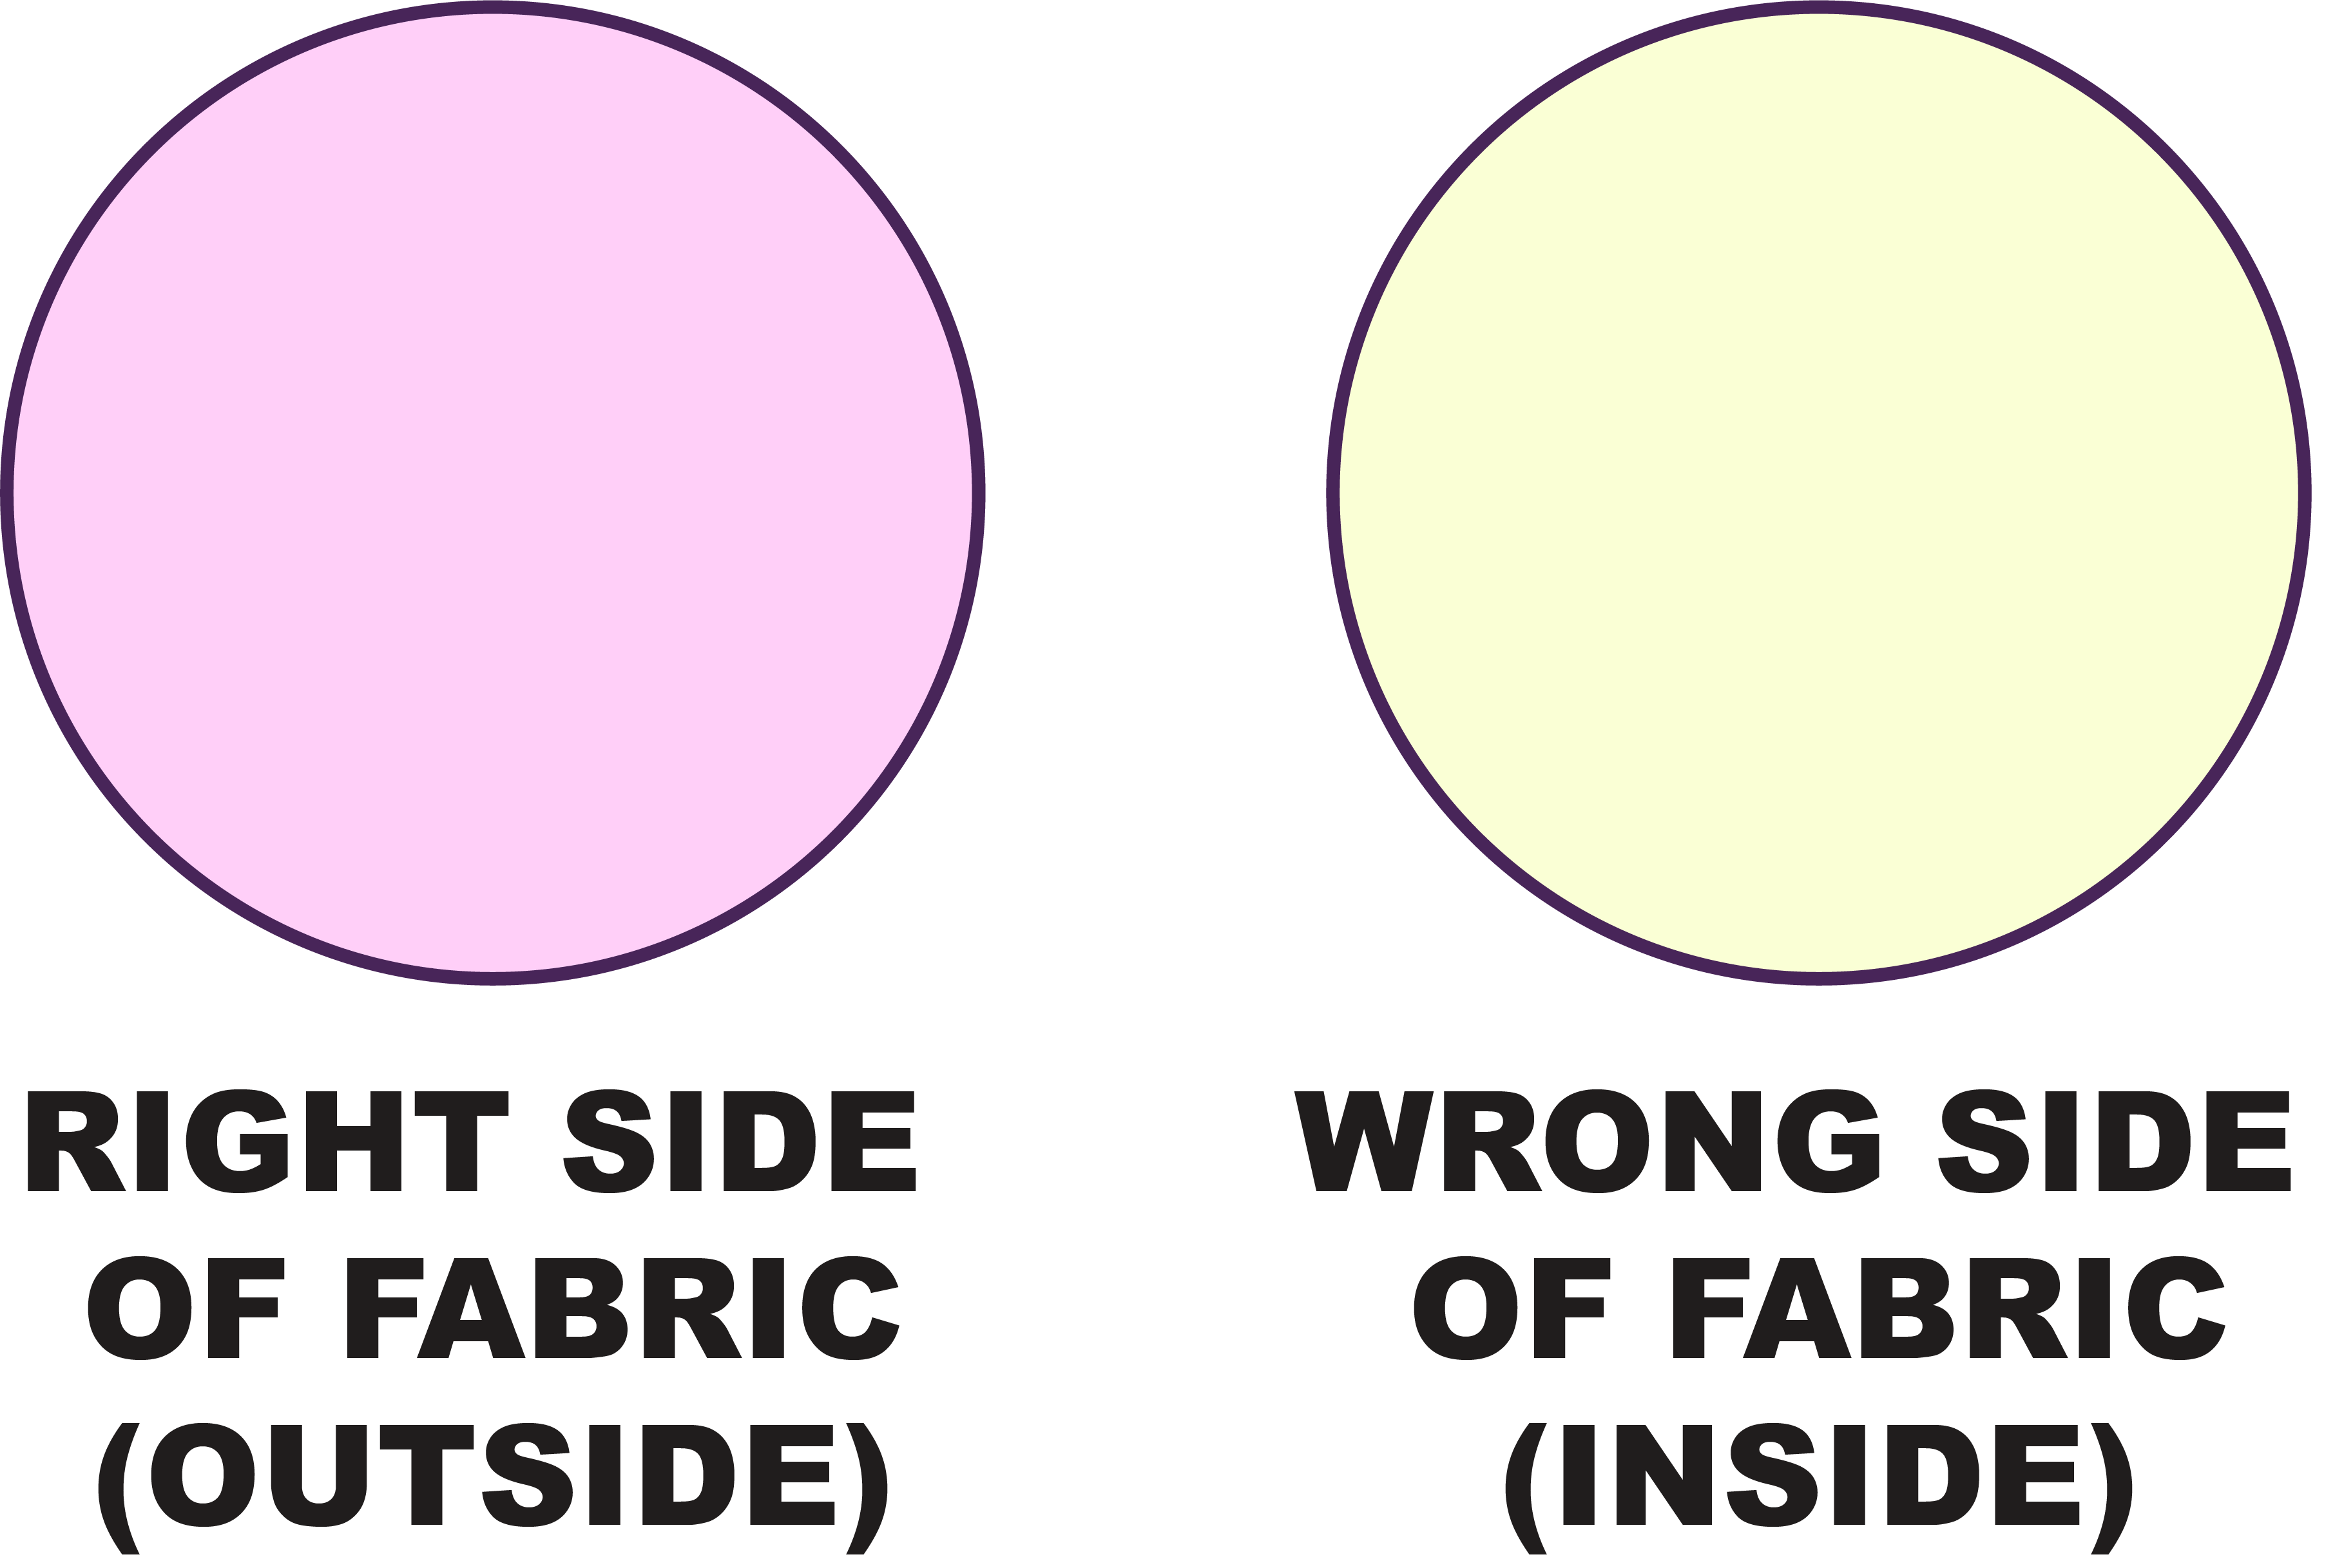
After cutting your fabric, you should have two symmetrical pieces. One front and one back.

Stitches
For this project, it's recommended to use a serger overlock stitch, a stretch stitch, or a zigzag stitch. Avoid using a straight stitch as it may cause the threads to snap.
STEP 1
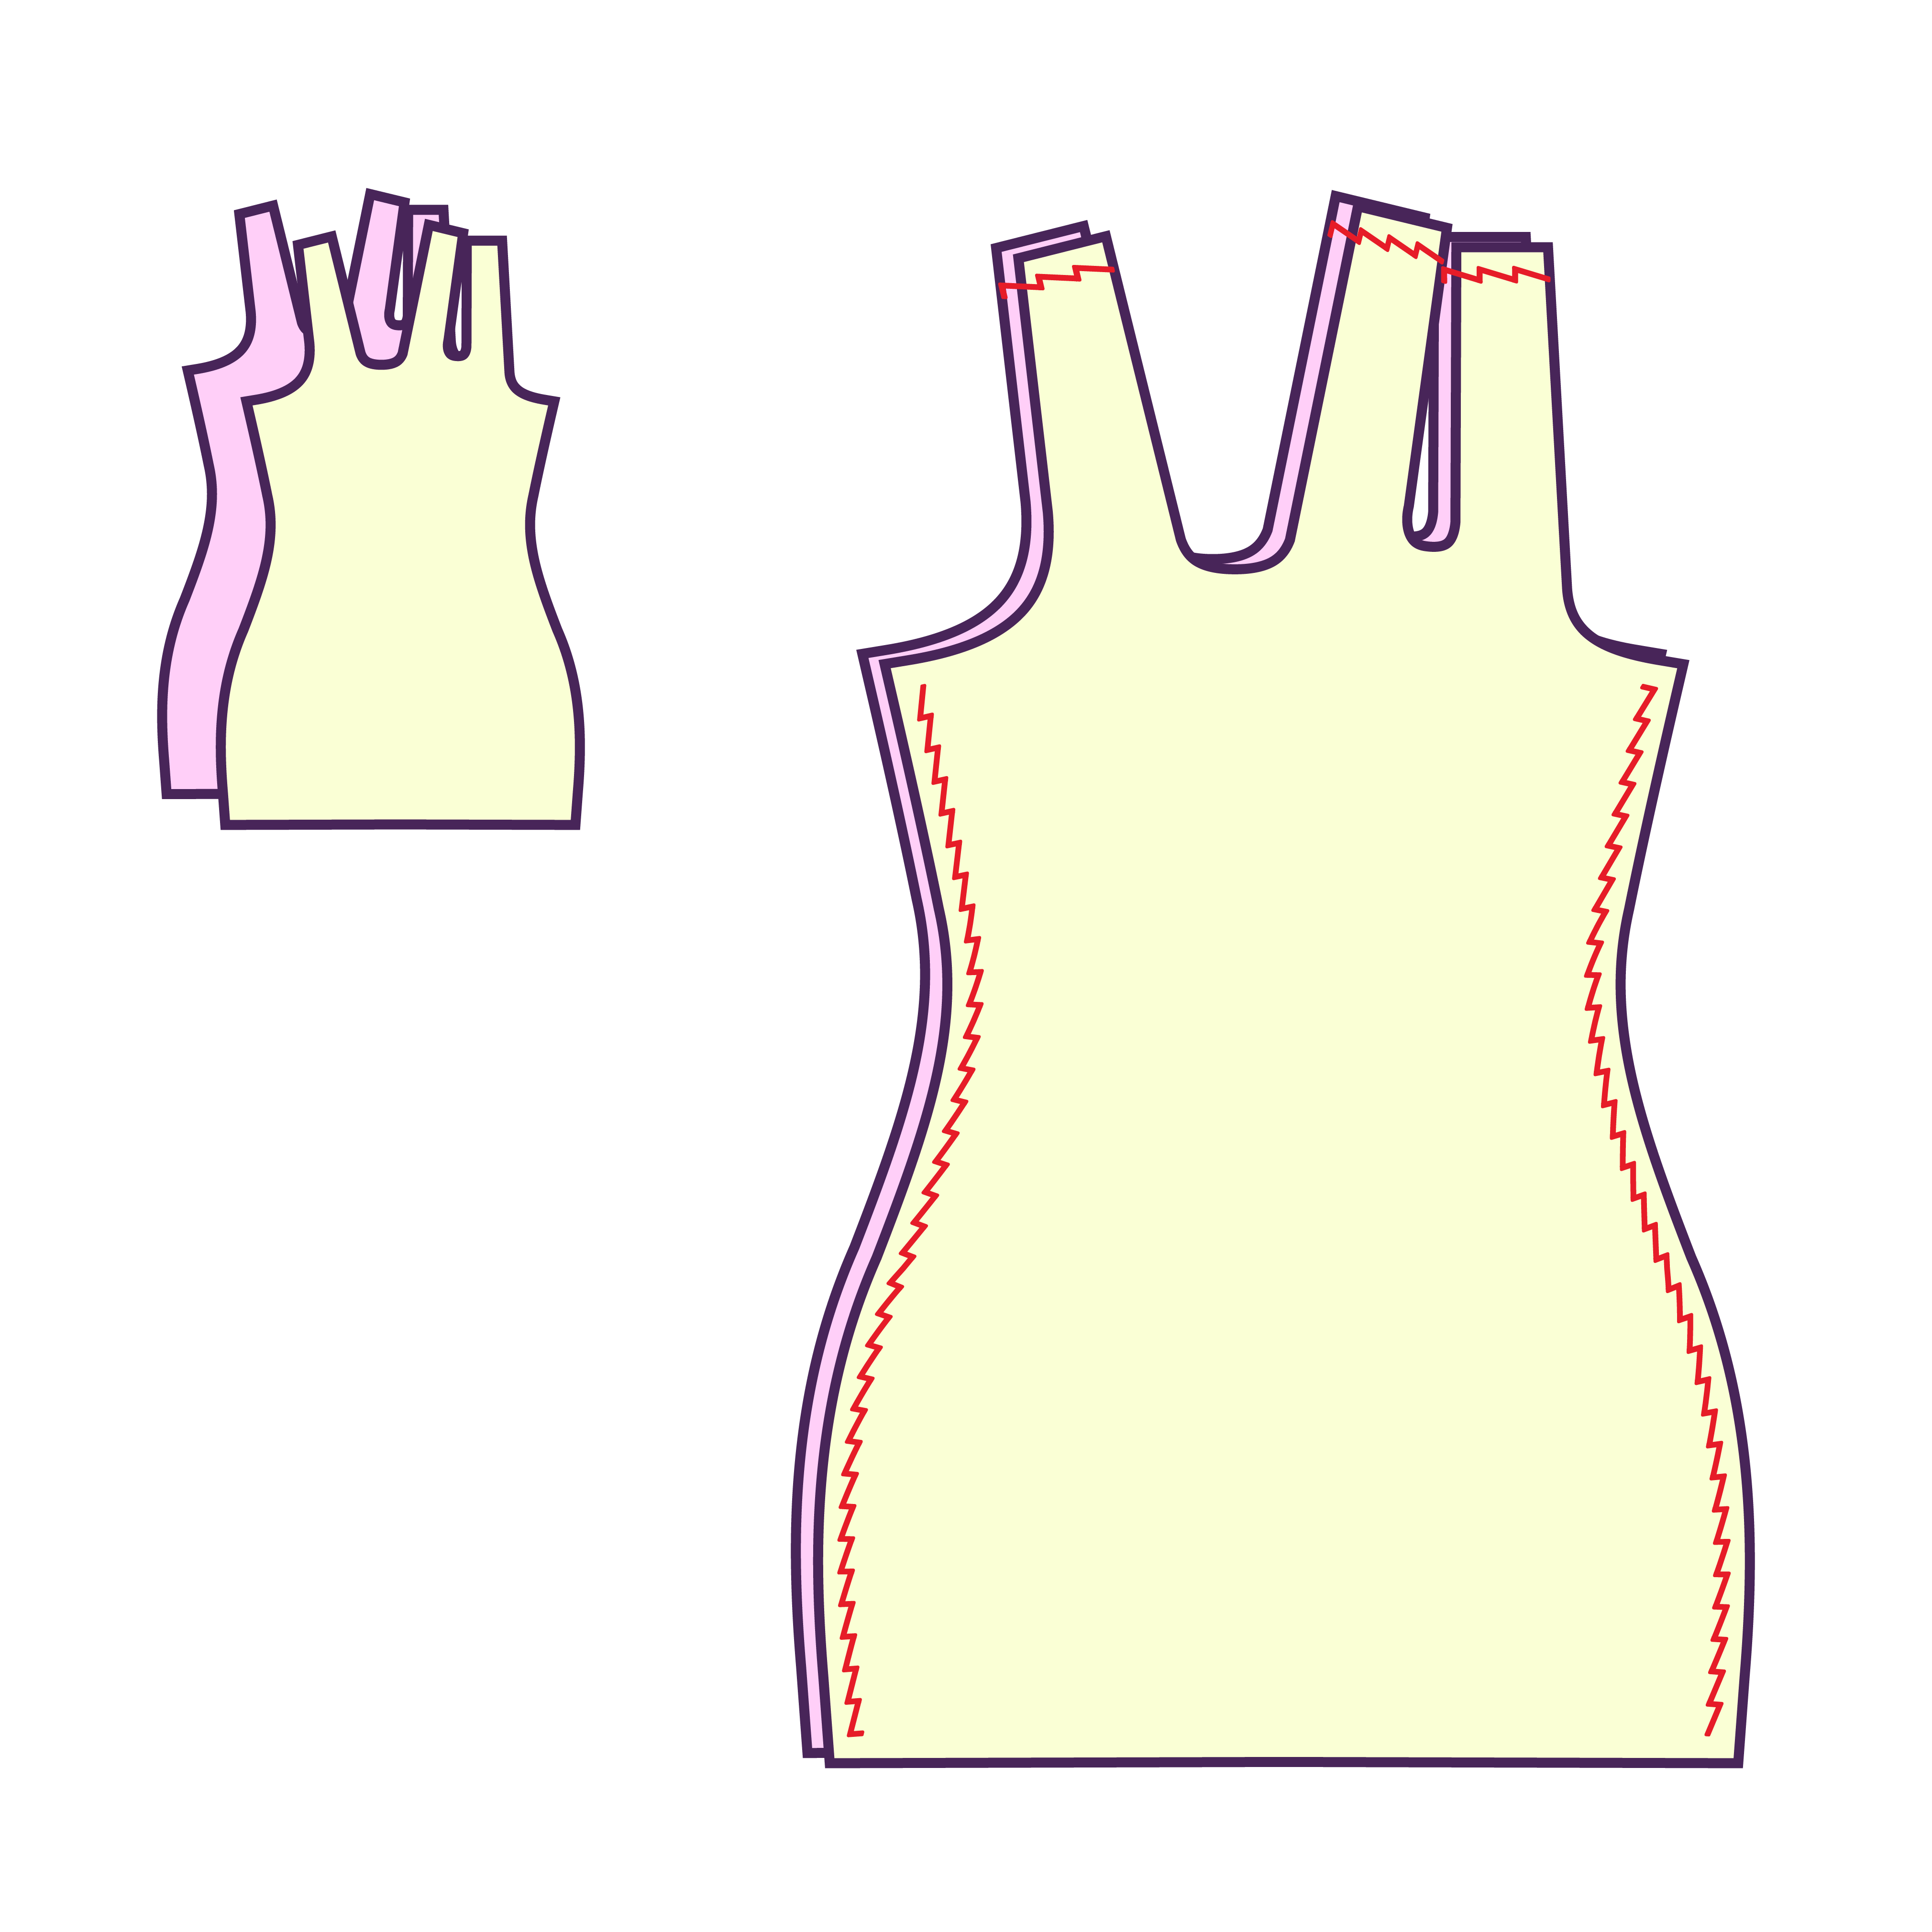
Stack your front and back pieces with their right sides together. Sew the side seams and match the shoulder seams using a stretch stitch, zigzag, or serger.
STEP 2
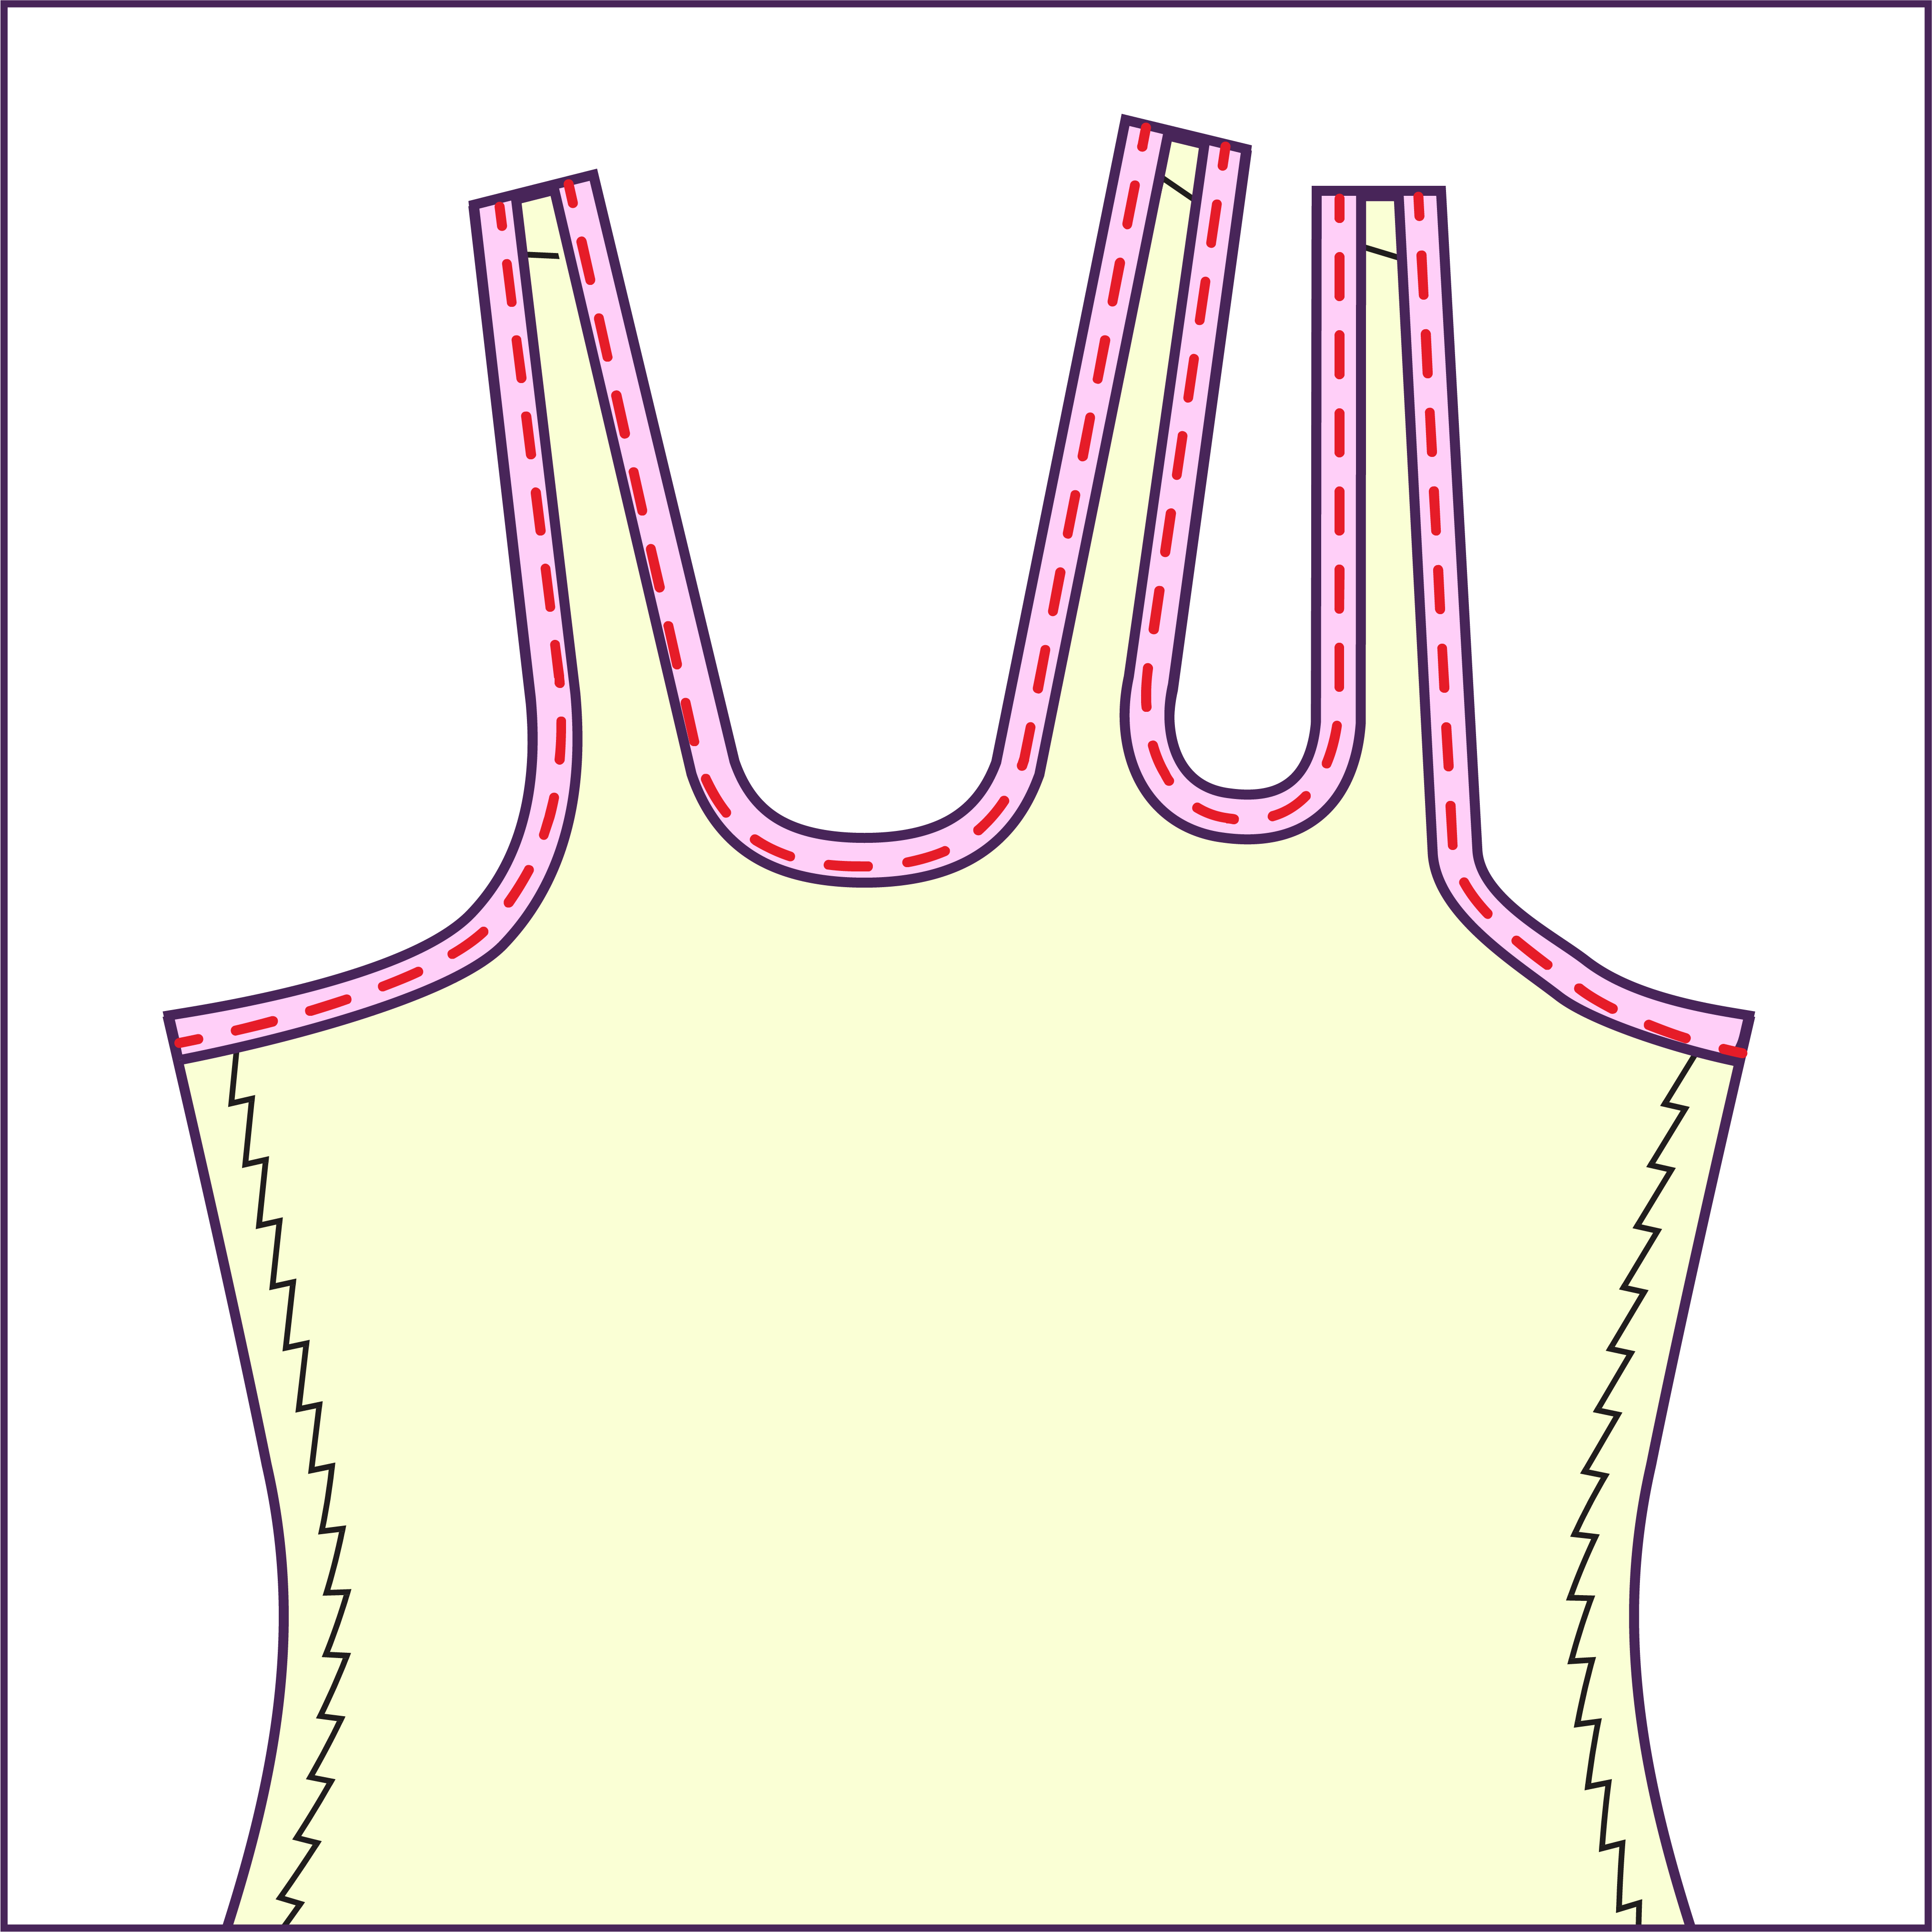
Hem the top straps and edges all around. For a polished finish, utilize a rolled hem foot, rolling 0.25” twice. Alternatively, fold the seam allowance once and secure with a zigzag stitch.
STEP 3
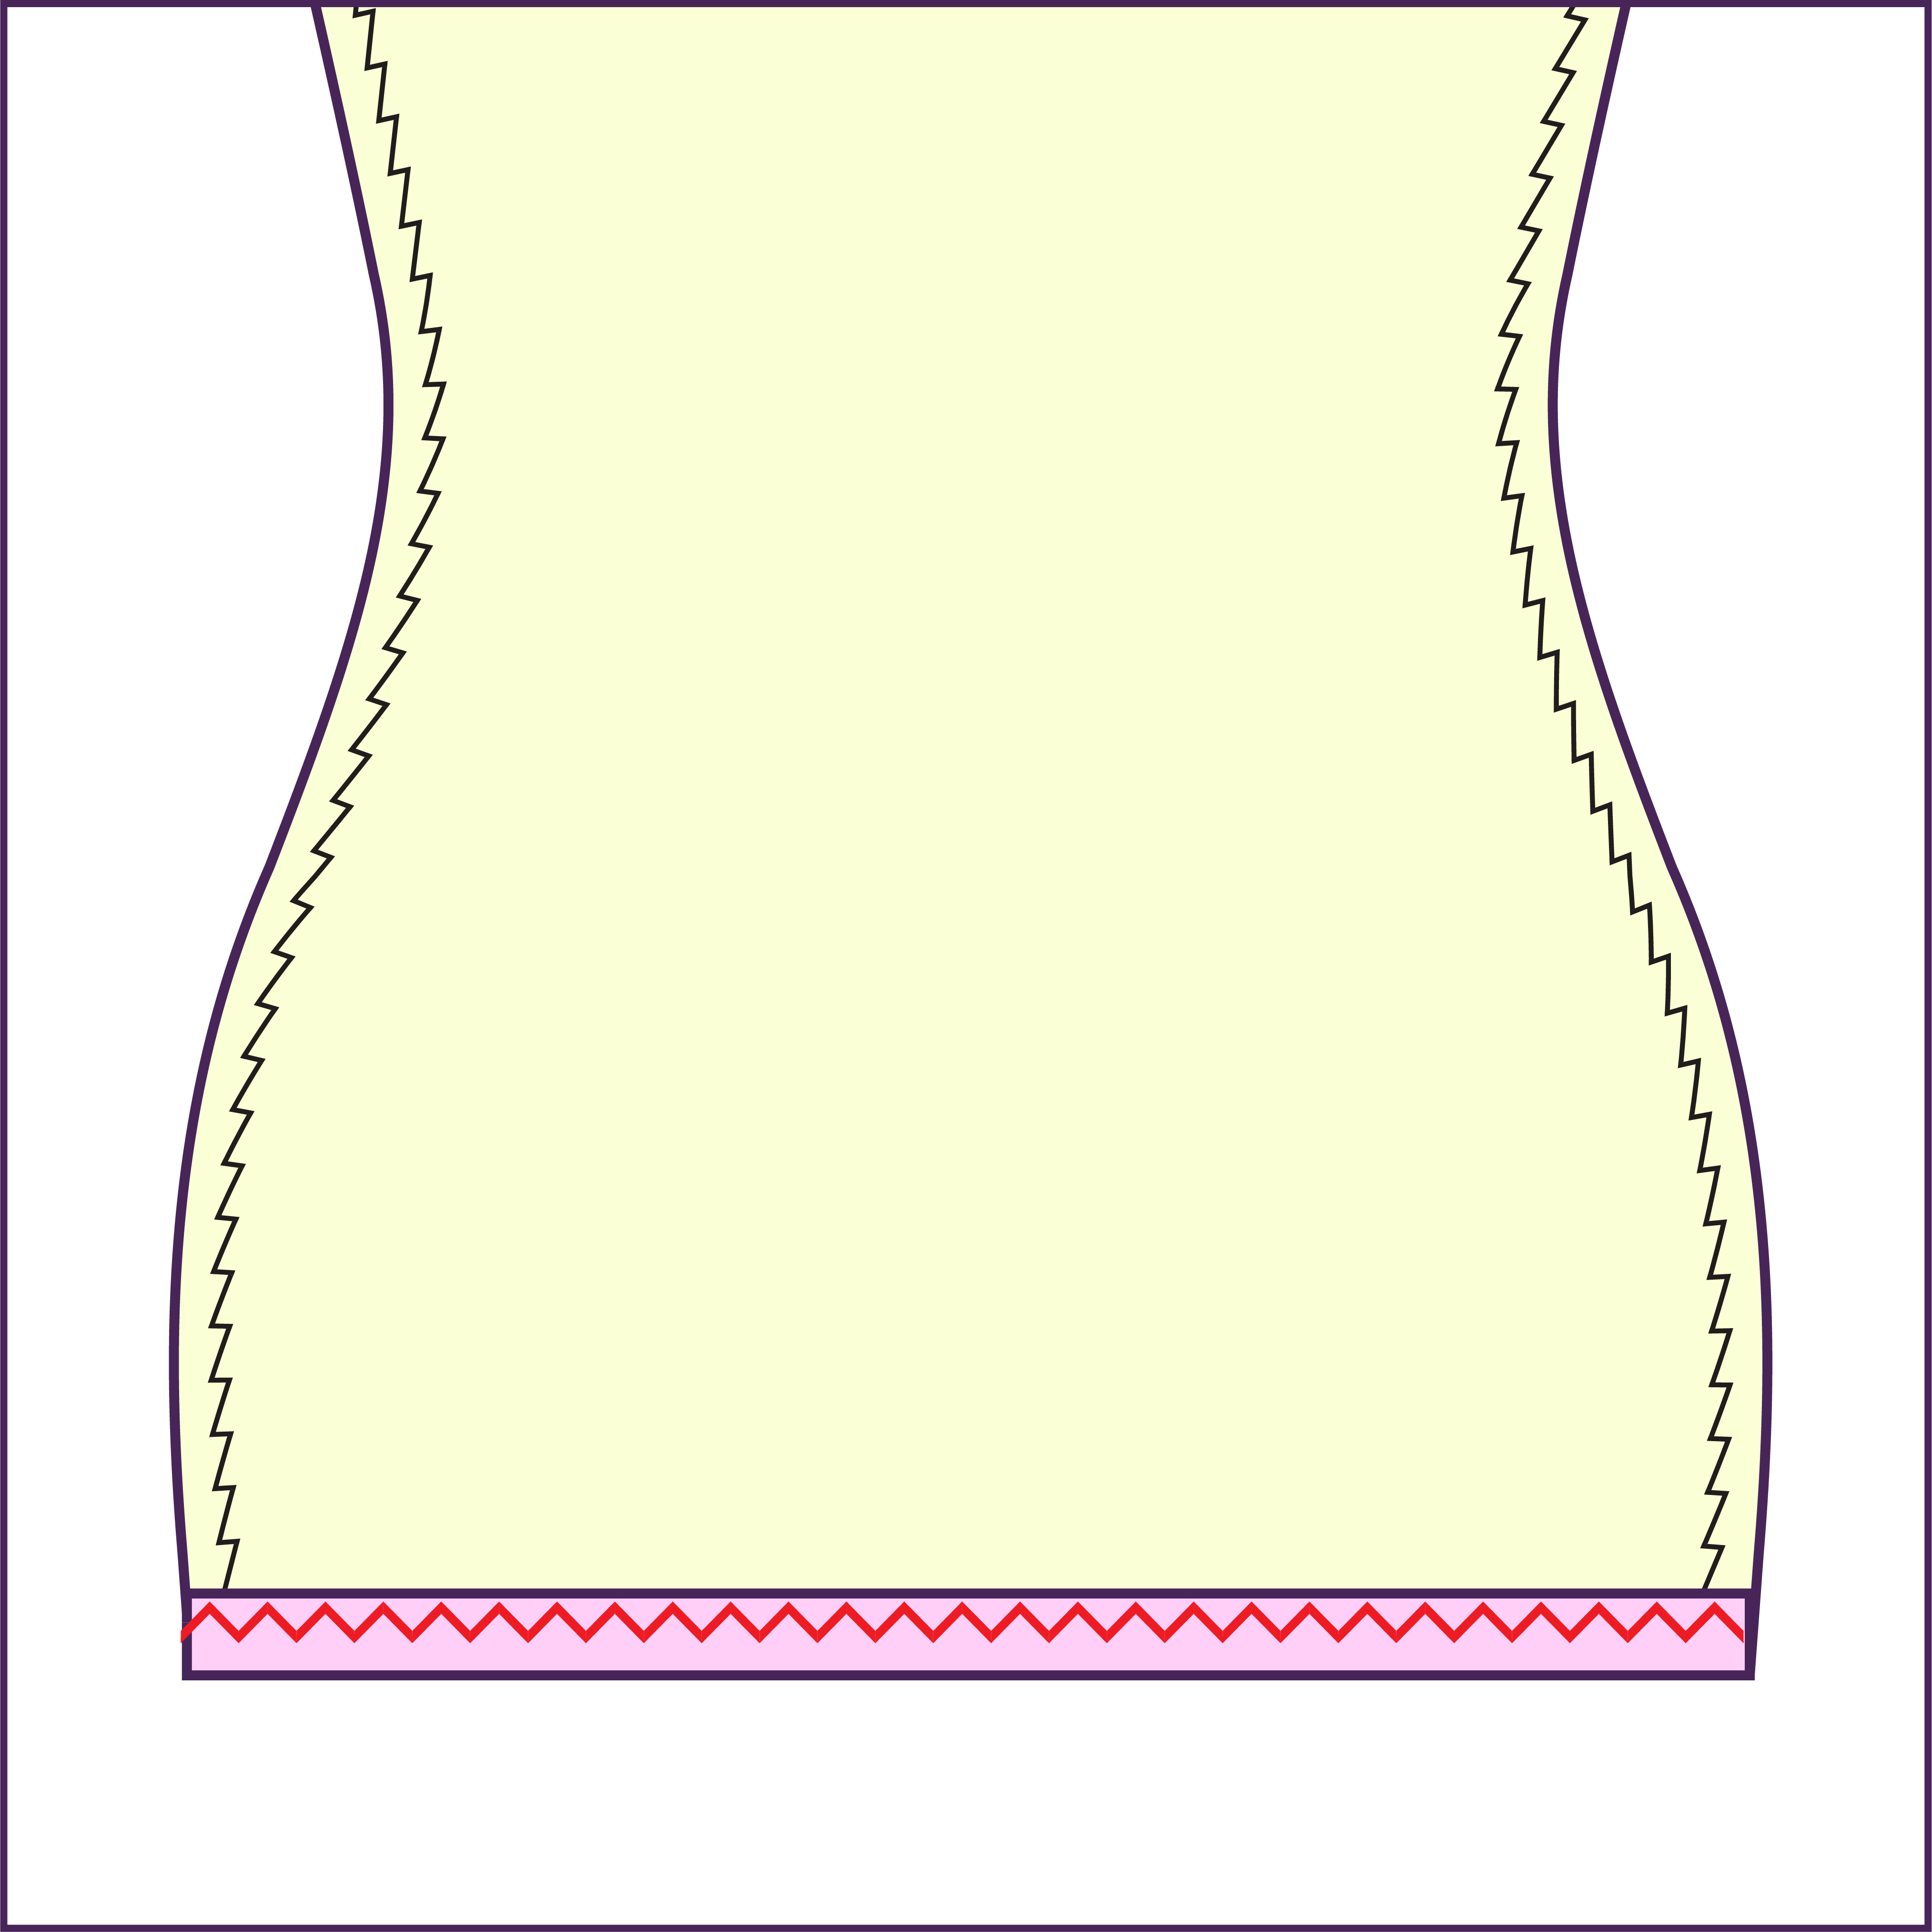
Complete the bottom of the skirt by hemming it with a zigzag stitch.
