How to Sew a Reveal Cape
Jump to Instructions
Overview
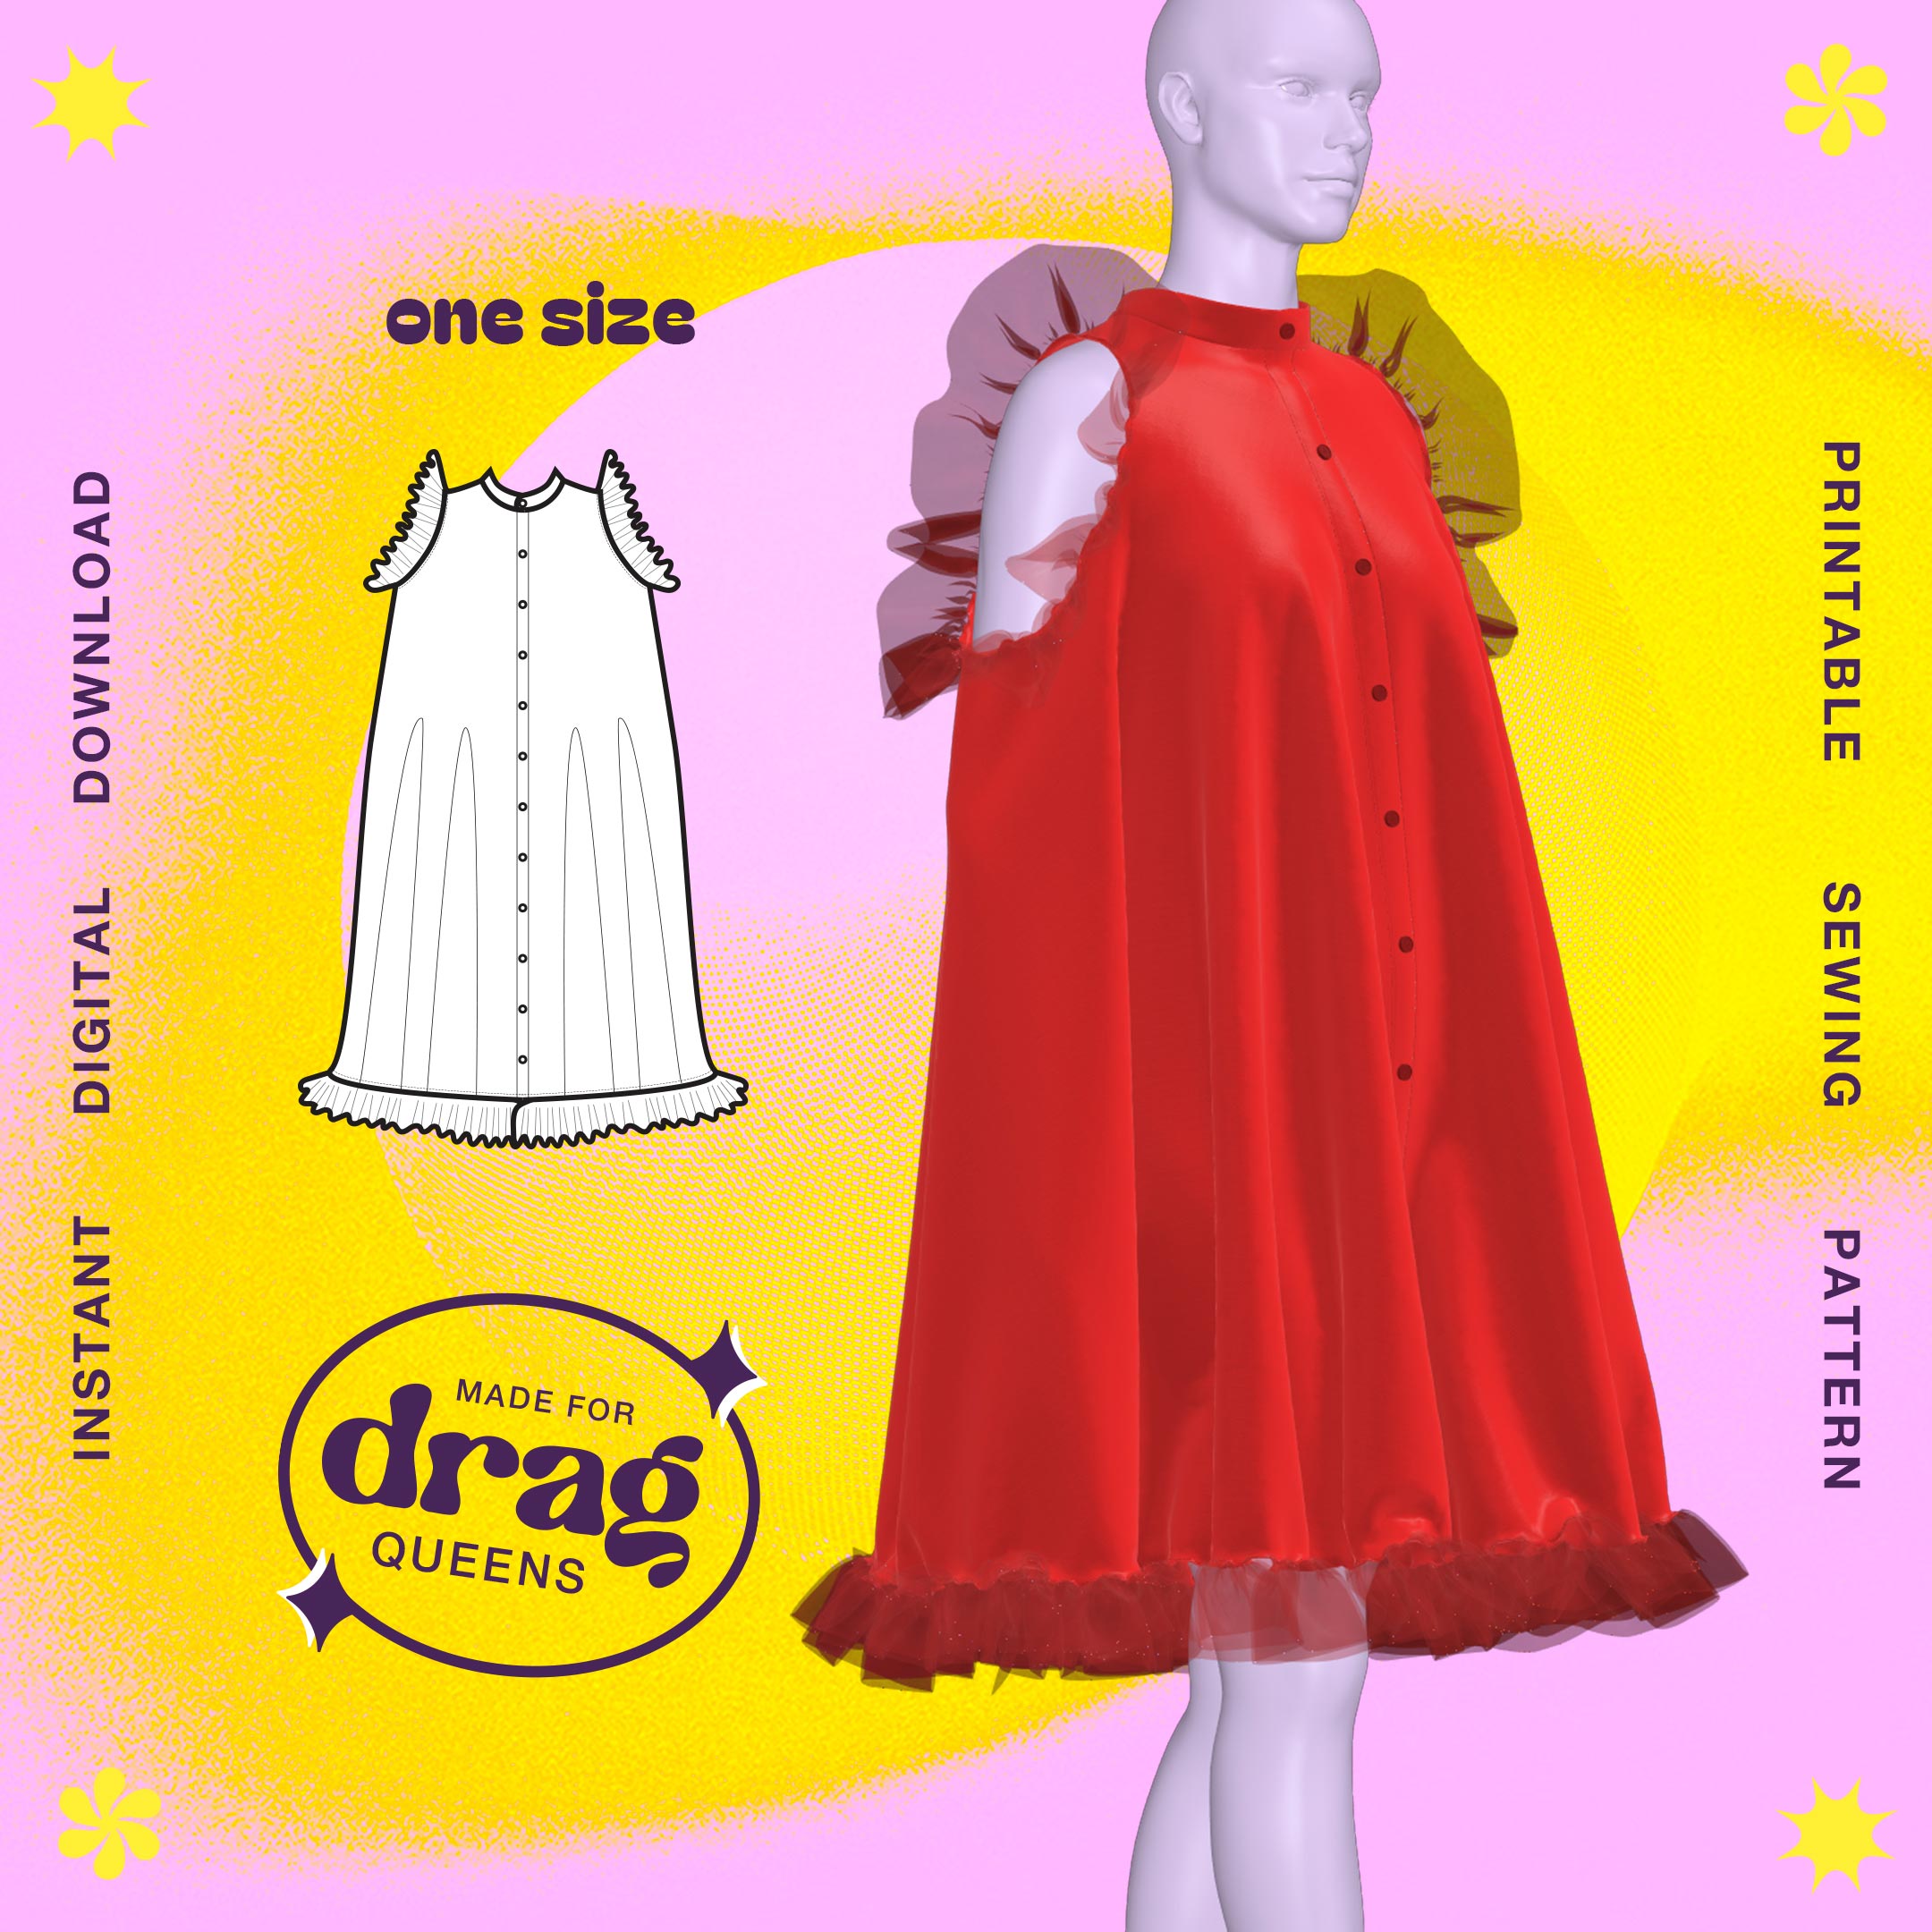
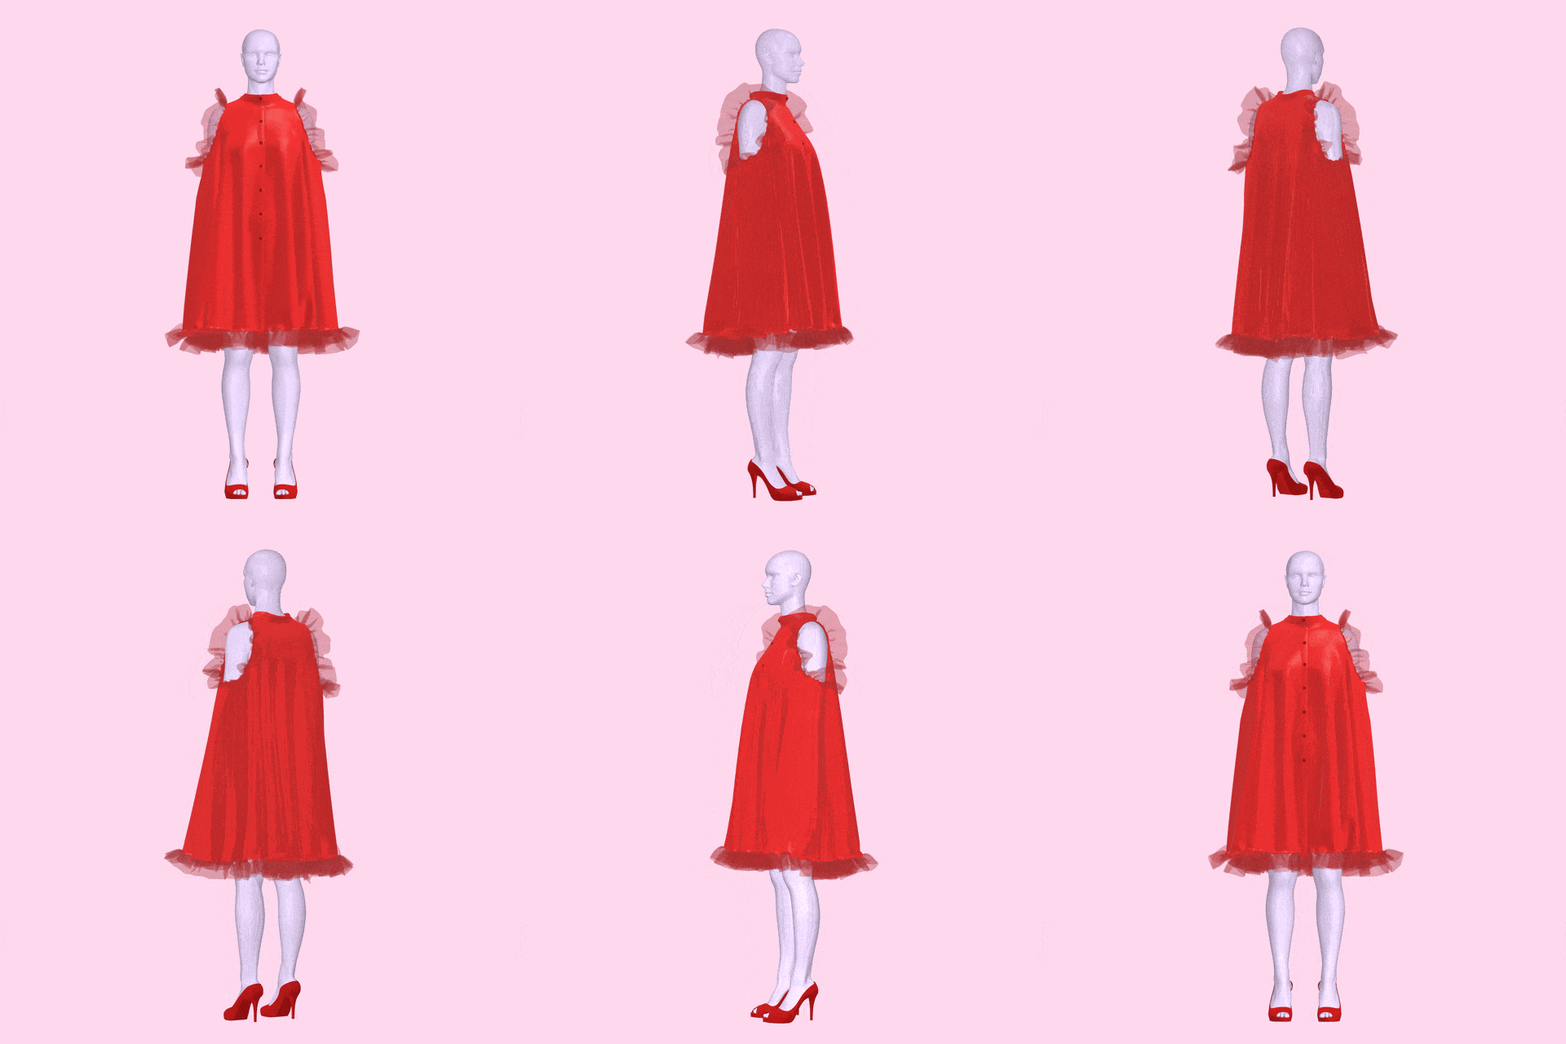
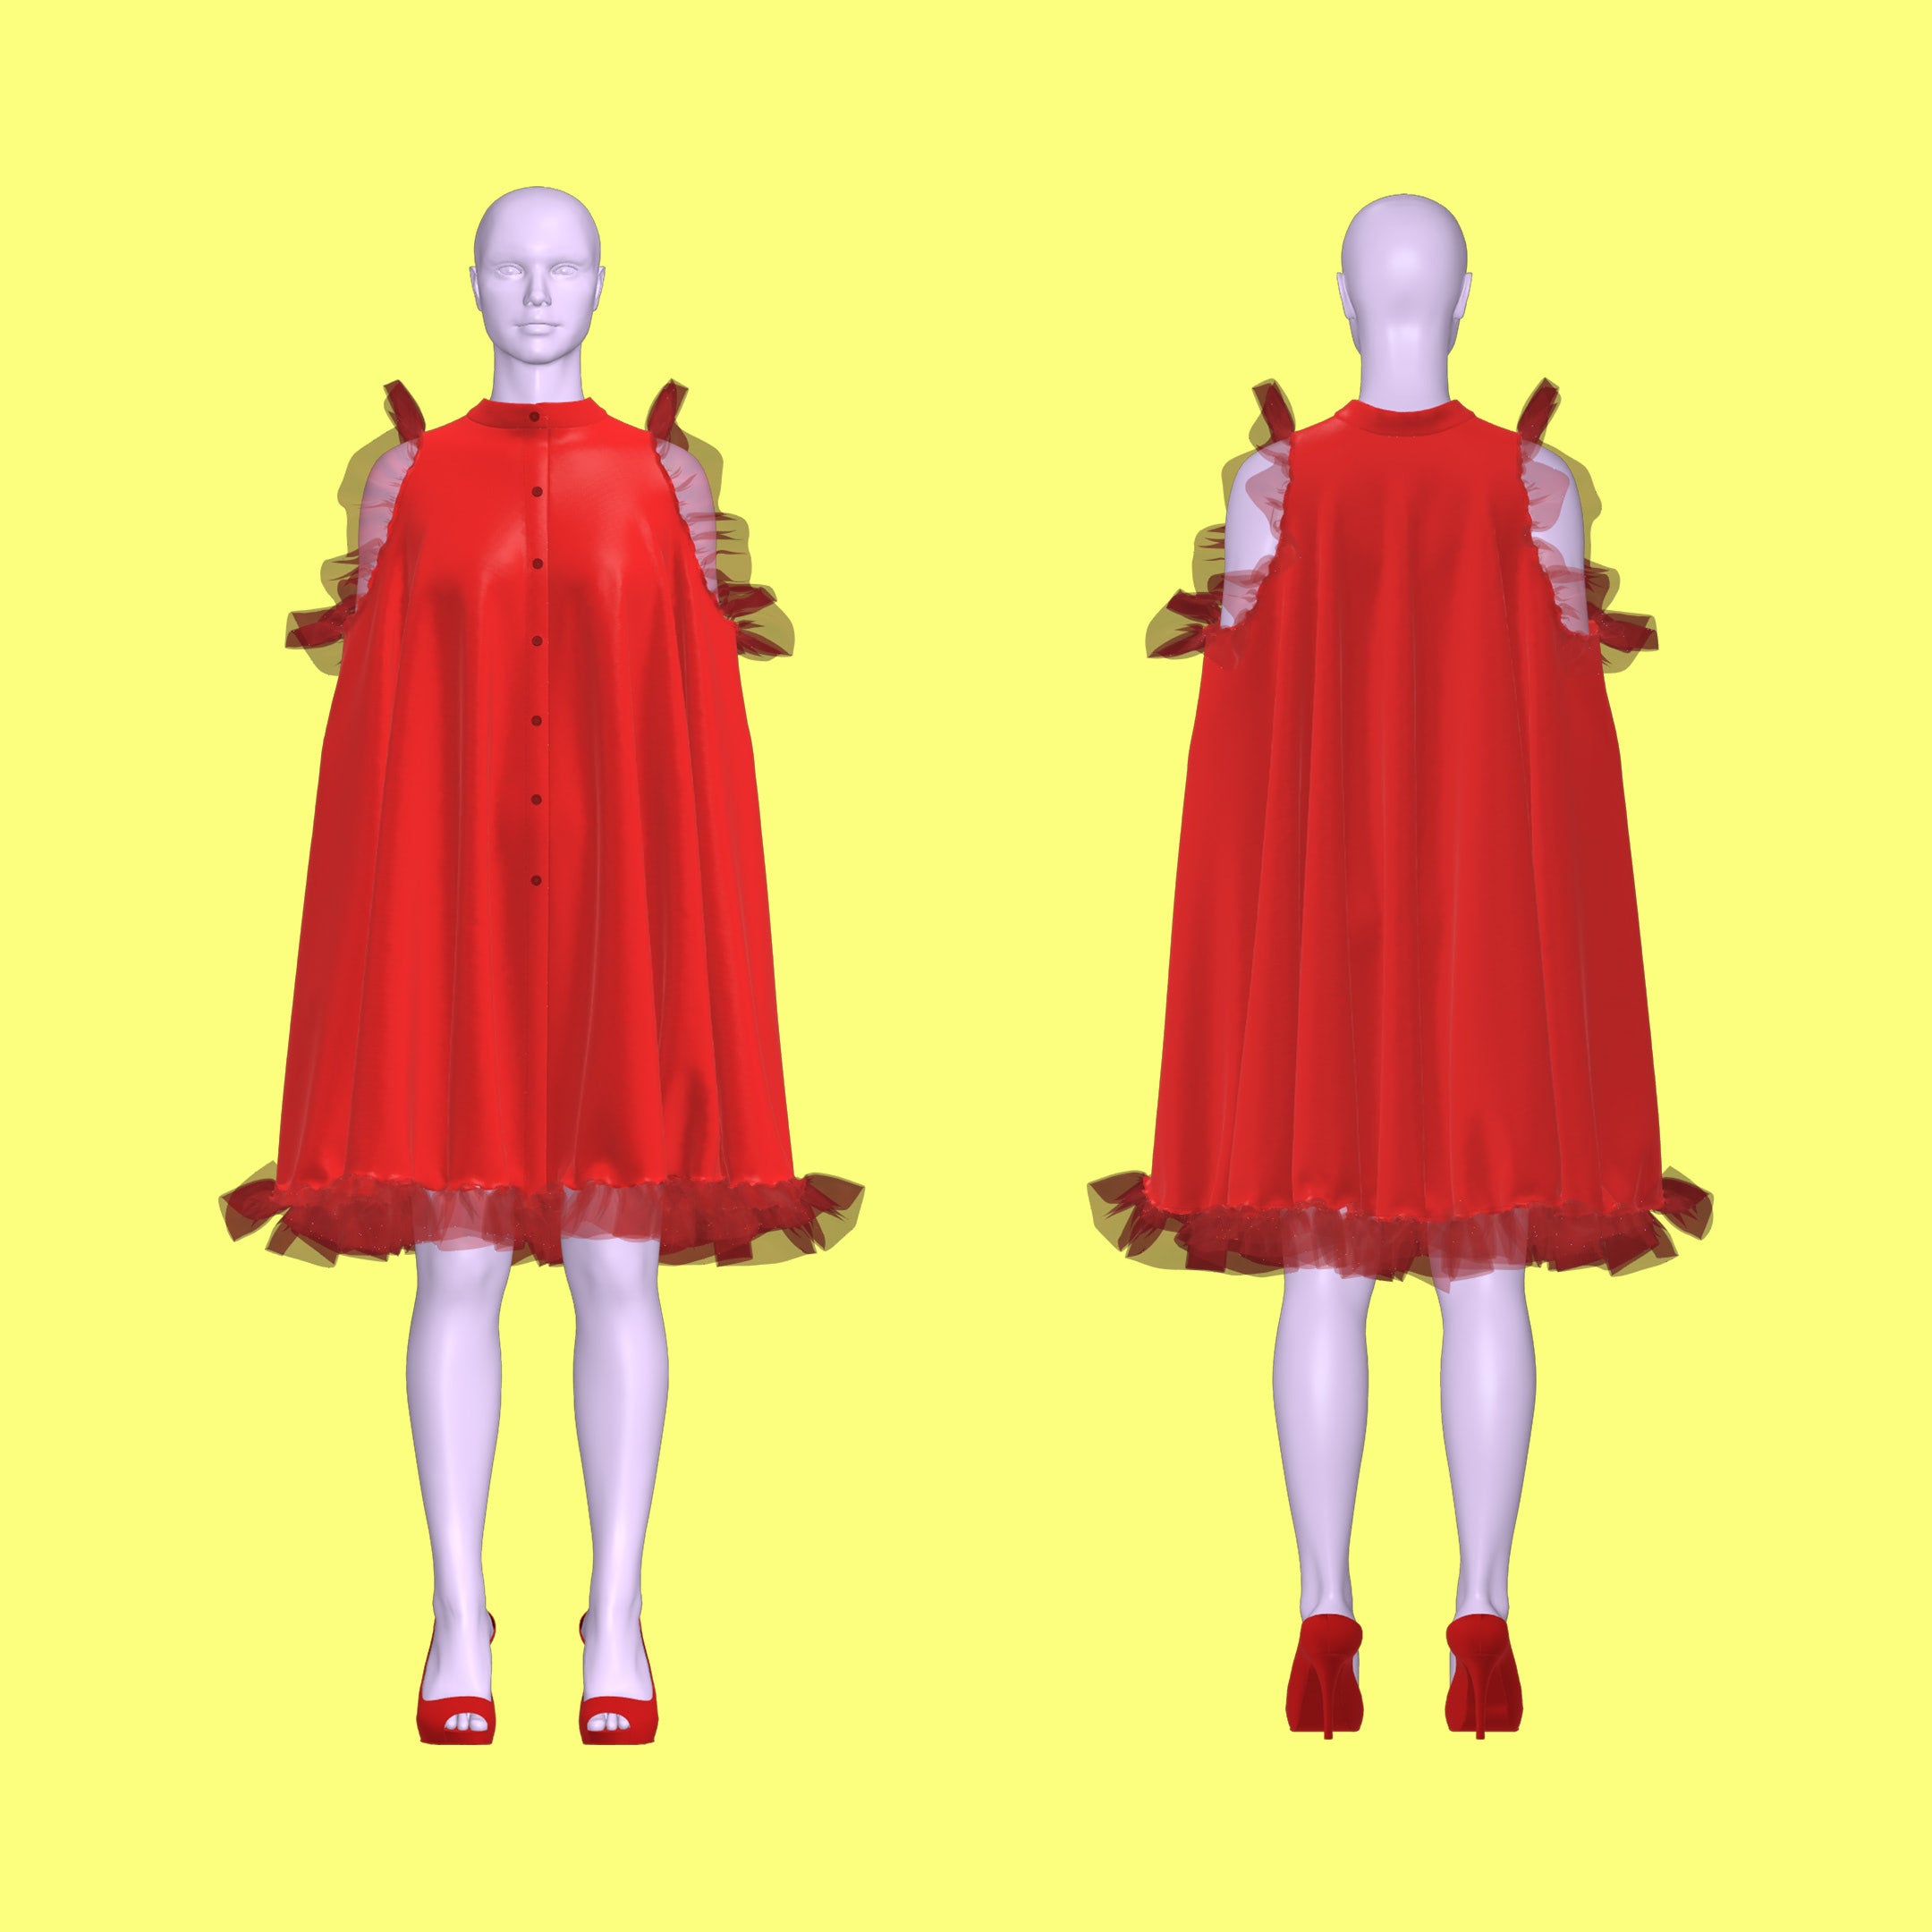
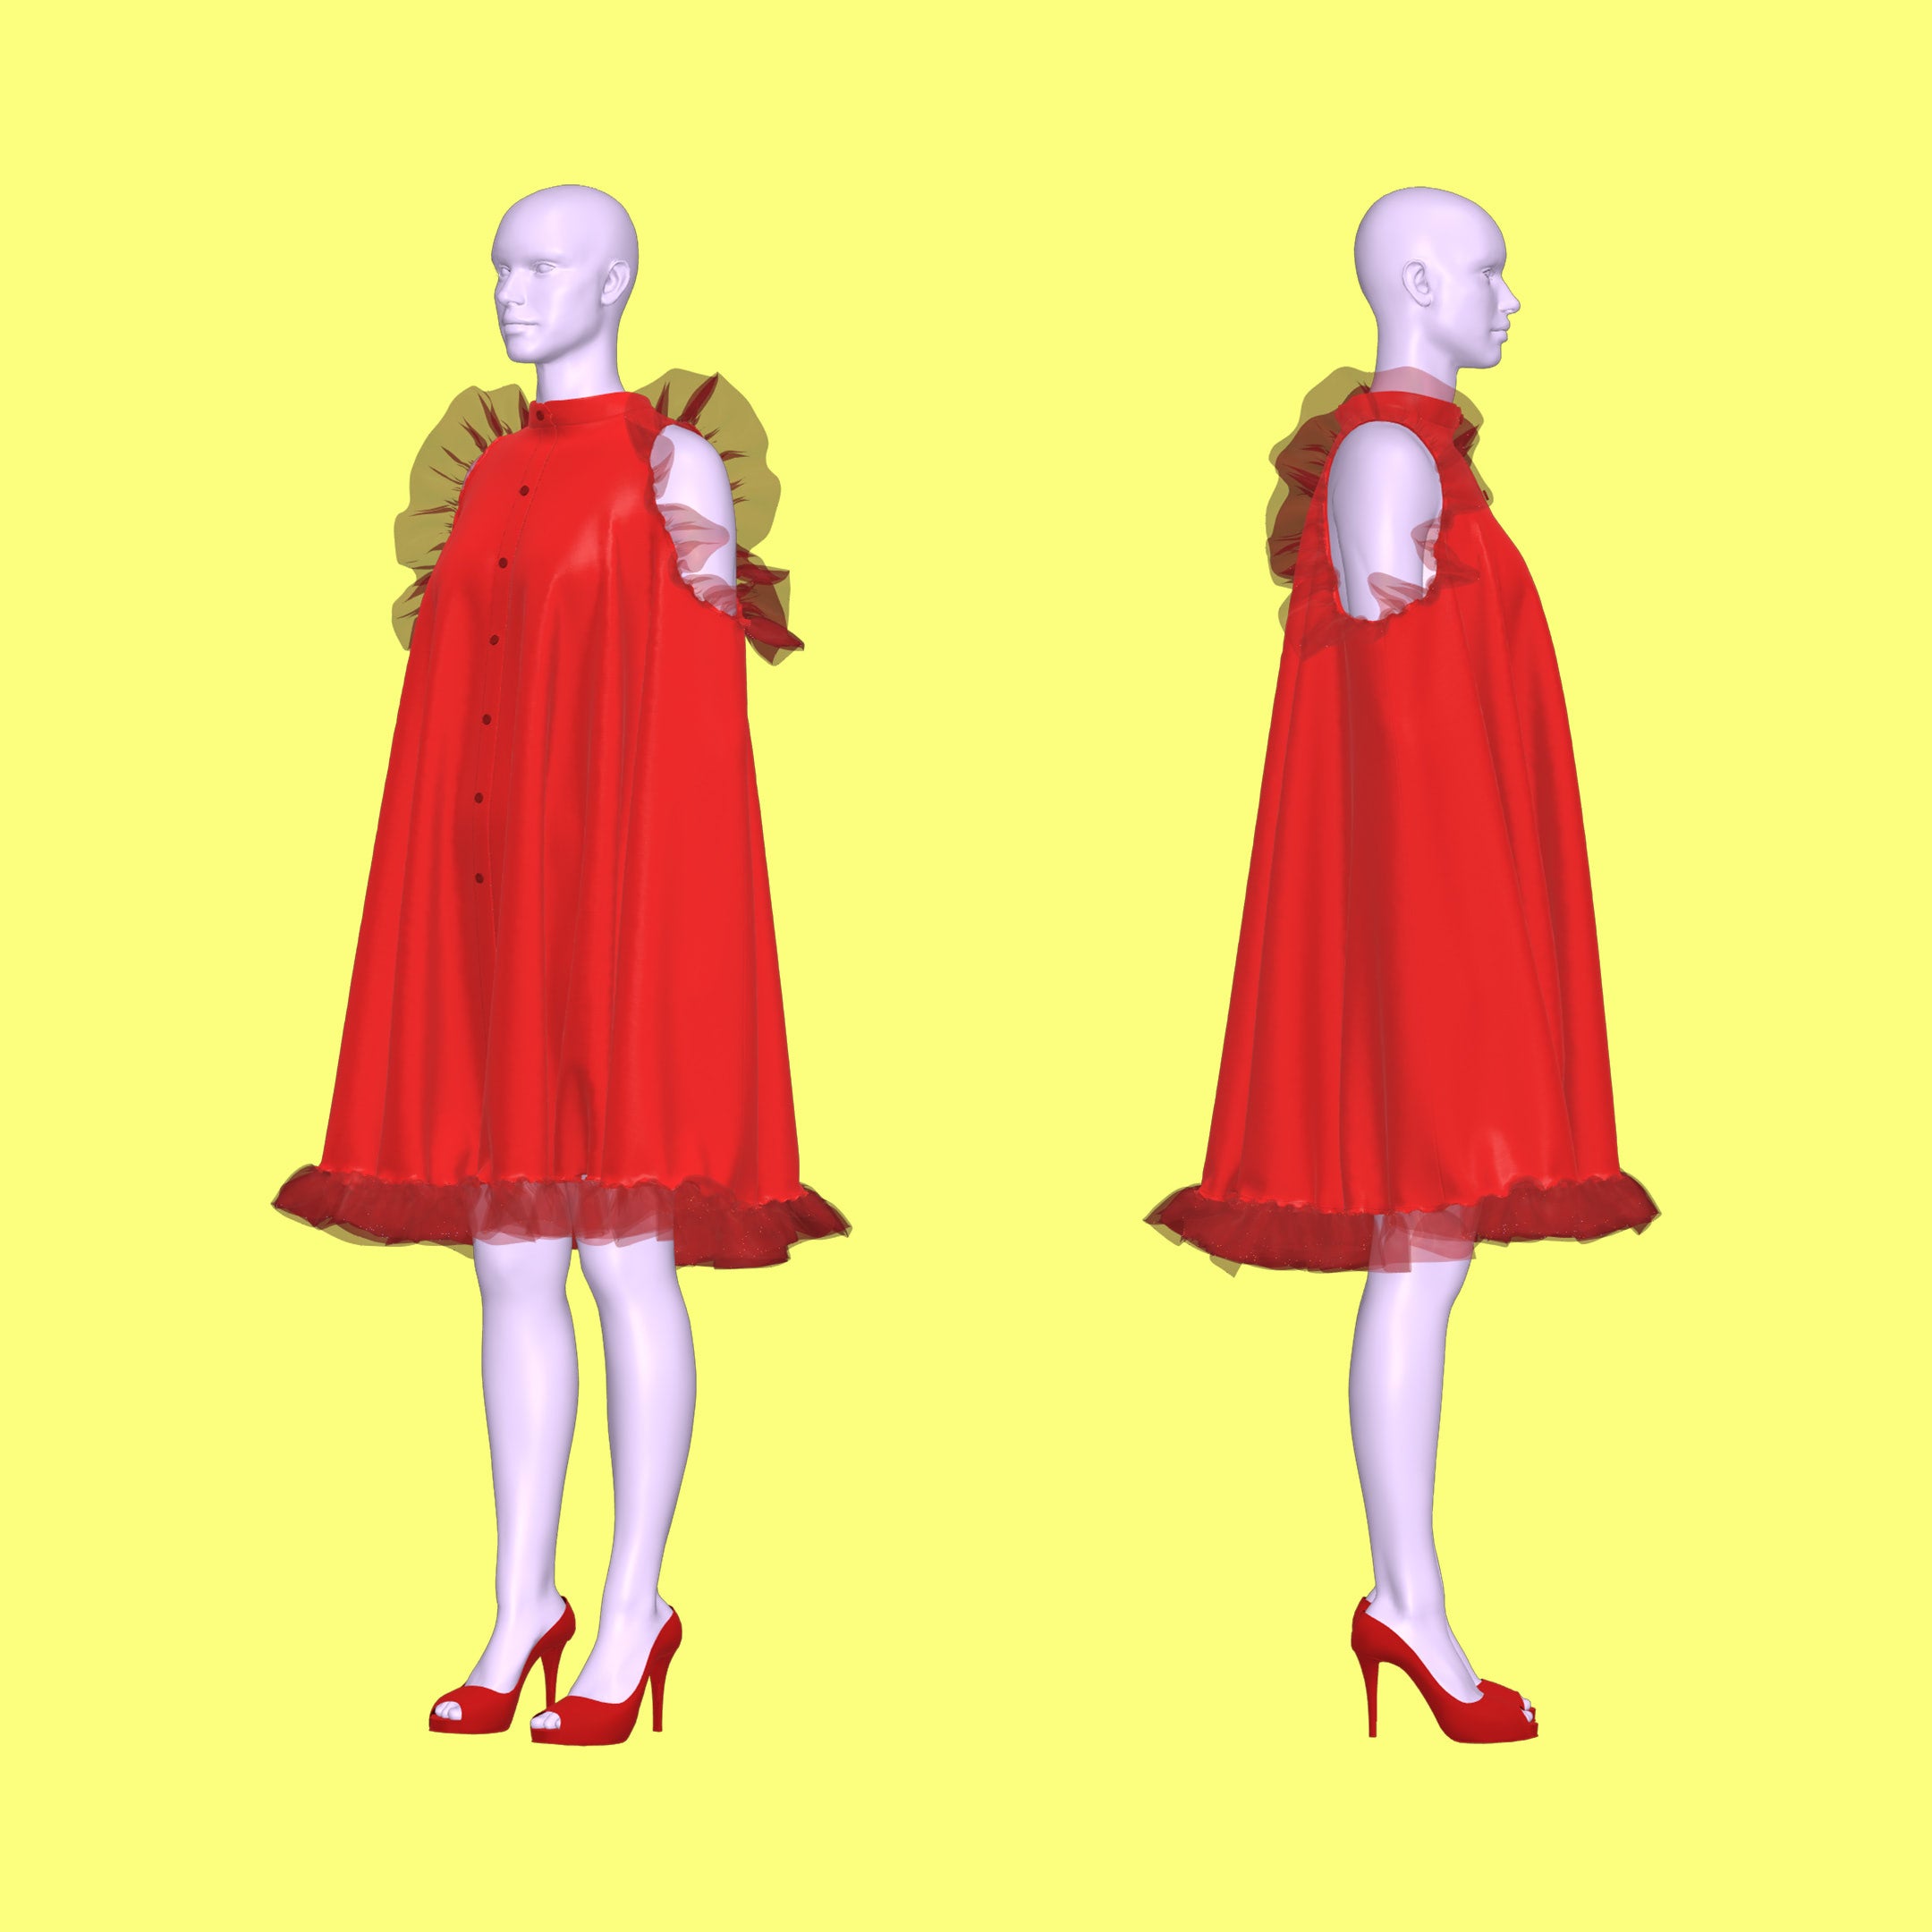
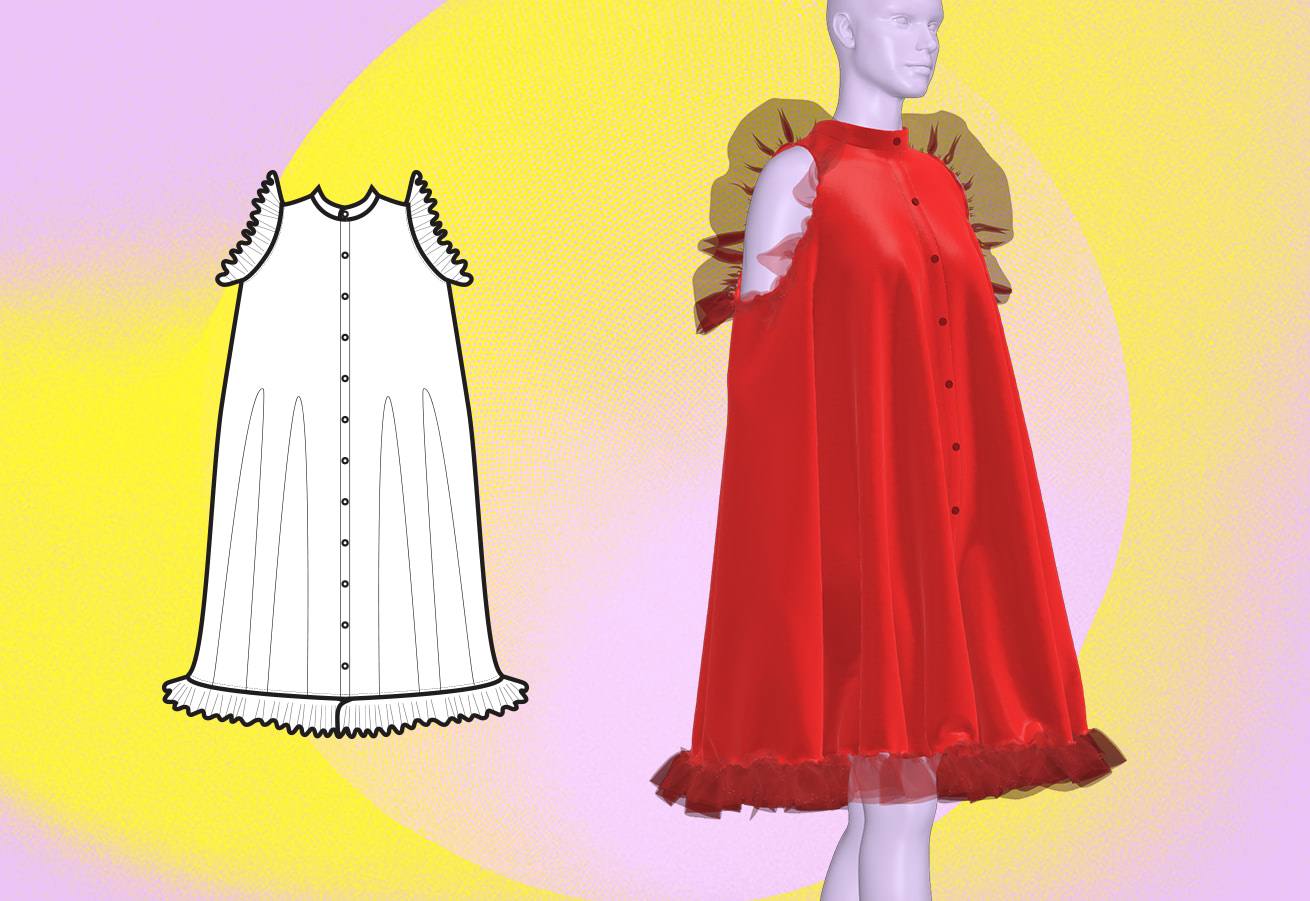
Introducing the show-stopping One Size Reveal Cape sewing pattern designed for the dynamic drag queen performer. Crafted with the art of the reveal in mind, this cape elegantly drapes over the upper body, cascading to the mid-thighs, waiting for that perfect moment to unveil the dazzling ensemble beneath. The cape's universal design ensures a flattering fit for all, adhering to our unique size spectrum tailored for the drag community.
The is cape designed with peekaboo shoulder cutouts to provide a hint of allure, with voluminous tulle ruffles for added drama. Customize the front closure according to your performance needs with options ranging from classic buttons to swift snaps or practical velcro. With the Reveal Cape, your entrance will be as unforgettable as your reveal!
Pattern Difficulty: For Beginners
Sizing Details
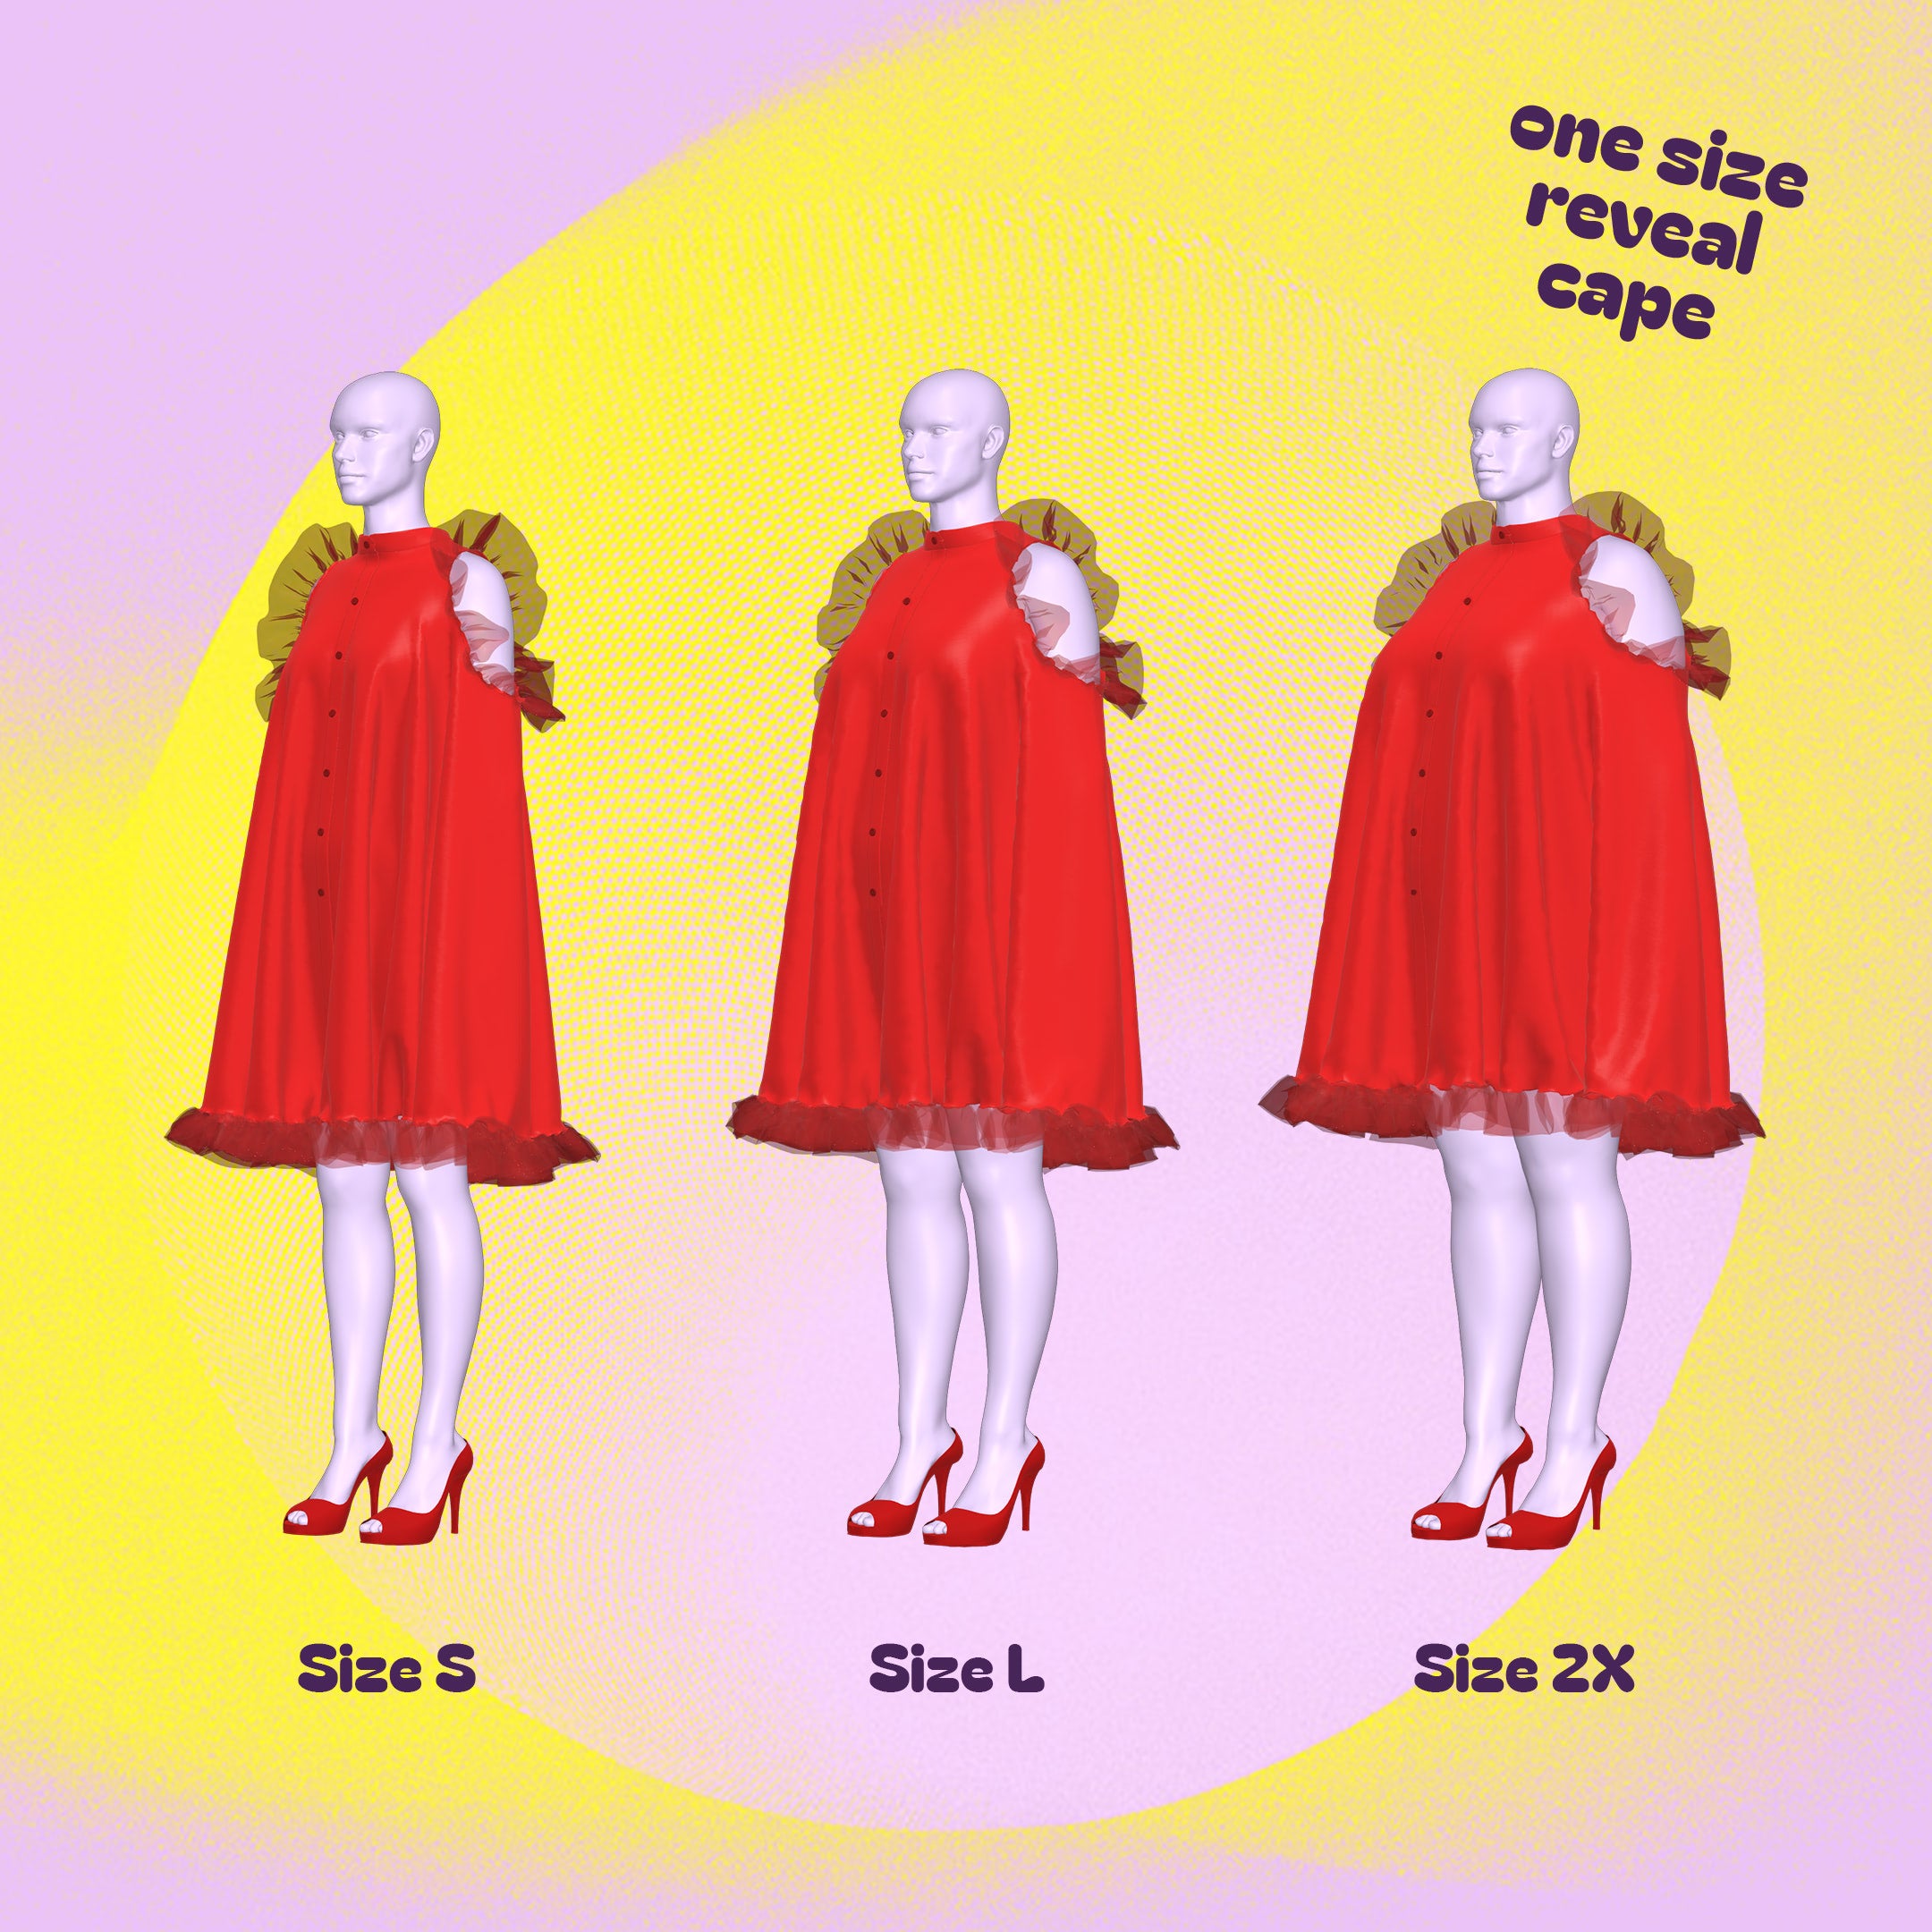
This is a one size fits all pattern ranging from XS-4X. Please review our for measurement guide for more details.
Fabric & Notions
Suitable for both non-stretch and stretch fabrics:
- Cotton
- Polyester
- Satin
- Velvet
- Spandex/Lycra
- Stretch Knit
- Vinyl
- 6-inch wide tulle by the yard
- Buttons, Snaps, or Velcro for the center front closure
Fabric Yardage
- 4.5 yards (44” width)
For information on converting inches to meters, please check out our conversion guide.
Trim Yardage
There isn't a specific paper pattern for the trim. Instead, the trim length is determined by measurements, which vary based on your choice of trim type. For ruffles, the total length should be three times the seam width to allow for gathering and creating the ruffle effect. In contrast, for fur trim or bias tape, the total length should be equal to the seam width.
| Ruffles | Non-Ruffles | |
|---|---|---|
| Shoulder Peekaboo | 3.5 yards (1.75y per shoulder) |
1.25 yards (21” per shoulder) |
| Bottom Hem | 16 yards | 5.75 yards |
For a ruffle trim, consider buying 6-inch wide tulle by the yard. Fold the tulle in half to create a double layer, resulting in a 3-inch wide section. You can then gather this and sew it around the shoulder peekaboo and the bottom hem of the cape.
Sewing Instructions


STEP 1
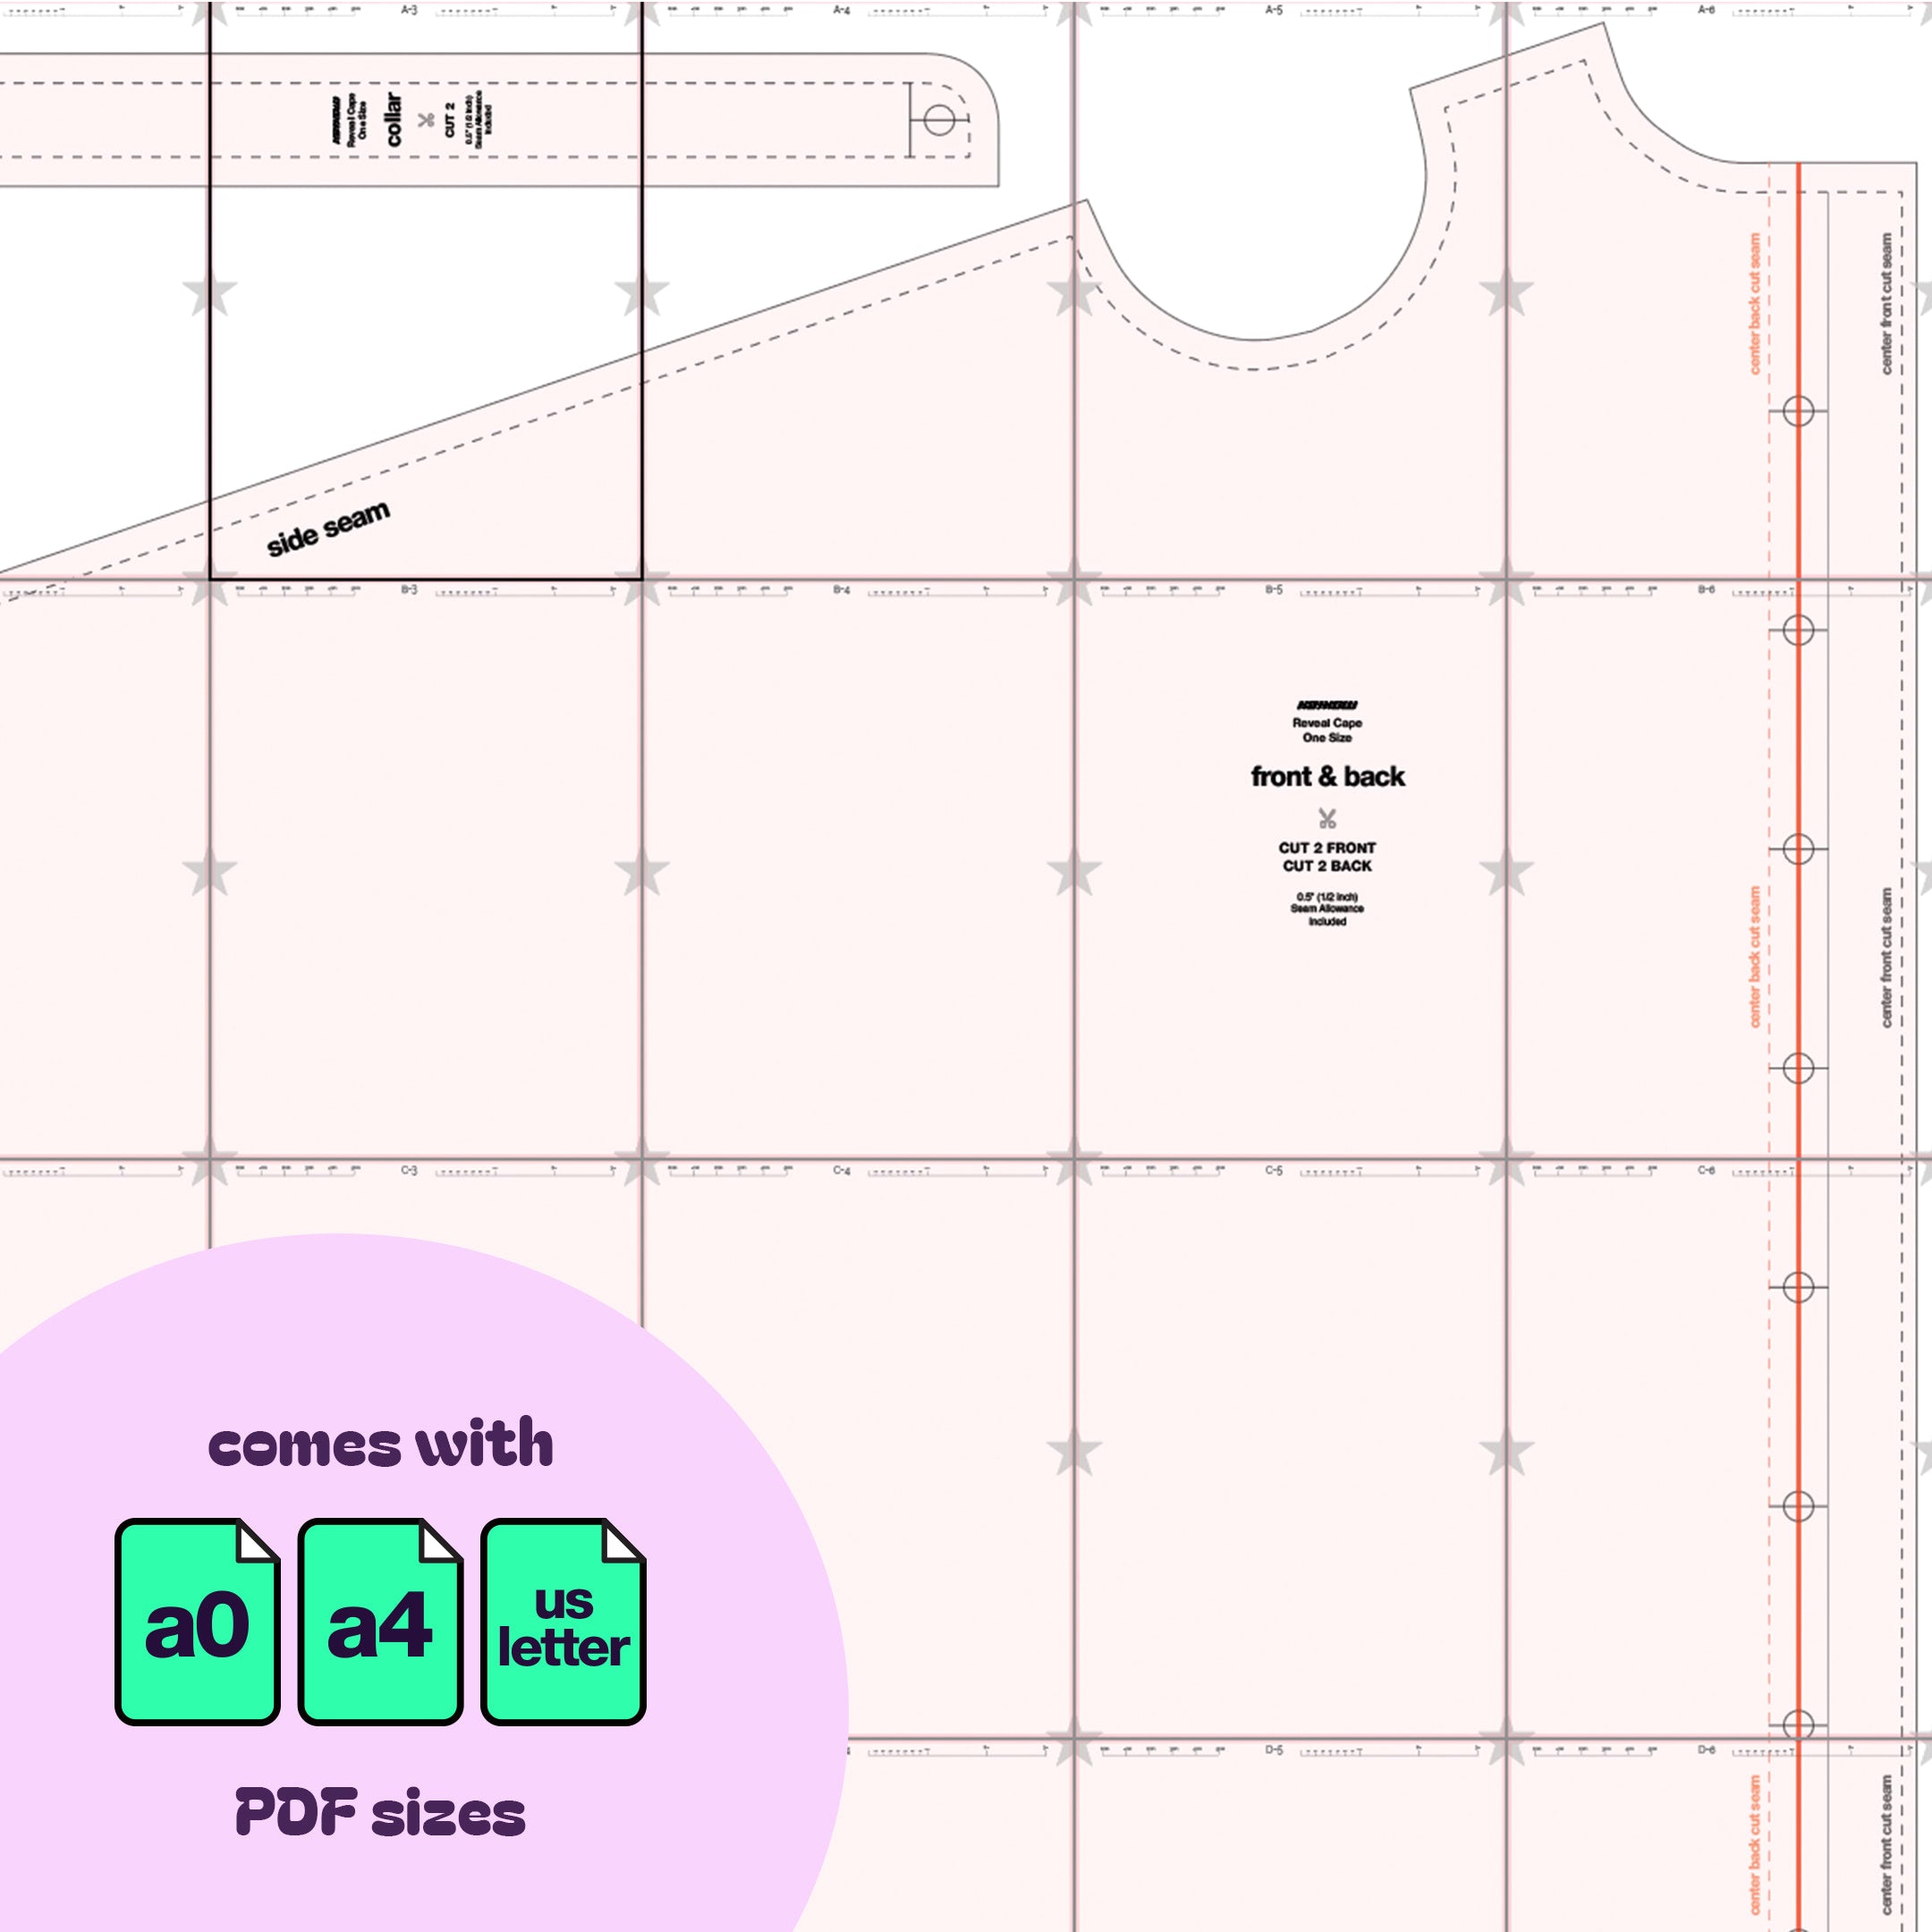
Use the paper pattern as is to cut 2 front pieces of fabric. When you're ready to cut the back pieces, fold the paper pattern at the center back line; this line appears right over the buttonholes.

STEP 2
Gather your 2 front pieces and your 2 back pieces of fabric.

STEP 3
Stack the 2 back pieces with right sides facing each other. The back pieces will not have buttons and will instead be sewn together down the center back seam.

STEP 4
Gather your sewn back piece and your 2 front pieces, and stack them with right sides facing each other.

STEP 5
Sew the front and back together along the shoulder seam up to the neck curve, do not sew the peekaboo circle together.

STEP 6
For each front piece, fold over 0.5 inches of fabric, wrong side up, and press with an iron.

STEP 7
Fold again, this time 1 inch, wrong side up, and press with an iron.

STEP 8
Now you can stitch the button fold on both sides of the folded edge. Repeat for the other front piece.

STEP 9
Gather your collar pieces. Fold over 0.5 inches of fabric, wrong side up, along the bottom edge and press with an iron.

STEP 10
Stack 2 collar pieces, right sides facing each other, and sew along the side curve and top edges. Flip the collar right side out and press with an iron.

STEP 11
With the cape right side out, insert the neckline fabric 0.5 inches inside the bottom of the collar, sandwiching the fabric and top stitching around the neck hole.

STEP 12
Install your buttons and buttonholes. You can choose to use snaps or velcro instead.

STEP 13
For tulle trim, fold your 6 inch wide tulle in half to create 2 layers of 3 inch wide tulle.

STEP 14
Base stitch the folded edge, you want large stitches here to allow you to pull the thread and gather the tulle, creating ruffles. Repeat for 2 shoulder peekaboo ruffles and 1 long ruffle around the bottom hem of the cape.

STEP 15
Once you've gathered your ruffles, position them outside of the right side of the fabric, all around the peekaboo shoulder circle then sew along the edge.

STEP 16
Once sewn around, flip the ruffles over and top stitch on the opposite side, sewing the seam allowance down. Repeat for the bottom hem.
