How to Sew a Gown
Jump to Instructions
Overview
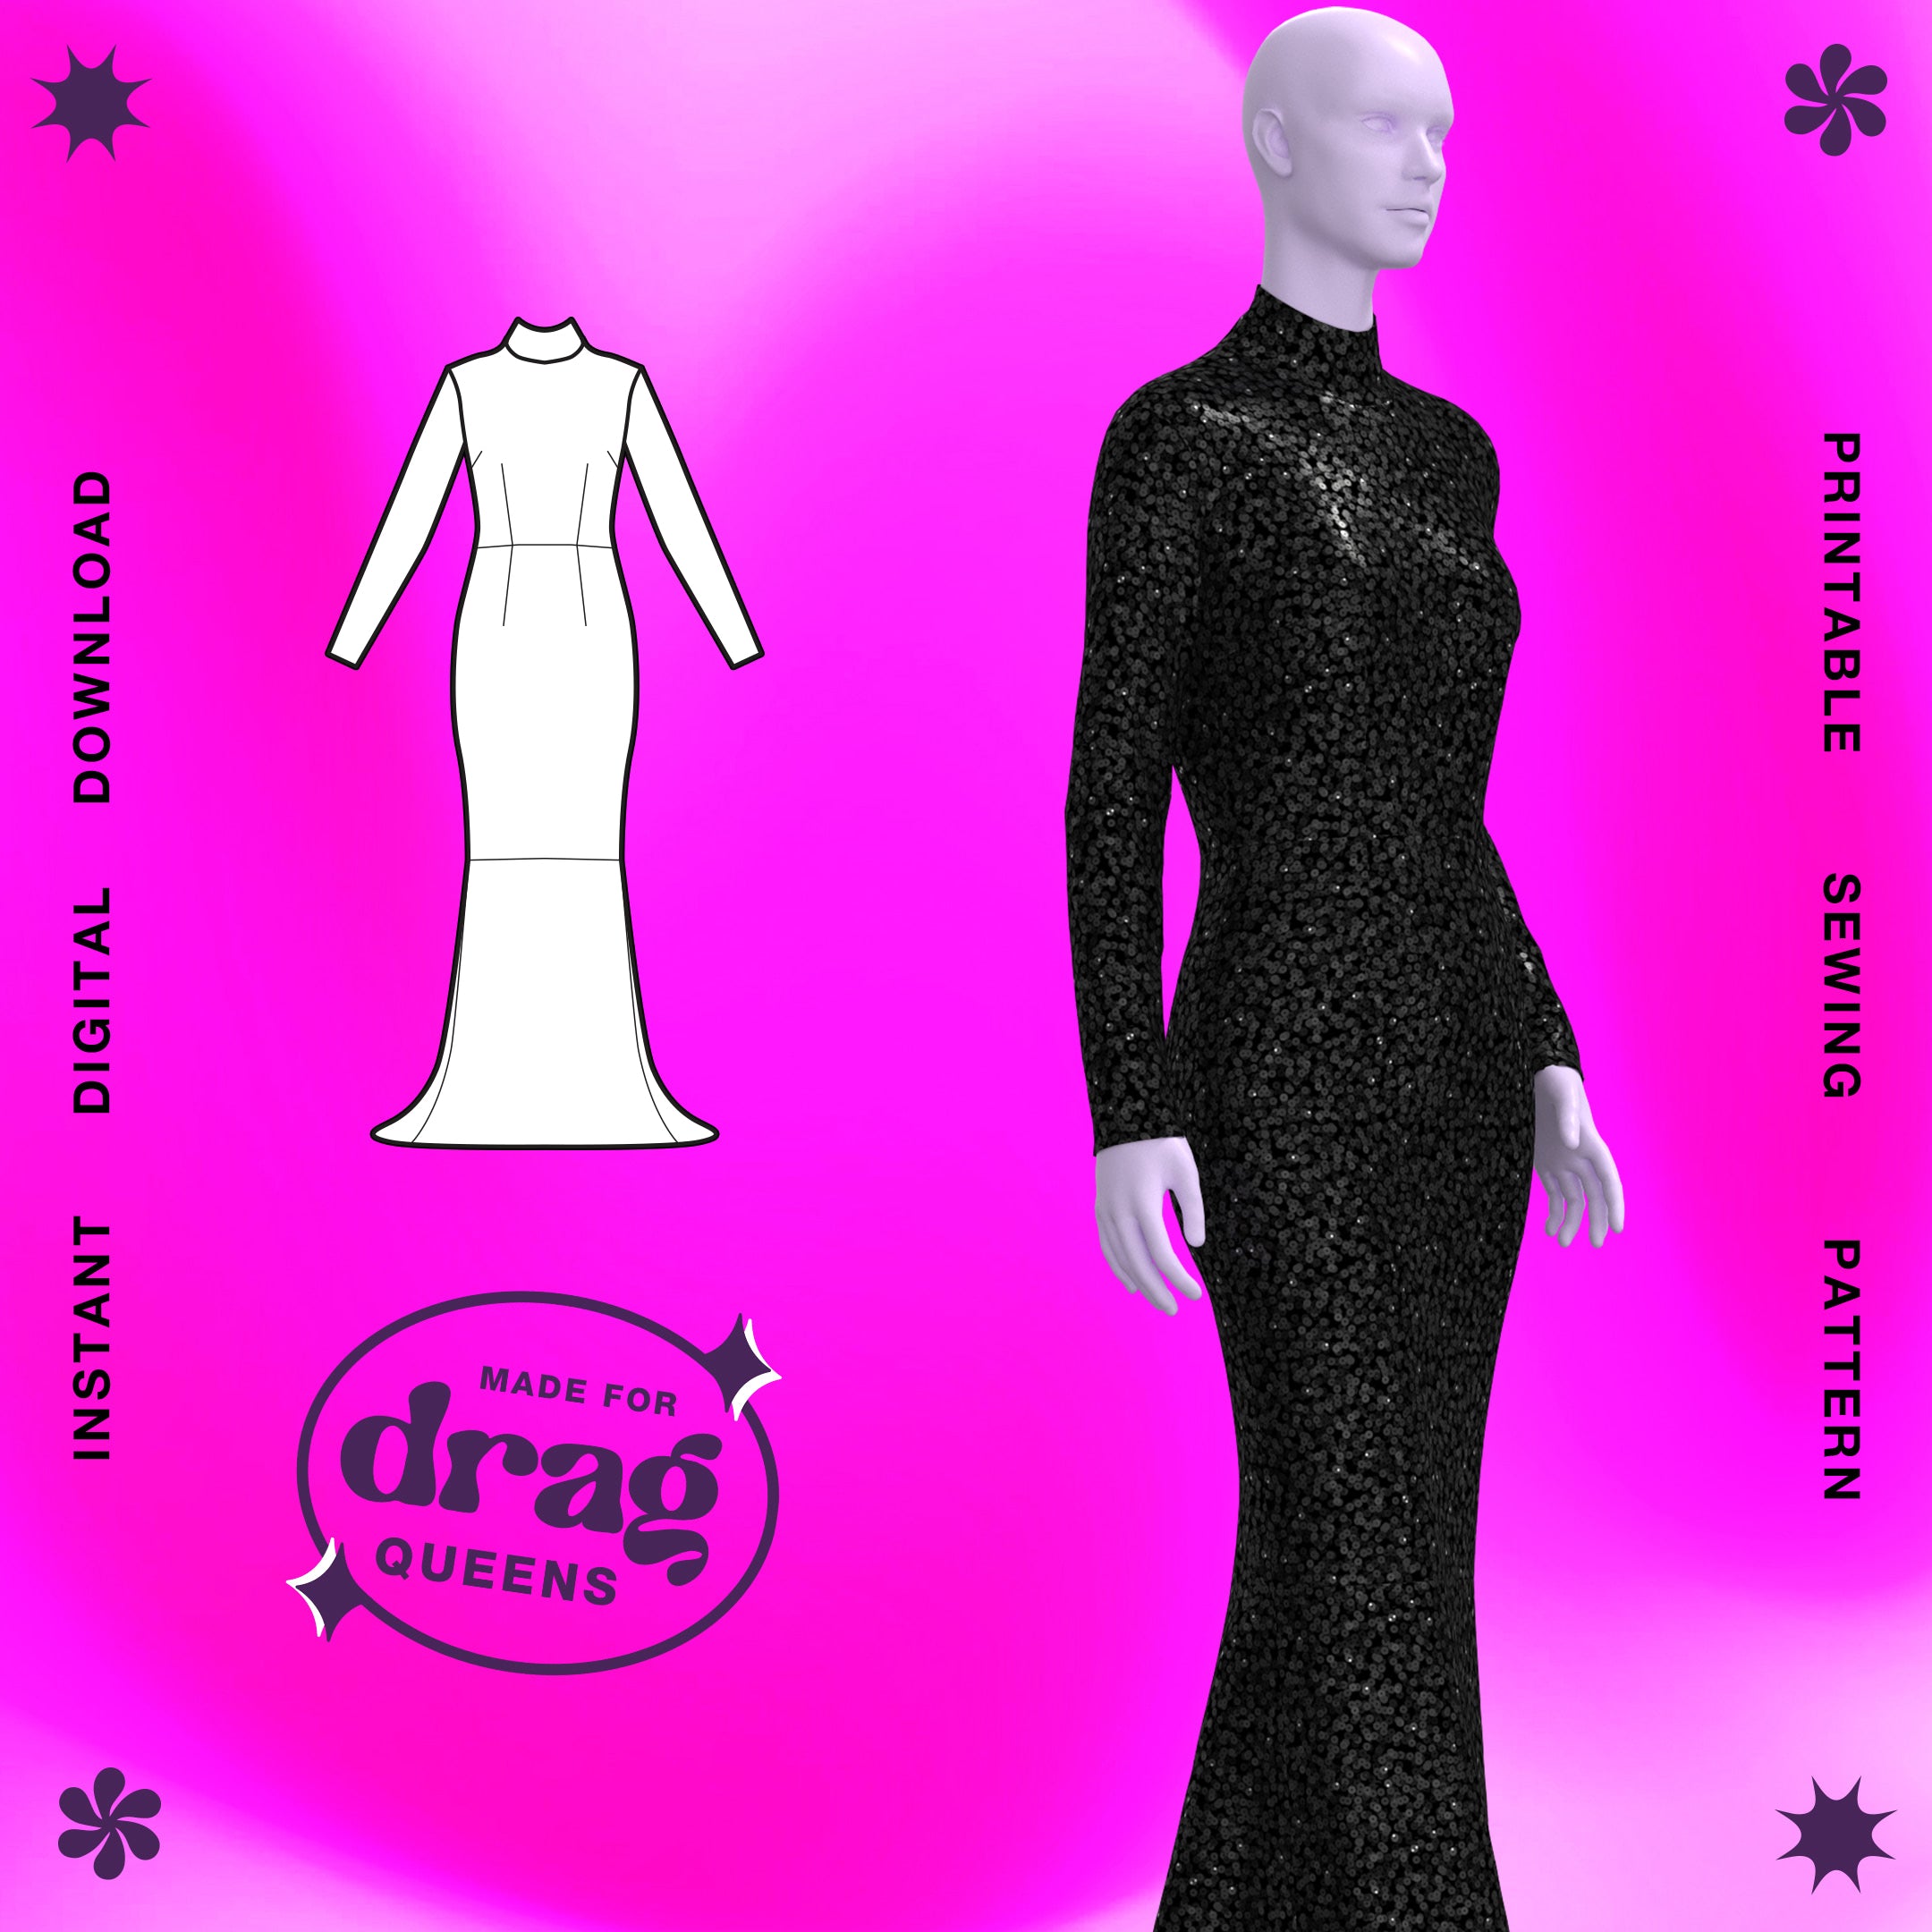
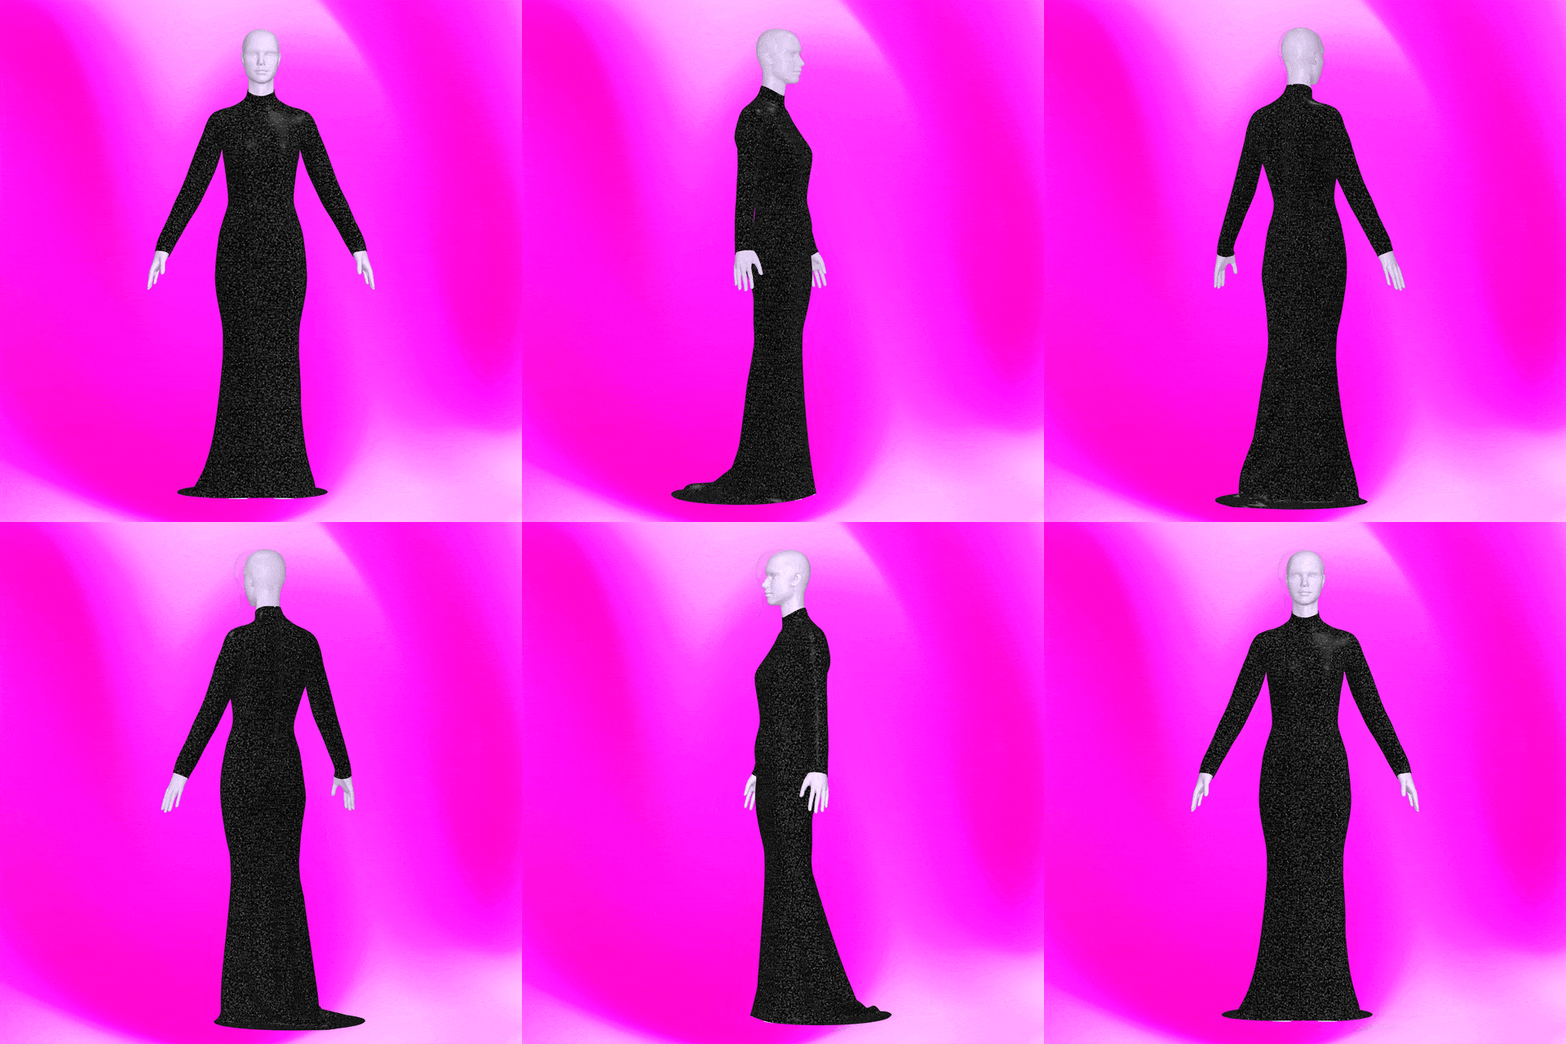
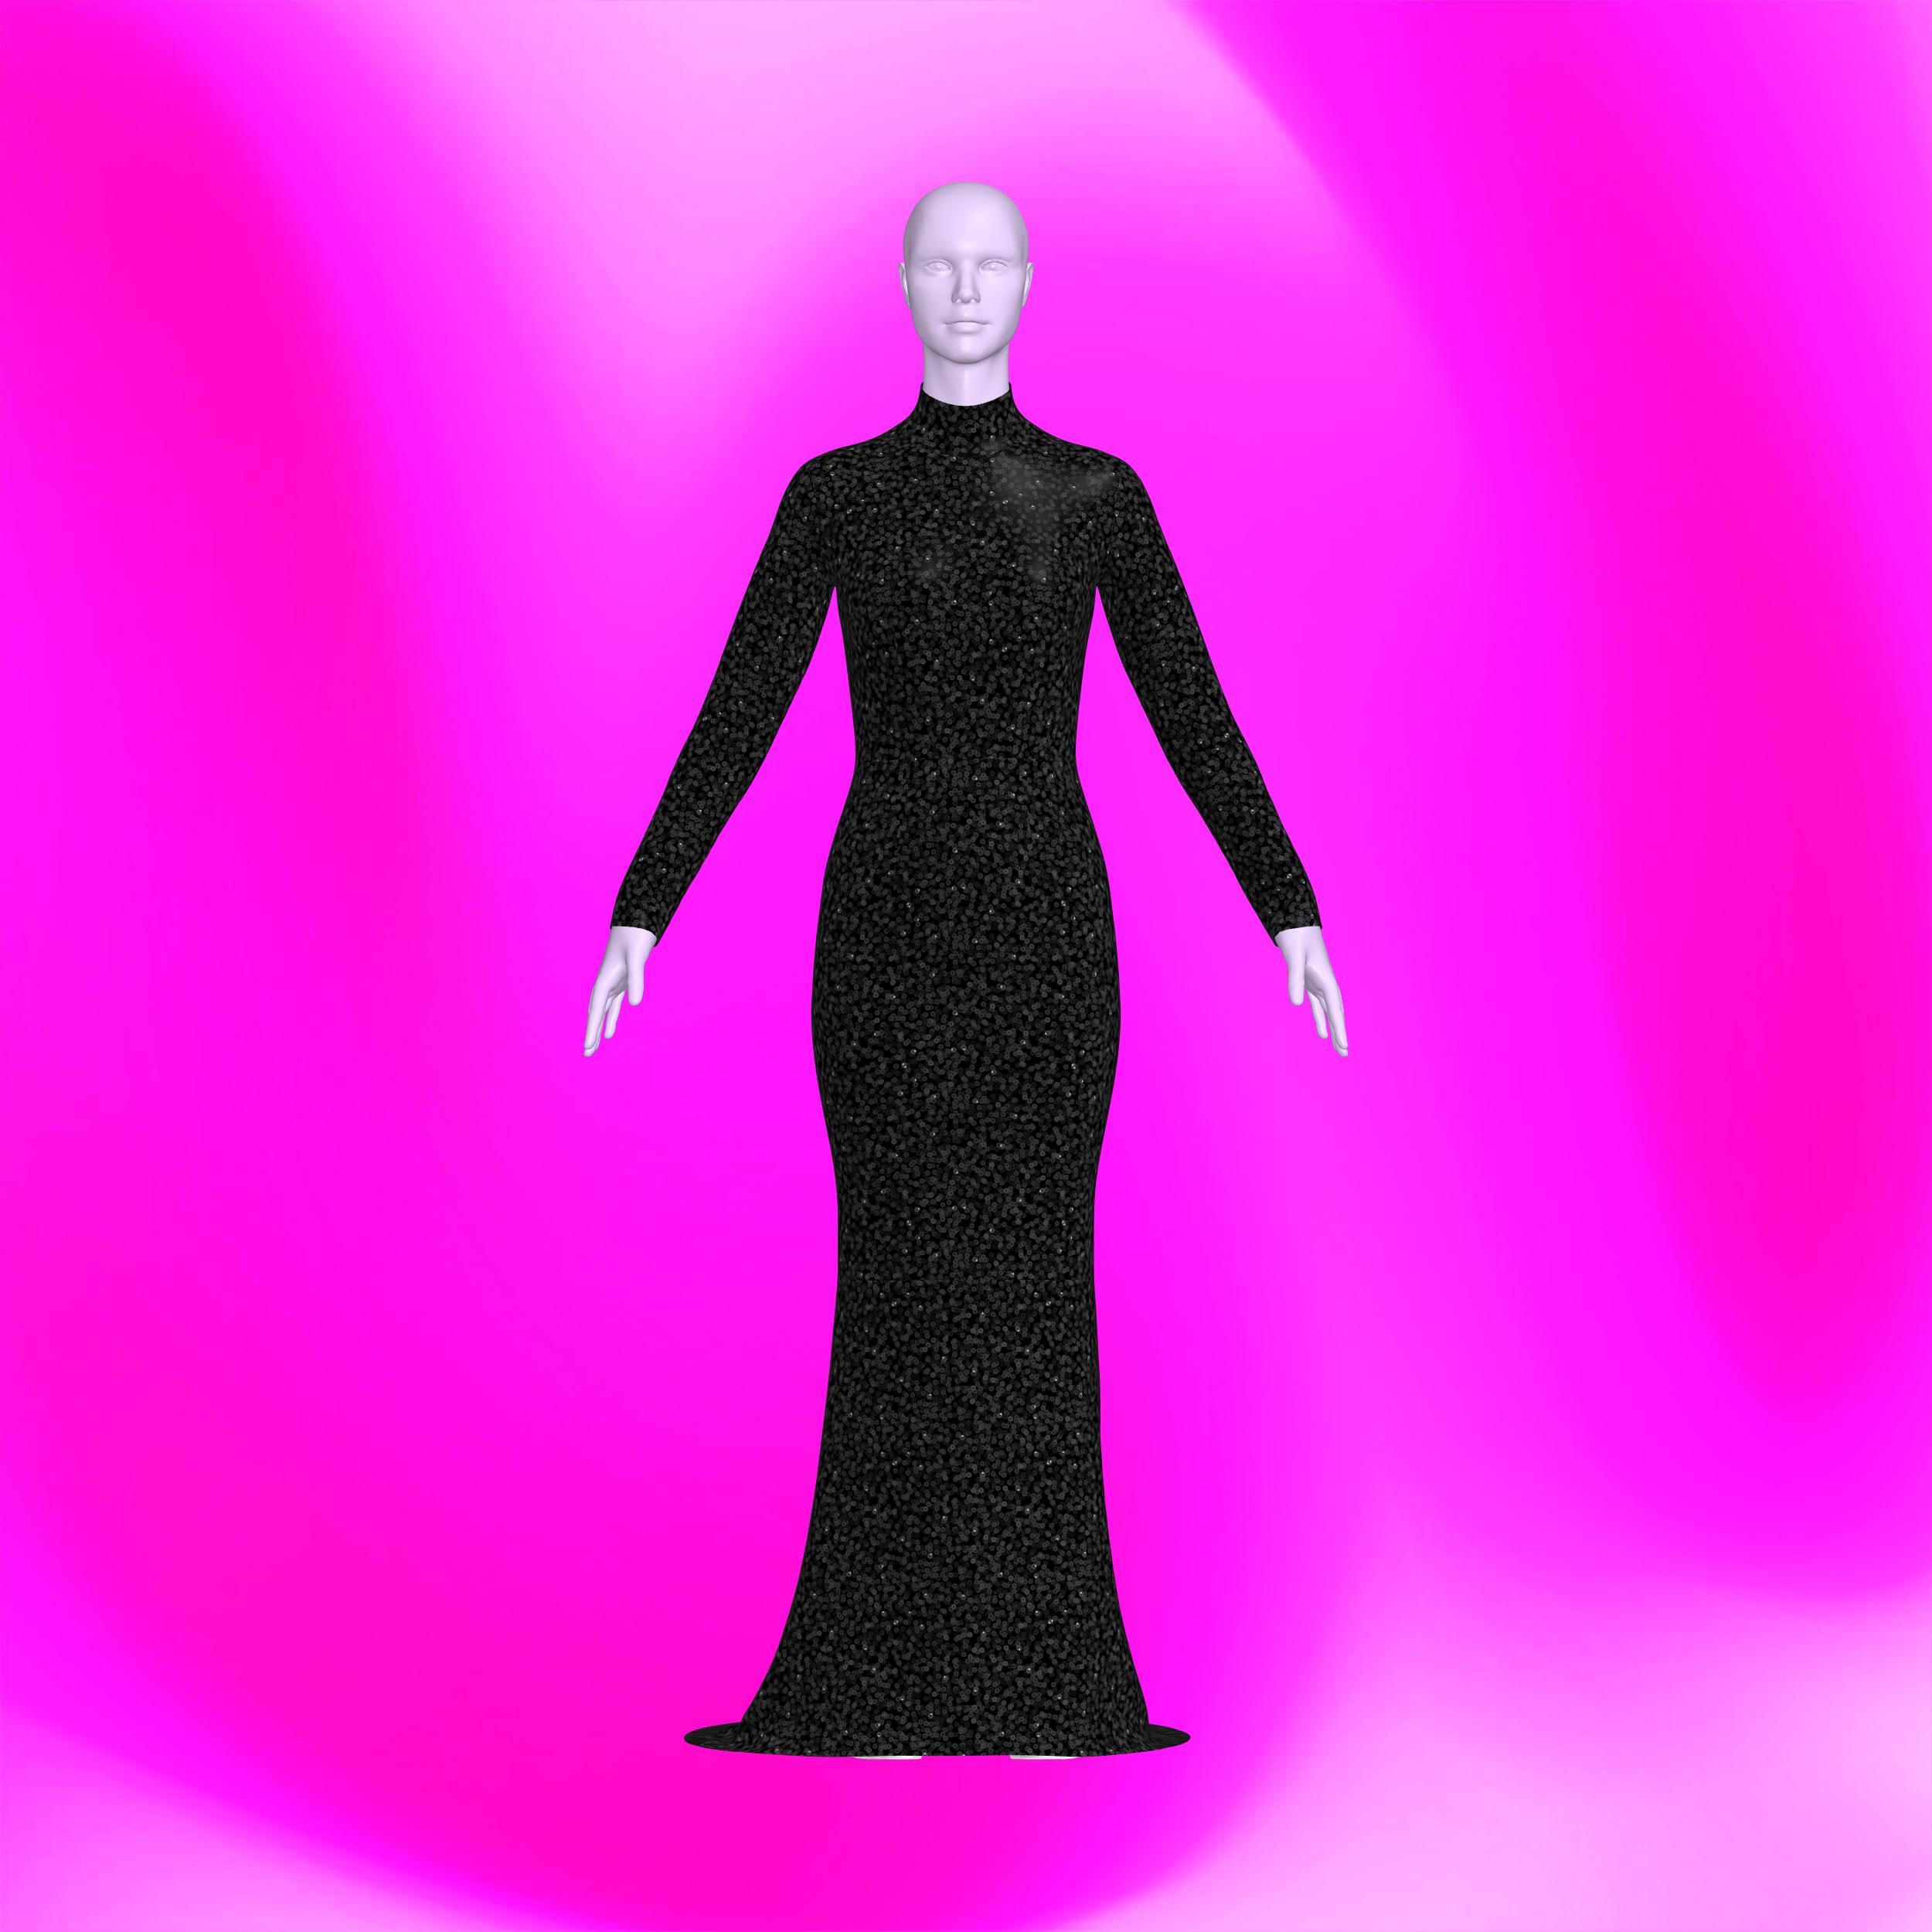
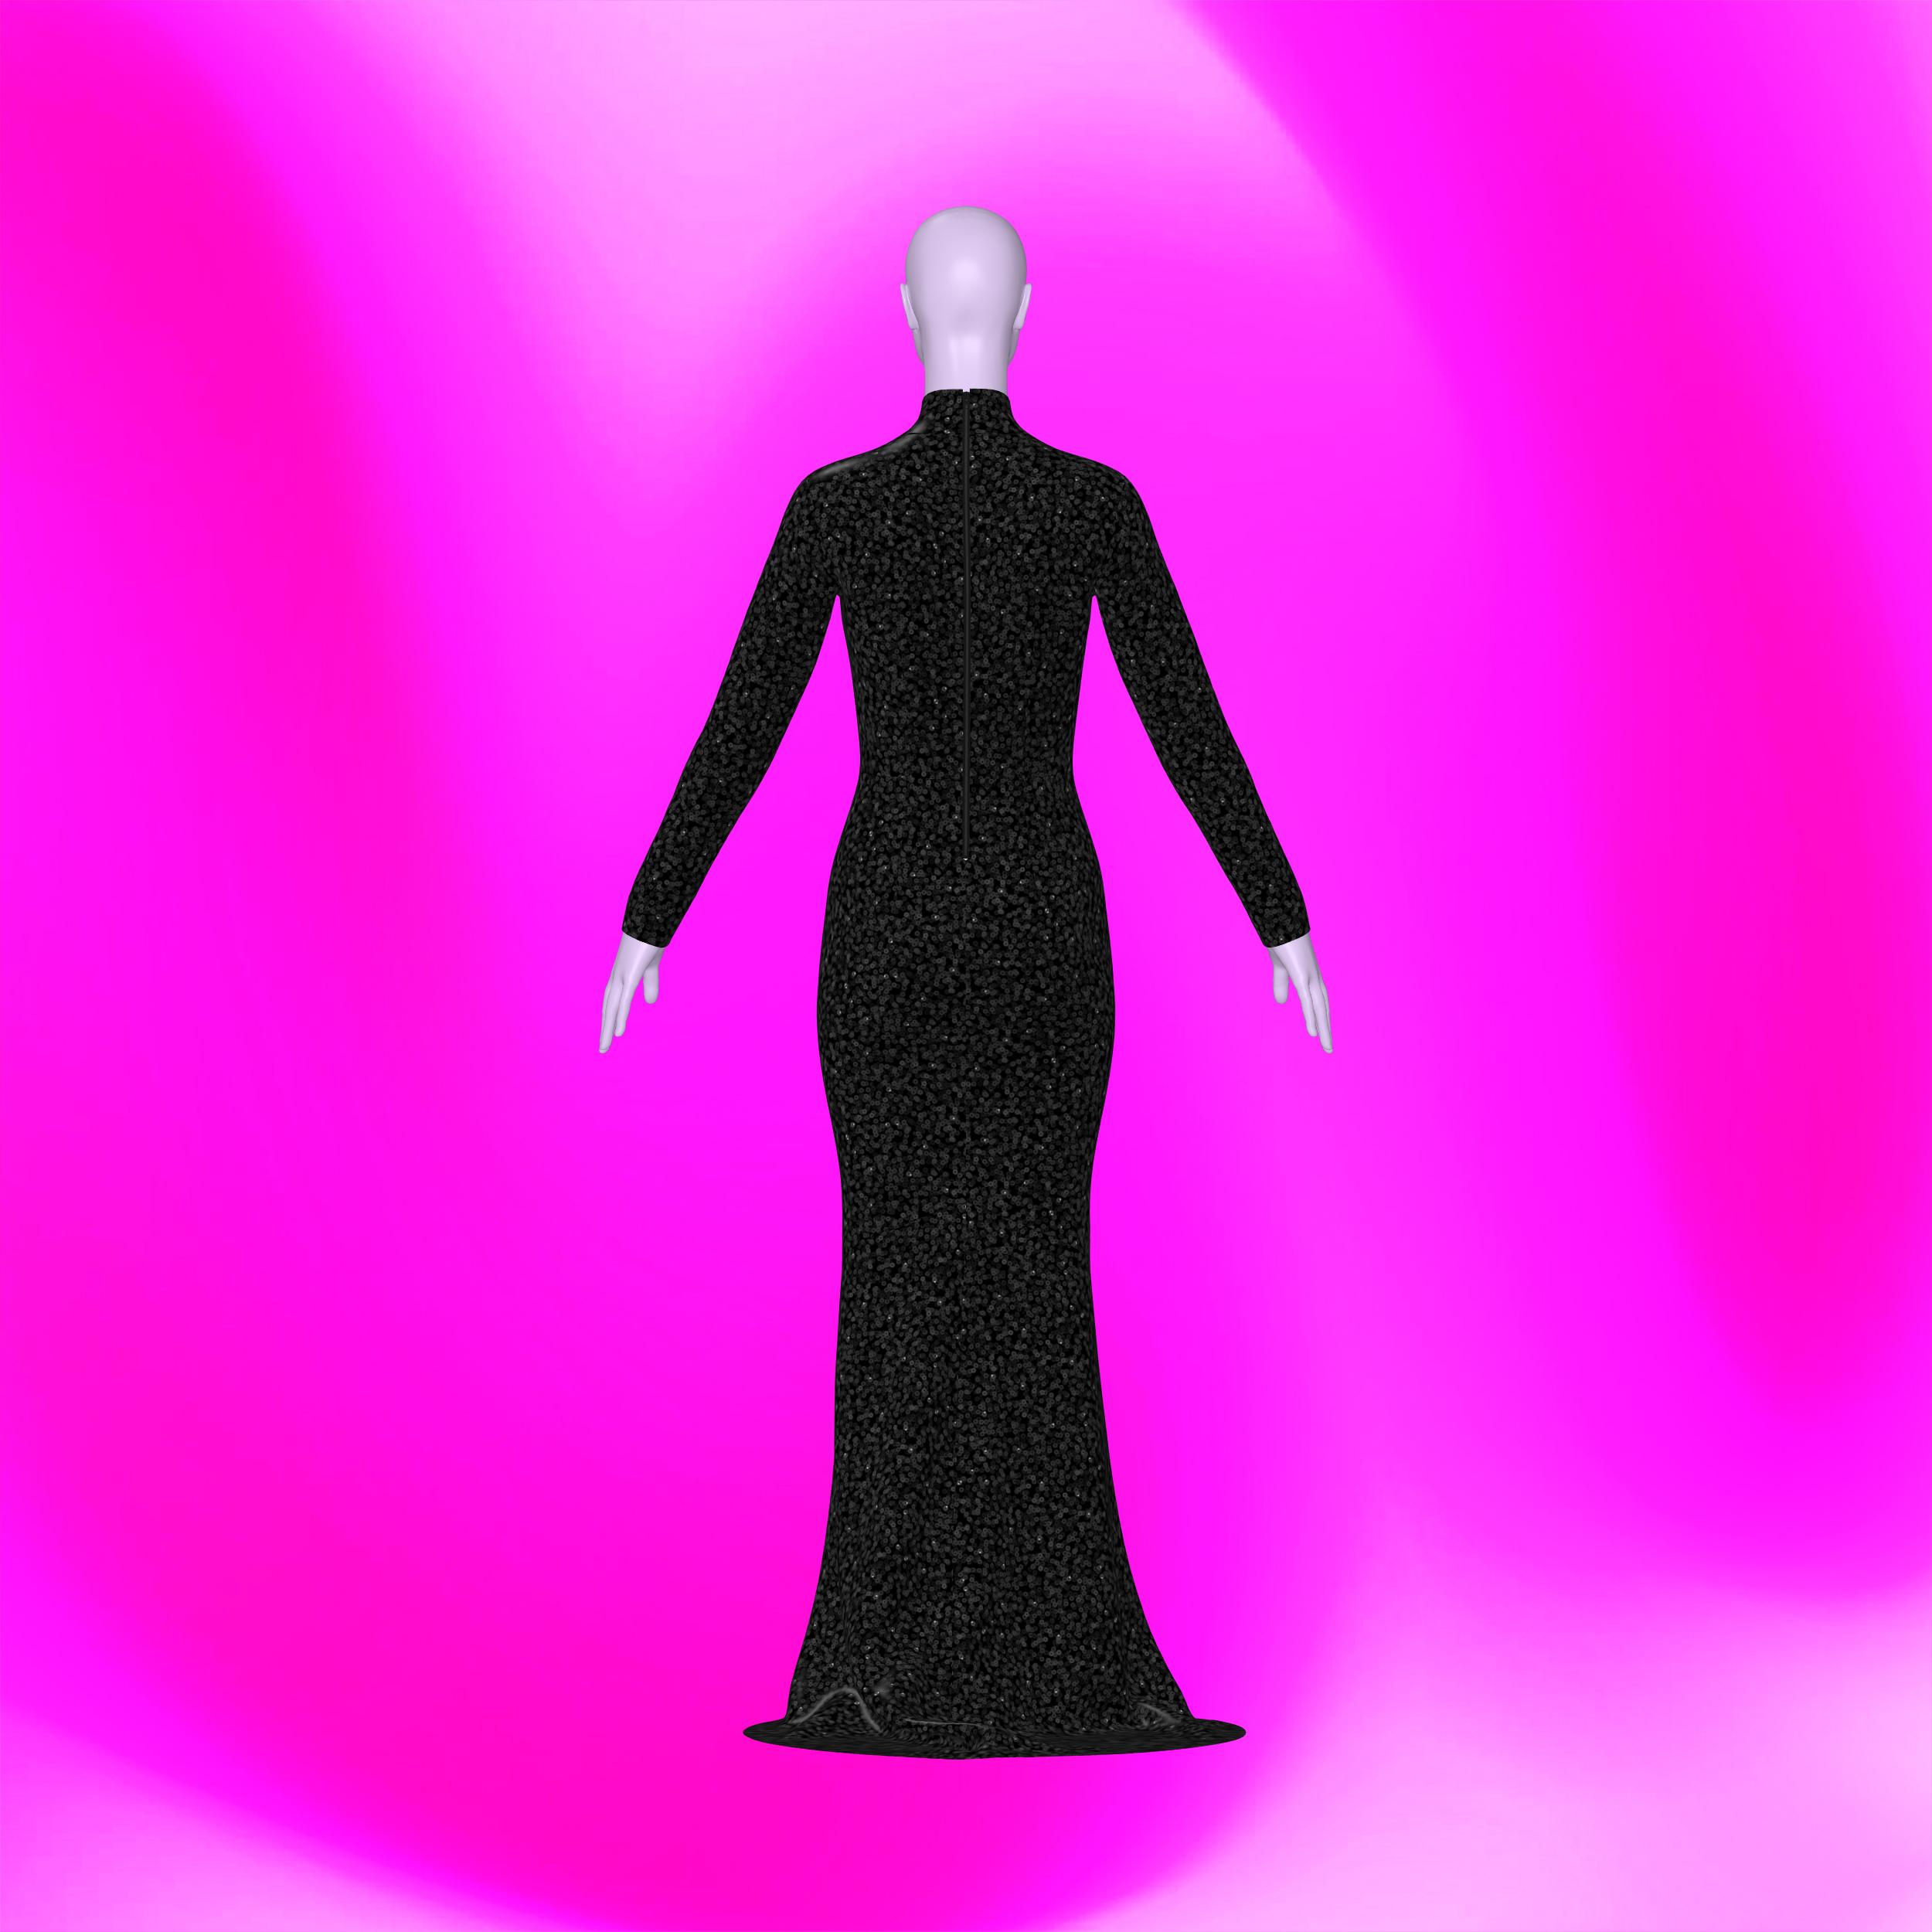
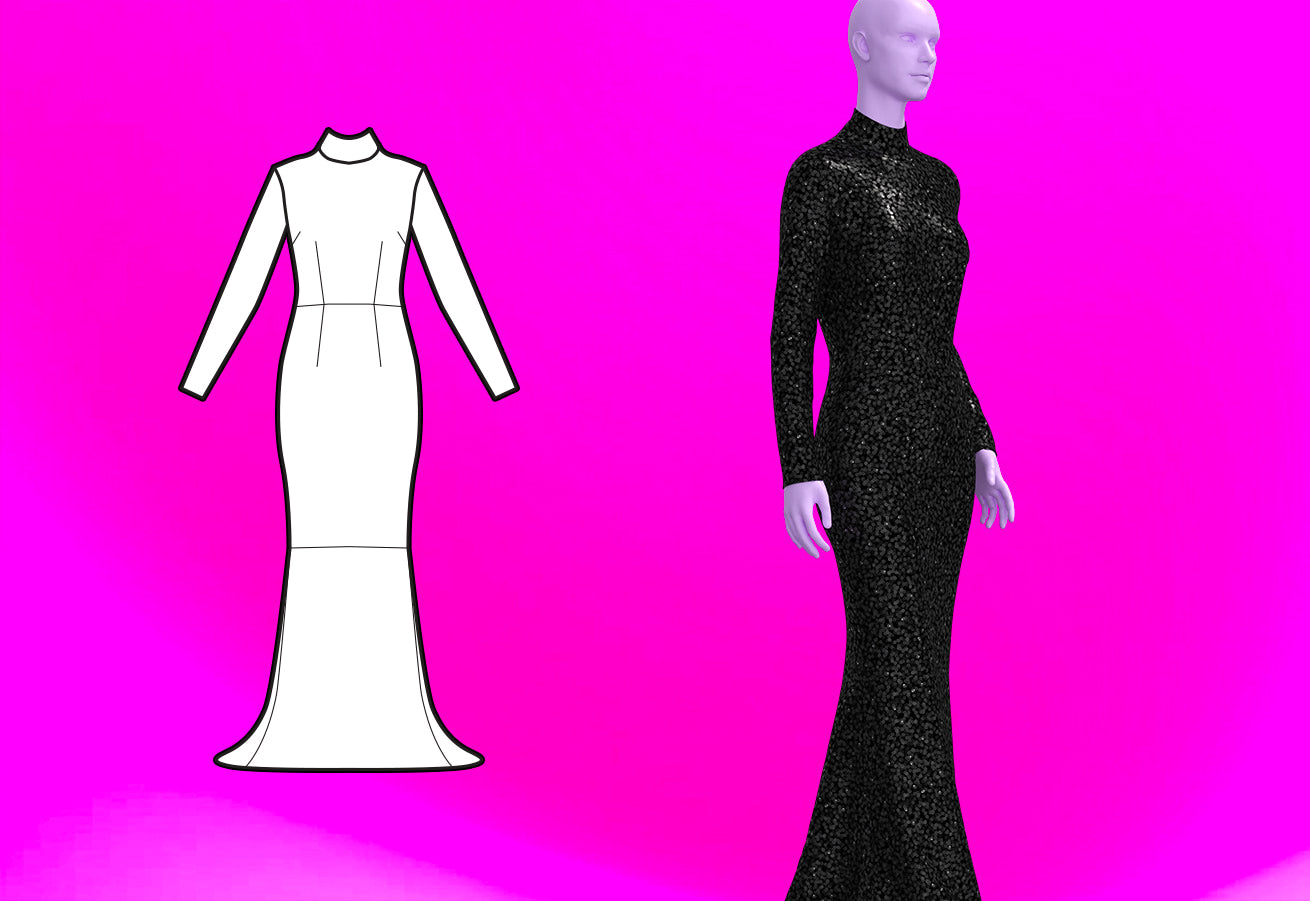
Introducing our Long Sleeve Gown with Train and Collar Sewing Pattern, designed for drag queens seeking to make a grand entrance at events like evening galas, weddings, proms, or fantasy shows. This pattern features an elegant long-sleeve gown with a luxurious train, tailored for stretch fabrics to ensure comfort and style. The gown's back zipper extends below the waistline for easy wearing, and the high collar adds drama to your look. Elevate your drag persona and create a show-stopping ensemble with this pattern, perfect for those special occasions where you want to shine and make a lasting impression.
Pattern Difficulty: Intermediate
Sizing Details
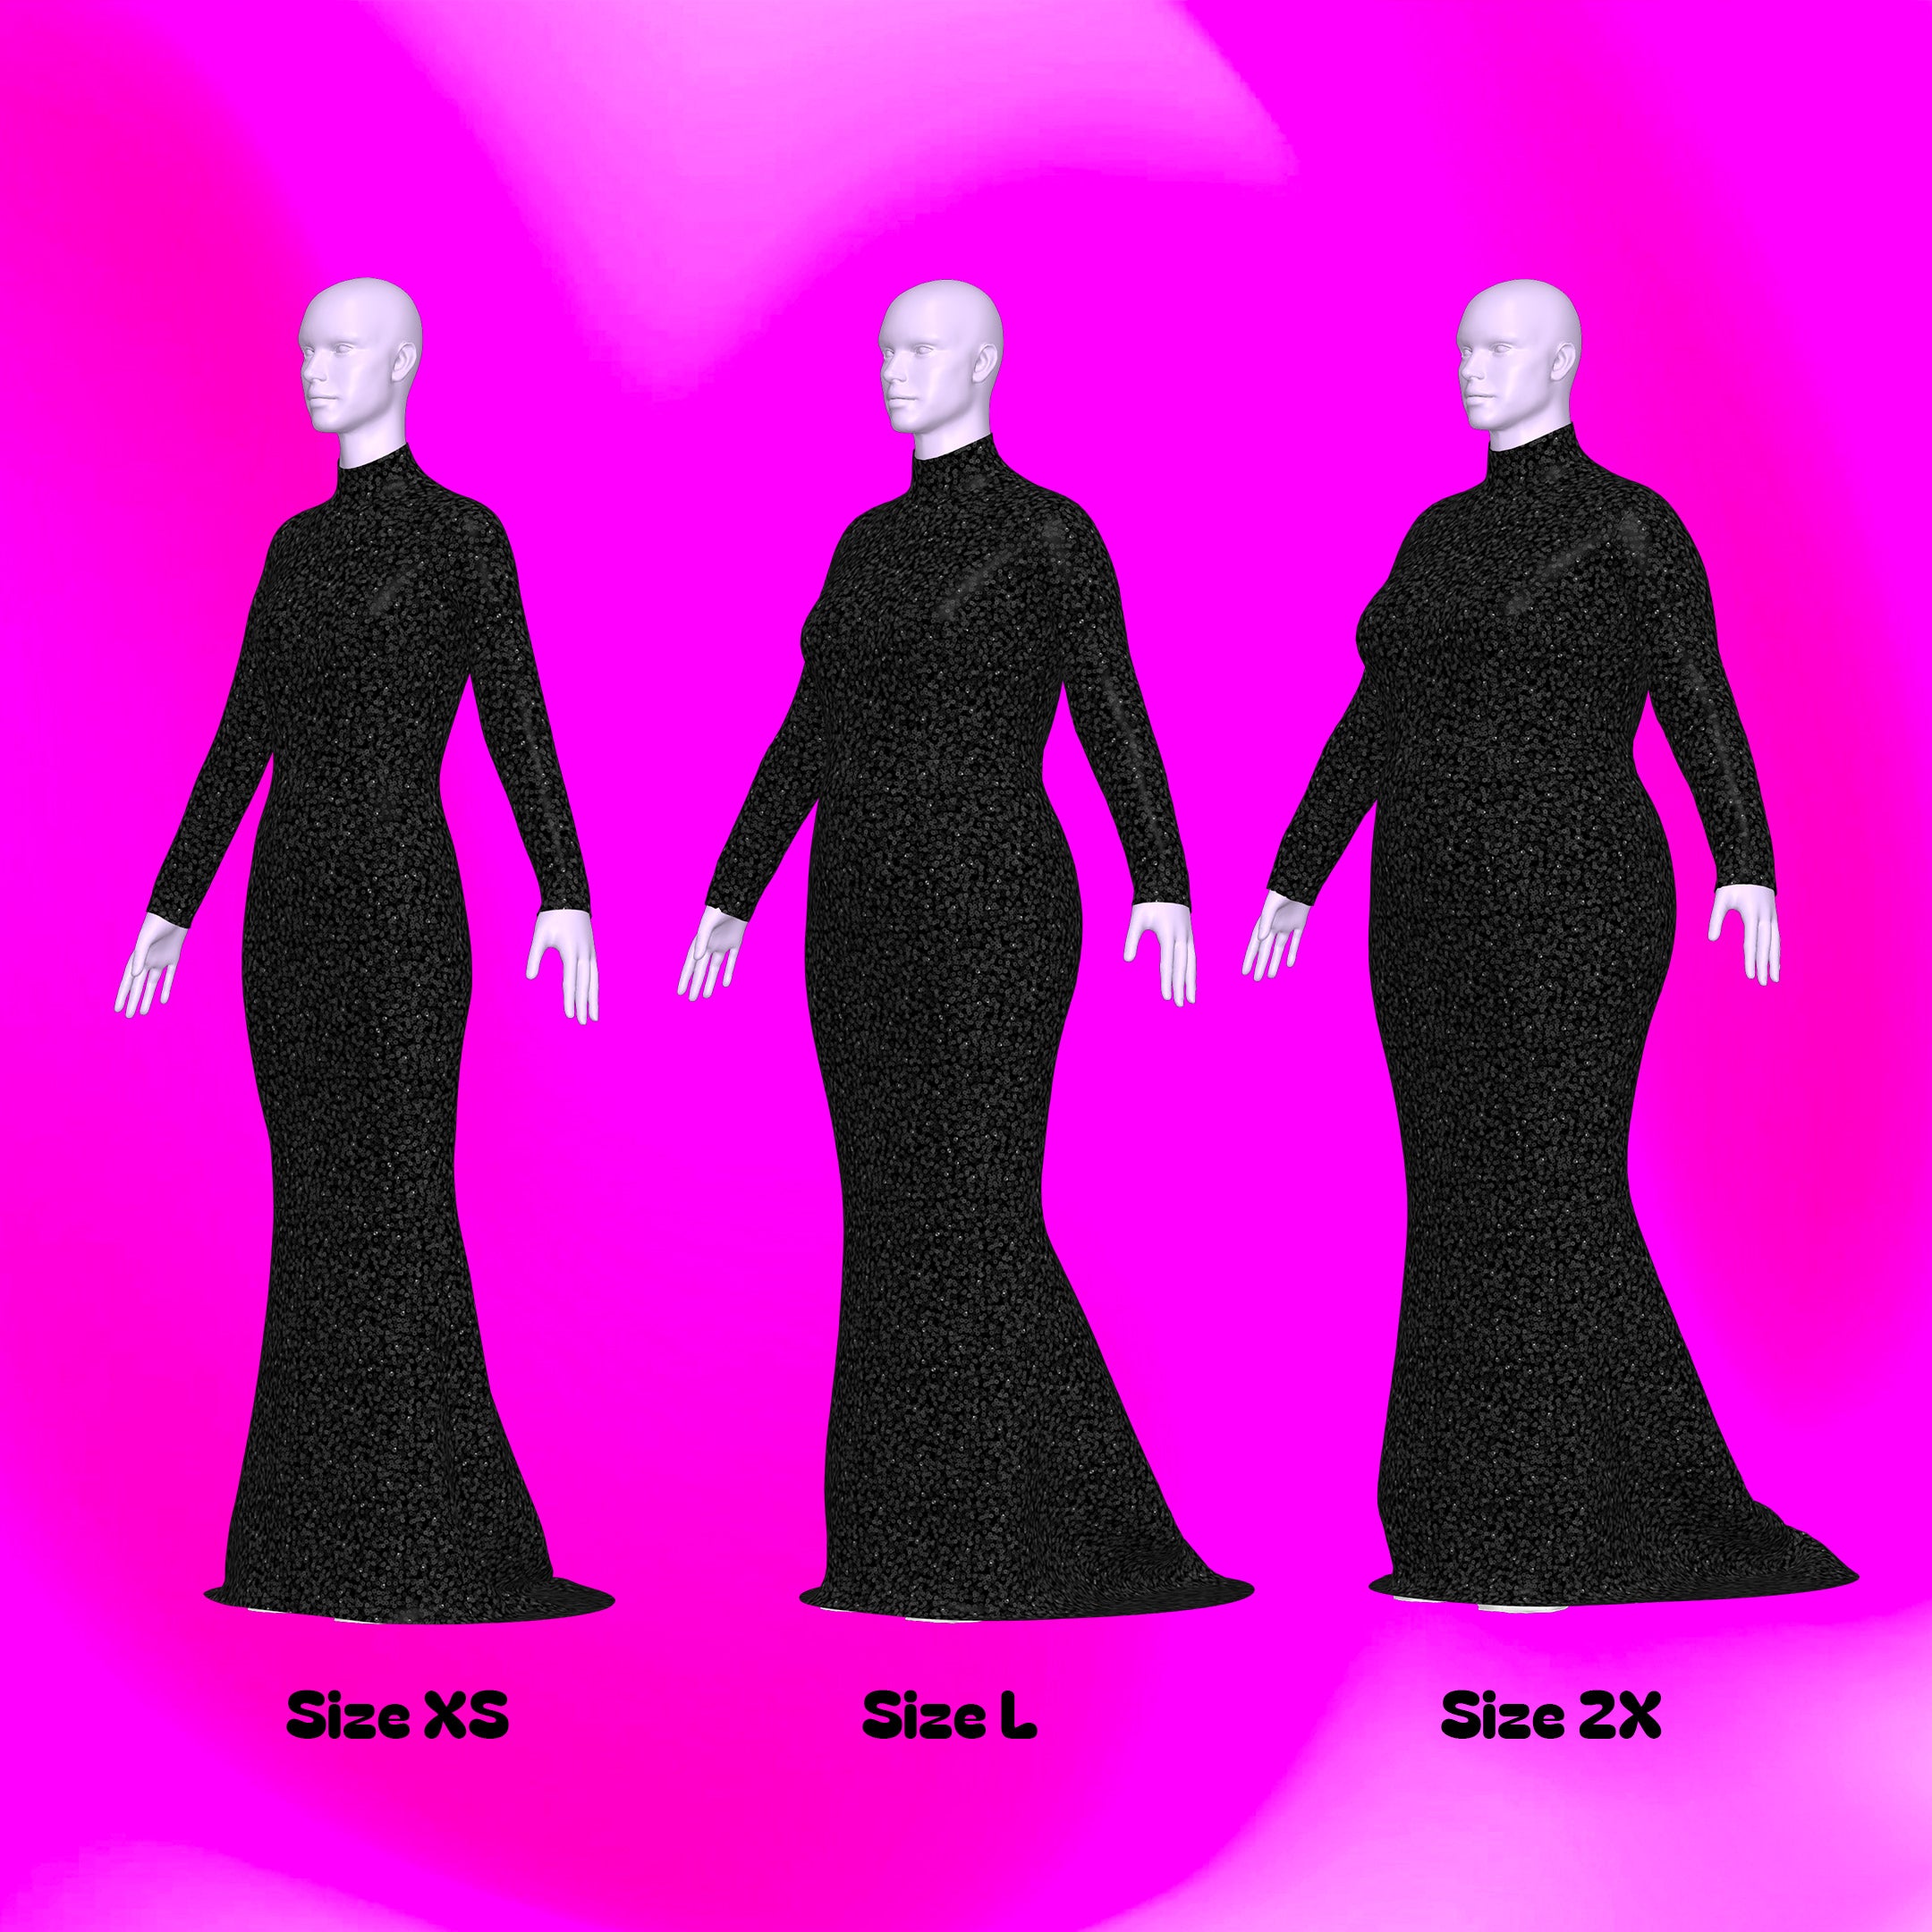
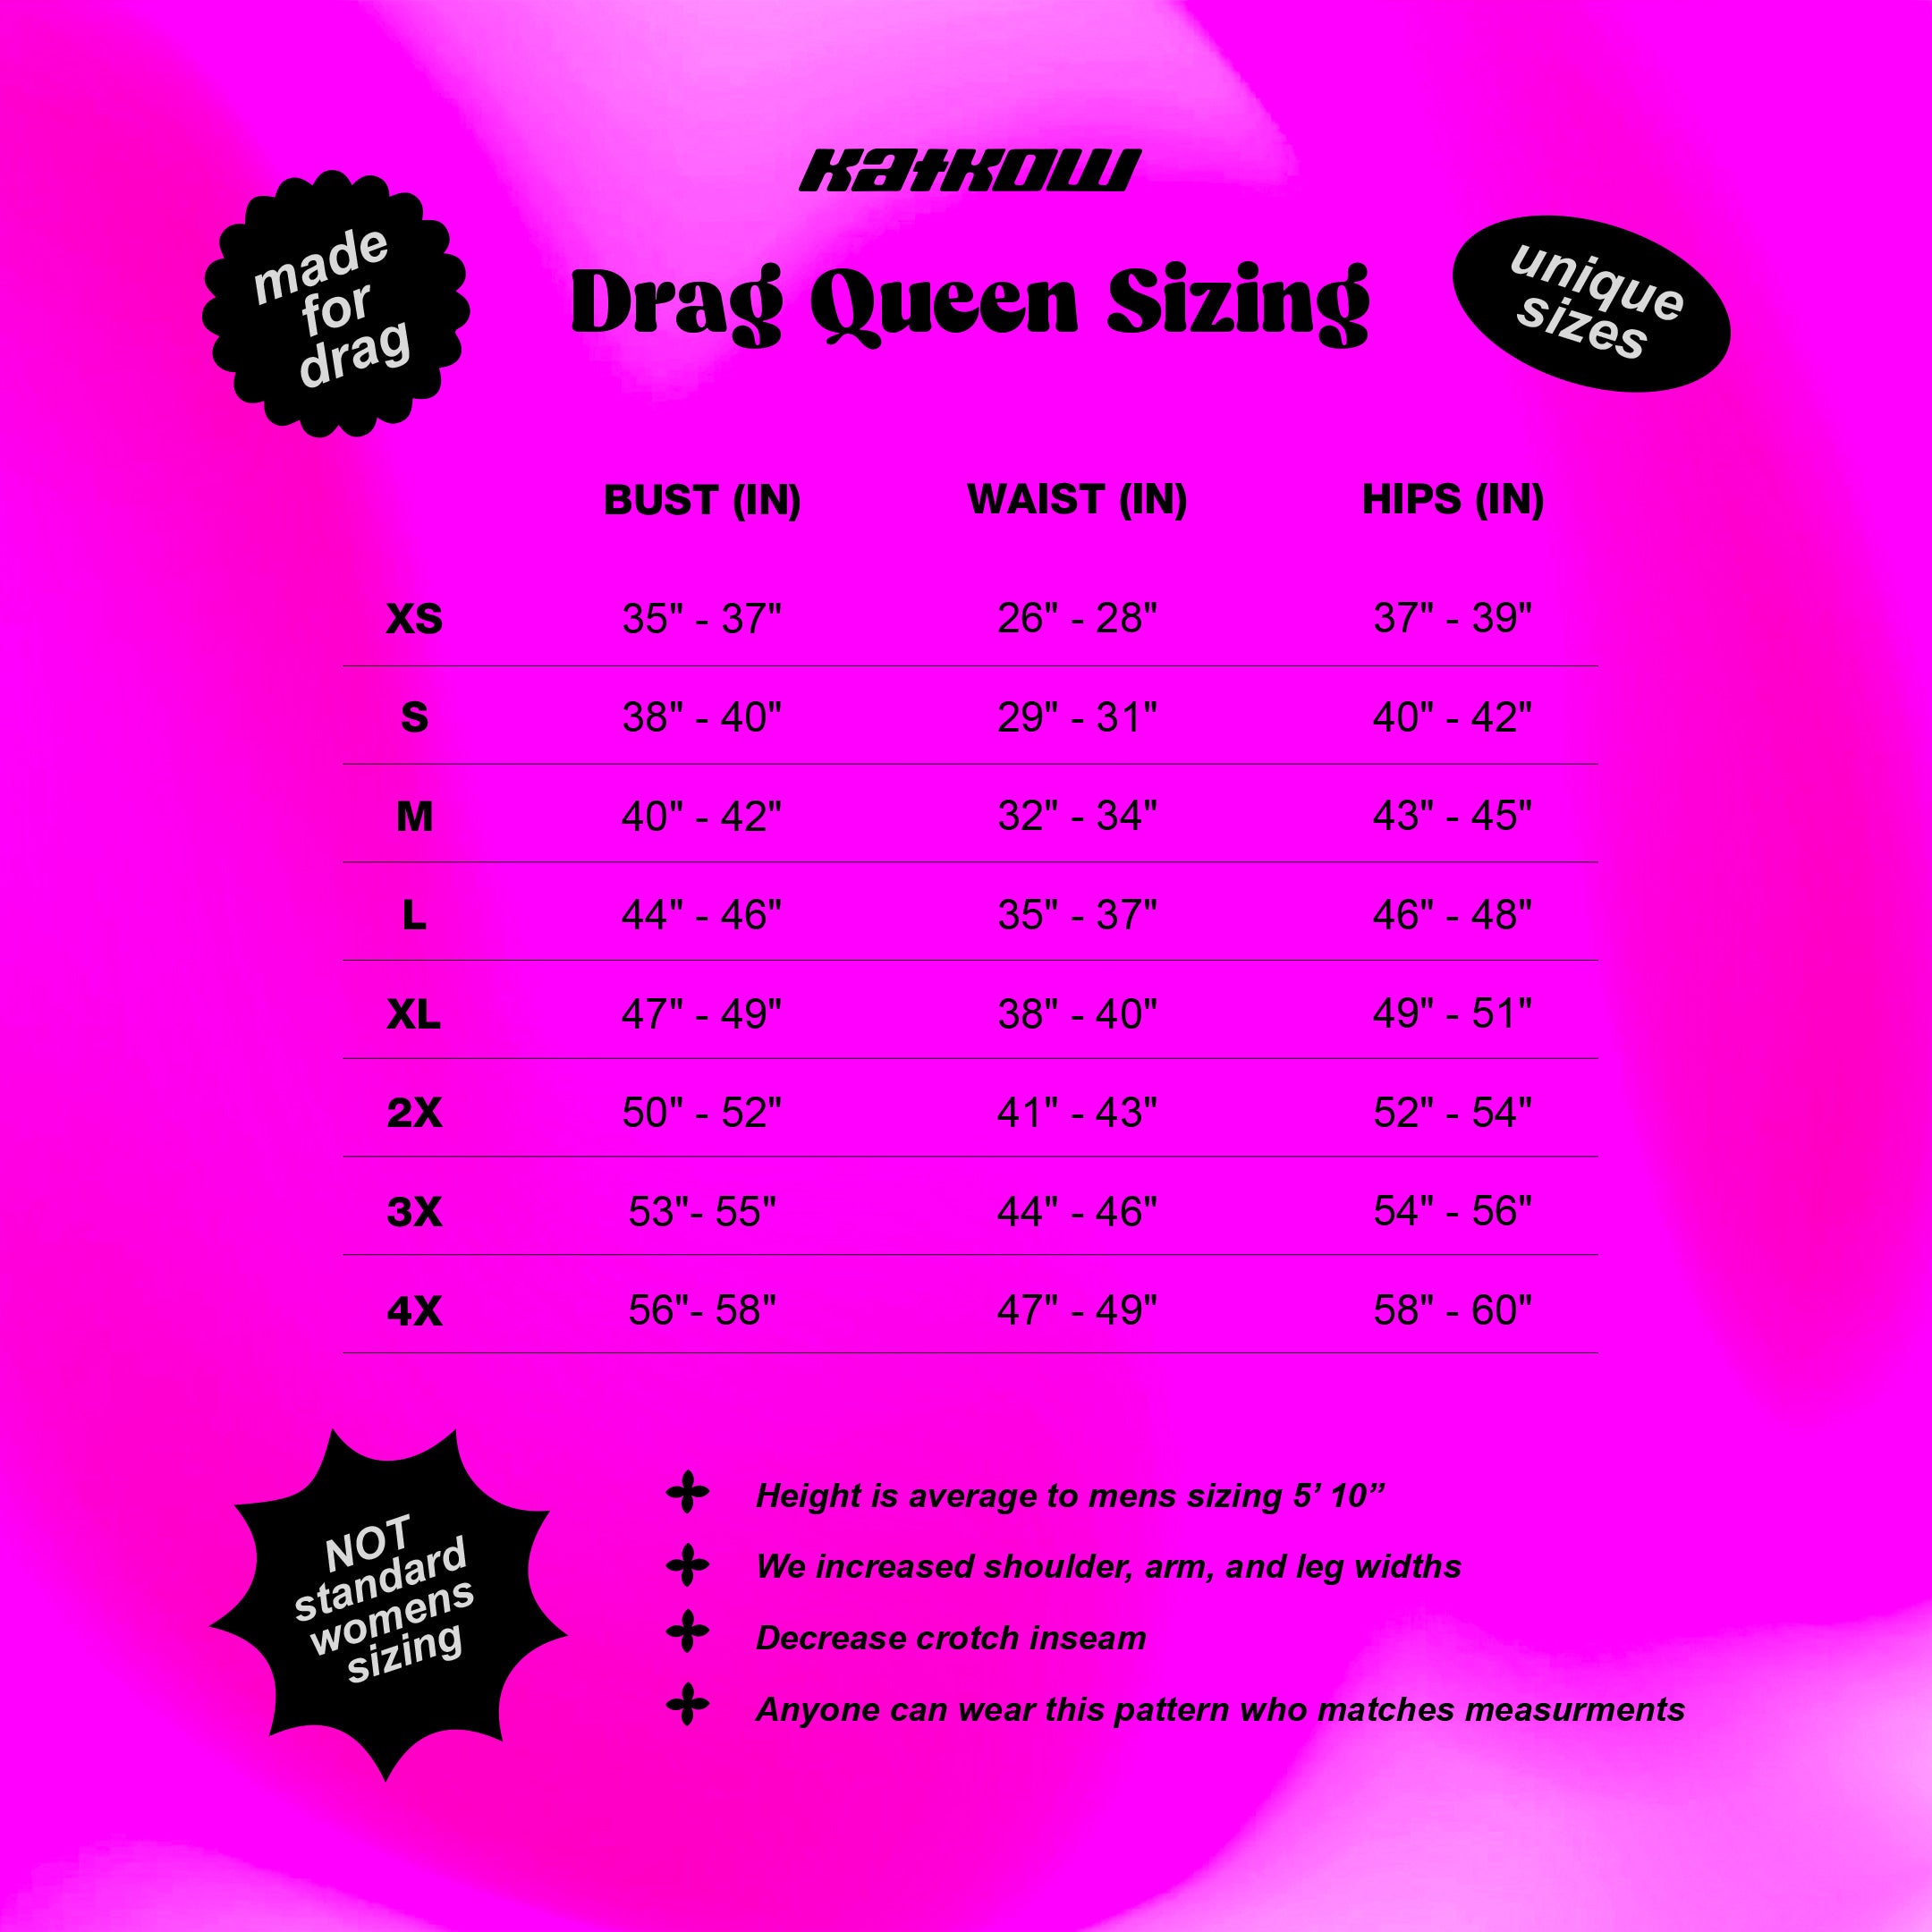
This pattern is available in our unique drag queen sizes (XS-4X). Please review our sizing guide for more information on our size measurements.
Fabric & Notions
Suitable for stretch fabrics:
- Miliskin
- Spandex
- Stretch Sequin
- Lycra
- Stretch Knits
- Stretch Vinyl
- 20-24 inch Zipper
- Optional: Tear-away stabilzer to keep zipper flat
Fabric Yardage
This pattern requires the use of non-stretch fabric. Please find the yardage needed for each size below.
| Size | Yards Fabric Width (58”) |
|---|---|
| XS | 2.25 yards |
| S | 2.5 yards |
| M | 2.75 yards |
| L | 3 yards |
| XL | 3 yards |
| 2X | 3.25 yards |
| 3X | 3.5 yards |
| 4X | 3.5 yards |
For information on converting inches to meters, please check out our conversion guide.
Sewing Instructions


Fabric Pieces
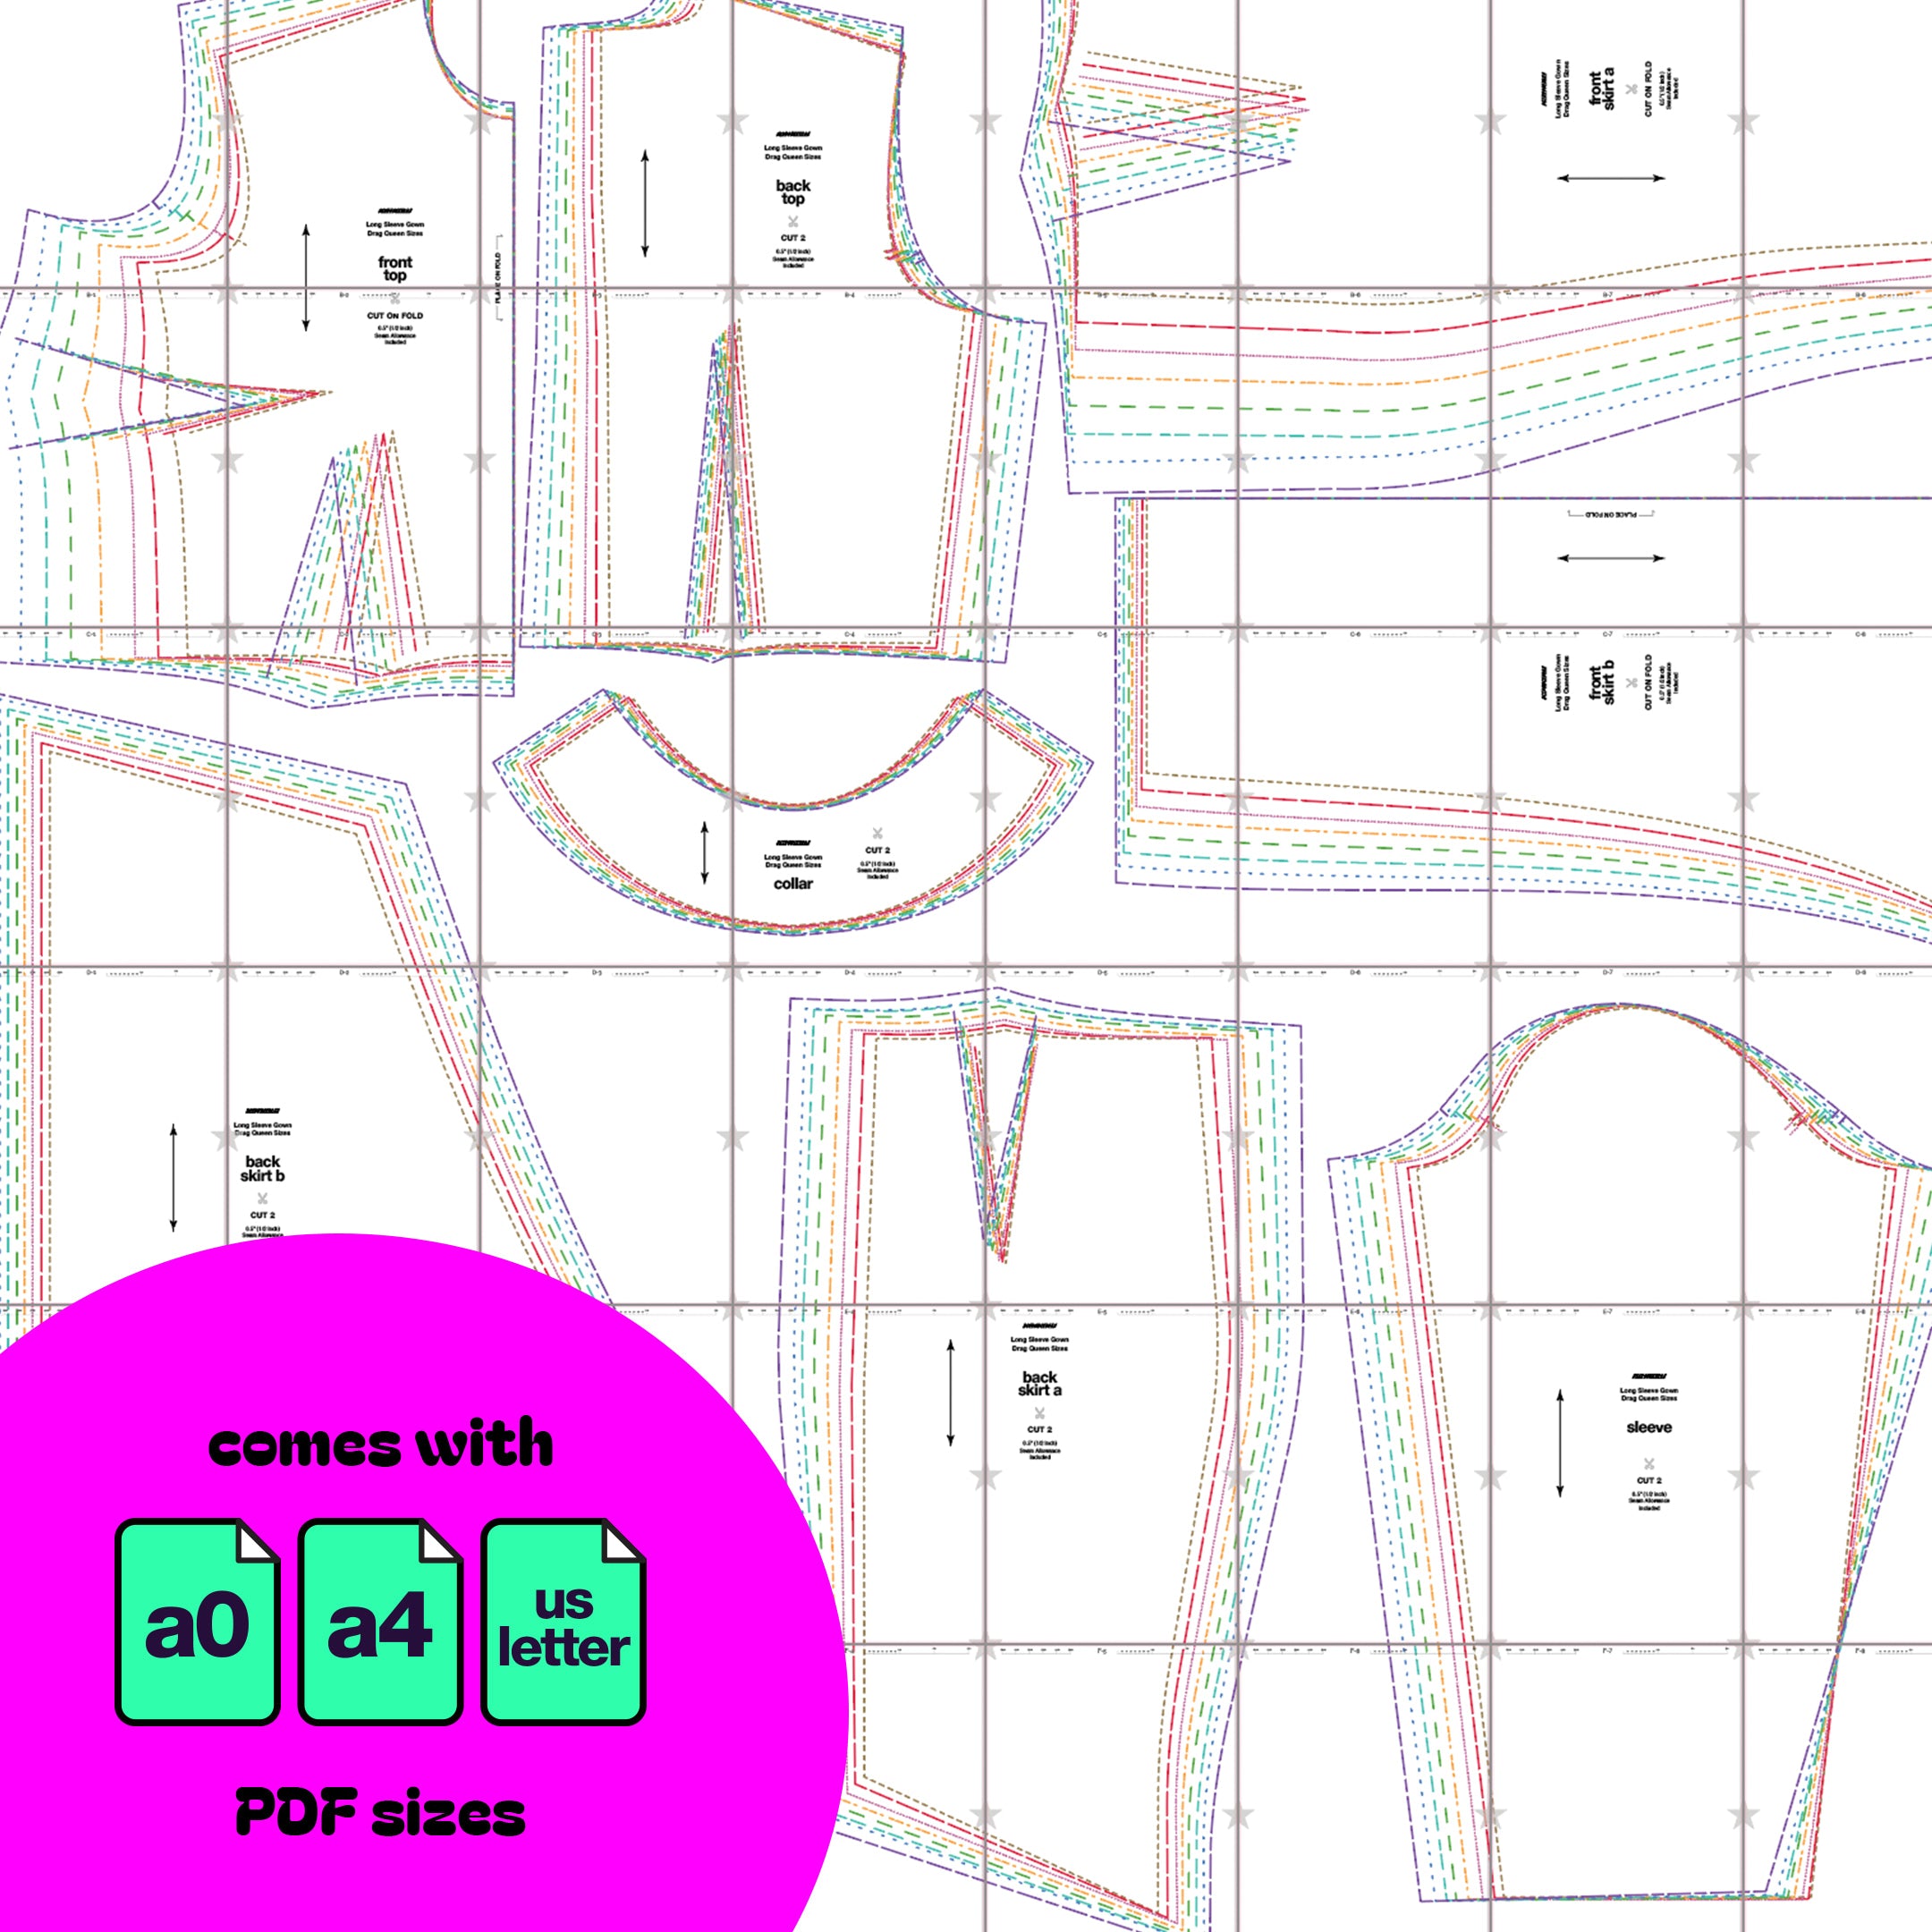
After cutting your fabric, you should have following:
- One seamless front top piece
- One seamless front skirt A piece
- One seamless front skirt B piece
- Two back top pieces
- Two back skirt A pieces
- Two back skirt B pieces
- Two sleeves
- Two collar pieces

Stitches
For this project, the recommended stitches are a serger overlock stitch, a stretch stitch, or a zigzag stitch. A straight stitch may cause the threads to snap and is not advisable.

STEP 1
Sew the darts on the wrong side of the fabric for the front top, front skirt A, back top, and back skirt A pieces.

STEP 2
Sew the back top and back skirt A pieces together, right sides of the fabric facing each other, at the waist using a serger, stretch stitch, or zigzag stitch.

STEP 3
Sew the seamless front top and front skirt A pieces together, right sides of the fabric facing each other, at the waist using a serger, stretch stitch, or zigzag stitch.

STEP 4
Take the front piece and the two back pieces, with right sides facing each other, and pin them together at the shoulder seams. Sew along these seams.

STEP 5
Take your two collar pieces, stack them with right sides facing each other, and sew along the top curved edge. Flip the collar right side out and pin at the center front.

STEP 6
Lay the front and back pieces right side up and pin the collar around the neckline with the center pin matching the center front, keeping the collar upside down. Serge or sew in place.

STEP 7
Sew a 20-24 inch invisible zipper along the center back opening, starting at the collar. Ensure the right side of the zipper faces the right side of the fabric. Use a straight stitch with a zipper foot for sewing. For a flat zipper finish, you may use a tear-away stabilizer between the zipper and the fabric.

STEP 8
After attaching the zipper, fold the excess fabric at the top of the zipper vertically and hand-stitch it down to secure this fold before proceeding.

STEP 9
Next, fold over the zipper tape horizontally and pin it in place, ready for topstitching. Repeat the same steps on the opposite side. Topstitch around the zipper sides to reinforce and neatly finish the edges.

STEP 10
Sew the back skirt B pieces to the back skirt A pieces, right sides facing each other along the back knee line.

STEP 11
Once the zipper is secured to the back pieces, sew the remaining space below the zipper down to the train of the back.

STEP 12
Sew the front skirt B piece to the front skirt A piece, right sides facing each other along the back hemline.

STEP 13
Spread out the front and back pieces right side up and gather your sleeves.

STEP 14
Align and pin the sleeves around the armholes, with the right side of the sleeve facing the right side of the front and back, using notches as a guide. Serge or sew the sleeves in place and repeat for the other side.

STEP 15
Turn the gown wrong side out and sew the inner sleeve seams closed, continuing down the sides of the gown from the armholes to the train.

STEP 16
Finally, hem the sleeves and the bottom of the gown.
